


DISPLAY MENUS
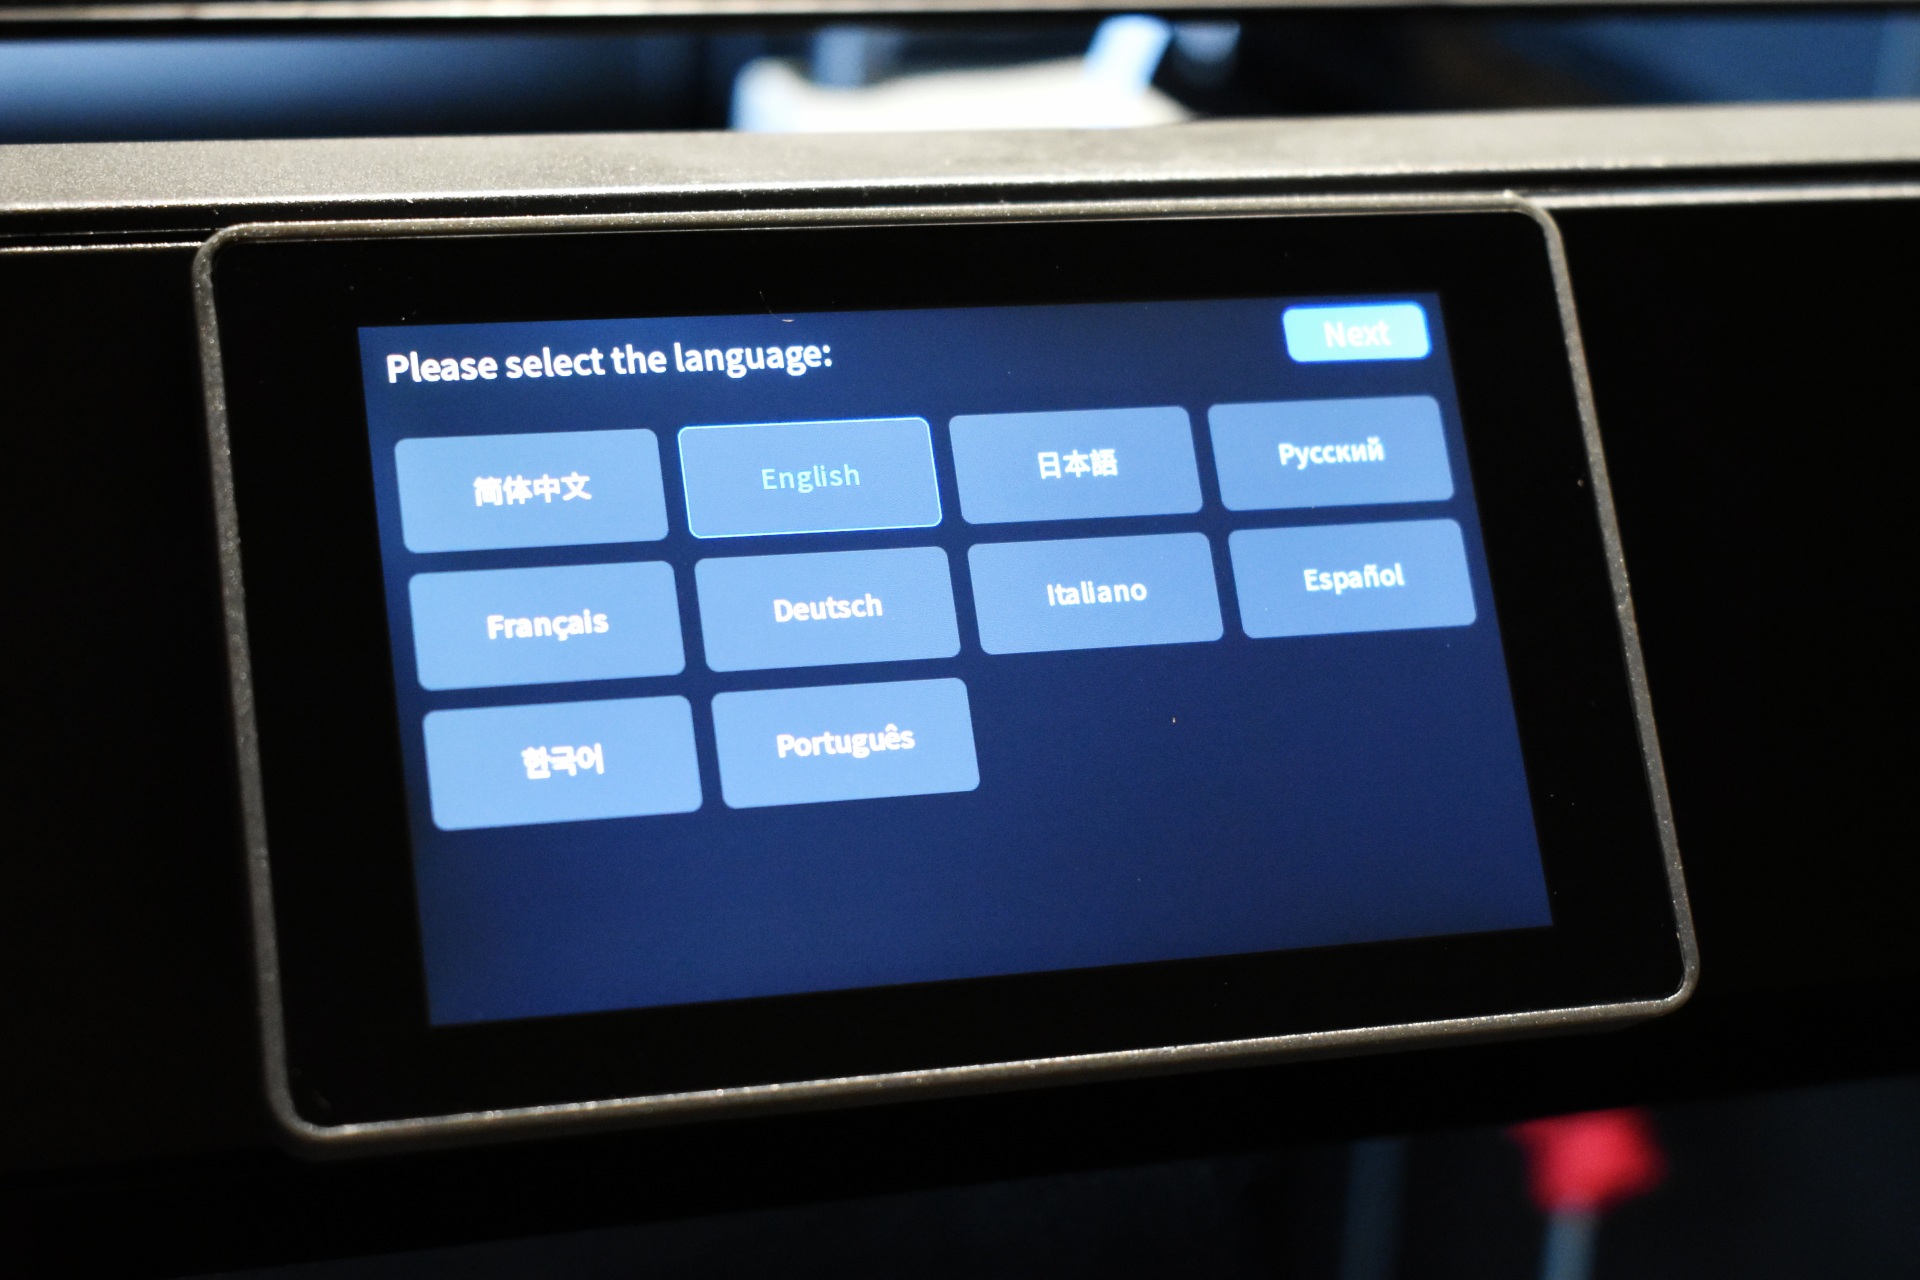
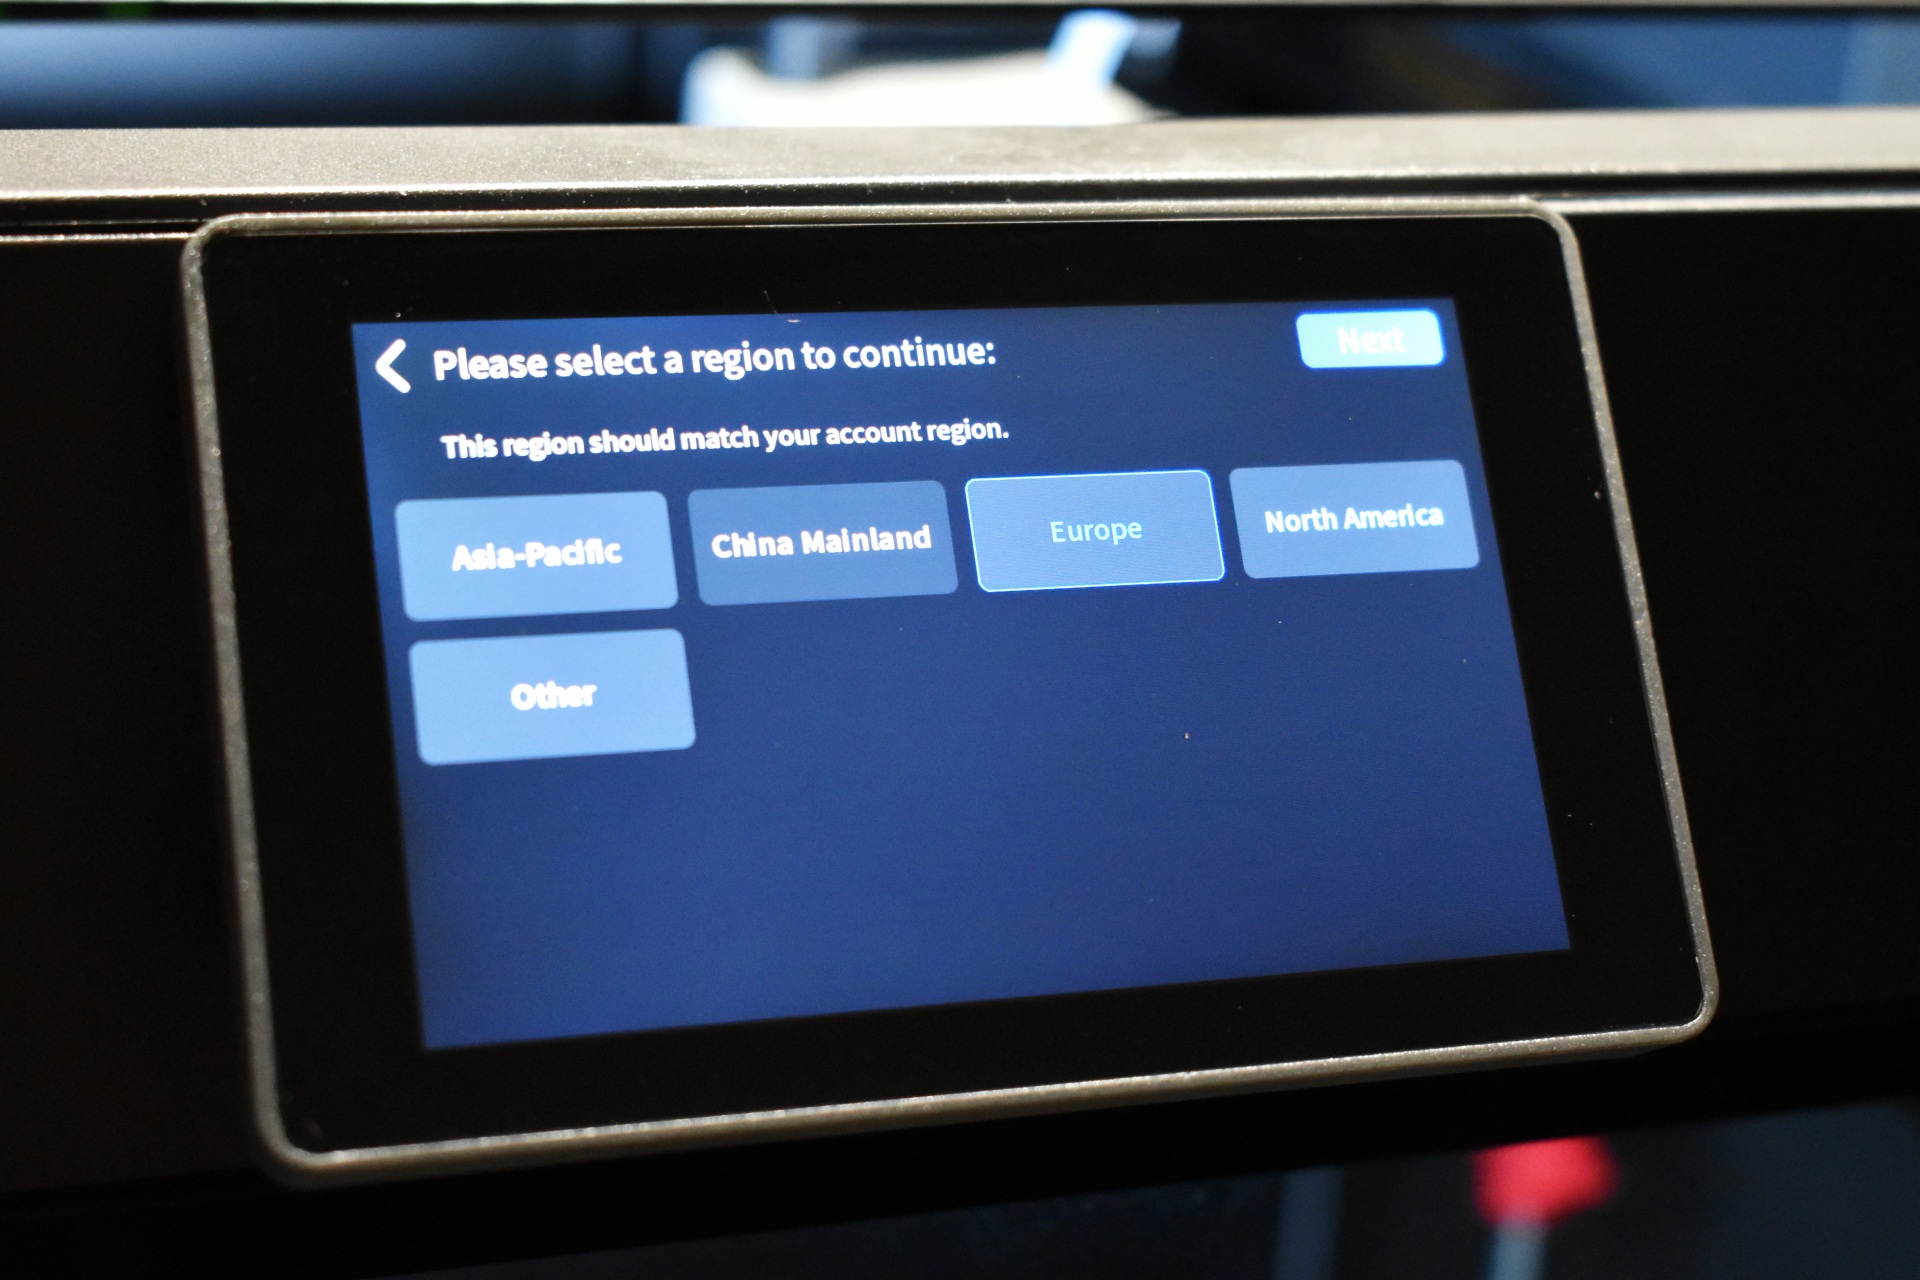
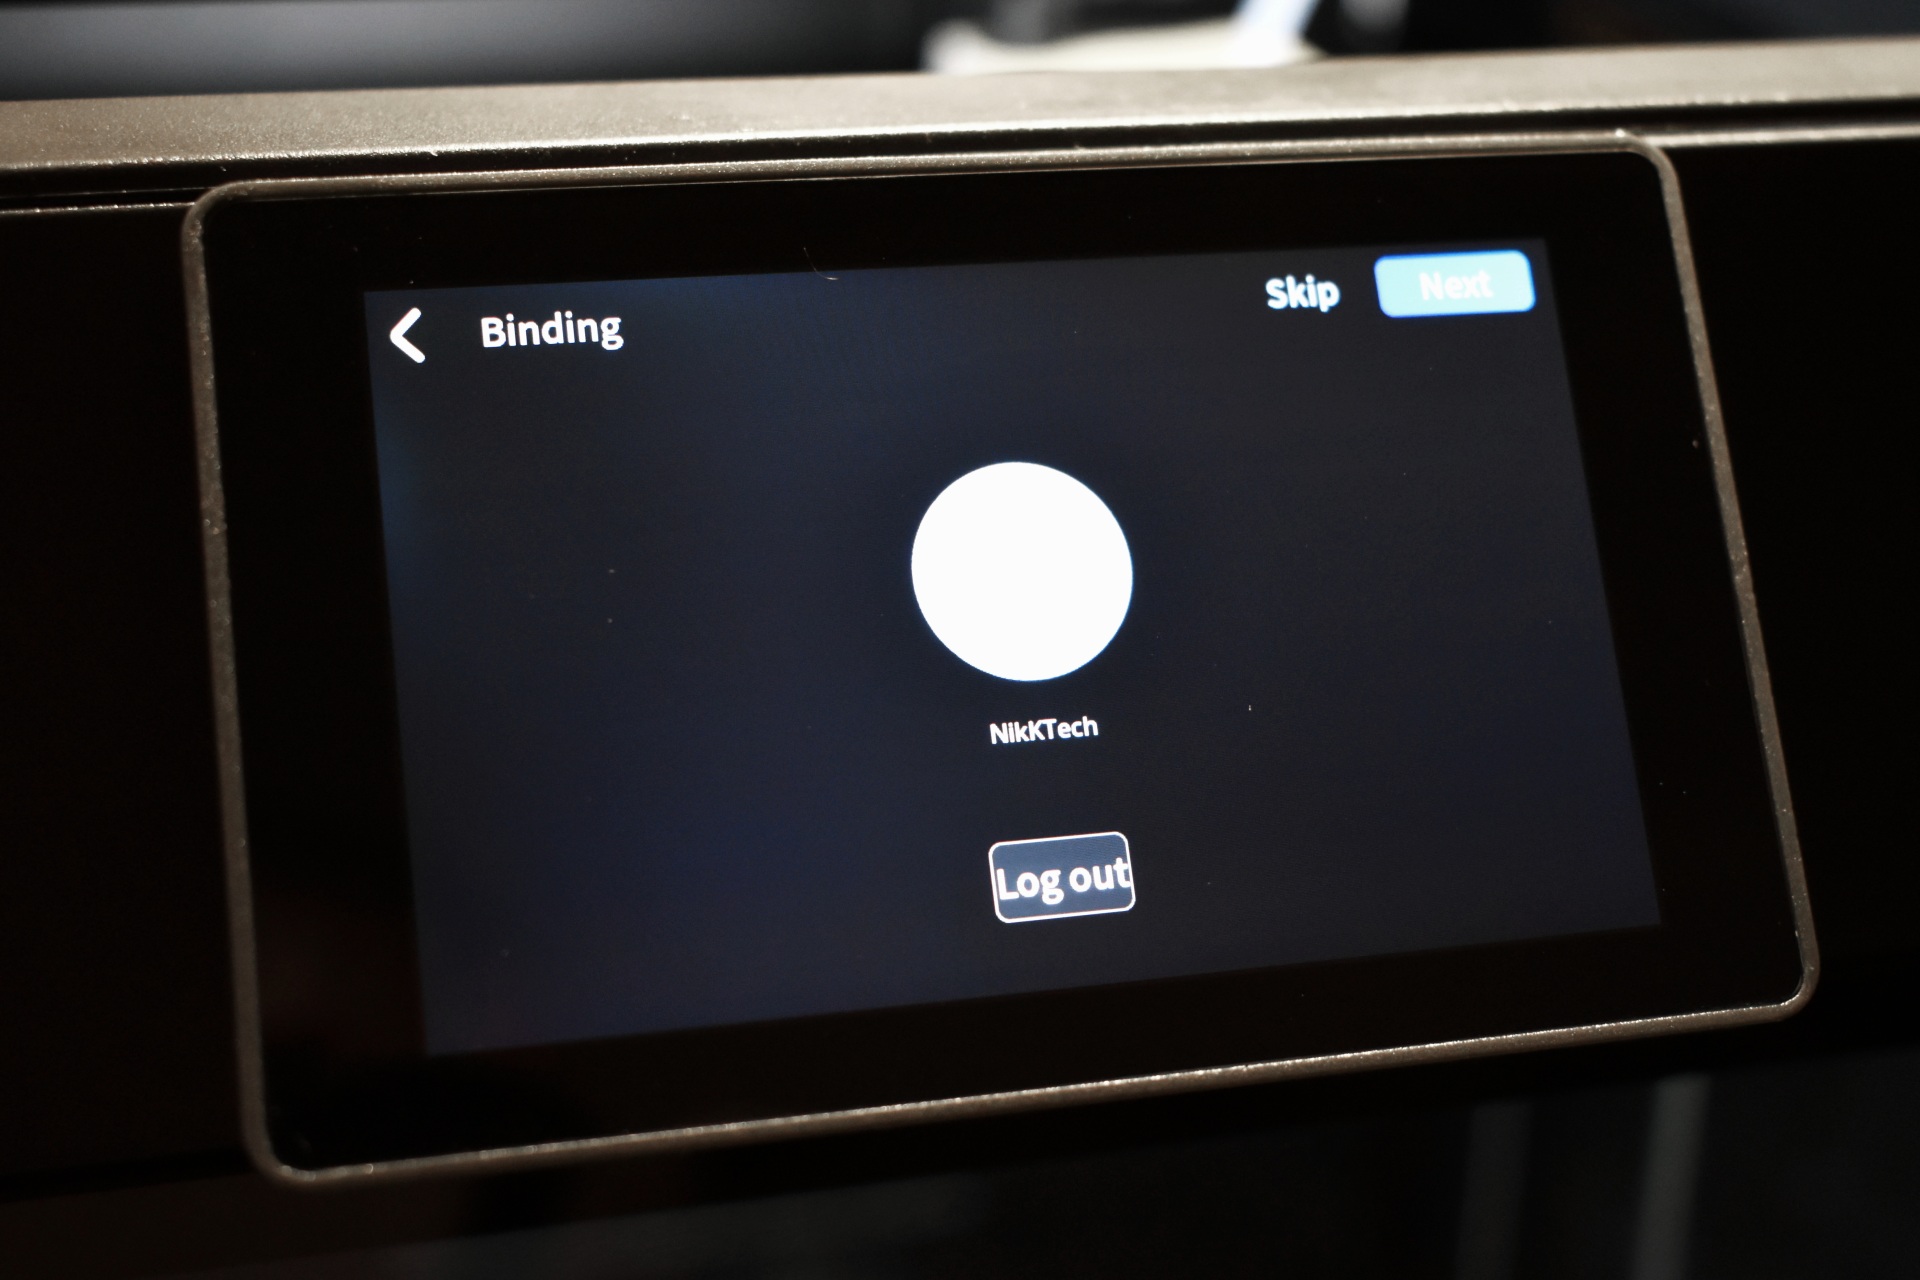
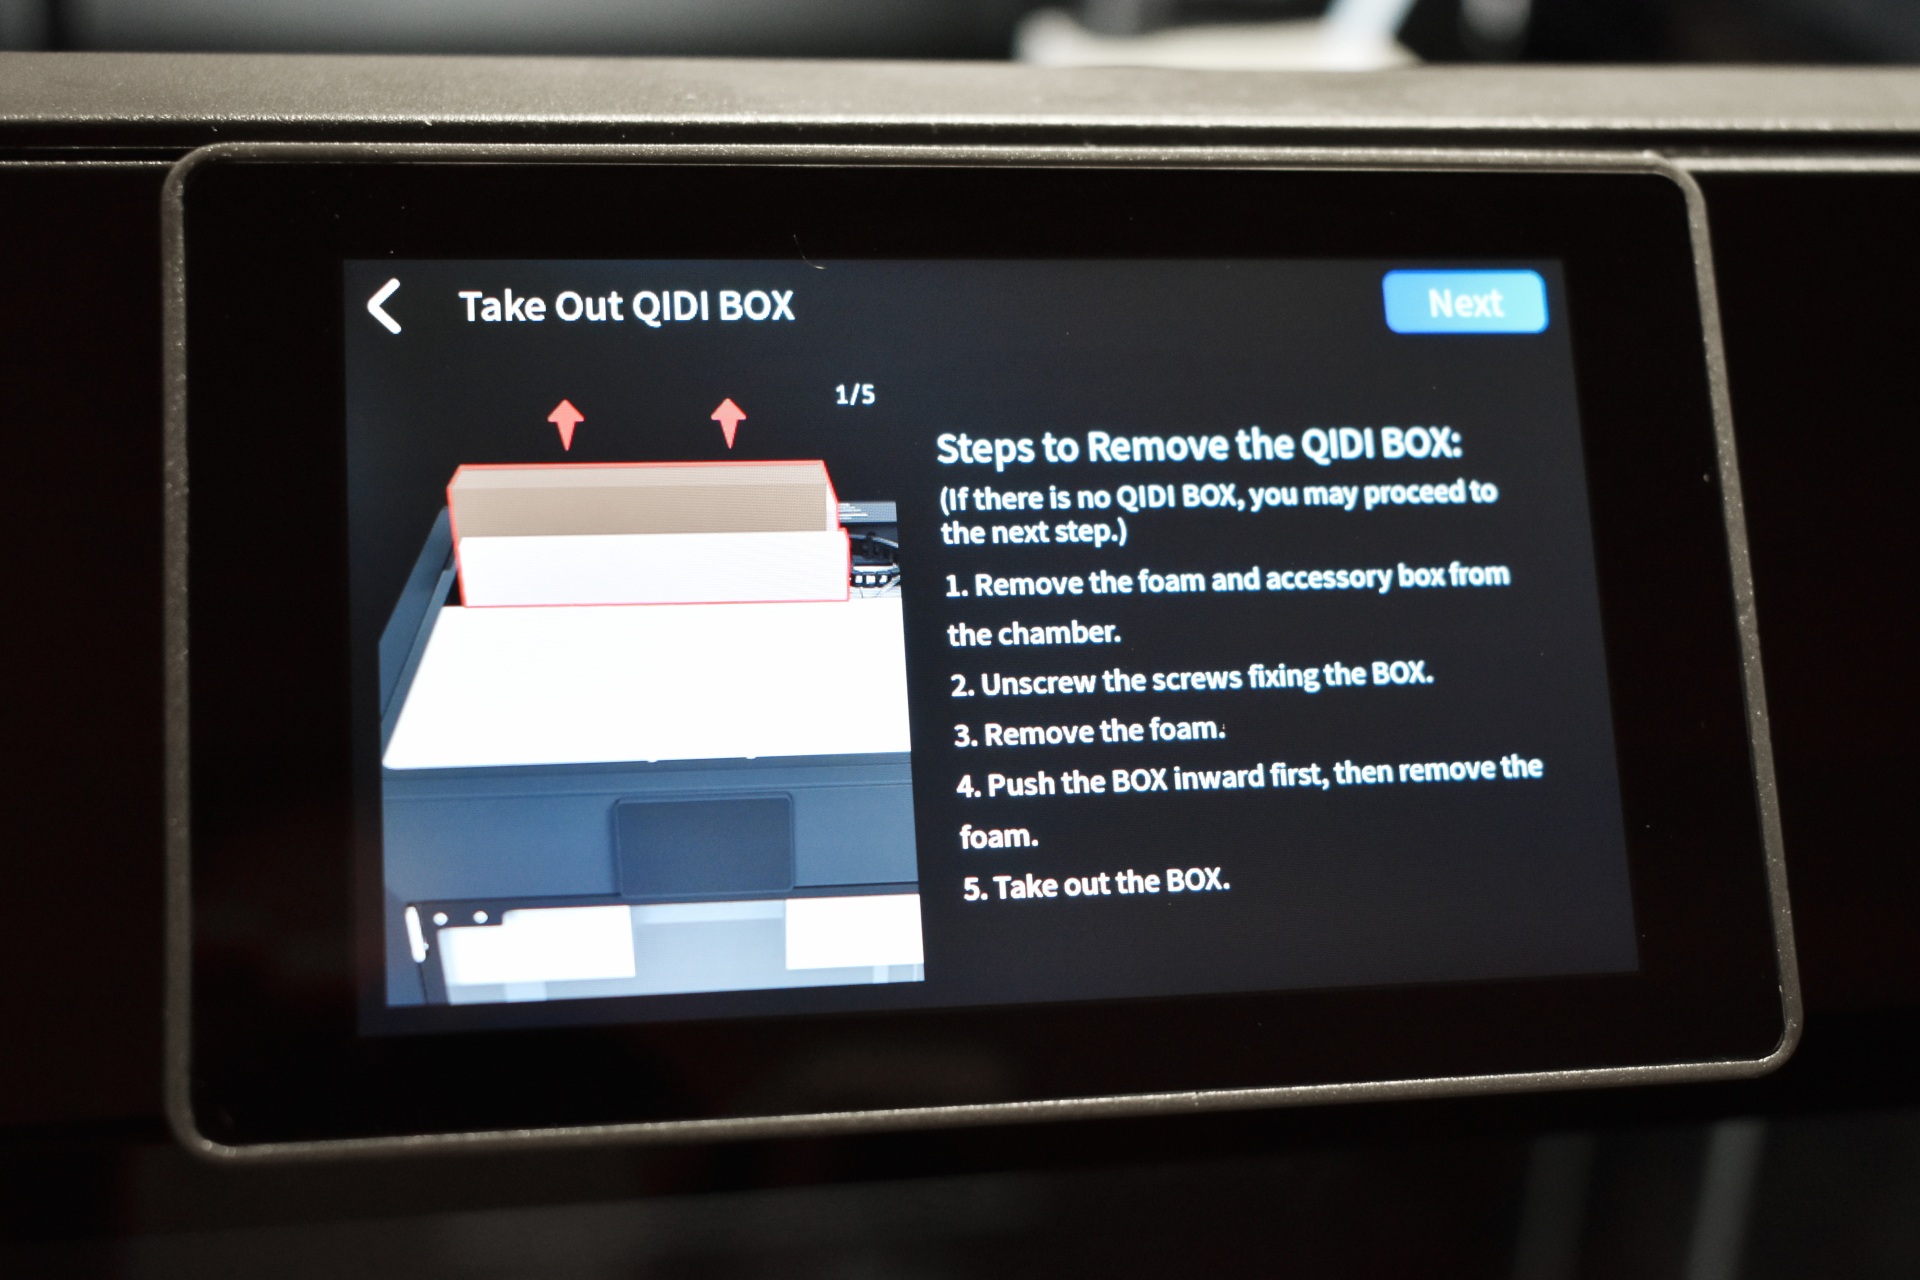
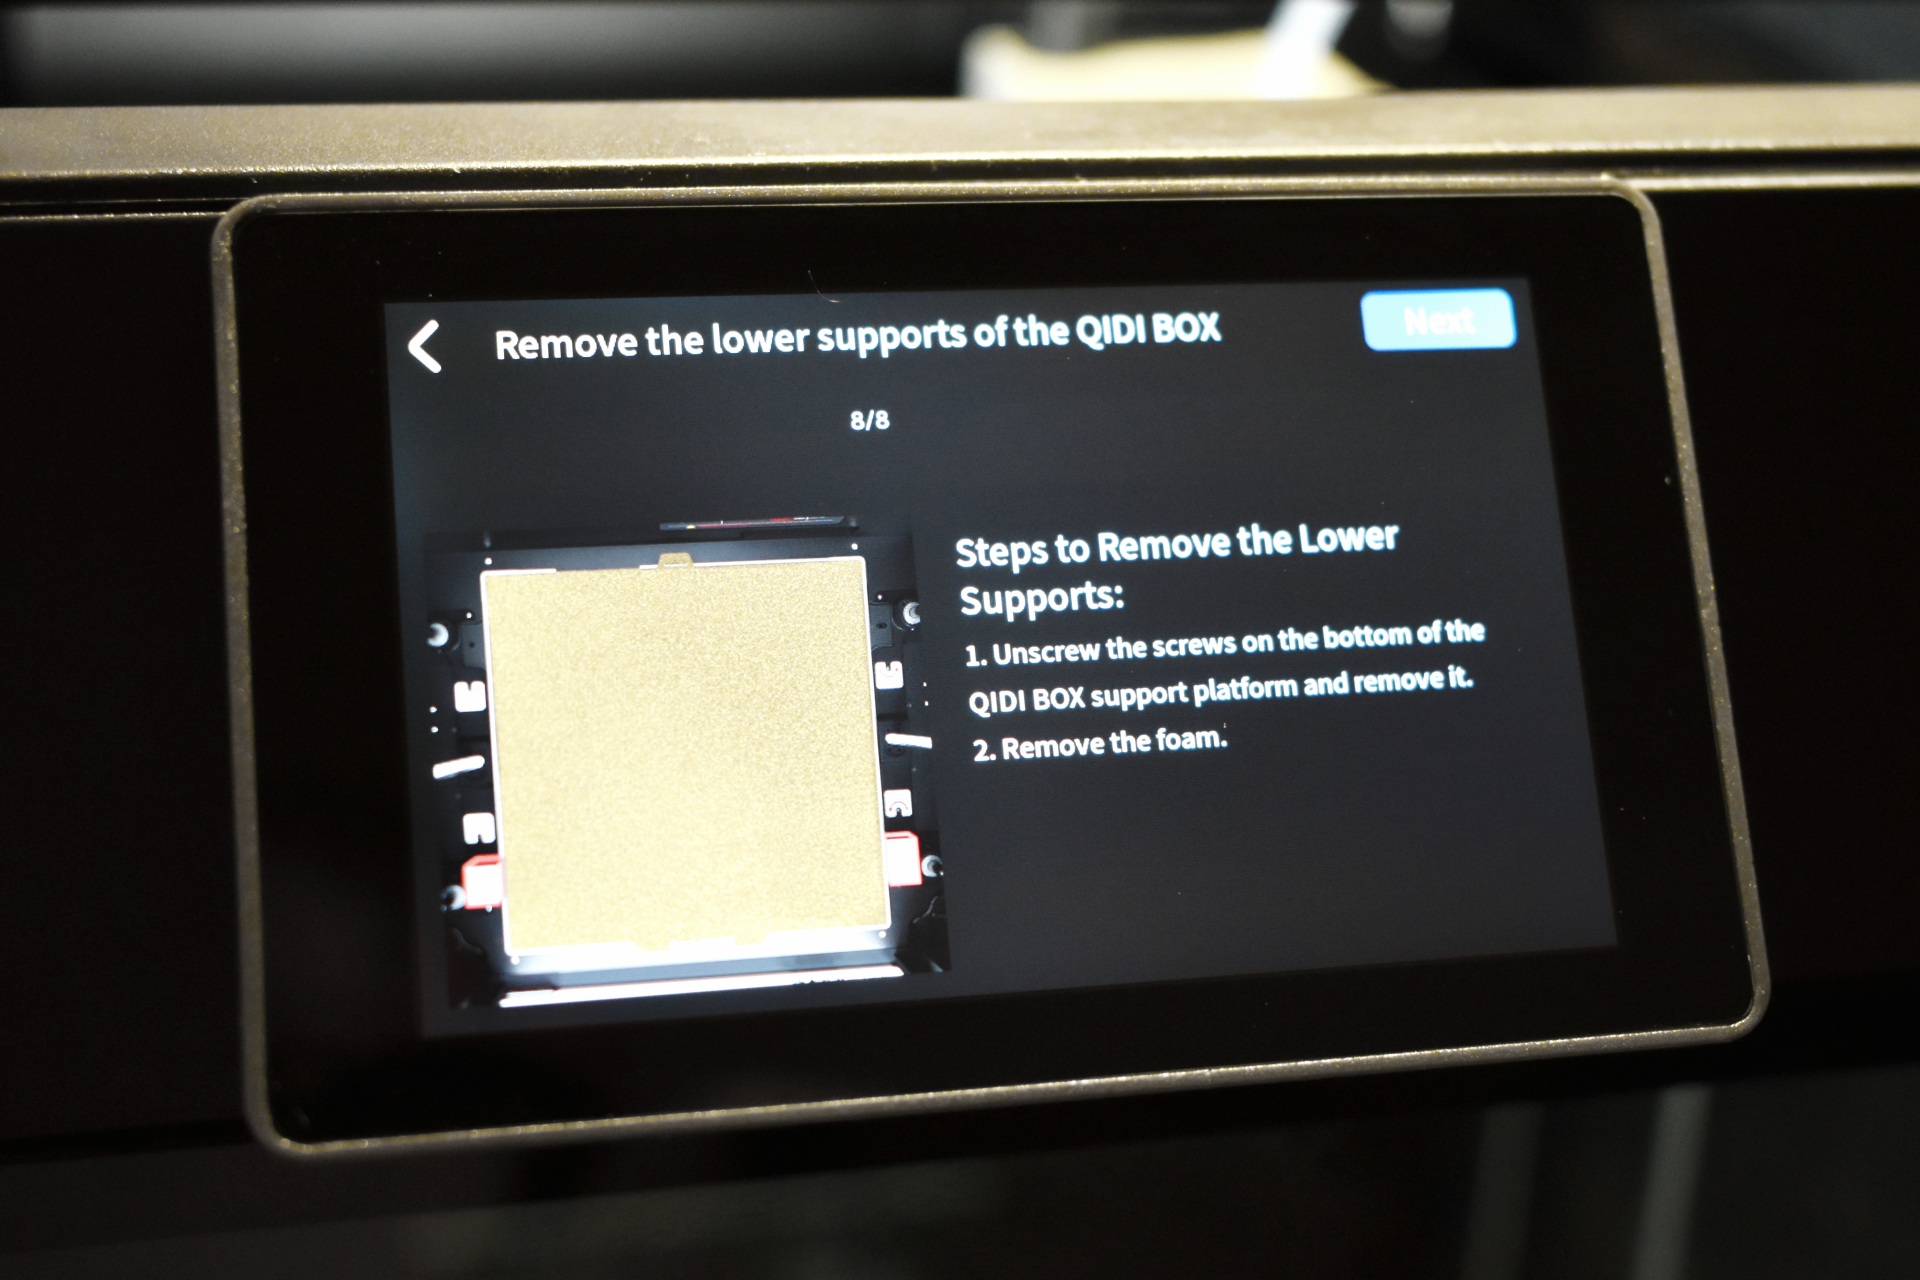
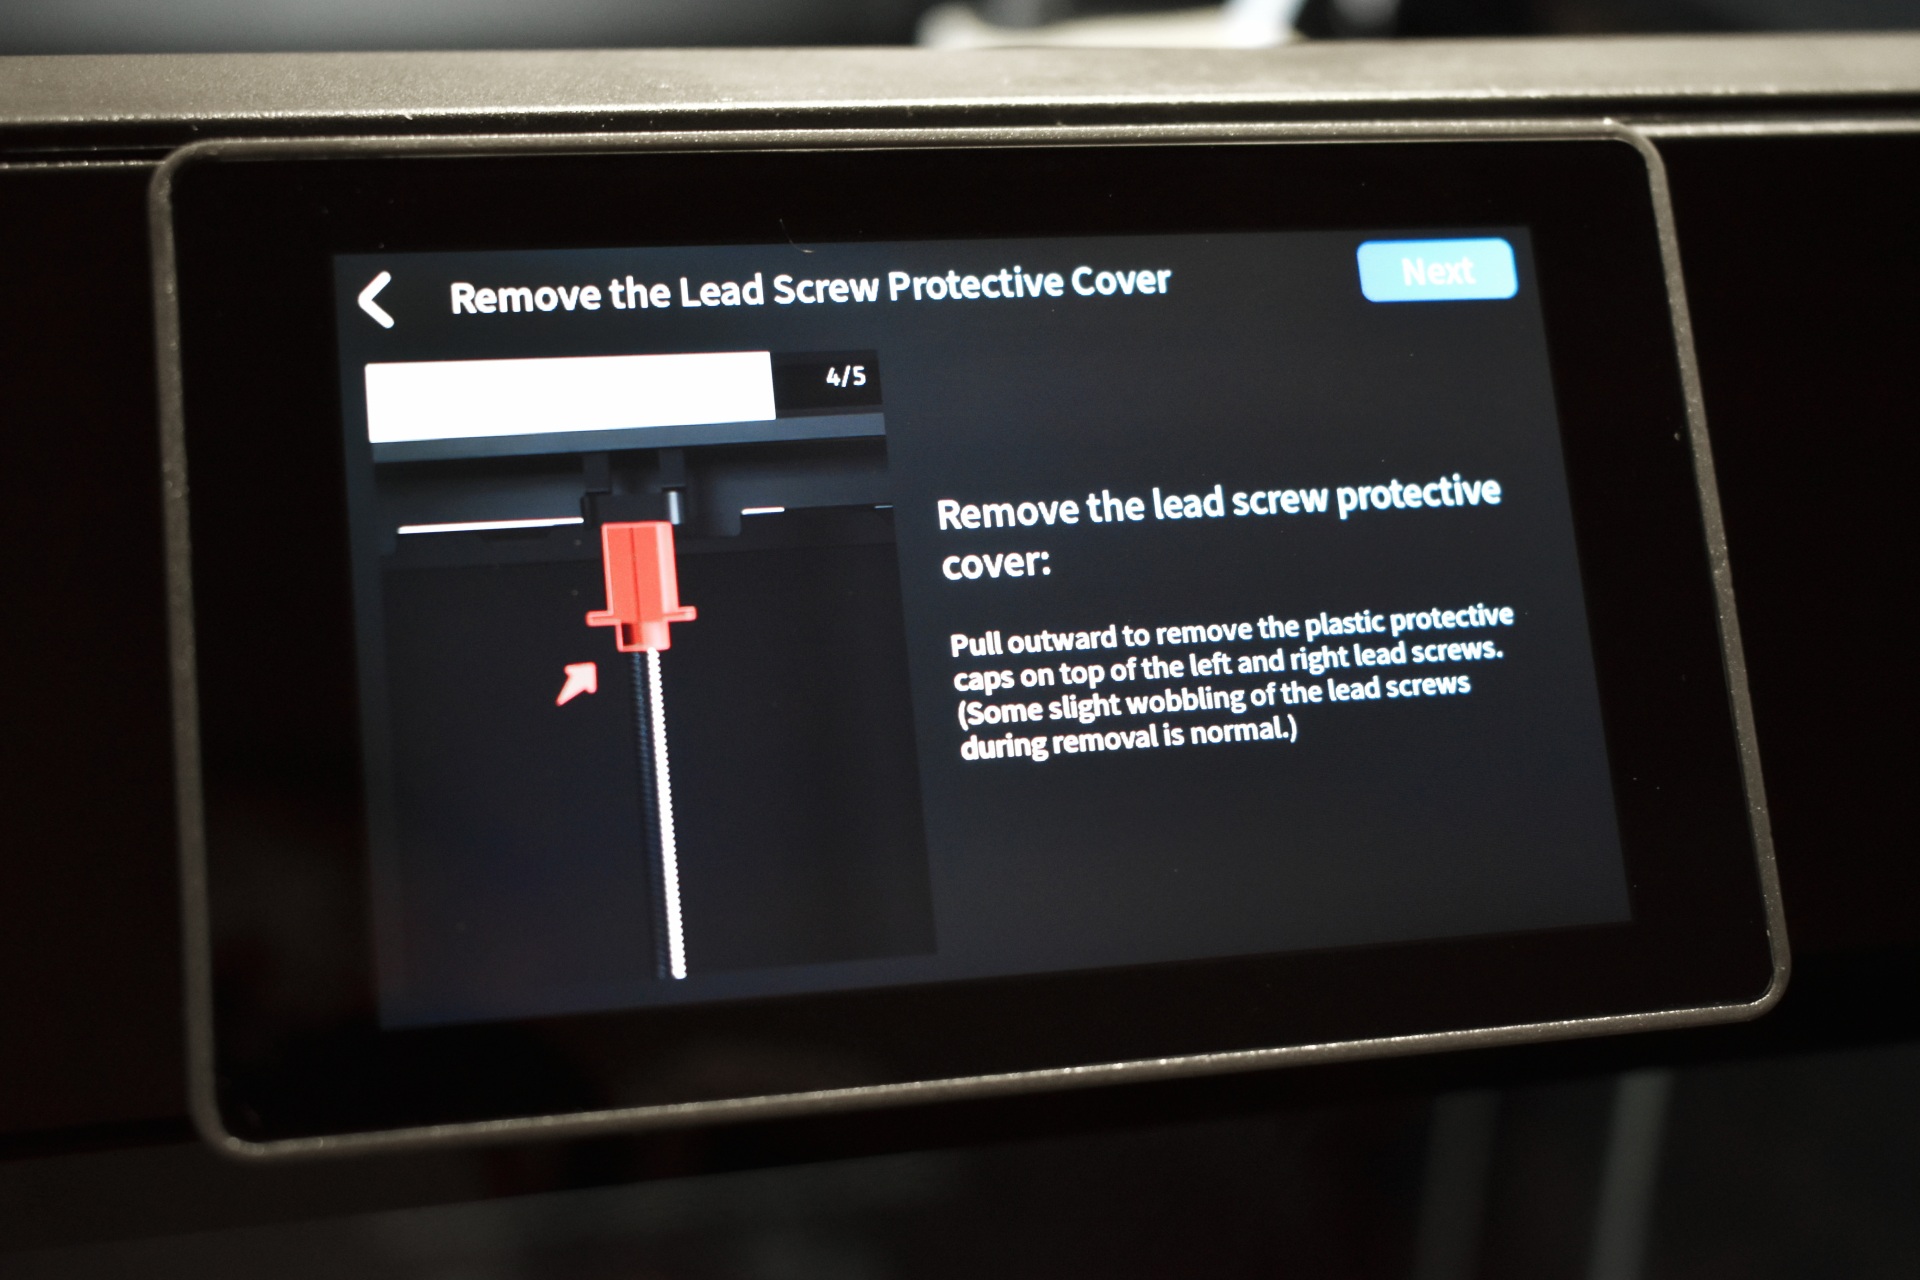
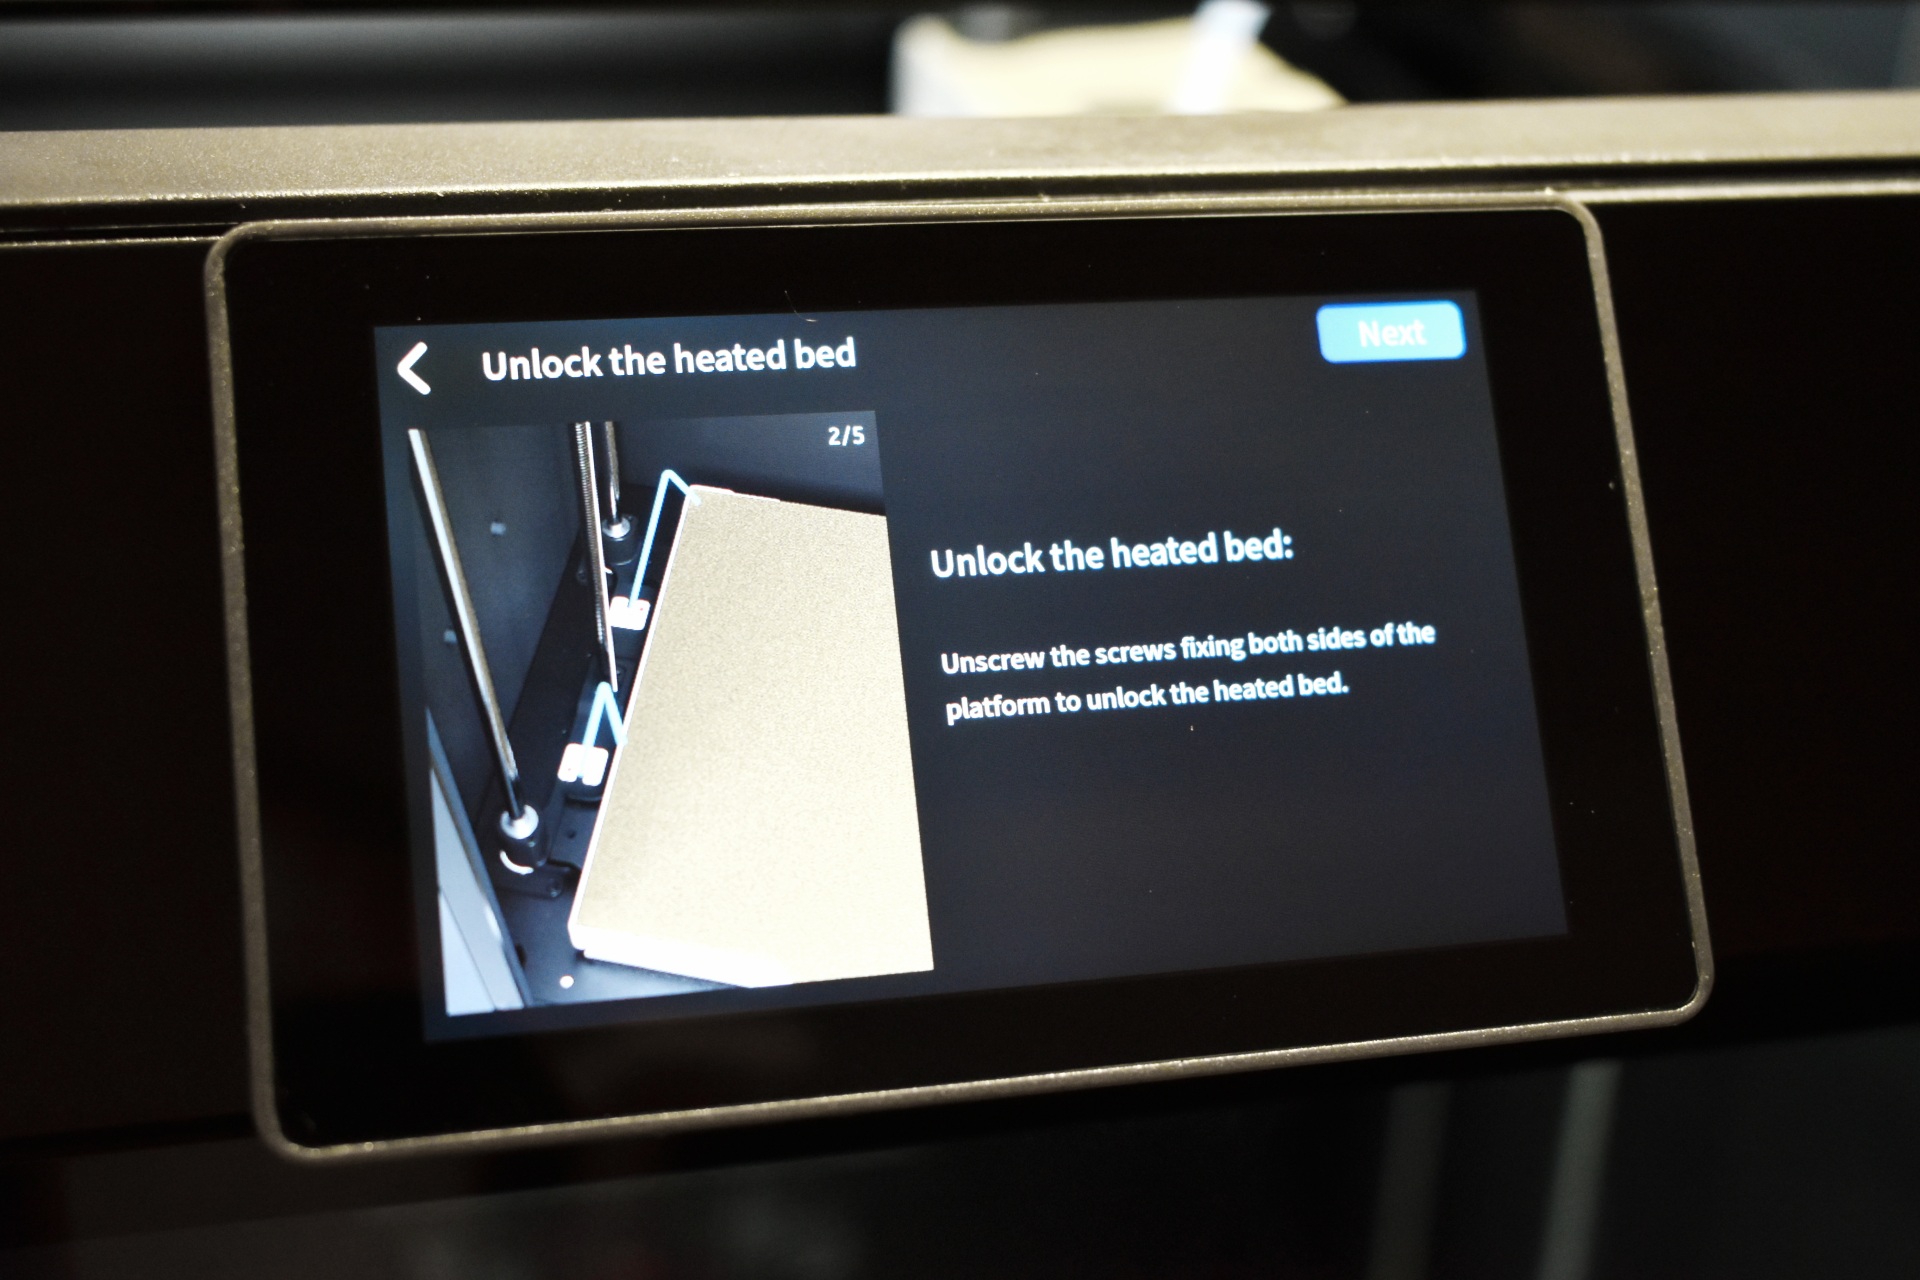
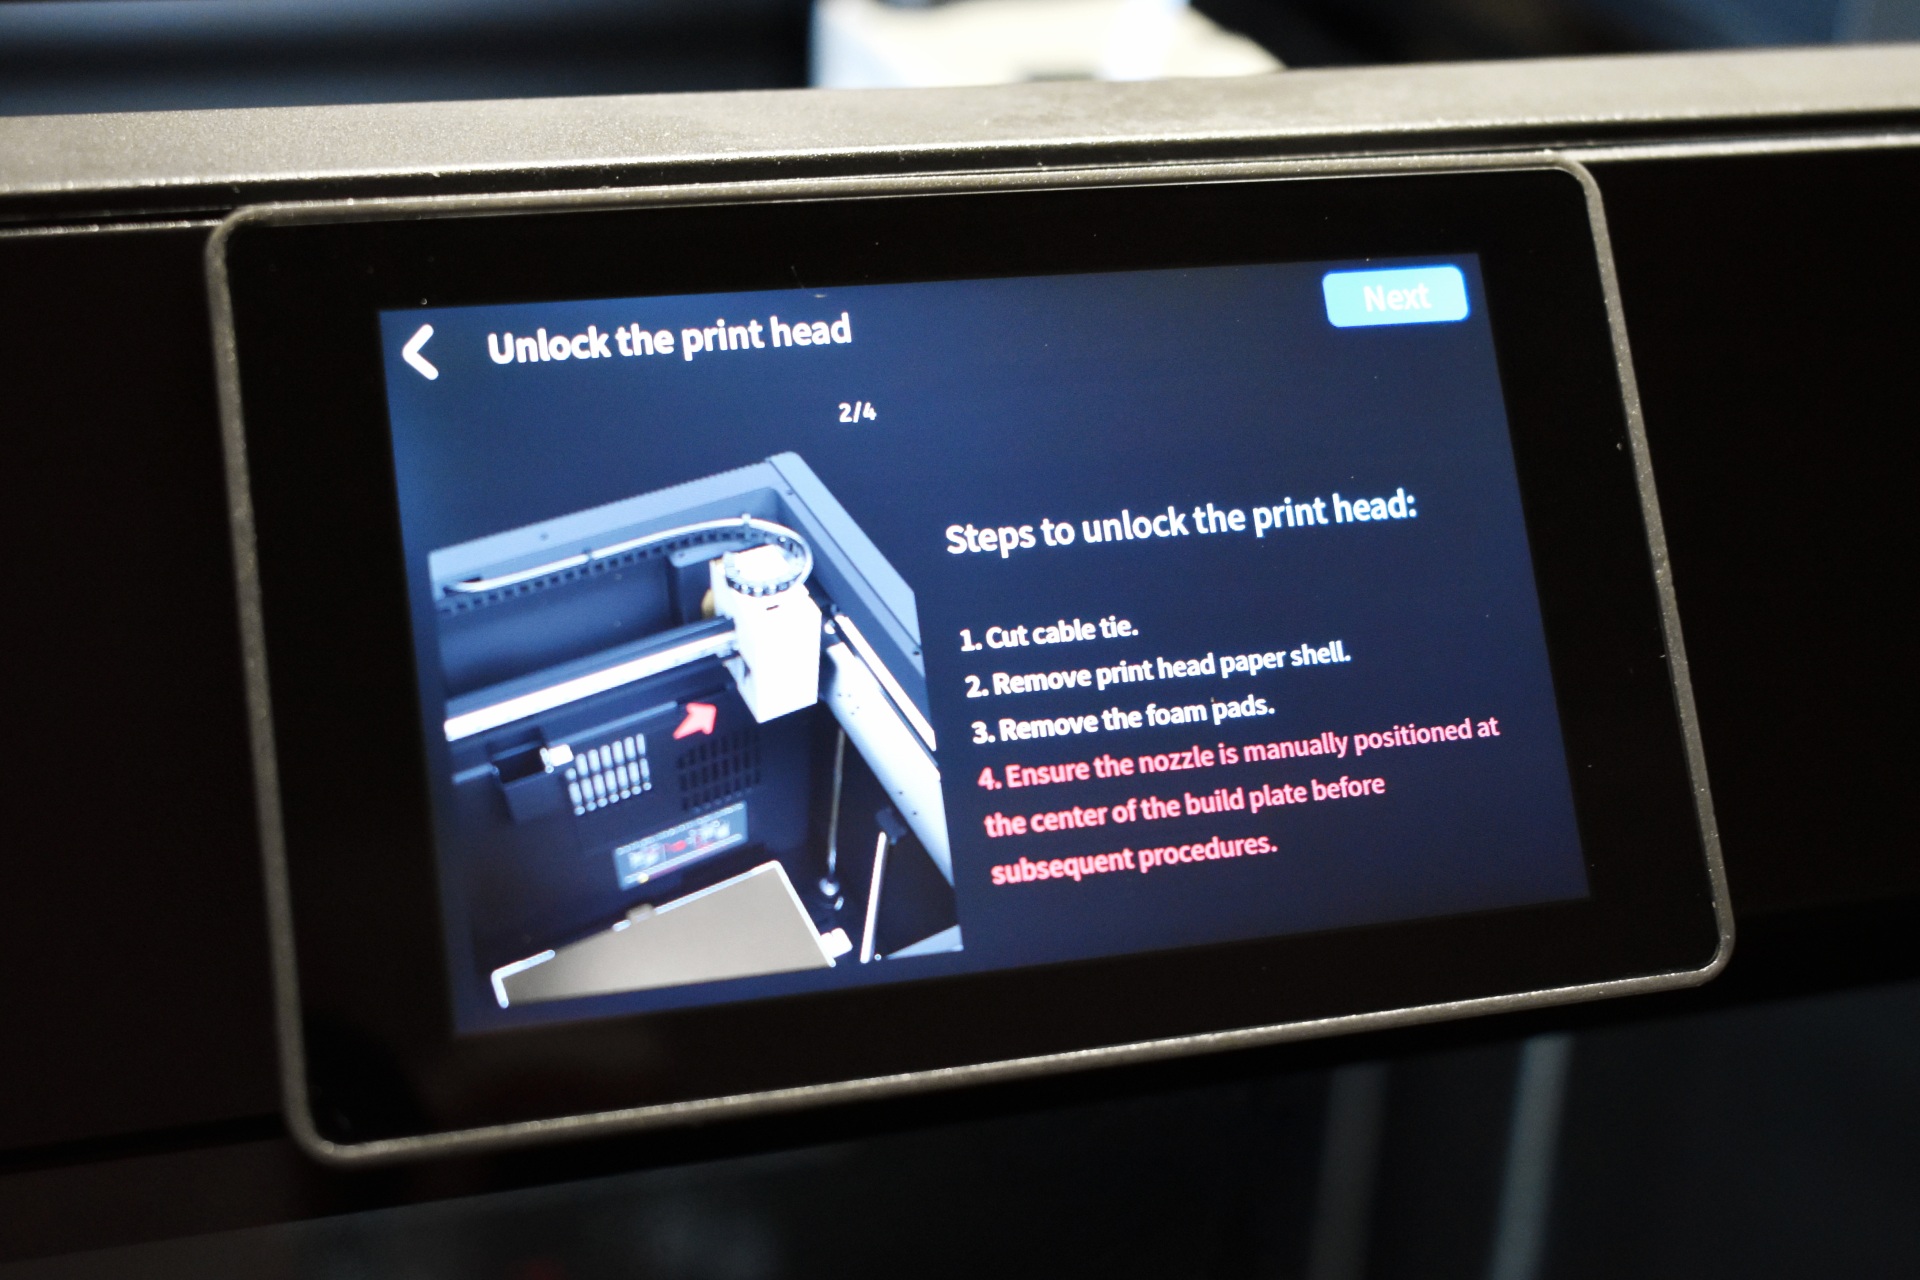
Once you turn on the Plus5 you will need to choose the language, region, bind the printer with the QIDI Maker app (if you want to) and follow instructions on how to remove the QIDI box (if you got the combo model) and unlock the bed and print head.
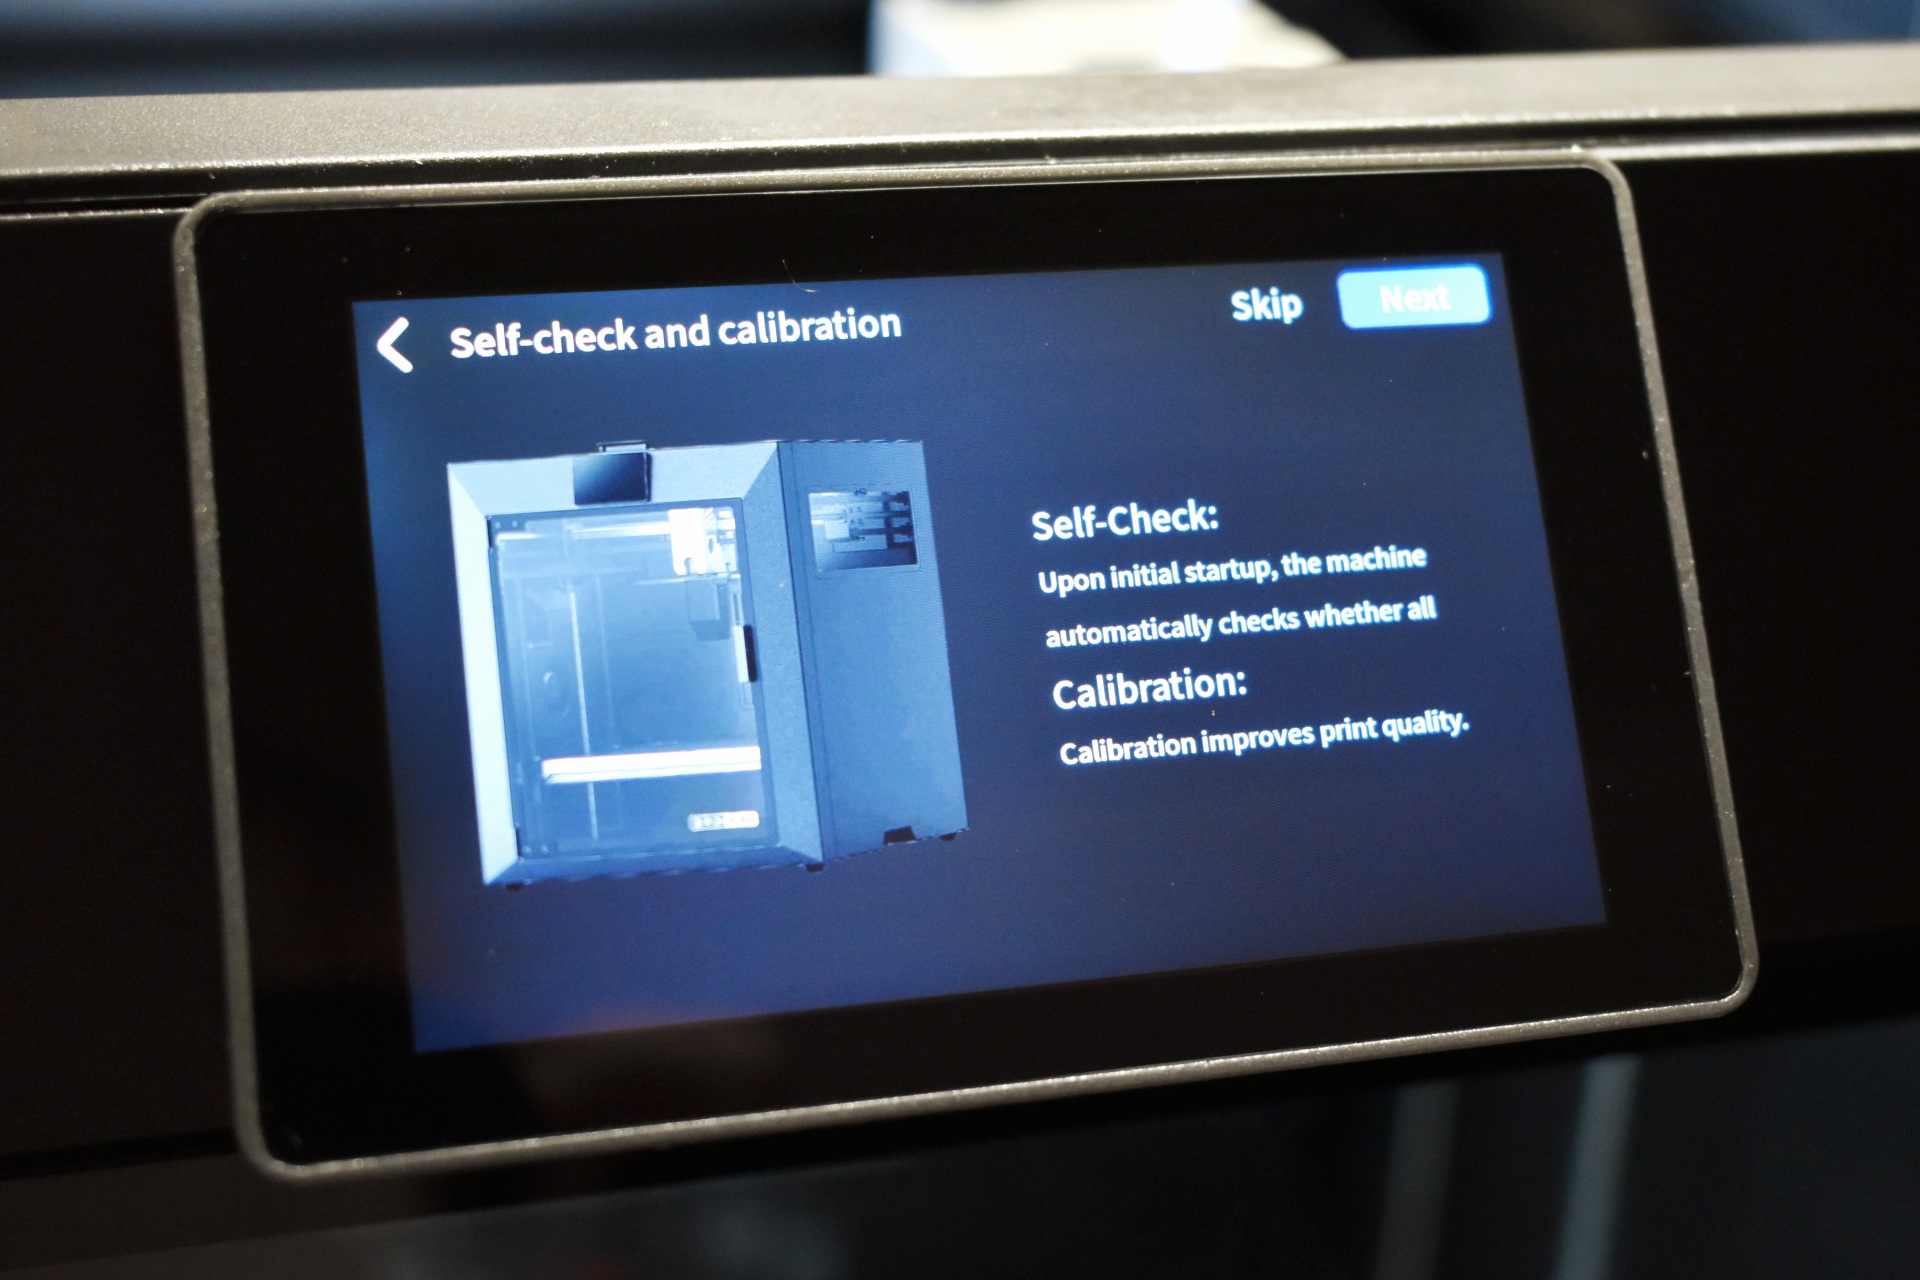
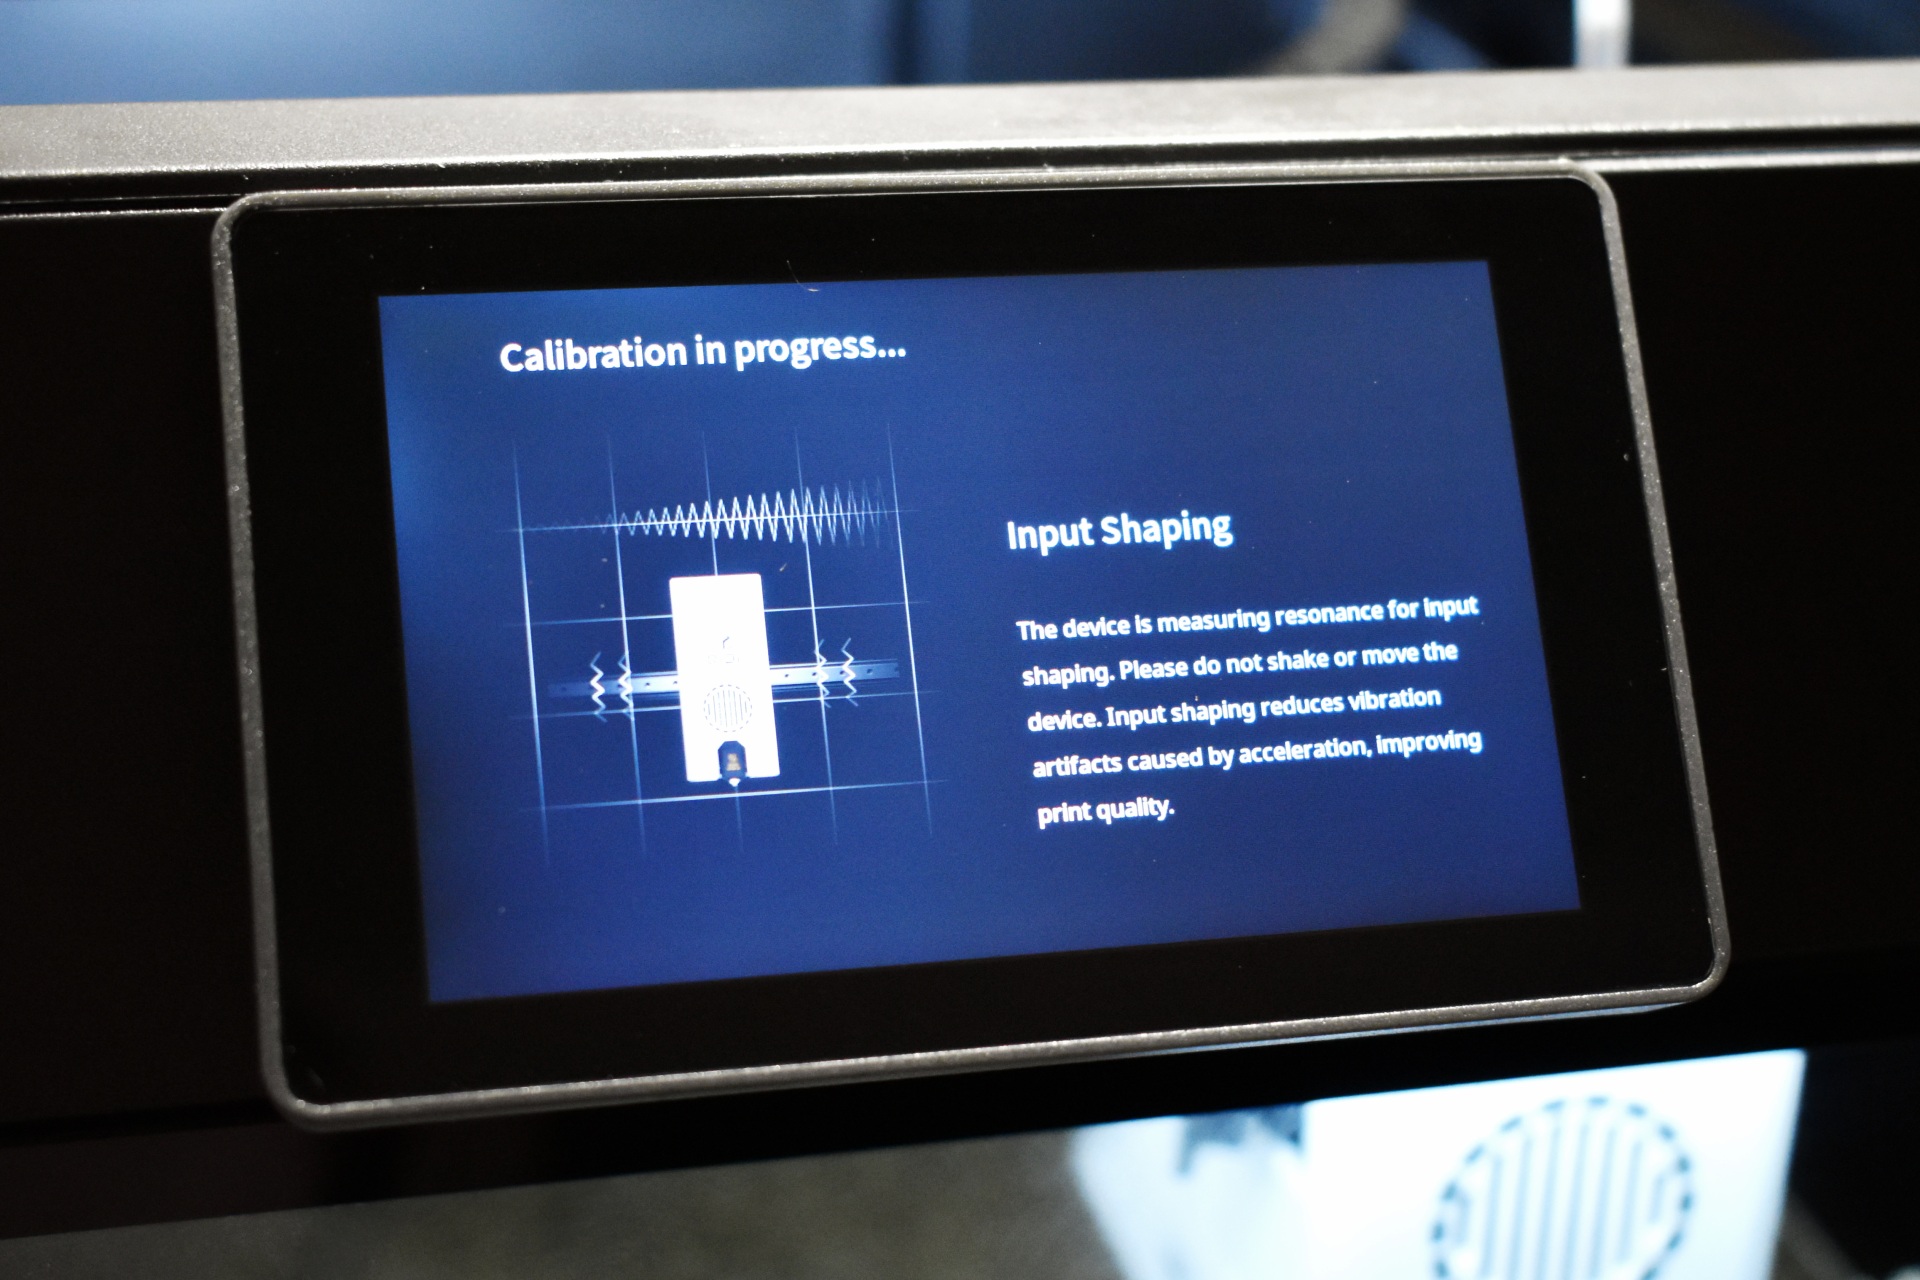
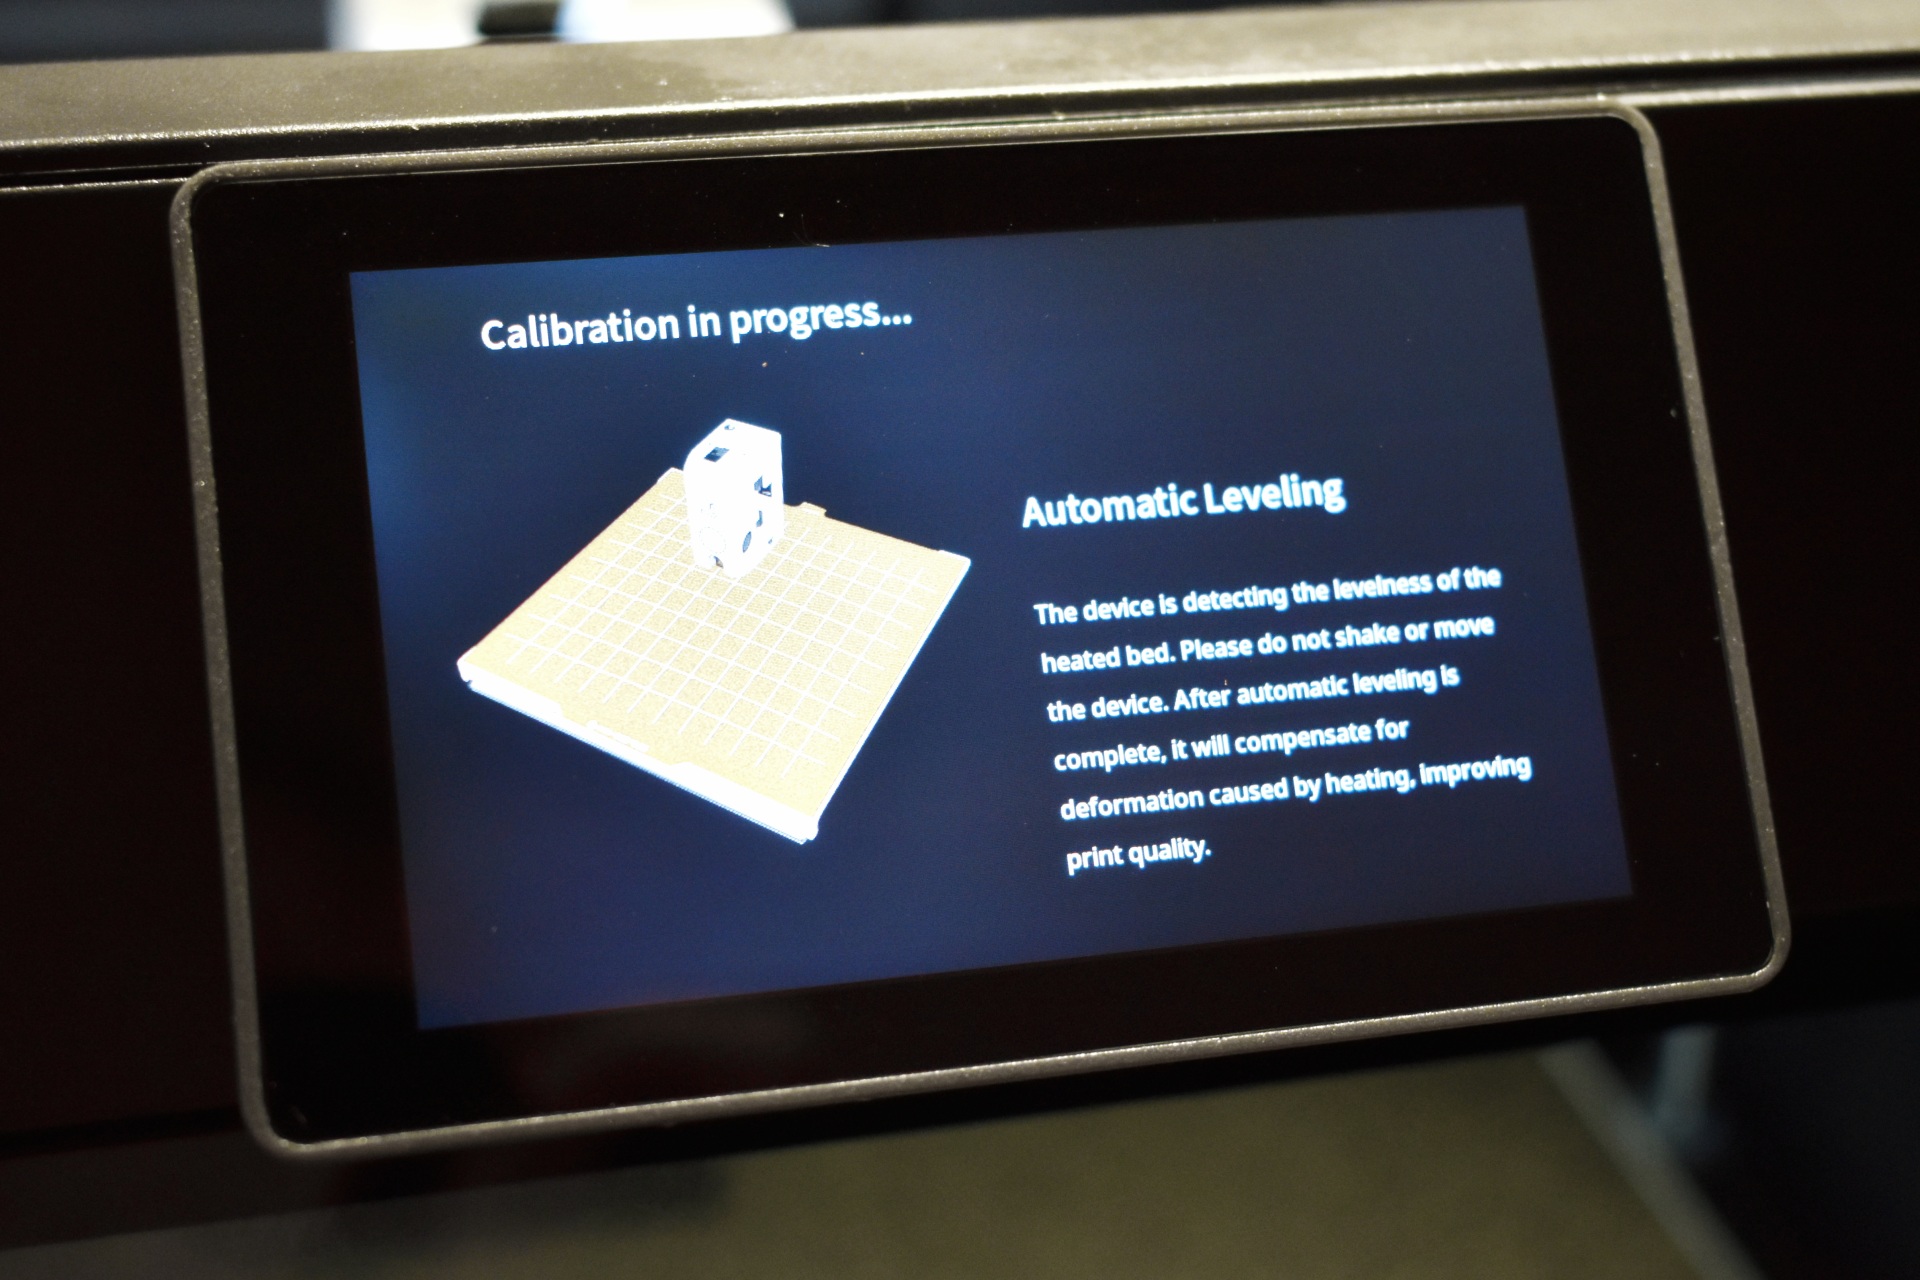
Next stop is to allow the unit to perform a self-check and calibration.
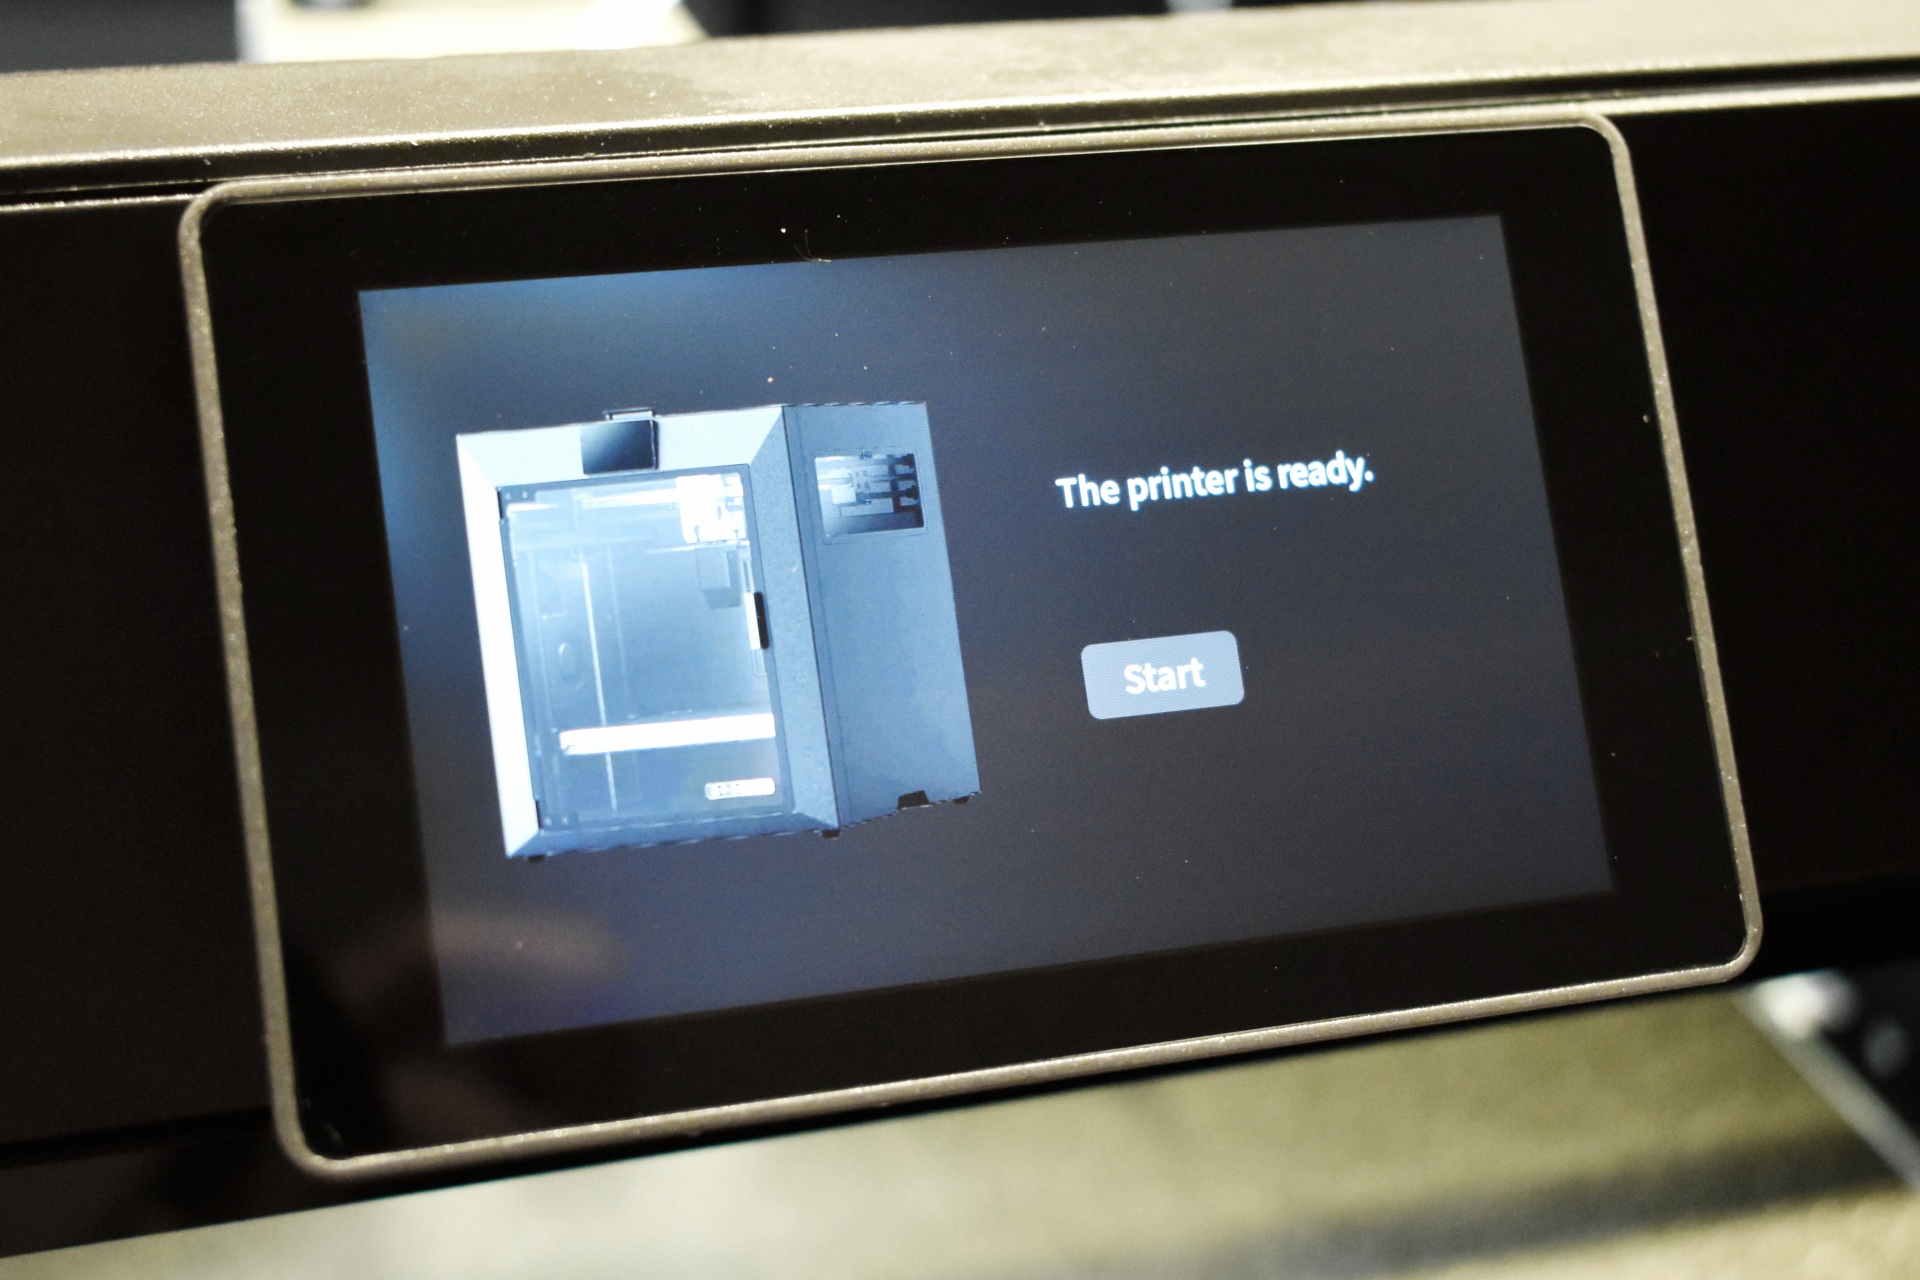
Once the self-check and calibration procedure is complete, you'll see the above screen (may take a few more seconds for the procedure to complete even if this screen pops up).
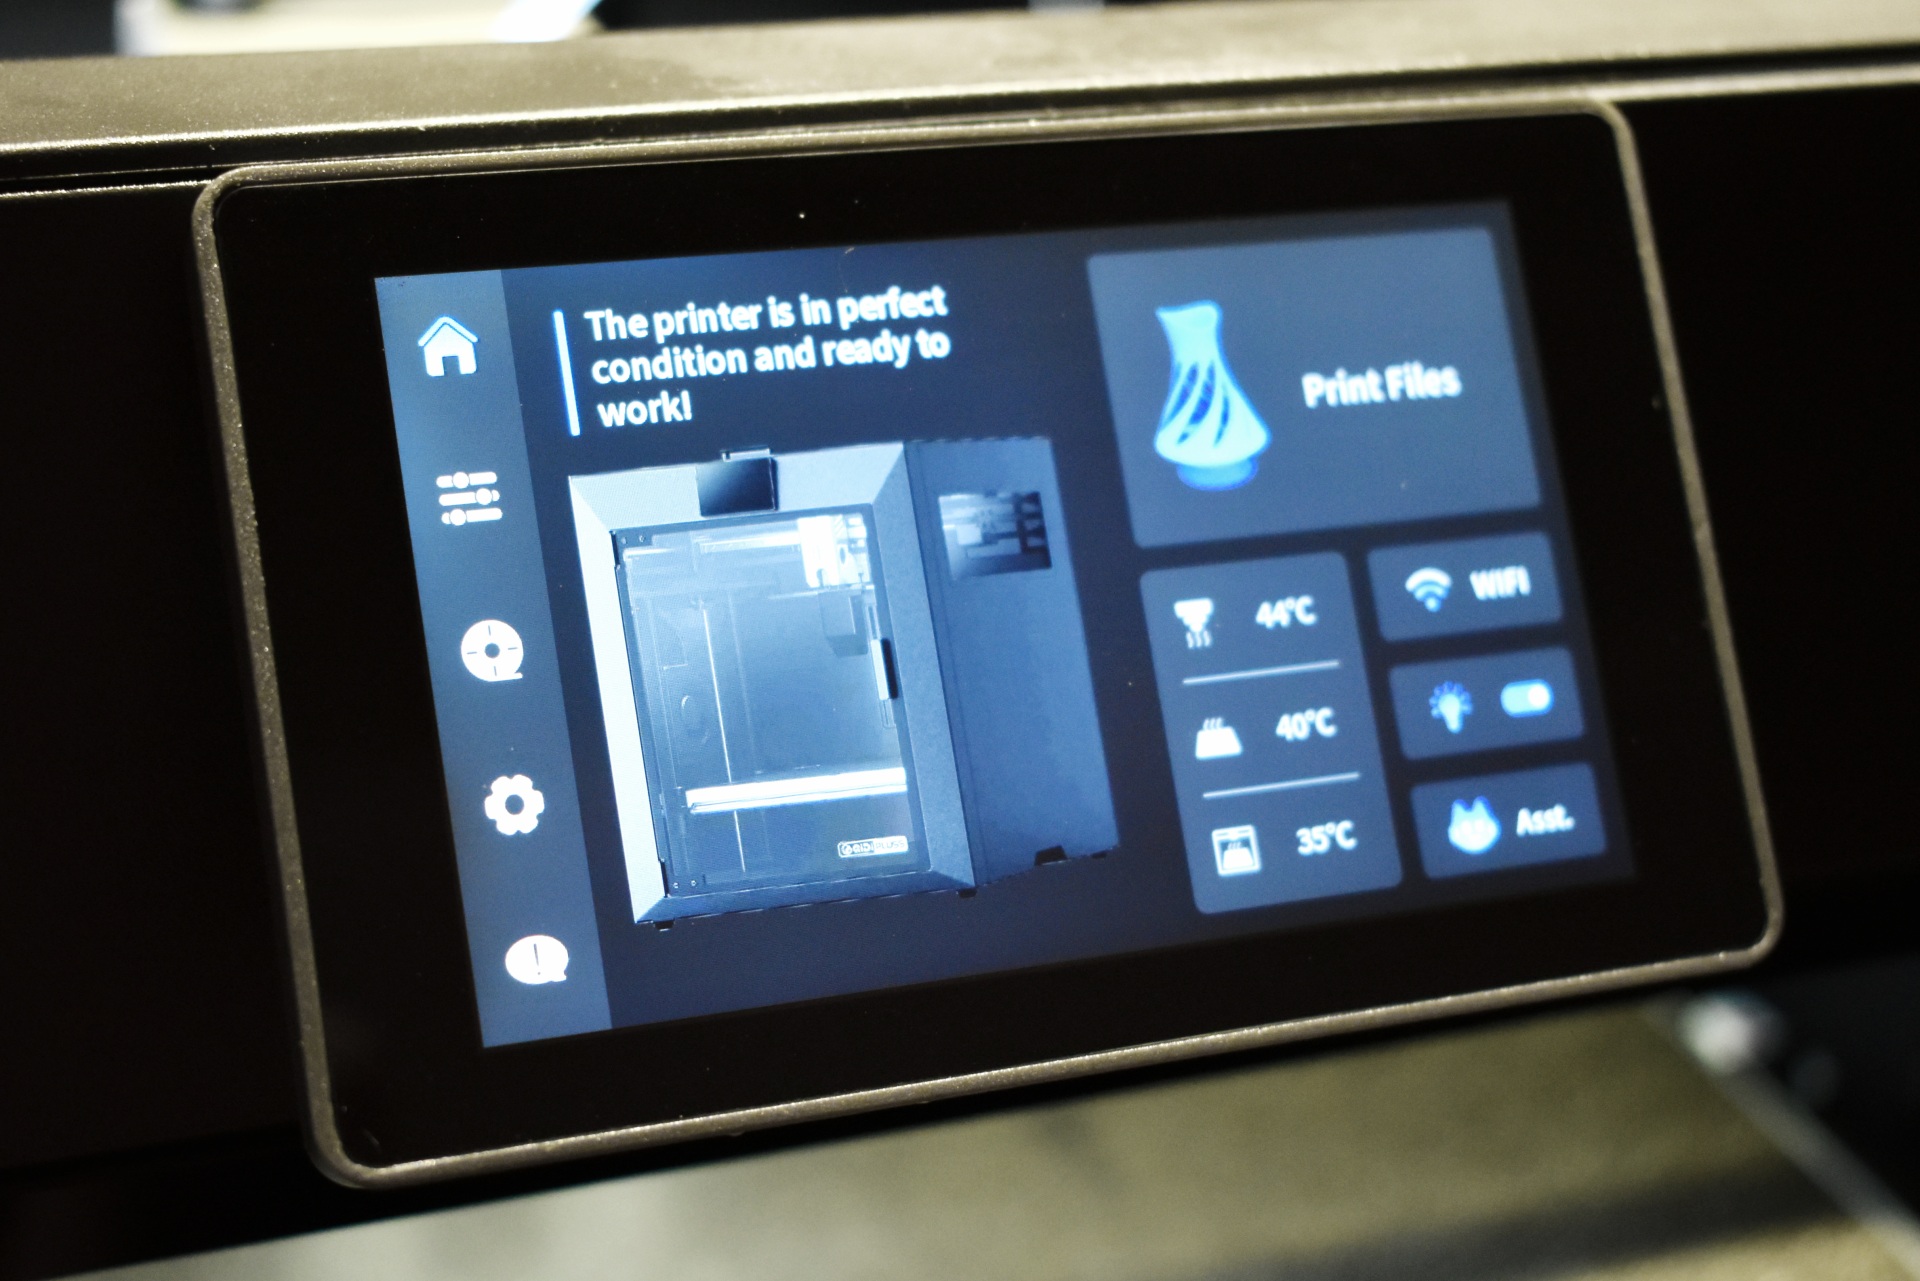
The initial tab as always shows you the current state of the printer including temperatures, WiFi, LED light and also has a shortcut from where you can start printing 3D models.
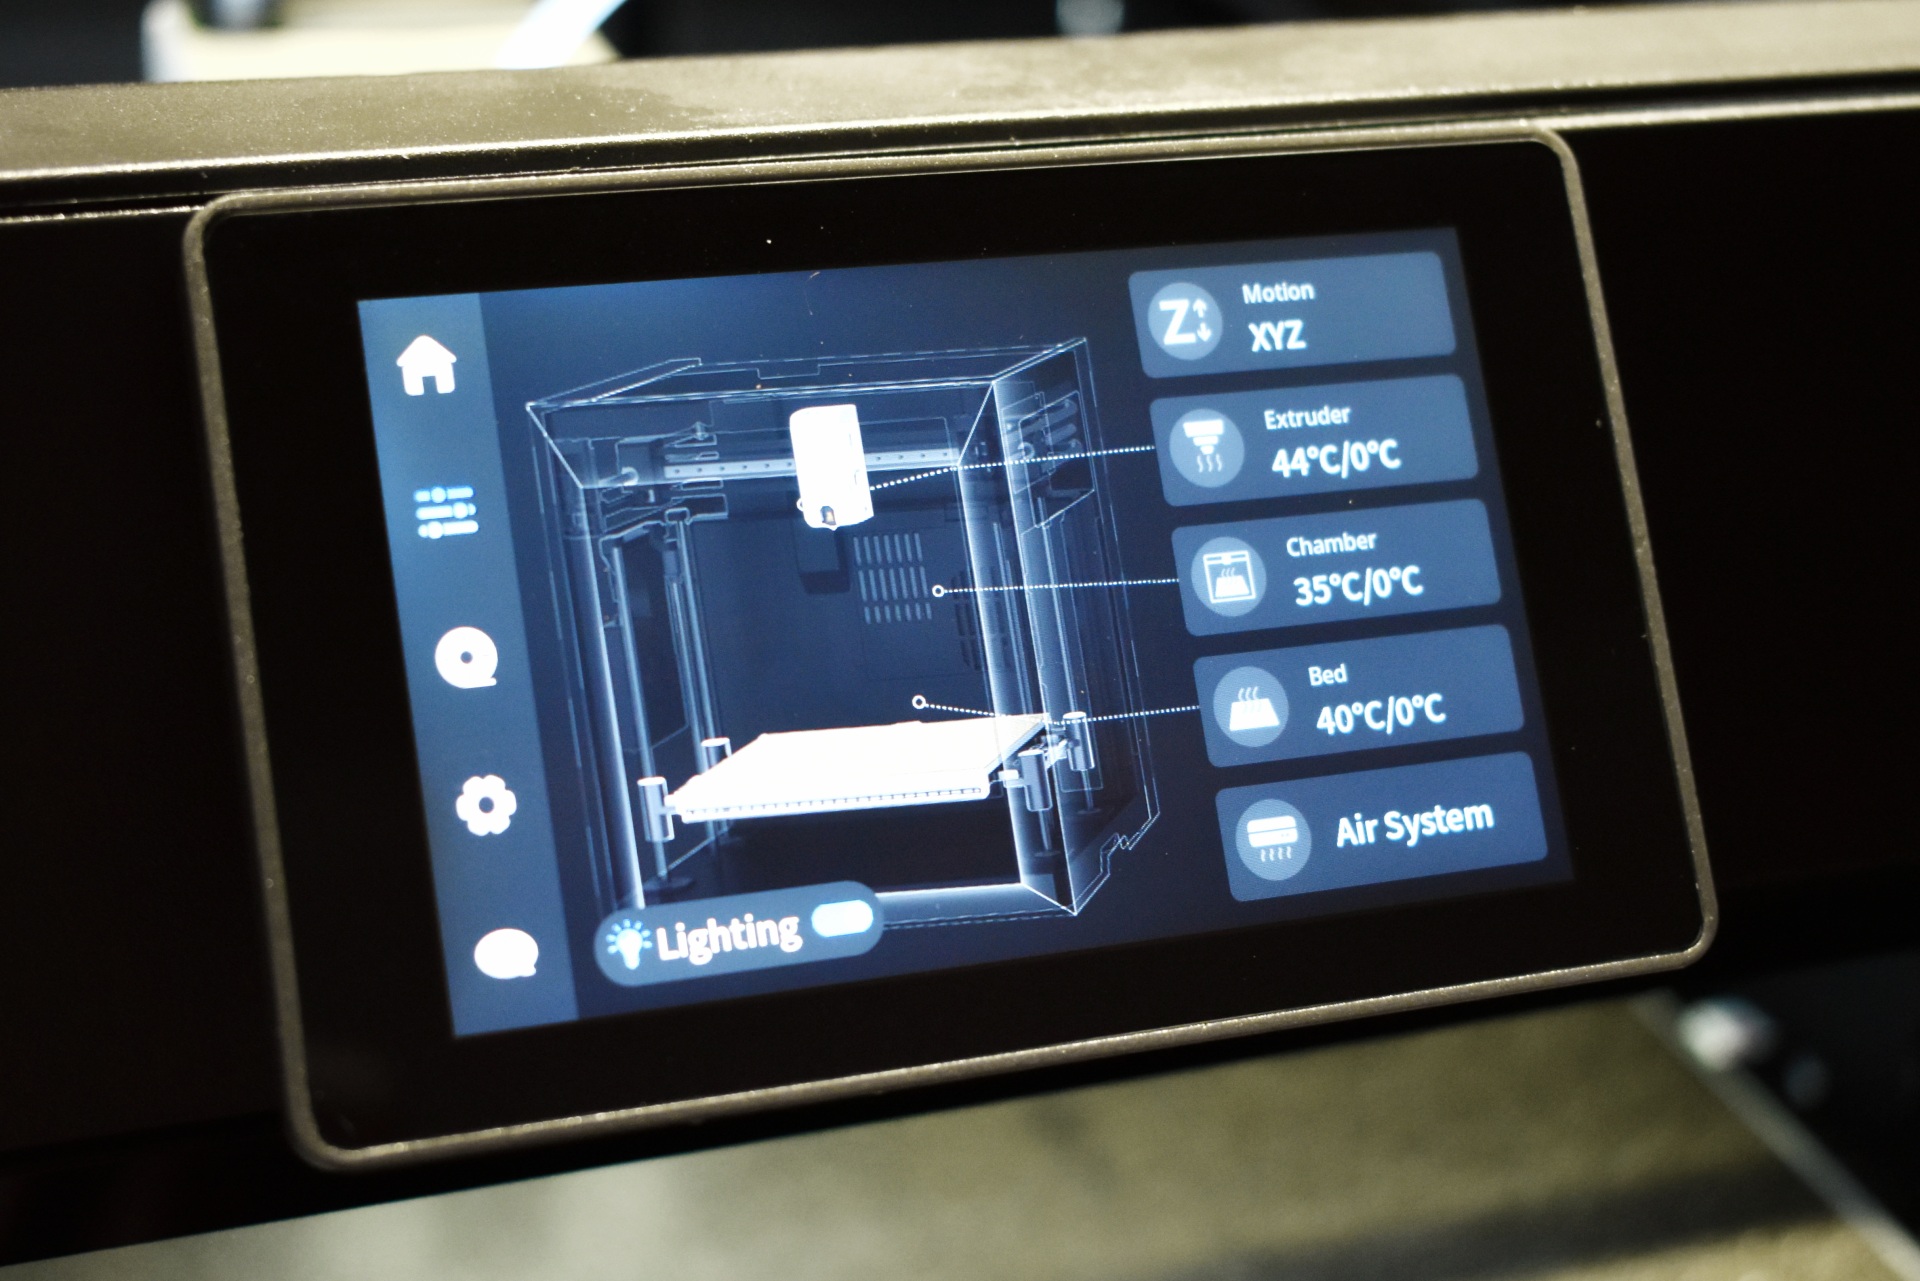
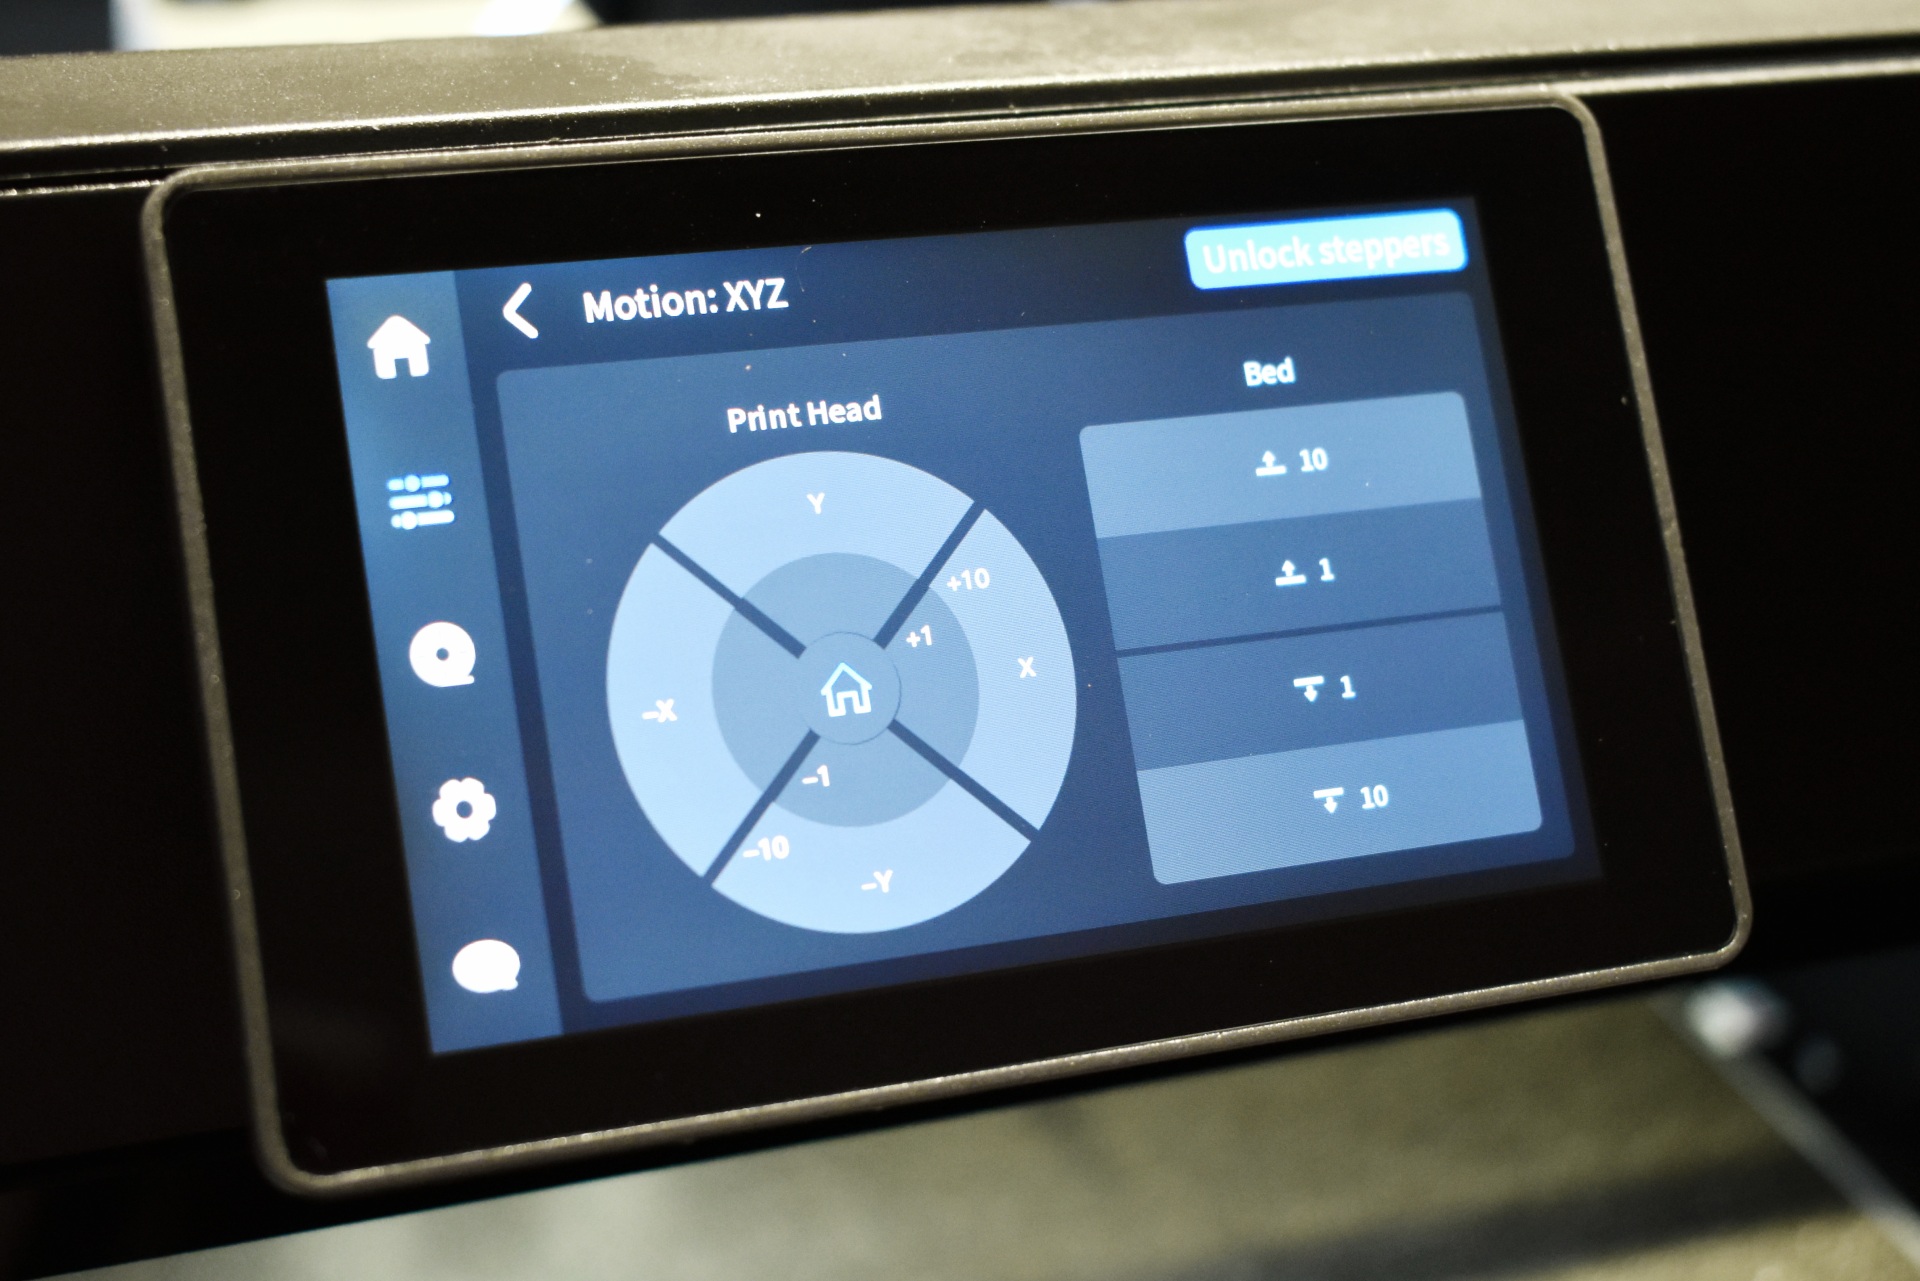
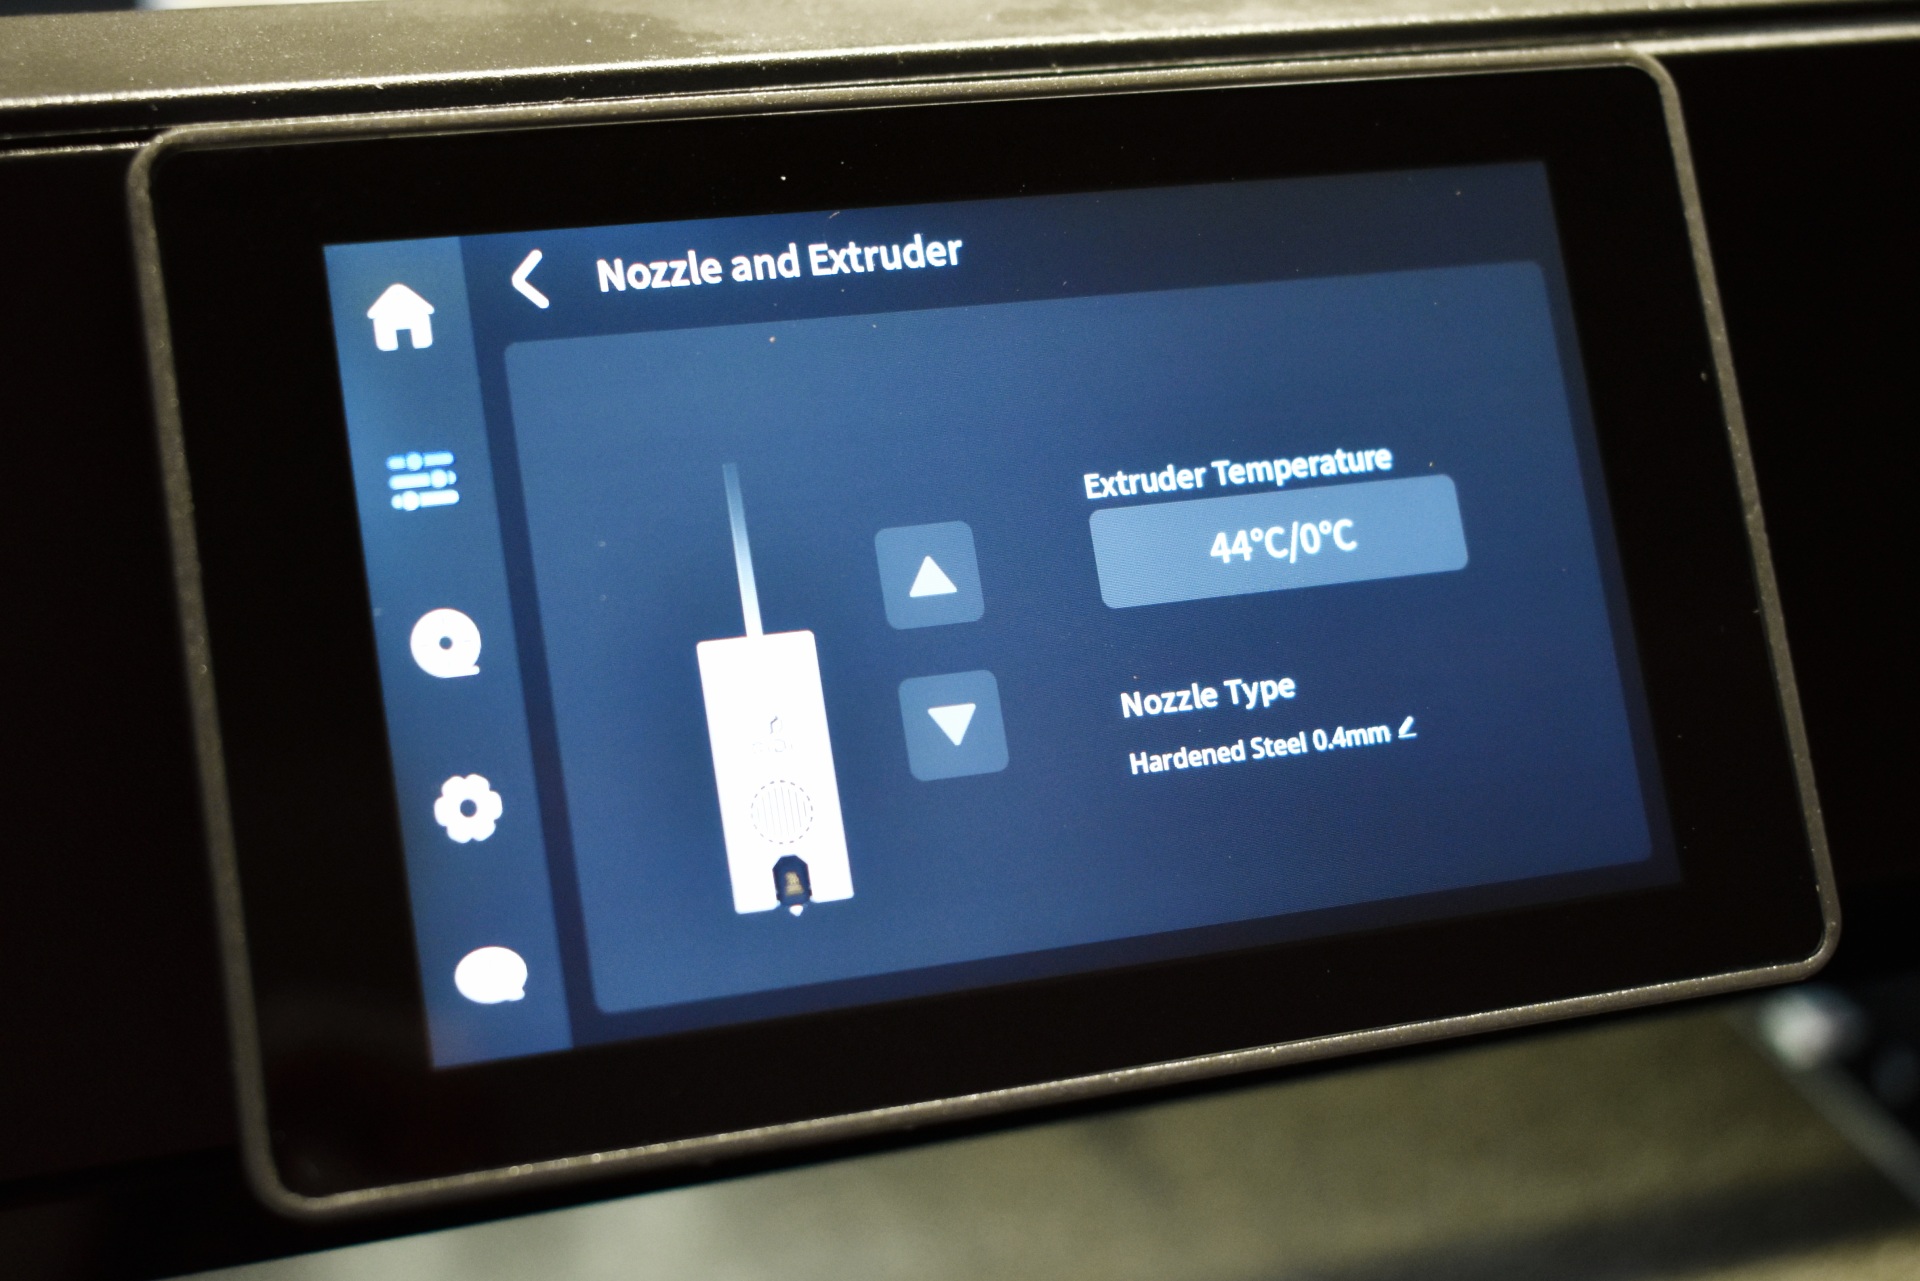
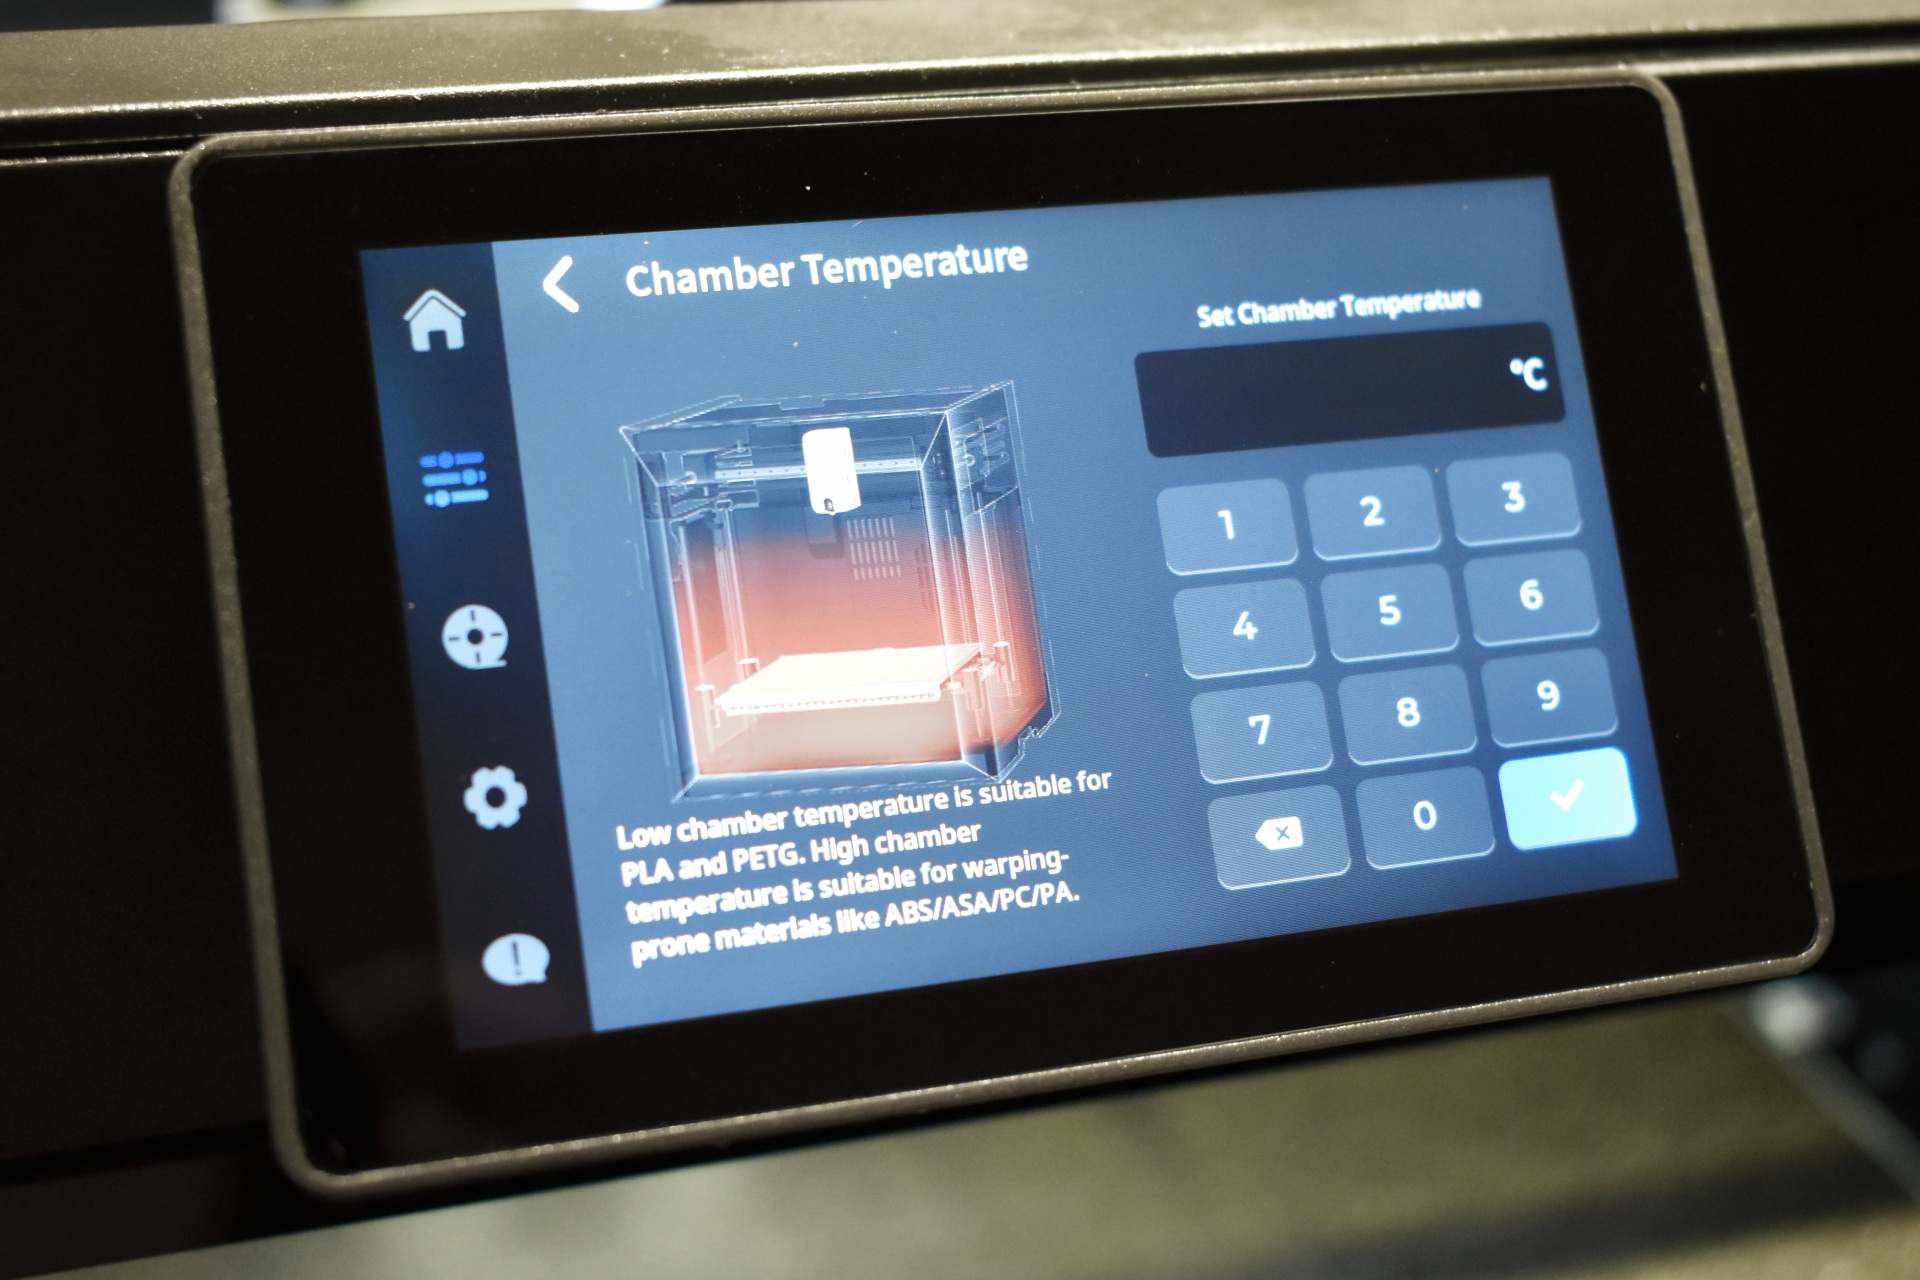
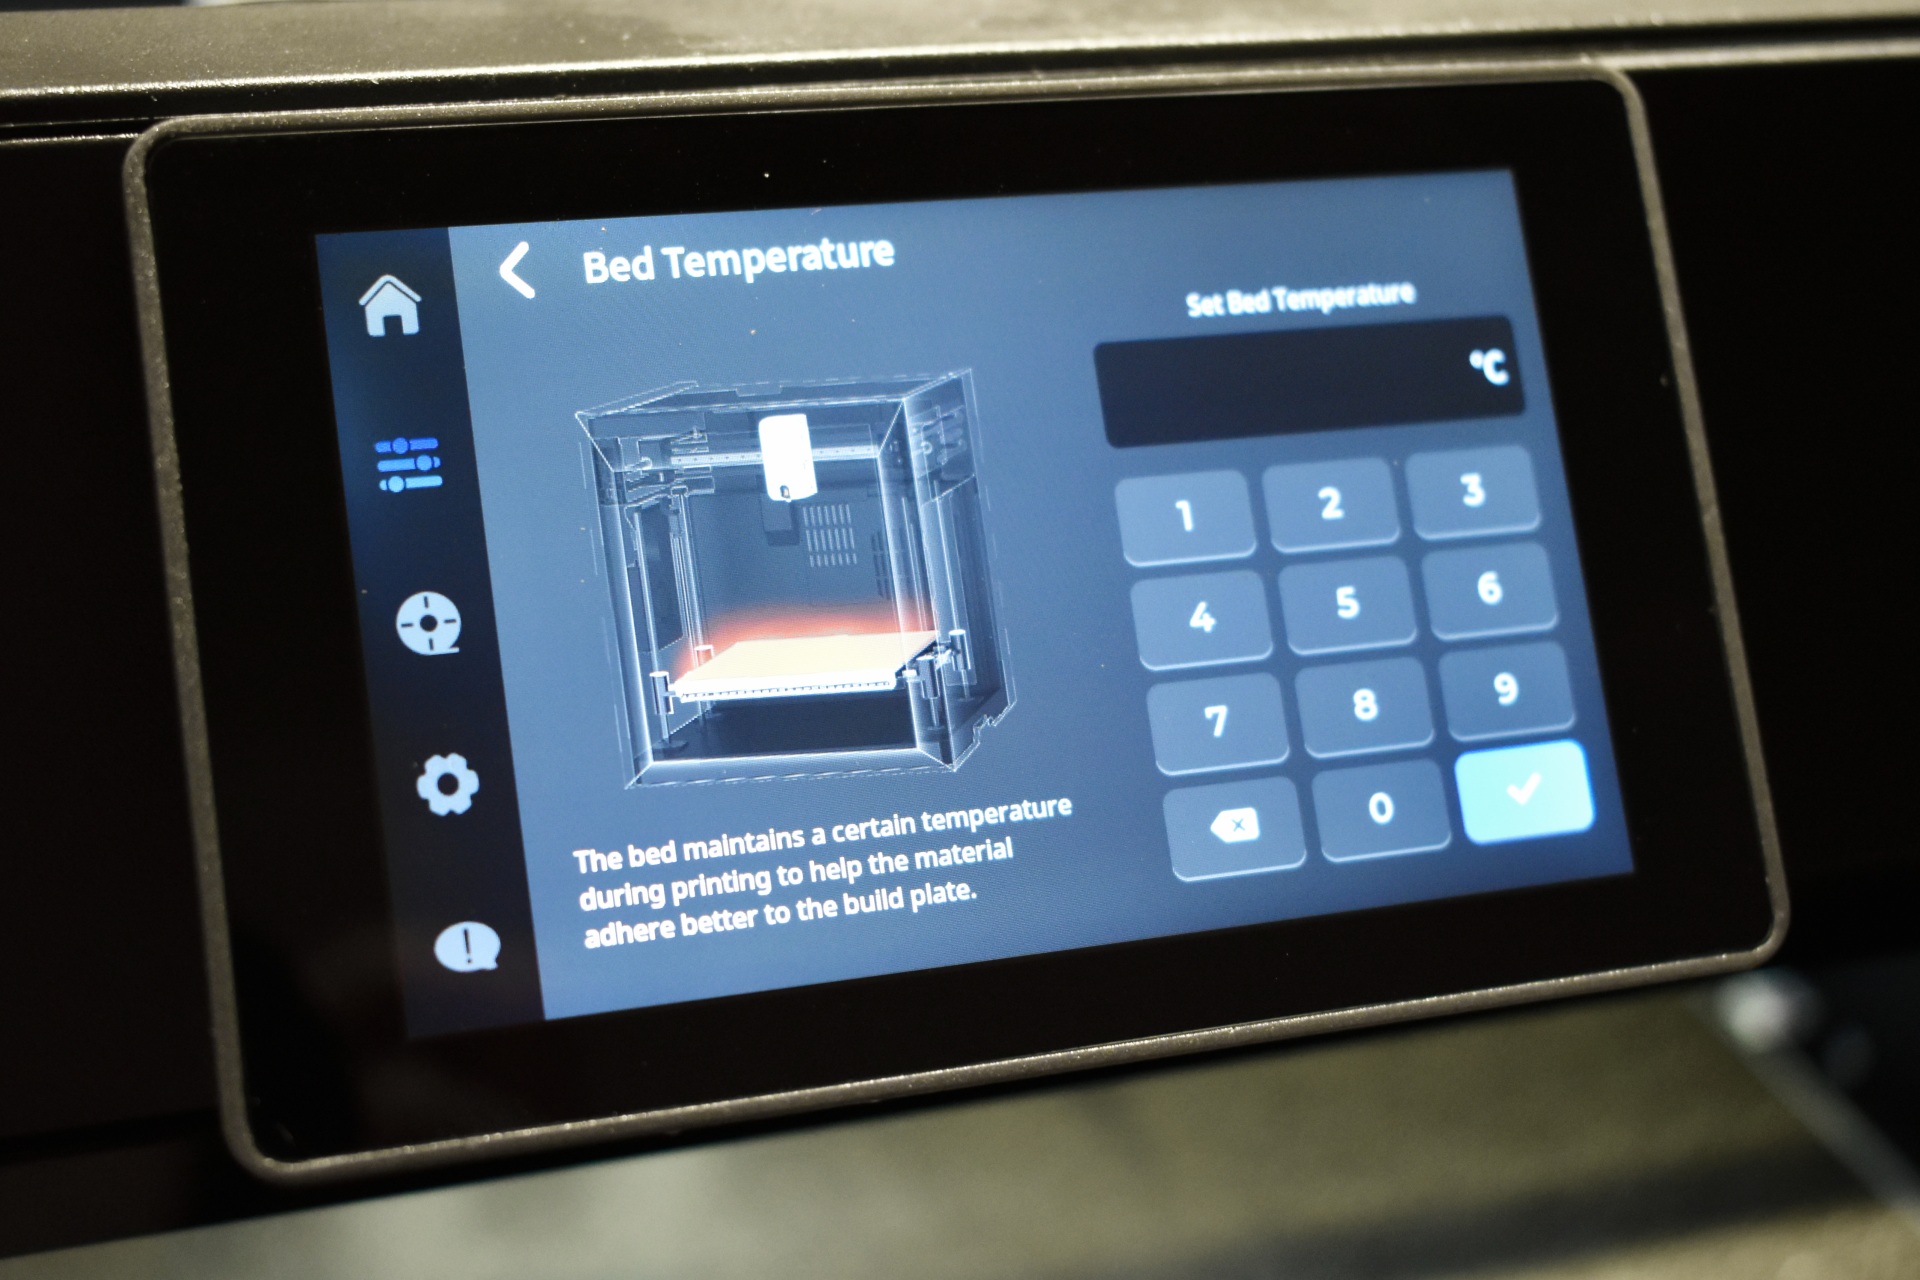
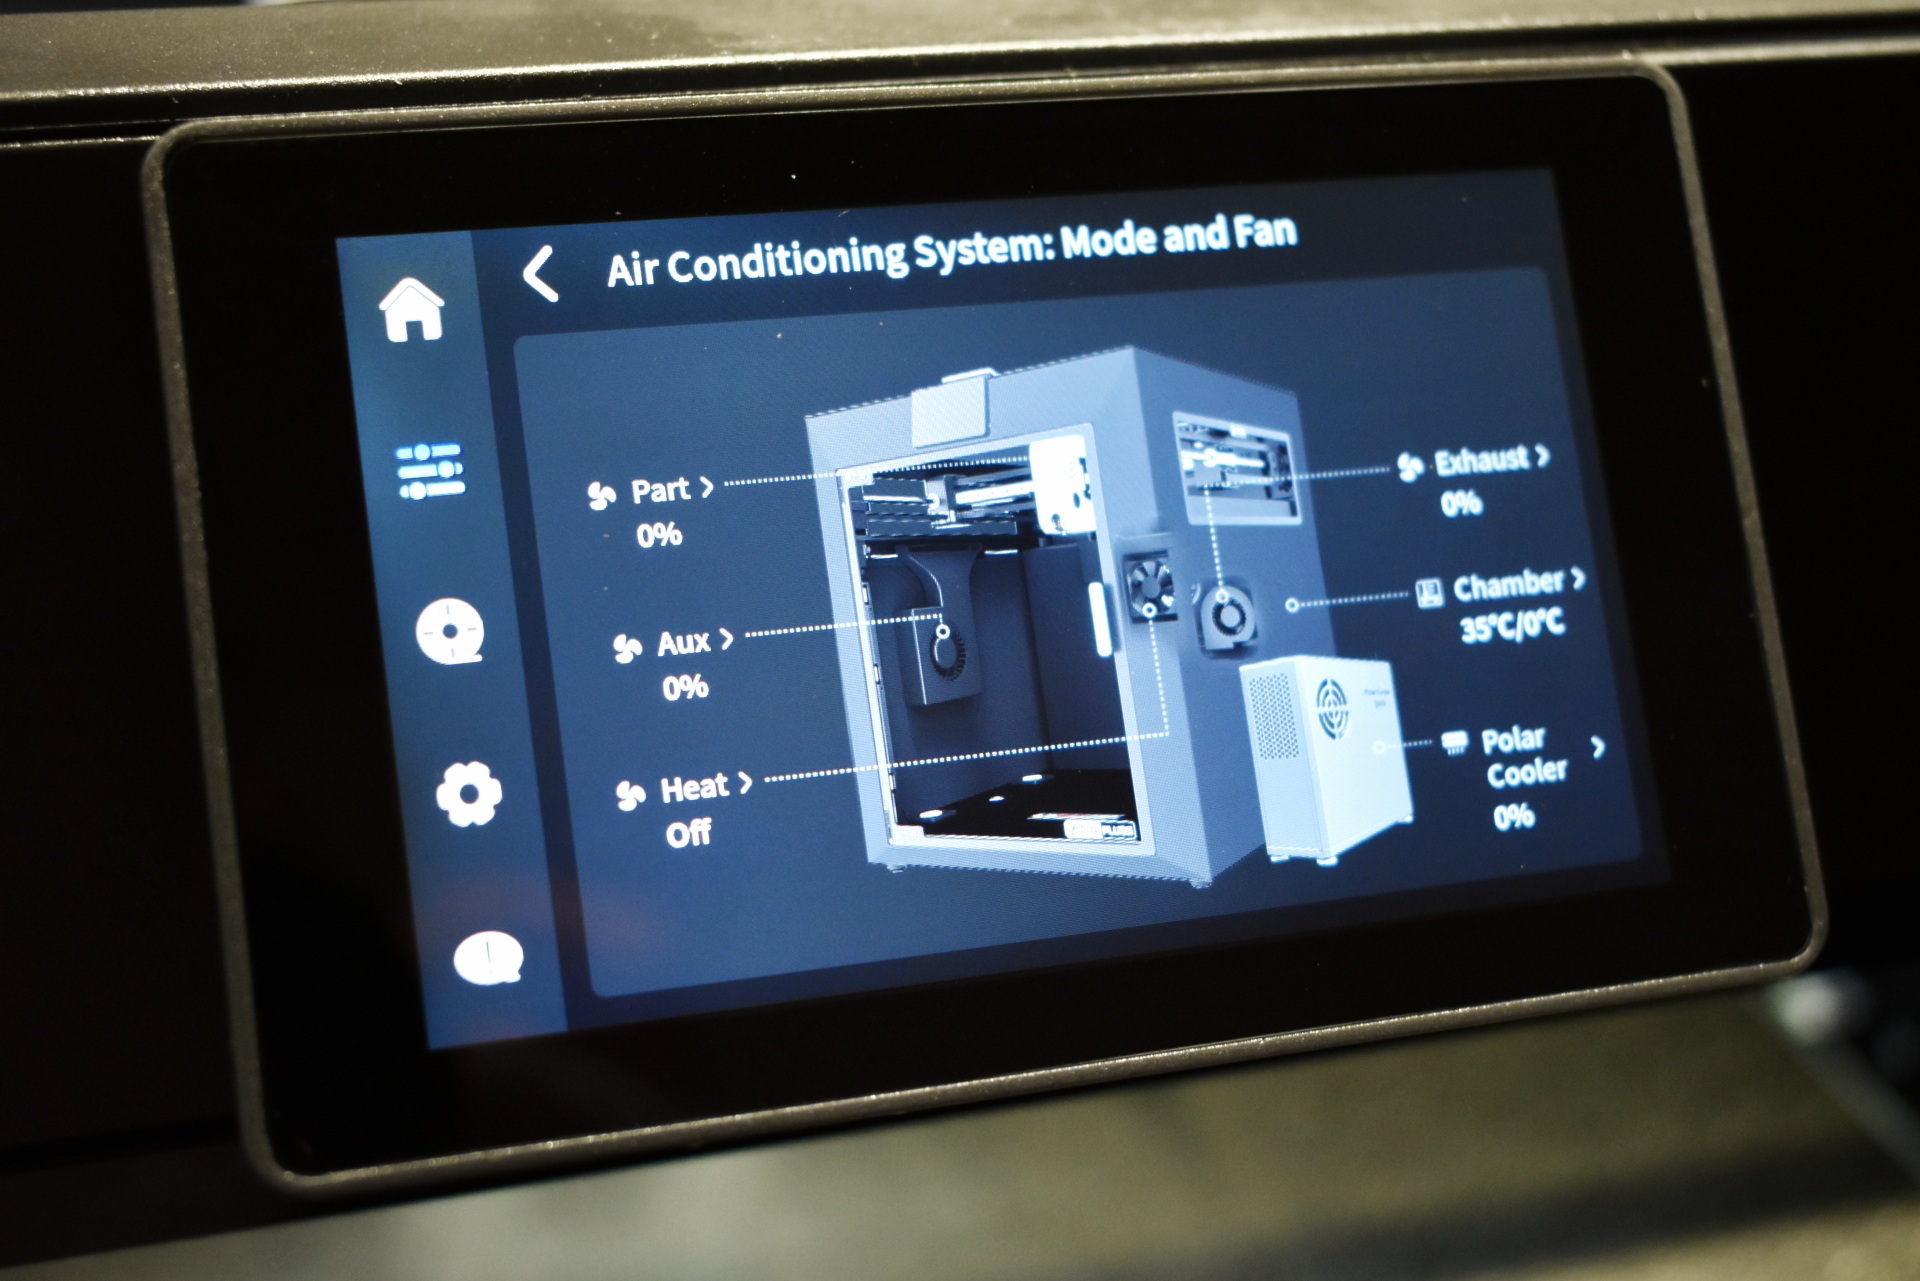
From the 2nd tab you can move the extruder and the printing bed, adjust temperatures for the extruder, chamber and bed, turn the LED light on/off and adjust the cooling system.
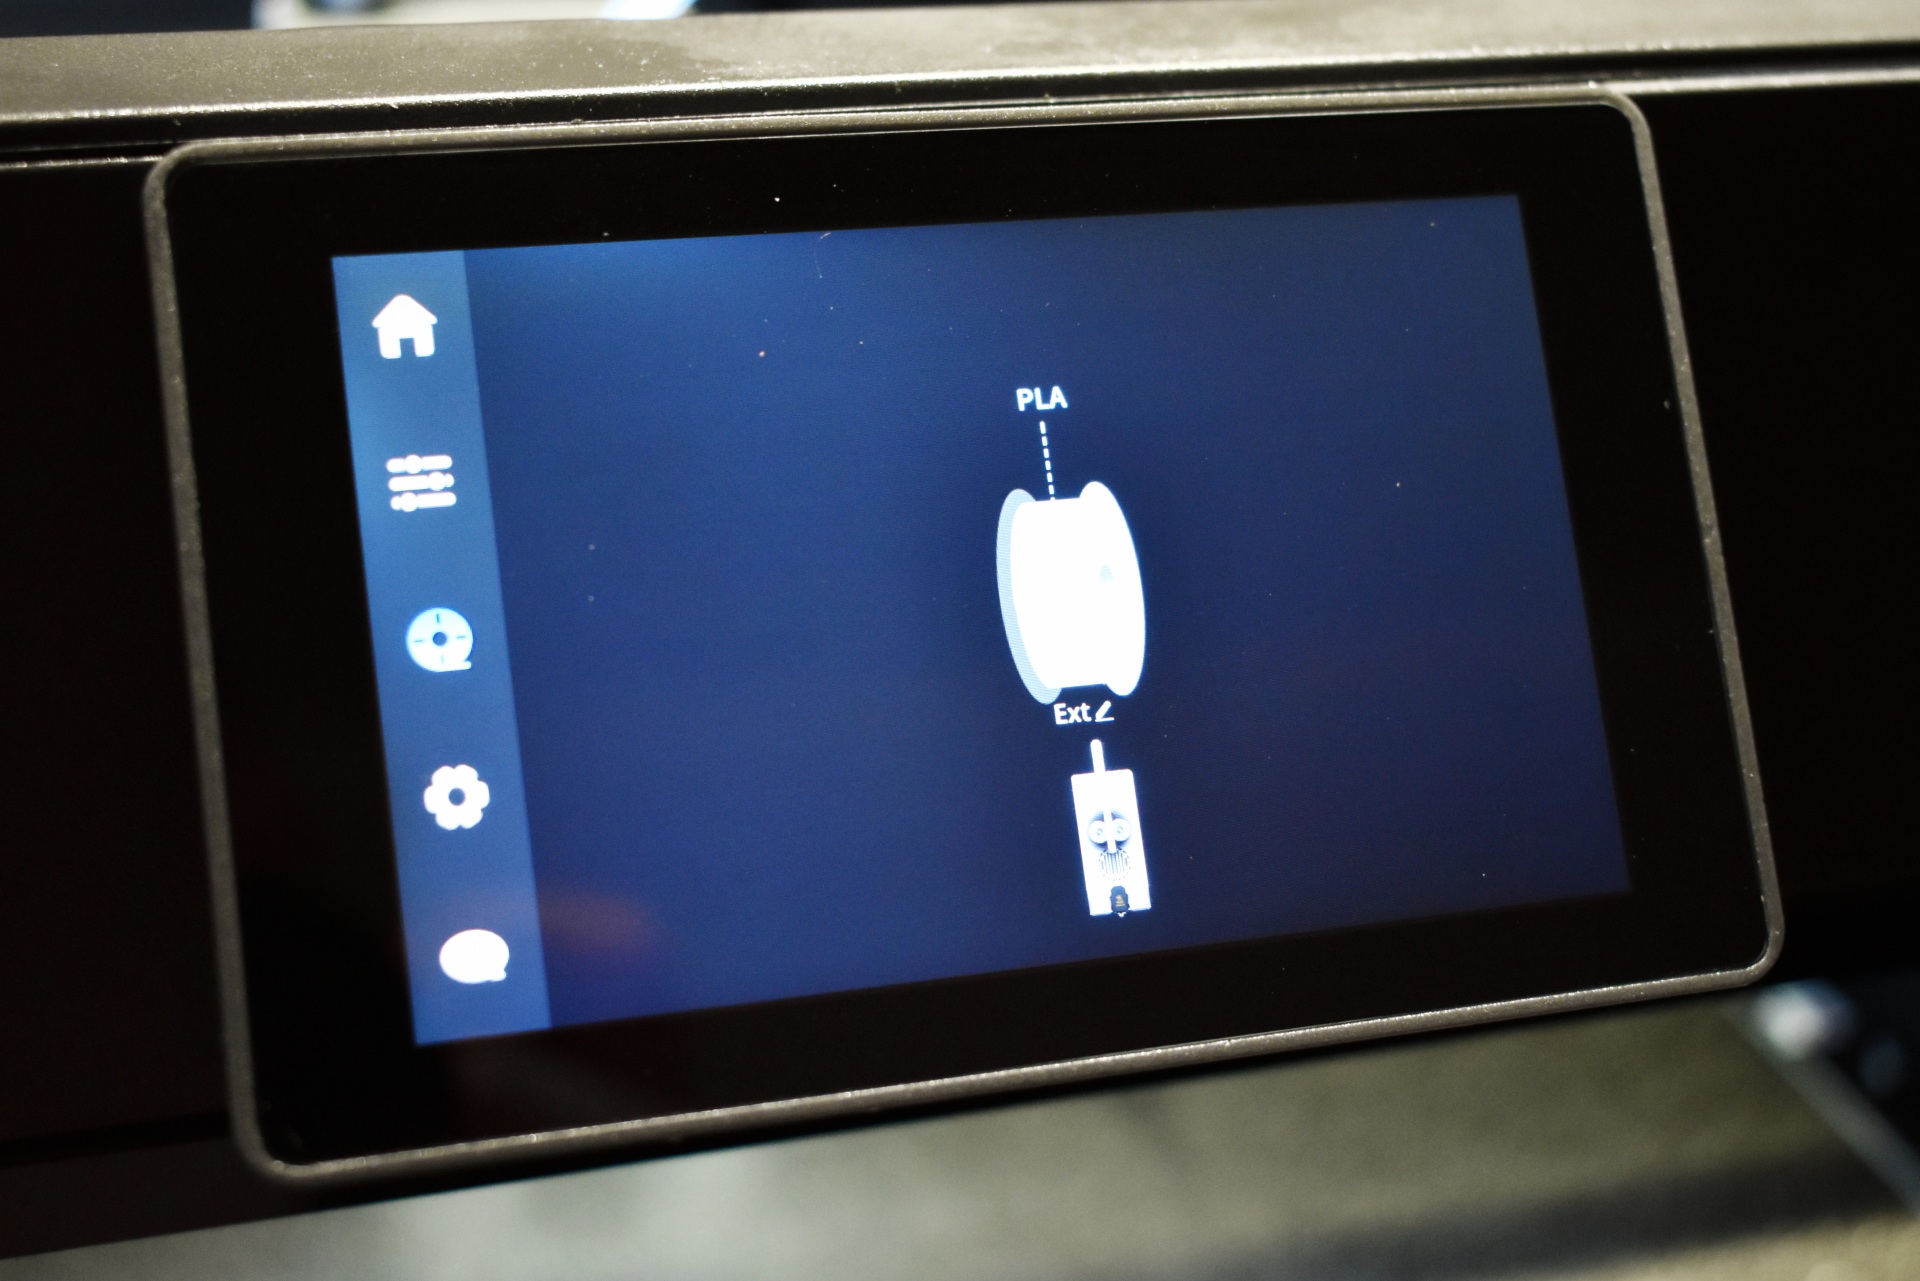
Inside the filament tab you can see the type of filament mounted.
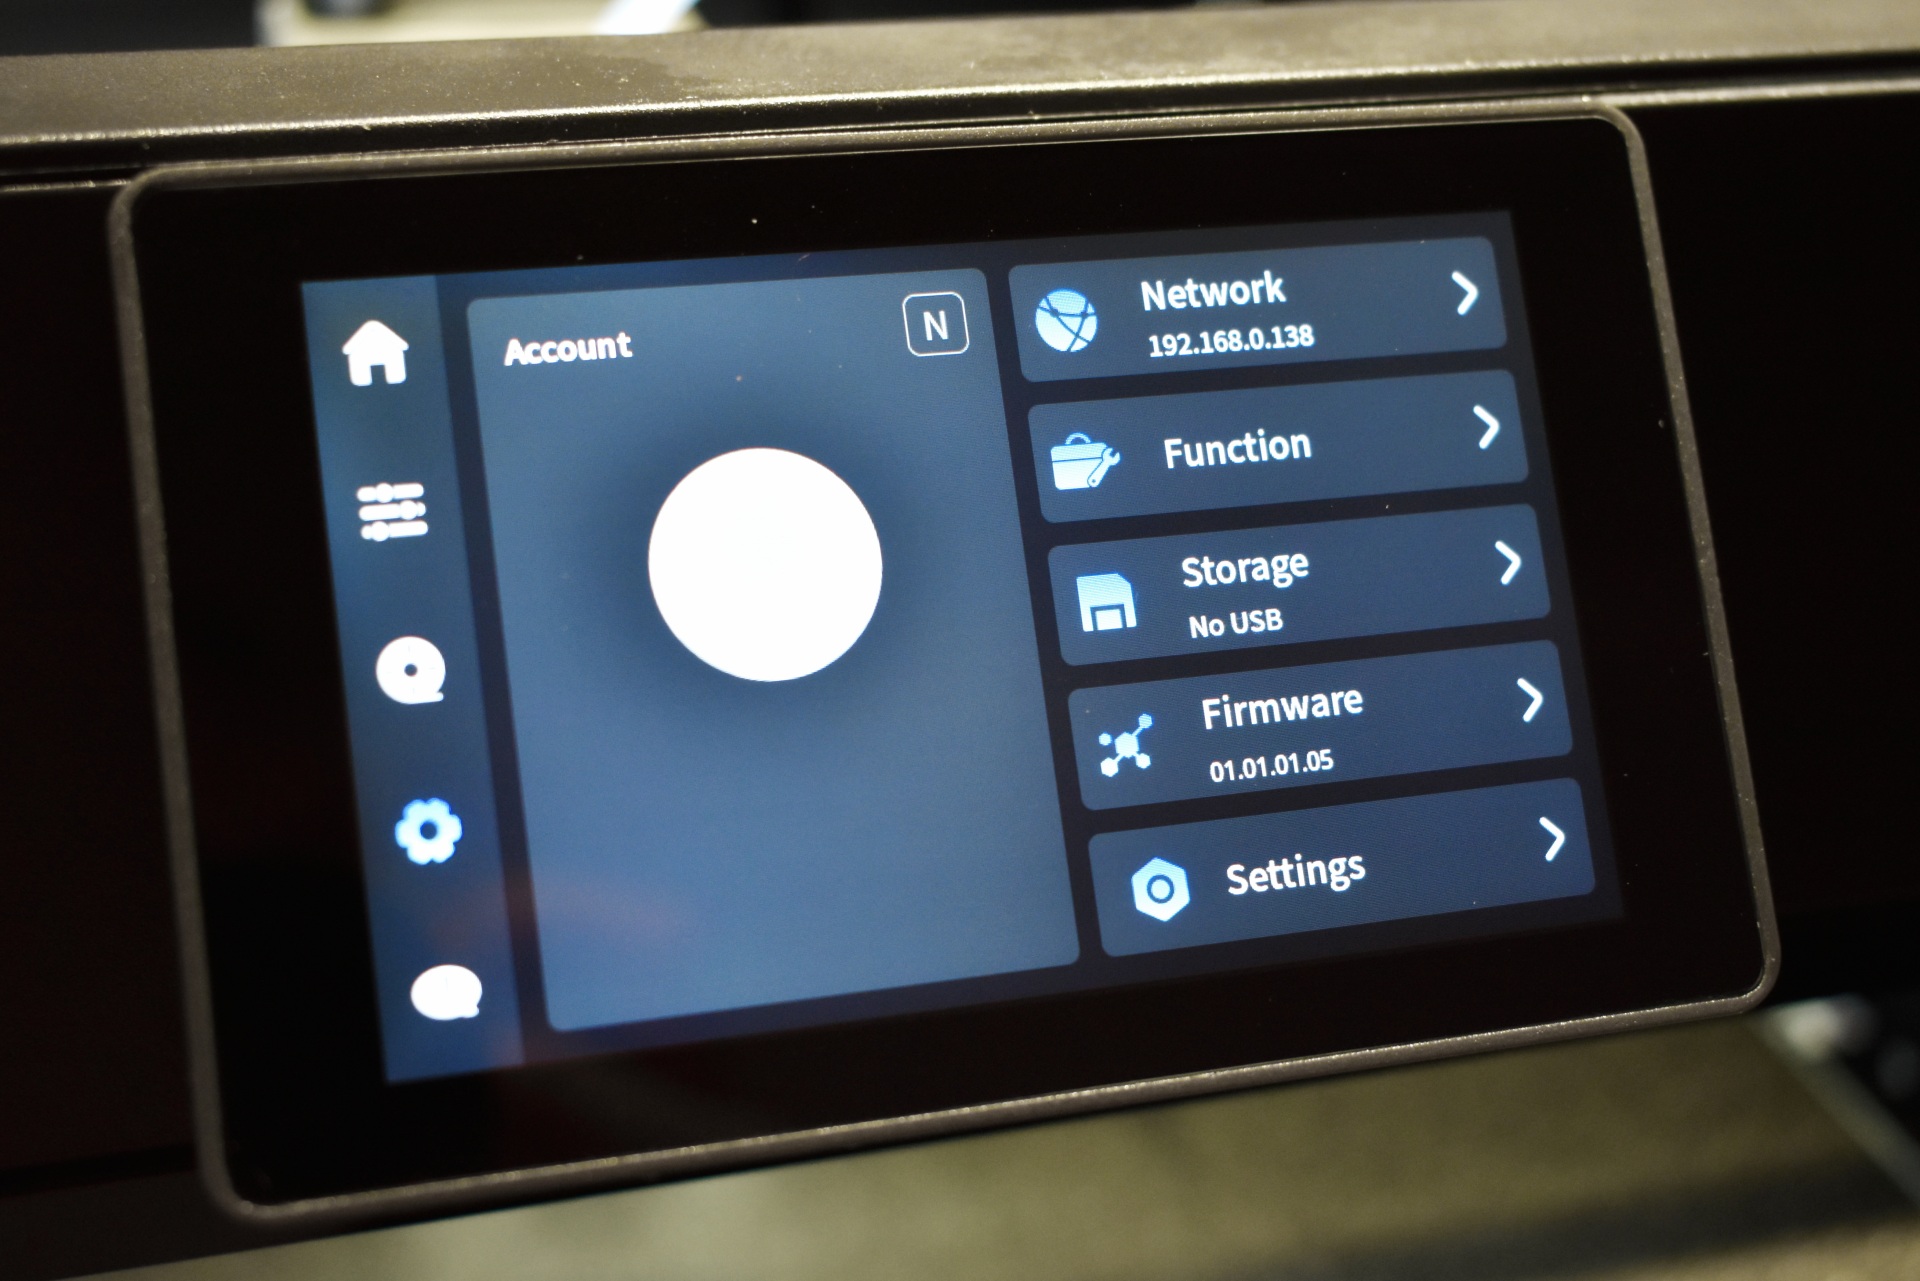
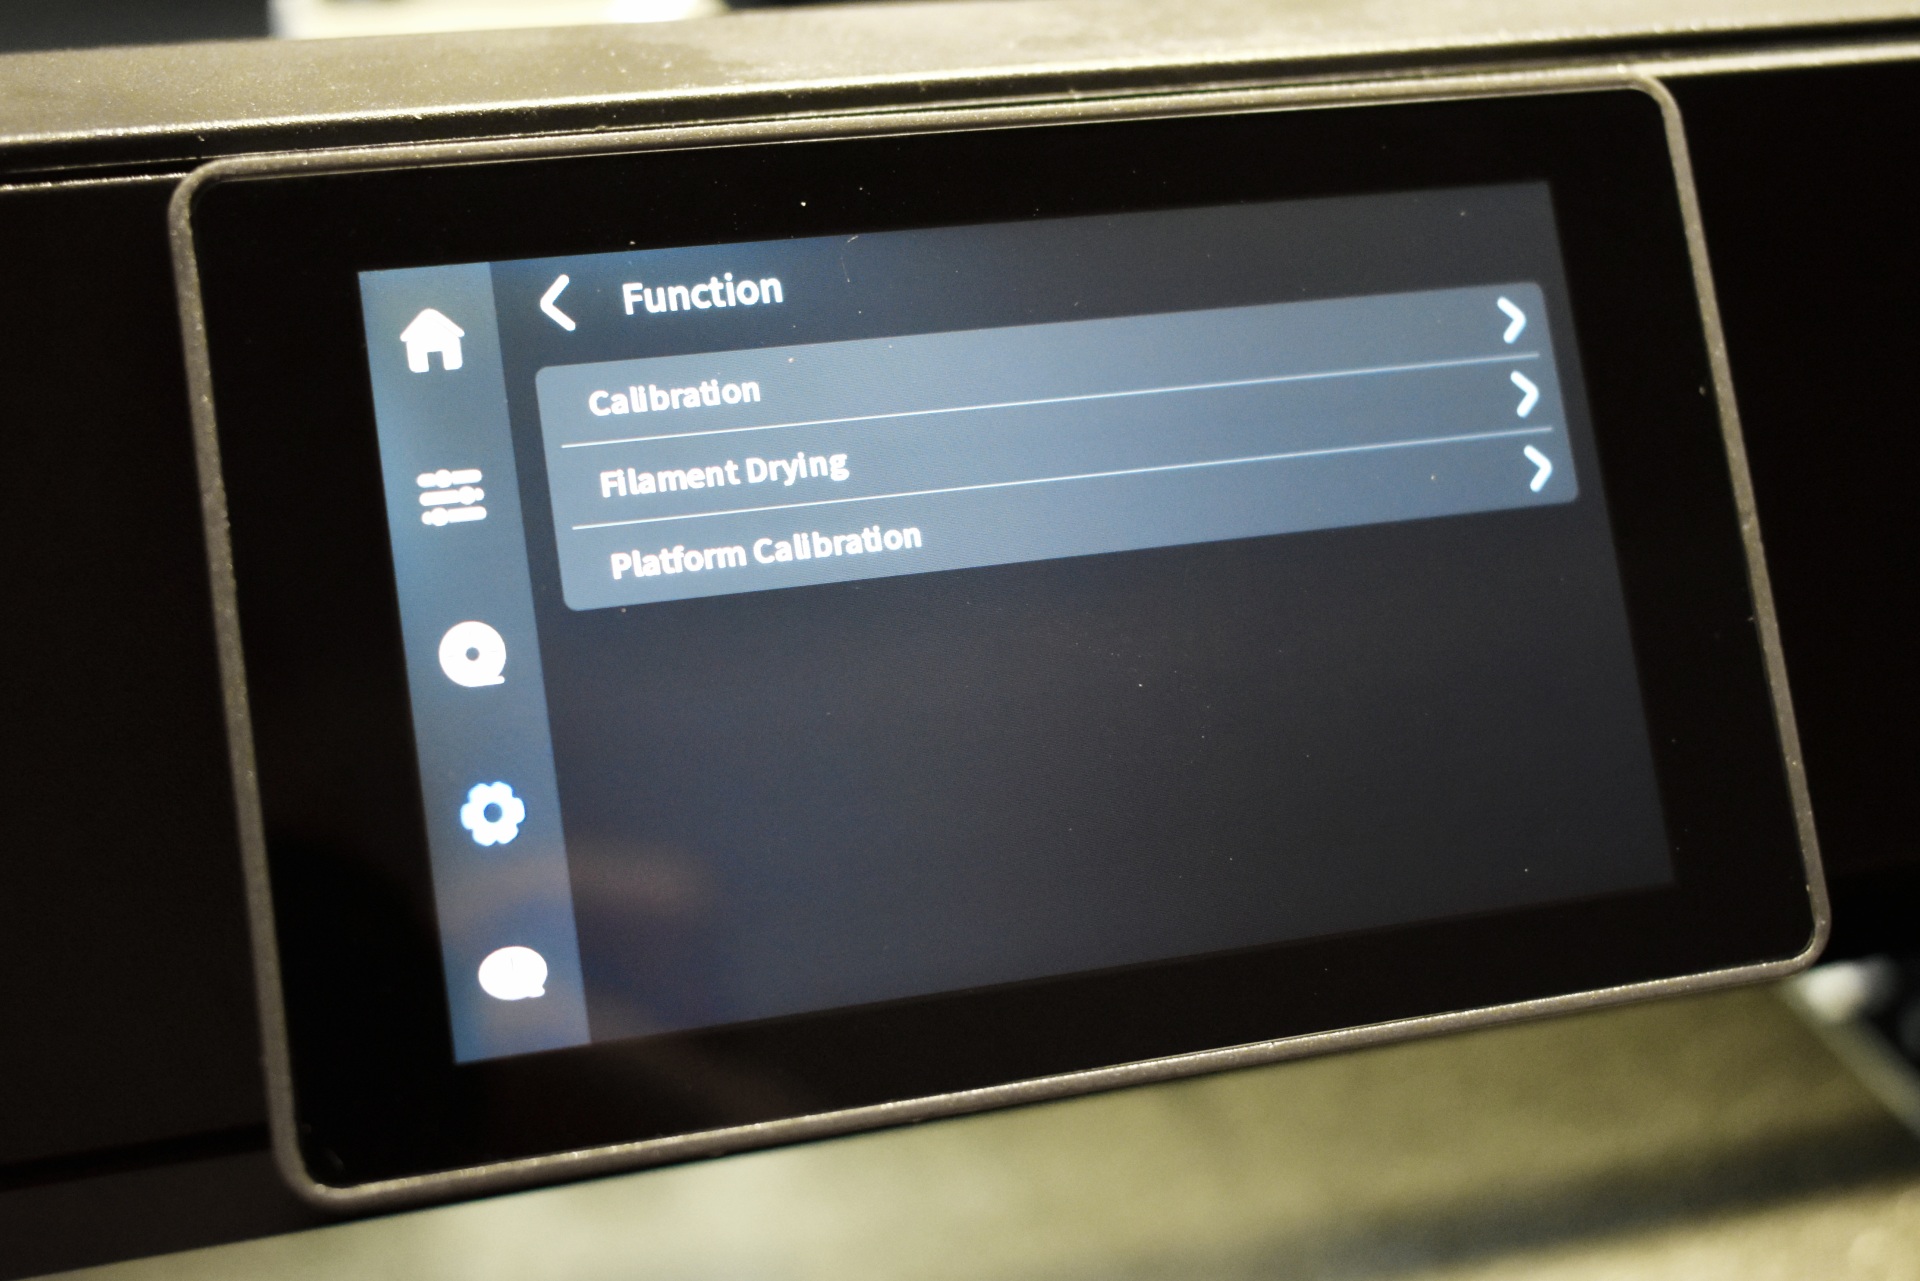
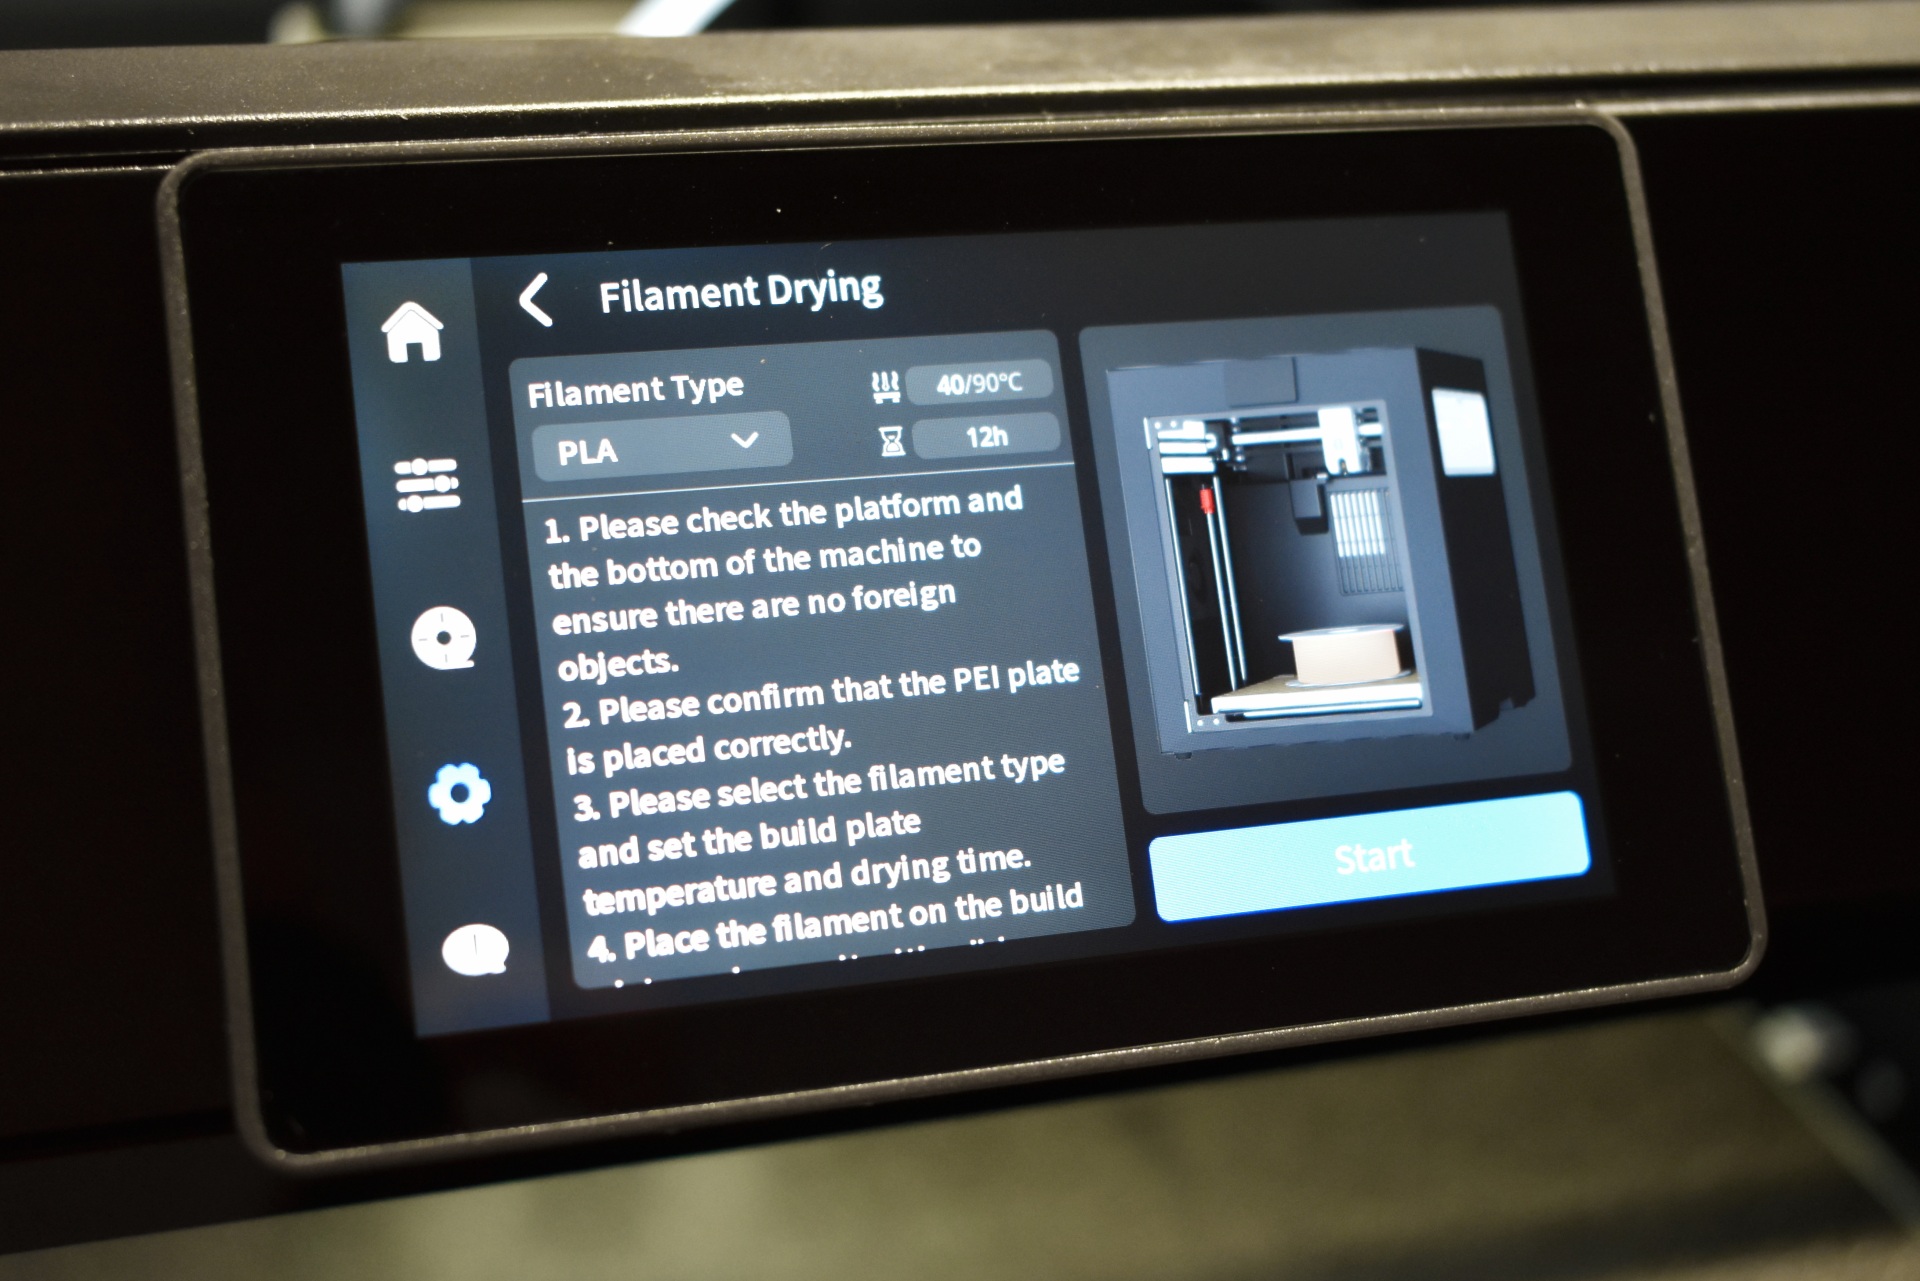
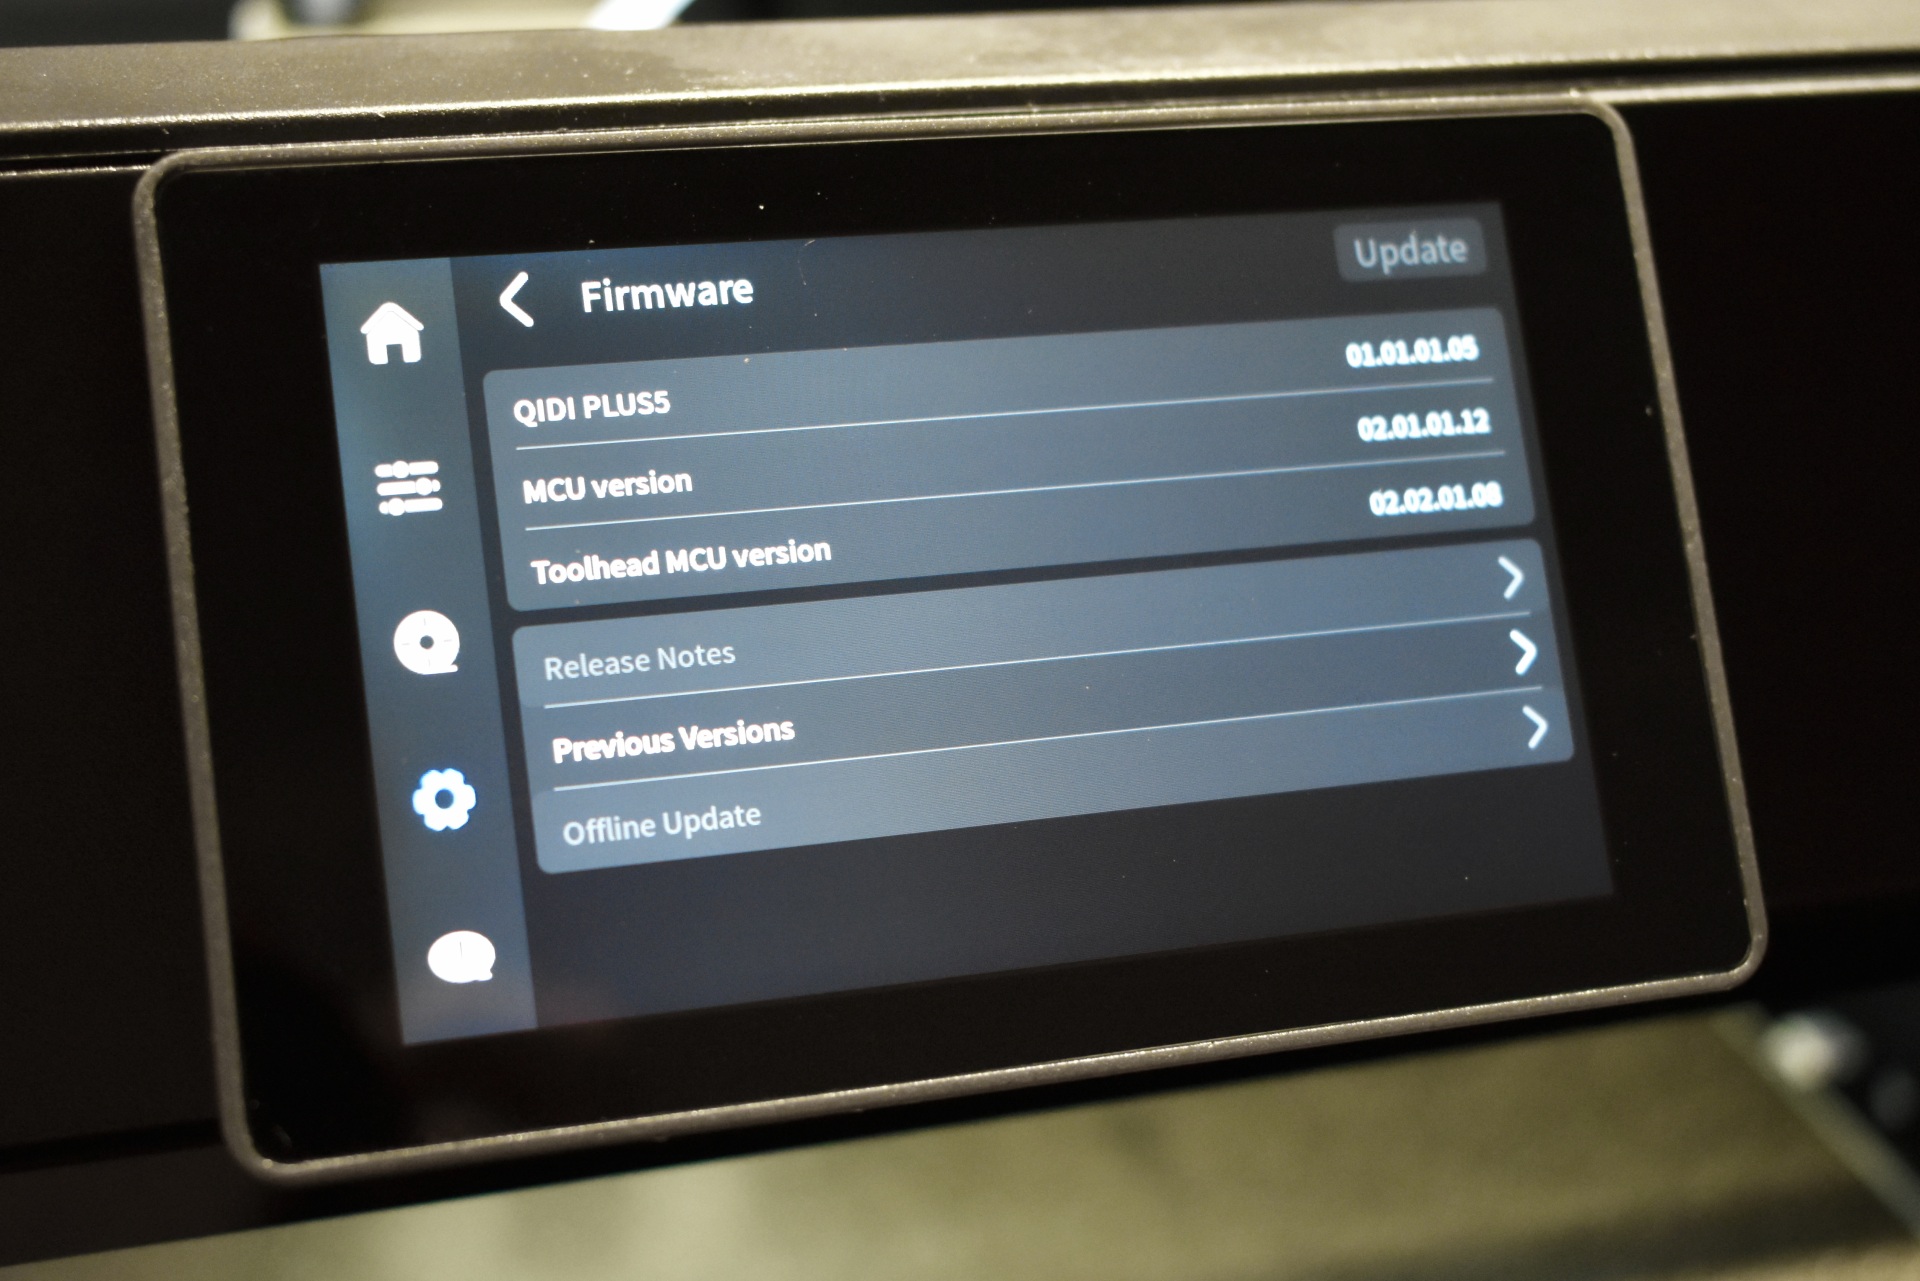
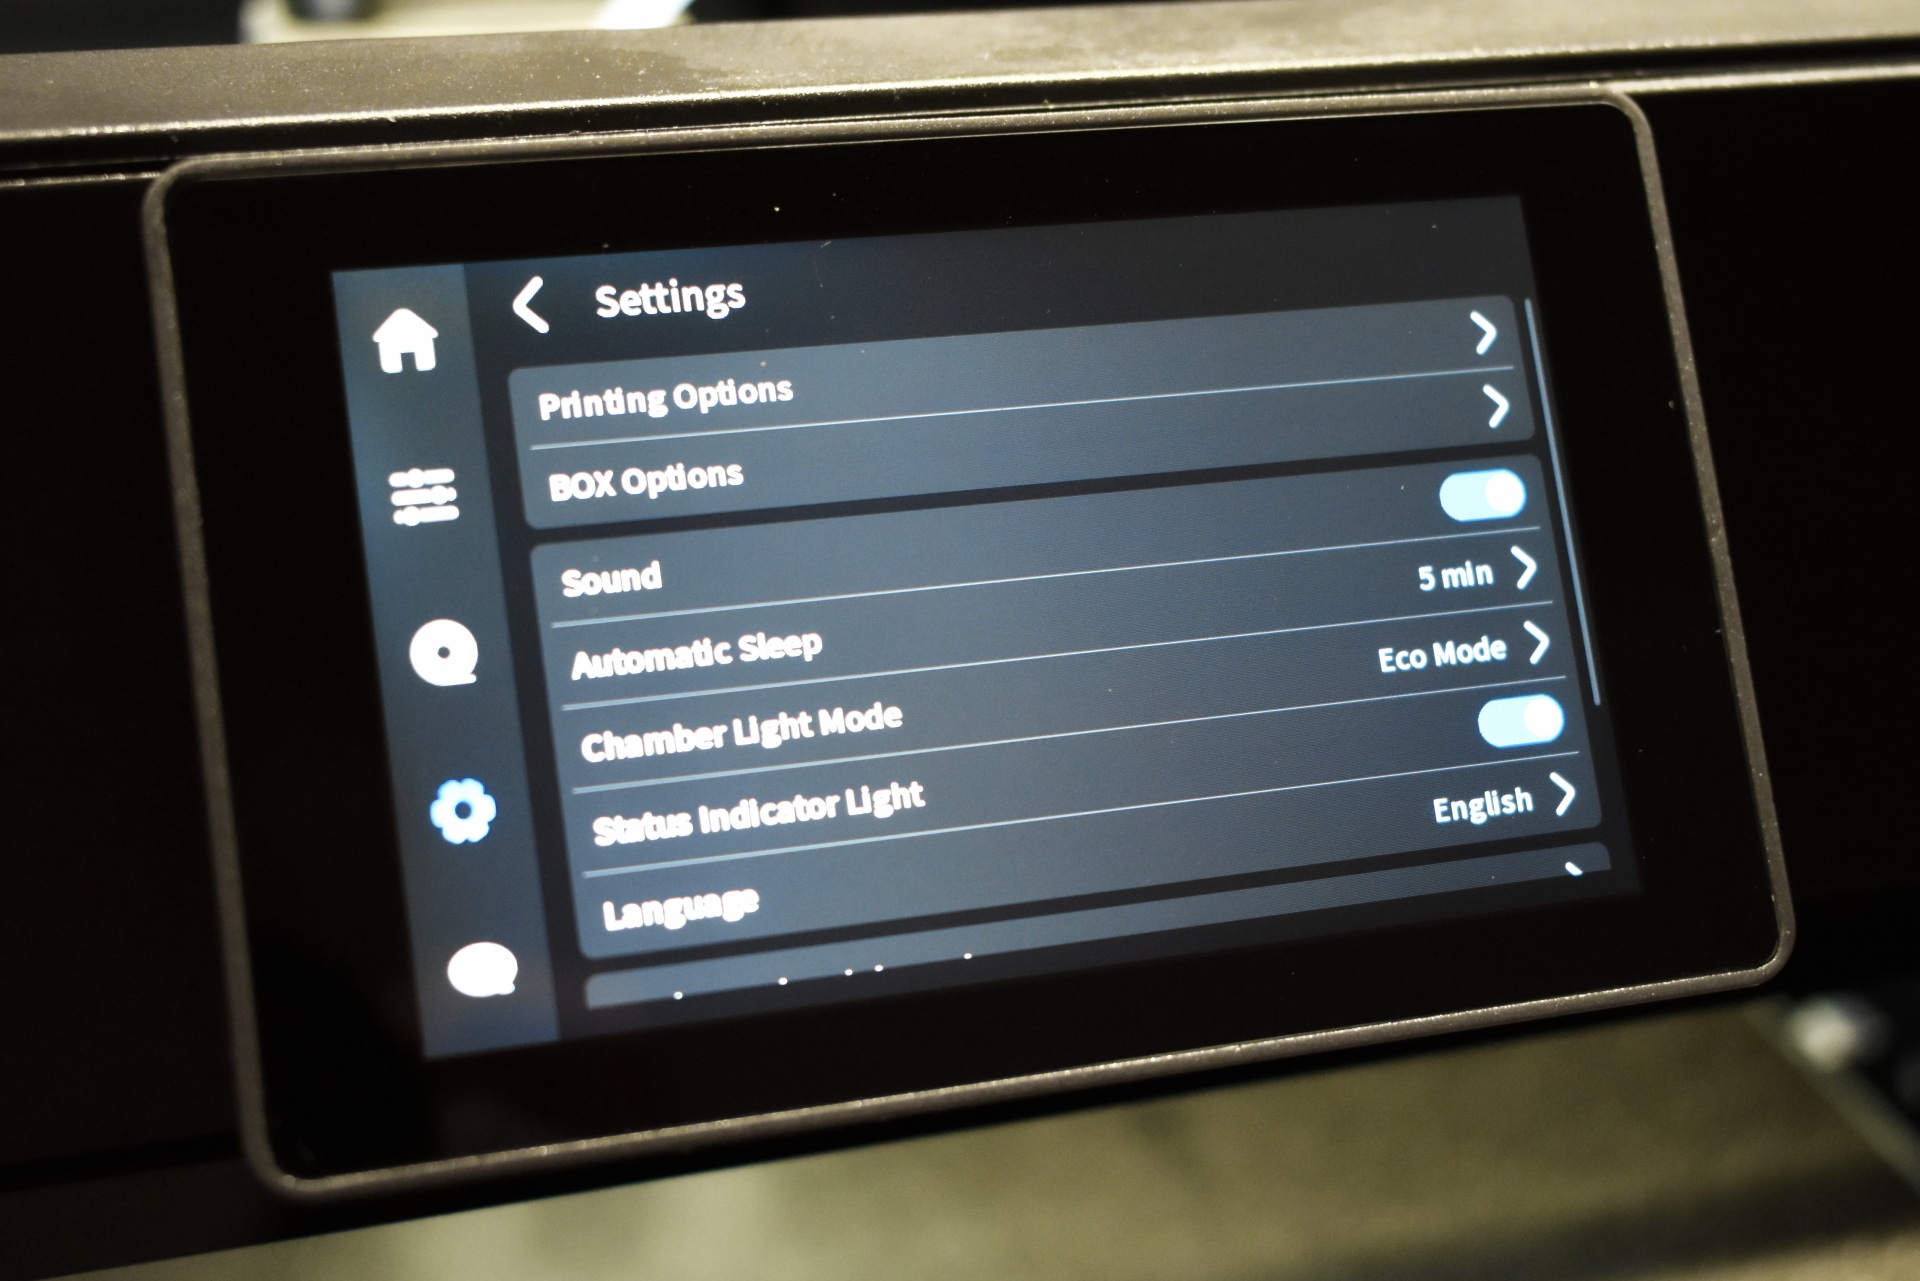
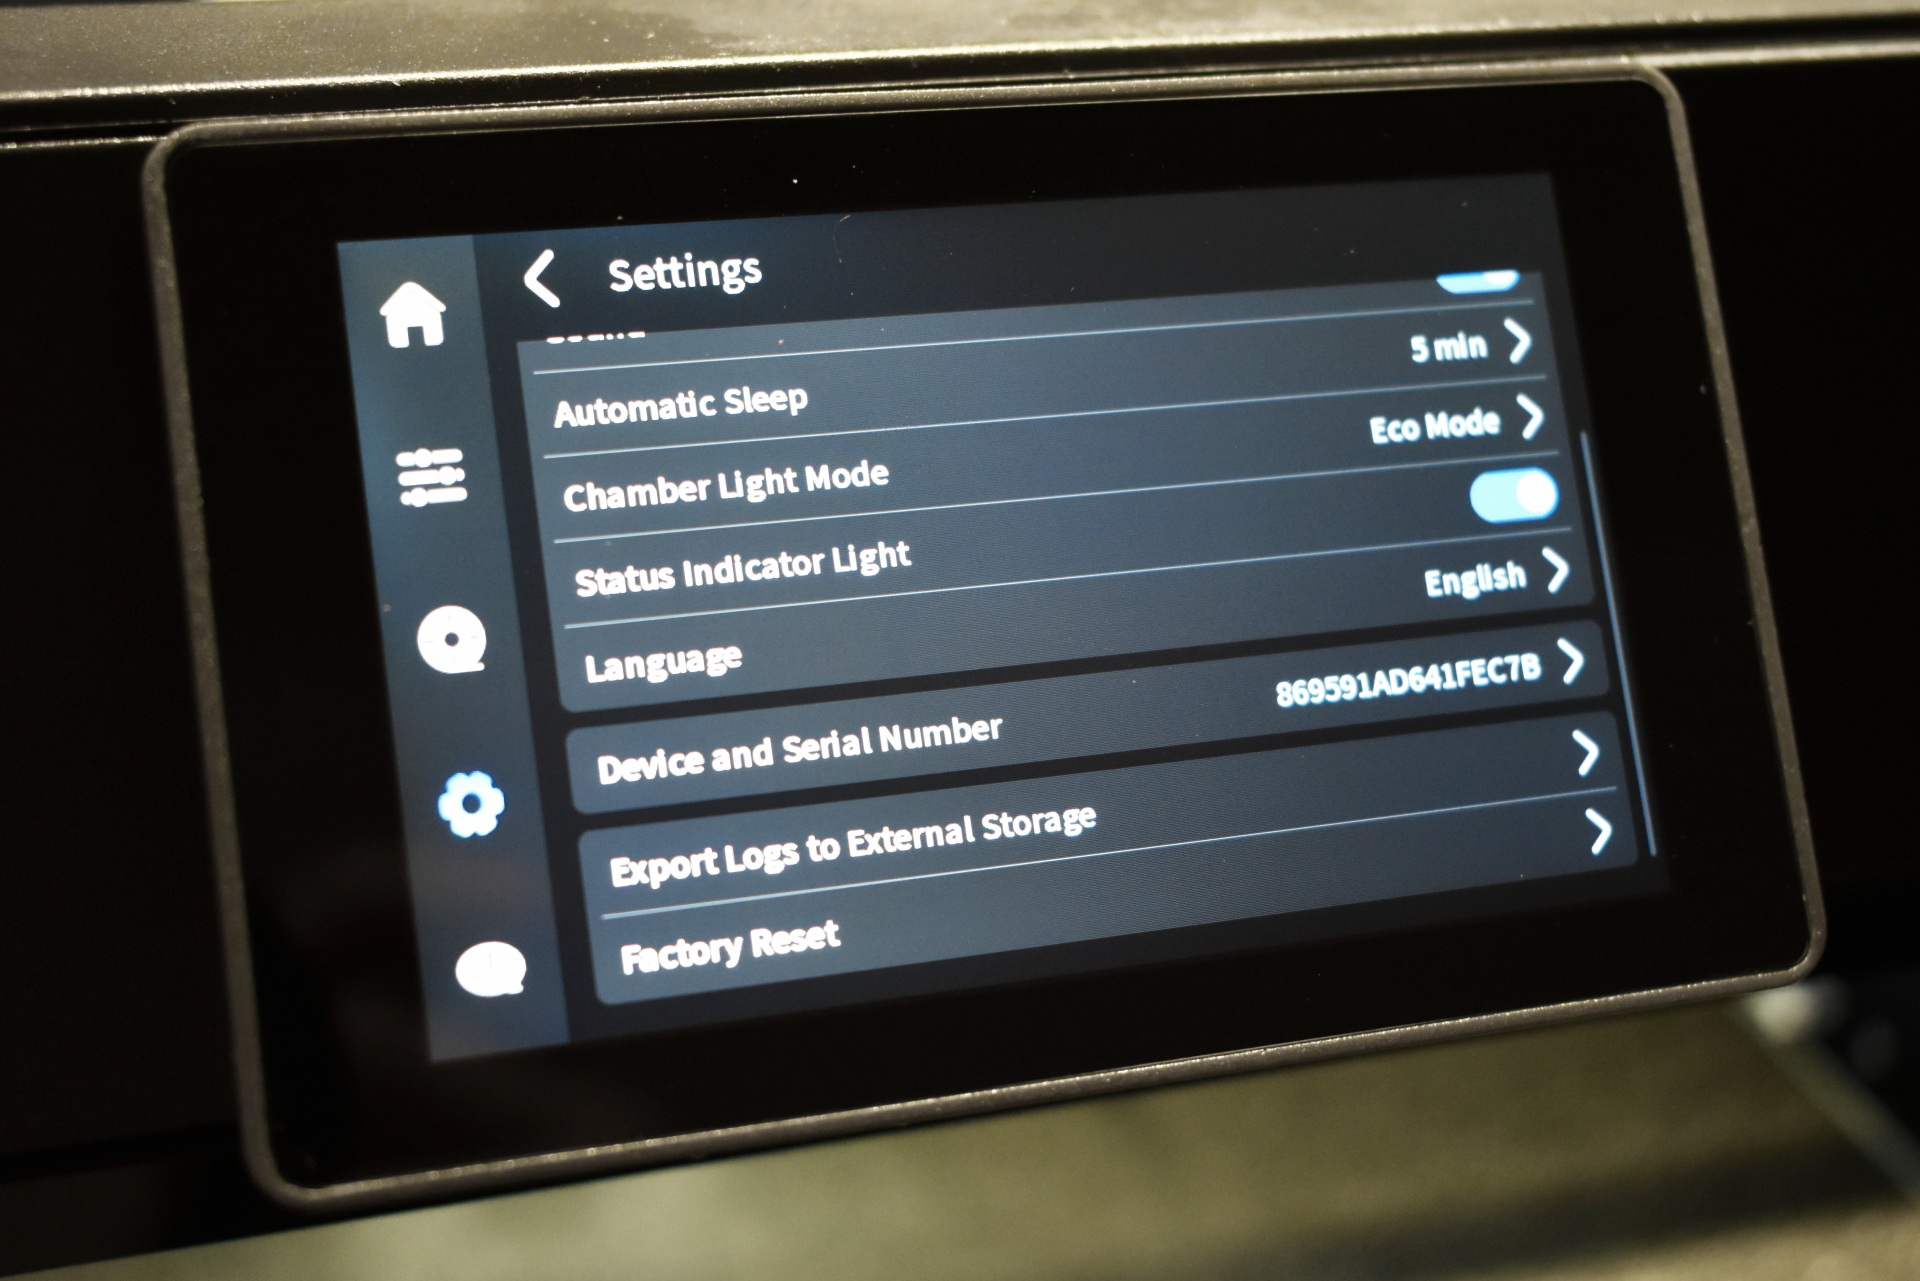
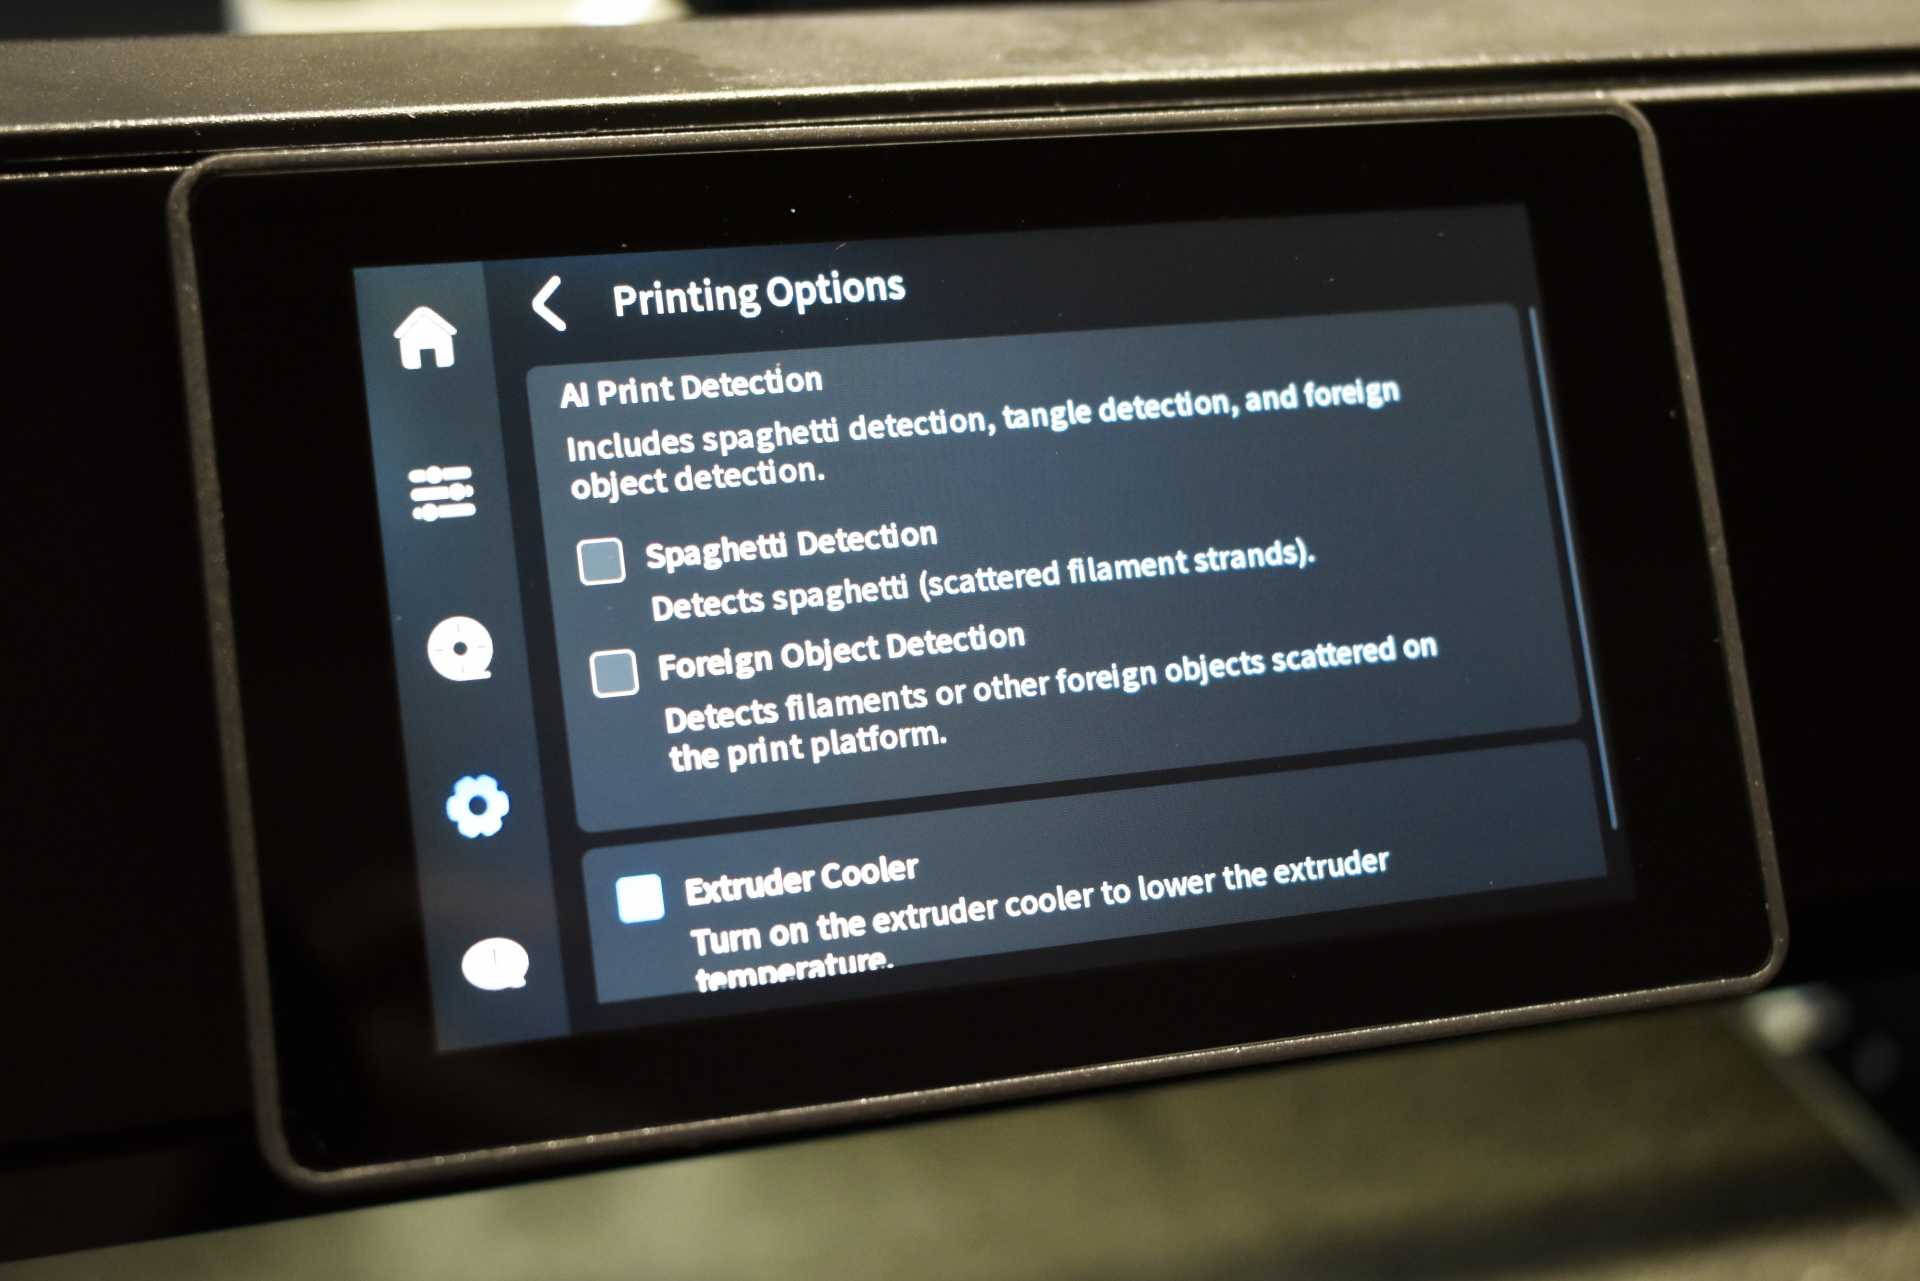
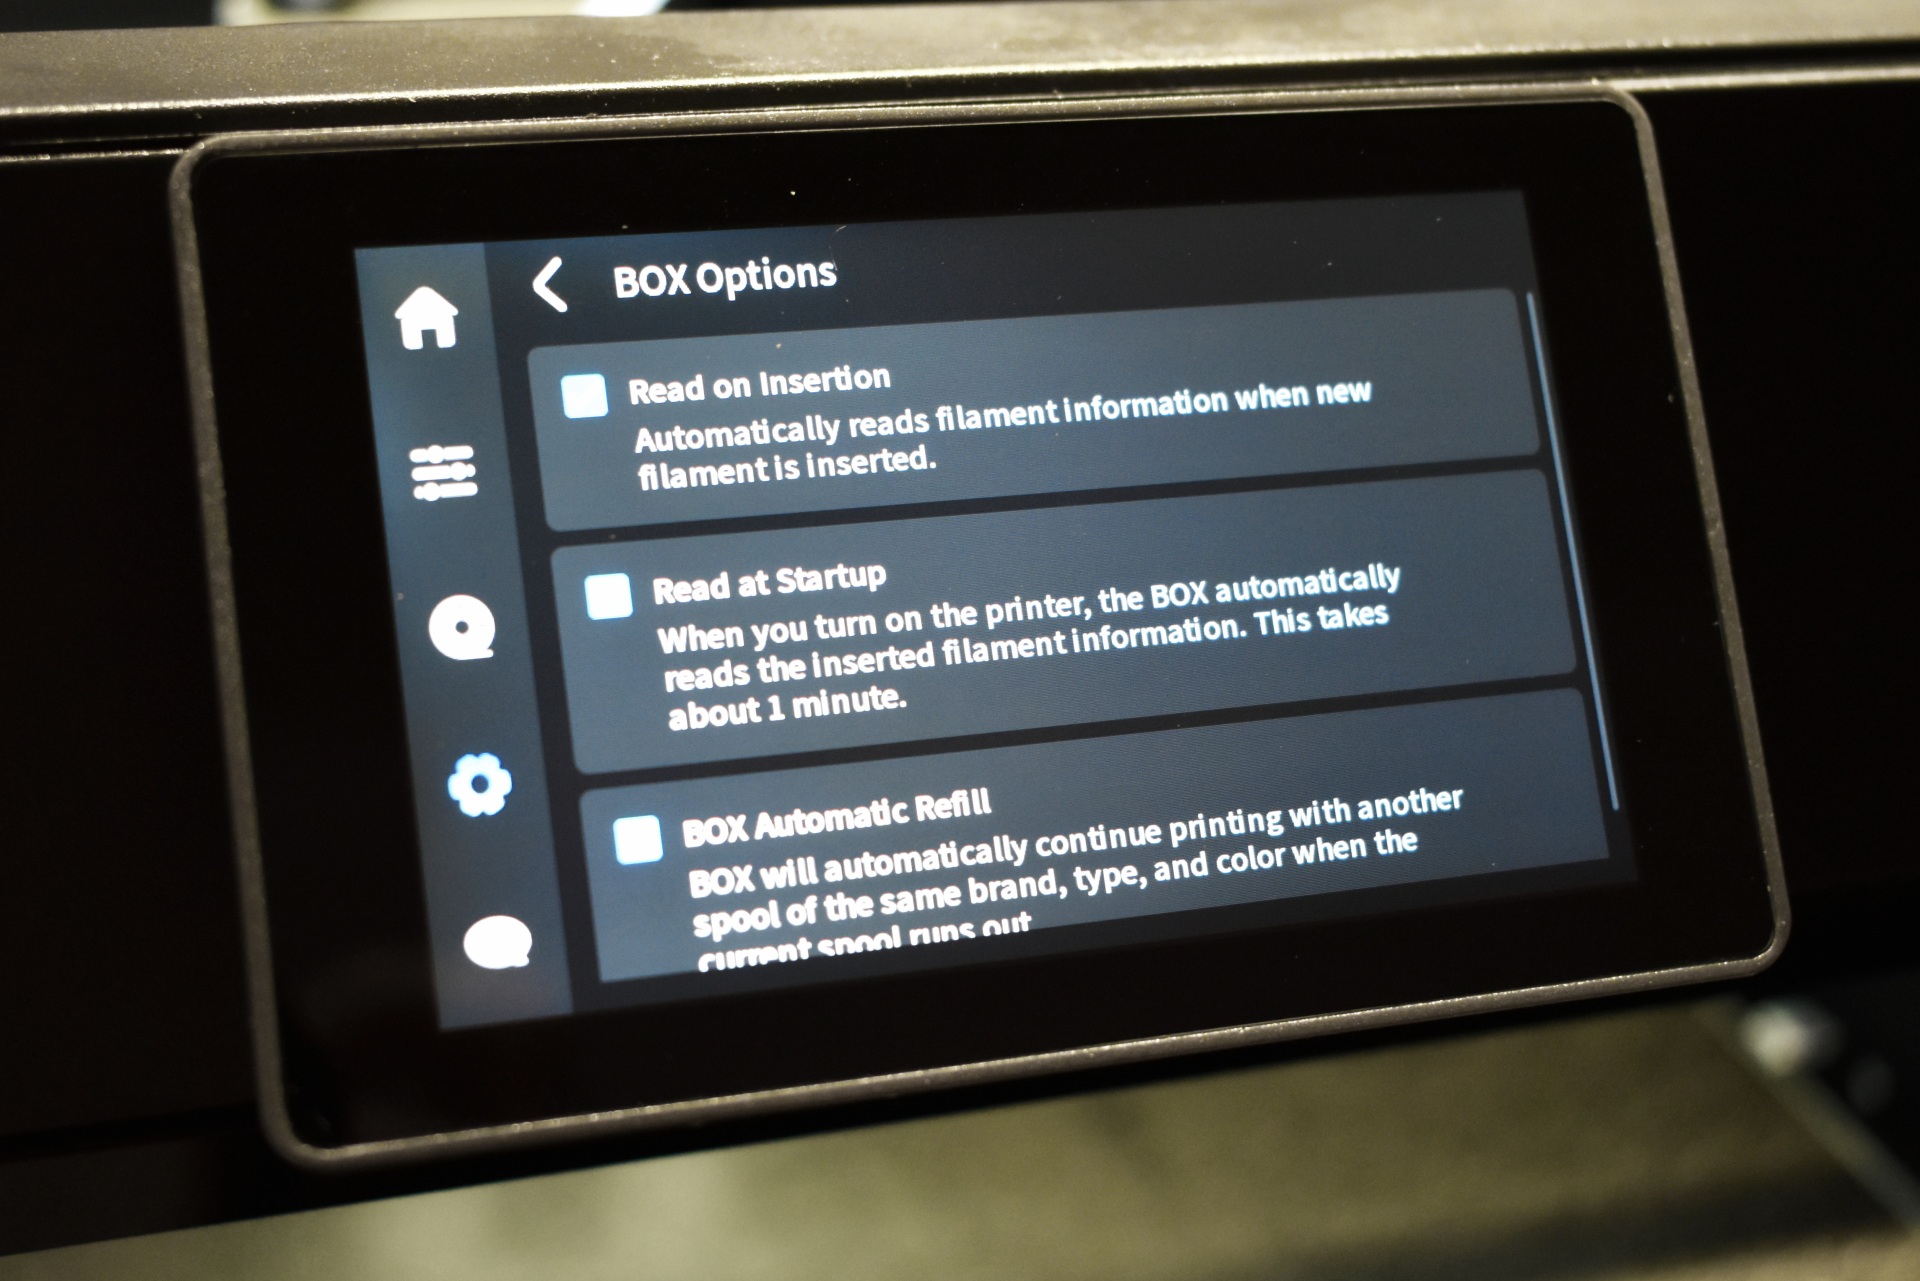
The settings tab includes the Wi-Fi, calibration, filament drying, firmware update, storage and general settings, AI printing options, BOX options and the factory reset.
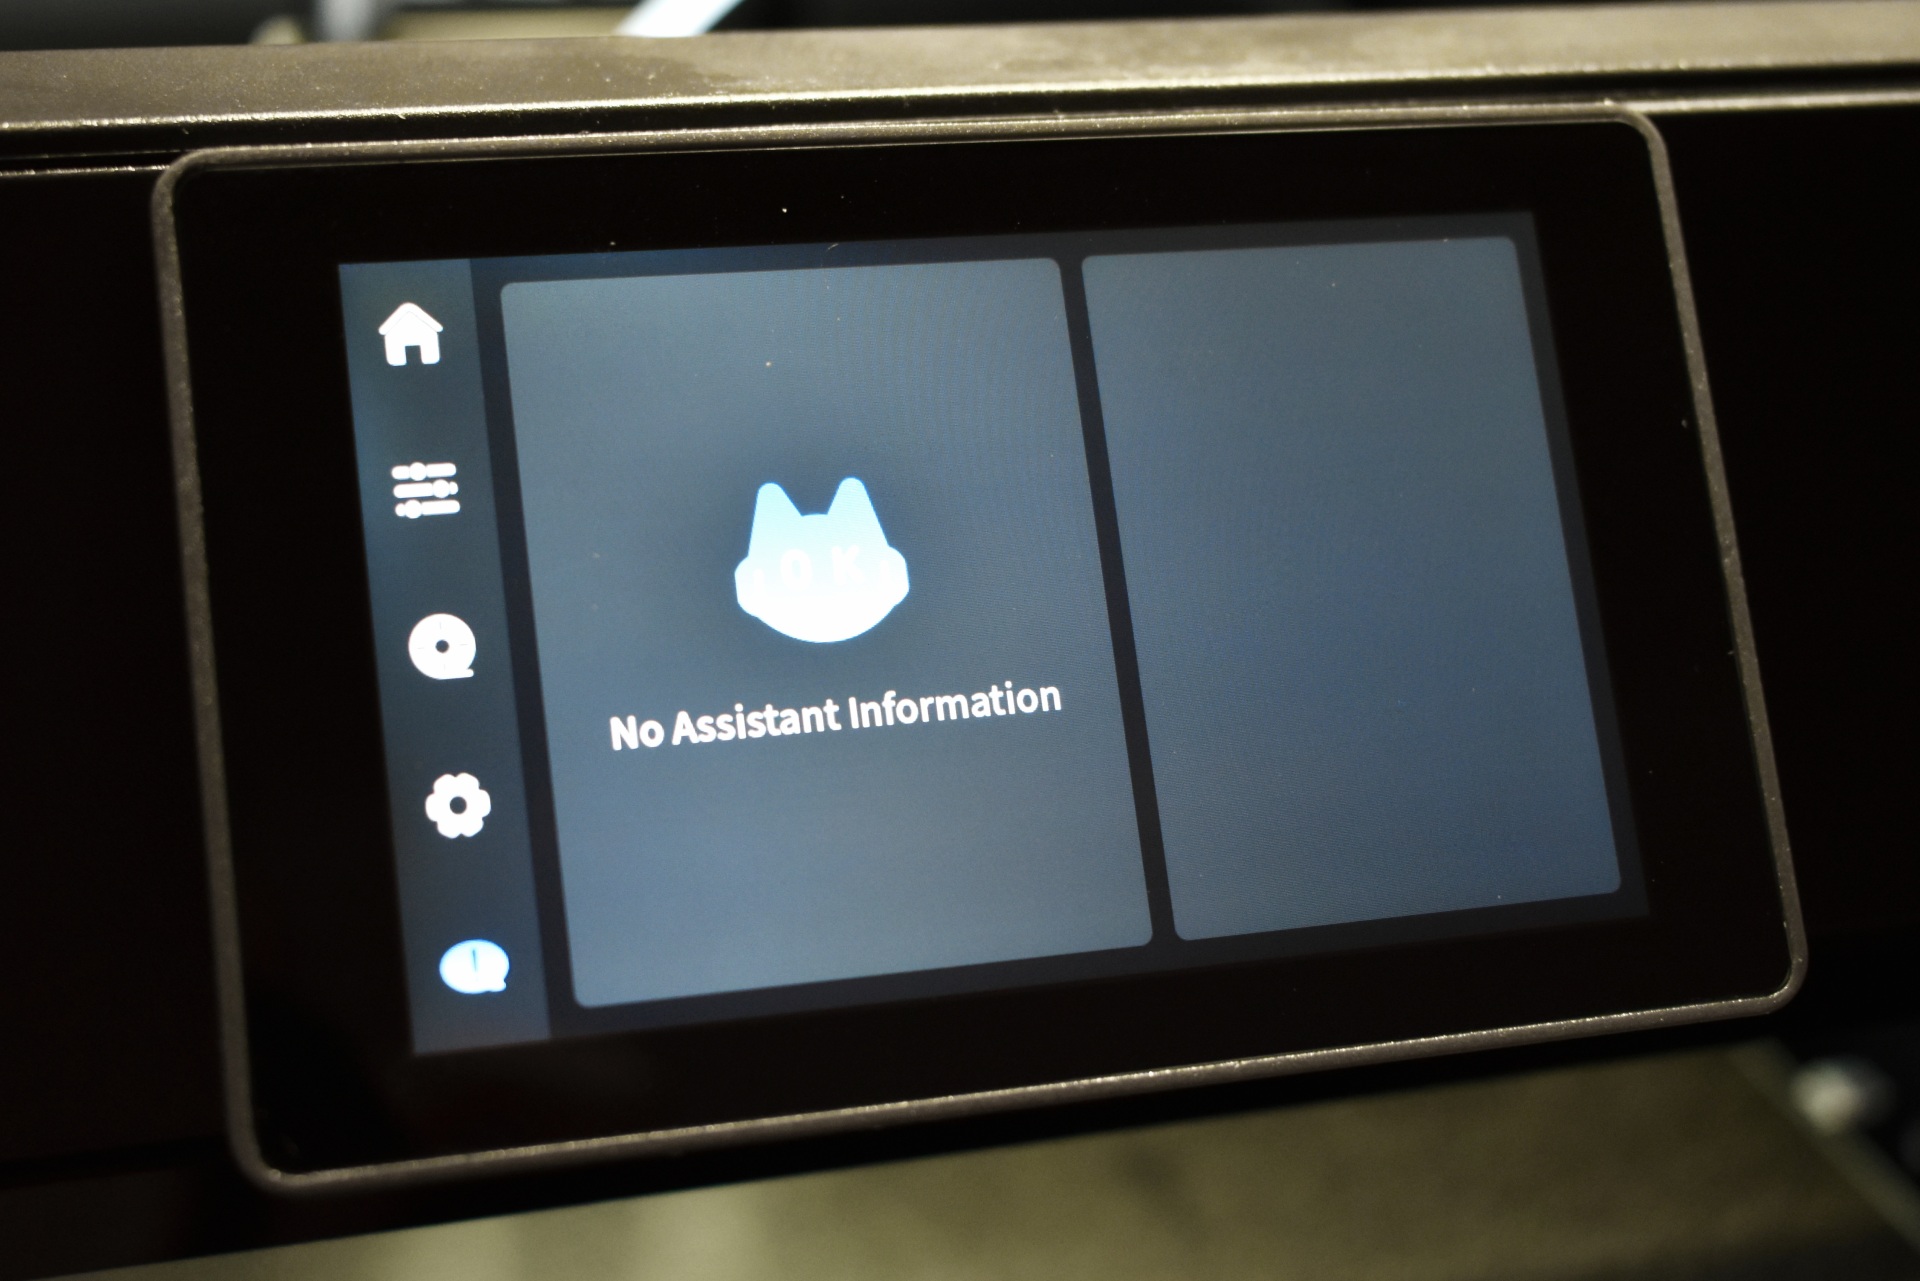
The assistant tab is where you get instructions/information every time something goes wrong.
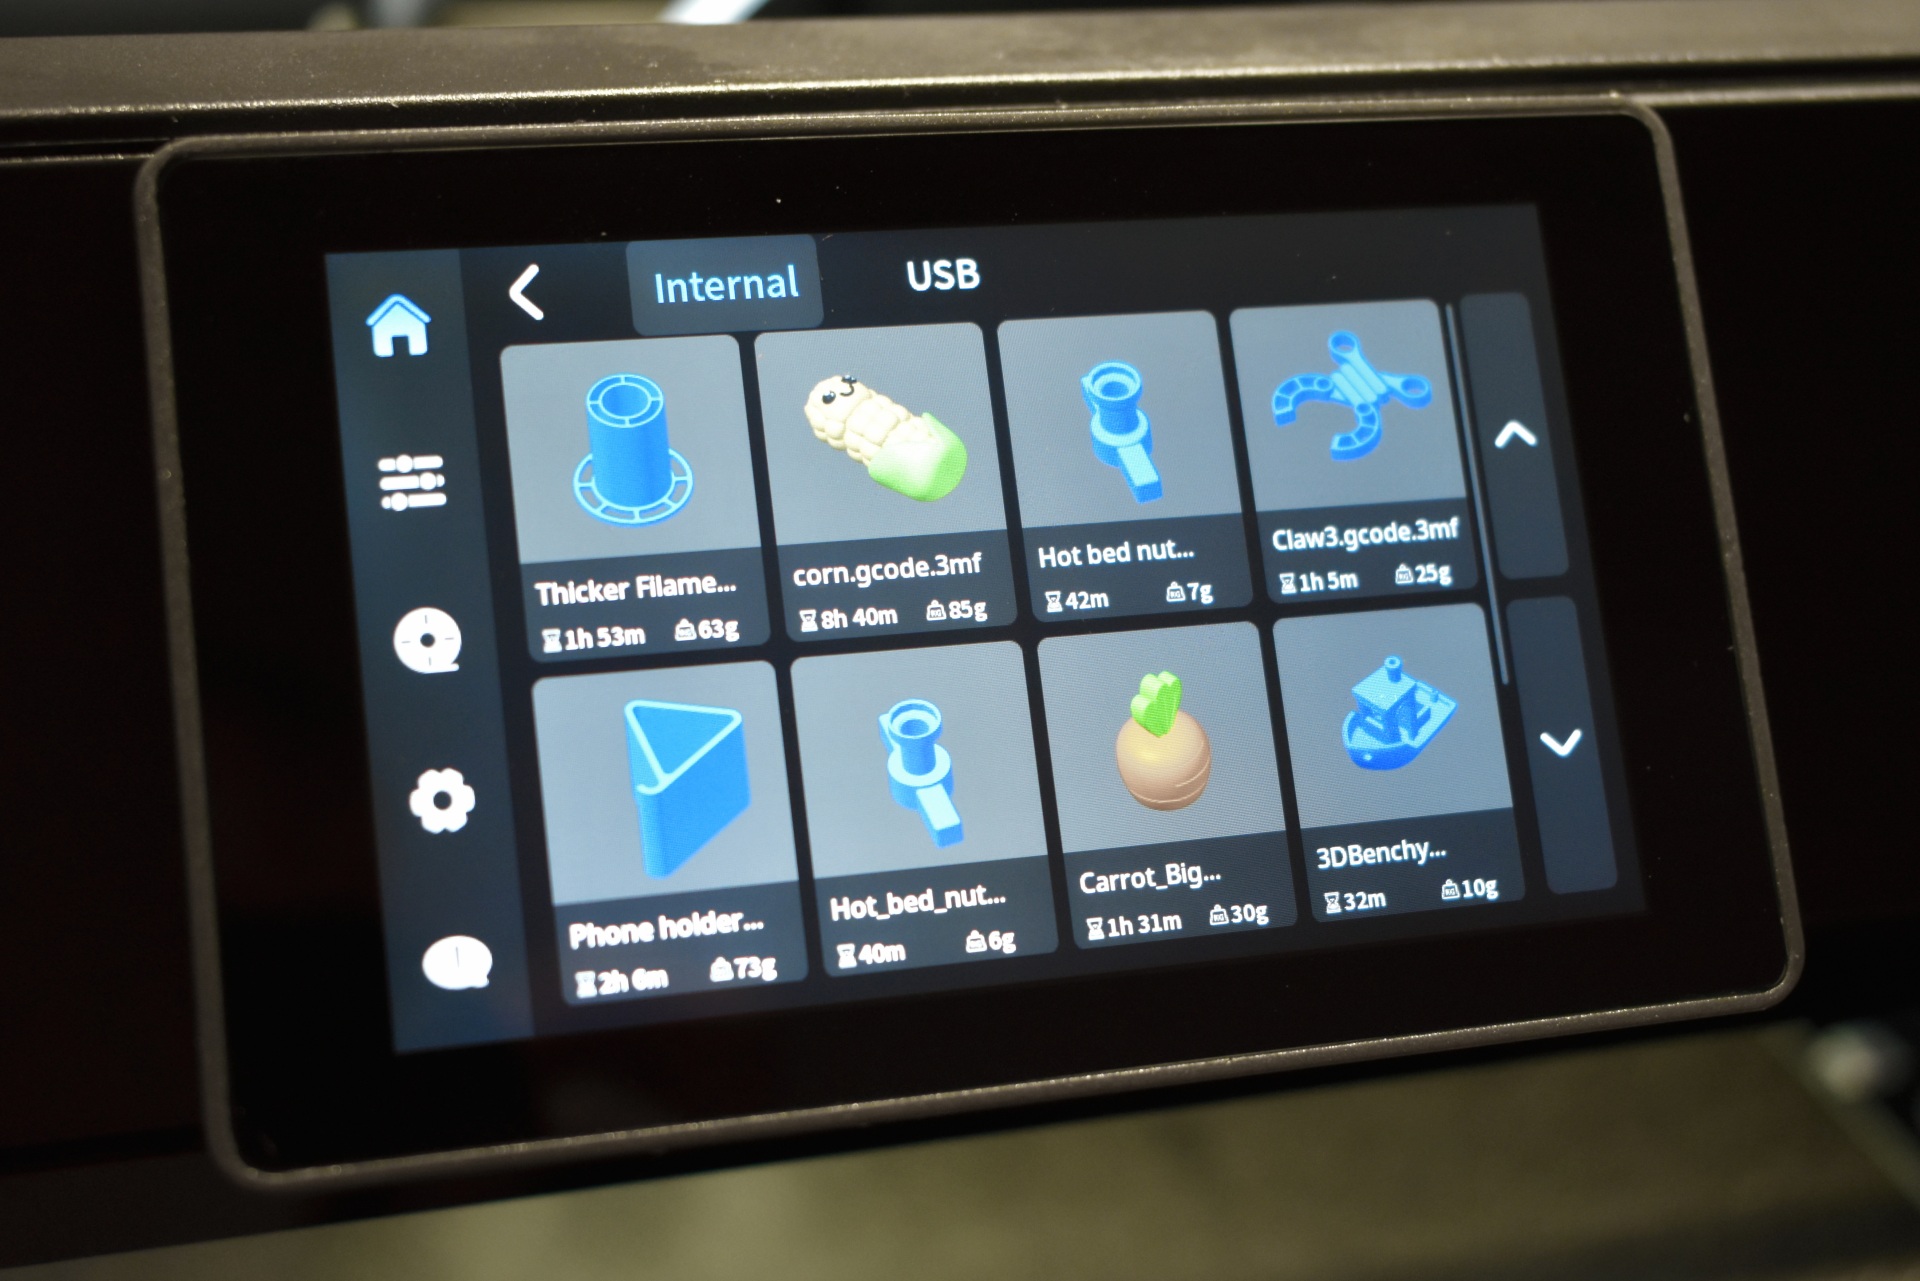
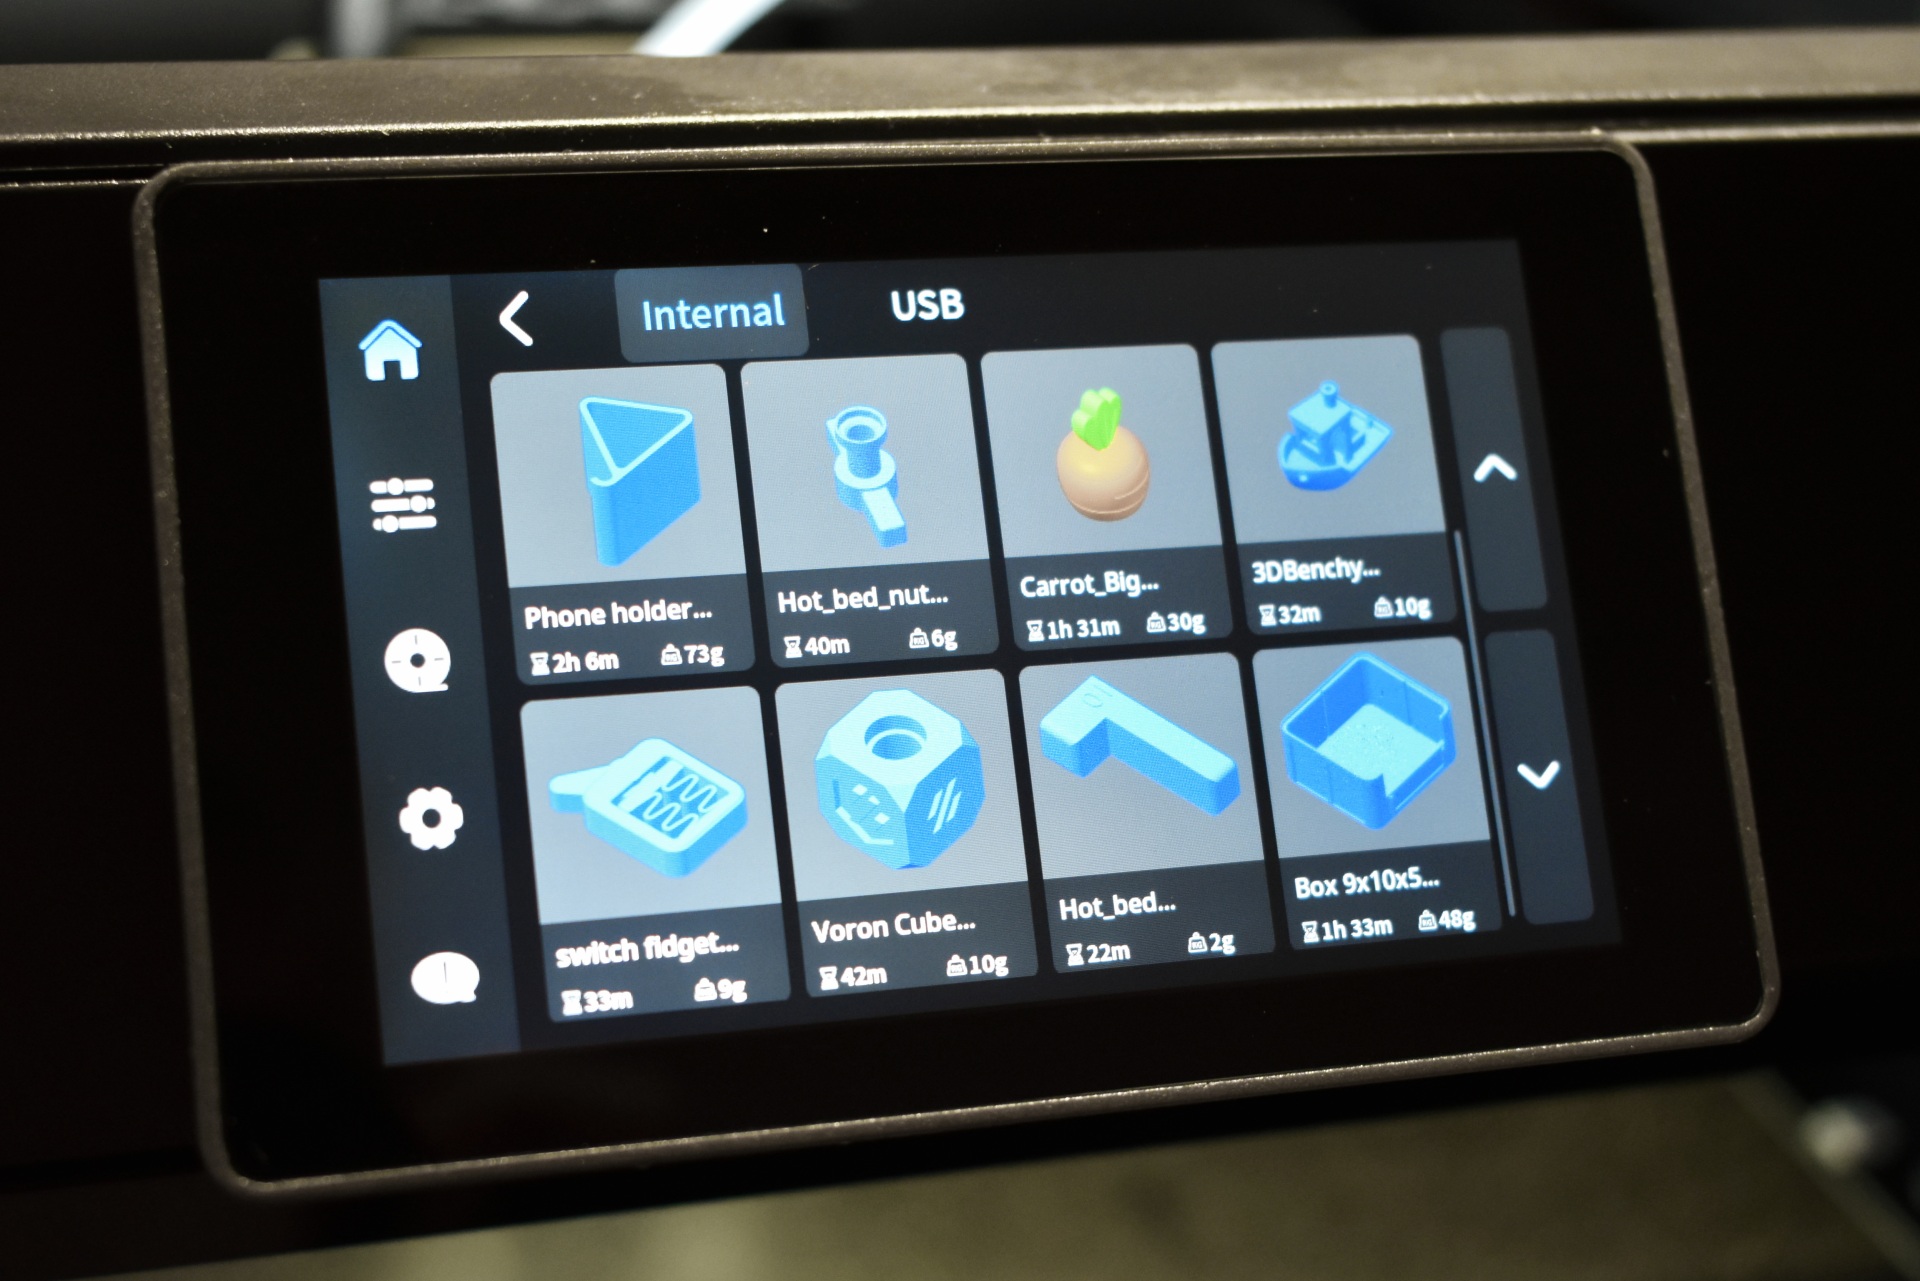
The Plus5 comes with 14 pre-loaded 3D models.
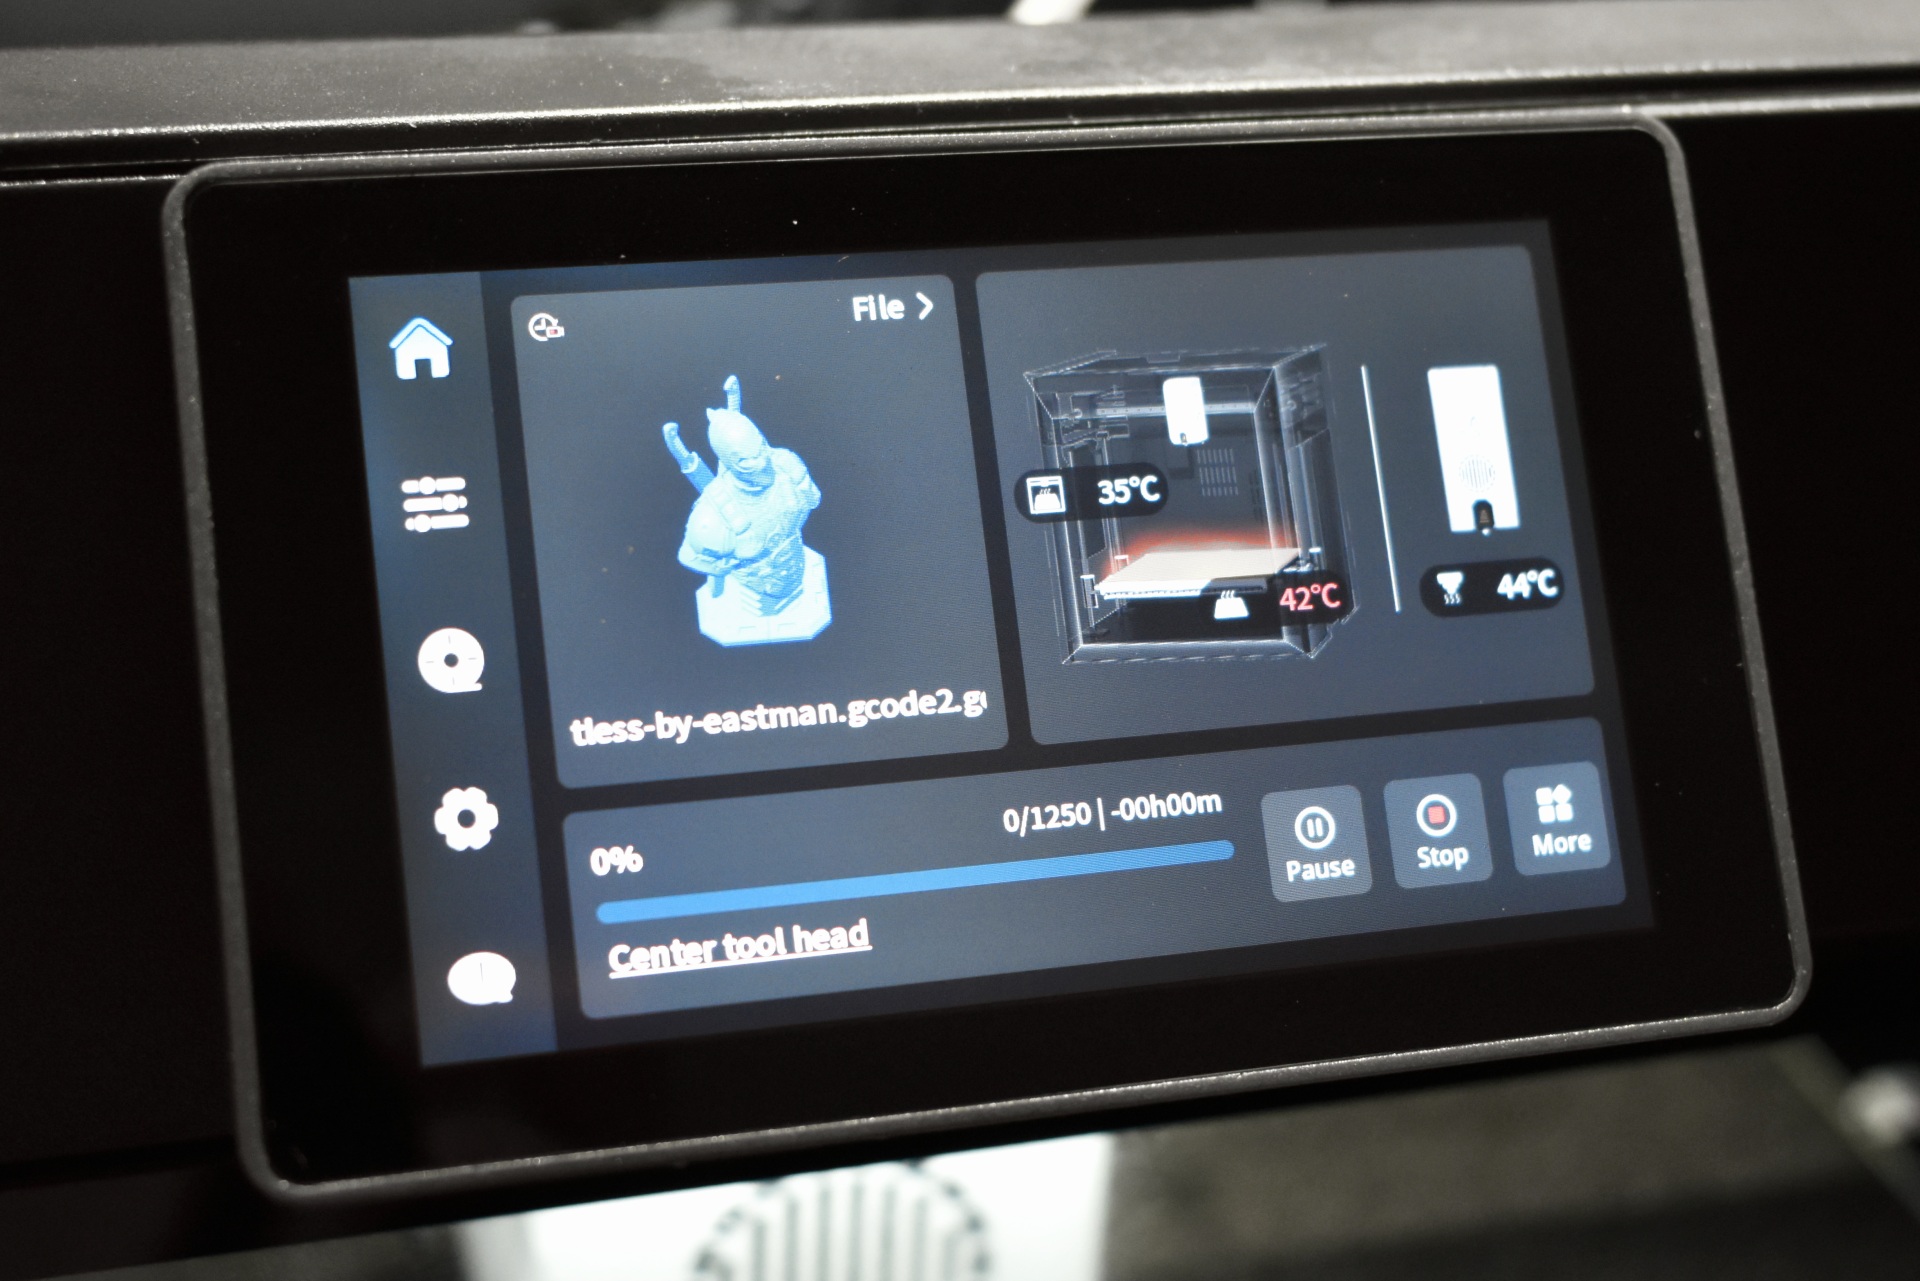
The printing screen showcases the model, current nozzle/bed/chamber temperatures, current state of the printer, remaining time and also allows you to pause and stop printing and access the more area (here you can find the skip, print speed, bed position and assistant commands).