

NEBULA APP
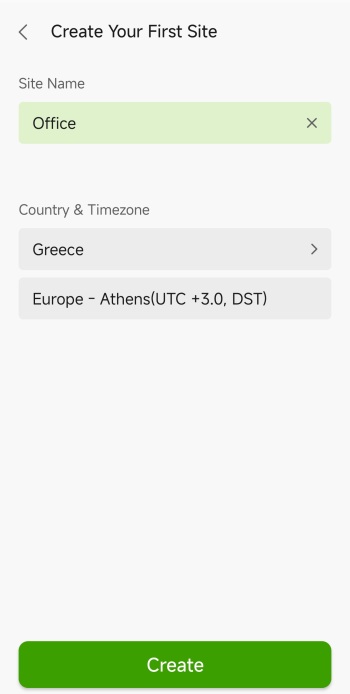
Once you install the Nebula app and pair the AP using the 2D barcode on its belly you will need to create a site and set its country/timezone.
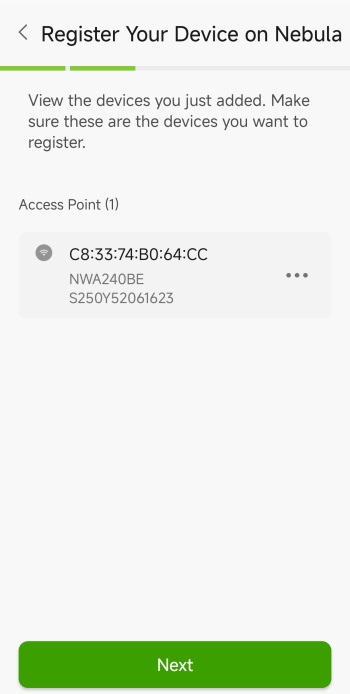
After that the app shows the AP you’re about to register and confirms its MAC/model/serial before proceeding.
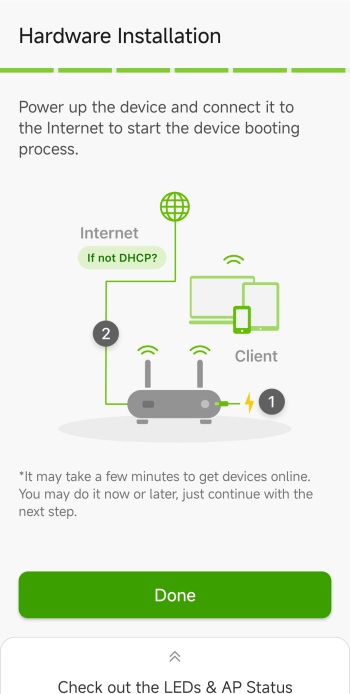
There's also a tab telling the user to power the device, connect it to the internet, and wait for it to come online.
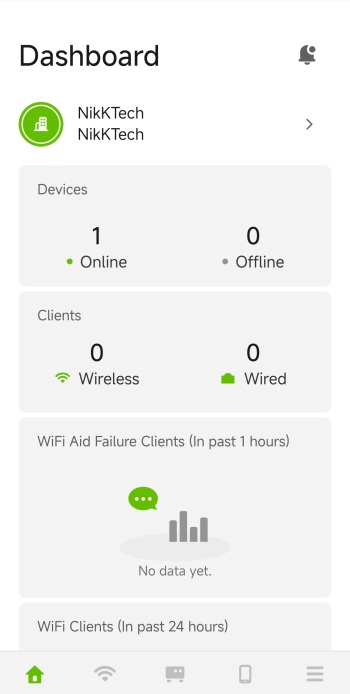
The main software tab displays site‑wide status: online/offline devices, wireless/wired clients, and recent Wi-Fi activity.
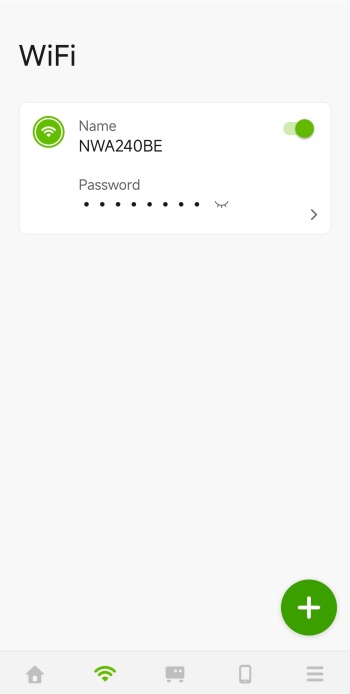
From the Wi-Fi tab you can see the connected SSID, password, and add or manage Wi-Fi networks.
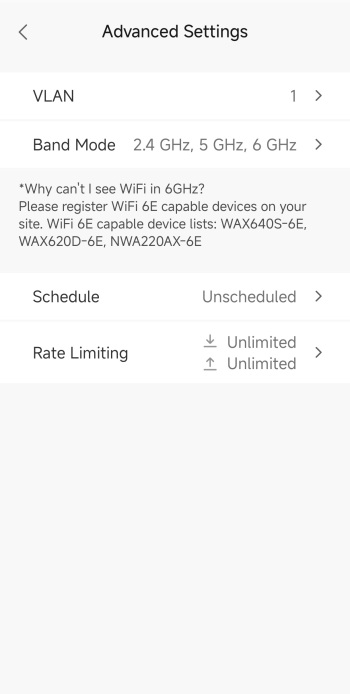
Settings for VLAN, bands, scheduling, and rate‑limit options for the wireless network are all inside the advanced settings tab.
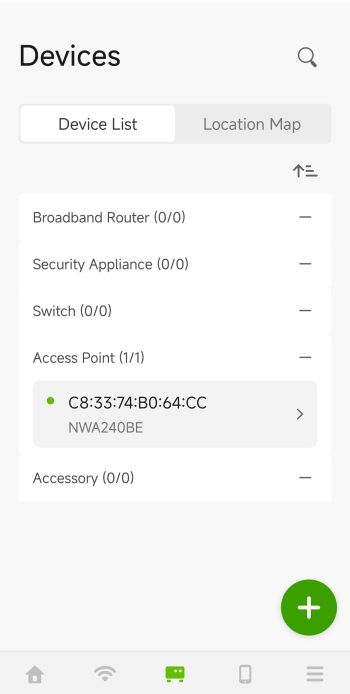
The devices tab shows all devices registered in the organization.
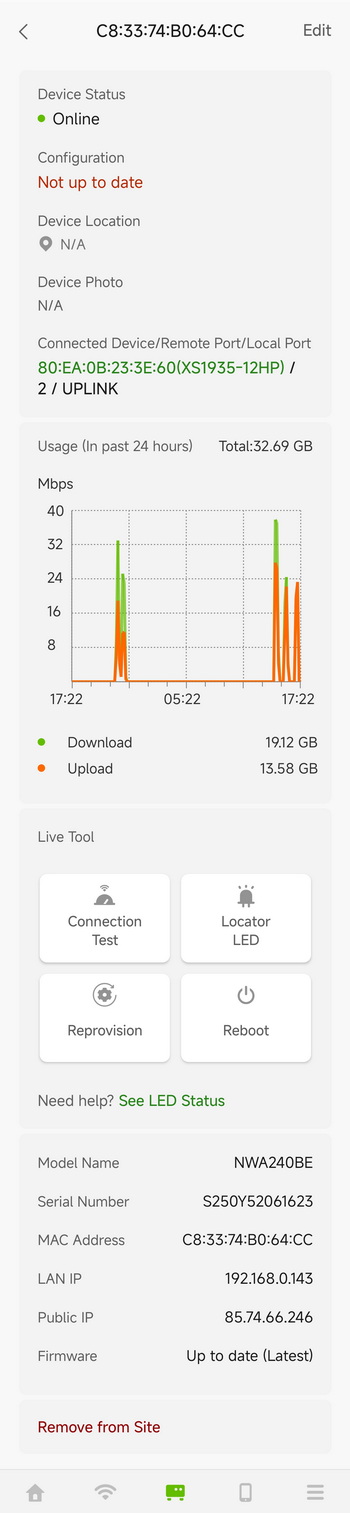
You can check the AP health, uplink info, traffic graphs, tools (test, reboot, locator), and device details from inside the device status page.
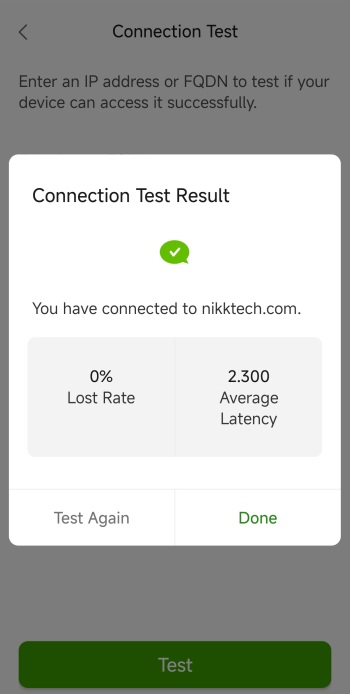
The connection test shows whether the AP can reach a given domain/IP, including packet loss and latency.
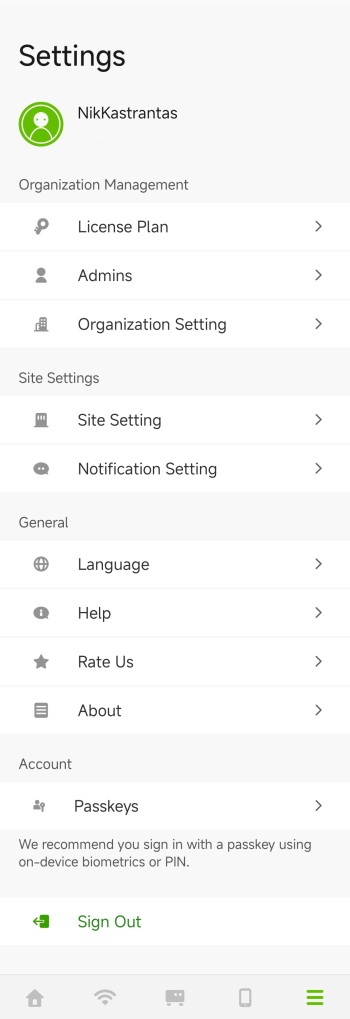
Finally, from inside the settings tab, you can manage organization settings, site settings, language, help, and account options.