

WEB GUI
There are two control options for the NWA240BE, the local web GUI and the Nebula cloud app.
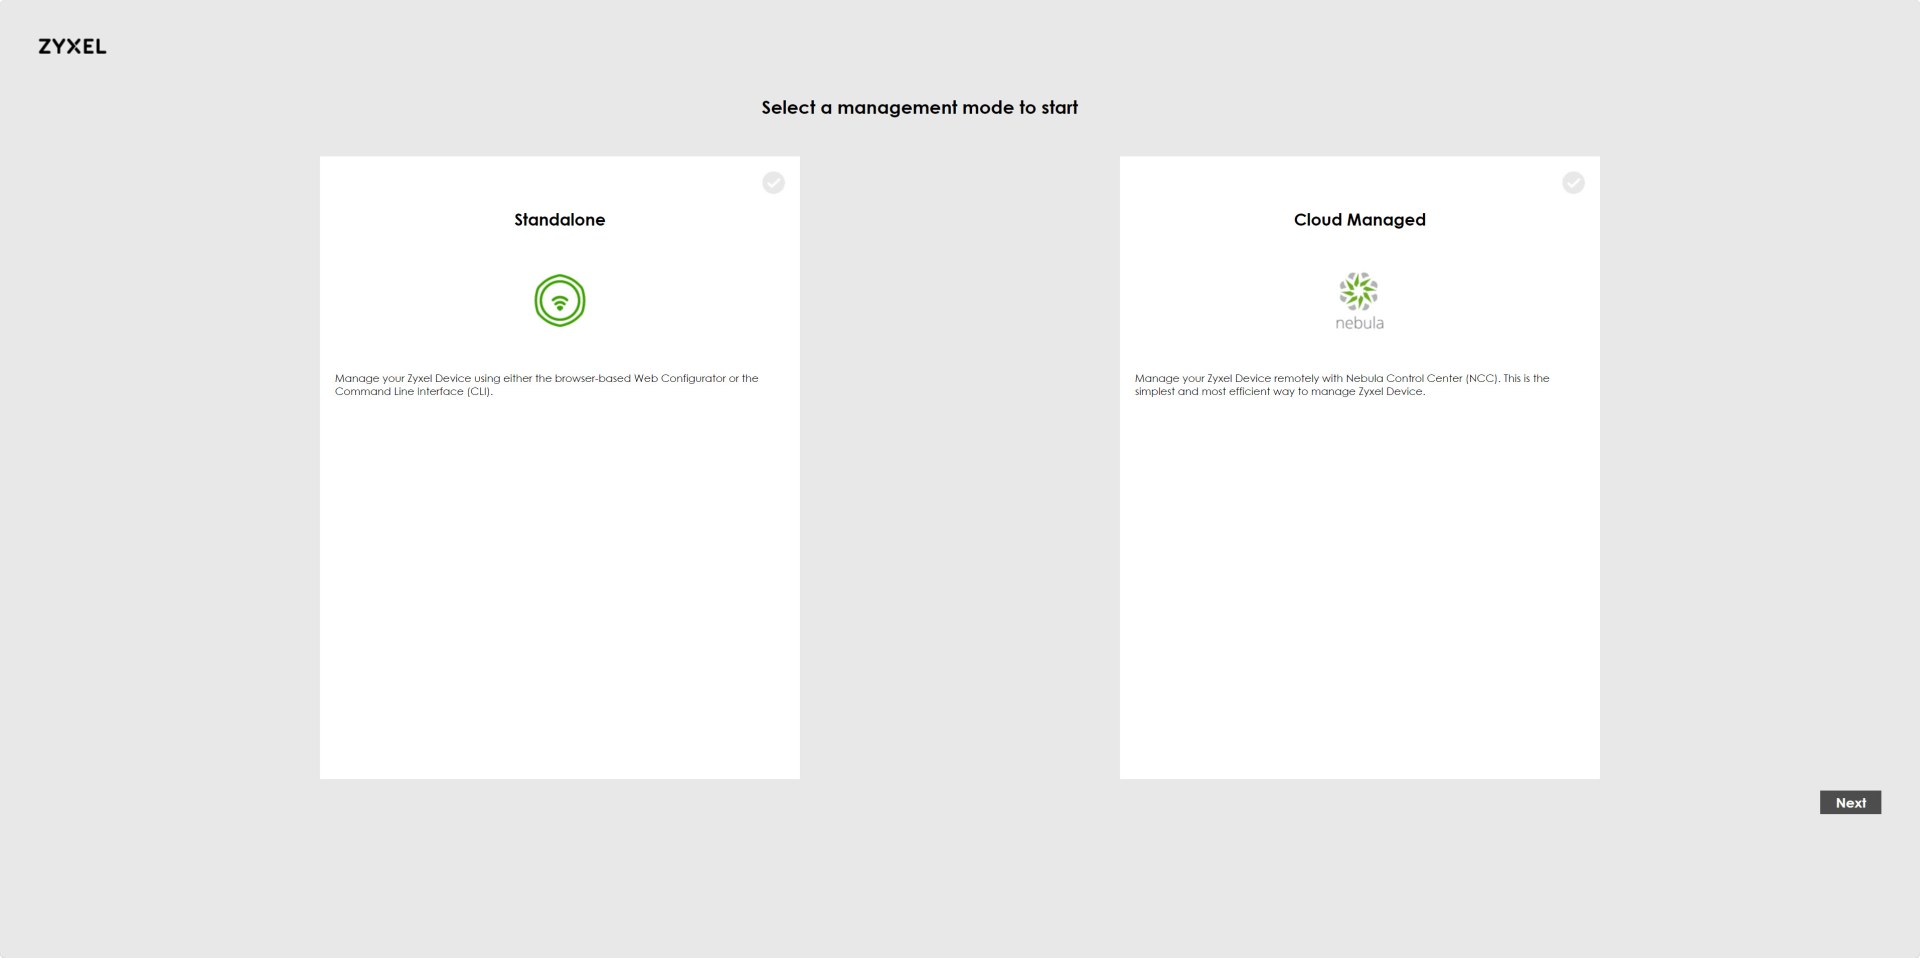
From the 1st web tab, you can choose between local standalone management or cloud control via Nebula.
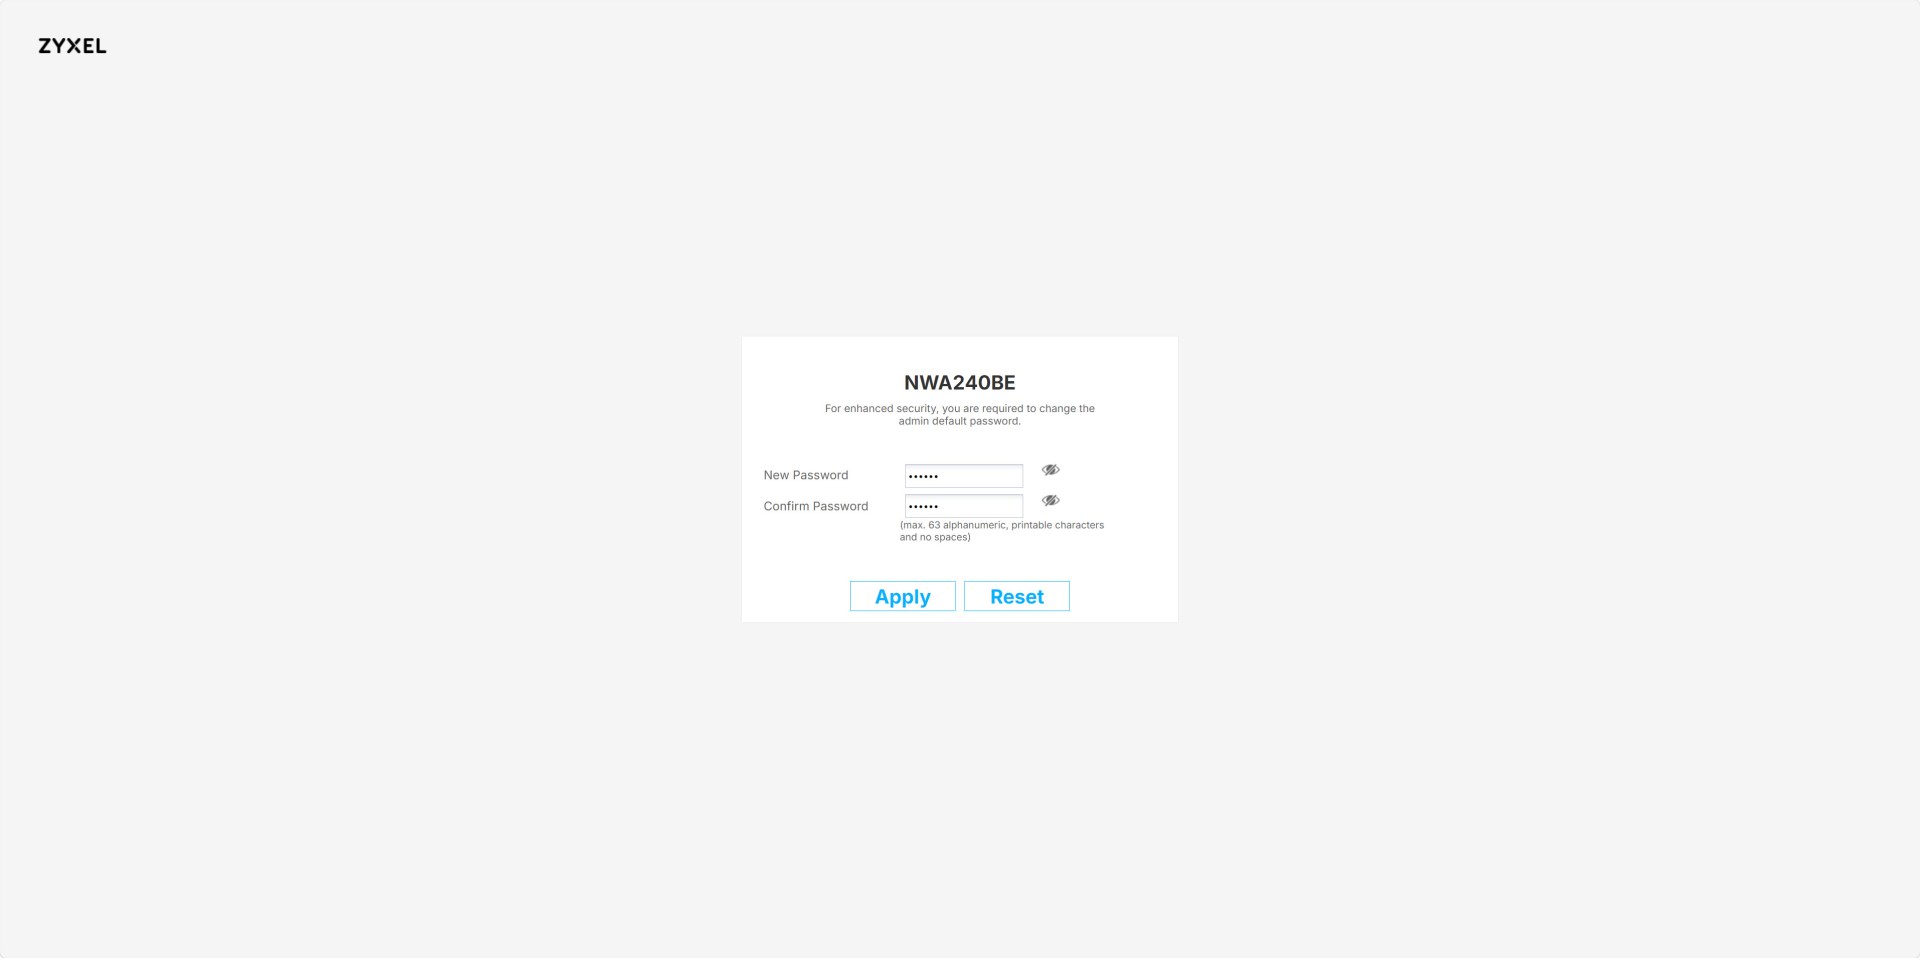
You will be required to change the password for the device if you continue using the web end.
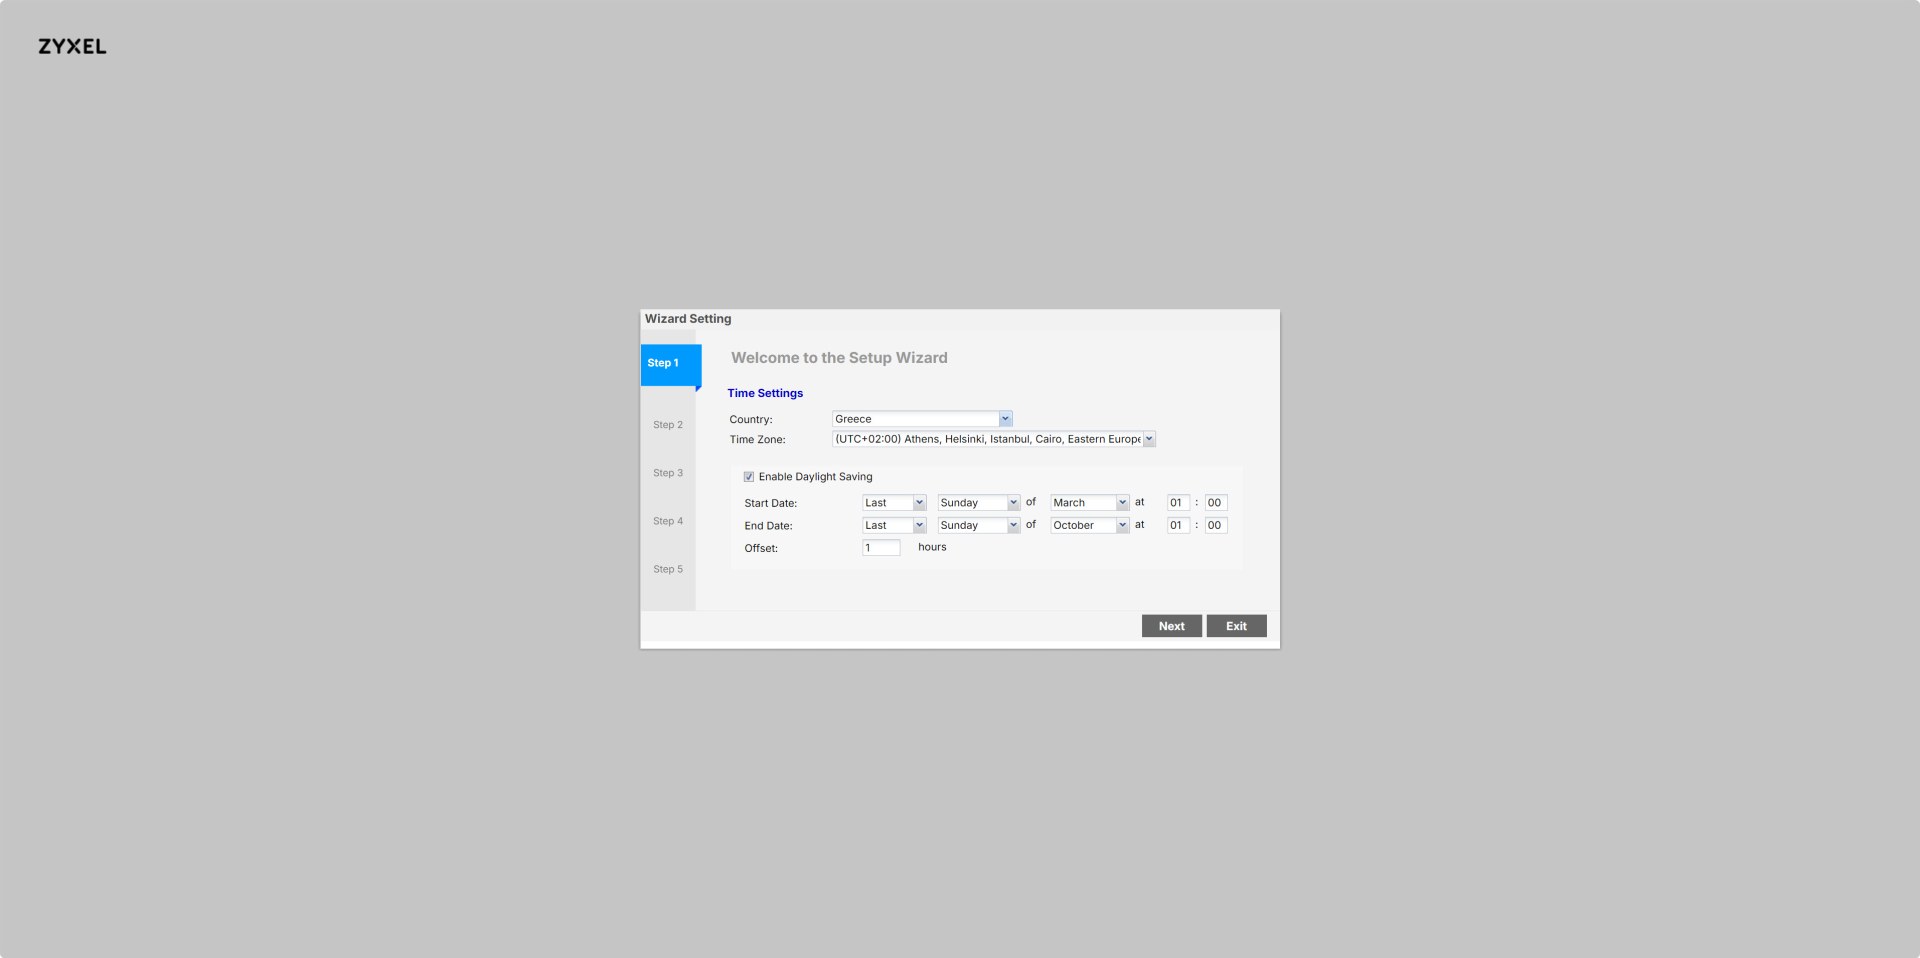
After that you will be asked to set country, time zone, and daylight‑saving rules for accurate system time.
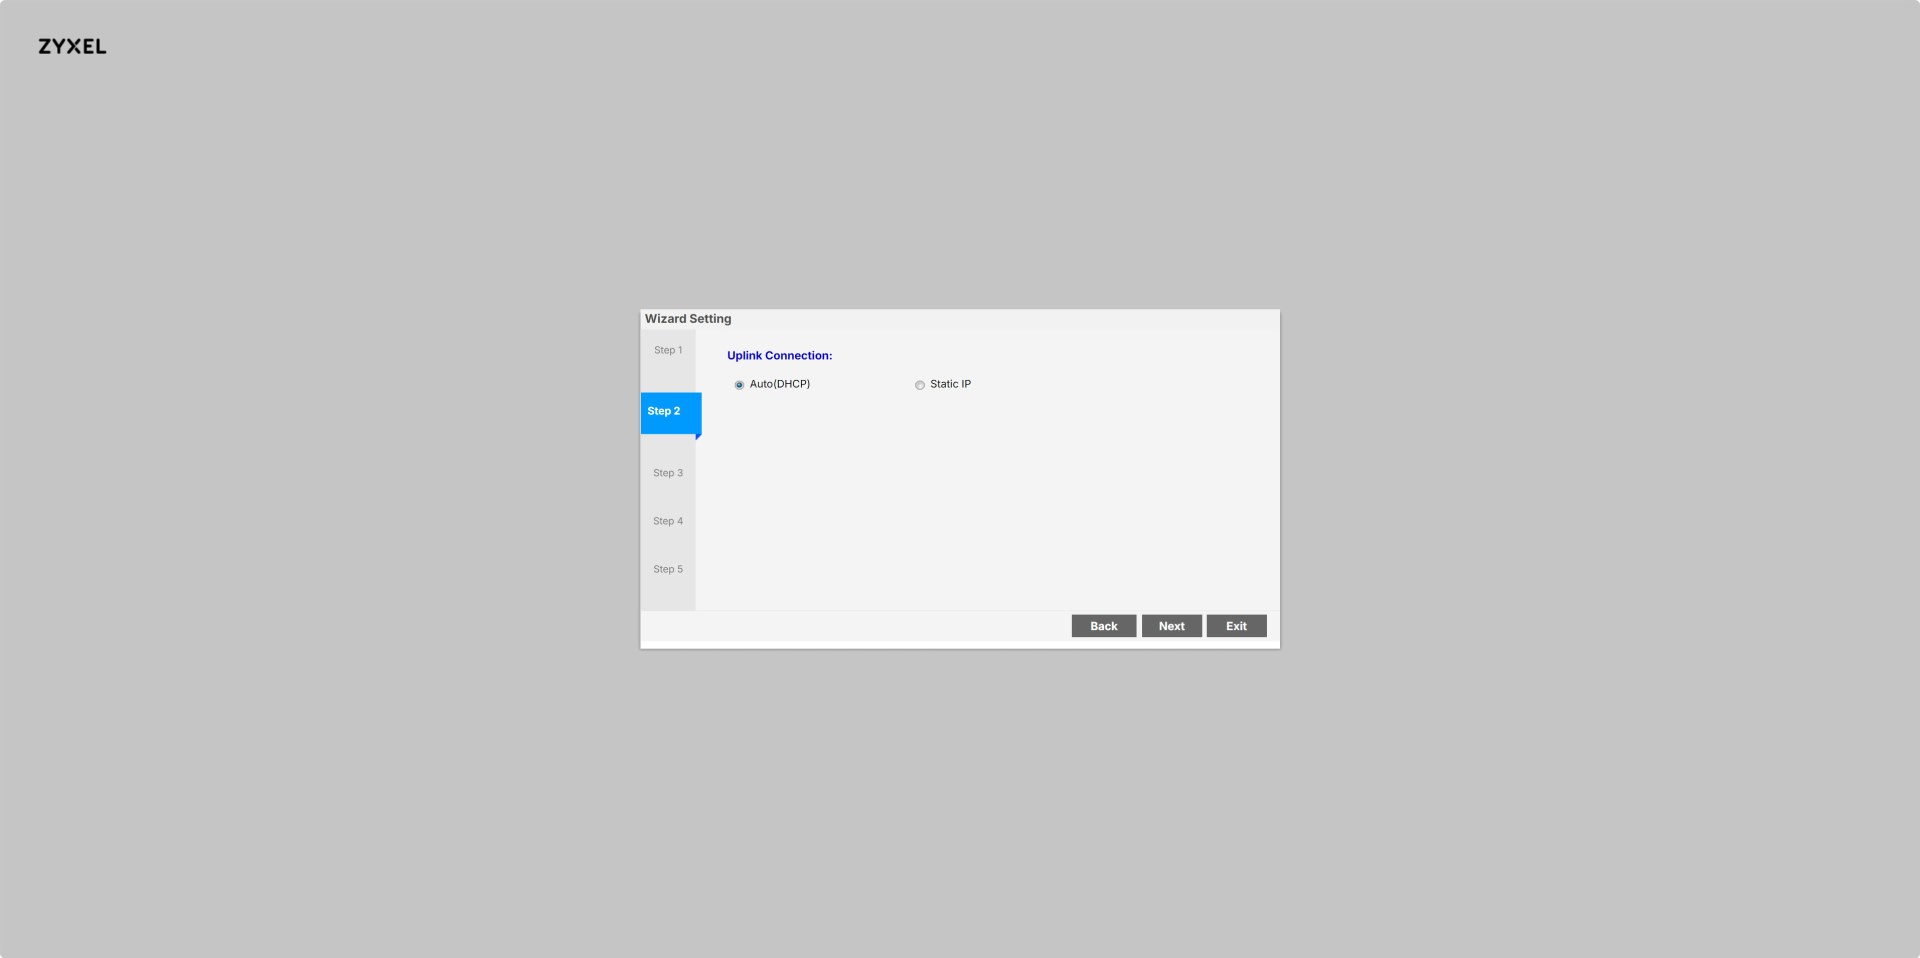
You also need to choose how the AP gets its IP address: automatic via DHCP or manual static IP.
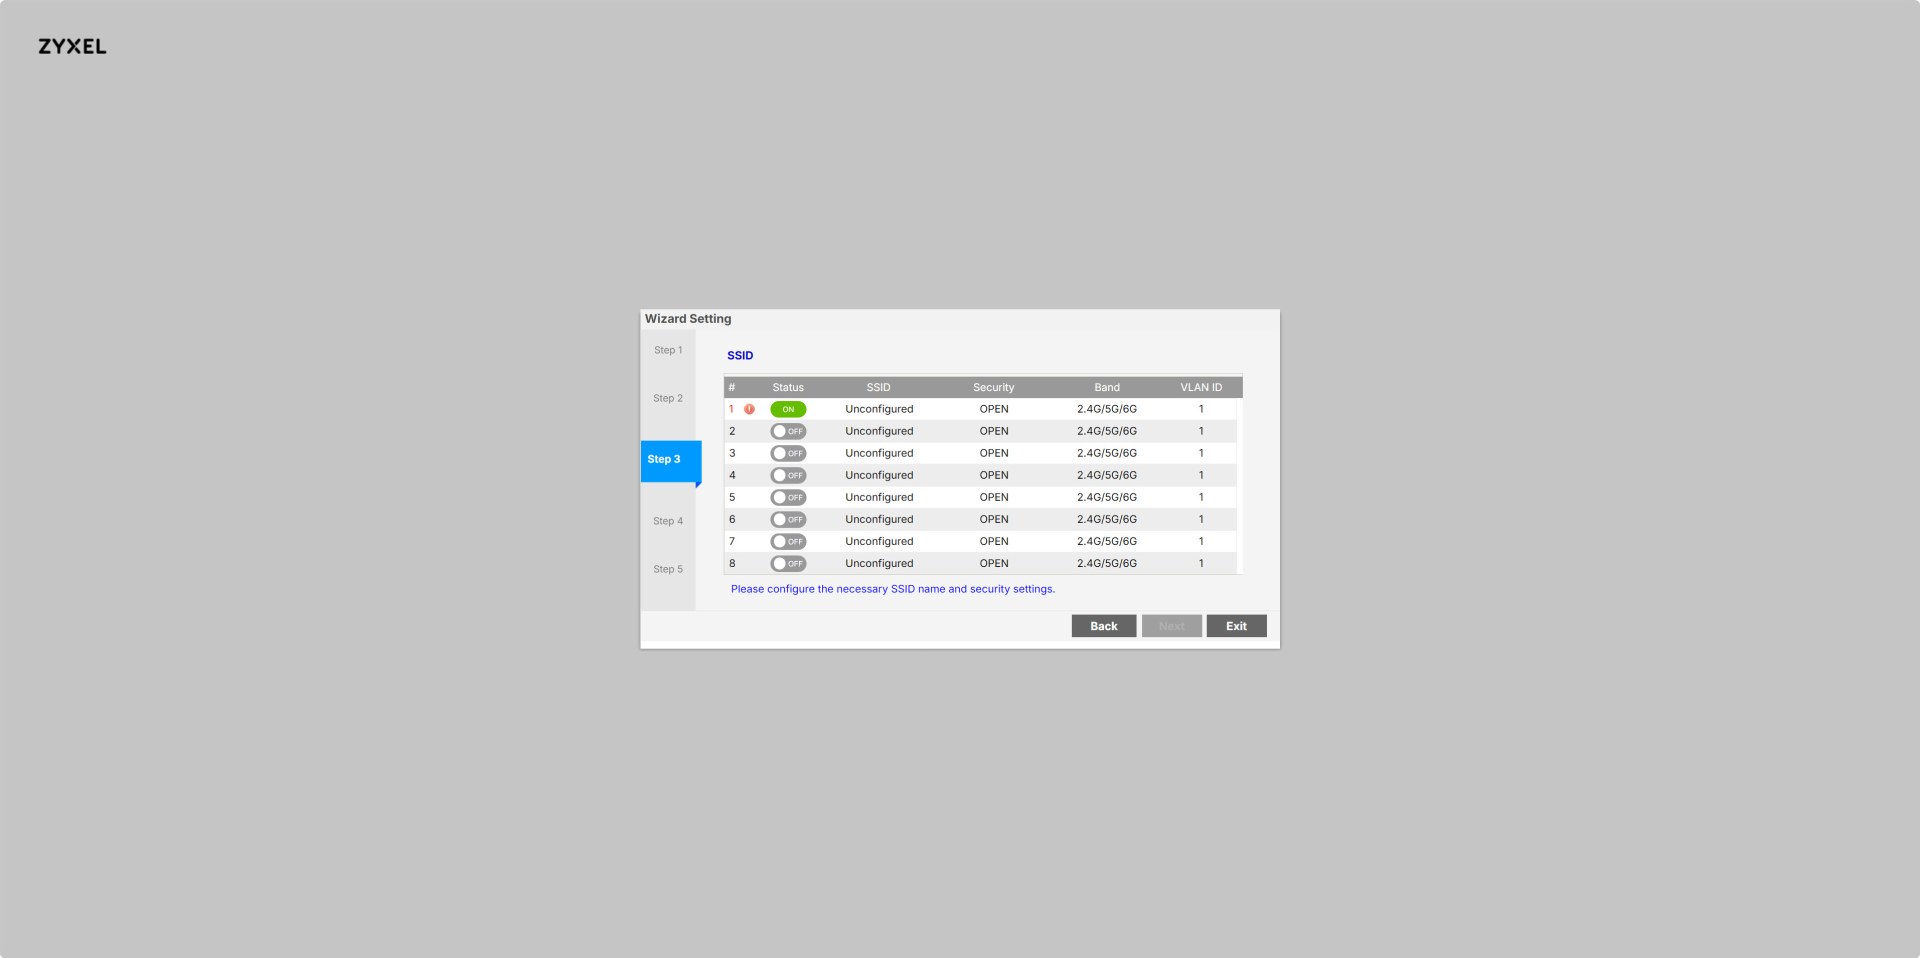
Next comes the available SSID slots from where the user can enable, name, and secure each wireless network.
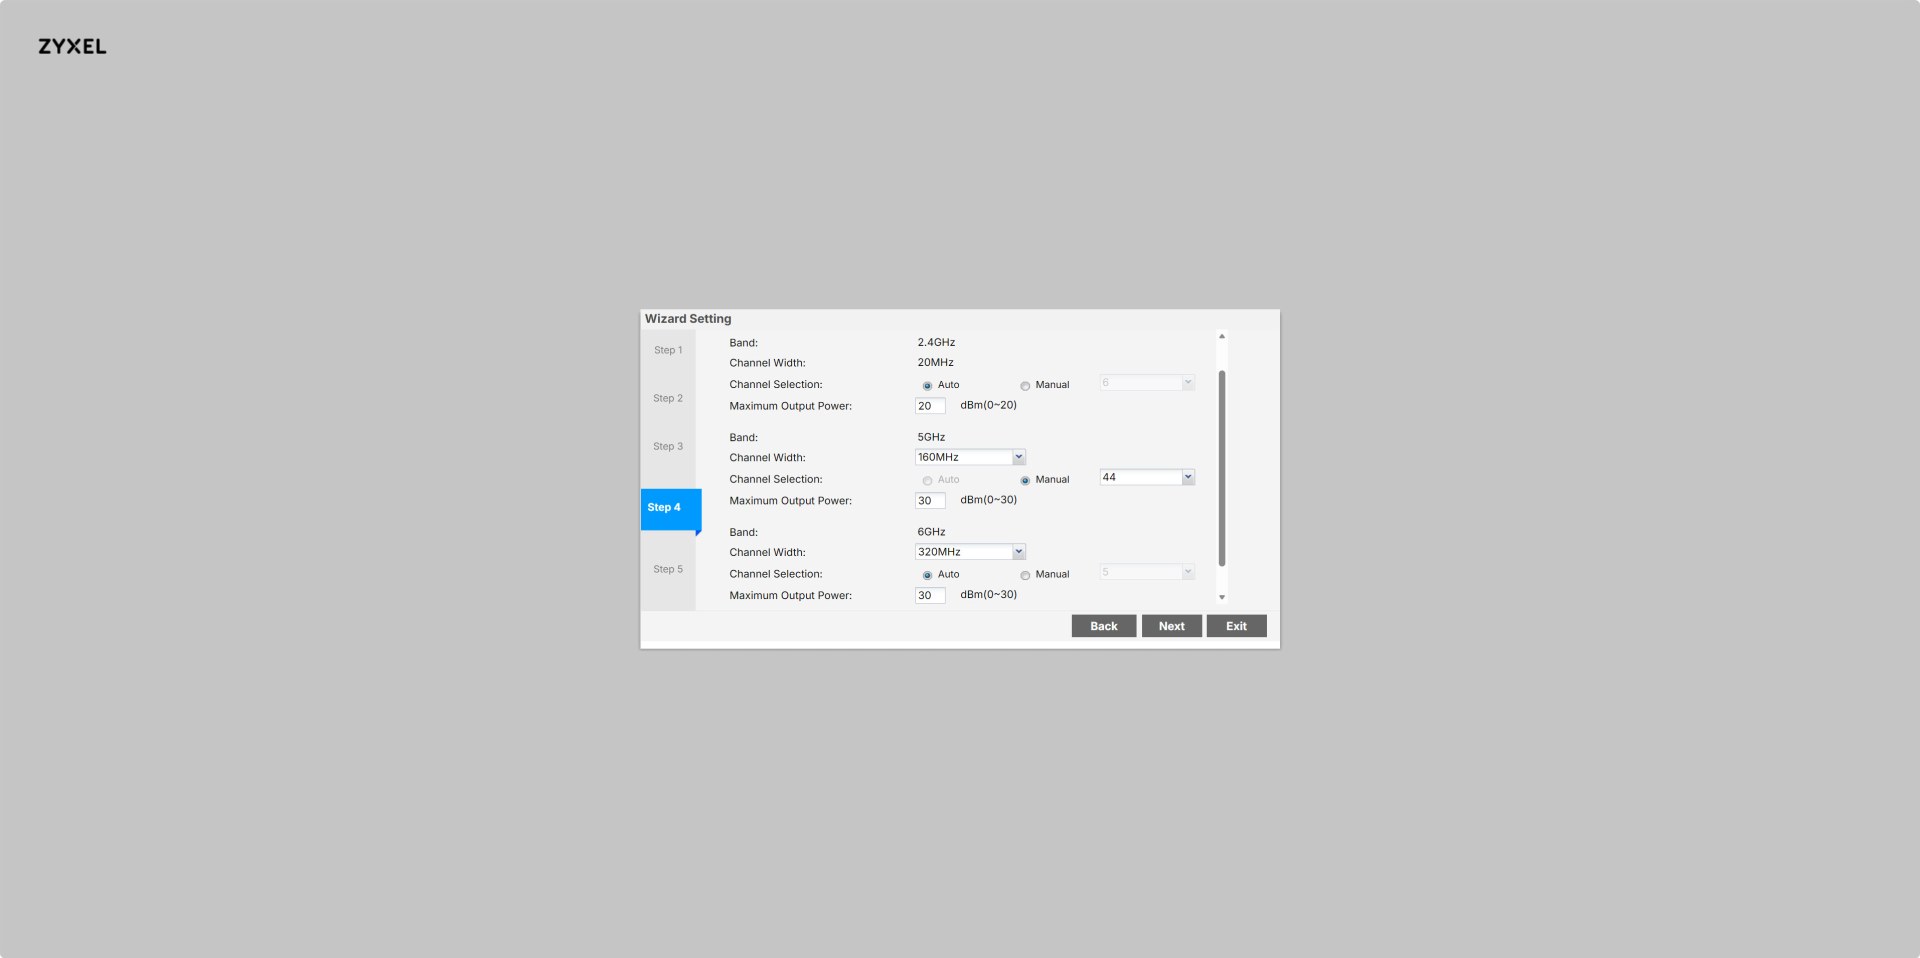
Step 4 allows configuration of 2.4G/5G/6G radio bands, channel width, channel selection, and transmit power.
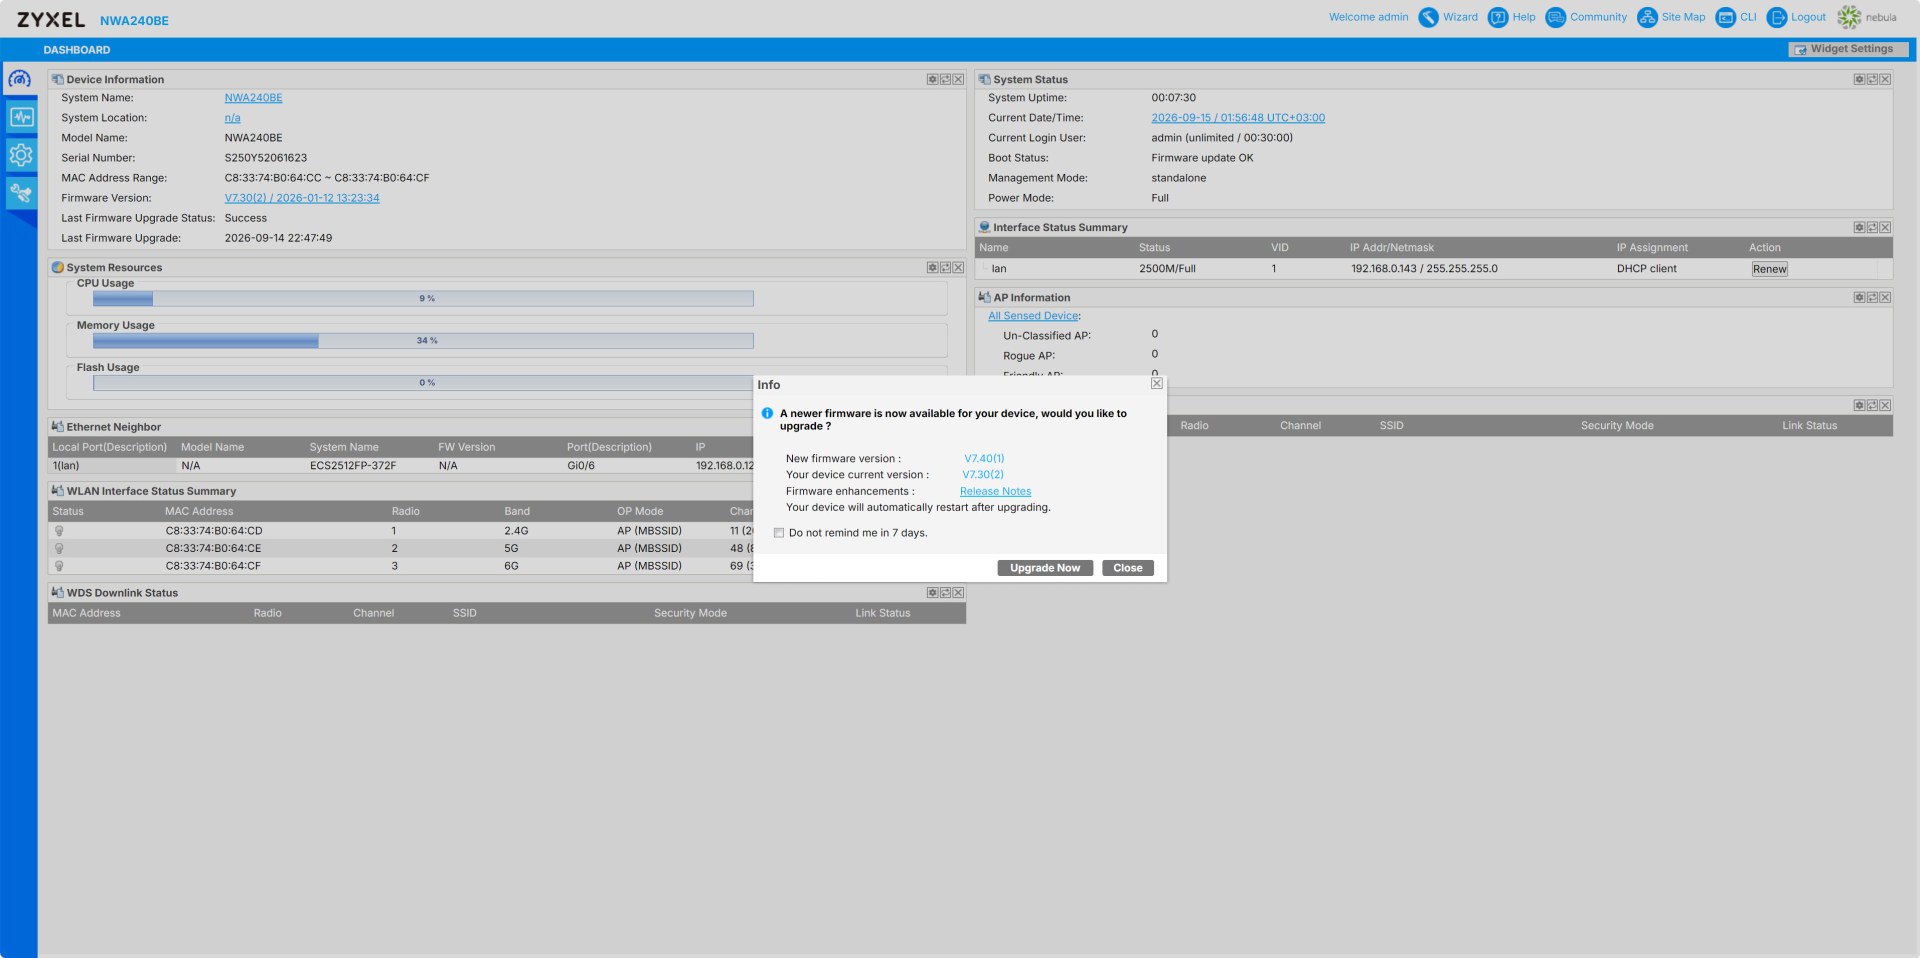
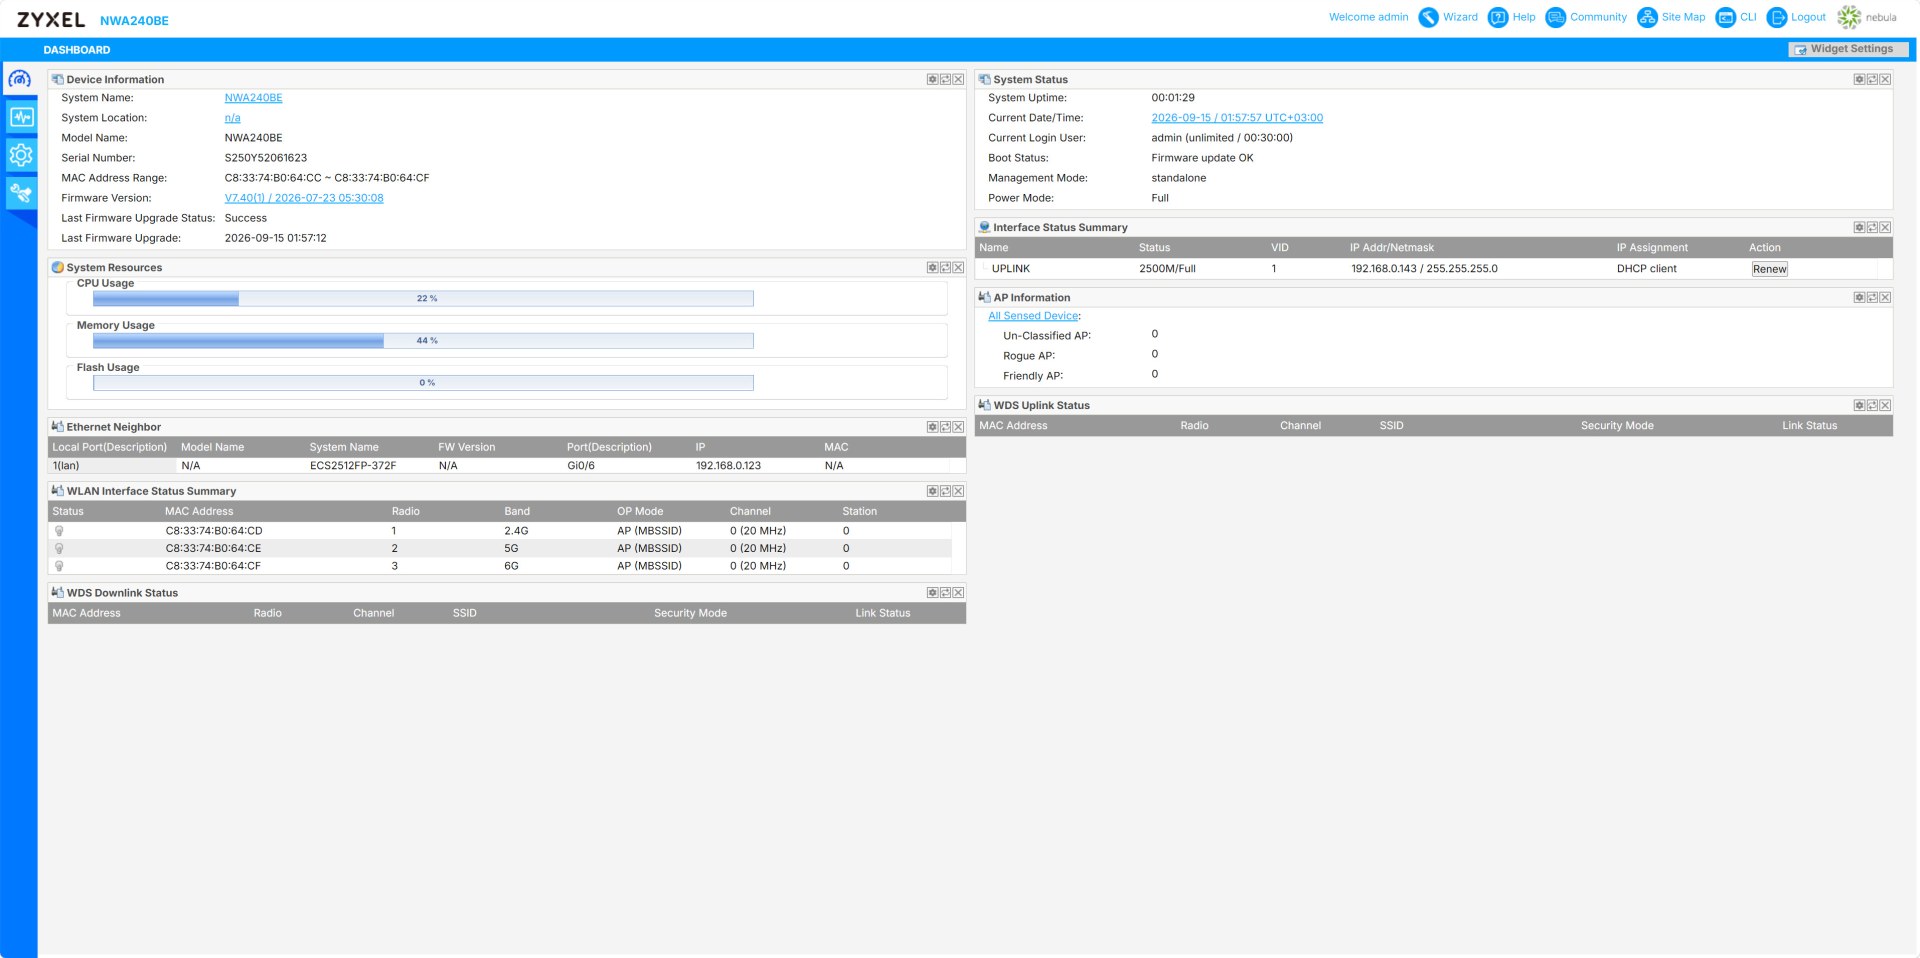
The main web dashboard displays device status, resource usage, radio channels, network info, and firmware update prompts.
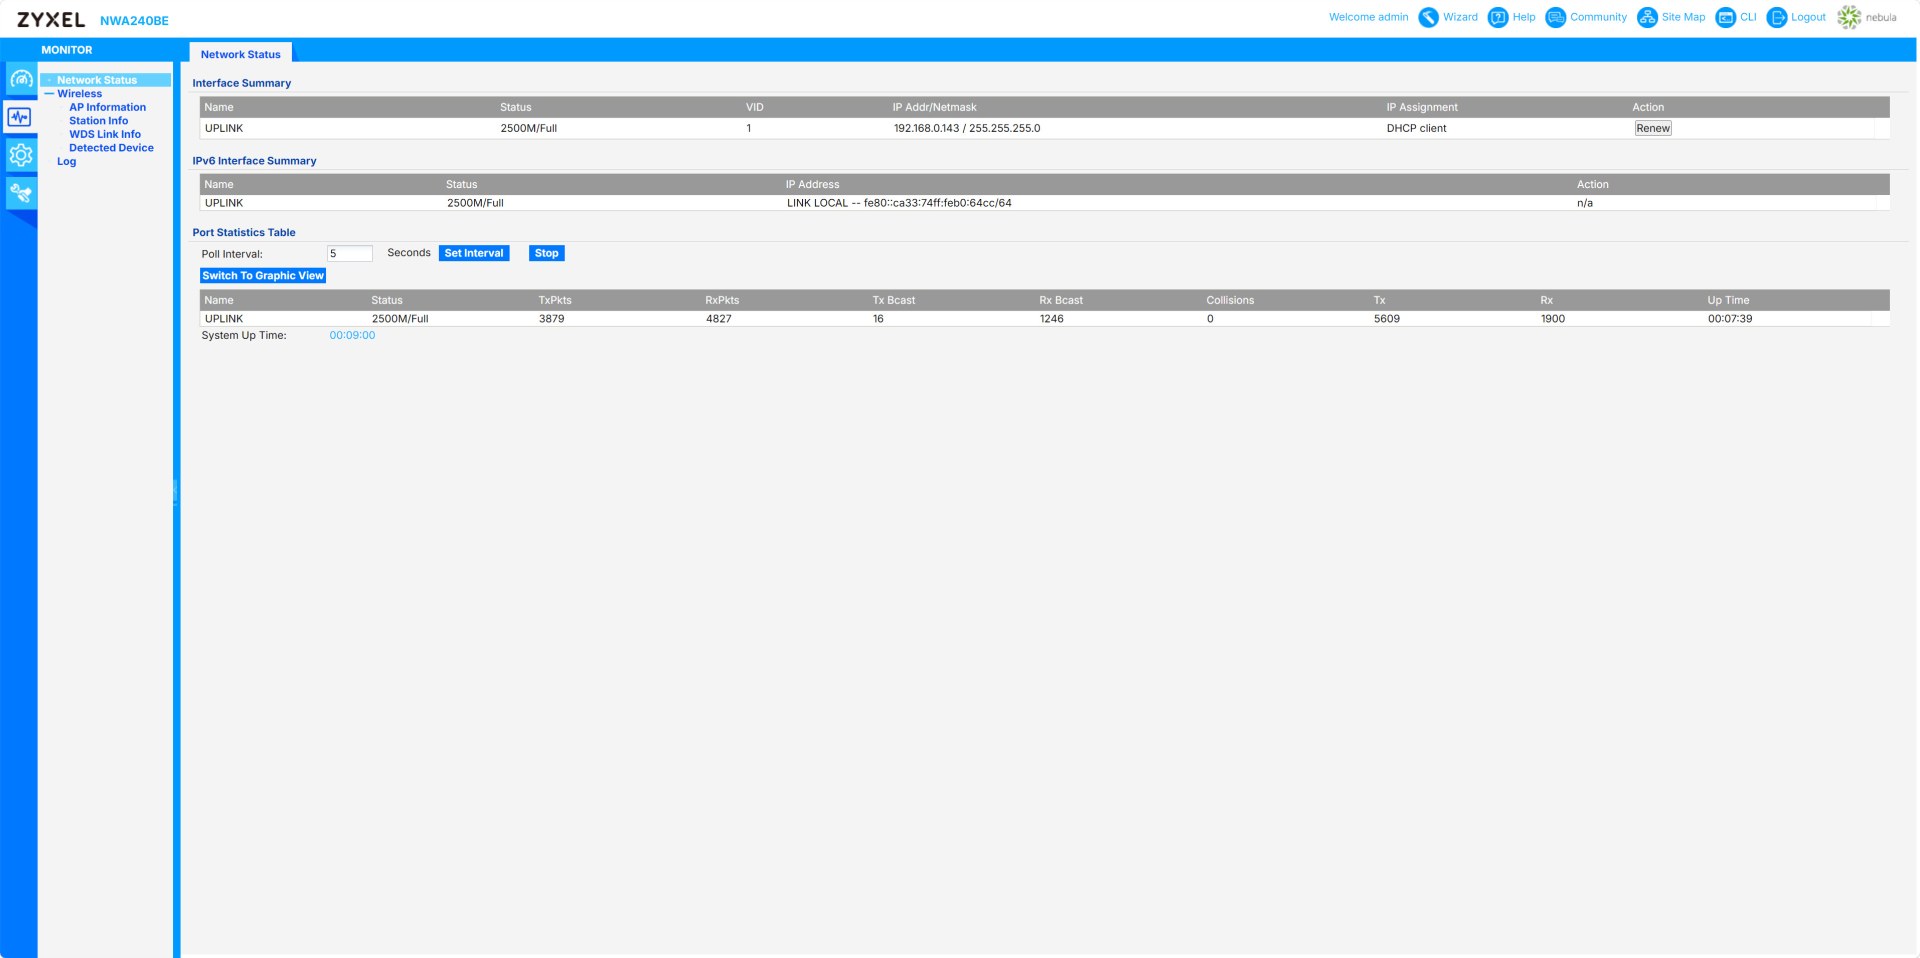
Moving to the monitor menu this provides real‑time link status, IPv4/IPv6 info, packet counters, and interface performance metrics.
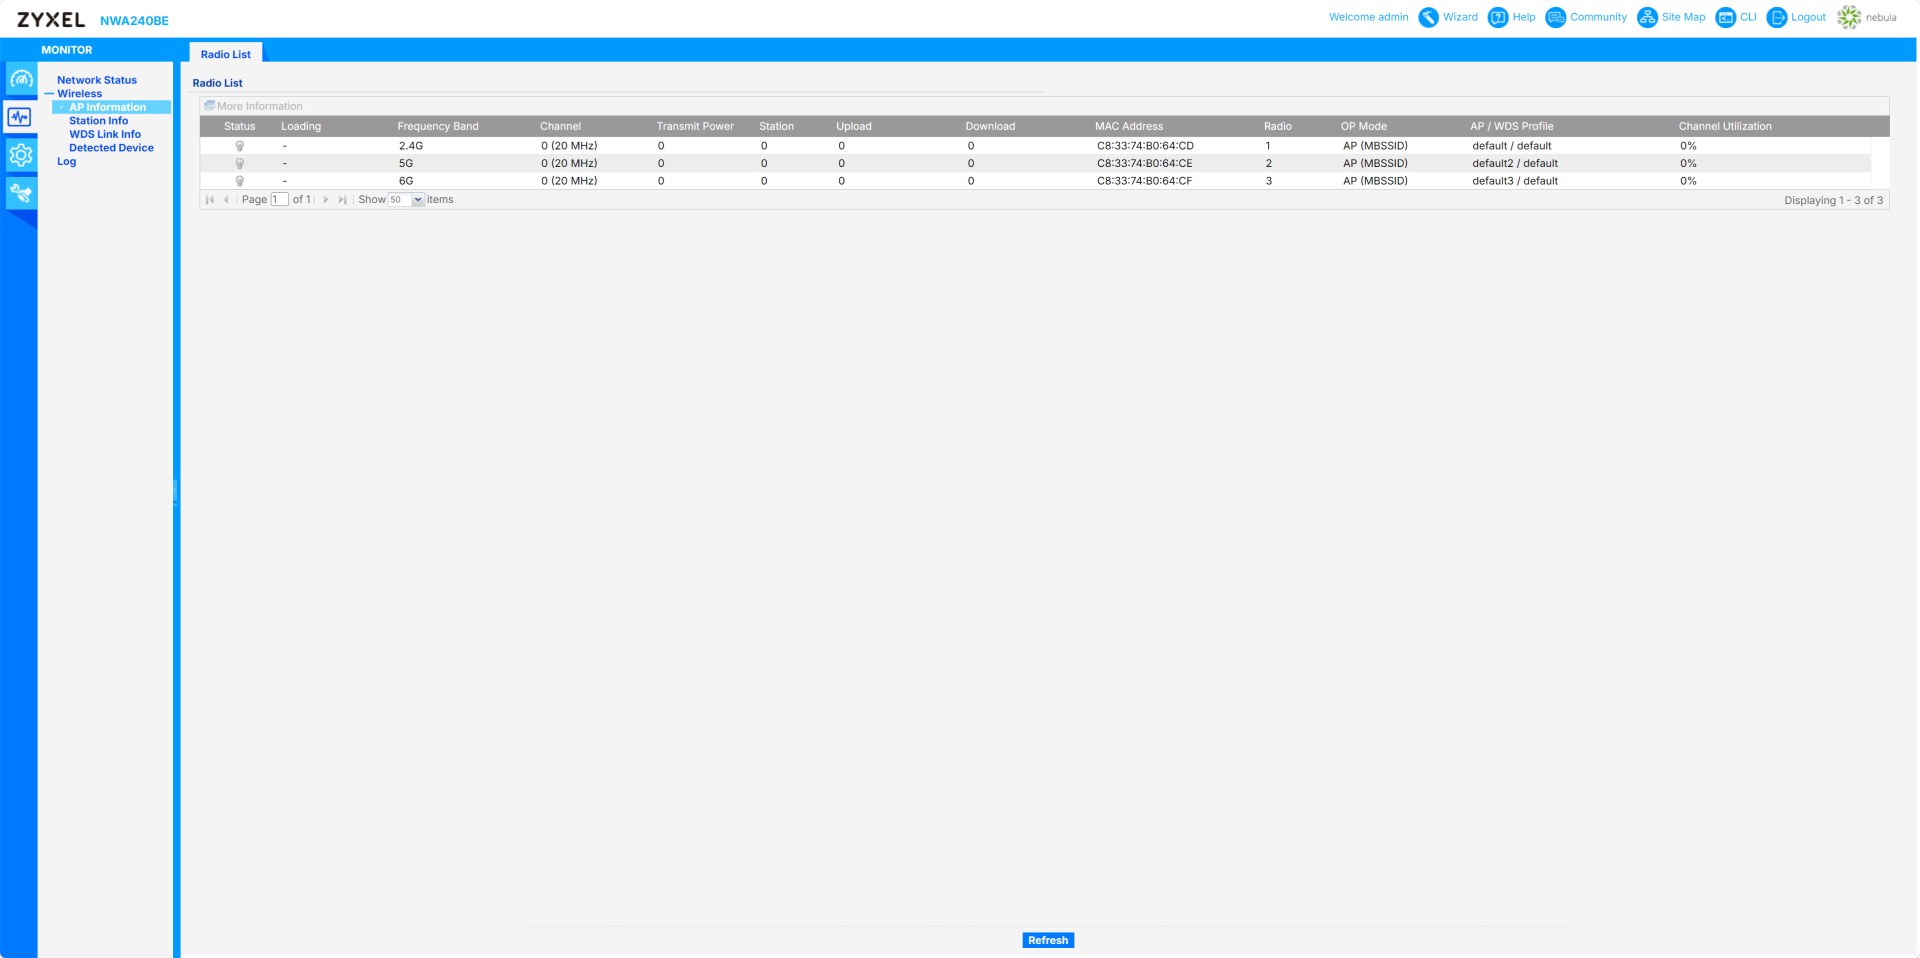
The AP info tab shows each radio’s band, channel, power, connected stations, and channel utilization.
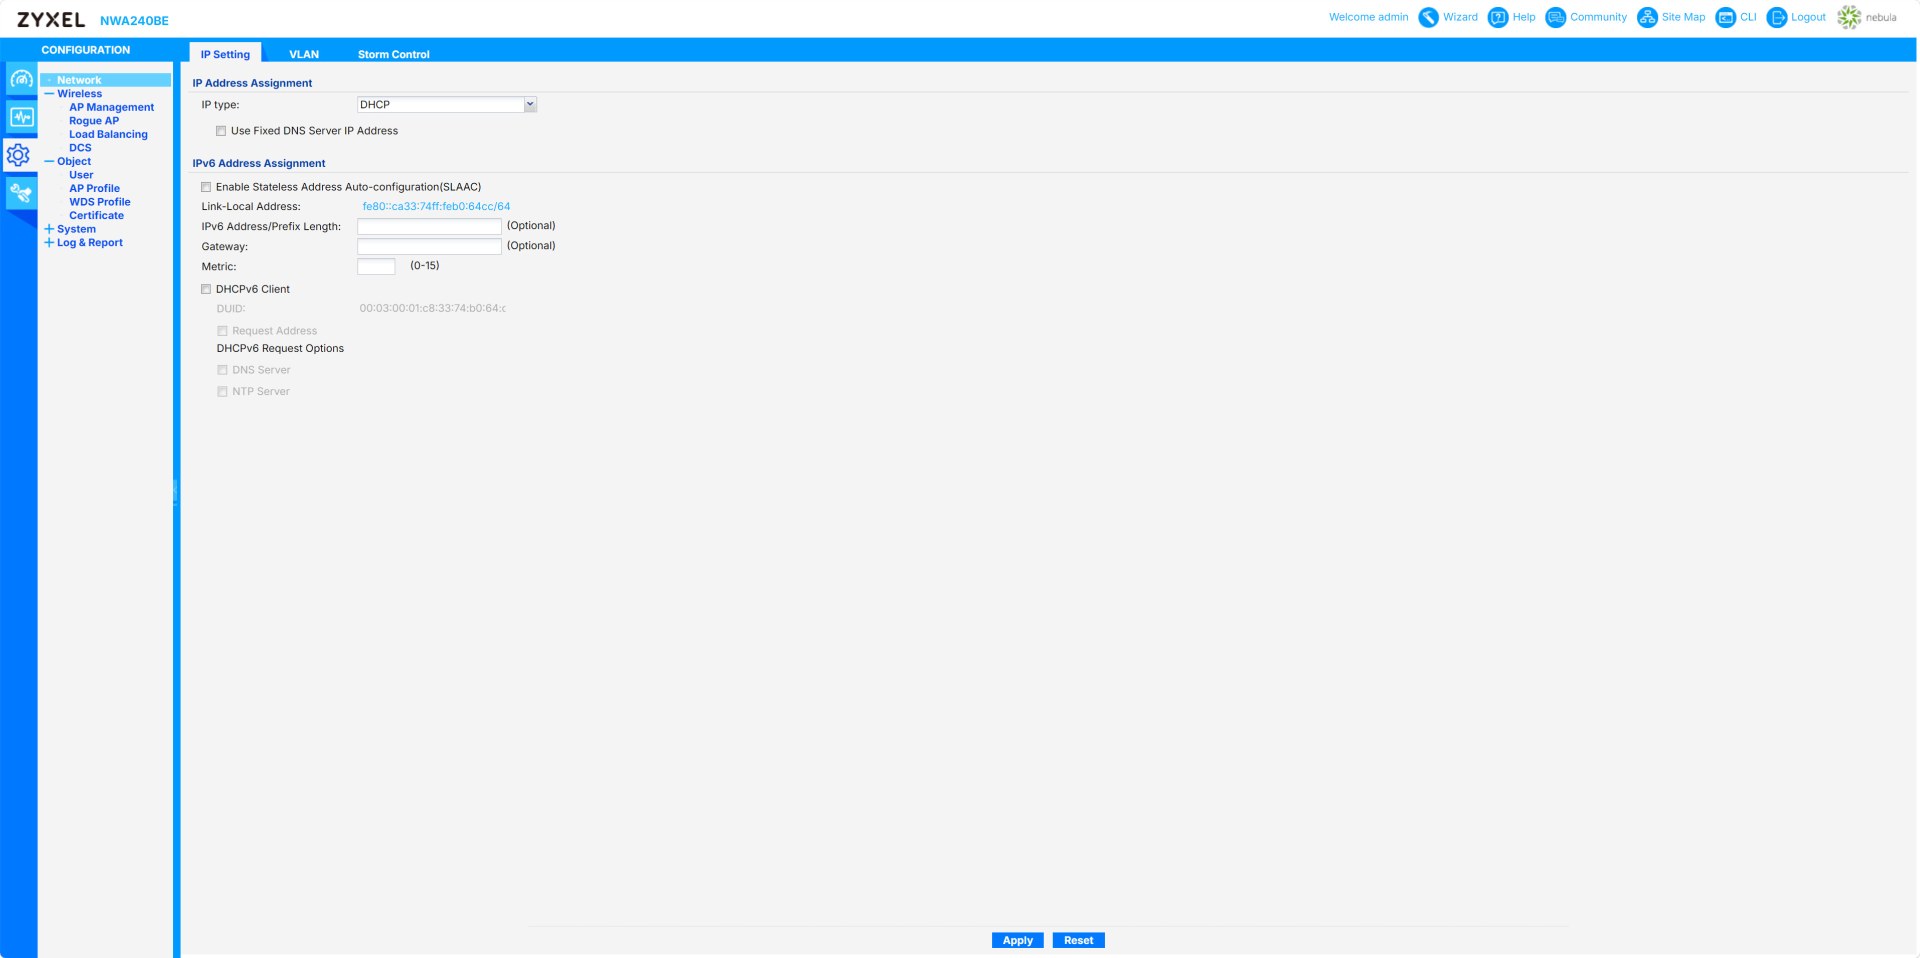
From the network tab inside the configuration menu, you can configure IPv4/IPv6 addressing, DHCP options, DNS, gateway, and SLAAC settings.
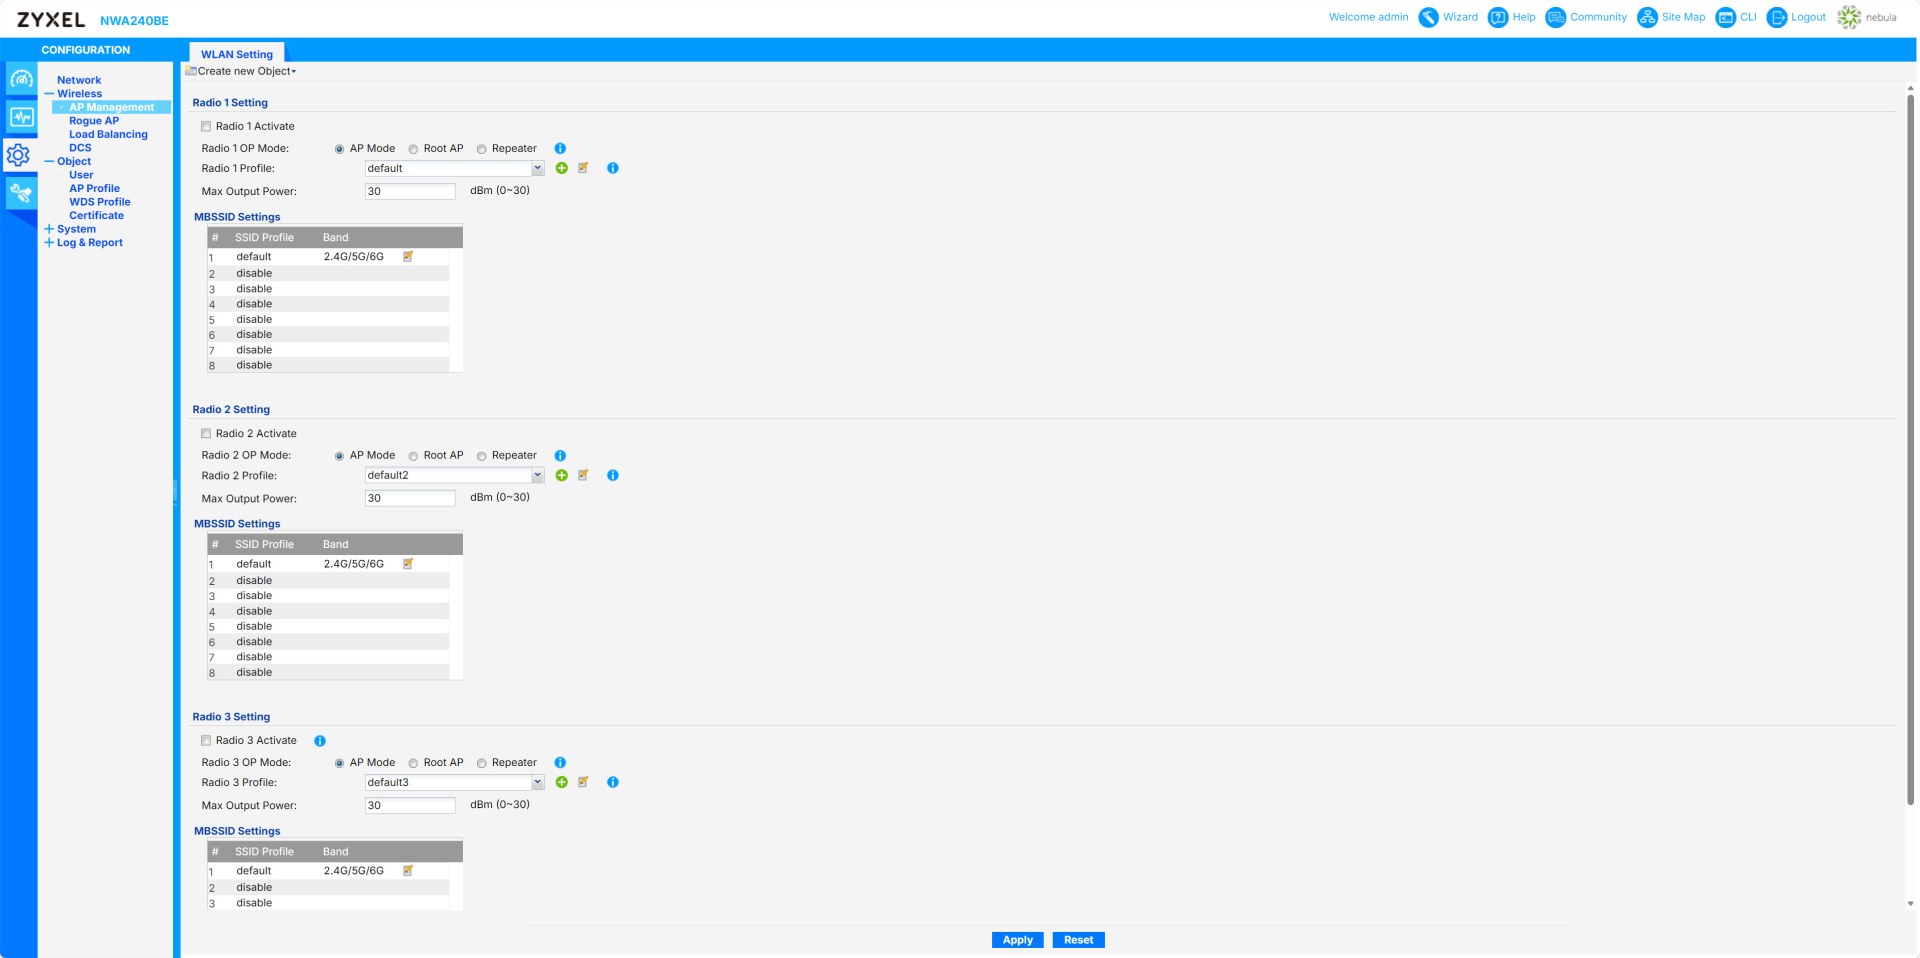
You can also activate radios, select AP/WDS modes, power levels, and assign SSID profiles.
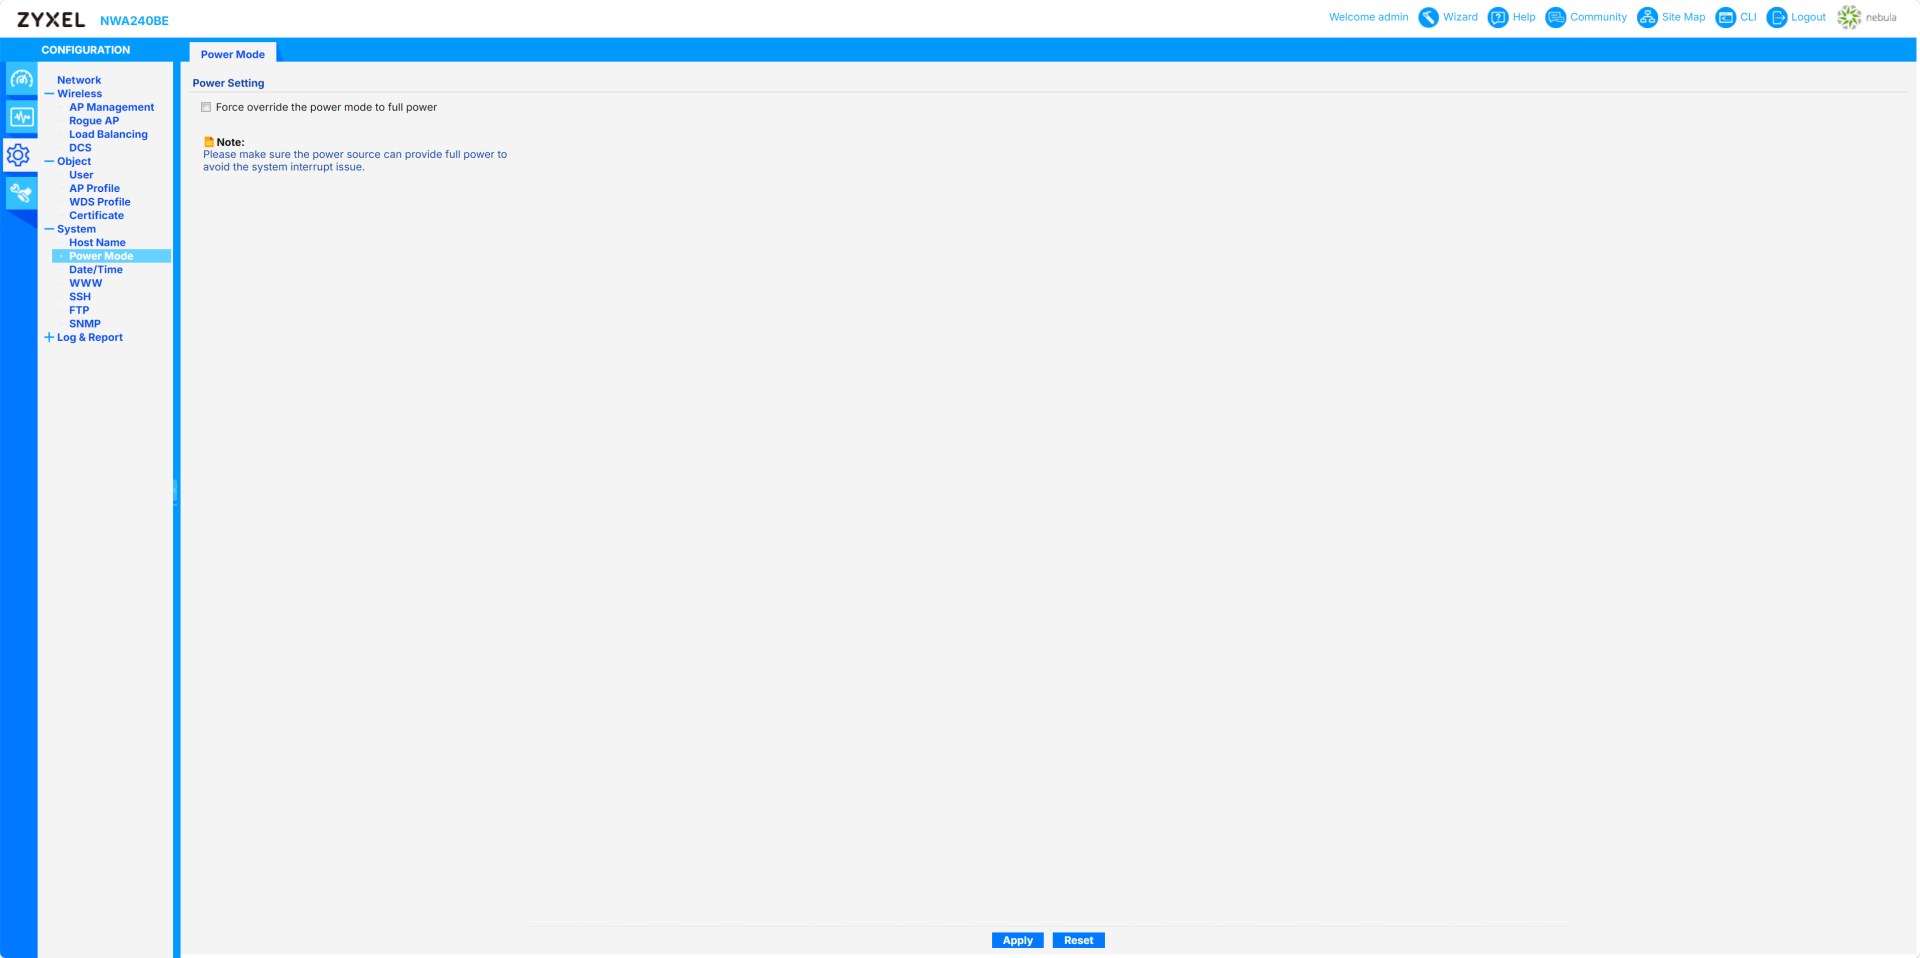
The power mode lets the user force full‑power operation when the power source can support it (not available via the Nebula app).
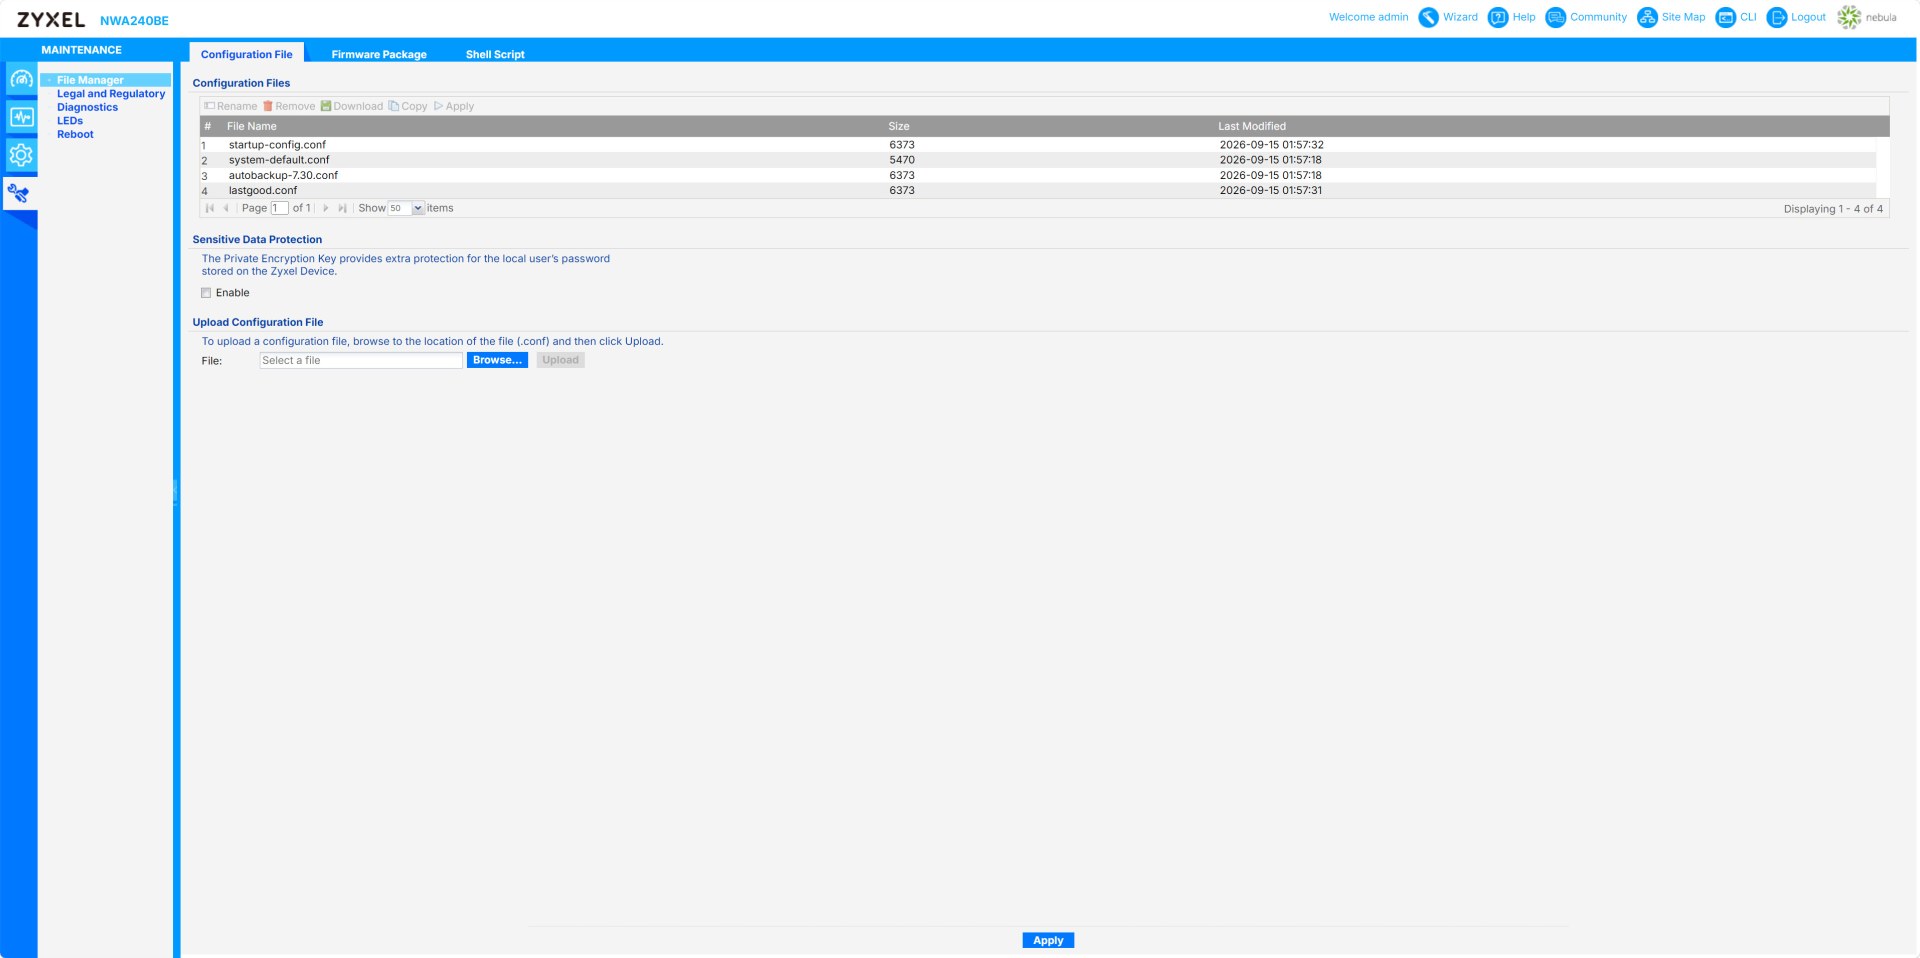
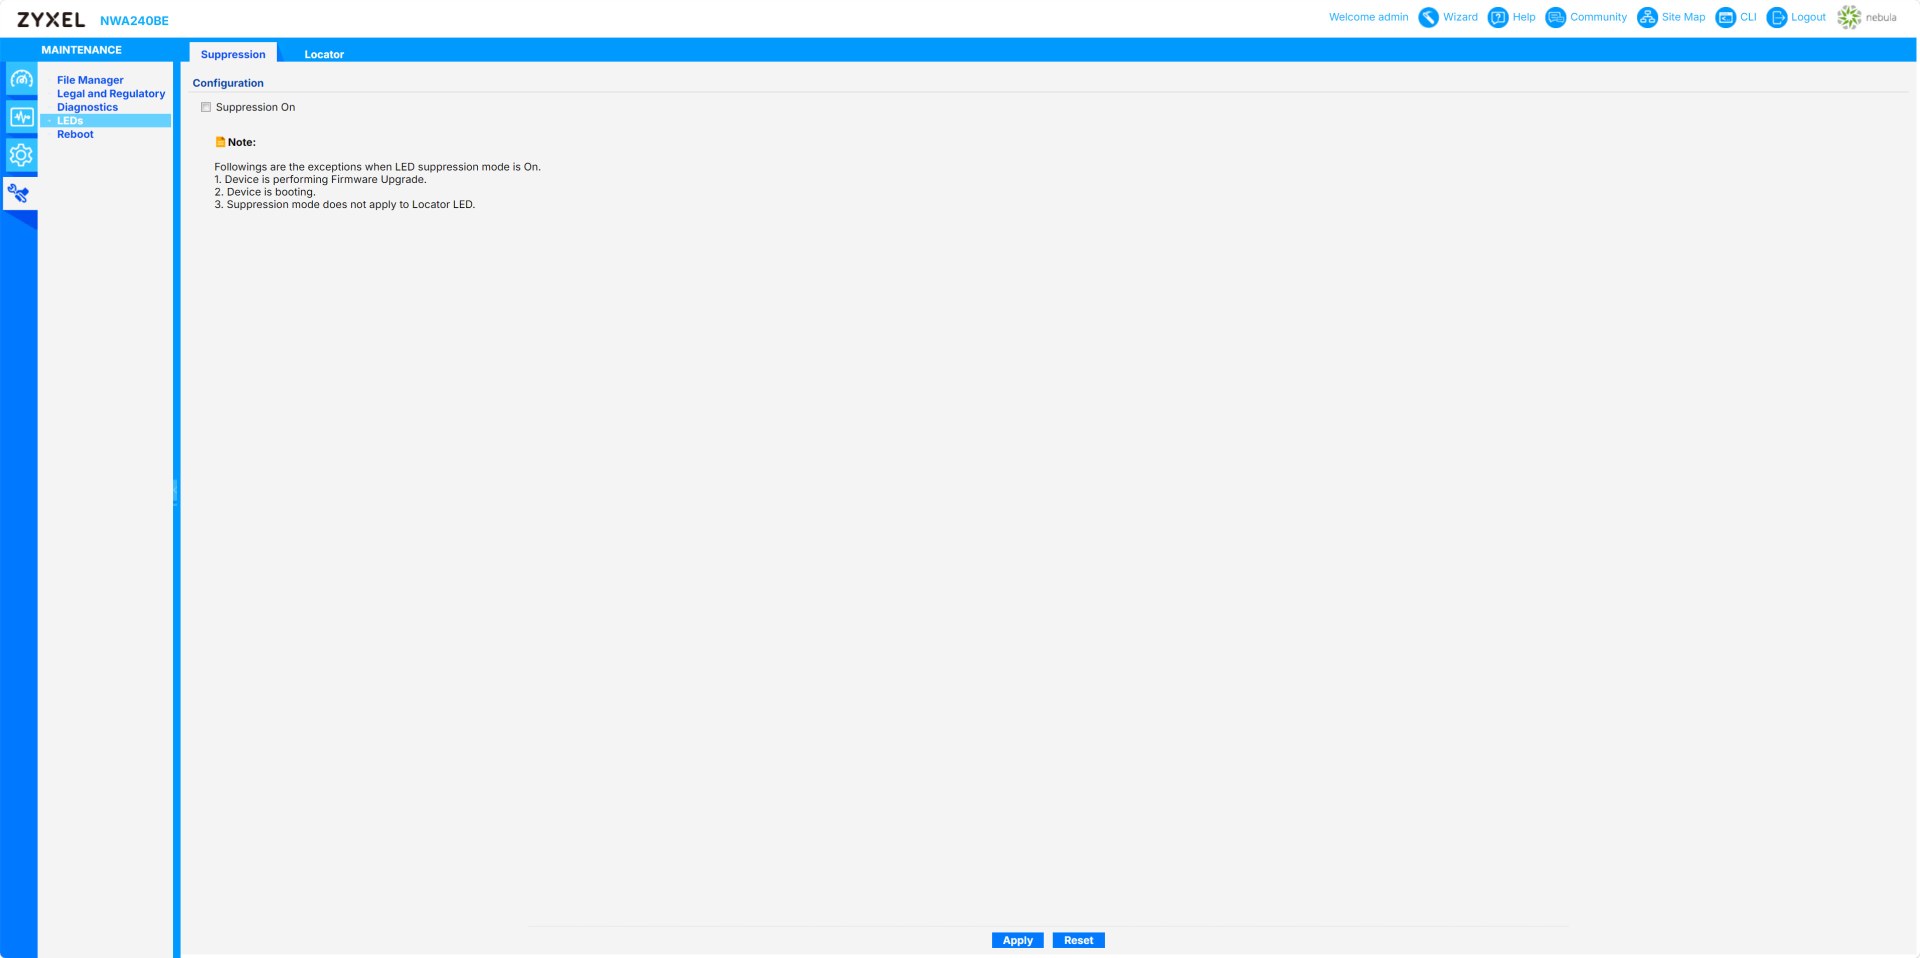
Inside the maintenance menu you'll be able to manage configuration files and disable front‑panel LEDs except during boot, upgrades, or locator mode.