


SETUP
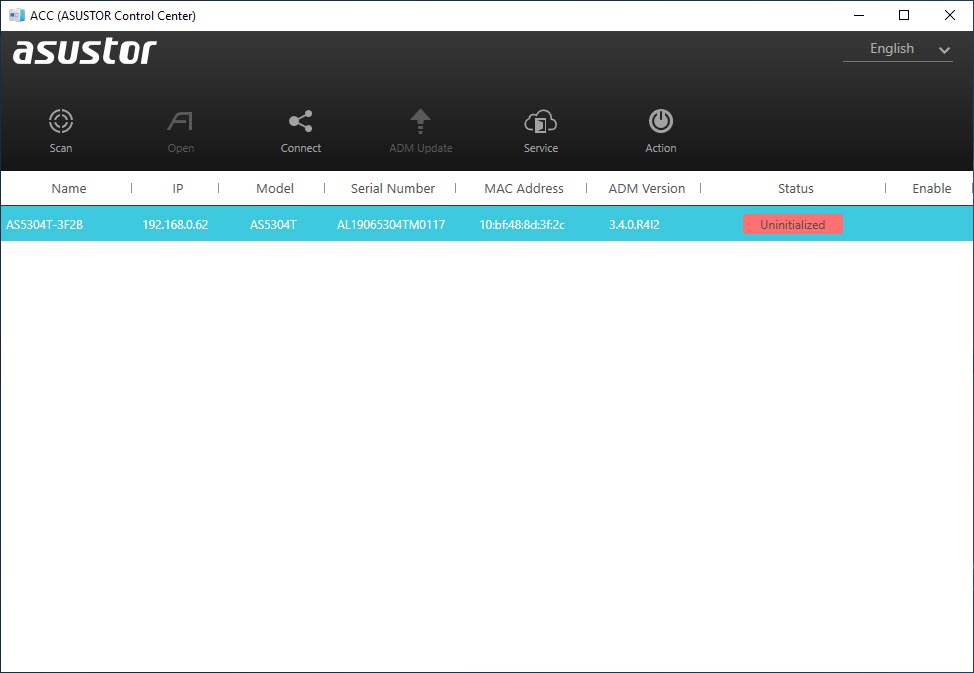
Even though you can also start the setup procedure via your smartphone (connected to the local network of course) as usual we'll be using the ASUSTOR Control Center software which locates the NAS on your local network.
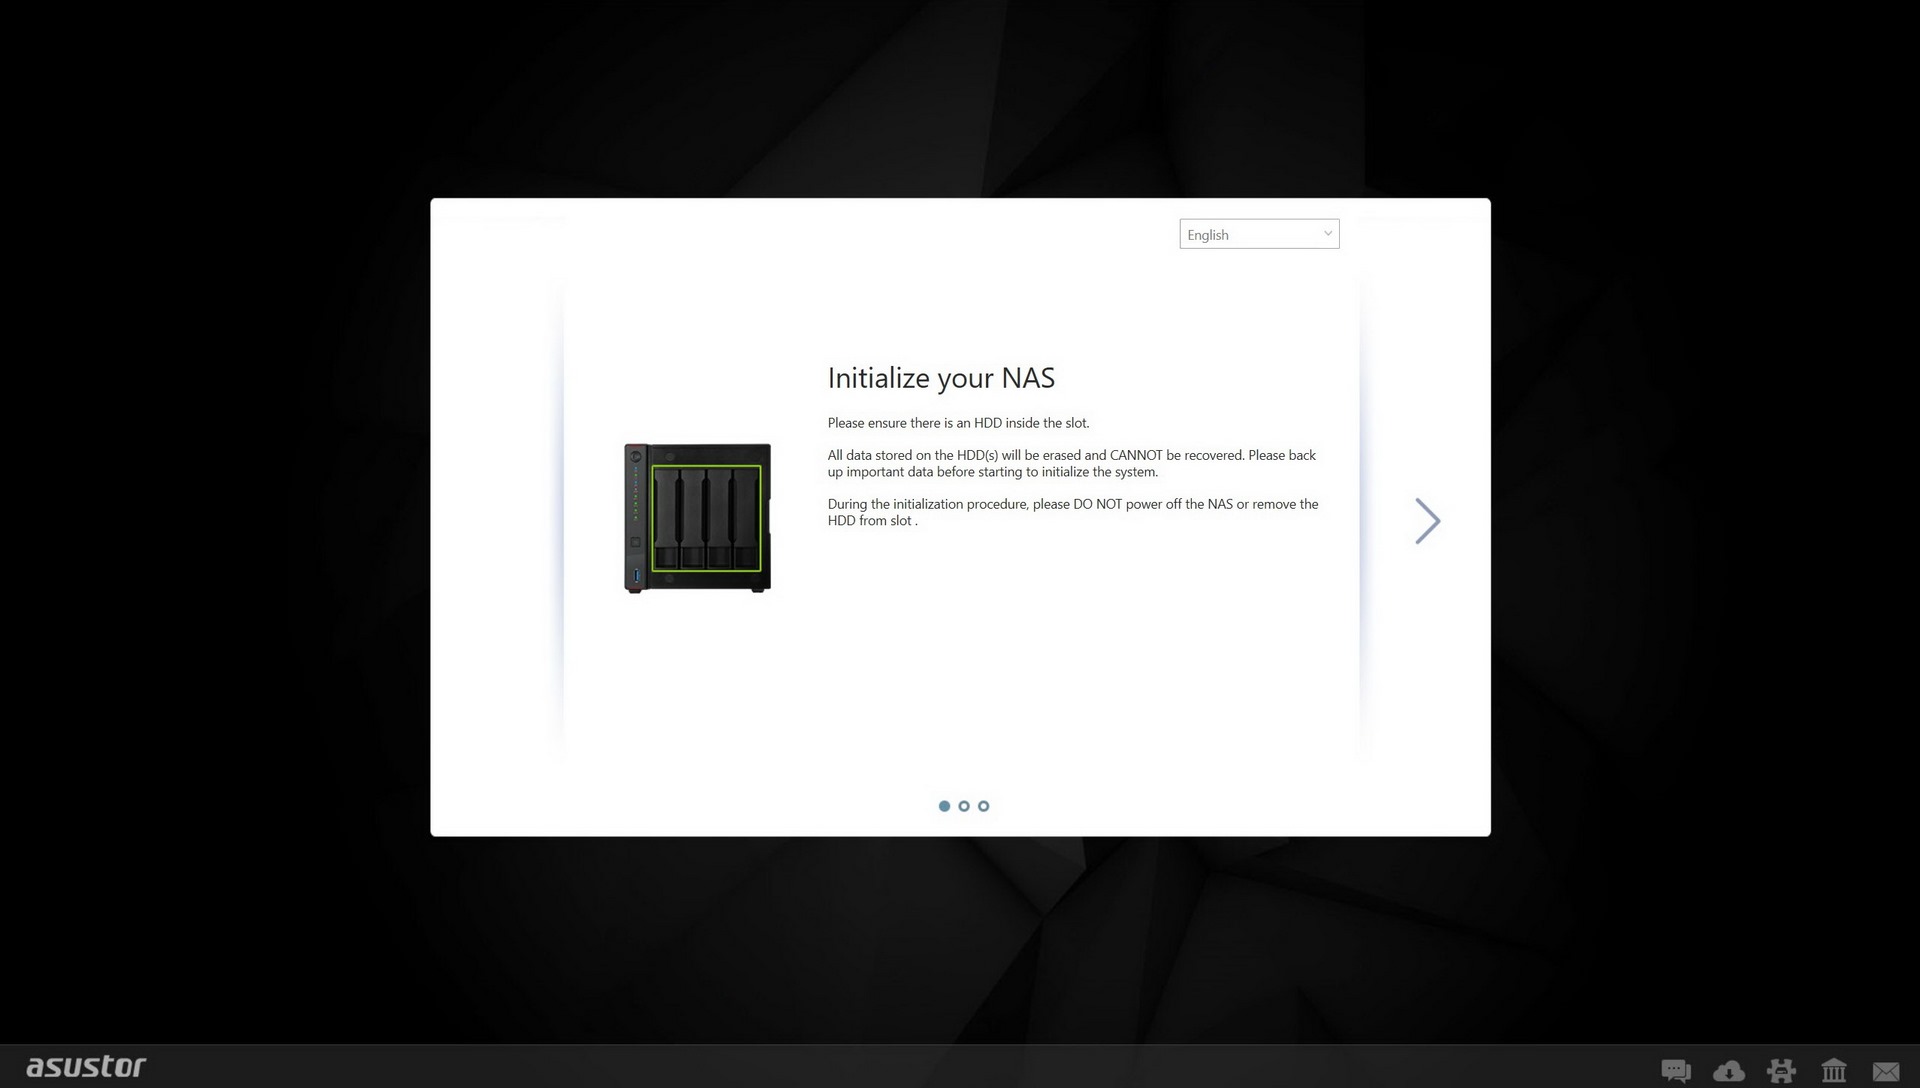
Once you click on the NAS a web browser window will open to start the setup procedure (an HDD needs to be mounted in the NAS).
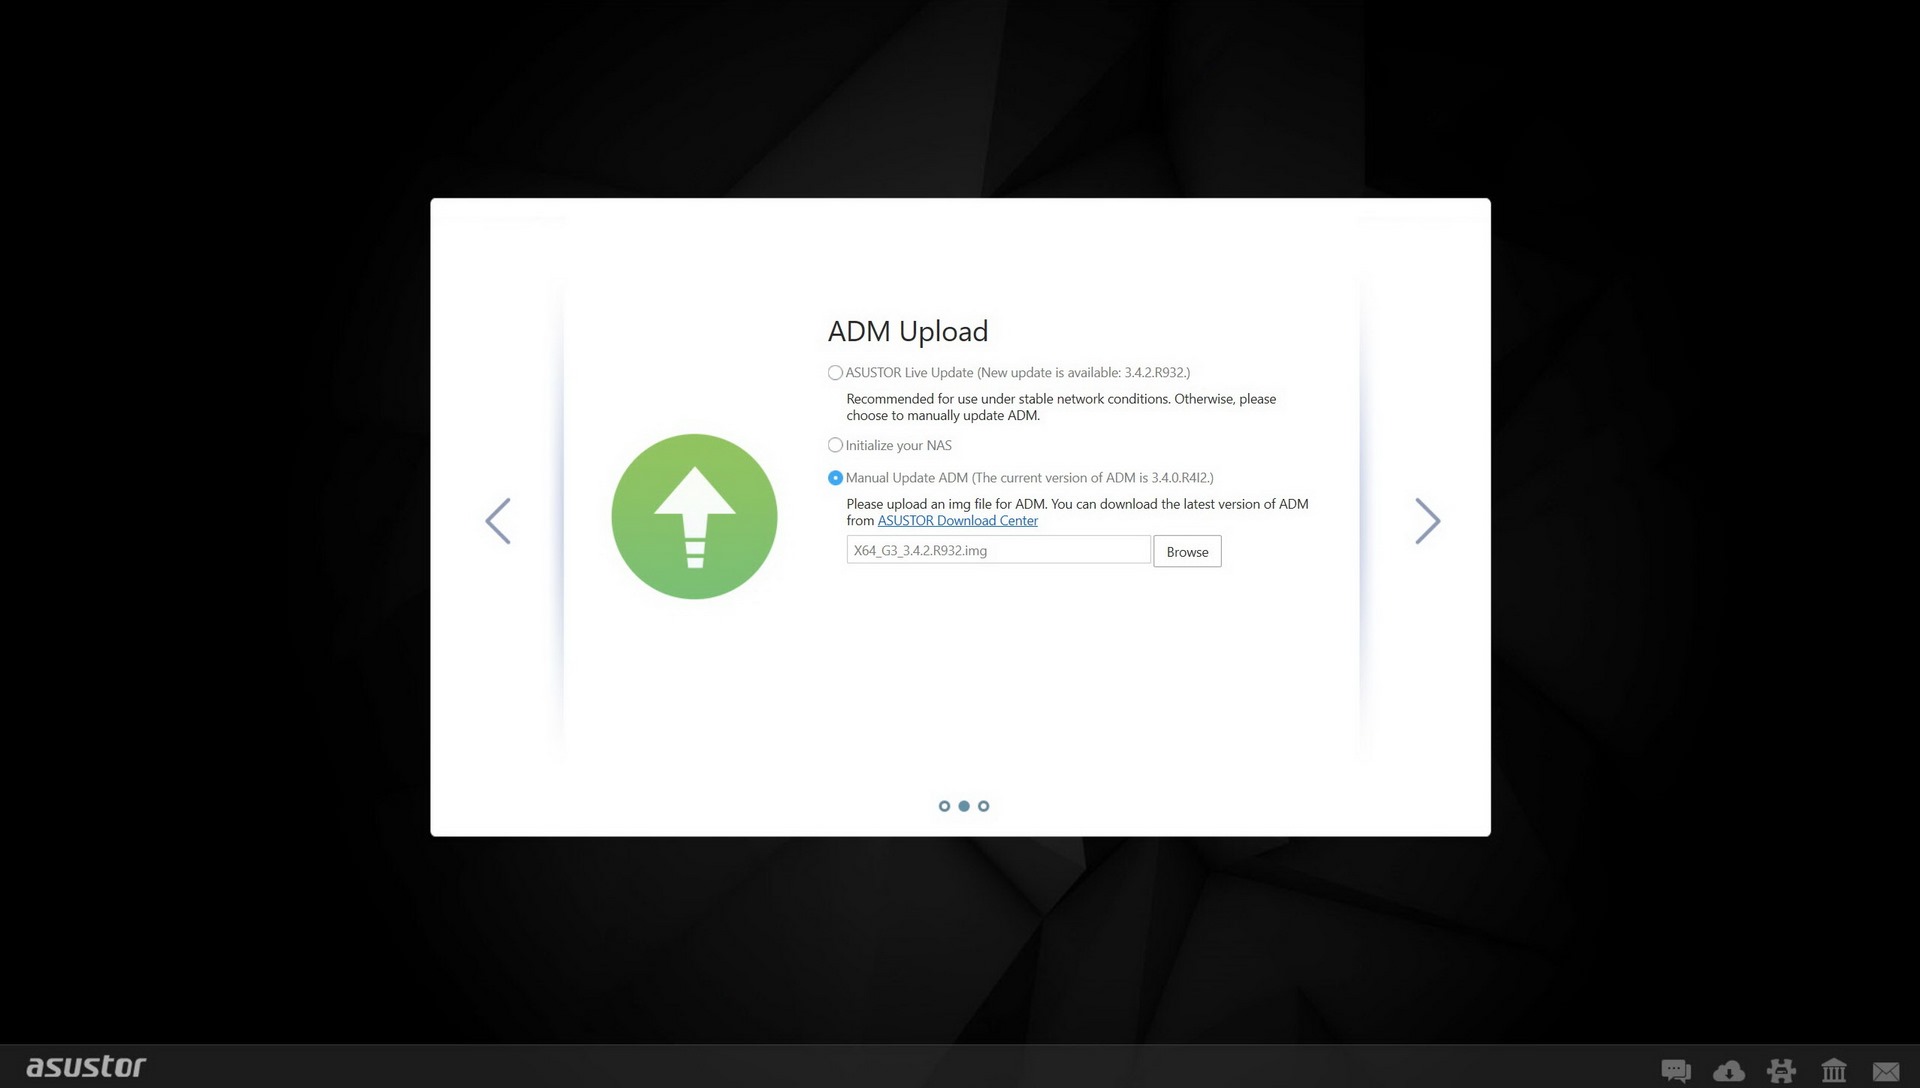
The installation wizard will ask you to either update the firmware of the NAS automatically from the internet or manually (you will need to download it first) as seen above.
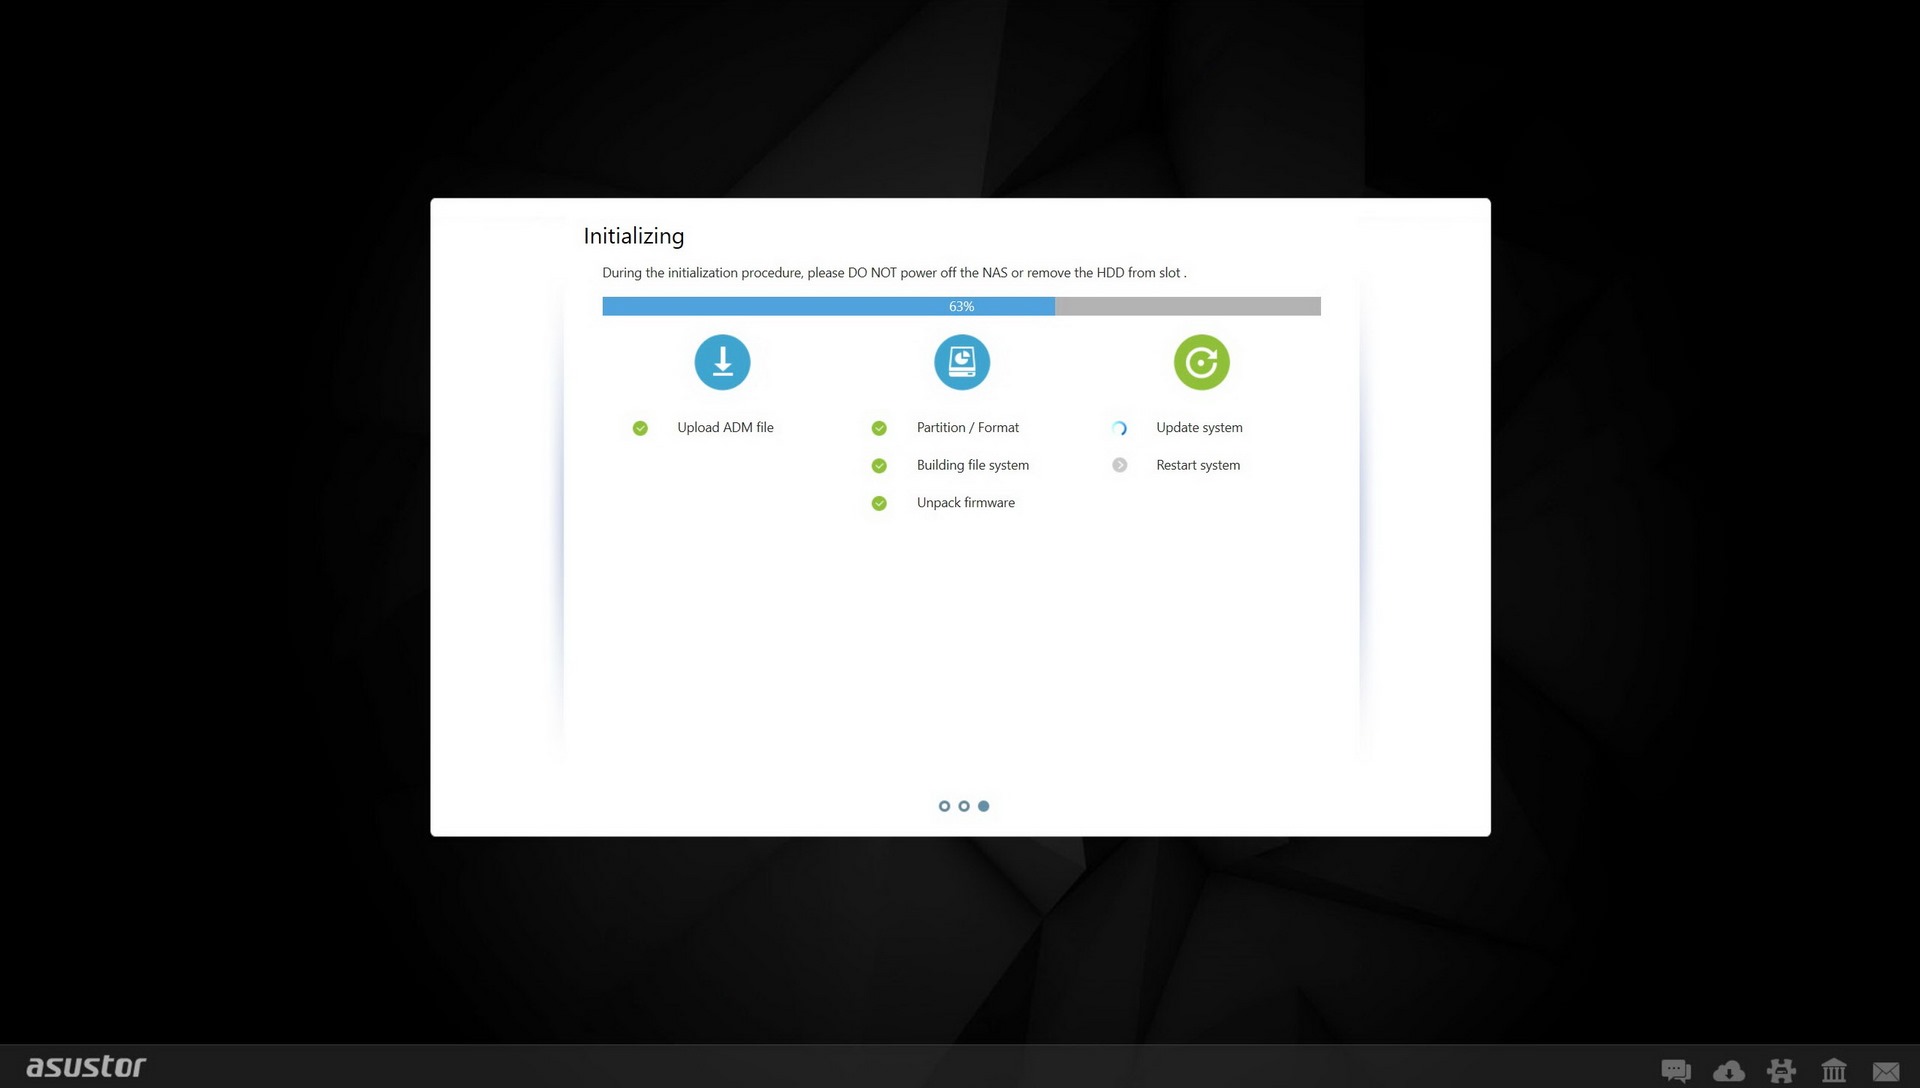
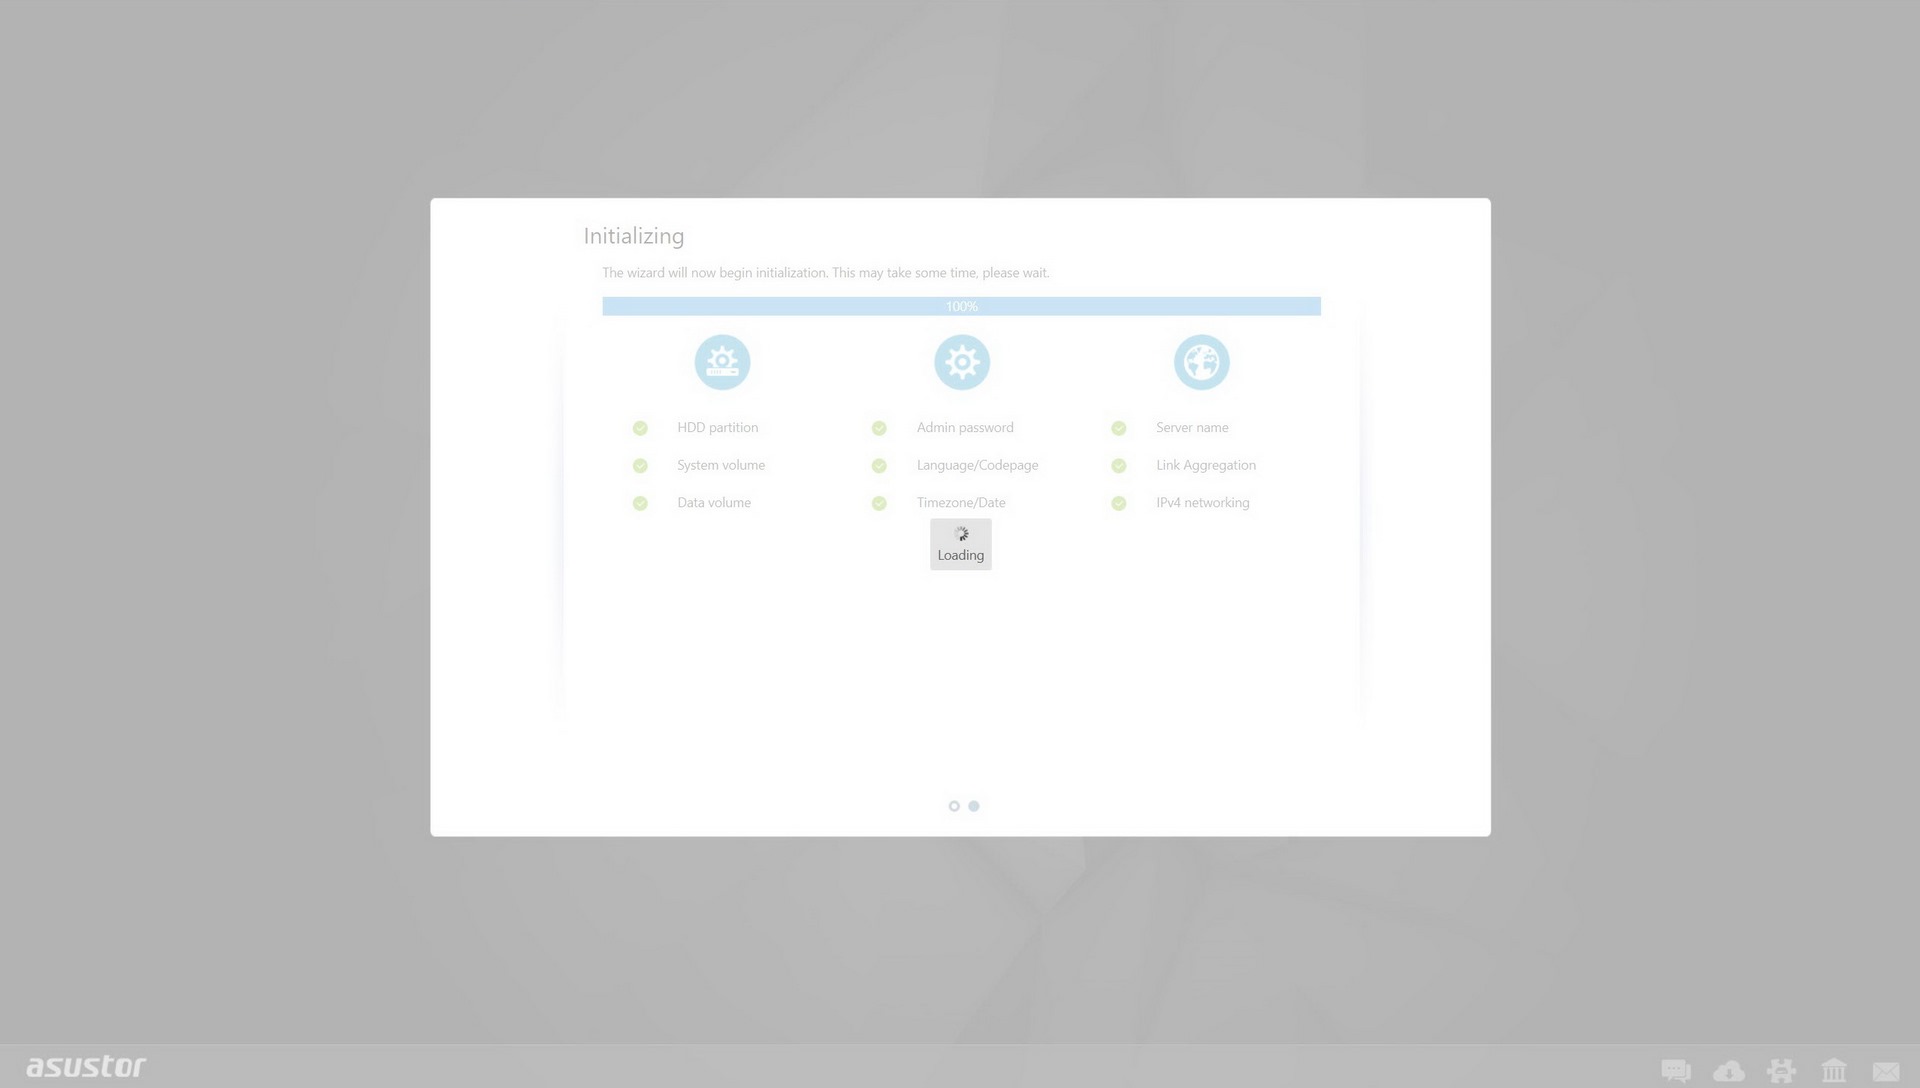
Next step will be to format the mounted drive, create partitions, install the firmware and restart the NAS.
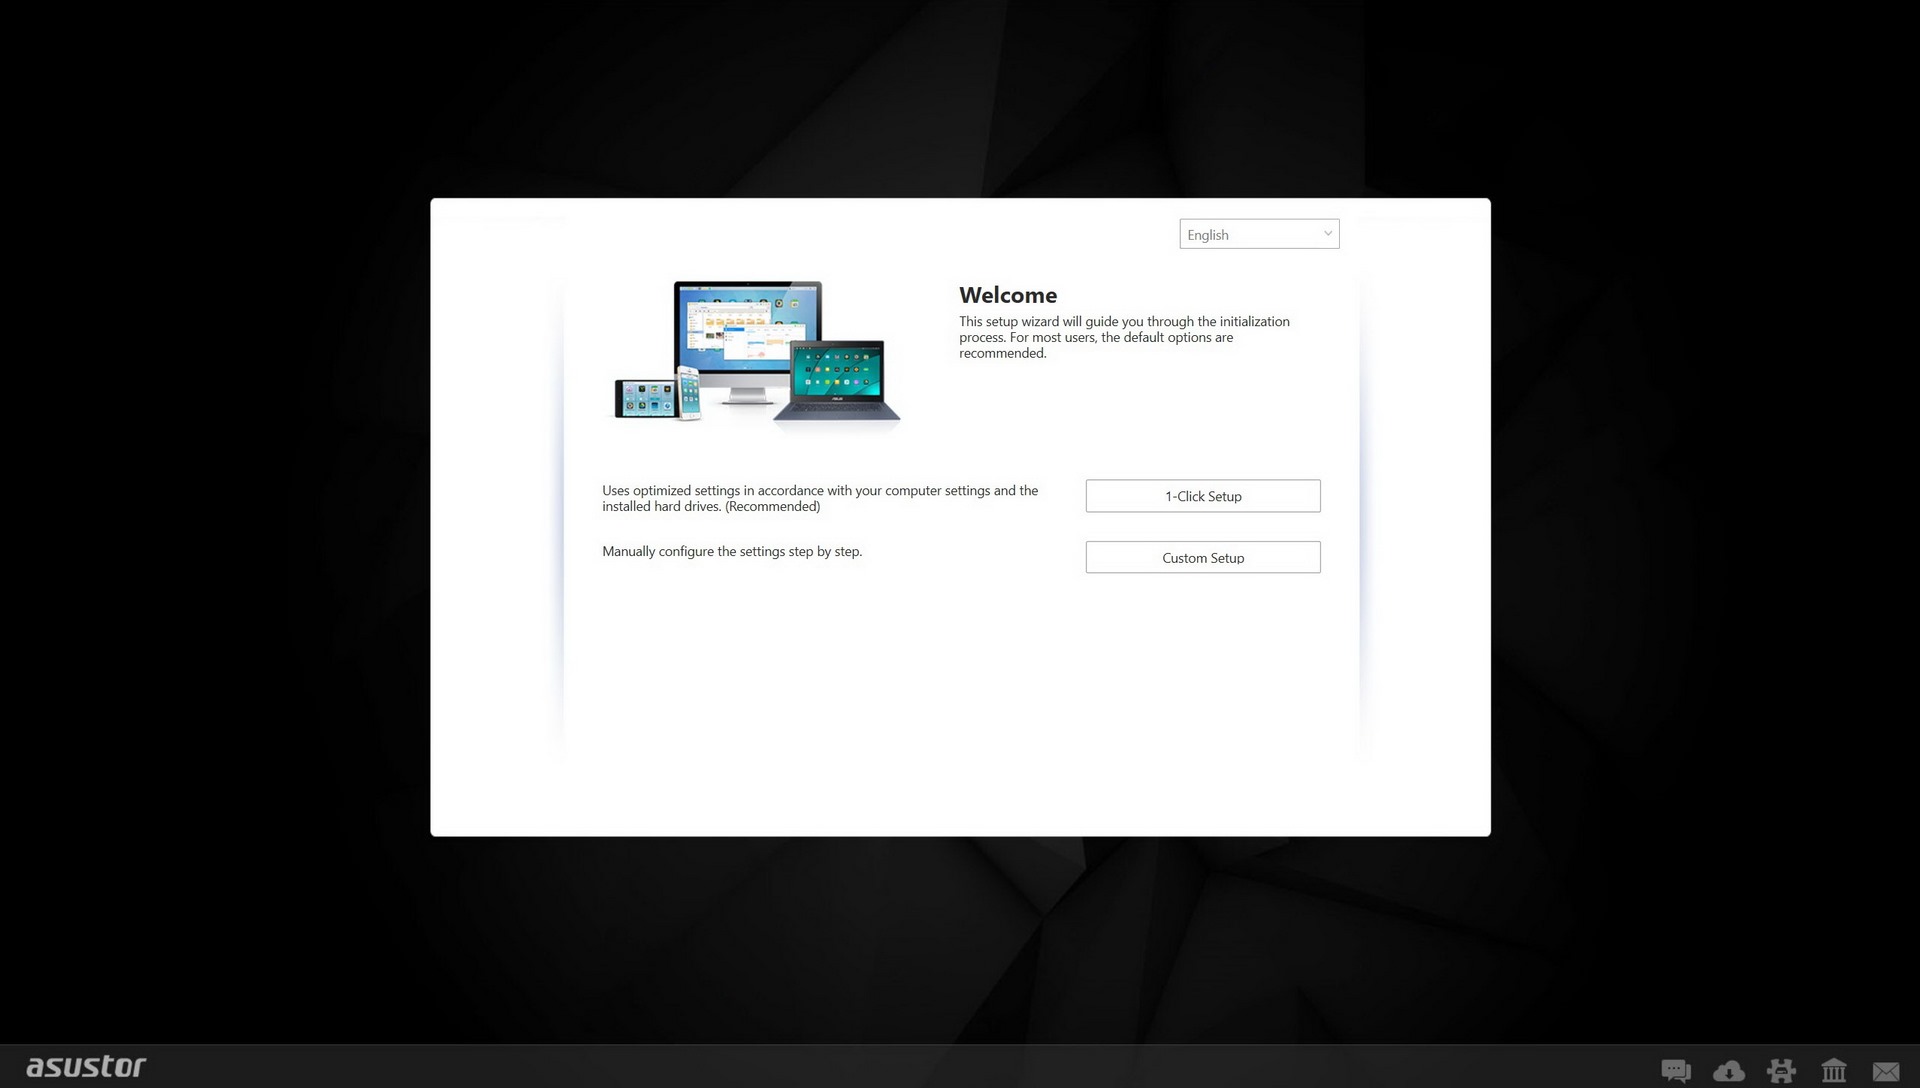
After that you can choose between the fast 1-click setup and the custom setup (we always follow the lengthier custom route).
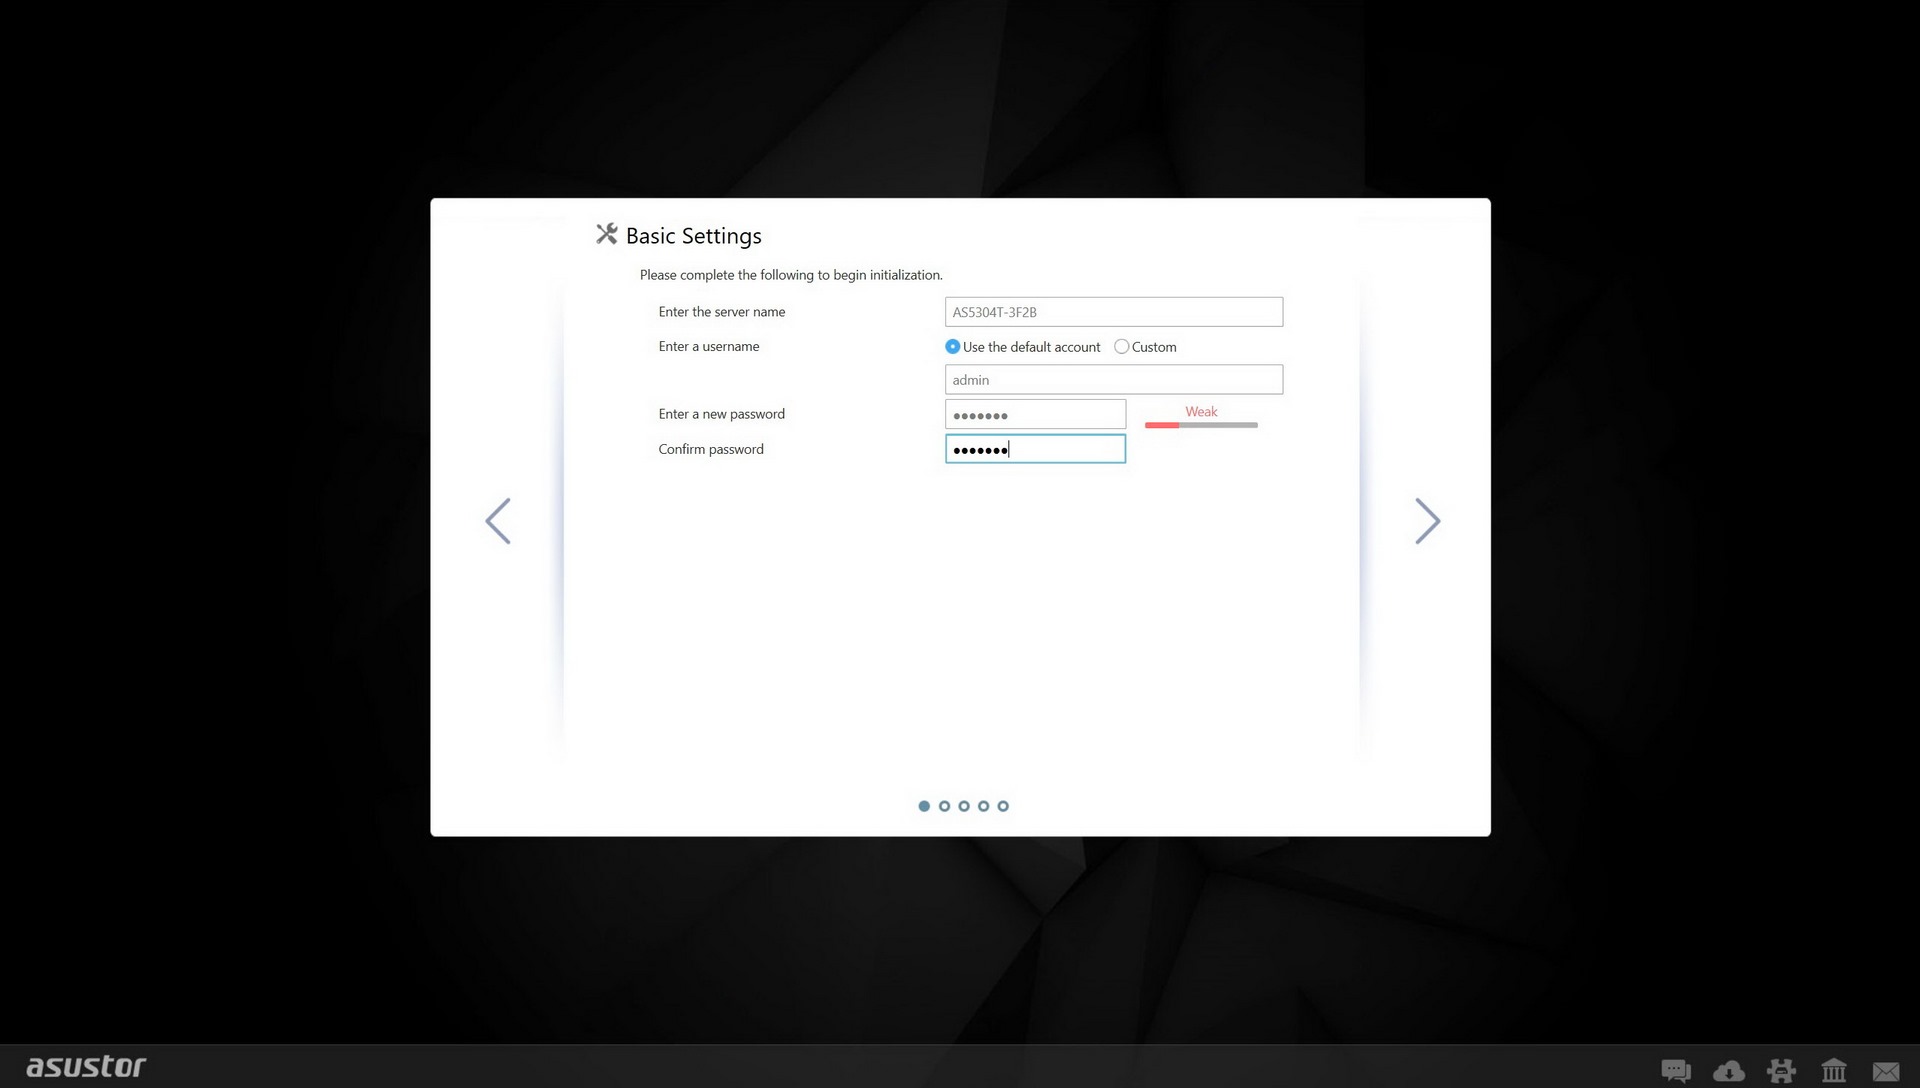
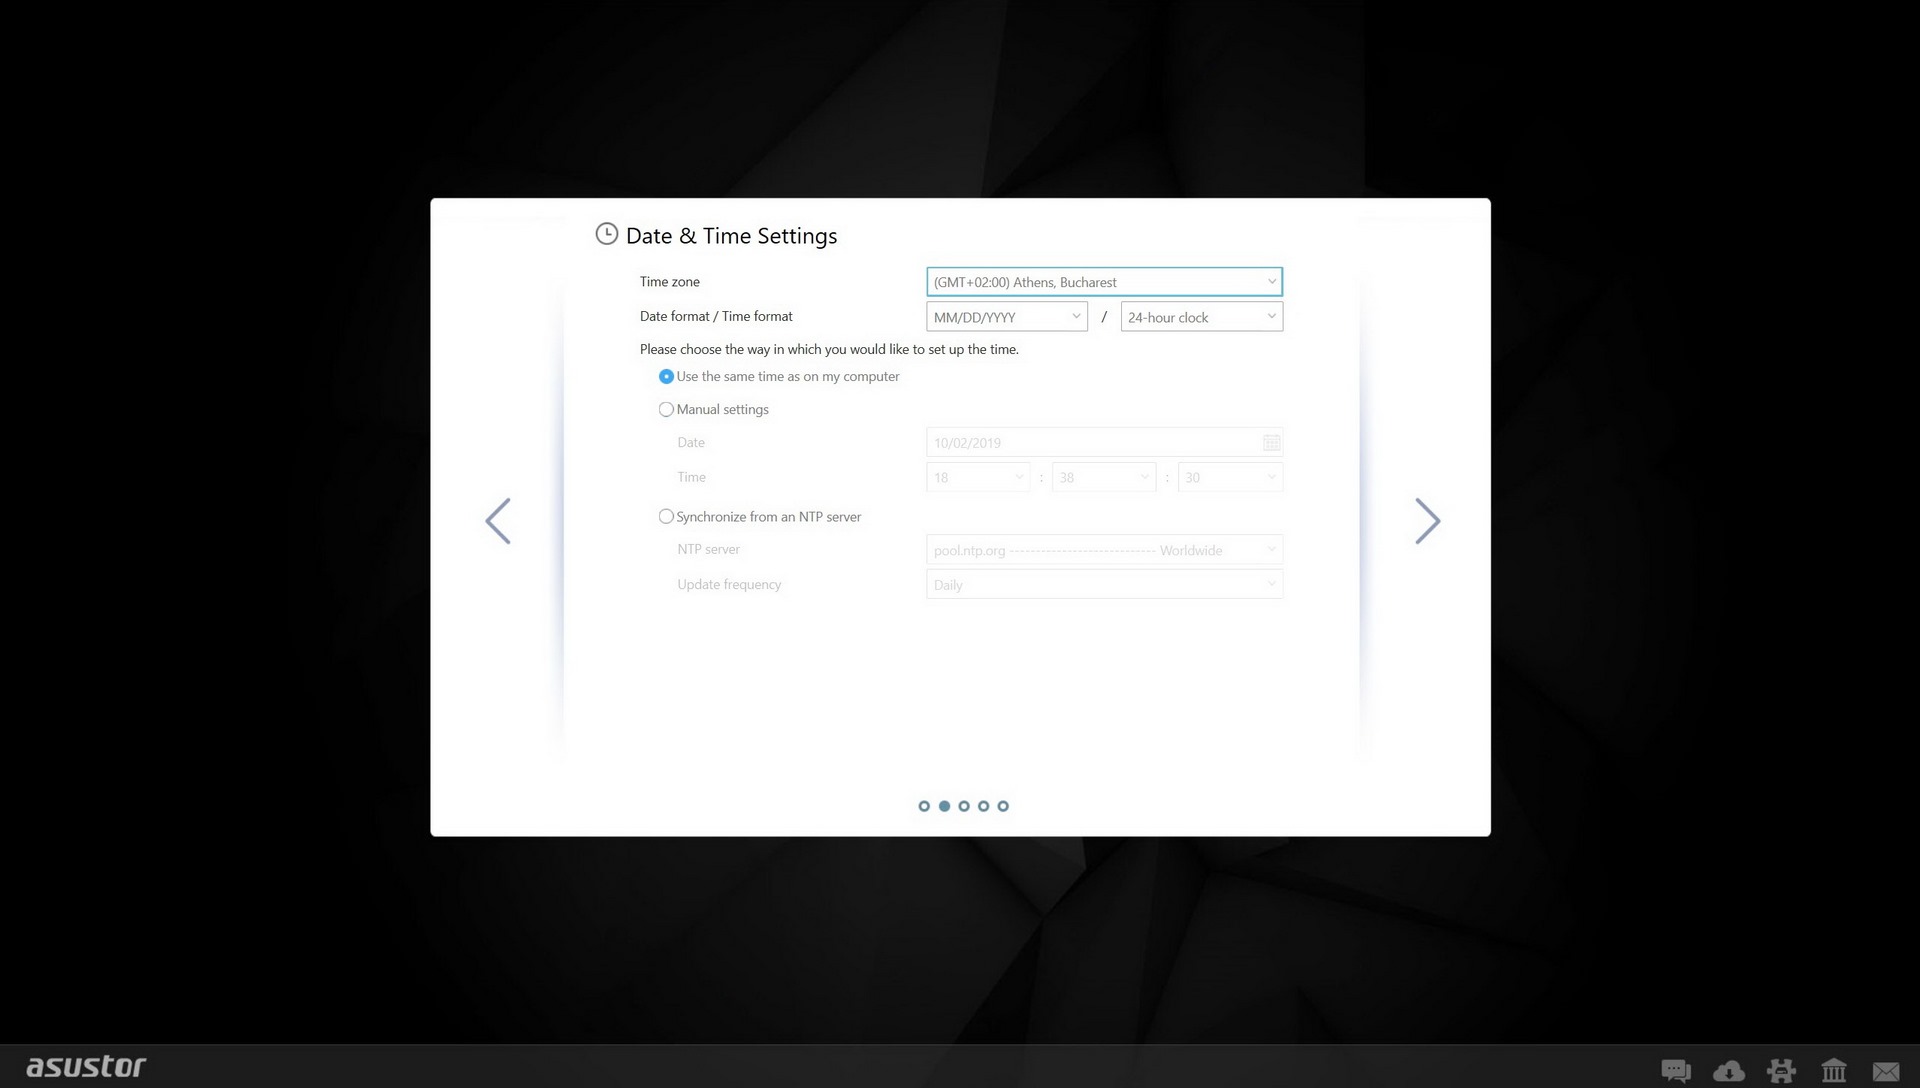
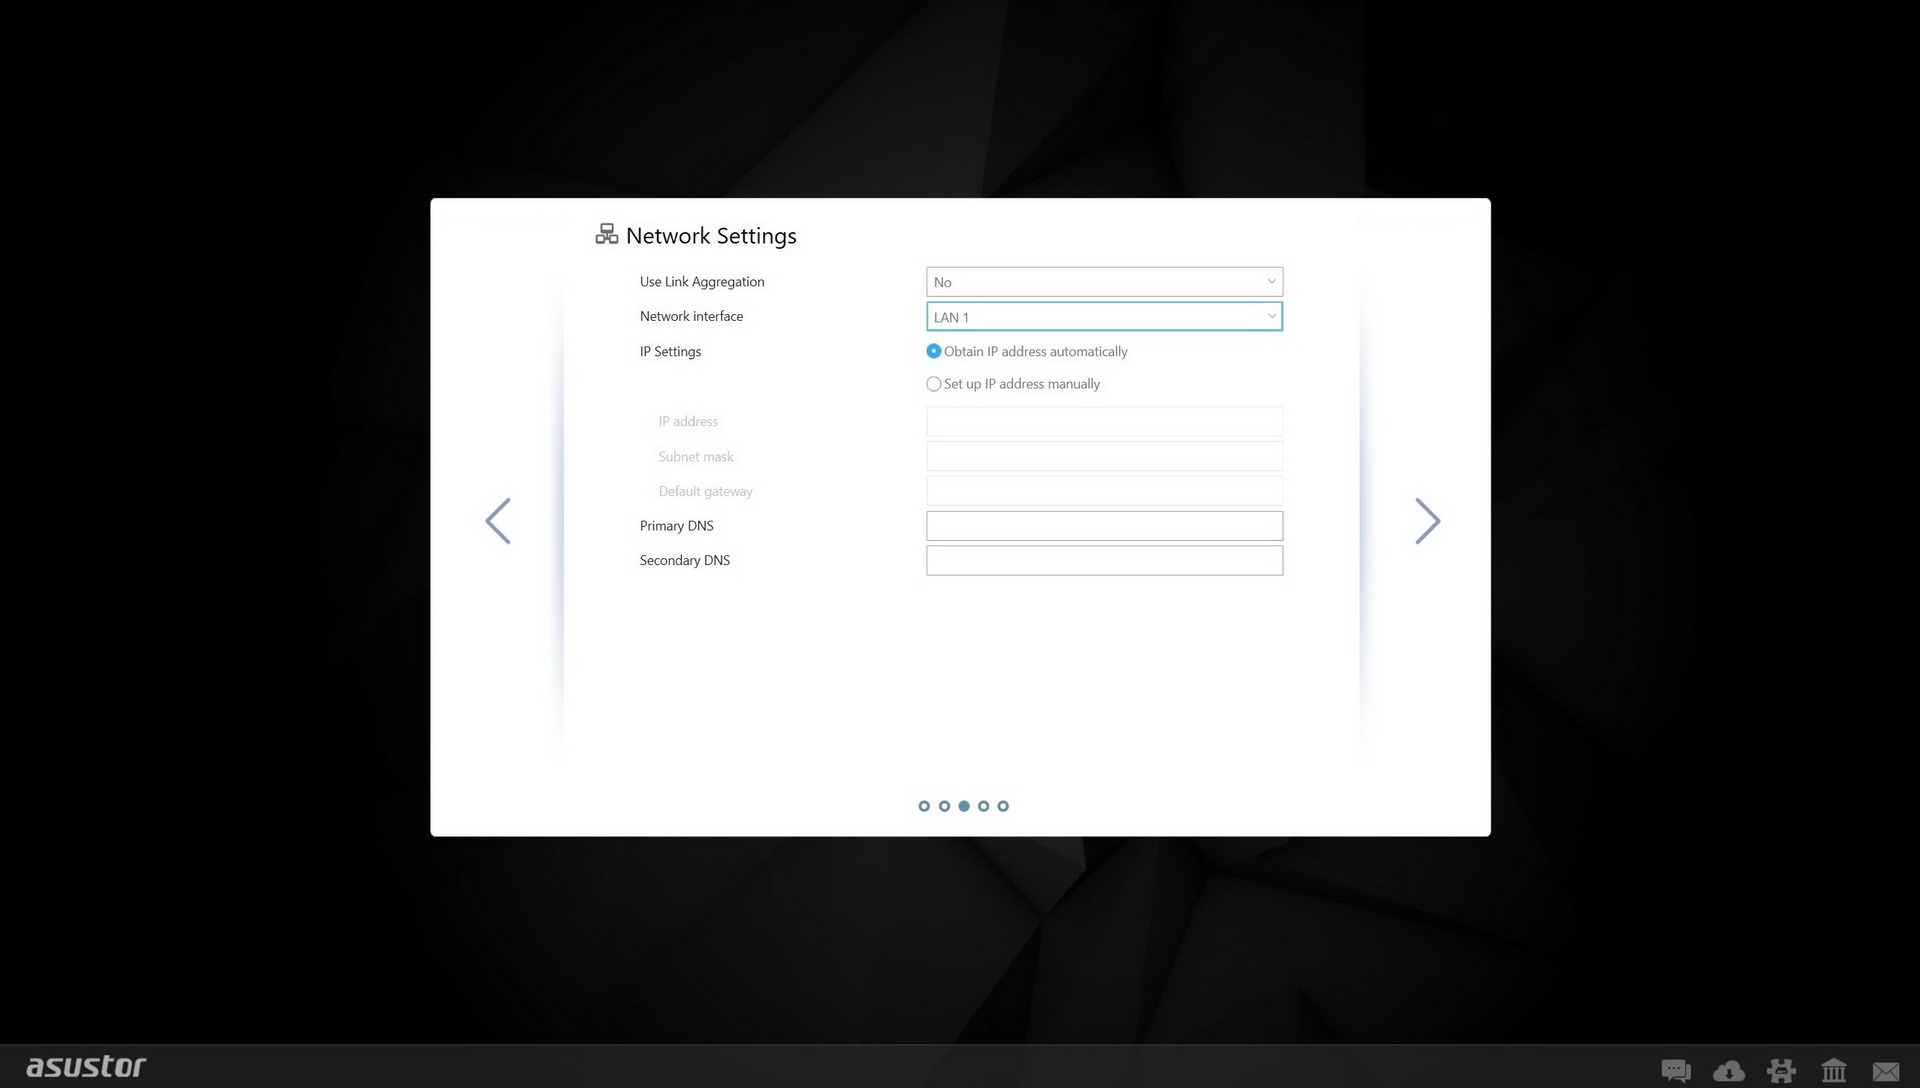
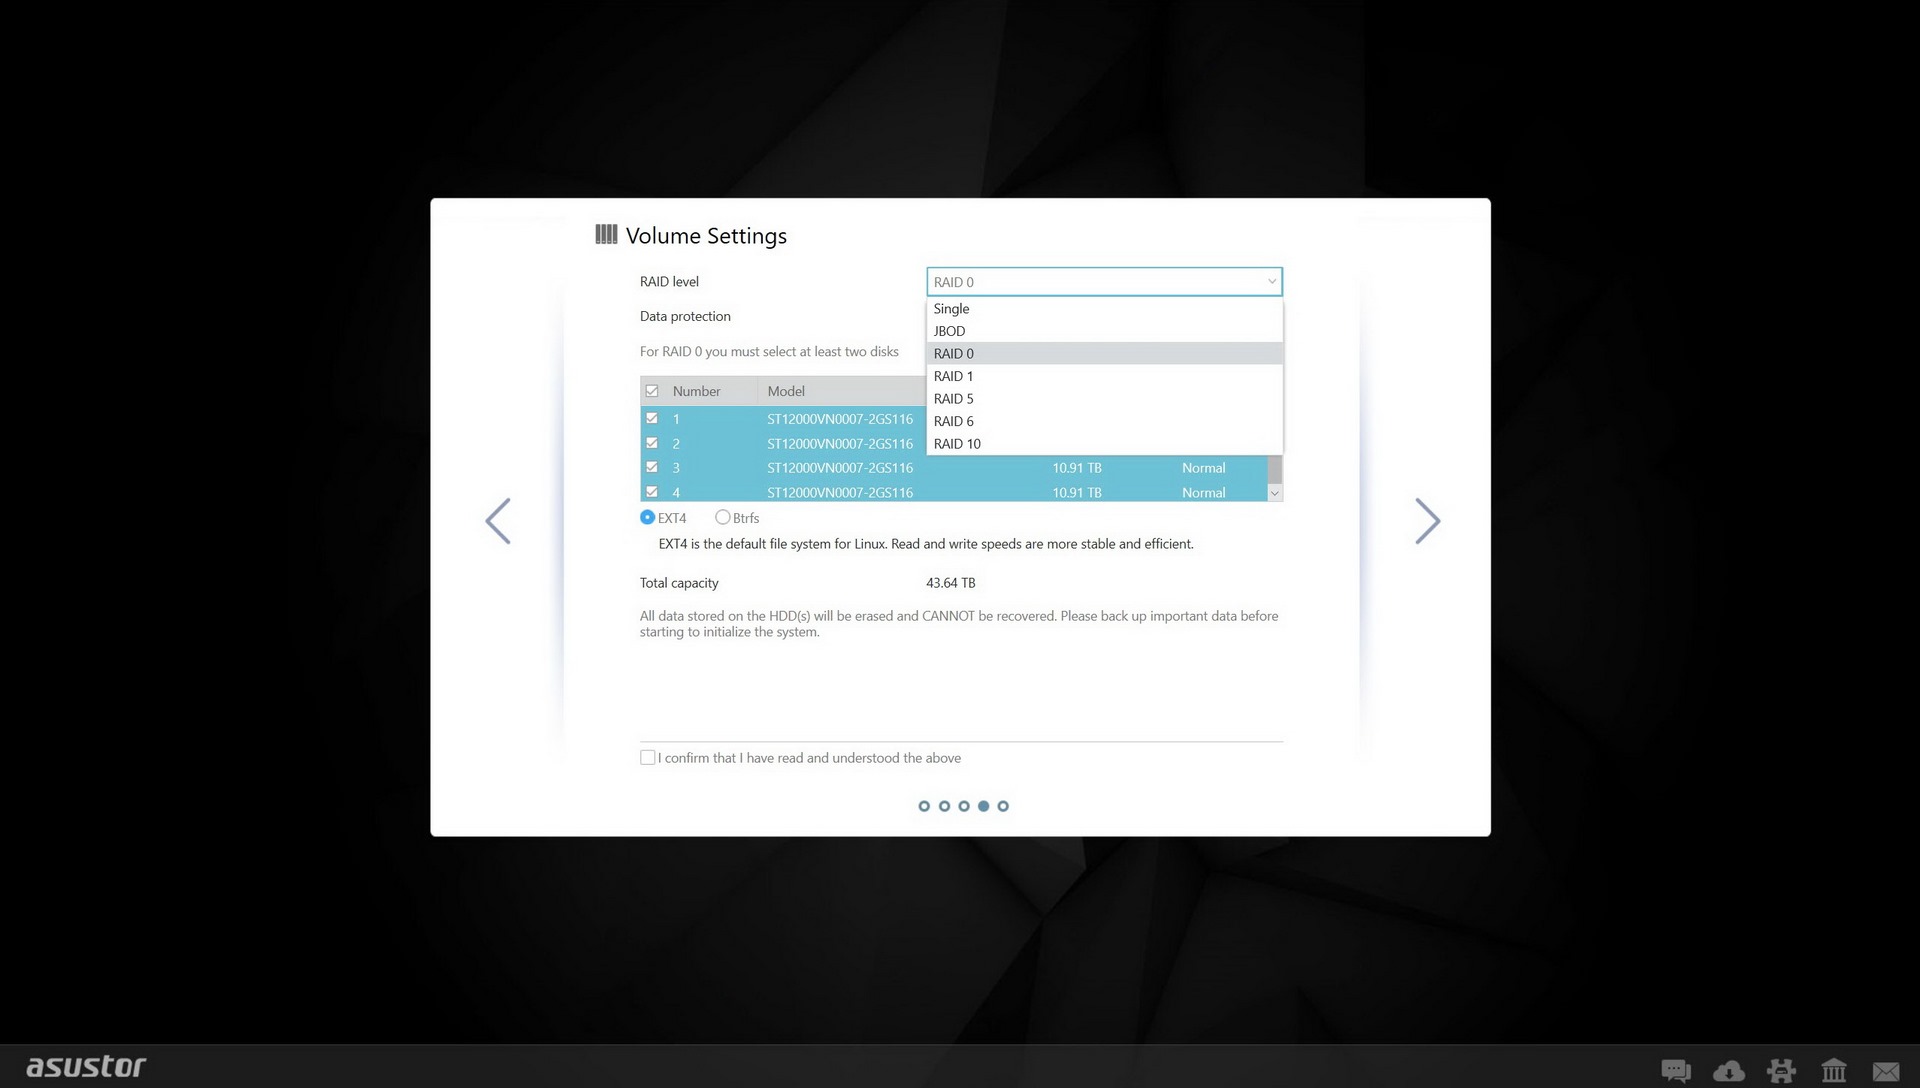
Via the custom route you will need to set the server name (if you don't like/want the default one), server password, time zone, network options and configure the drives (single/RAID/JBOD modes) in order to proceed.
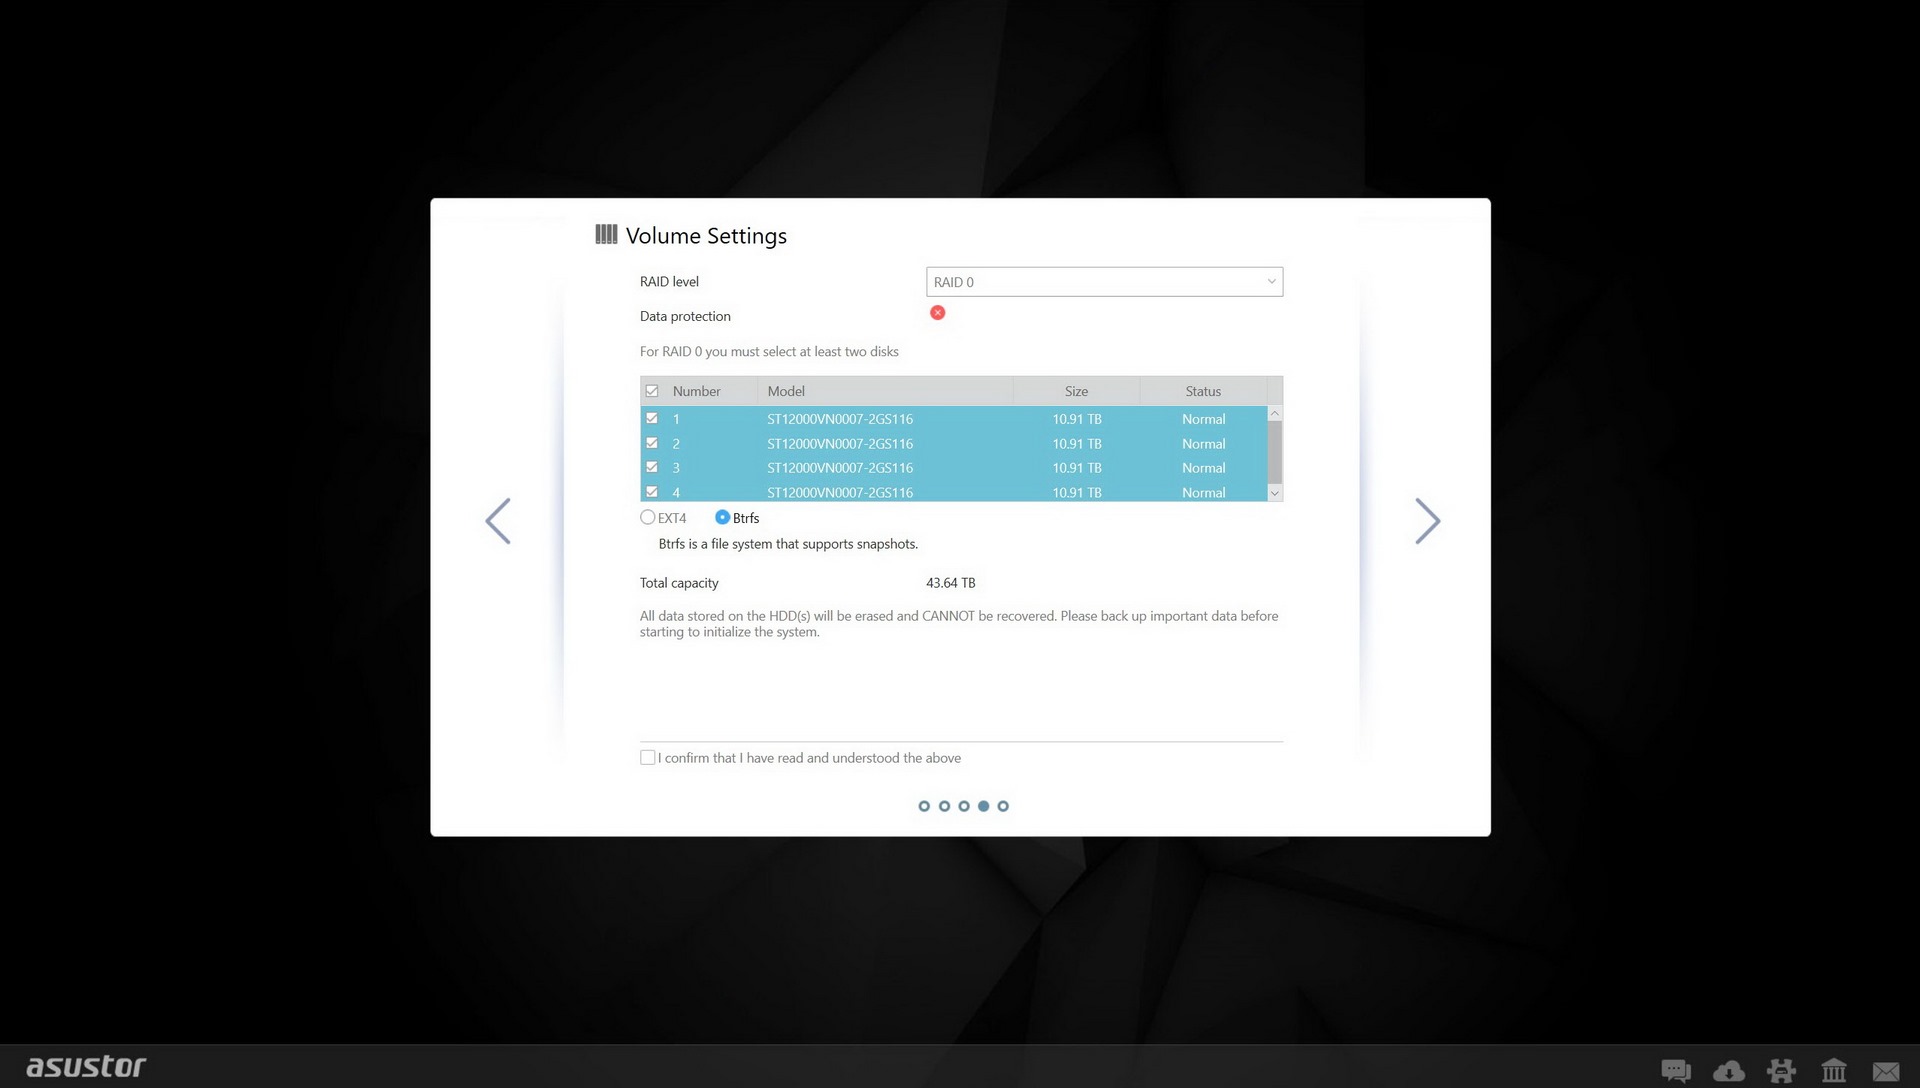
If you decide to format the drive or drives using the Btrfs file system you can use the snapshots feature which effectively backups all the data in your NAS (for our performance tests we used EXT4).
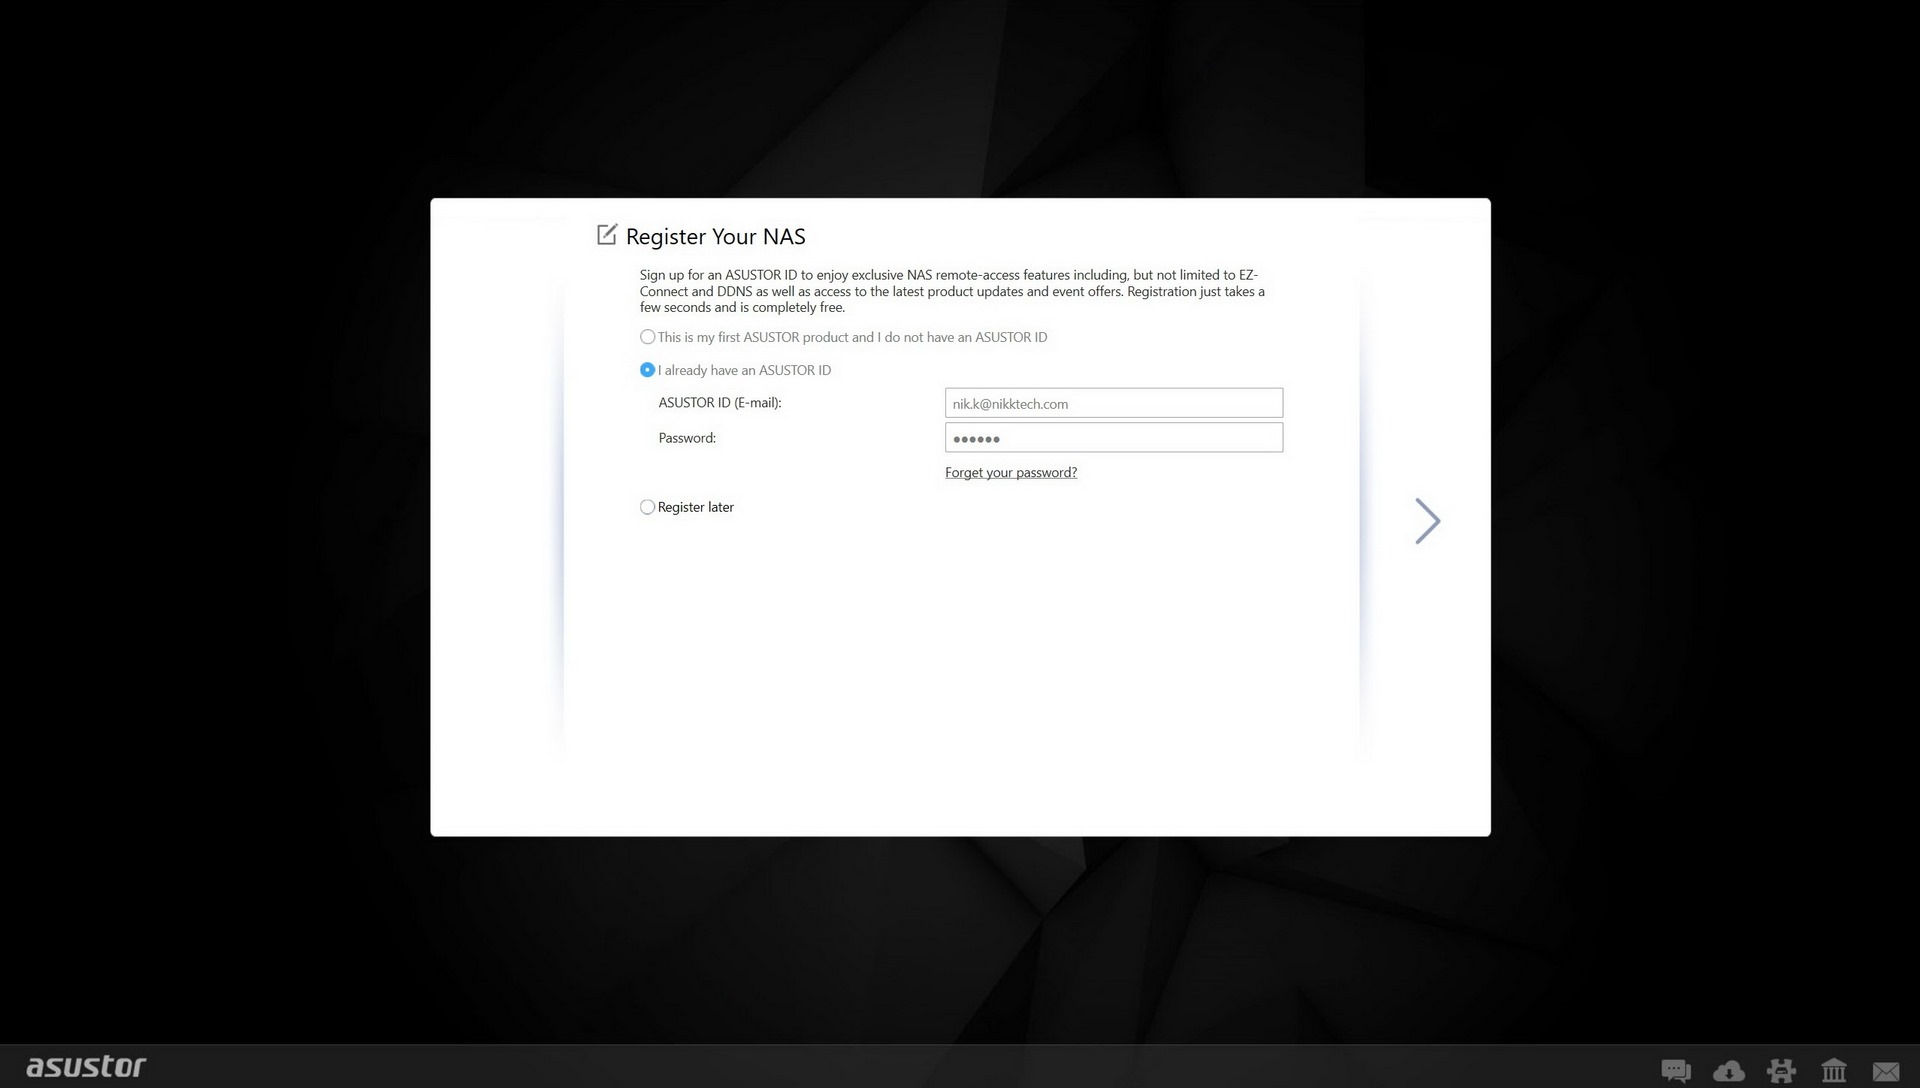
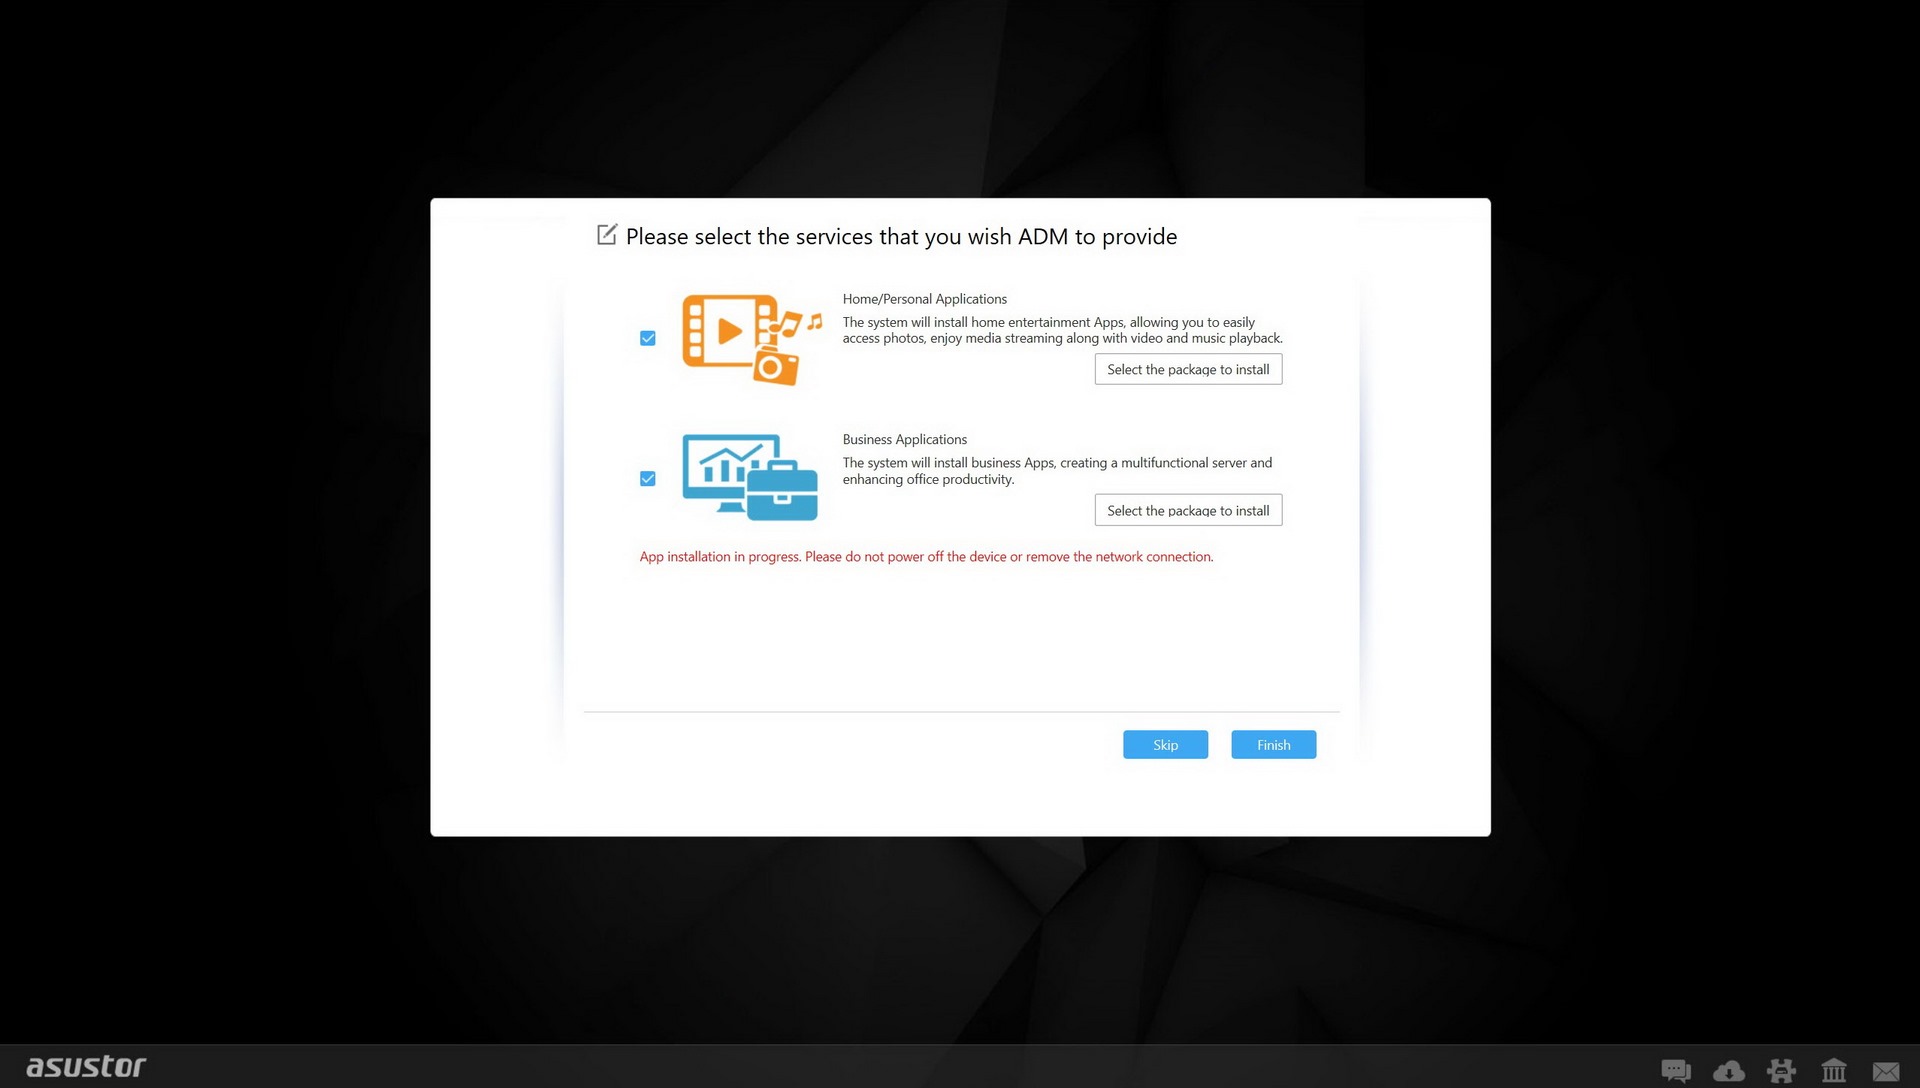
At the end of the setup procedure you will be asked to register the NAS and choose the services you'd like installed (for Home/Personal or Business use - again we used both for this review).