


ASSEMBLY - FINISHED LOOKS
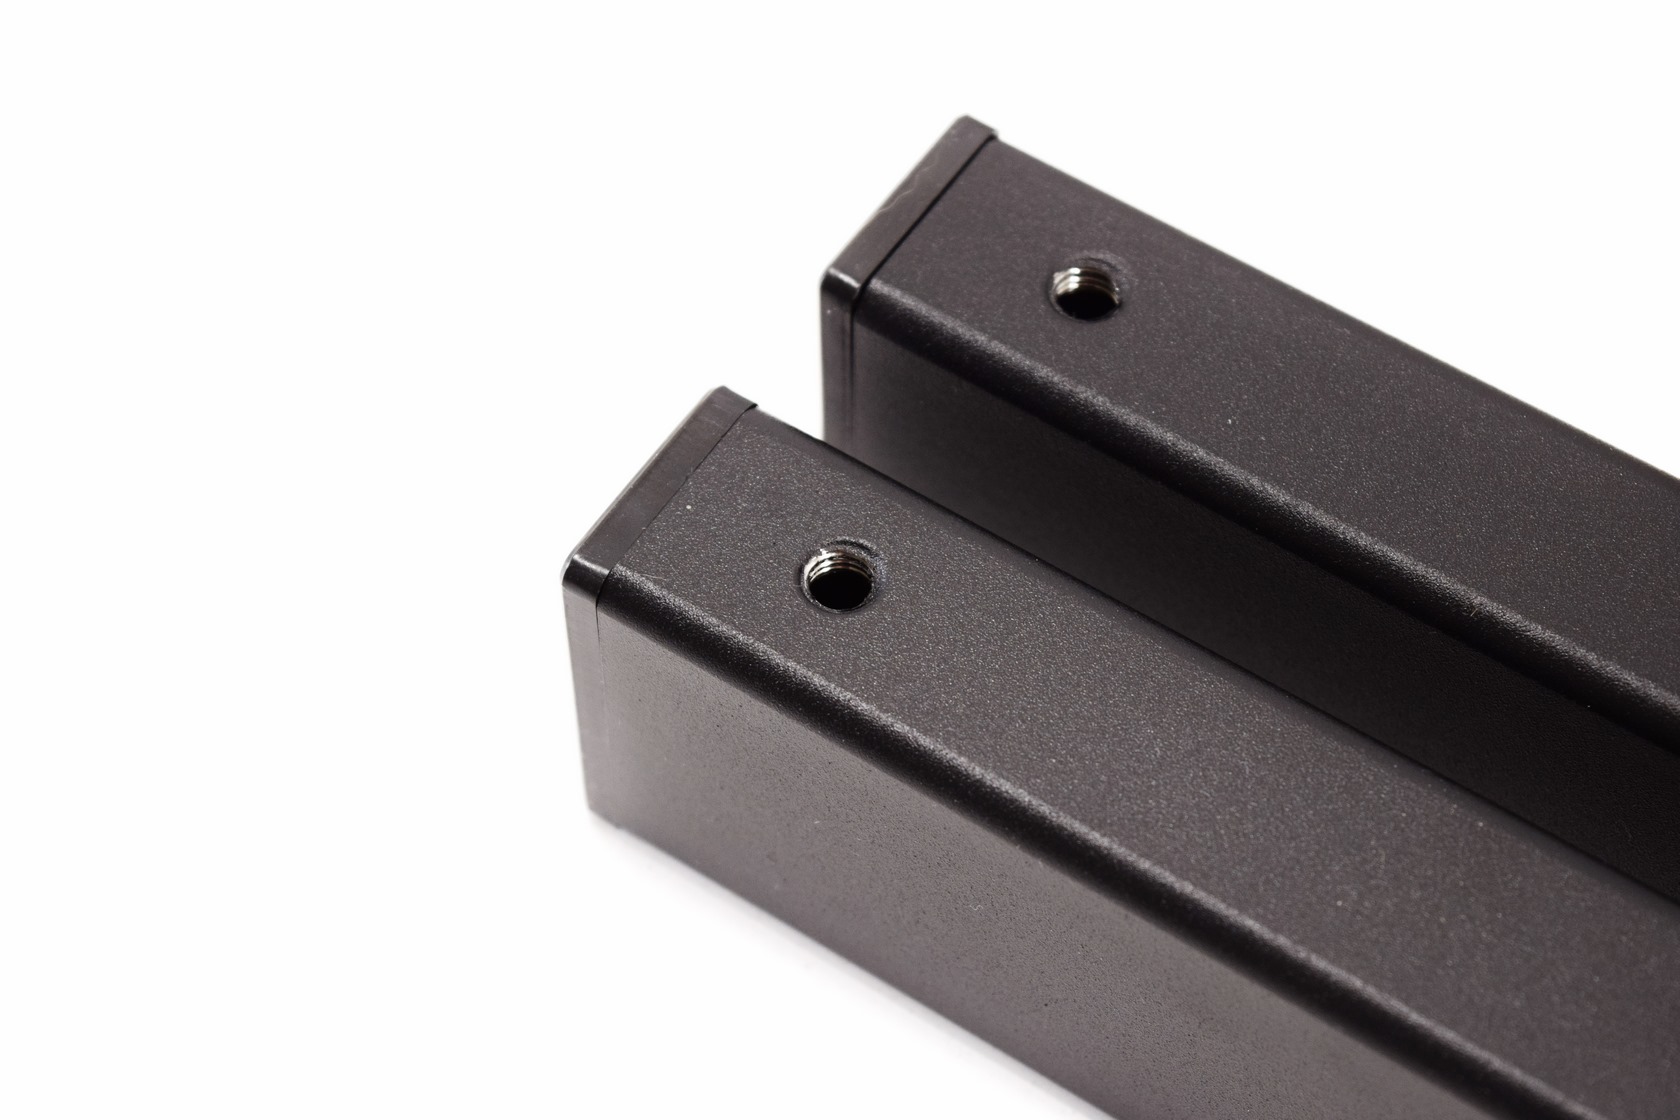
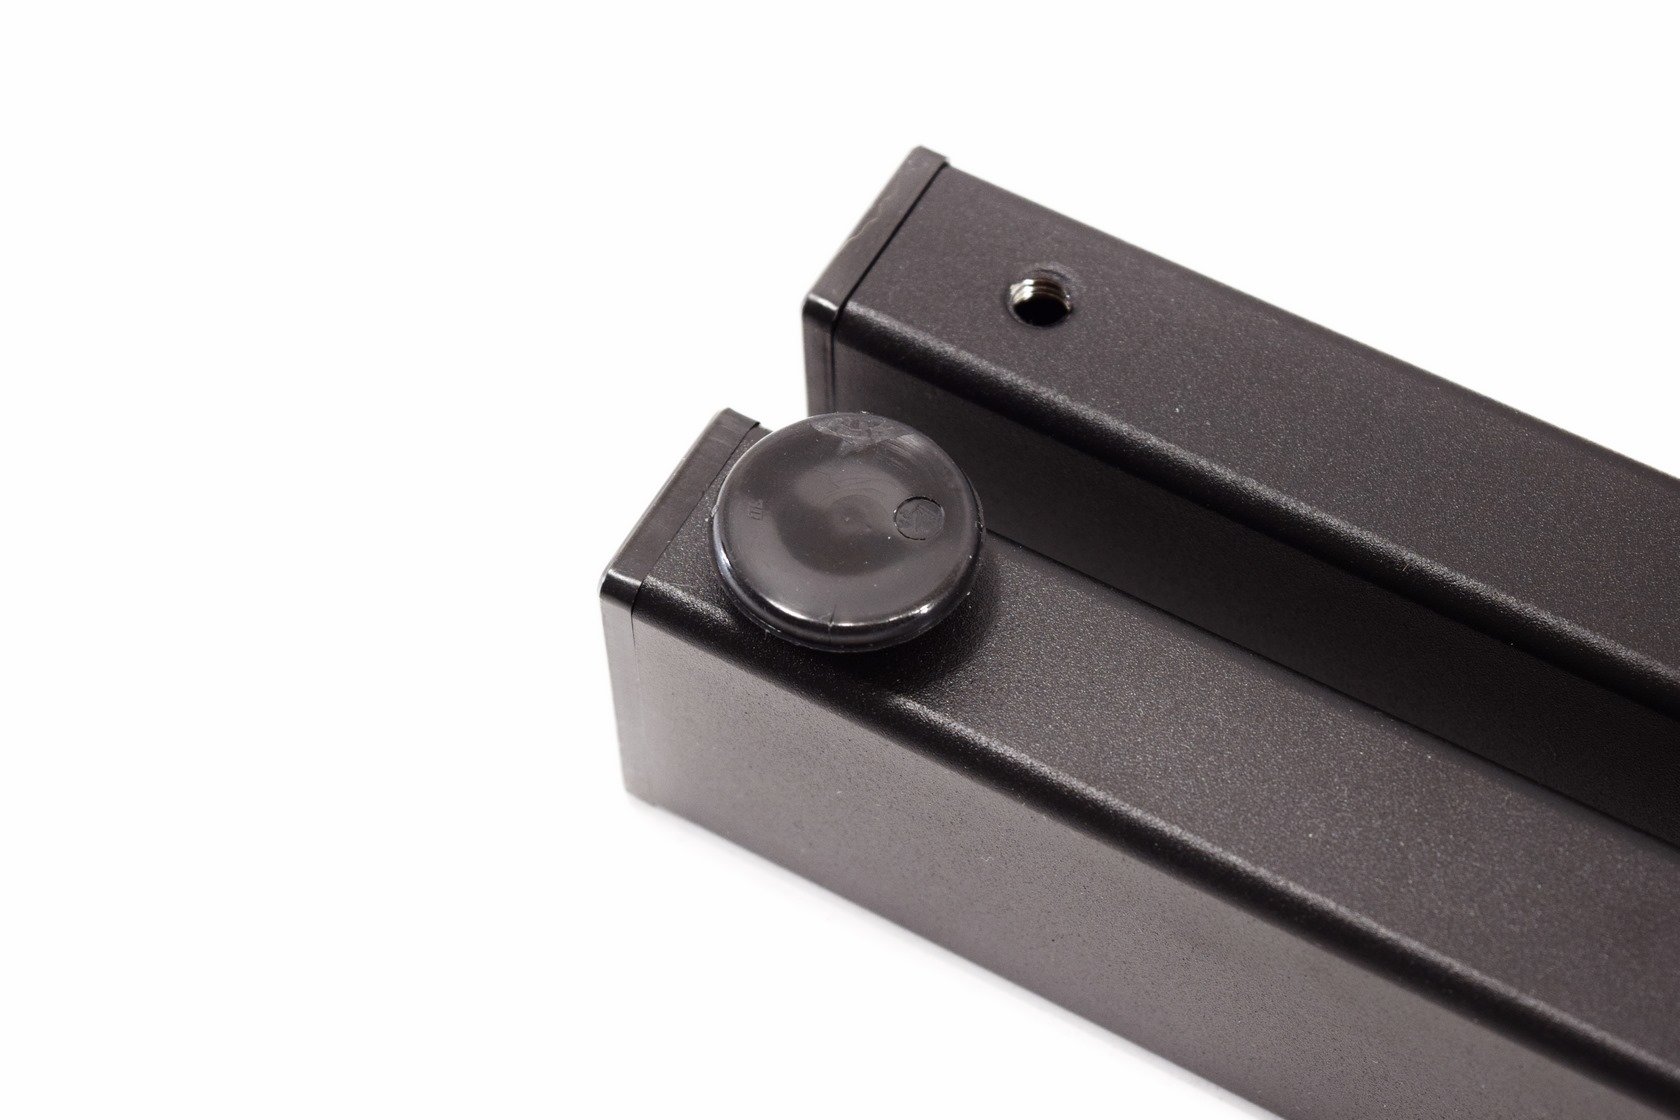
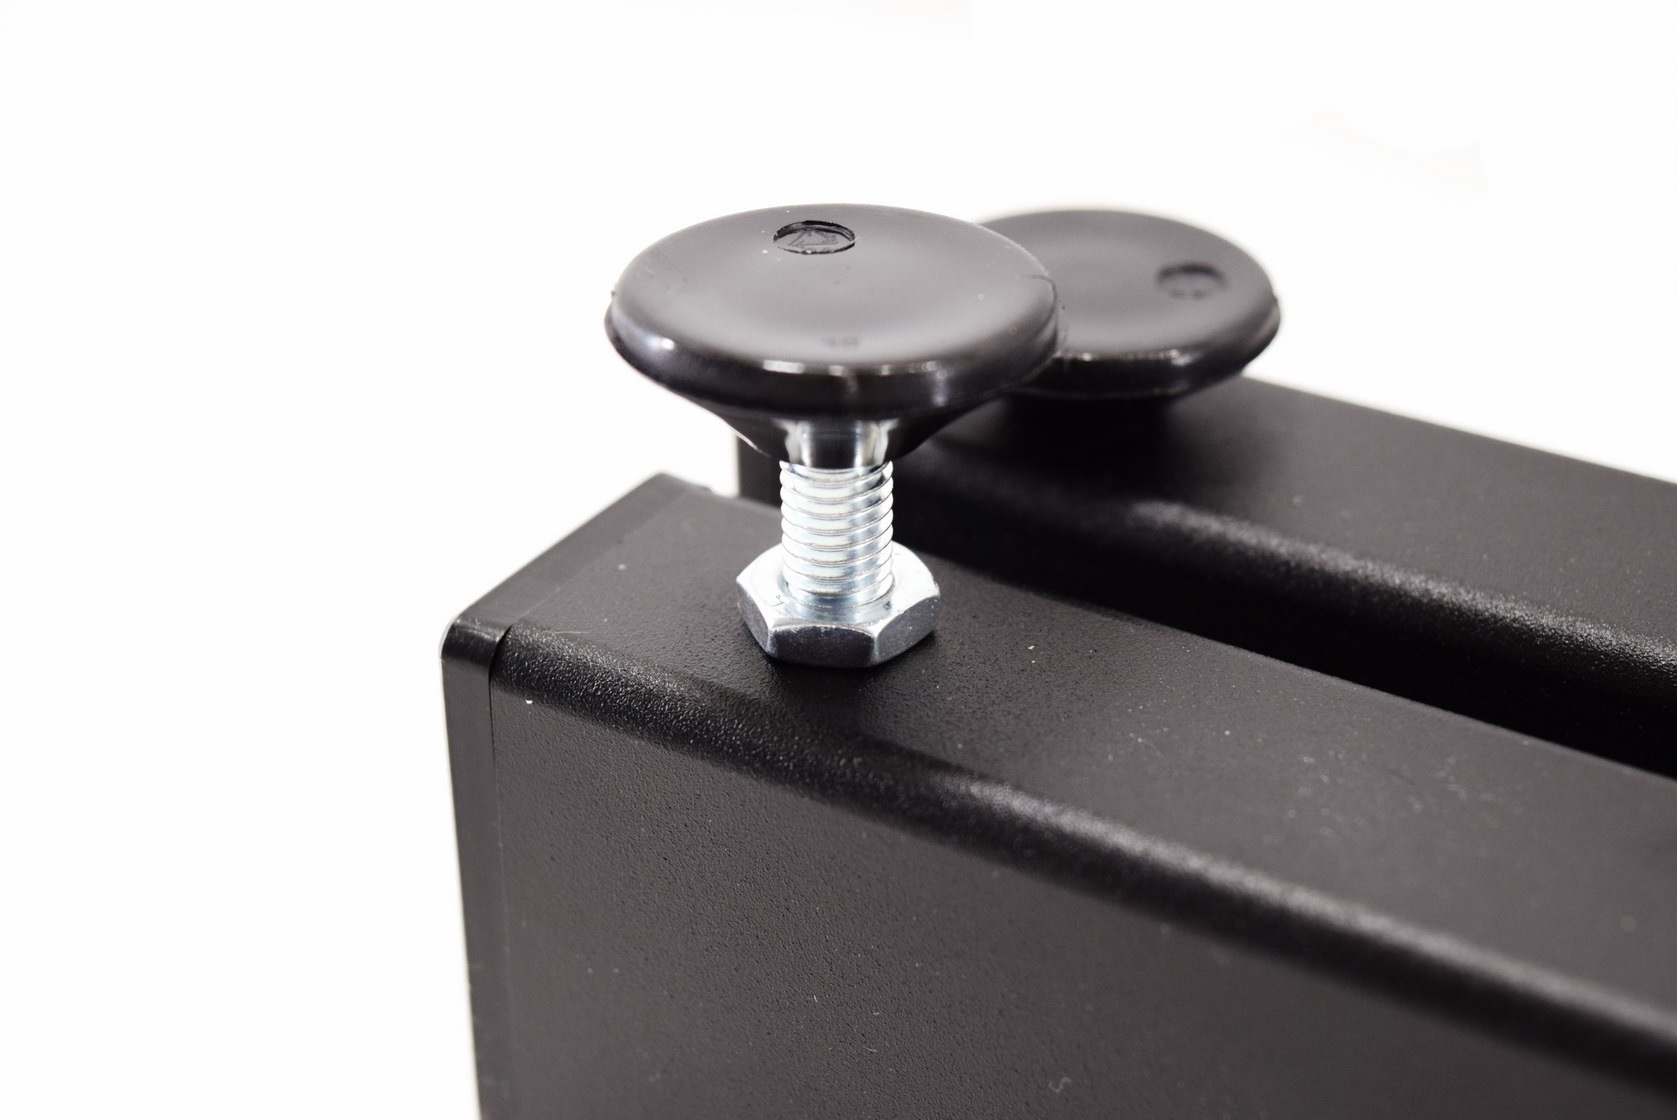
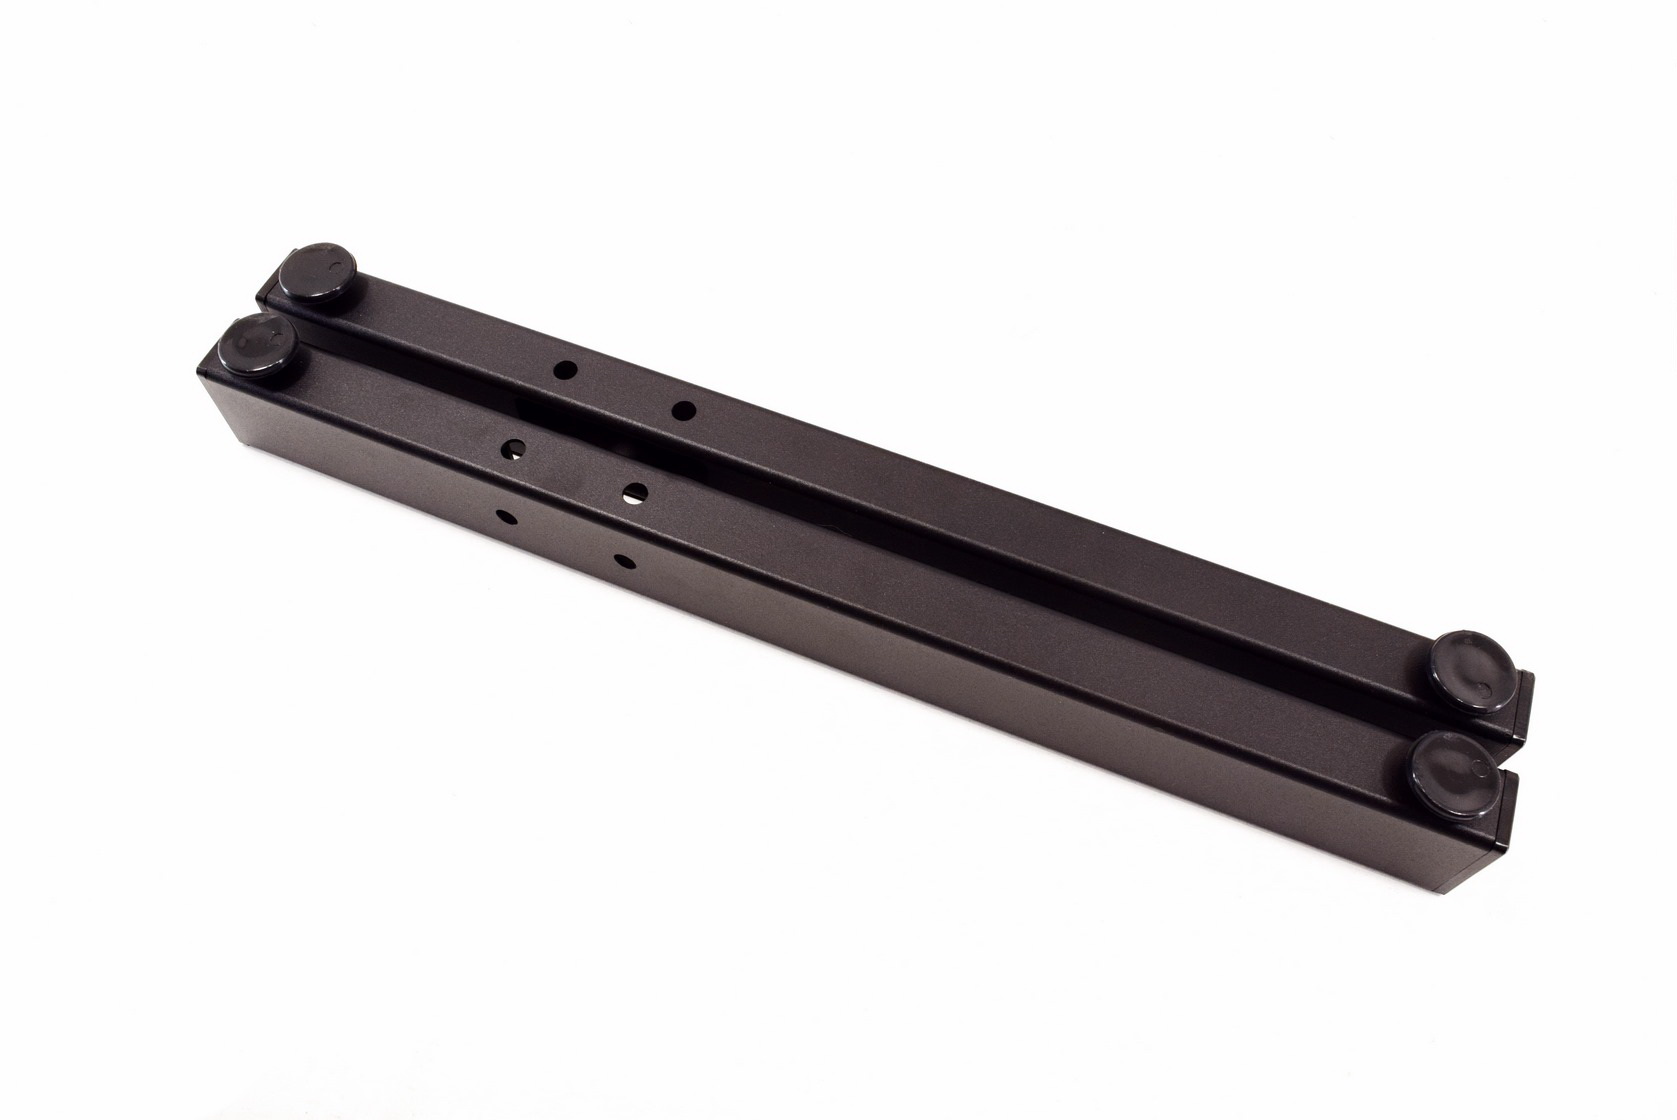 Before everything else you will need to mount the adjustable feet onto the two legs (as the name suggest these are height adjustable).
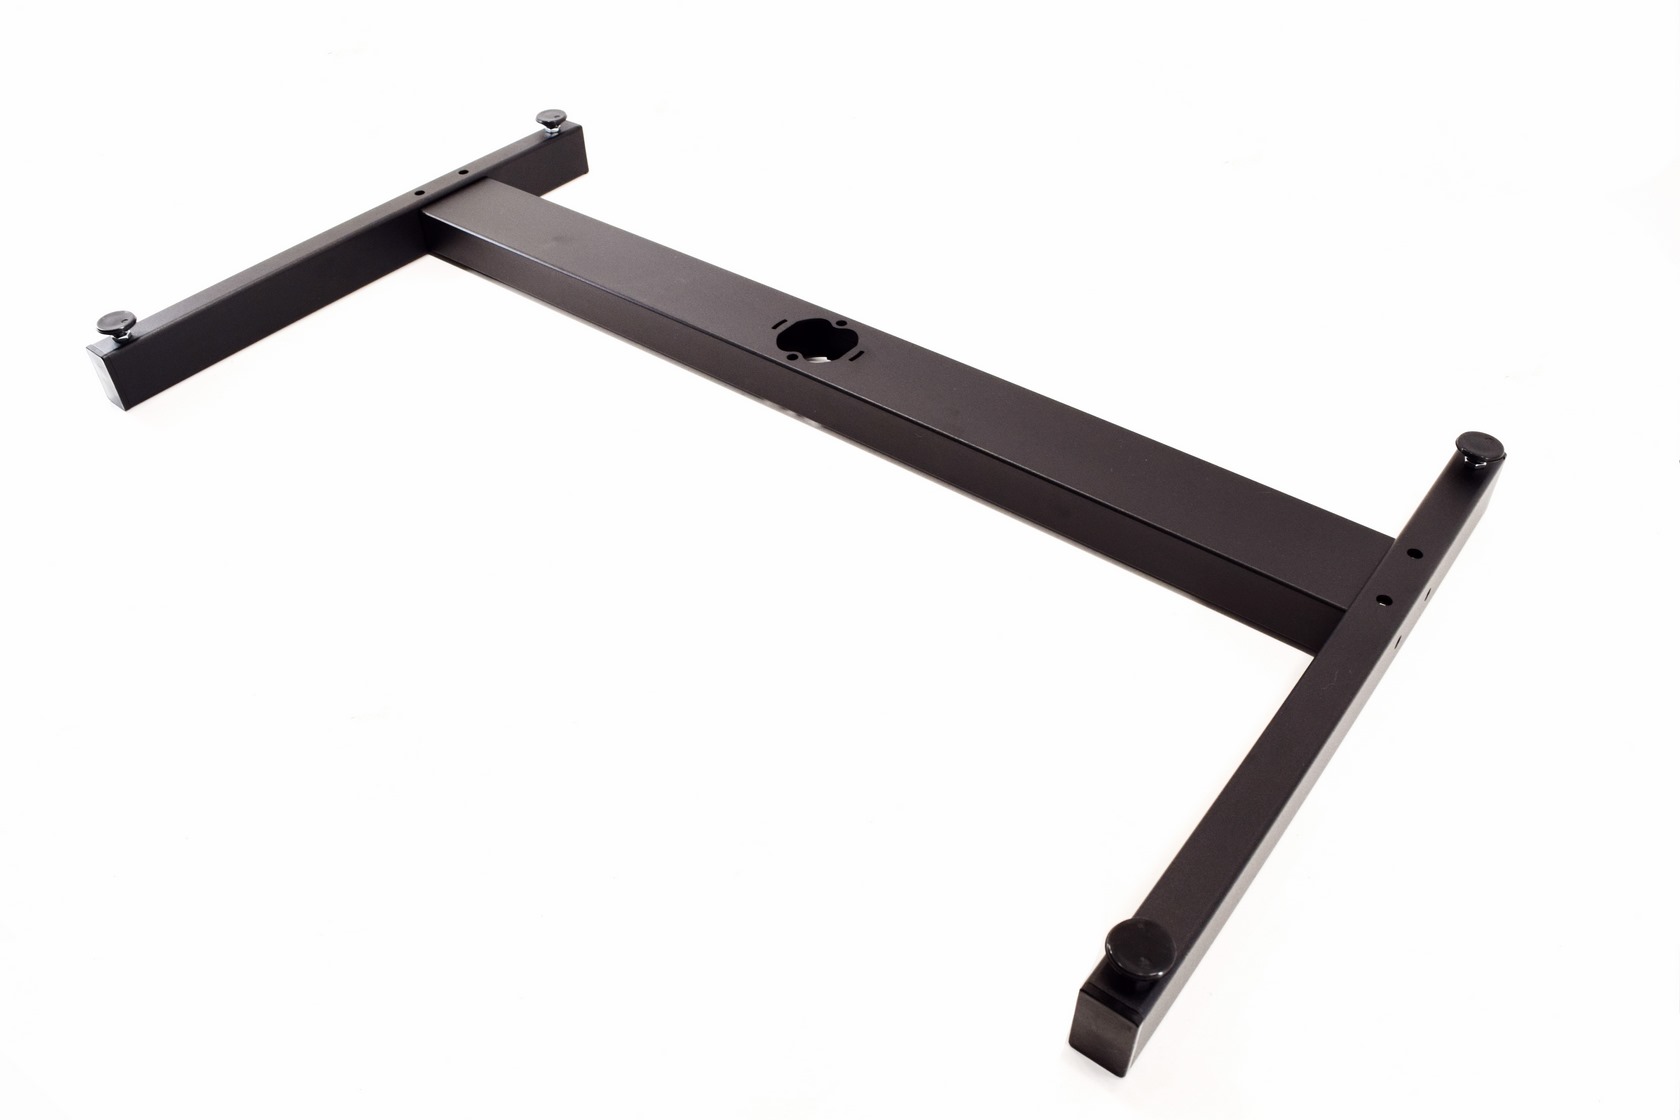
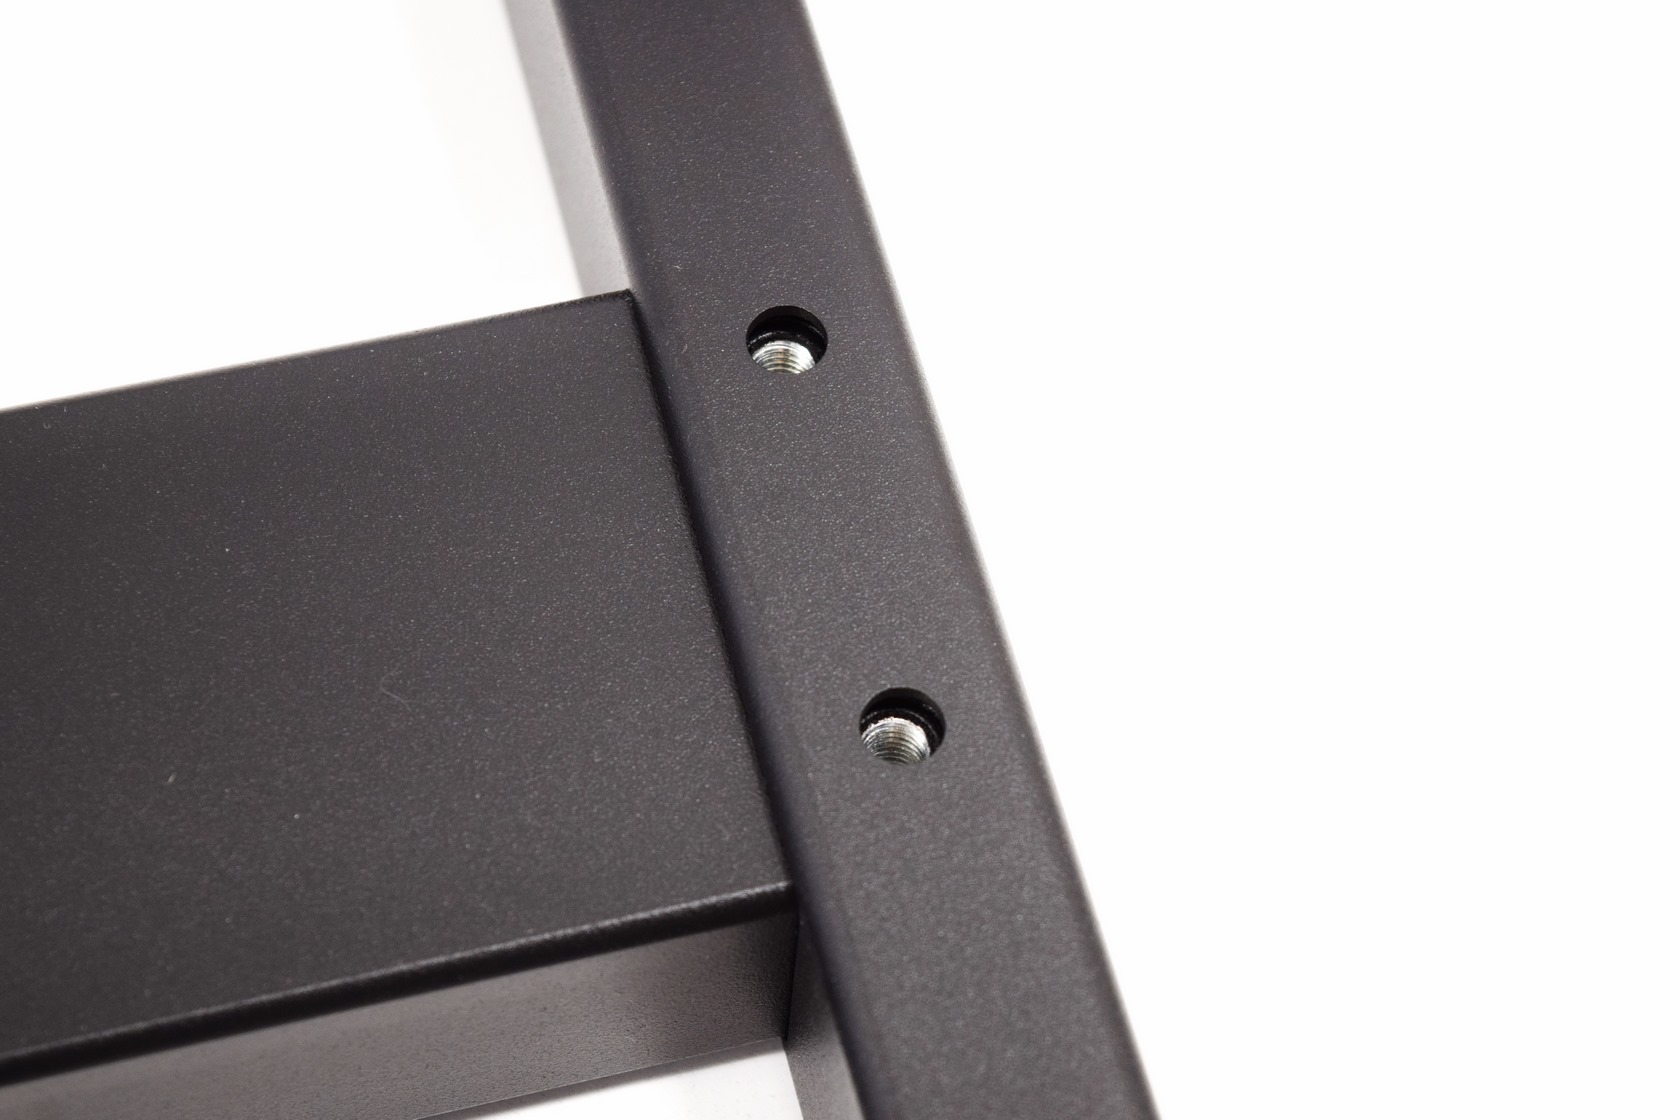
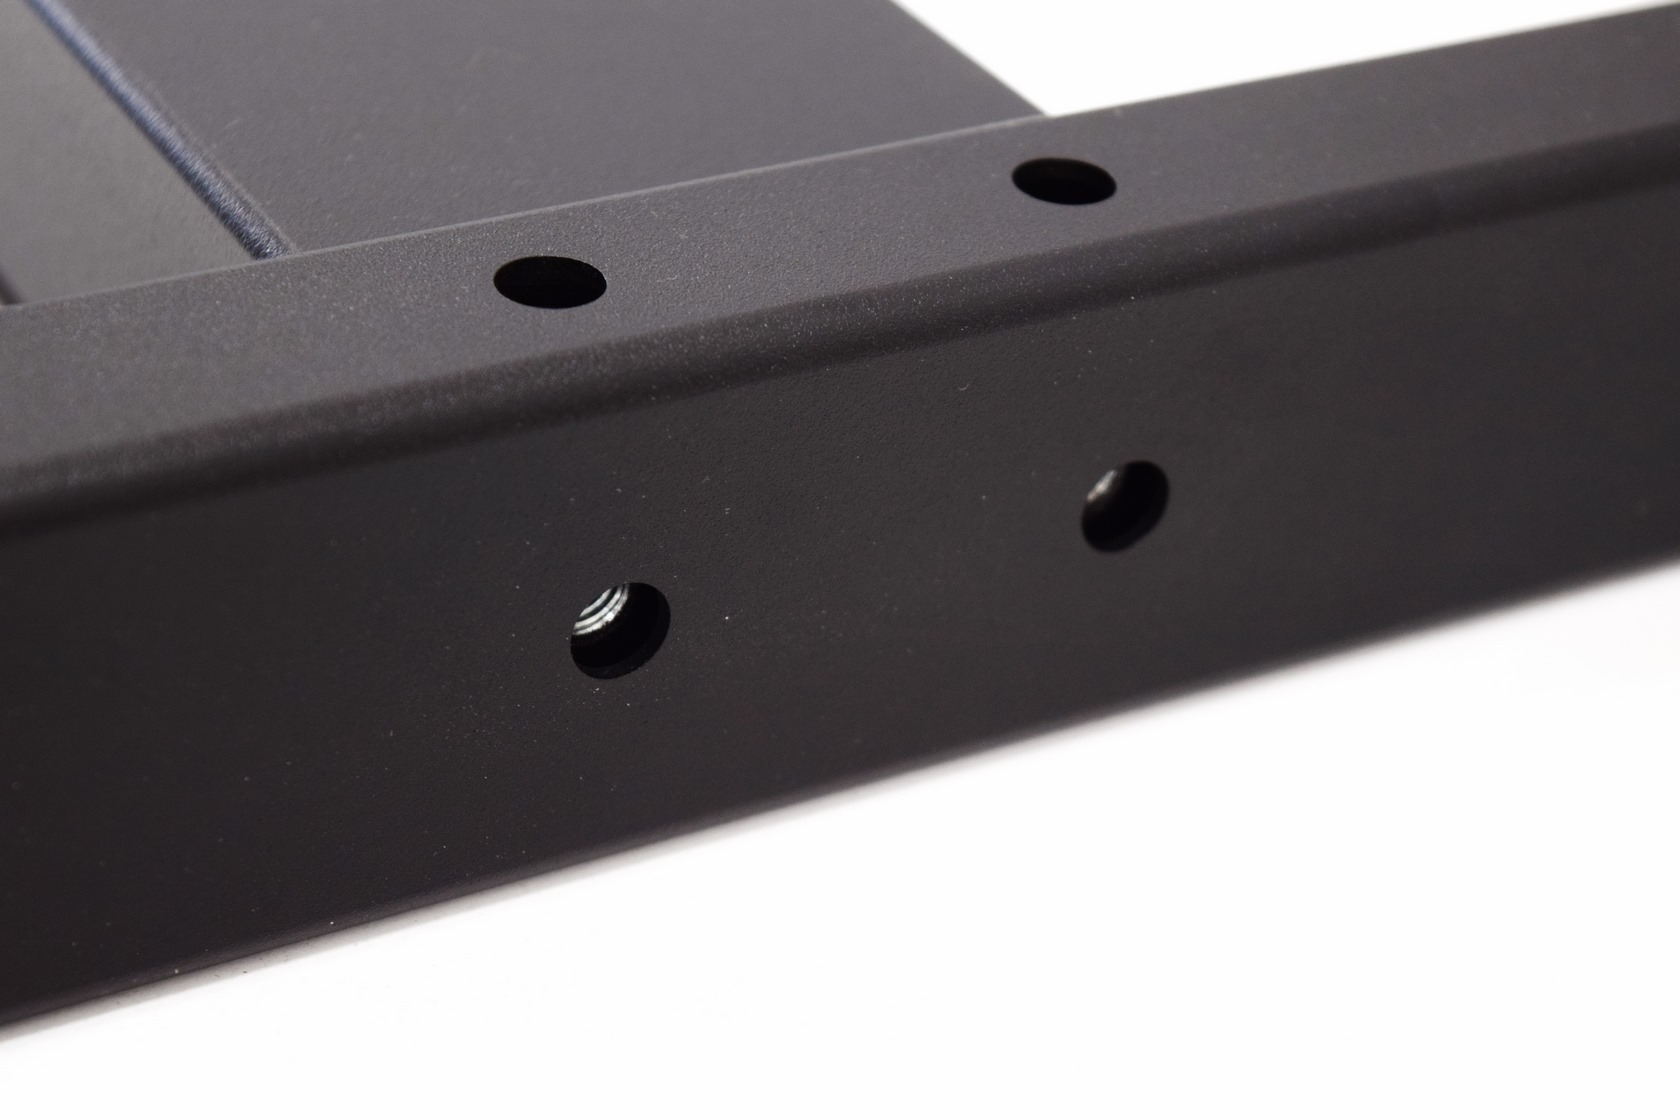

Once this is done you will need to attach each leg onto the center bar via 4 Allen screws on each side (as seen above).
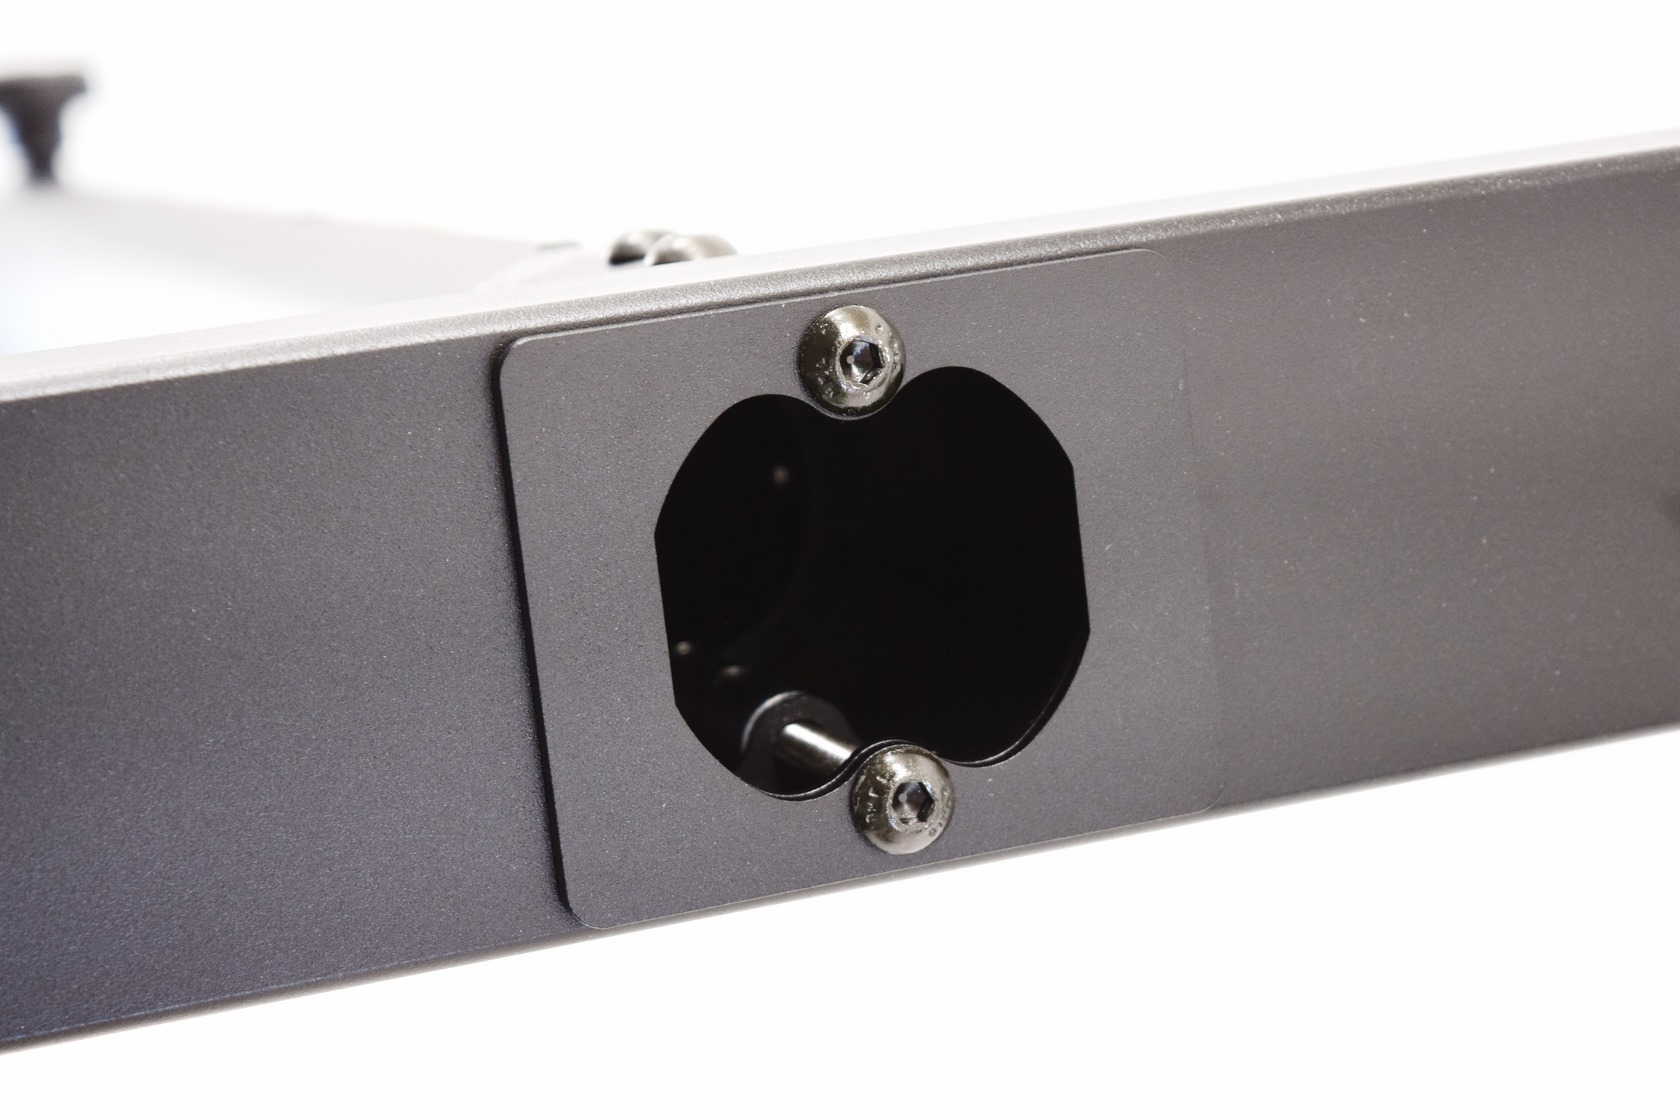
After that attach the flat piece of metal on the base of the bar and then use the two corresponding Allen screws to attach it onto the main tube.
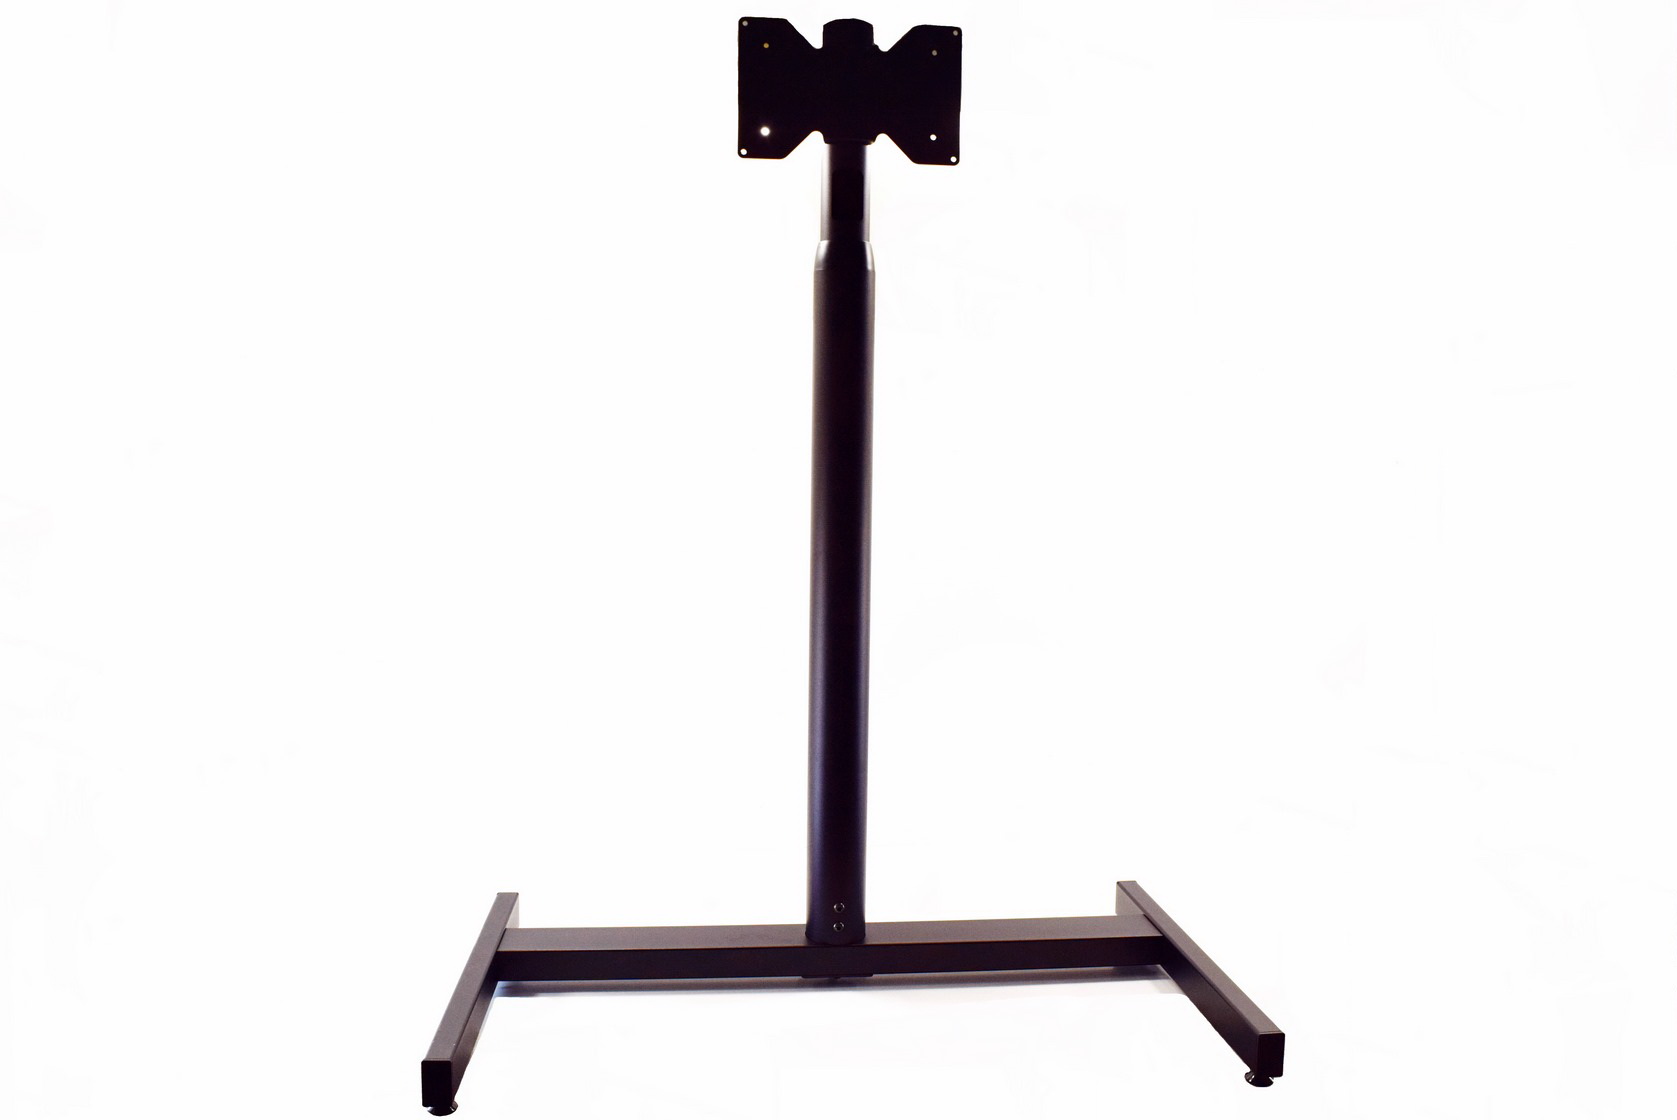
Even though the main tube with the VESA mount is identical to that of the 26782 model the center bar with the two legs clearly require more space.
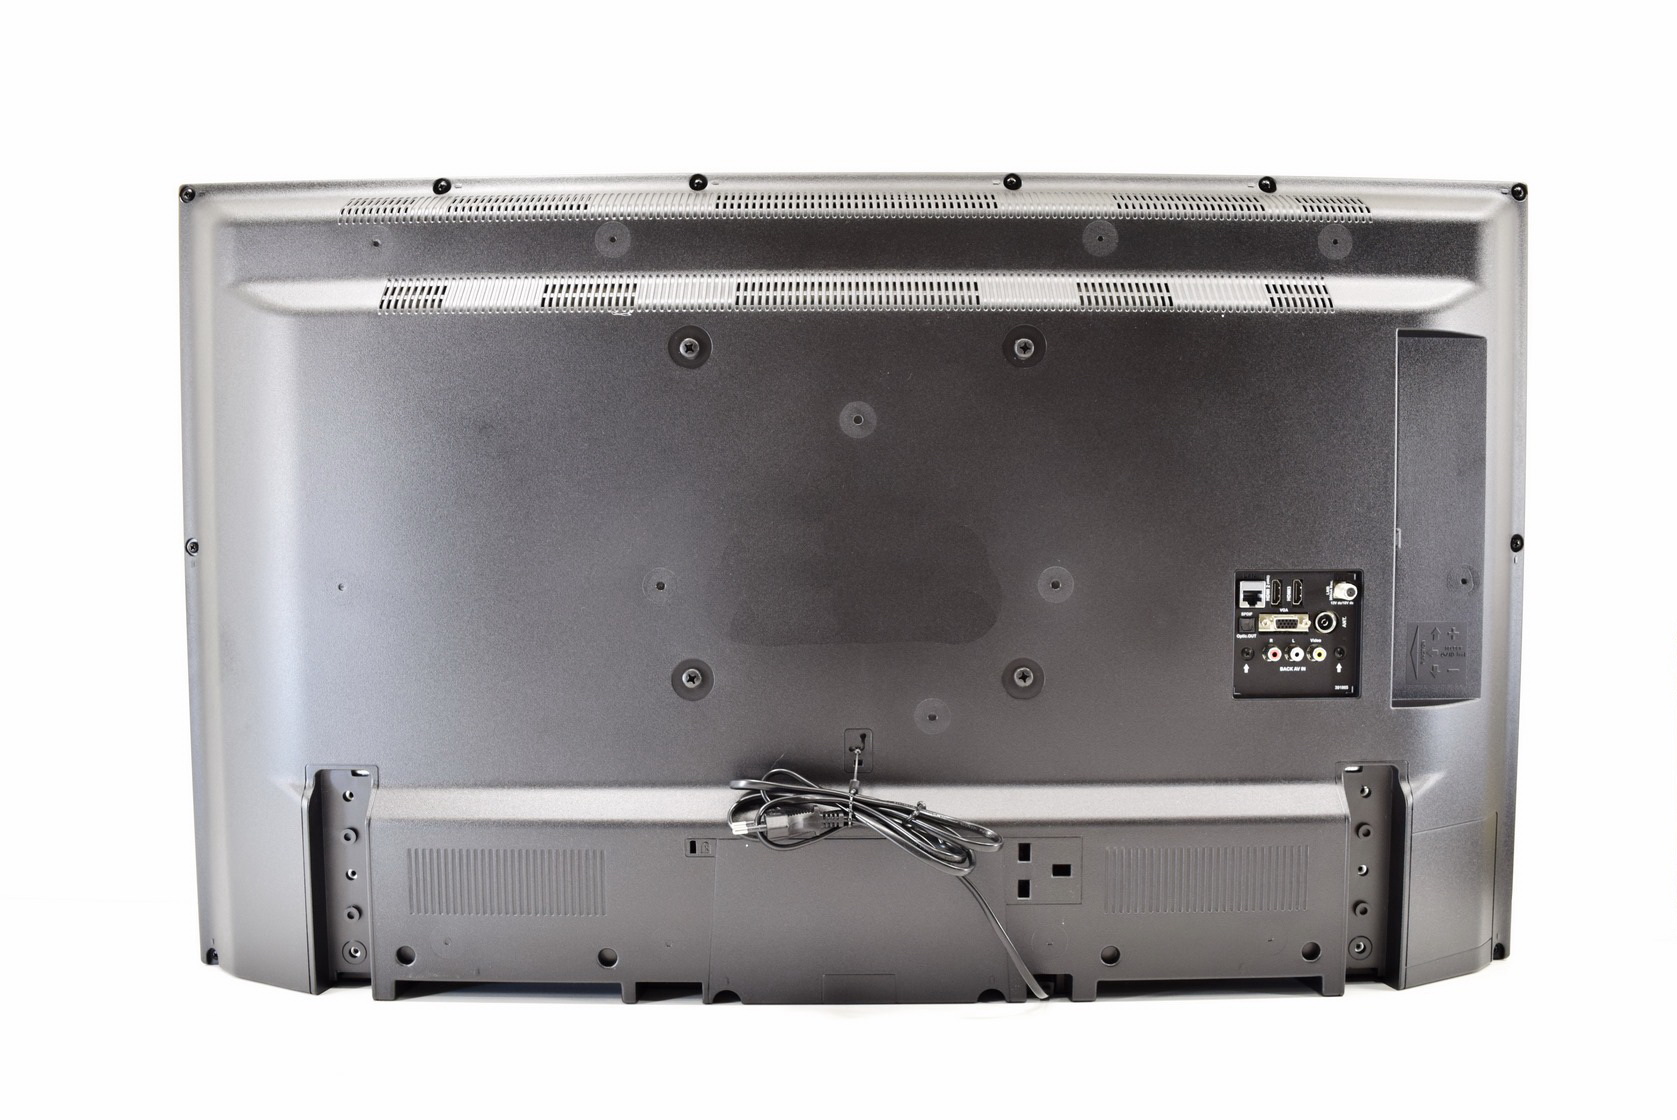
Since i attached a 55" screen onto the 26782 by using the universal mount this time over i thought it would be nice to showcase the main mount by using a 40" model instead.
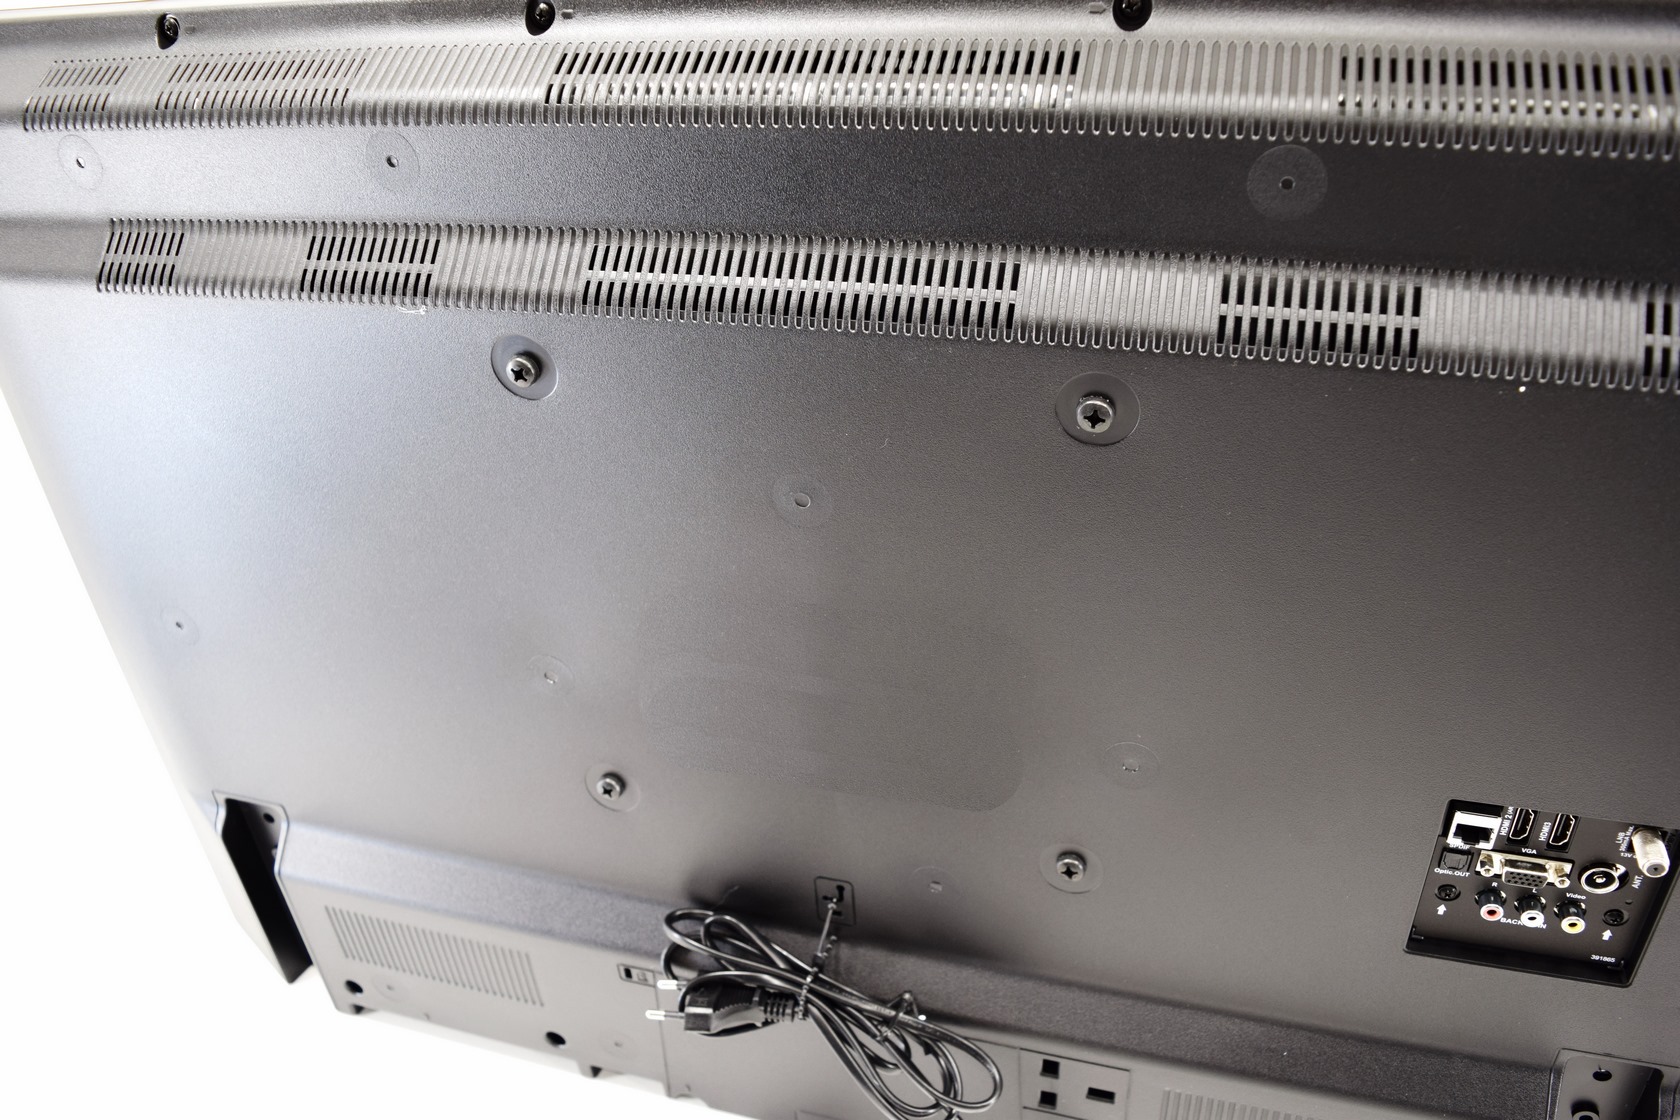
This screen came with its own screws in its VESA holes so they needed to be replaced with the provided Allen ones.
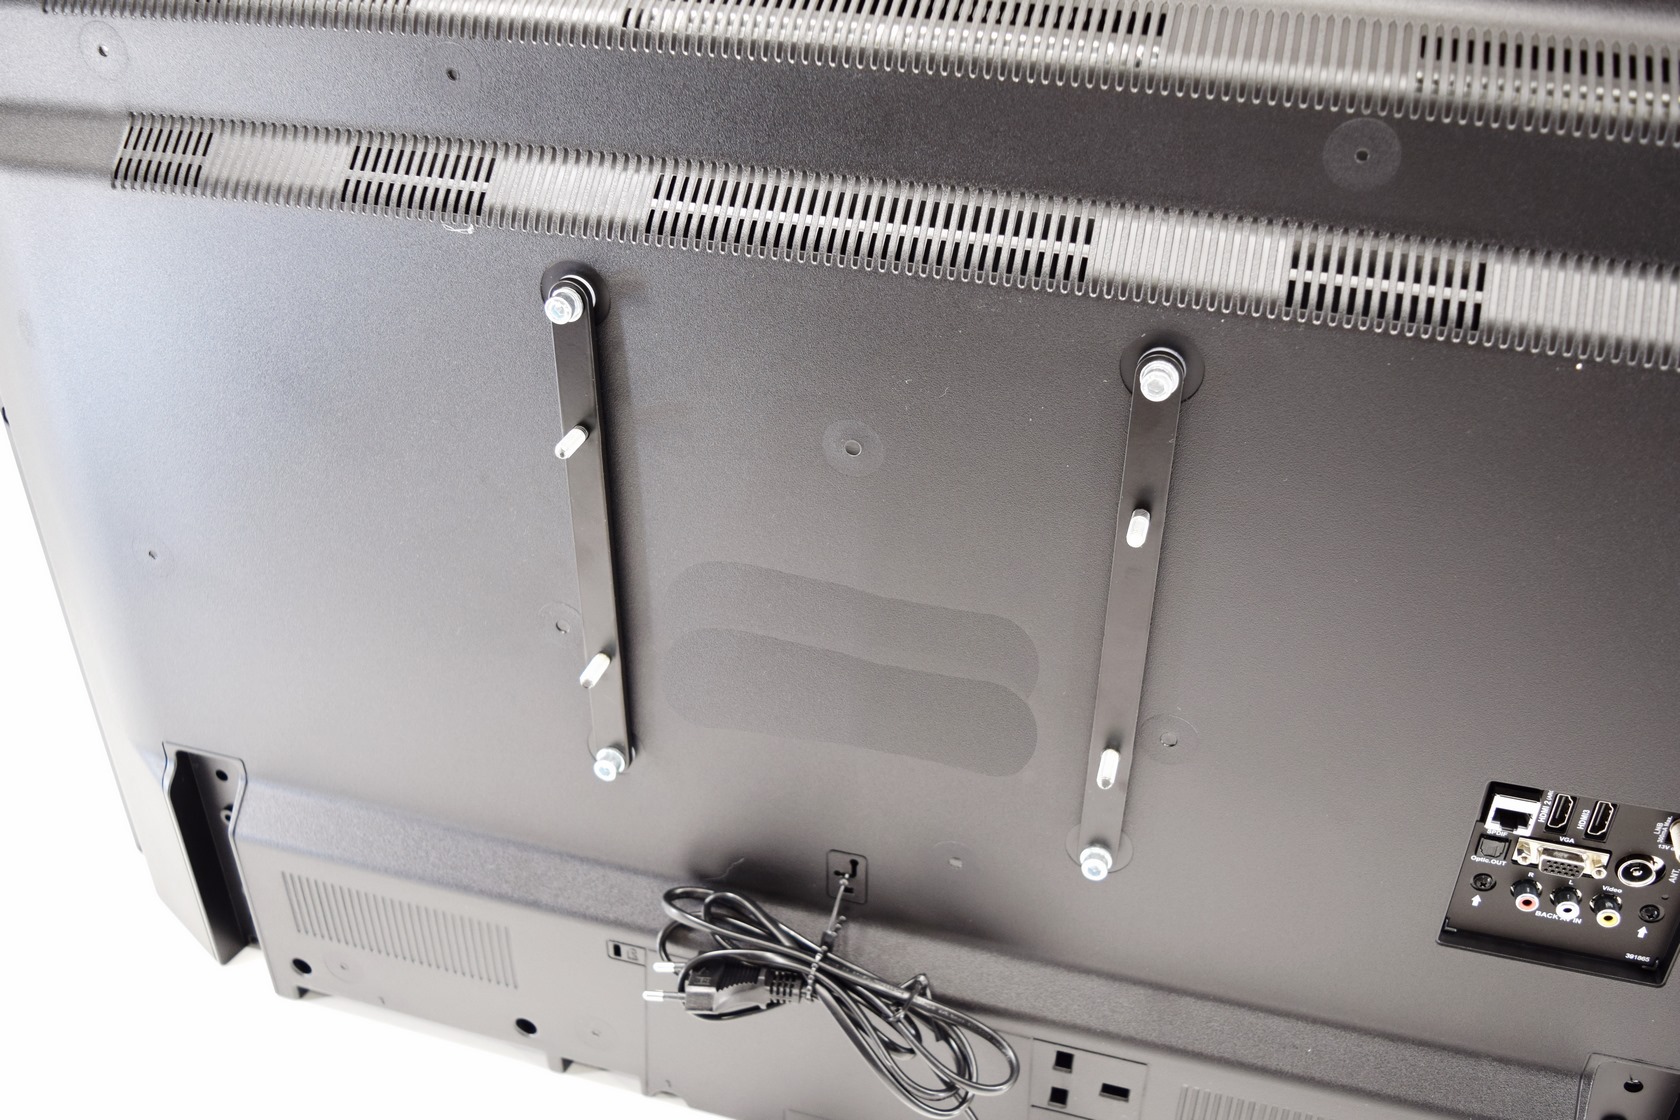
Even for a 40" screen you still need to use the basic VESA adapters as seen above.
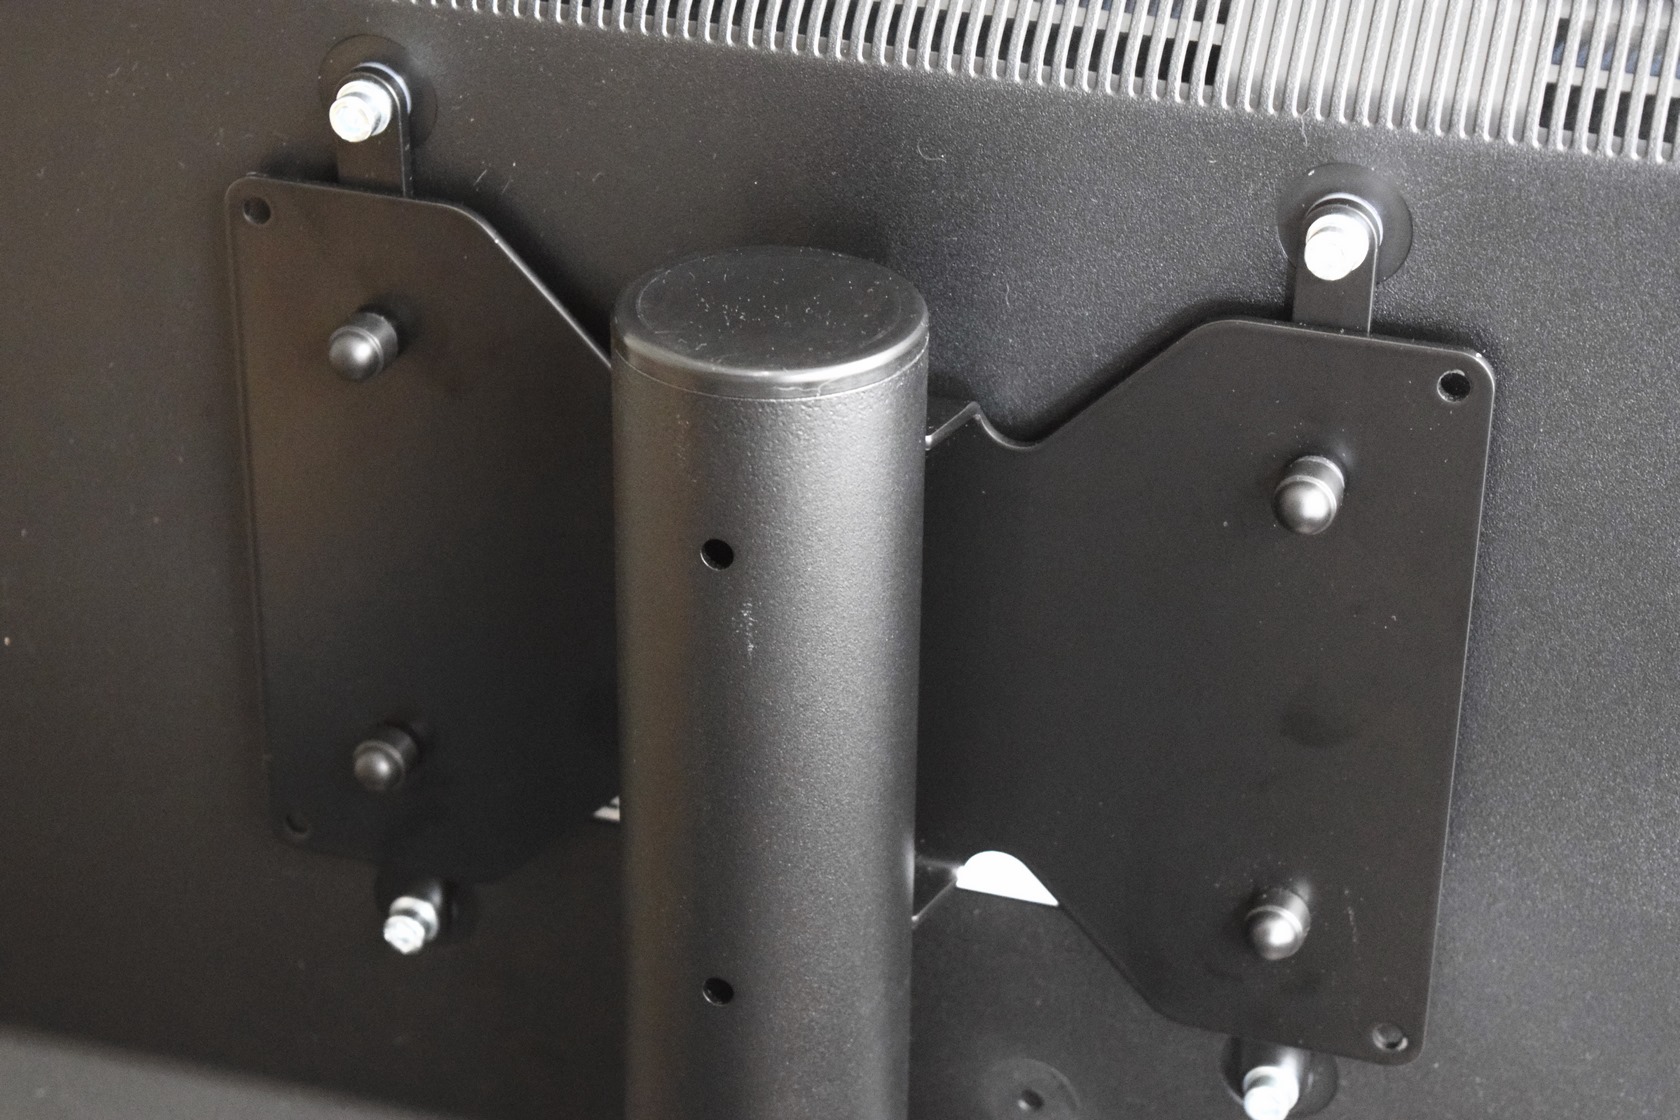
Attaching the screen onto the 26783 after that is a piece of cake.
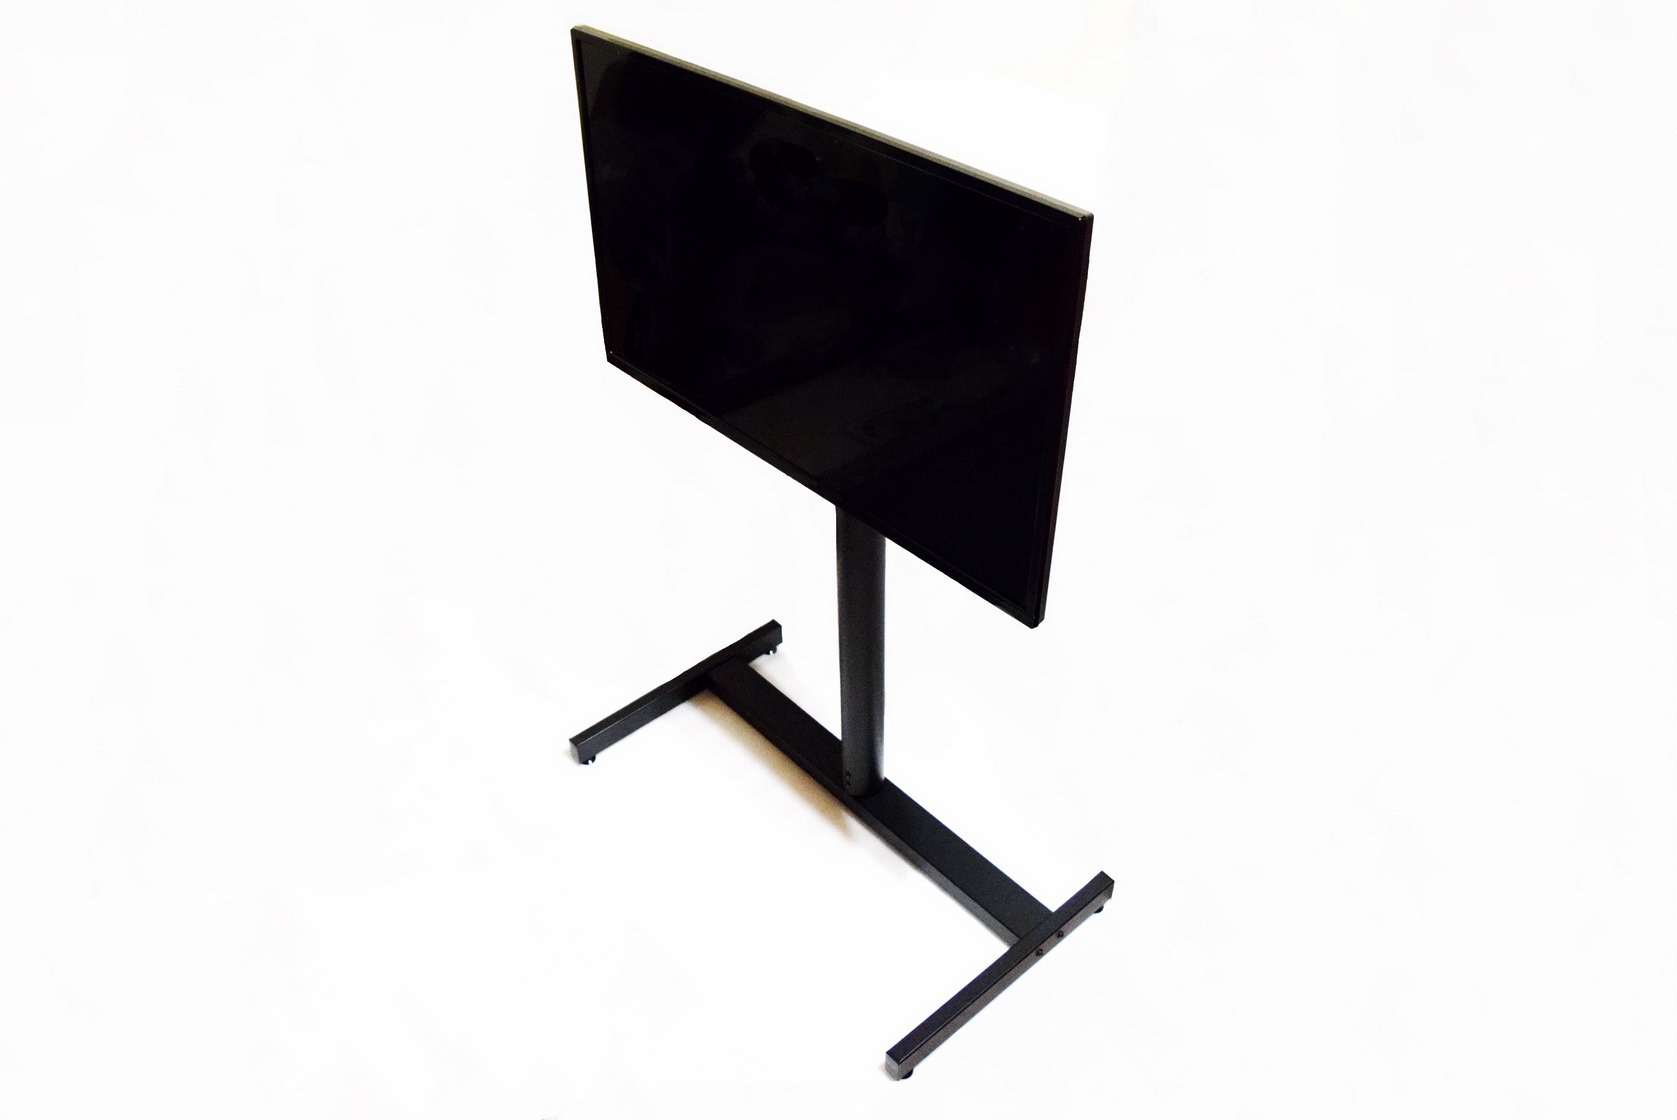
Here you can see just how the 26783 stand looks like with the 40" screen attached onto it (I’m getting a 65" screen soon so i may also update this review).


