


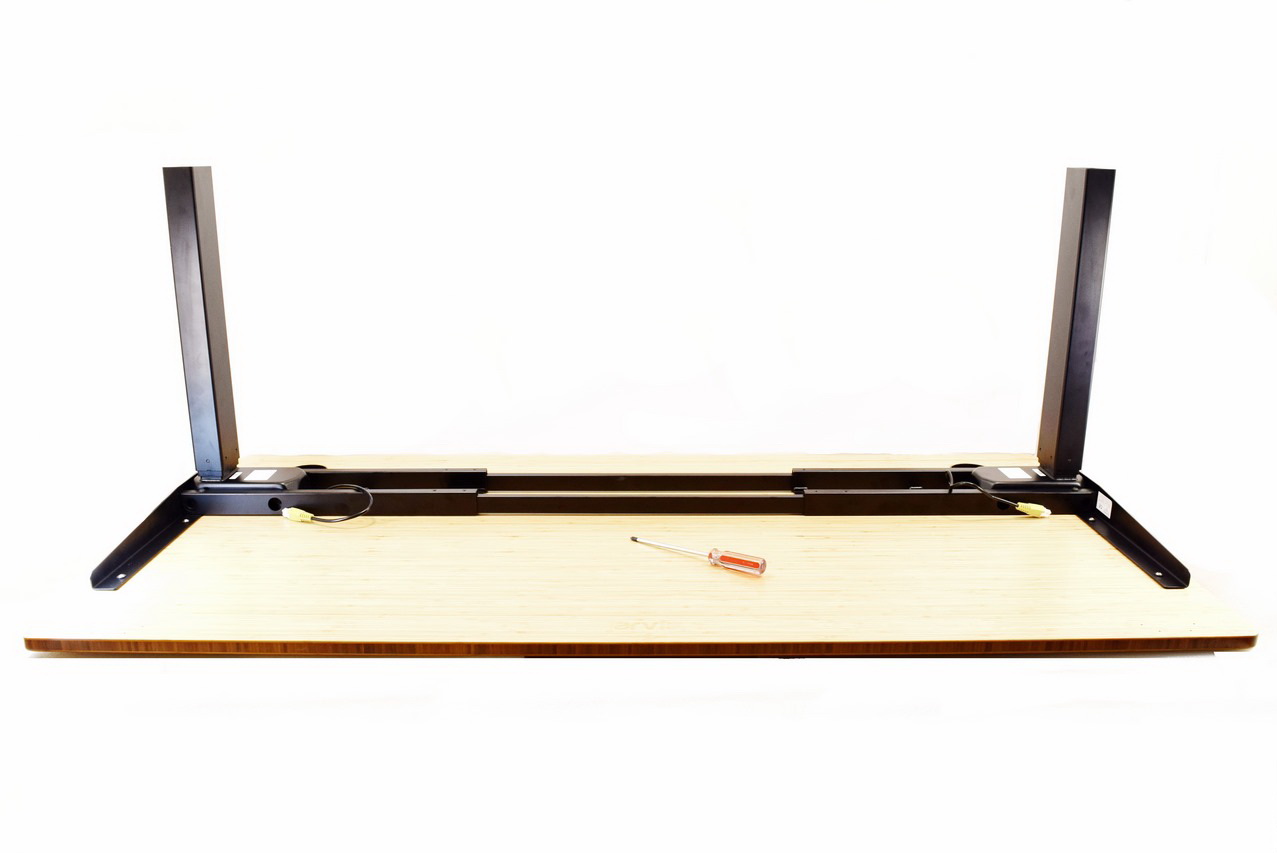
ASSEMBLY
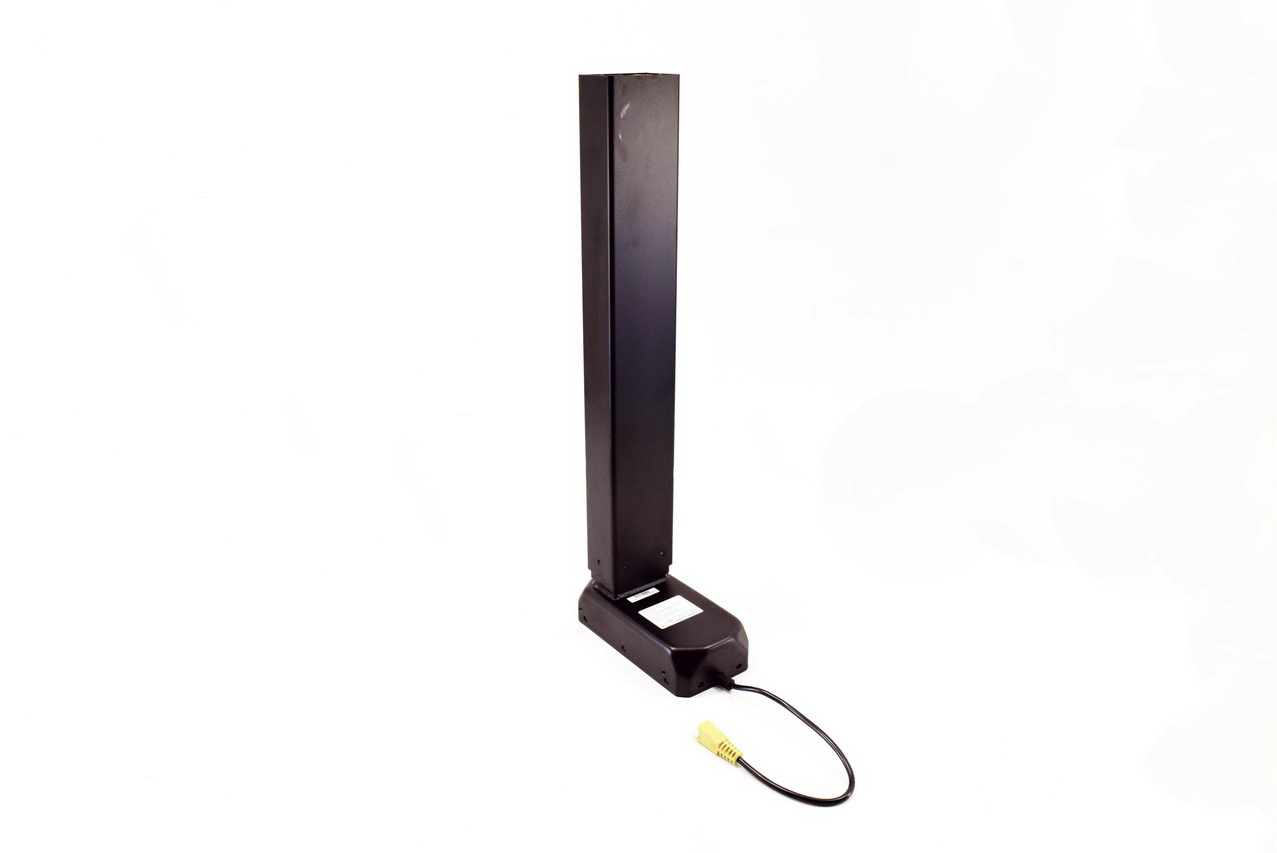
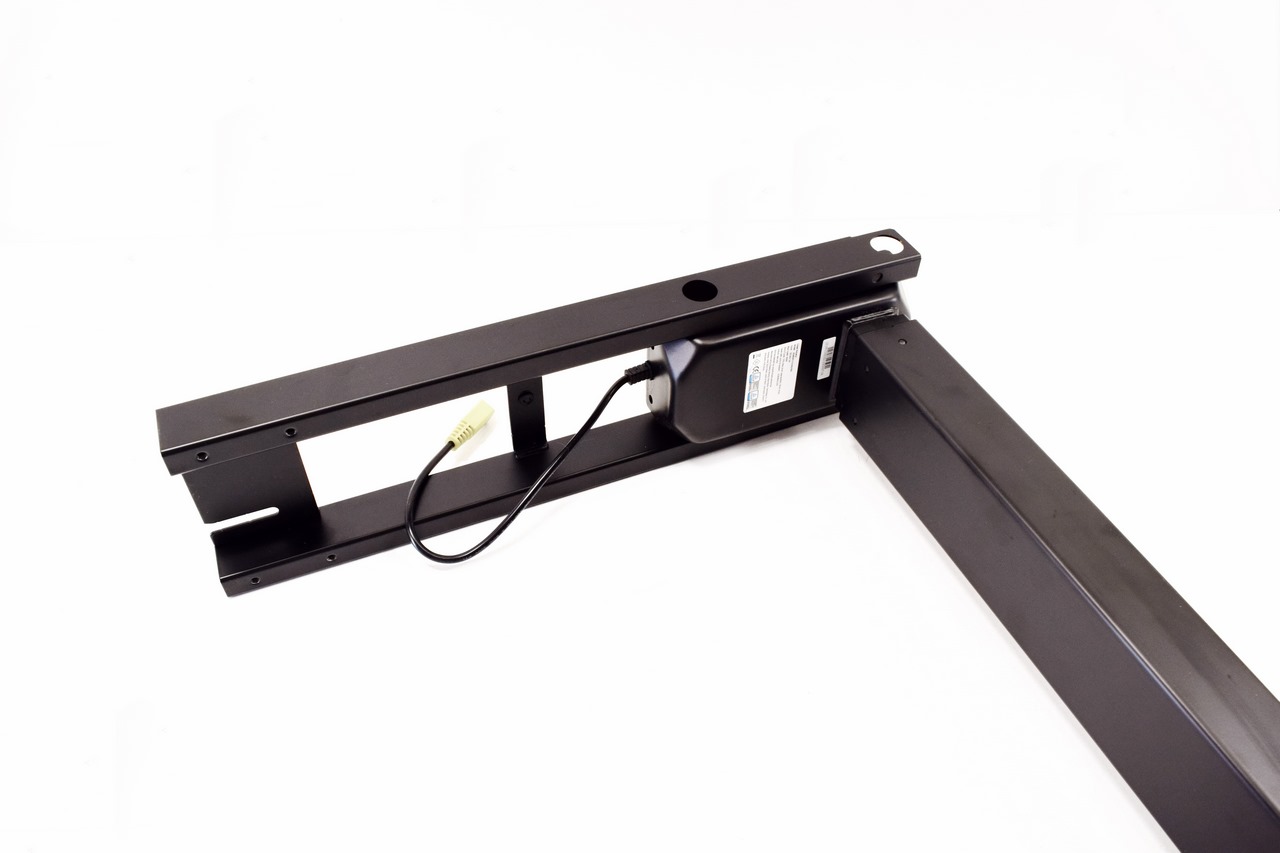
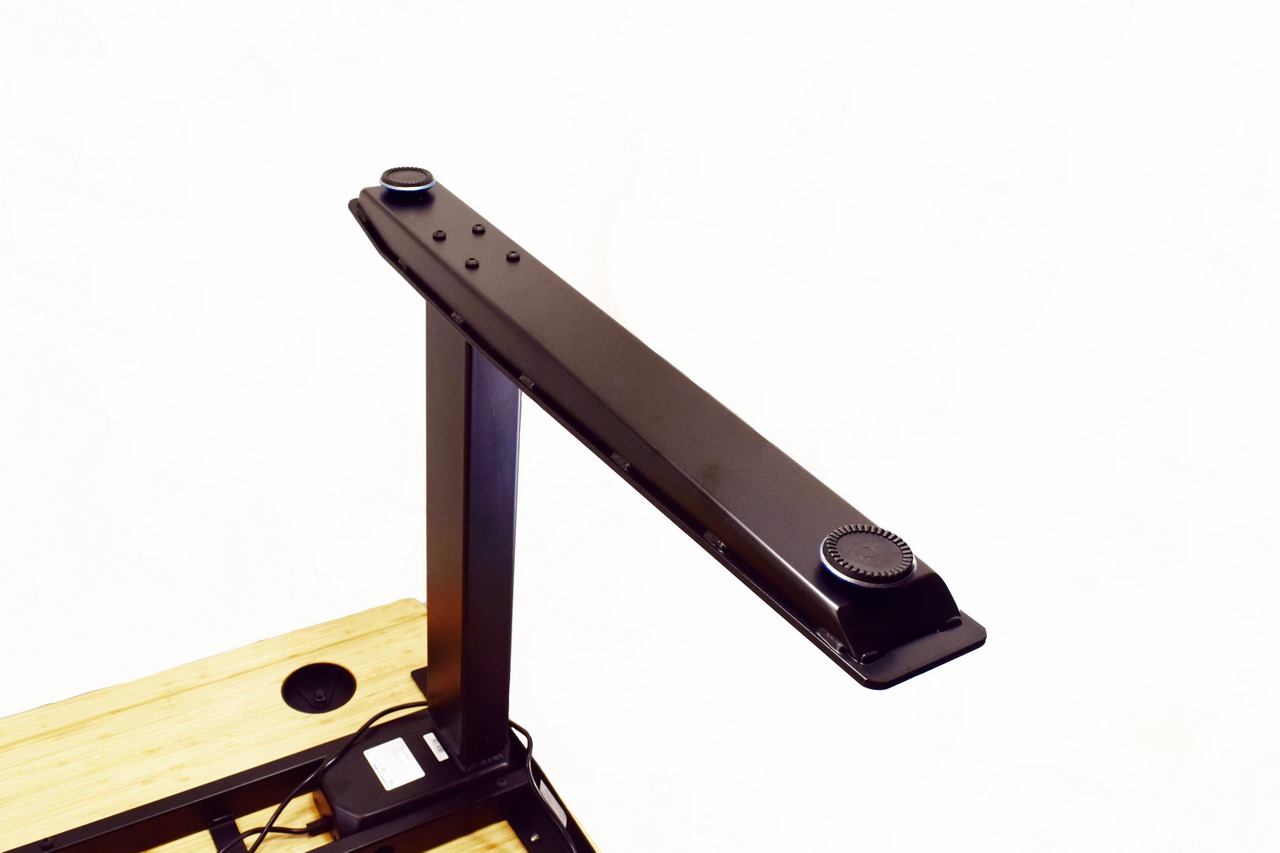
First step of the assembly requires mounting one of the lifting columns with one of the wide frames as seen above (using 4 short screws).

Then you will need to mount one of the side brackets using two long screws (repeat the same procedure for the other side).
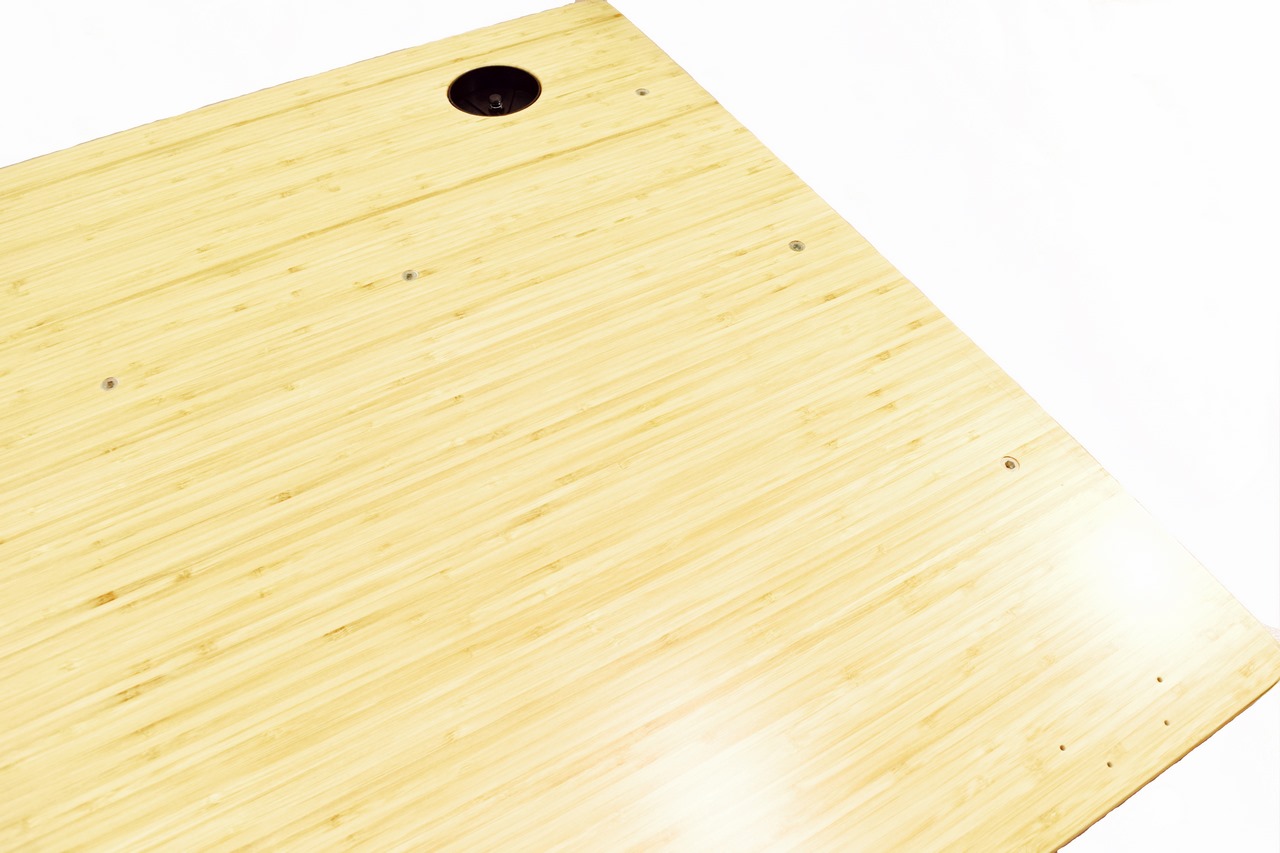
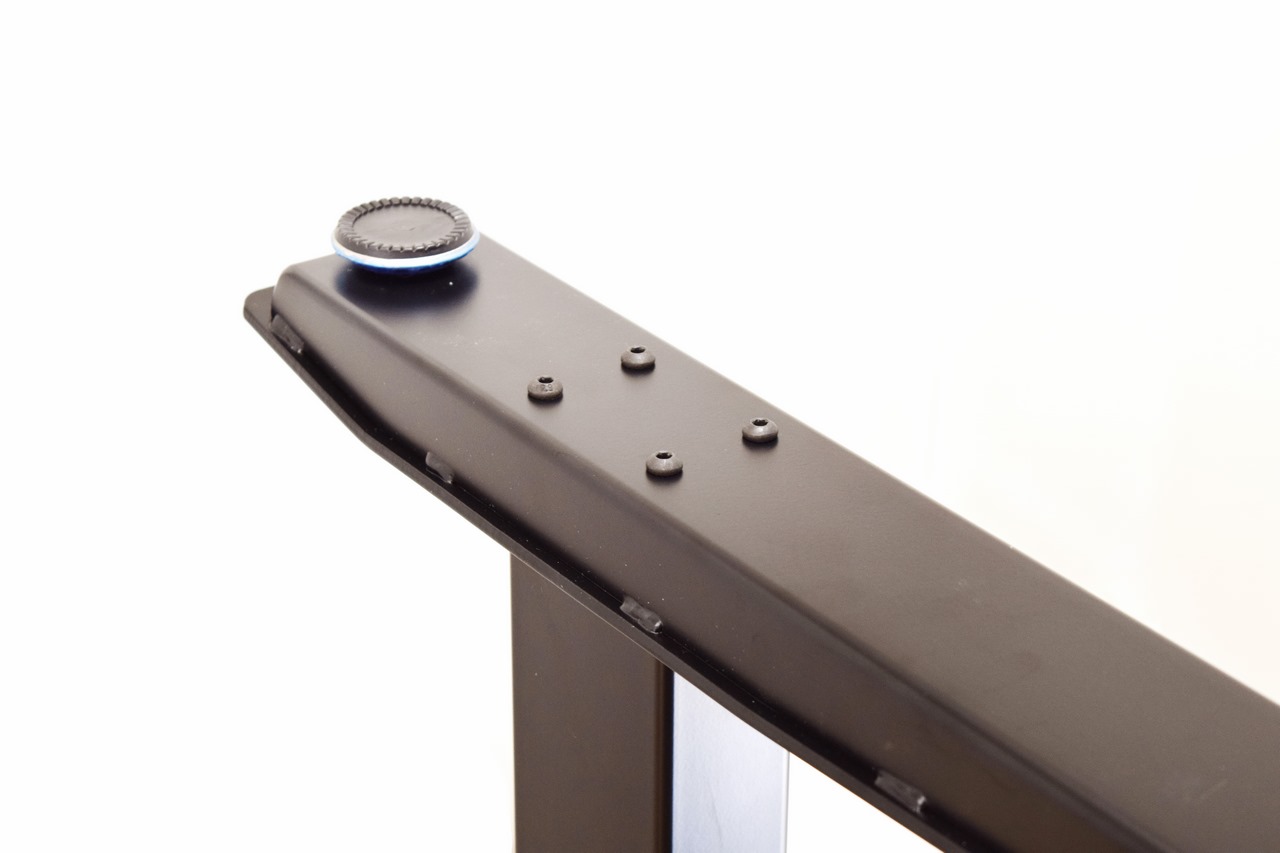
There are several holes at the base of the top which you will use to mount all of the parts.
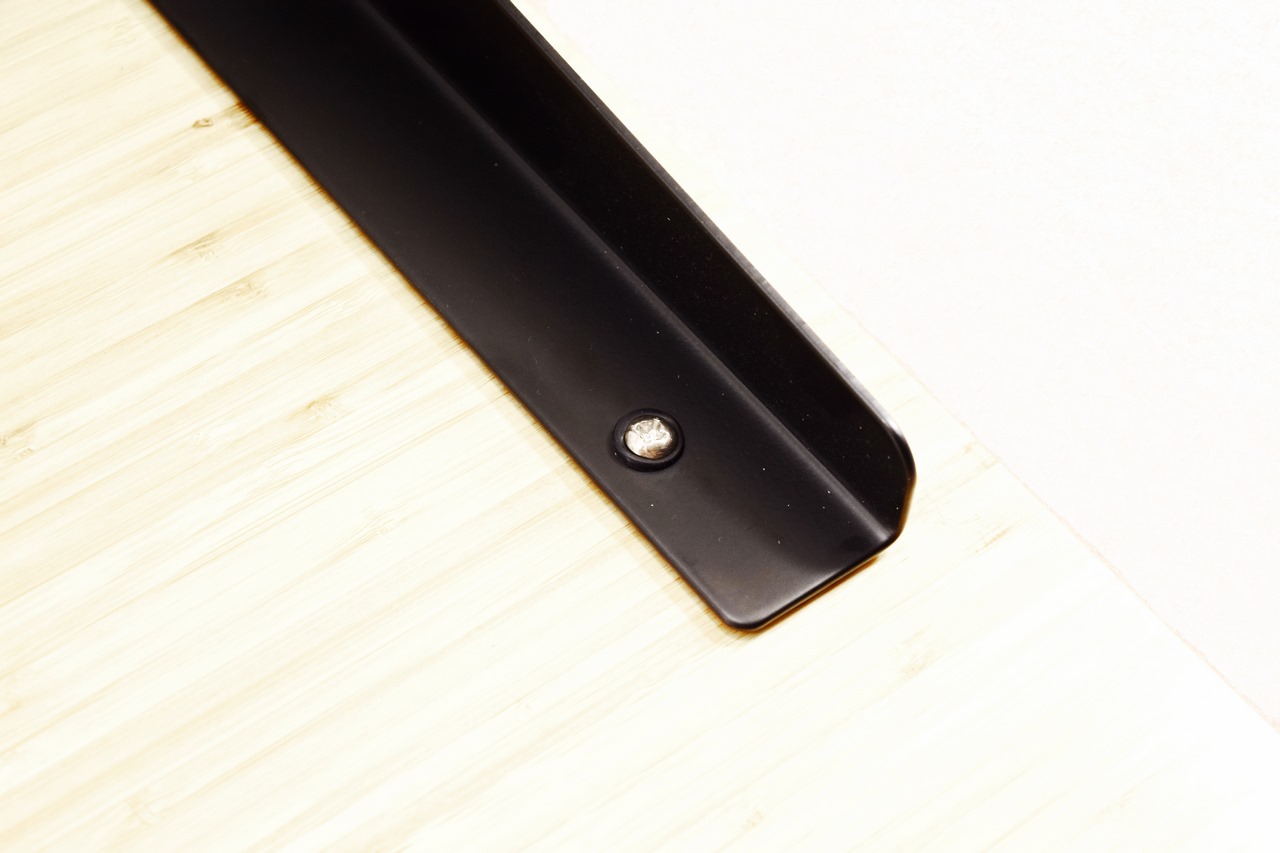
A total of 5 screws are needed to attach each side onto the top and we suggest using a normal screwdriver for that.
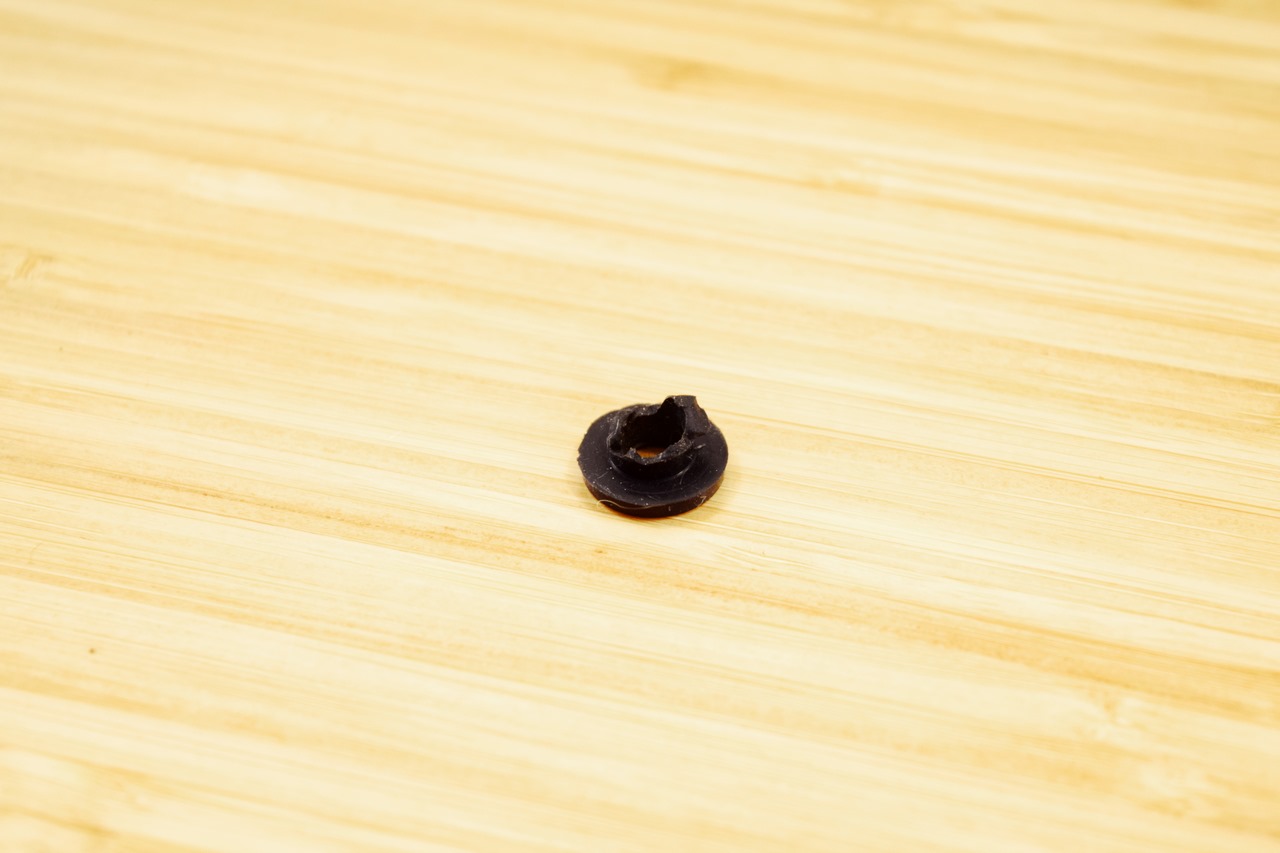
We did initially try using one of our power tools and this was the result (i guess it's no coincidence that Fully packs extra acoustic dampening grommets in the bundle).
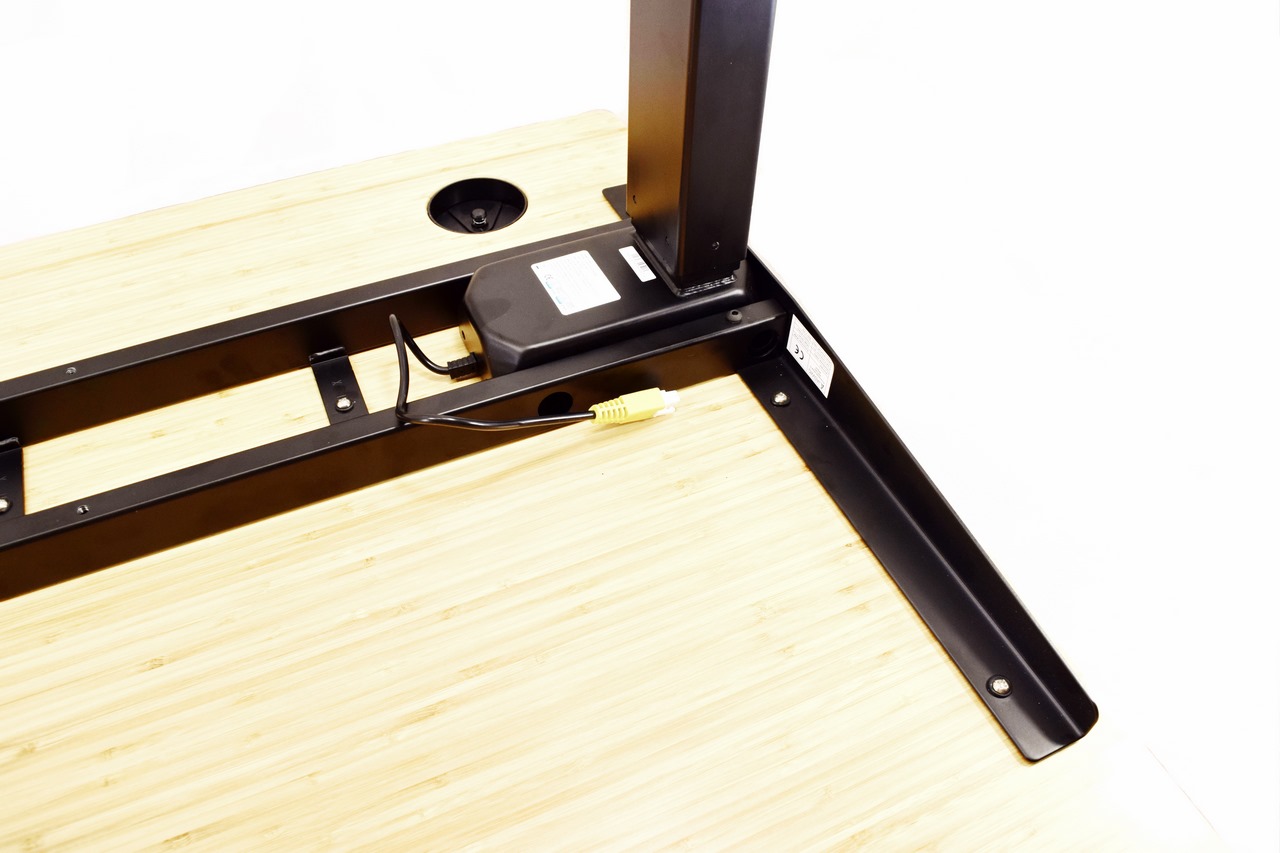
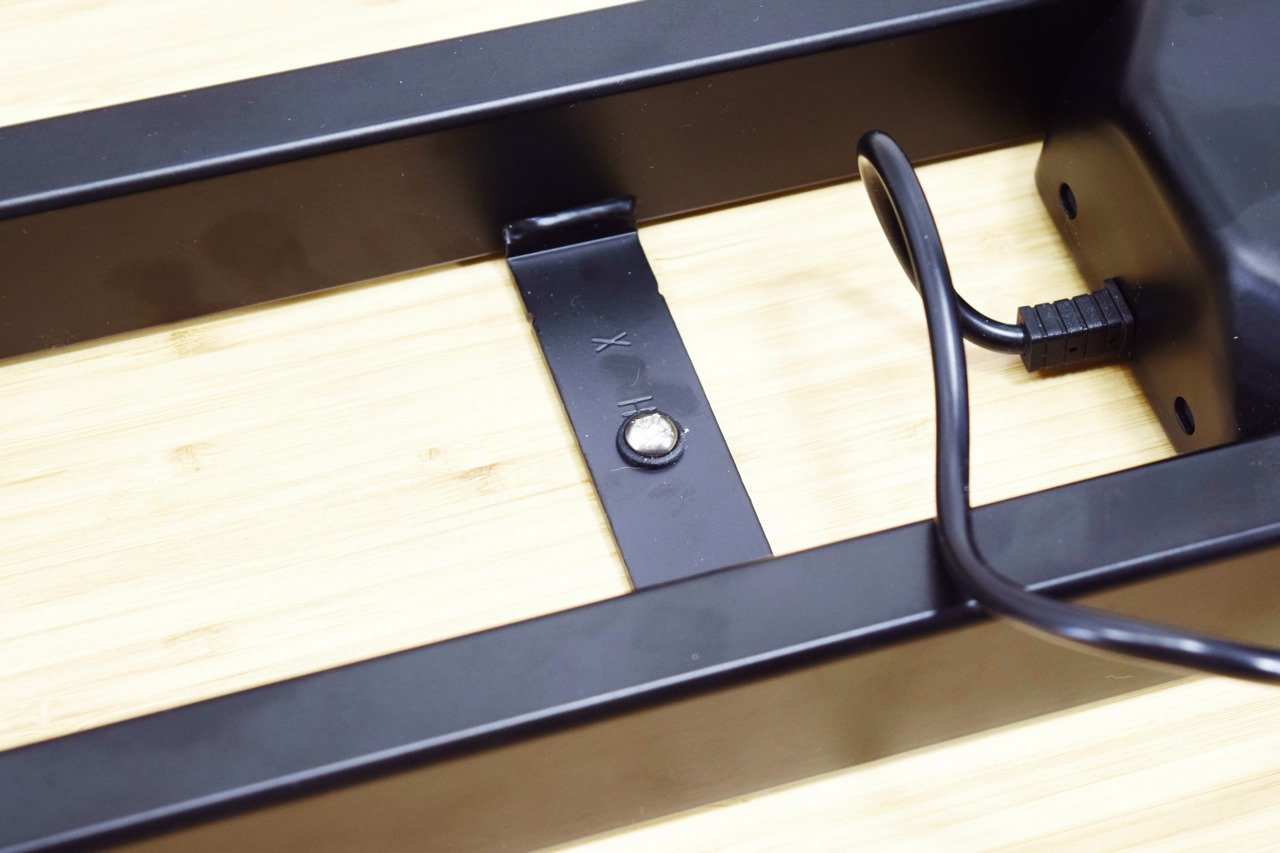
With both sides mounted (don't forget to place the rails into one of the two frames prior to mounting them on the top) now we have to fix the two rails in place.
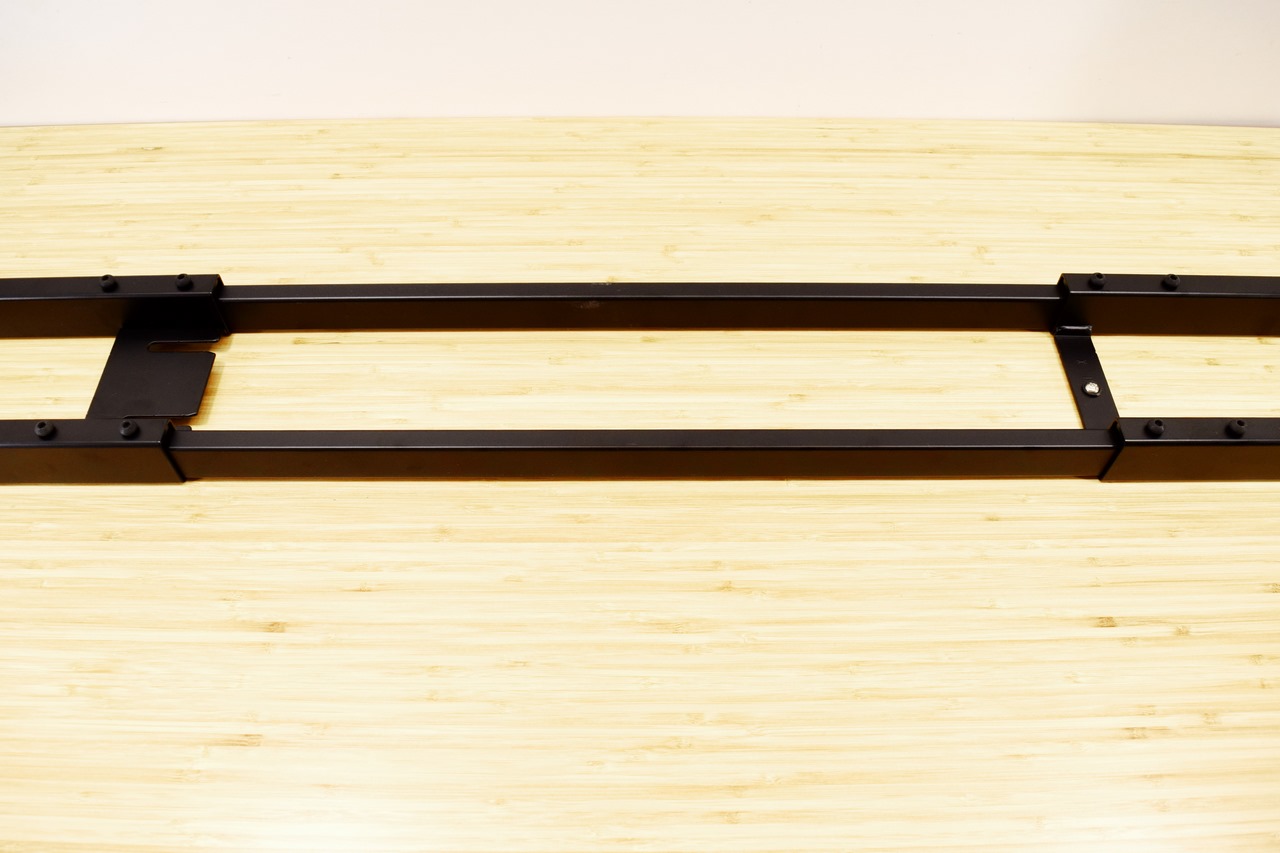
Fully unfortunately ships both rails without any kind of holes on them so you just need to use a total of 8 short screws to secure/push them in place (it works but having holes on the rails seems better).
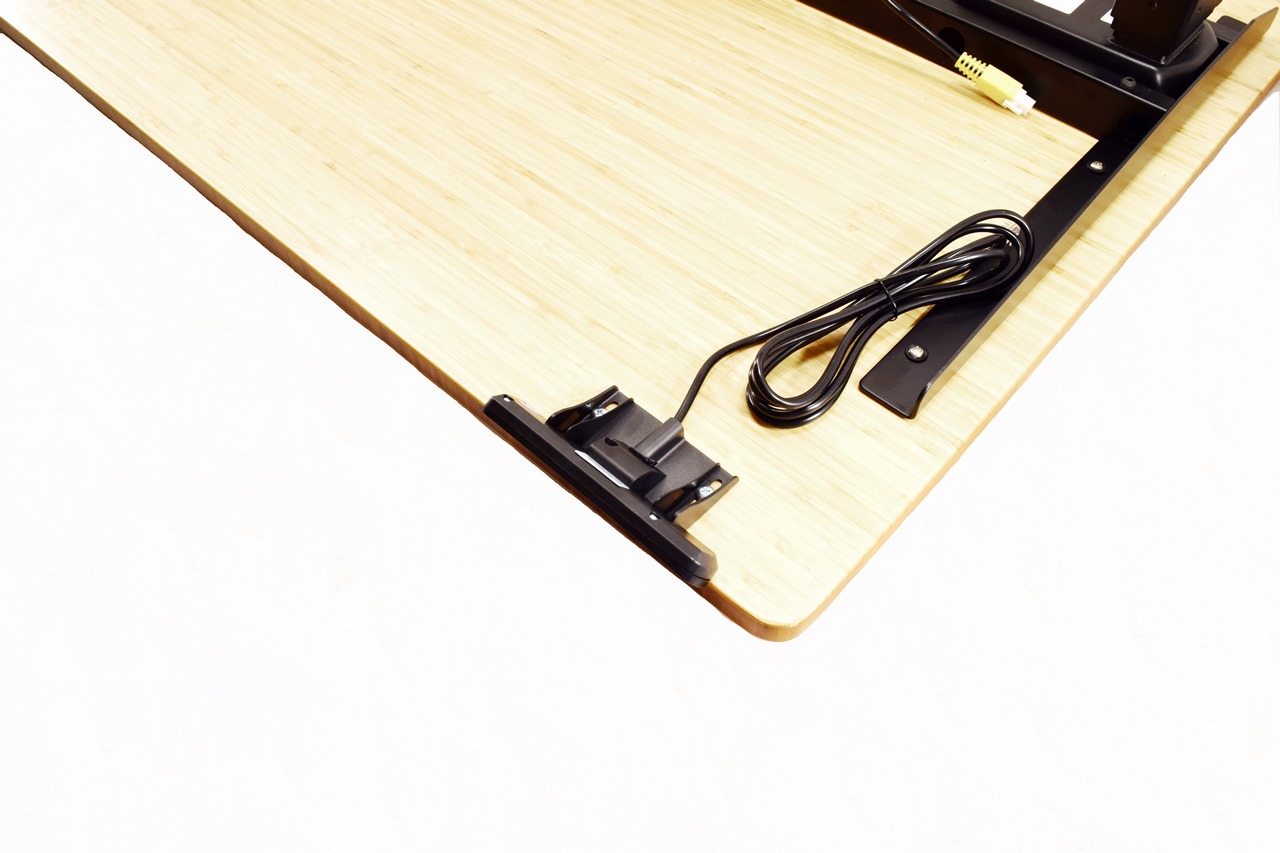
The advanced LED handset was next and you can secure this in place by using two of the bundled wood screws (Fully has placed several mounting holes on both the right and left and of the top).
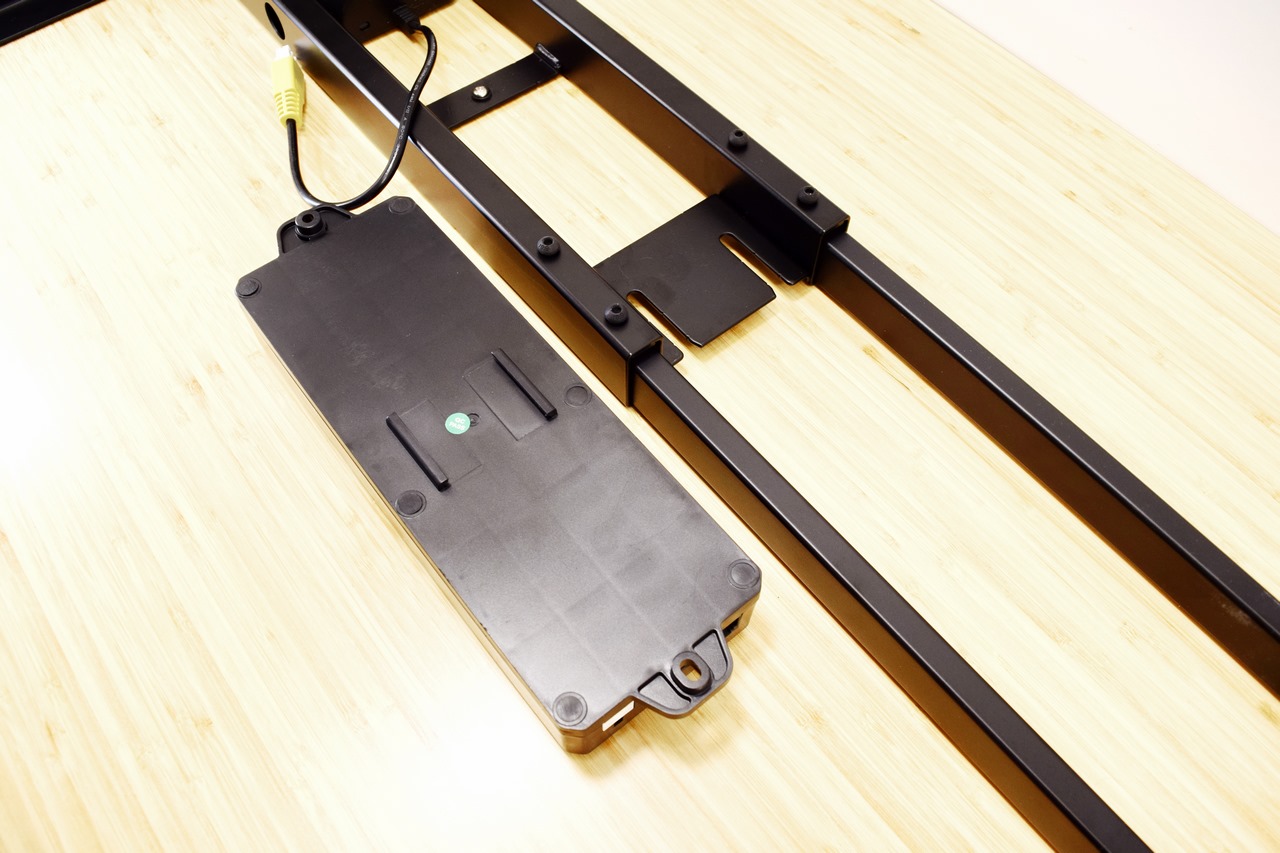
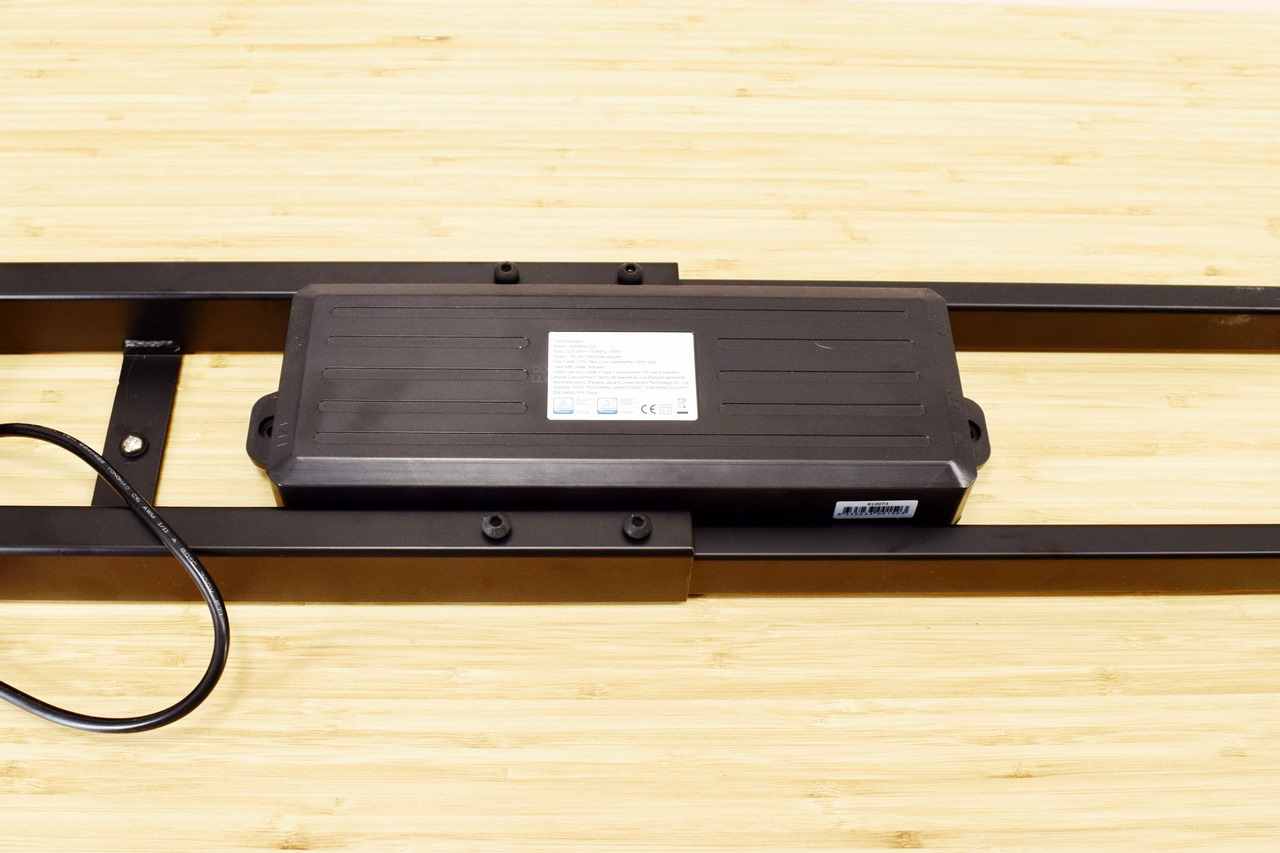
Mounting the control box is the easiest part since you just need to slide it in place as seen above.
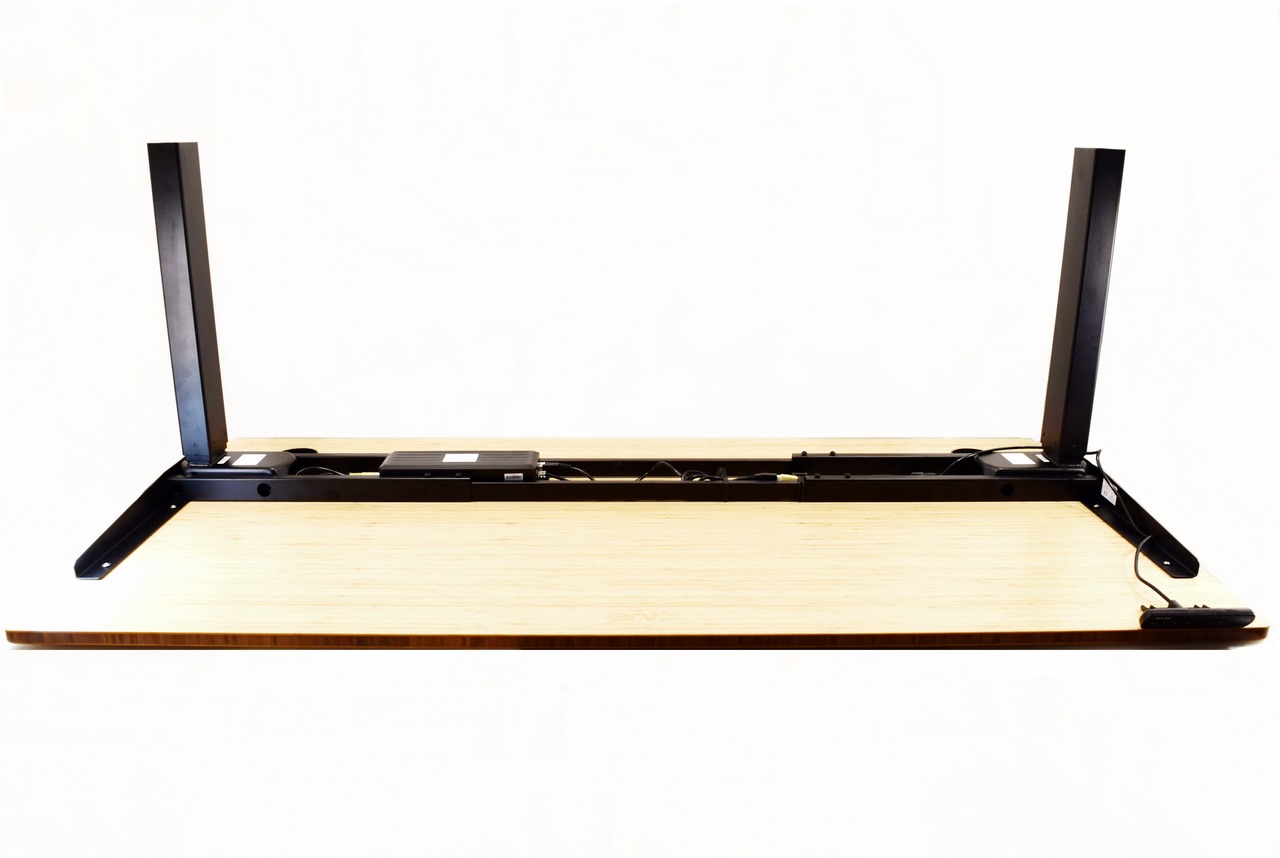
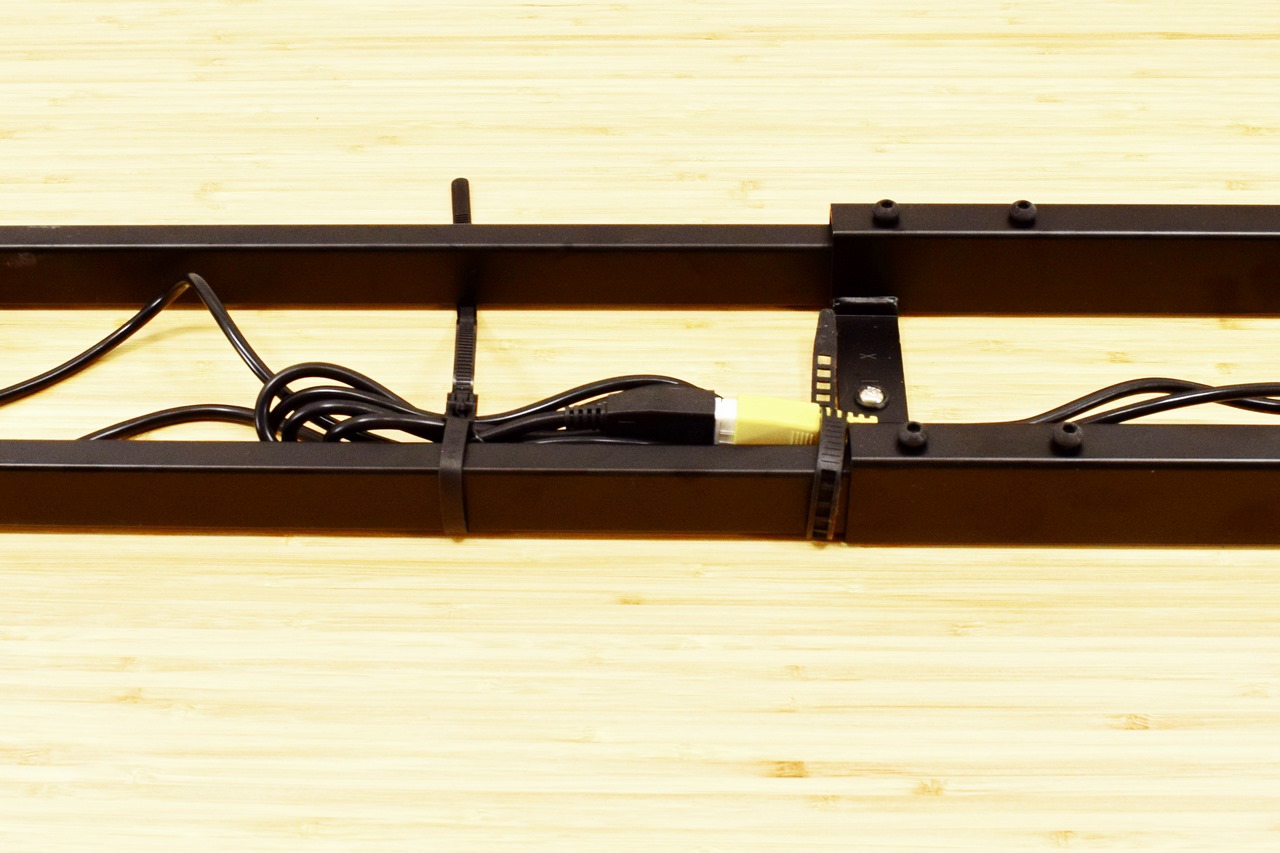
There are 5 cables in total along with the power cable but even though Fully packs cable clips with the Jarvis frame i suggest using plain cable ties instead (even reusable ones like those in the above picture) since it's not only easier but also a lot faster.
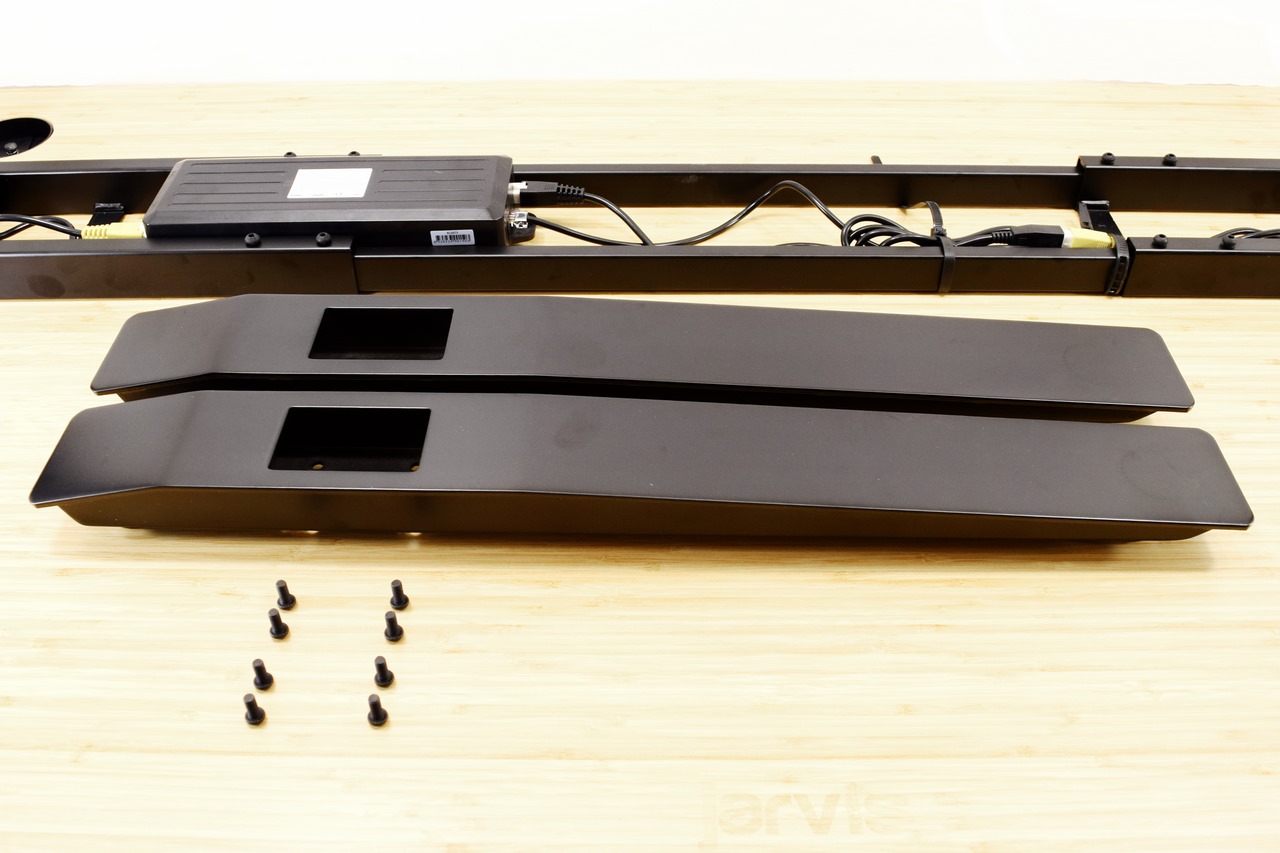
Last step is to mount the two long feet onto the lifting columns (4 long screws required for each).
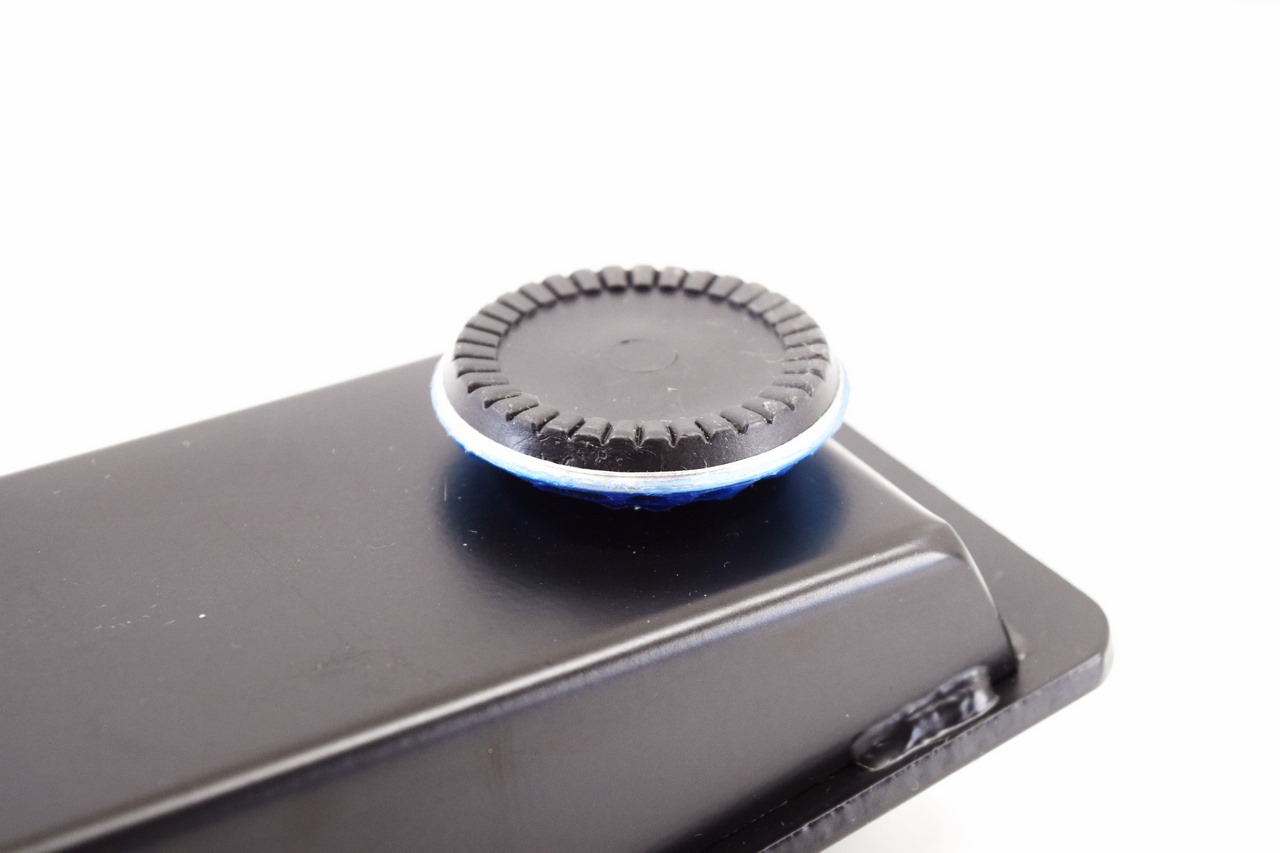
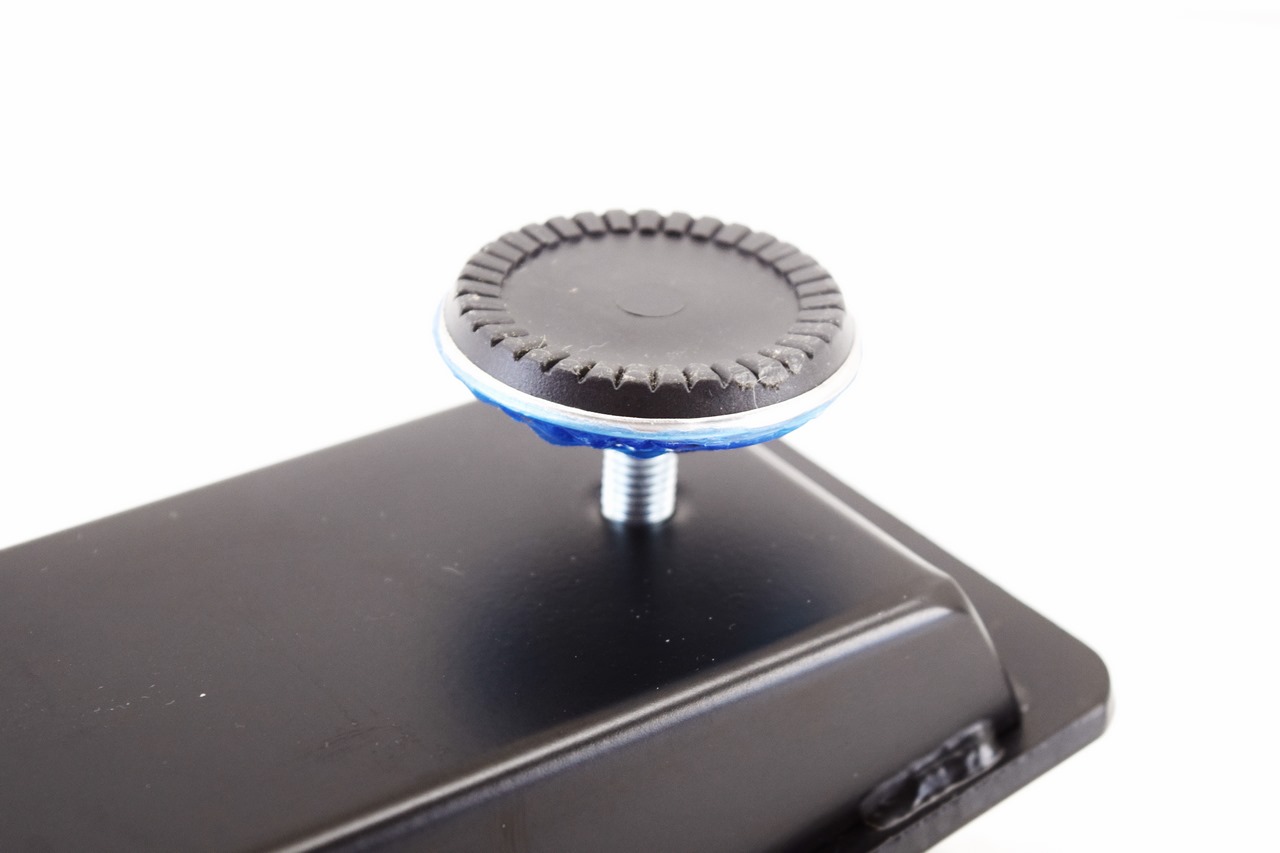
In case some of you are wondering the round rubber, feet are adjustable in height just in case the location where you place the desk is not completely even.