


ADM 3.3.0.BDT2 PART 1
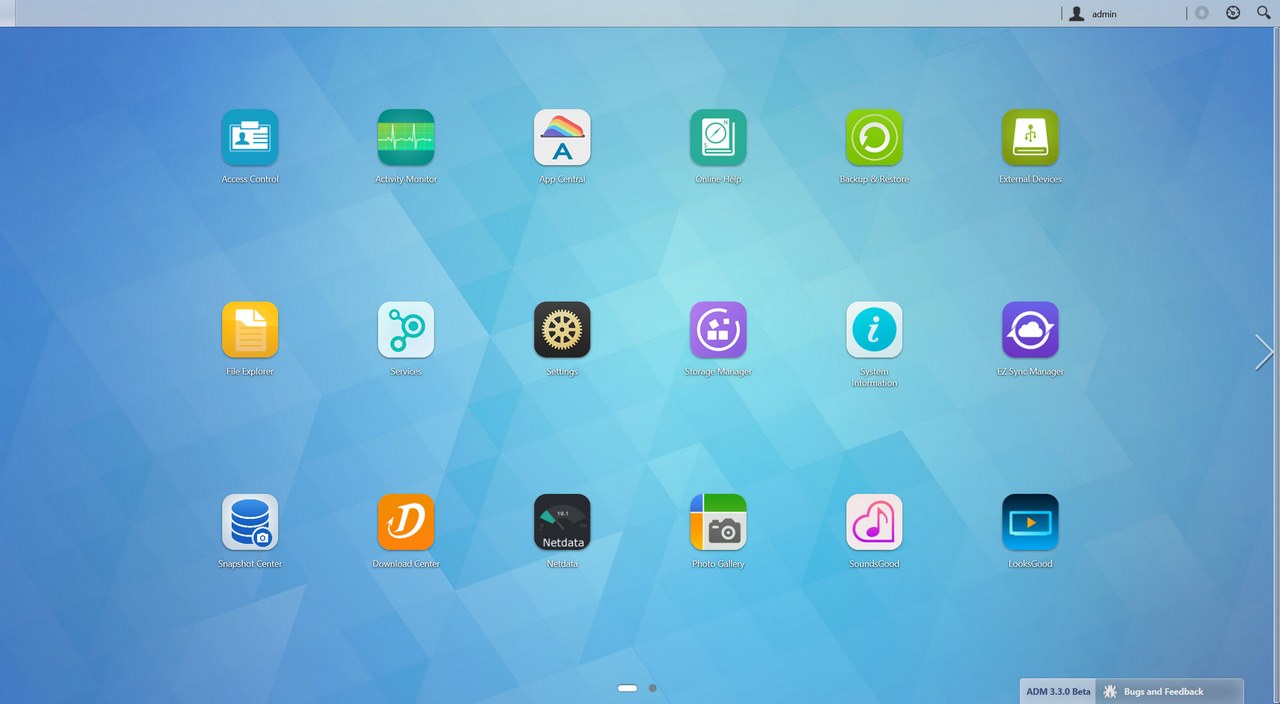
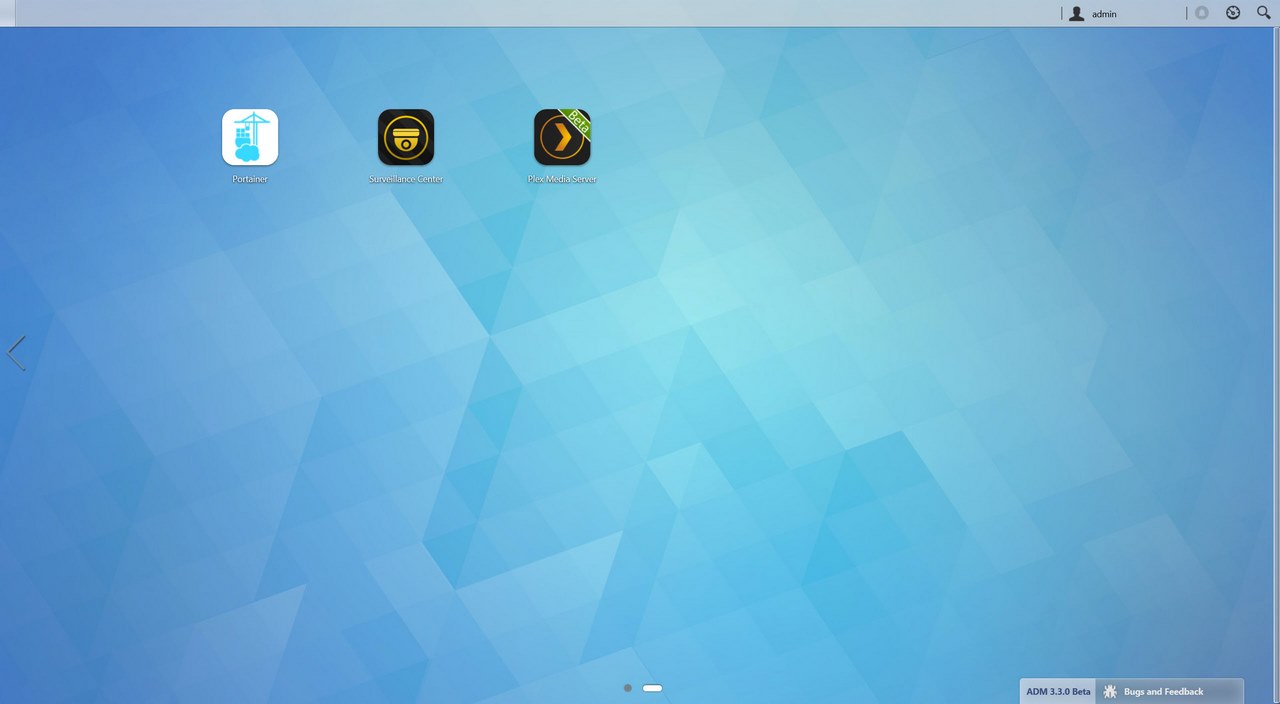
Just like previous versions the main screen includes all the applications installed by default (however we installed several more however in order to showcase them to all of you).
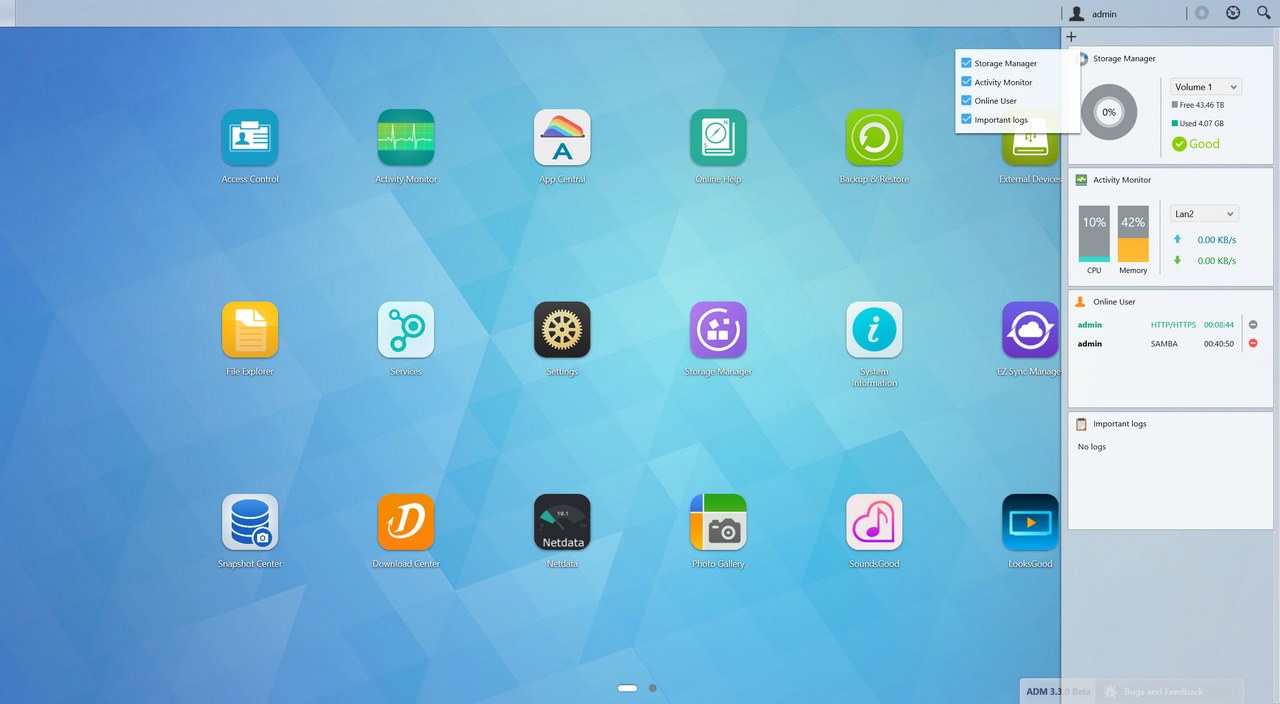
The old resource monitor has replaced with one which can be adjusted to contain the information you want.
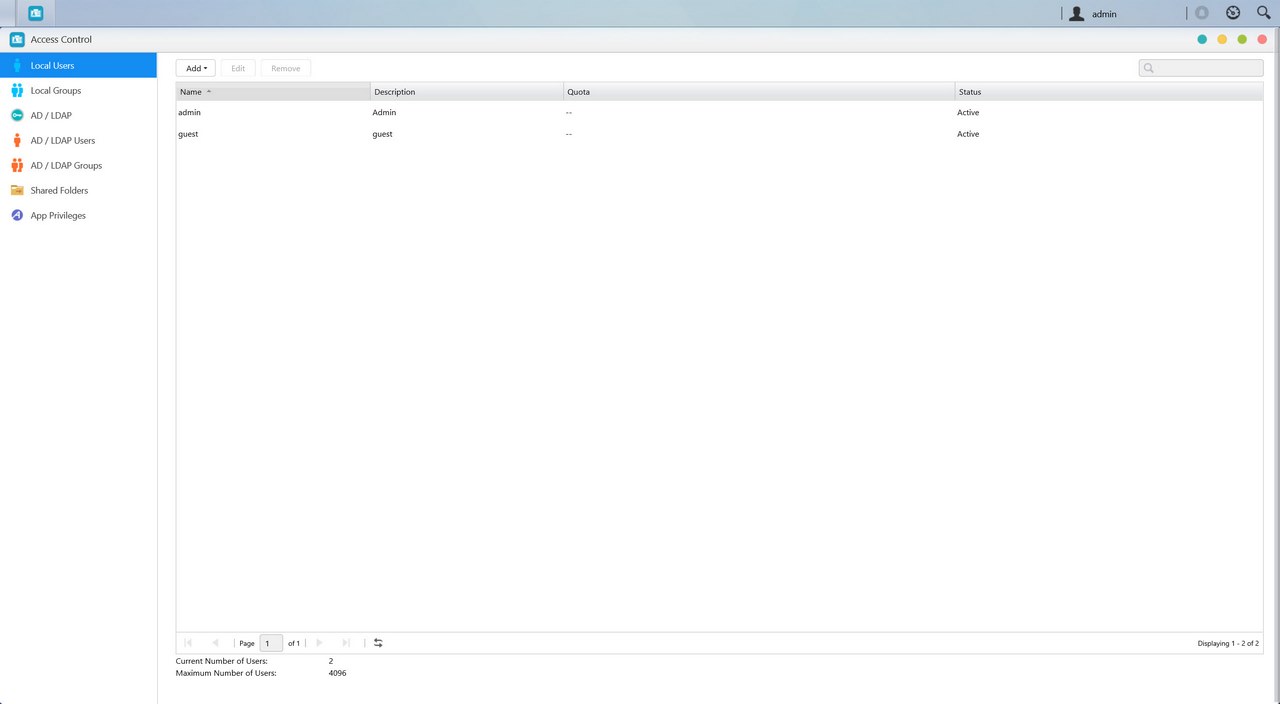
As with all ADM versions to date from the Access tab you can add/remove user accounts, groups, domain users, domain groups and you can also create shared folders and set application privileges.
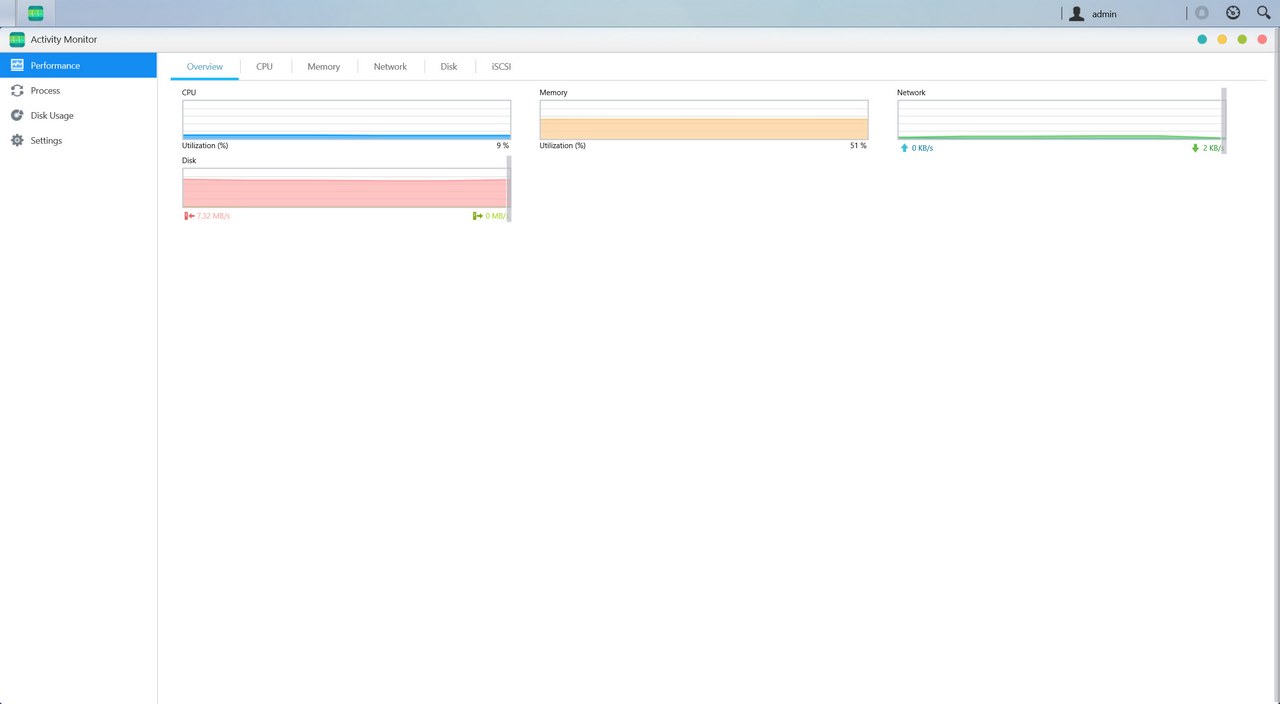
The Activity Monitor allows the end user to monitor the NAS so from here you can check the available space on the installed drive(s), check the CPU/Memory/Network/disk usage/utilizations and see what processes are currently running.
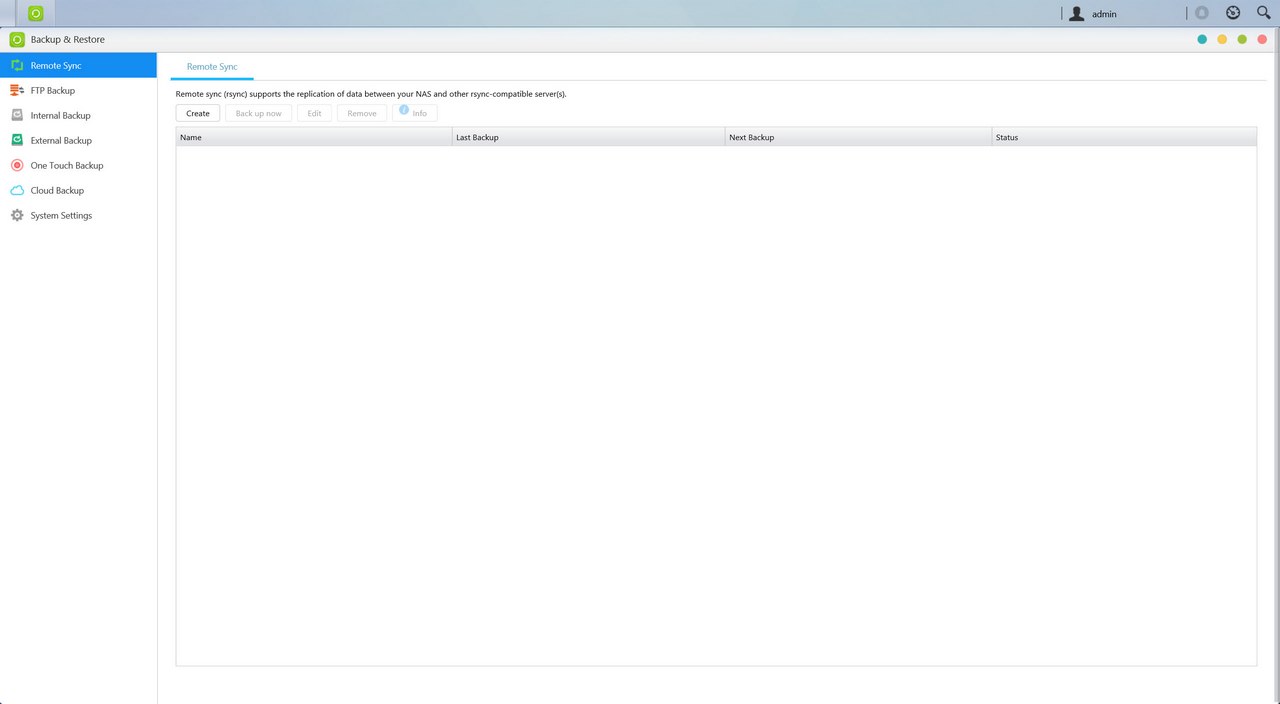
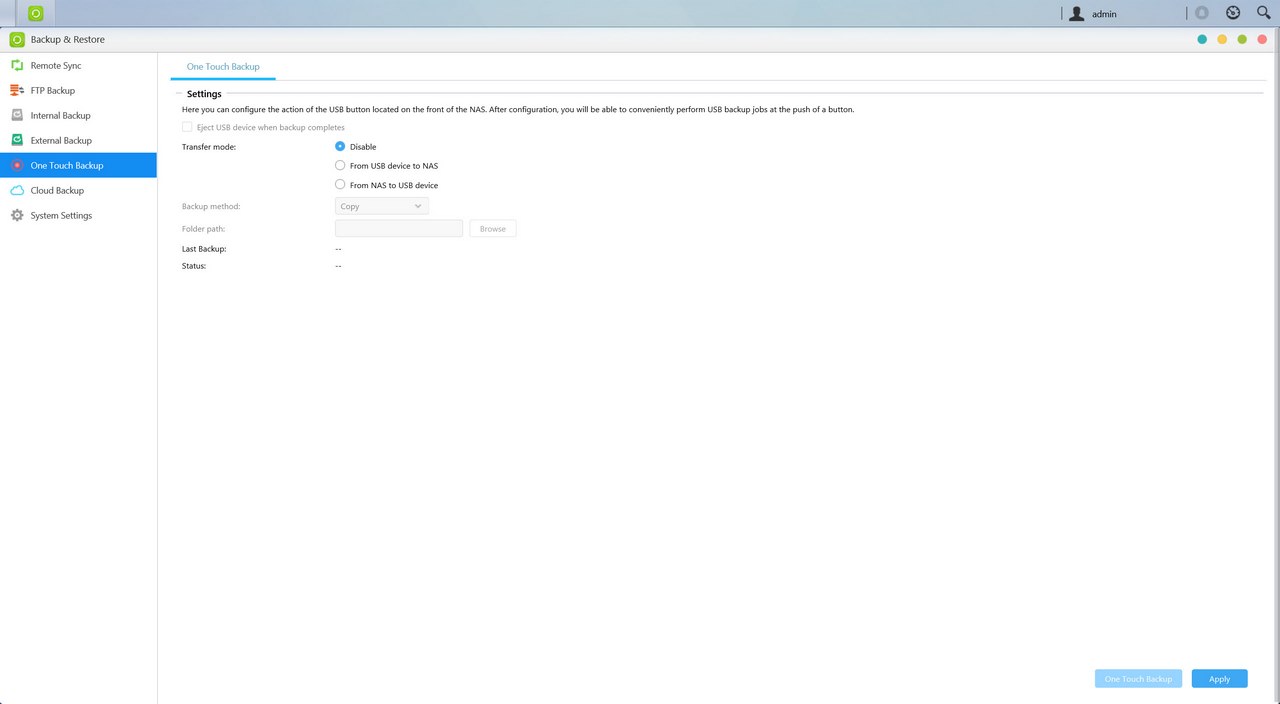
The Backup & Restore tab allows you to remote sync options, setup FTP/Internal/External backup jobs, configure one touch backup (front USB port), use the cloud backup feature (via Amazon S3) and also adjust various settings.
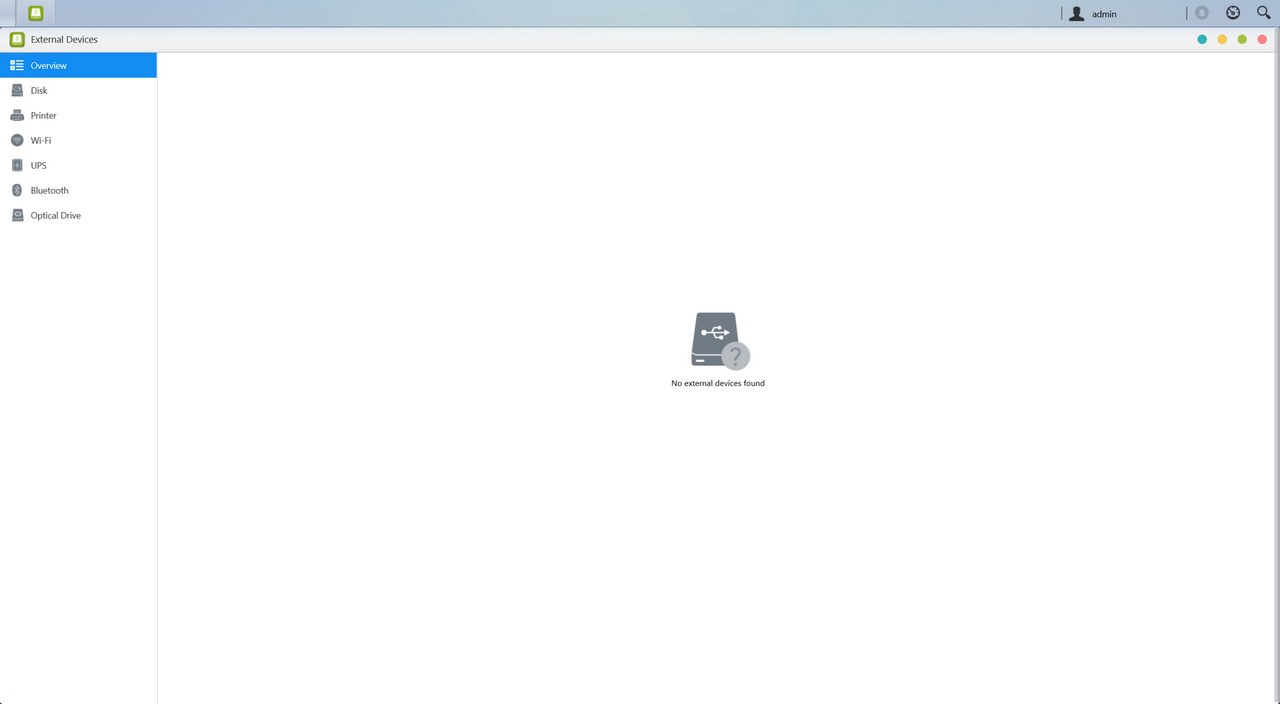
From the External Devices tab, you can check the state of attached drives, format them, prepare them for ejection and you can also check the state/adjust the settings for attached printers, Wi-Fi adapters and UPS devices.
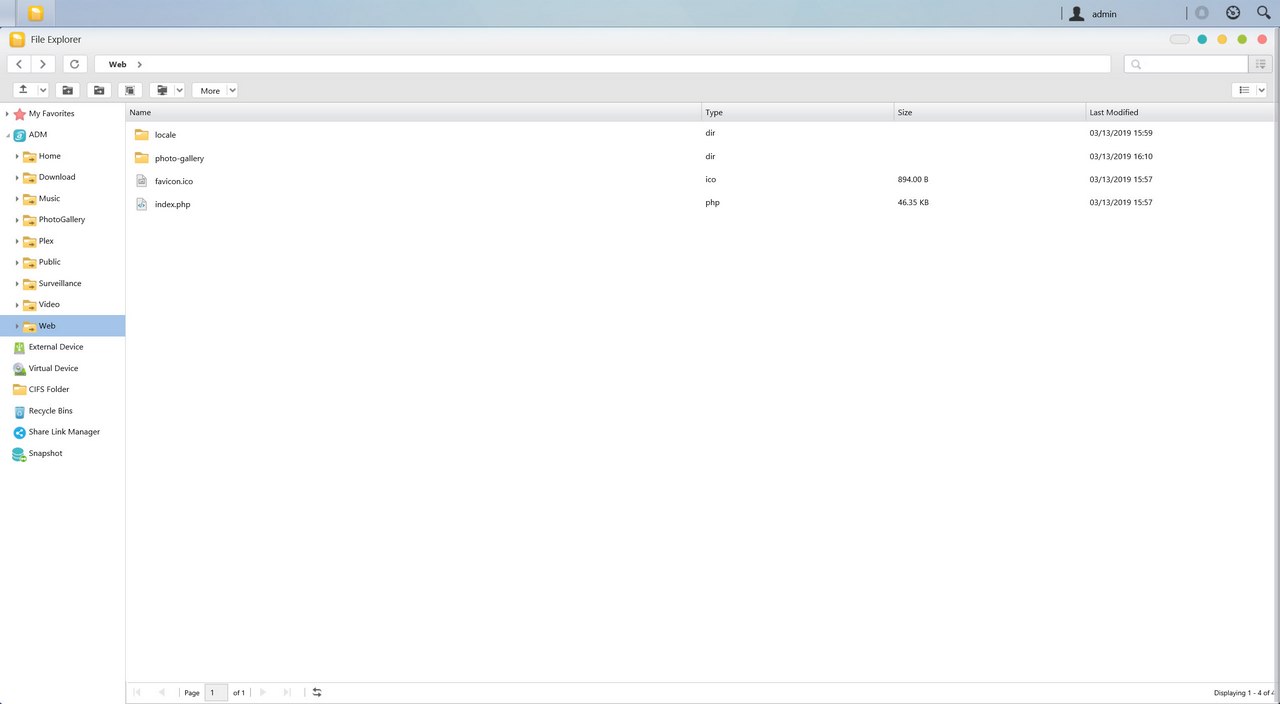
The File Explorer page allows you to upload and download files from and onto the NAS without much effort (however mapping network drives is much faster).
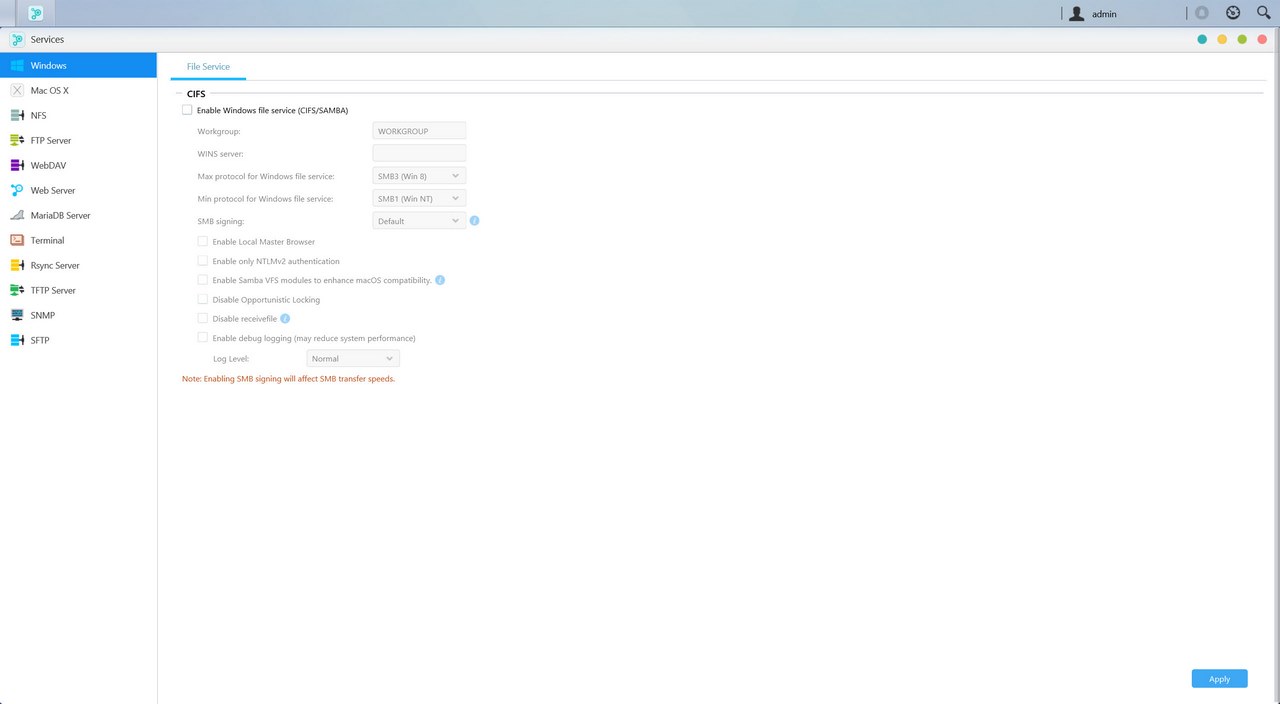
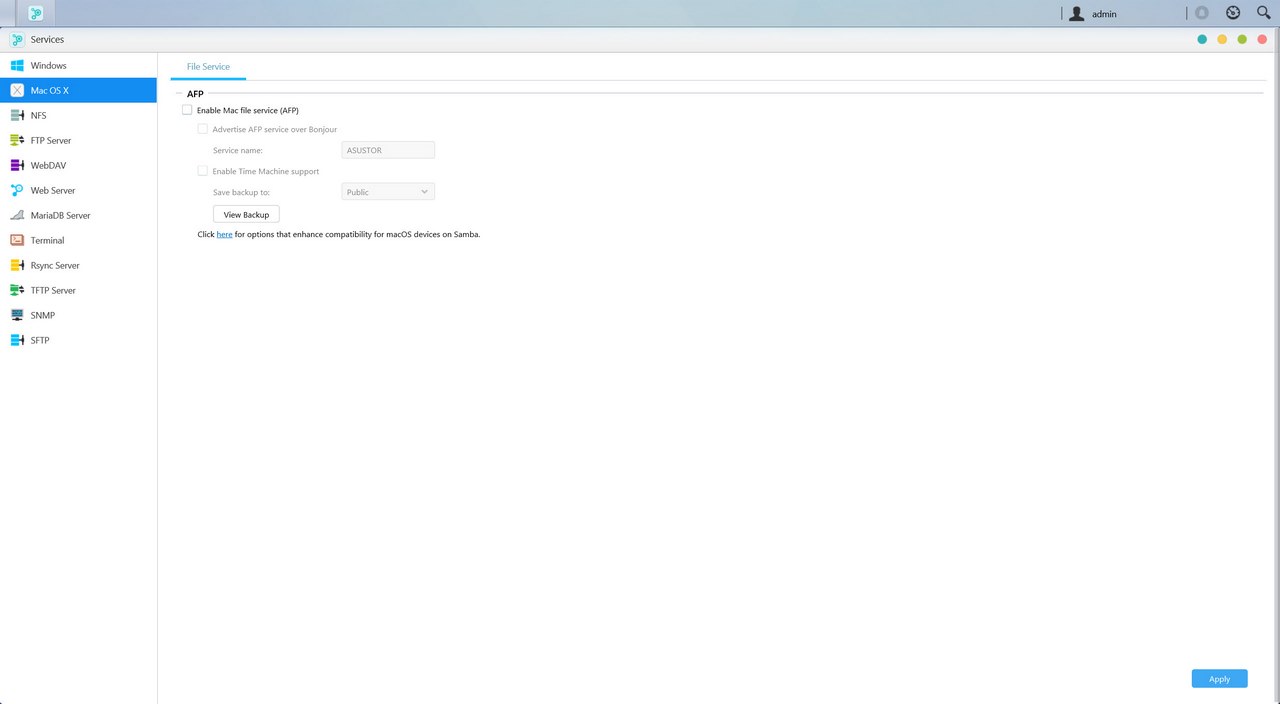
Under the Services tab the end user can find several server options for Windows/Mac OSX/NFS/FTP Server/WebDAV/Web Server/MySQL Server/Terminal/ MariaDB (MYSQL compatible)/ Rsync/ SNMP (PHP cashing is supported) and SFTP use.
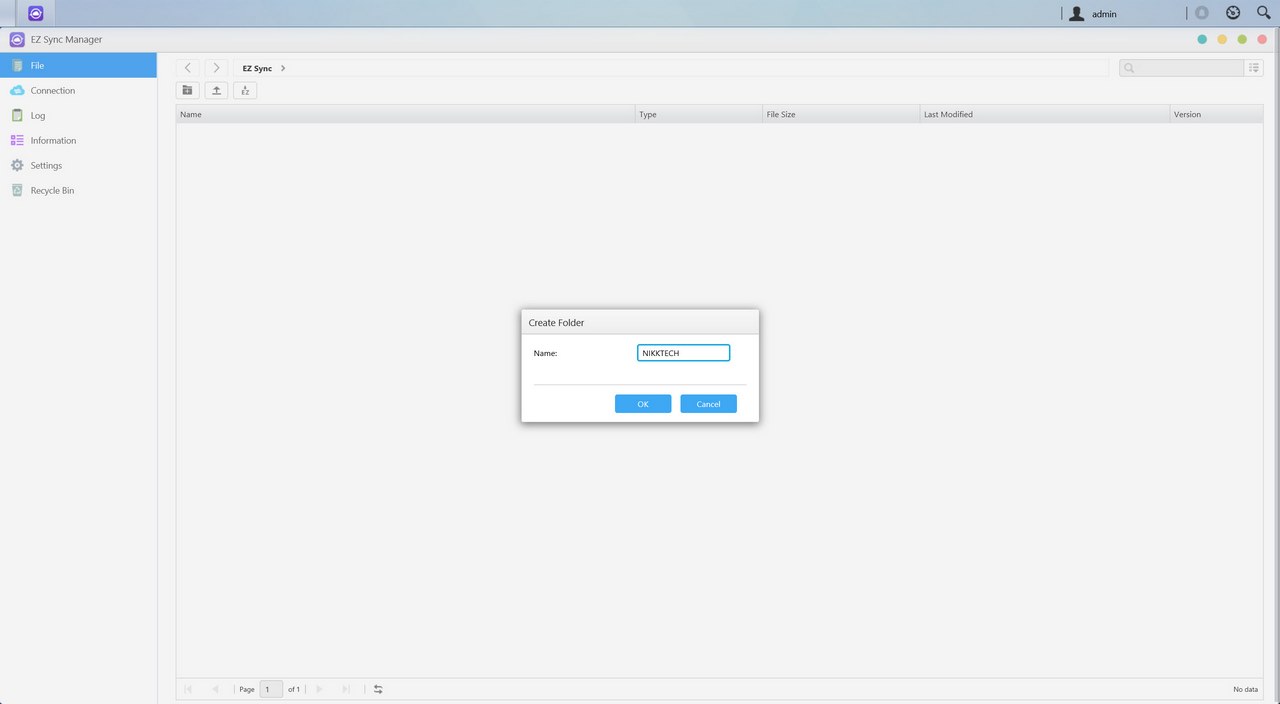
Via the EZ Sync Manager (and EZ Sync for your PC) you can create backup jobs which essentially can be used to synchronize data between your computer(s) and your NAS.
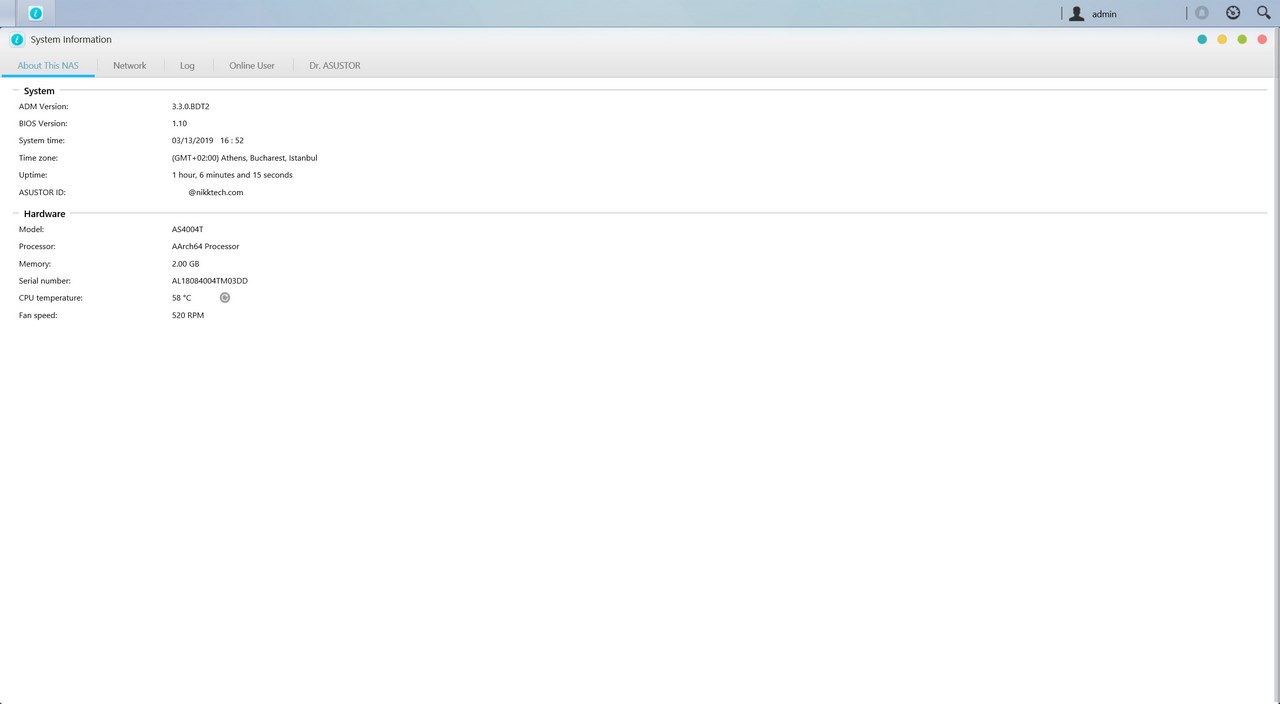
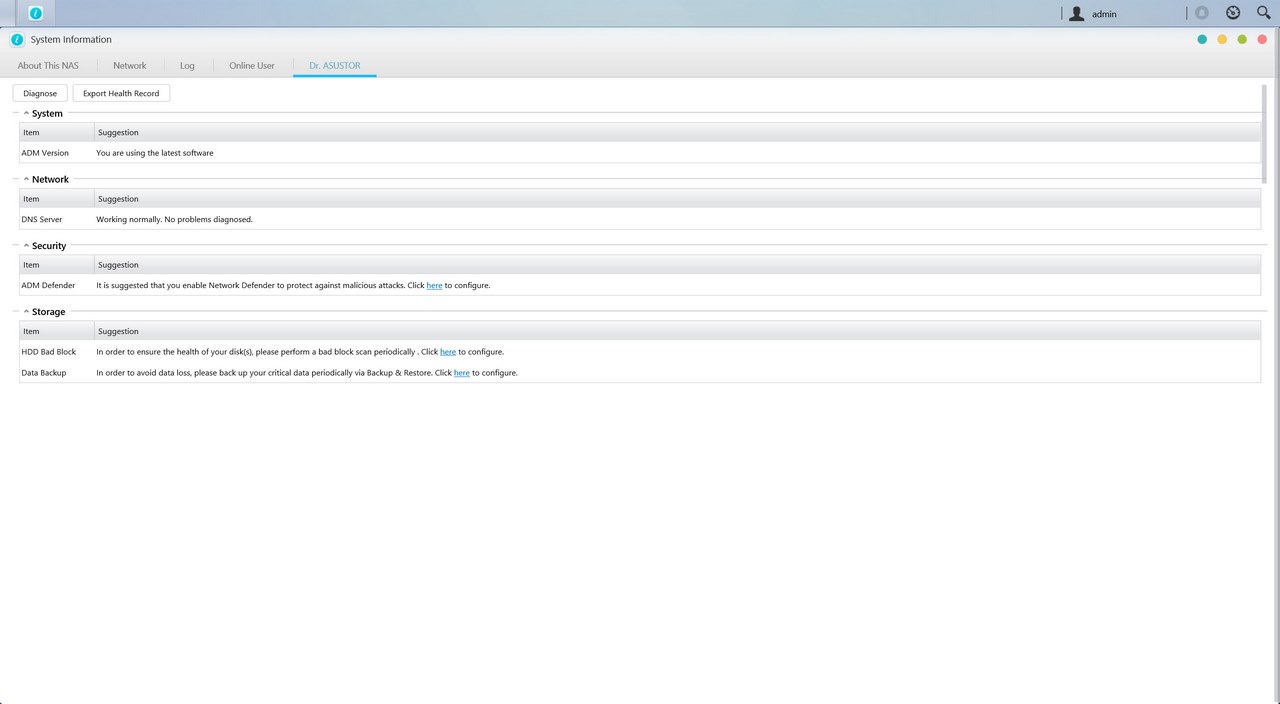
The system information tab does exactly as it says so from here you can check the model name and device status, check logs and even use the Dr. ASUSTOR feature (diagnostics).
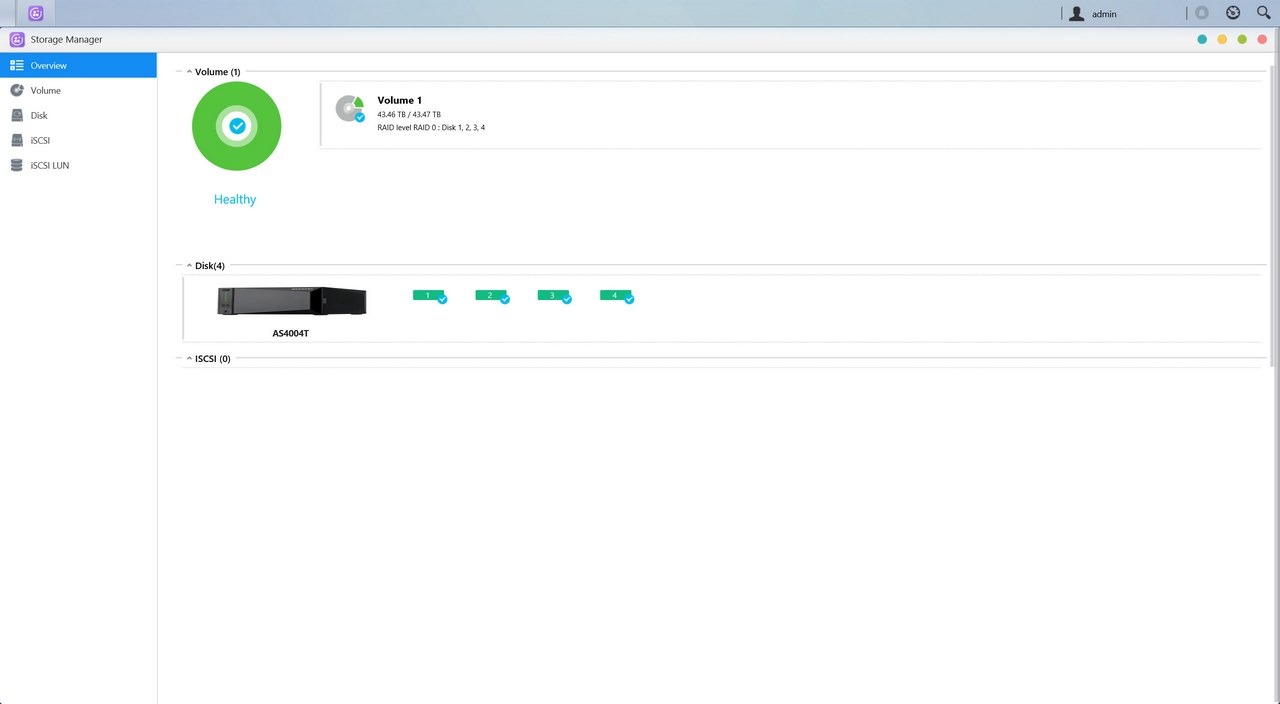
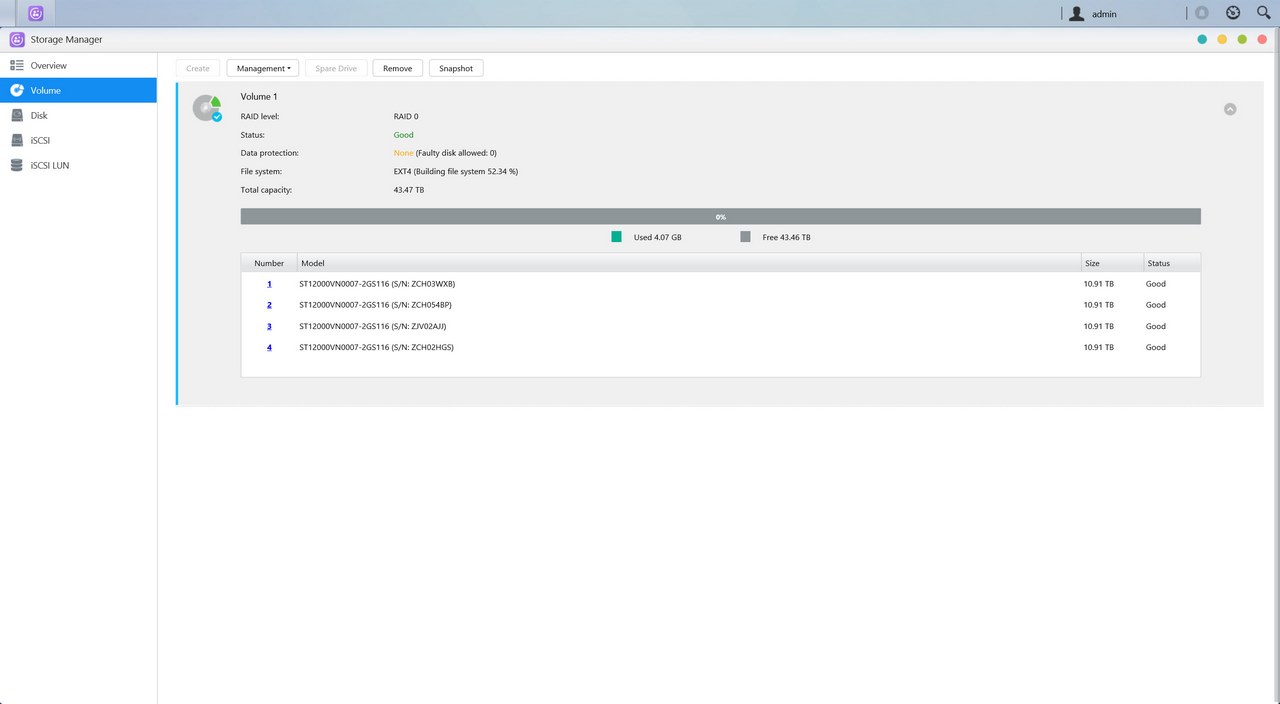
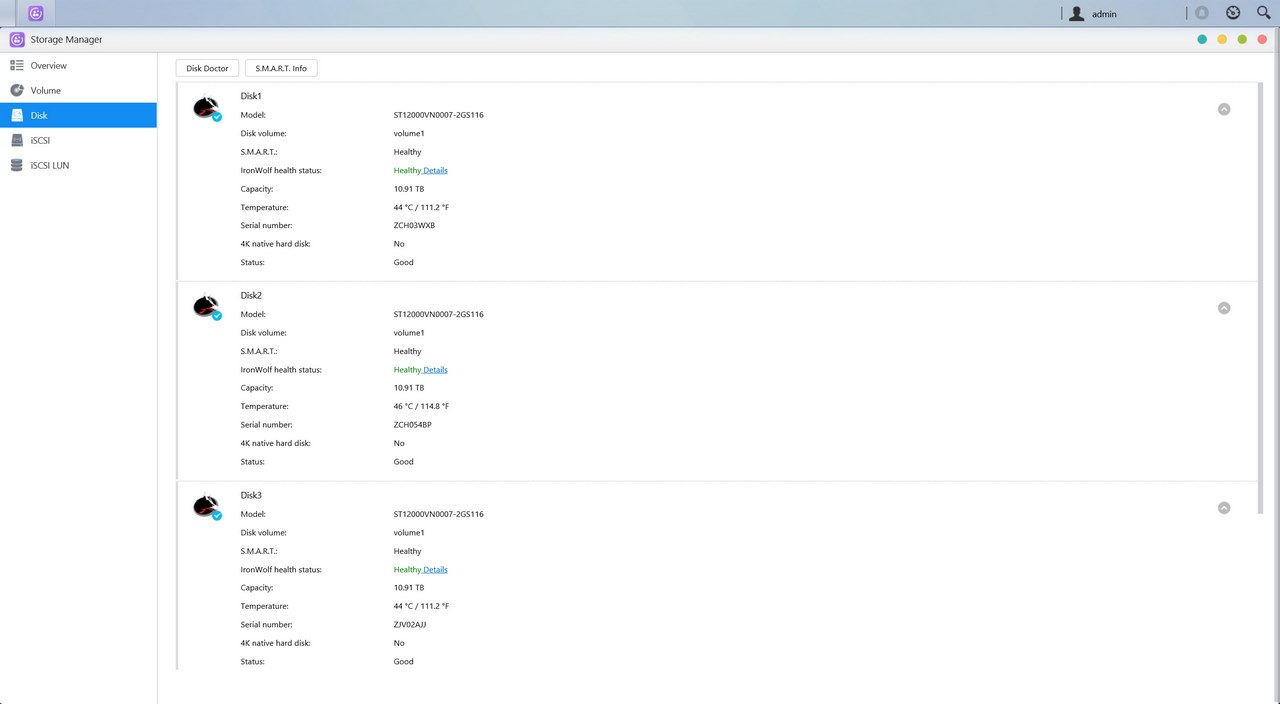
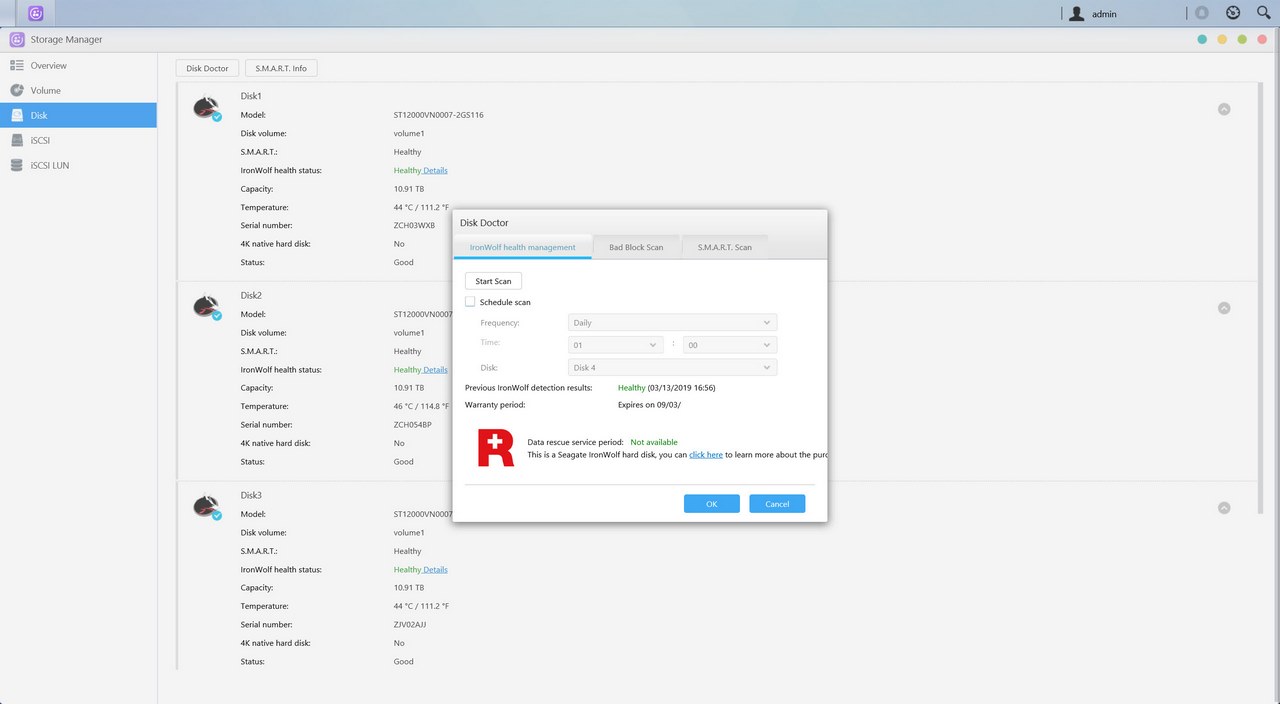
Everything related to the installed drives is placed inside the Storage Manager tab so here you can create and manage volumes (single/JBOD/RAID), check the state of the drives via SMART (if you have an IronWolf or IronWolf Pro drive install the program will even check the warranty period for you), use the iSCSI/LUN feature and create snapshots (if the Btrfs file system is chosen).
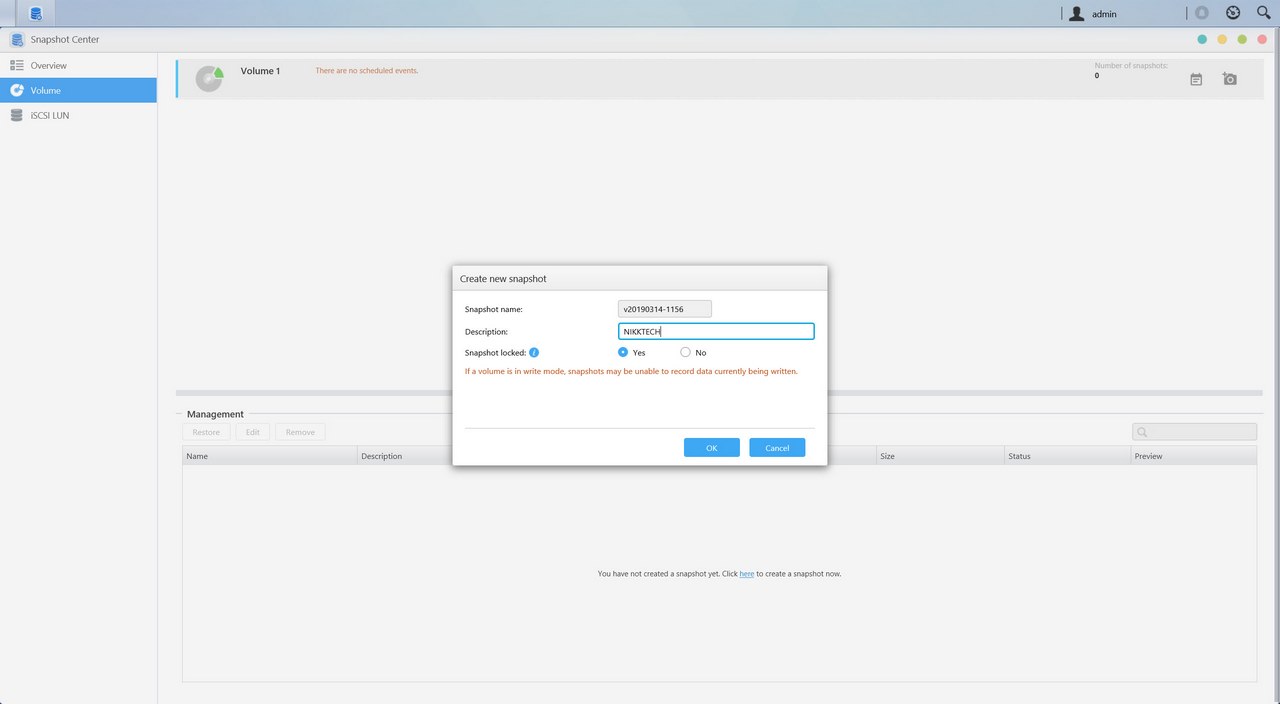
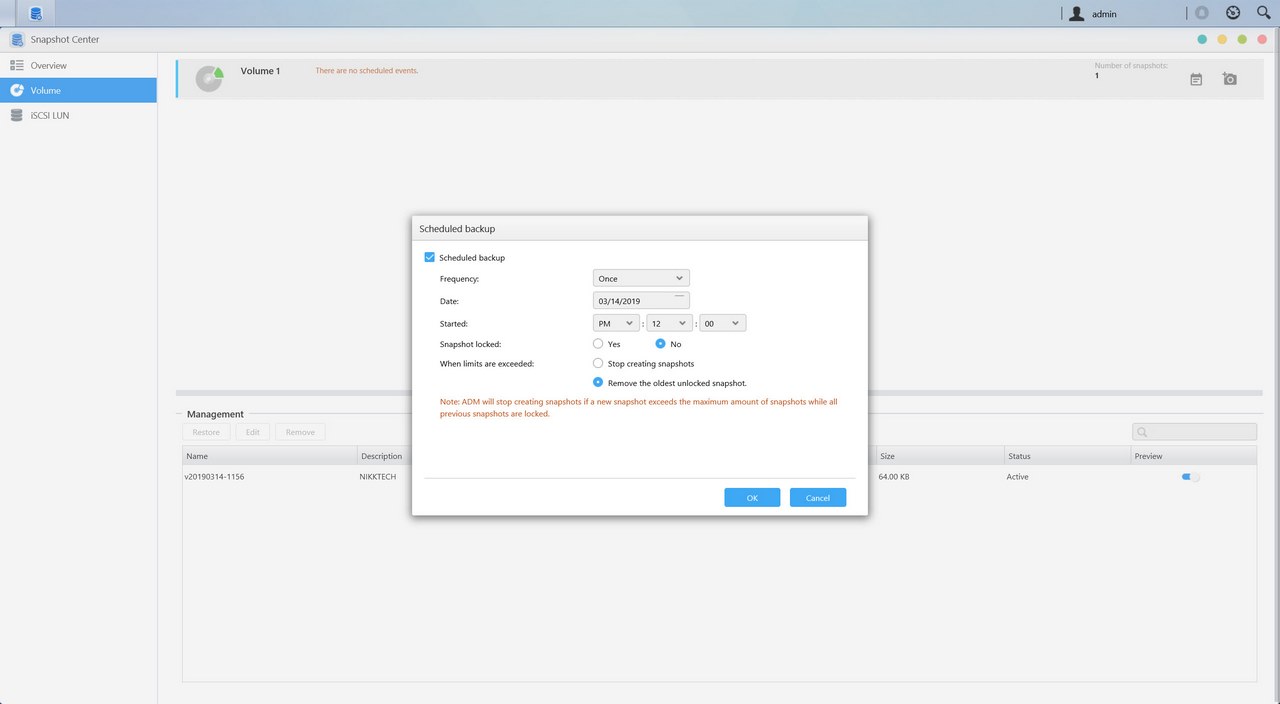
The snapshots feature is very easy to use, just create and name a job to do an immediate backup of all the NAS files or schedule one to be repeated whenever you want to.