
 O-Sense

.jpg)


WEB INTERFACE PART 2
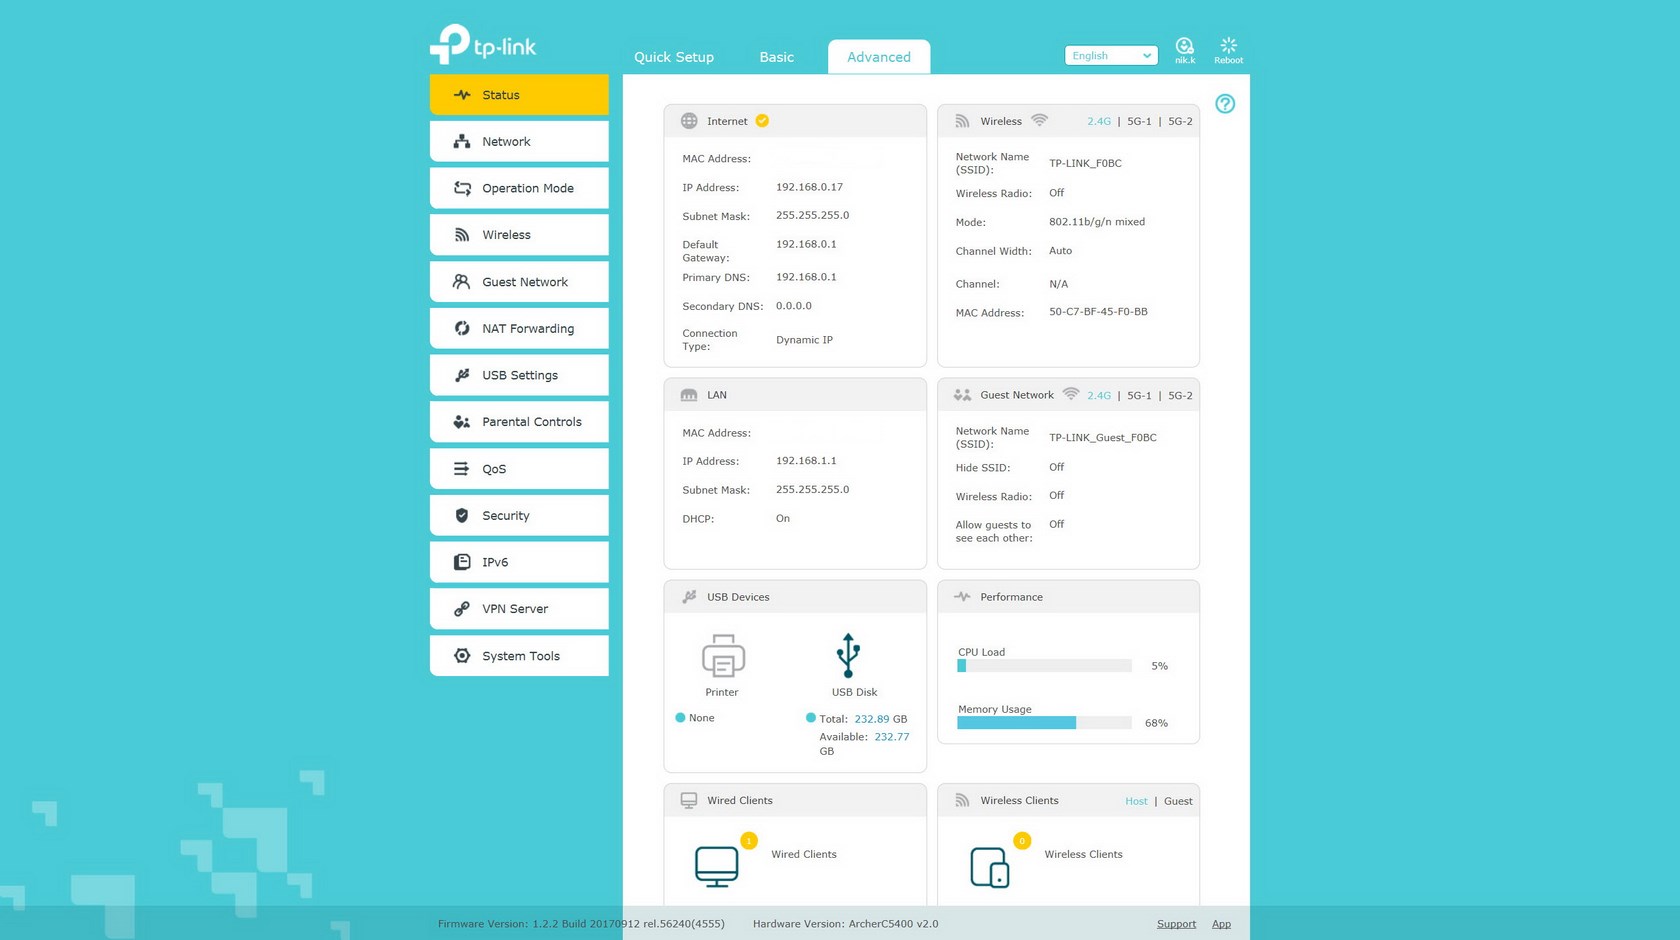
The advanced column has some identical settings as the basic one but as you can all see the status screen is far more detailed.

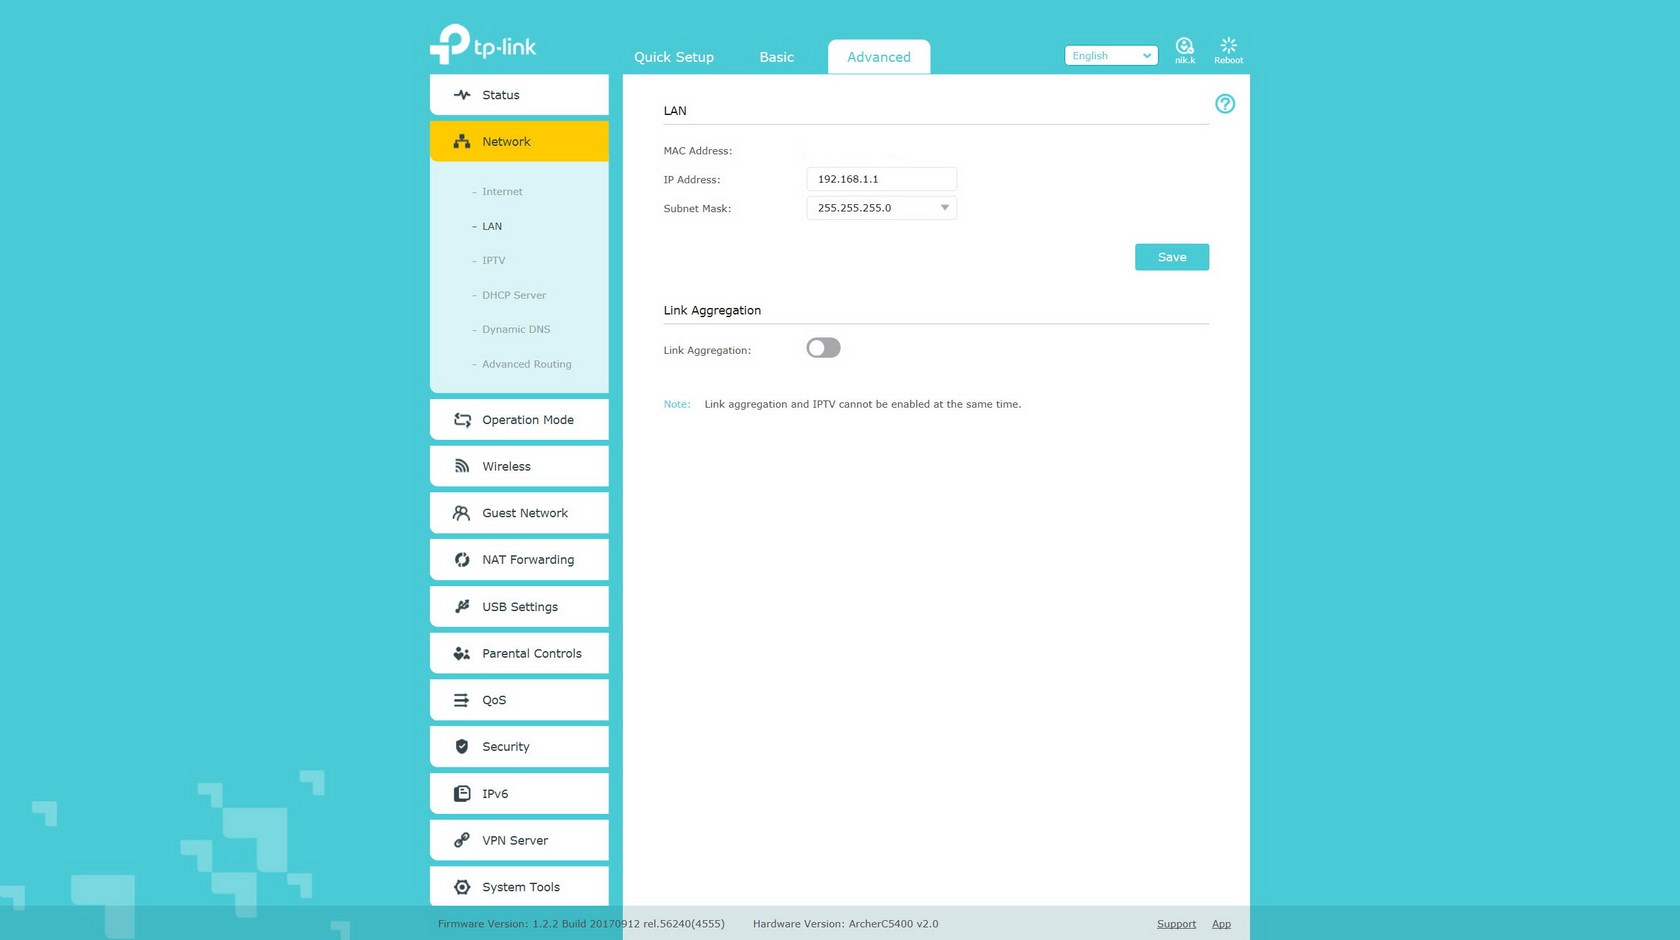
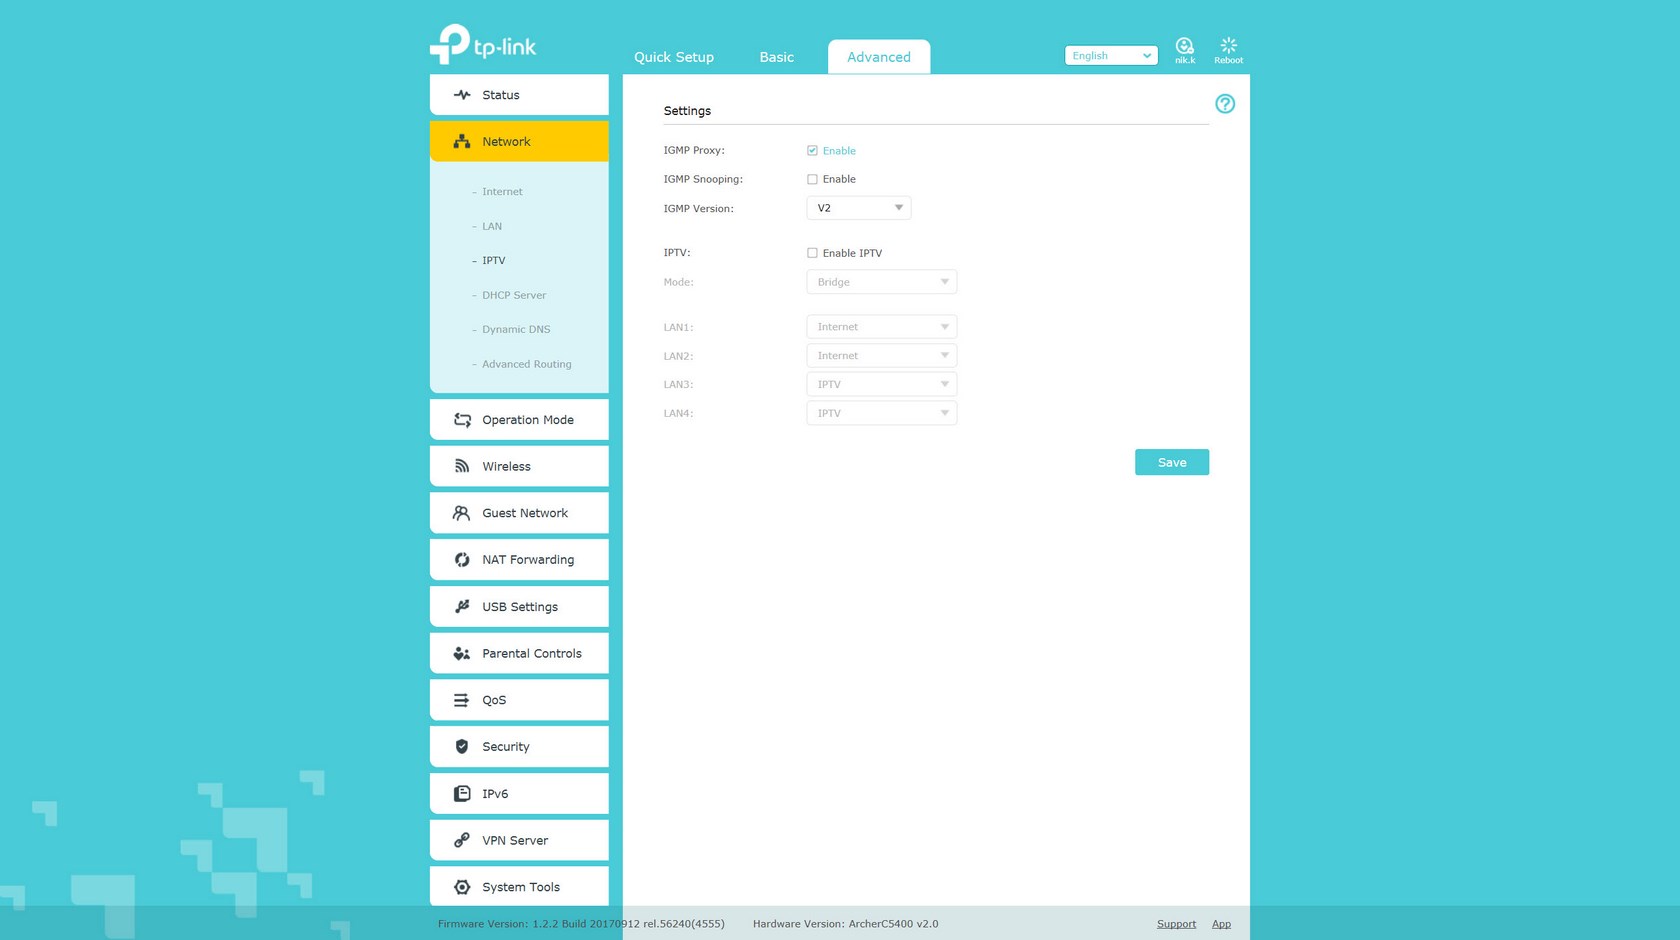
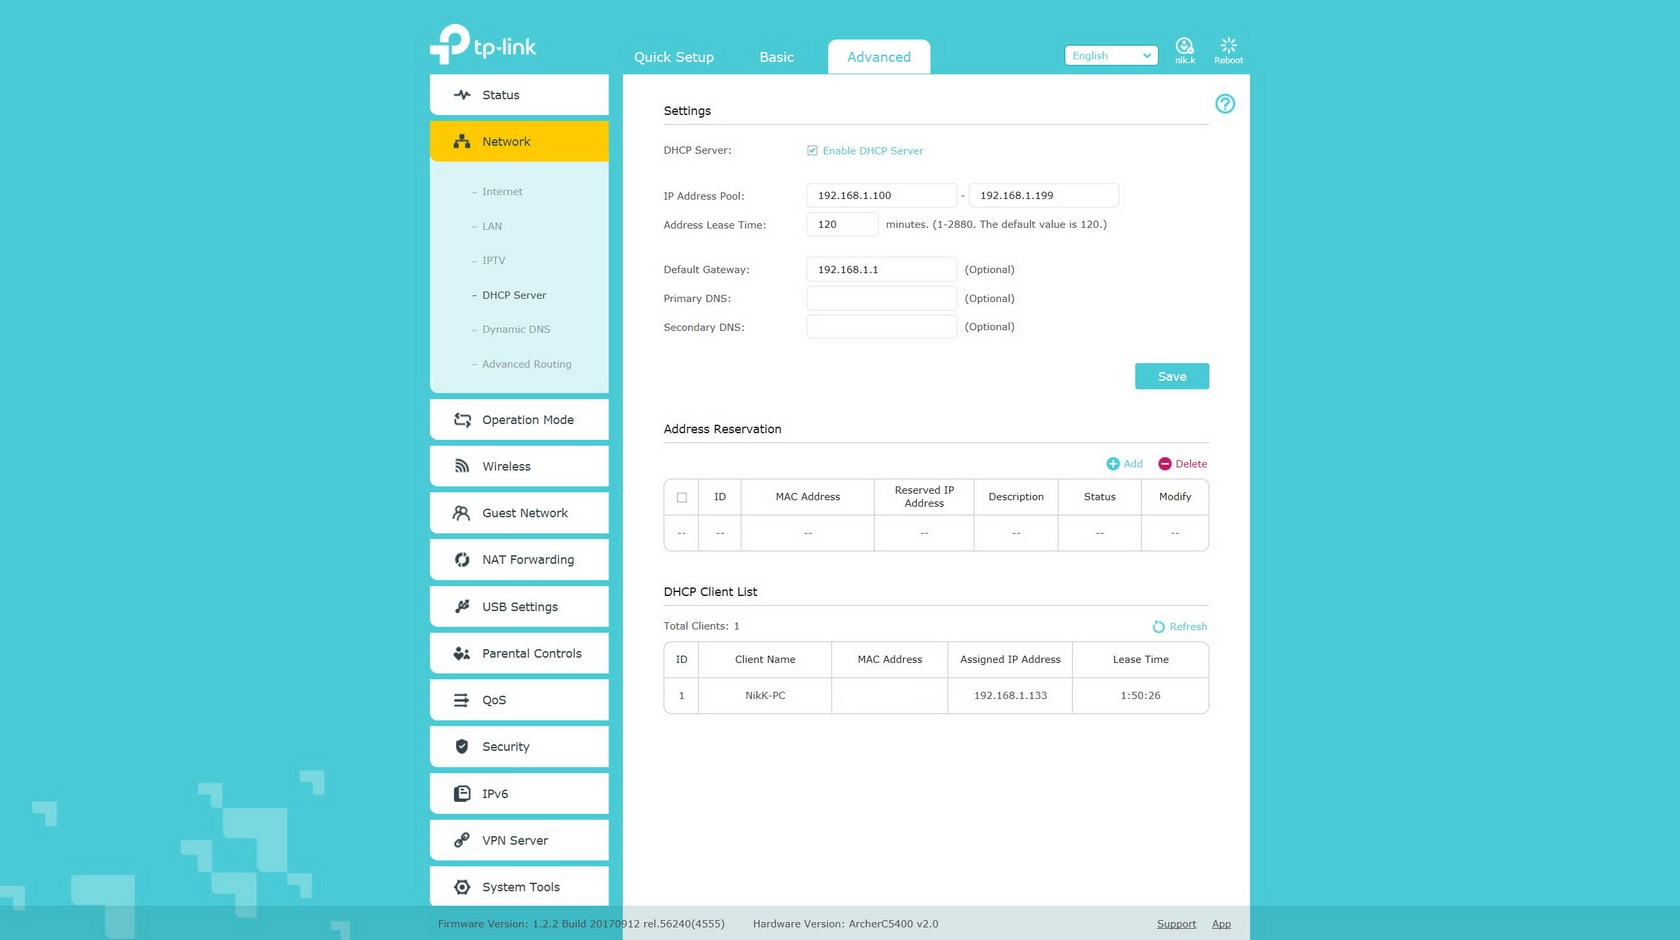

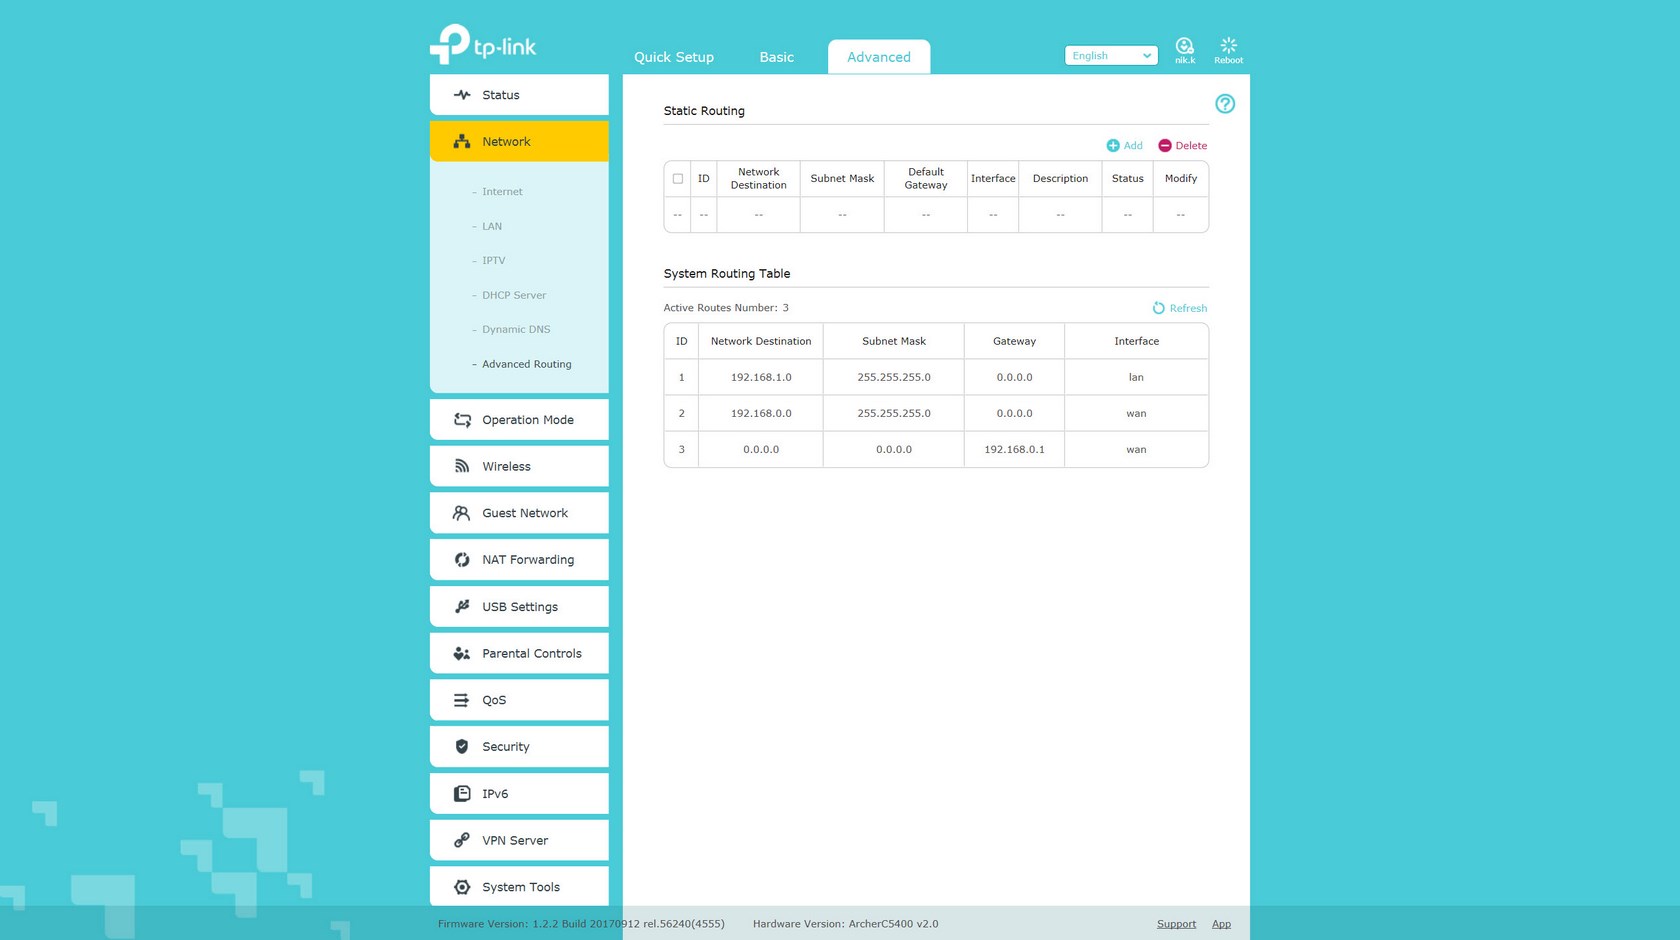
From the network tab you can change the connection type, clone your systems MAC address, enable/disable link aggregation, enable/disable the IPTV feature (can't work with link aggregation), setup the DHCP server, use the Dynamic DNS (DDNS) feature and finally use advanced routing if needed.
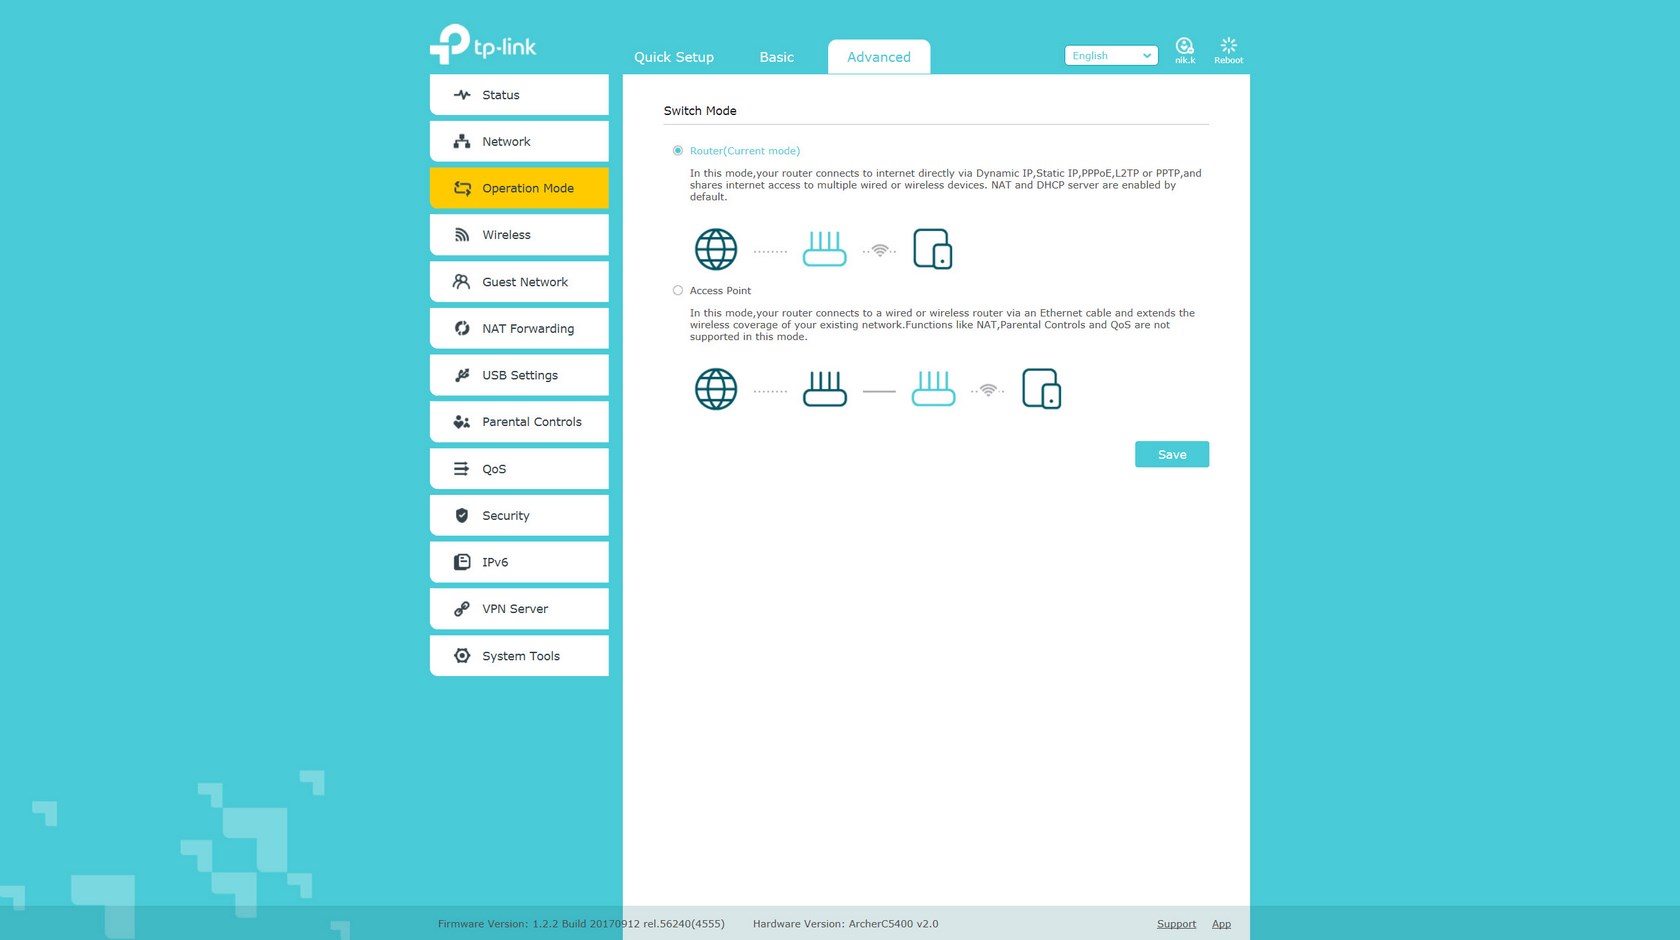
You can also set the Archer C5400 to behave as an access point instead of a router through the operation mode tab.
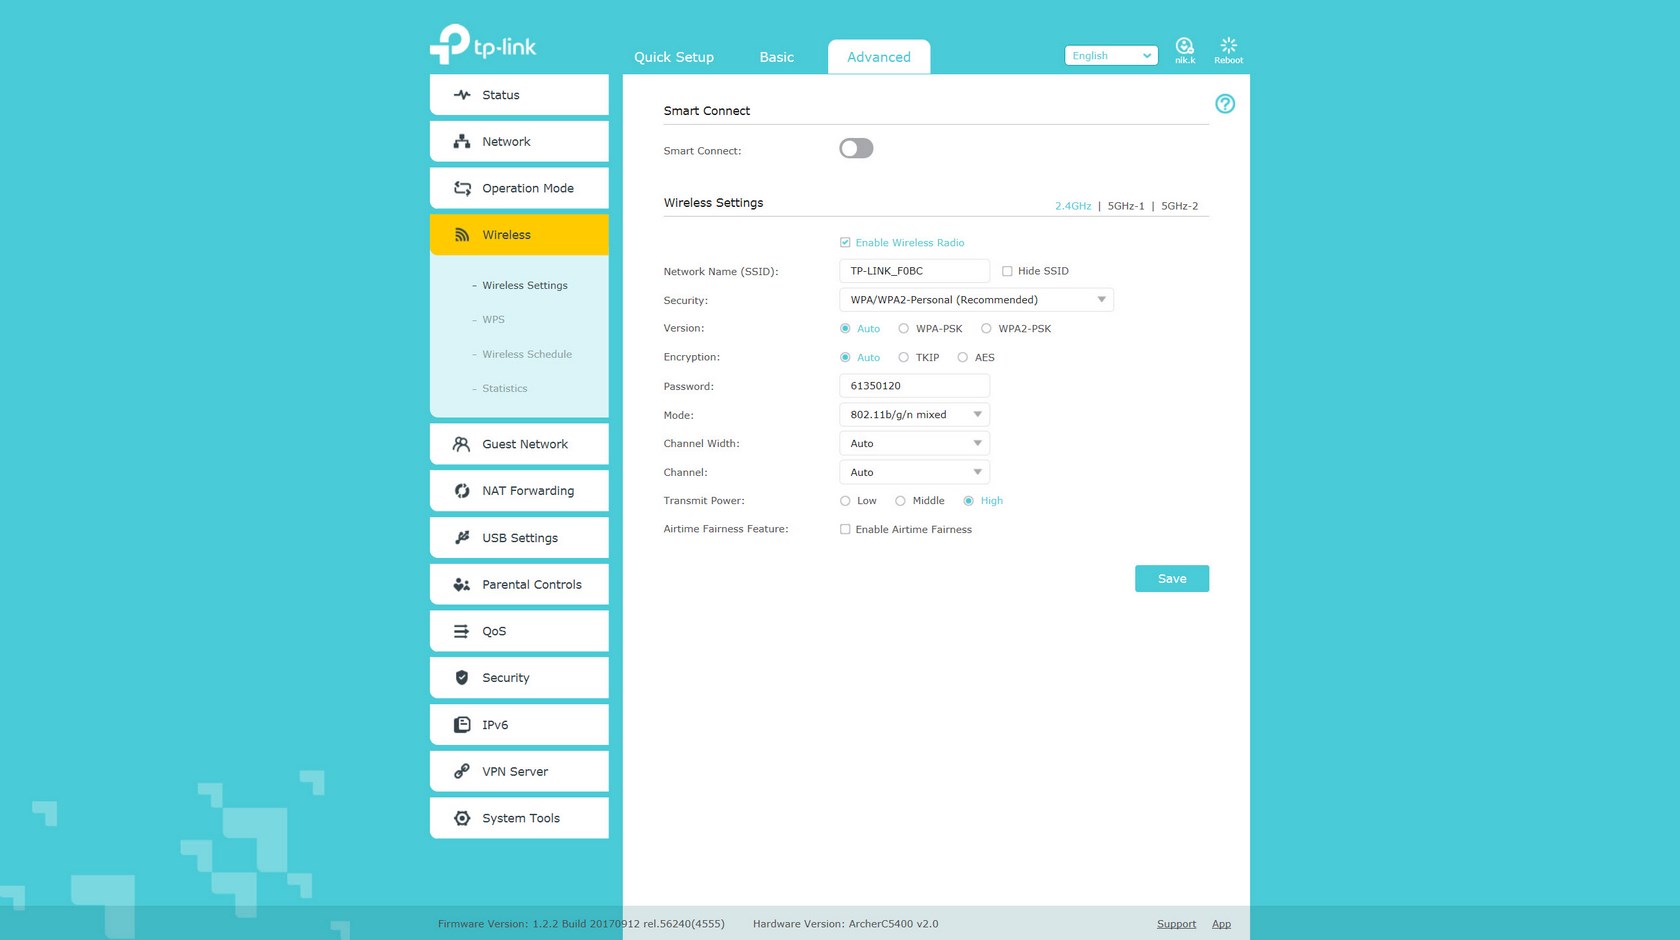
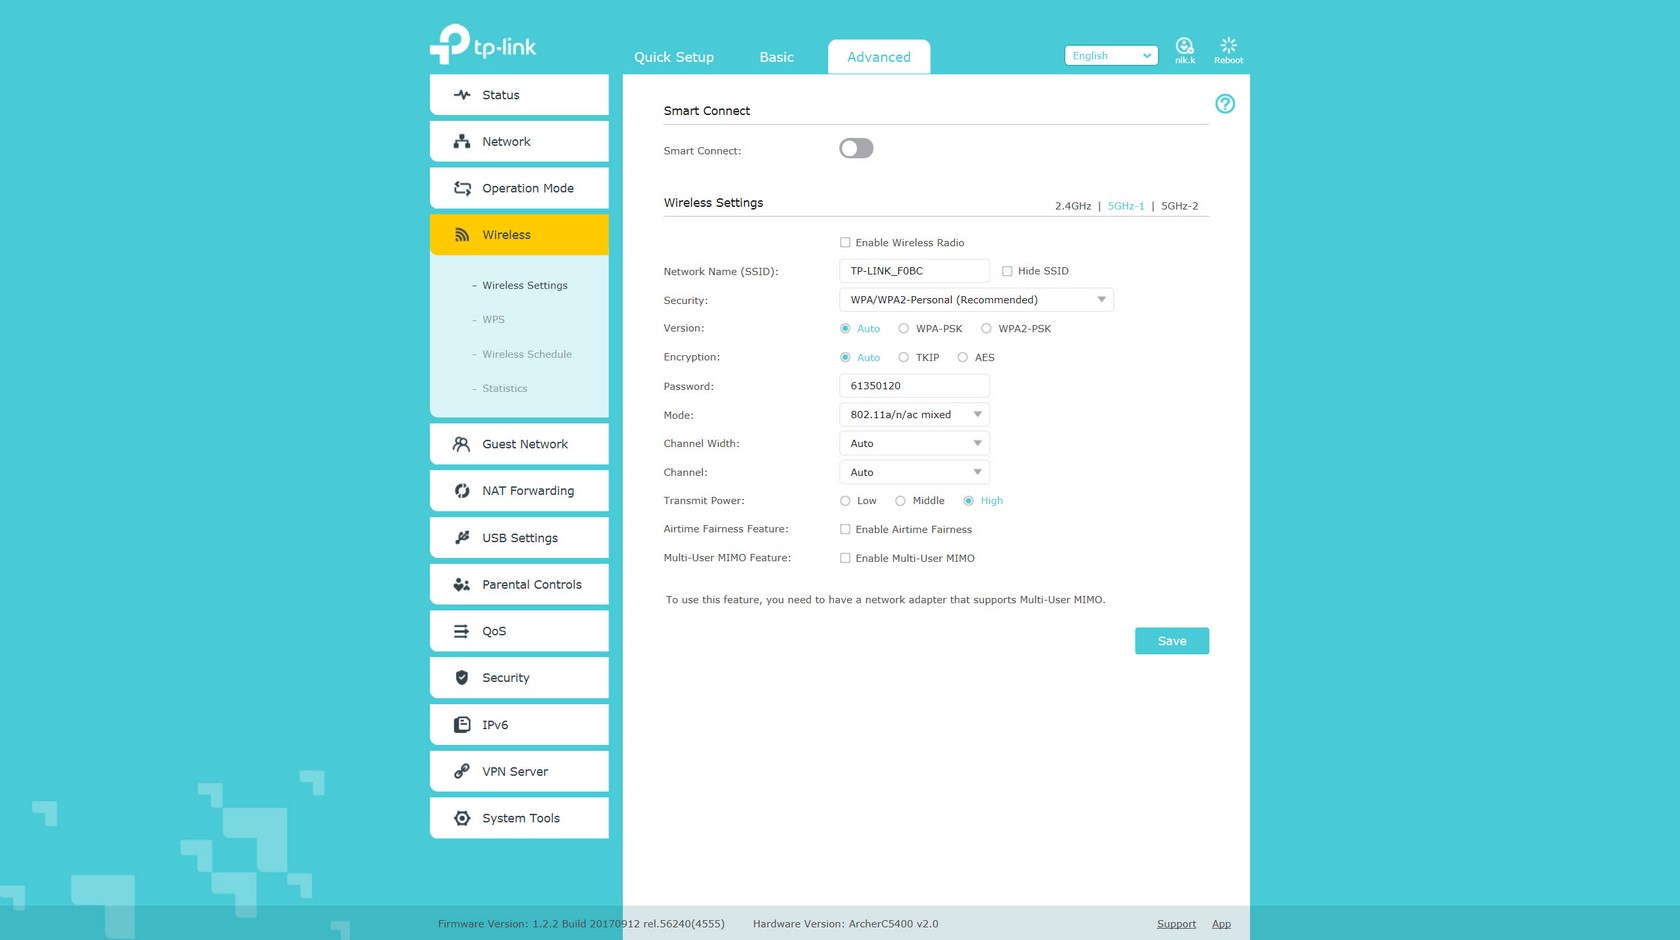
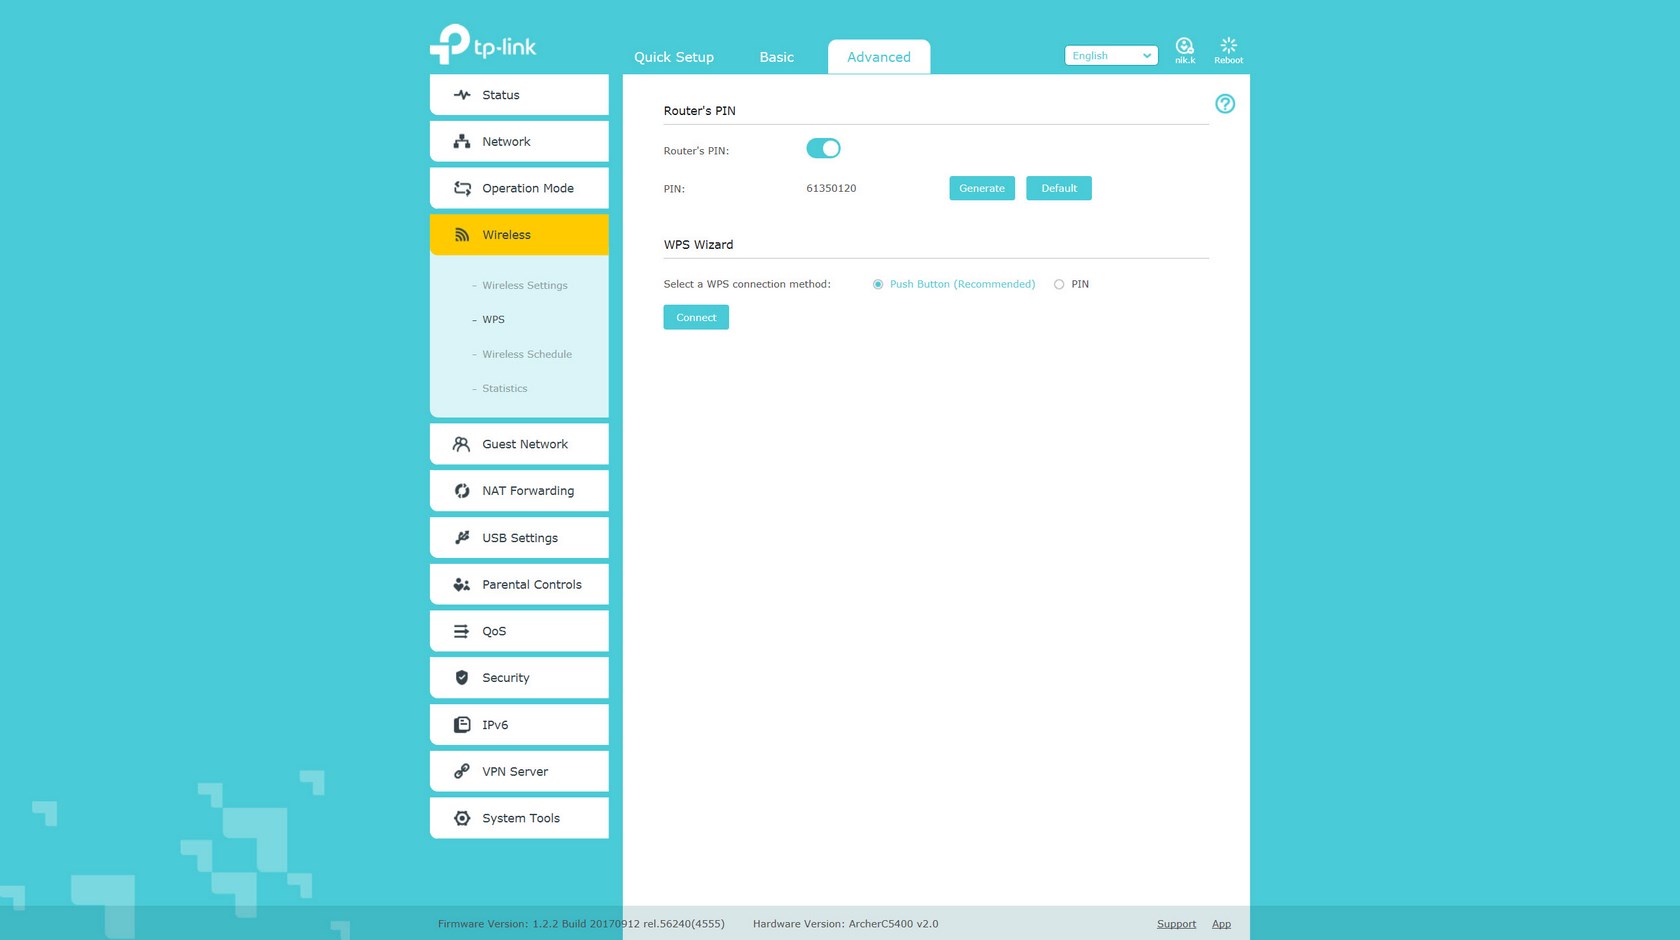
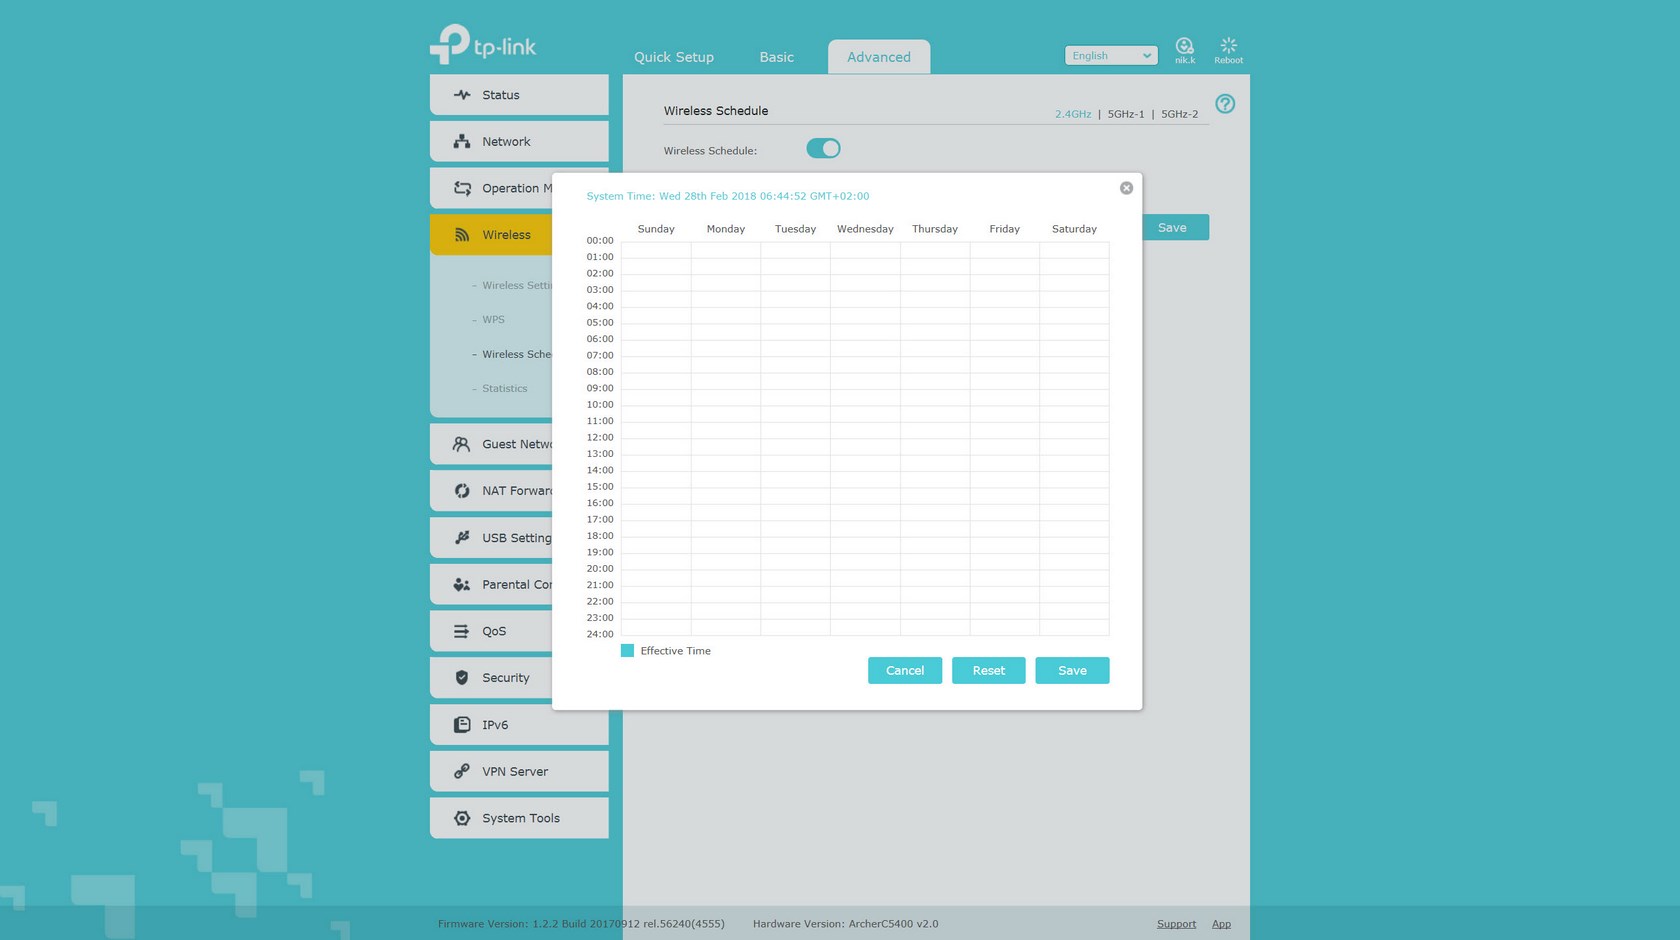
Via the wireless tab you can enable smart connect (switches between all three bands according to which can provide the best performance to your wireless devices), adjust the type of encryption, SSID, password and signal strength for all three bands (you can also enable/disable MU-MIMMO on the 5GHz bands), setup the WPS feature, use the scheduling function (basically allows you to turn Wi-Fi on and off on specific days and times) and check the up/down statistics.
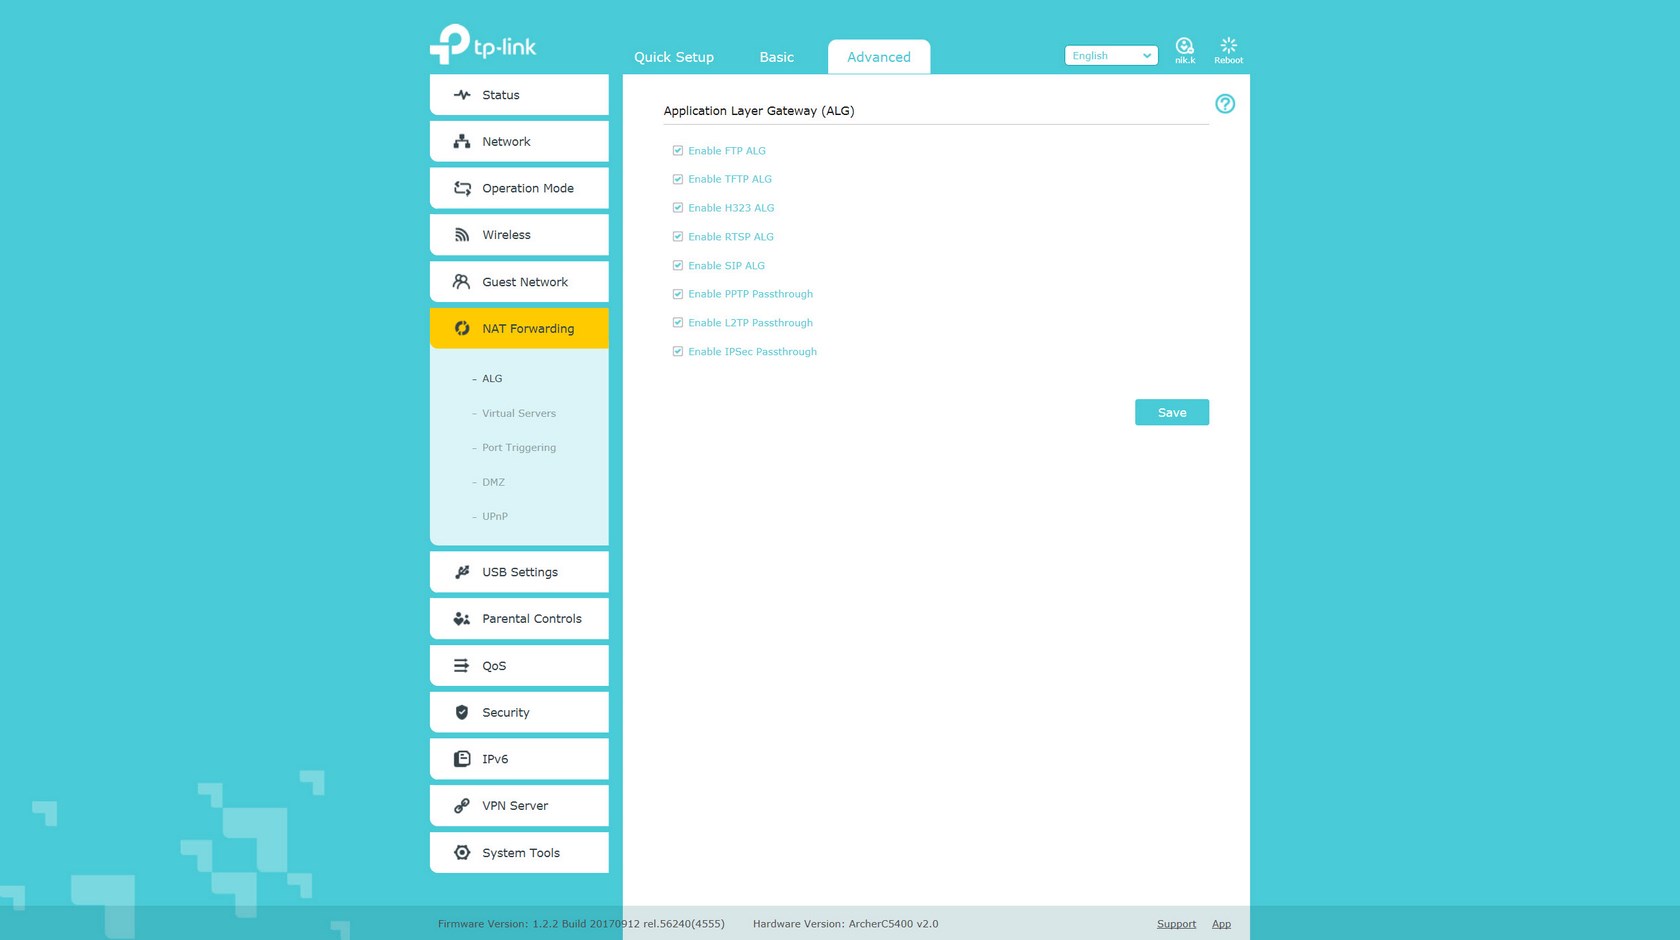
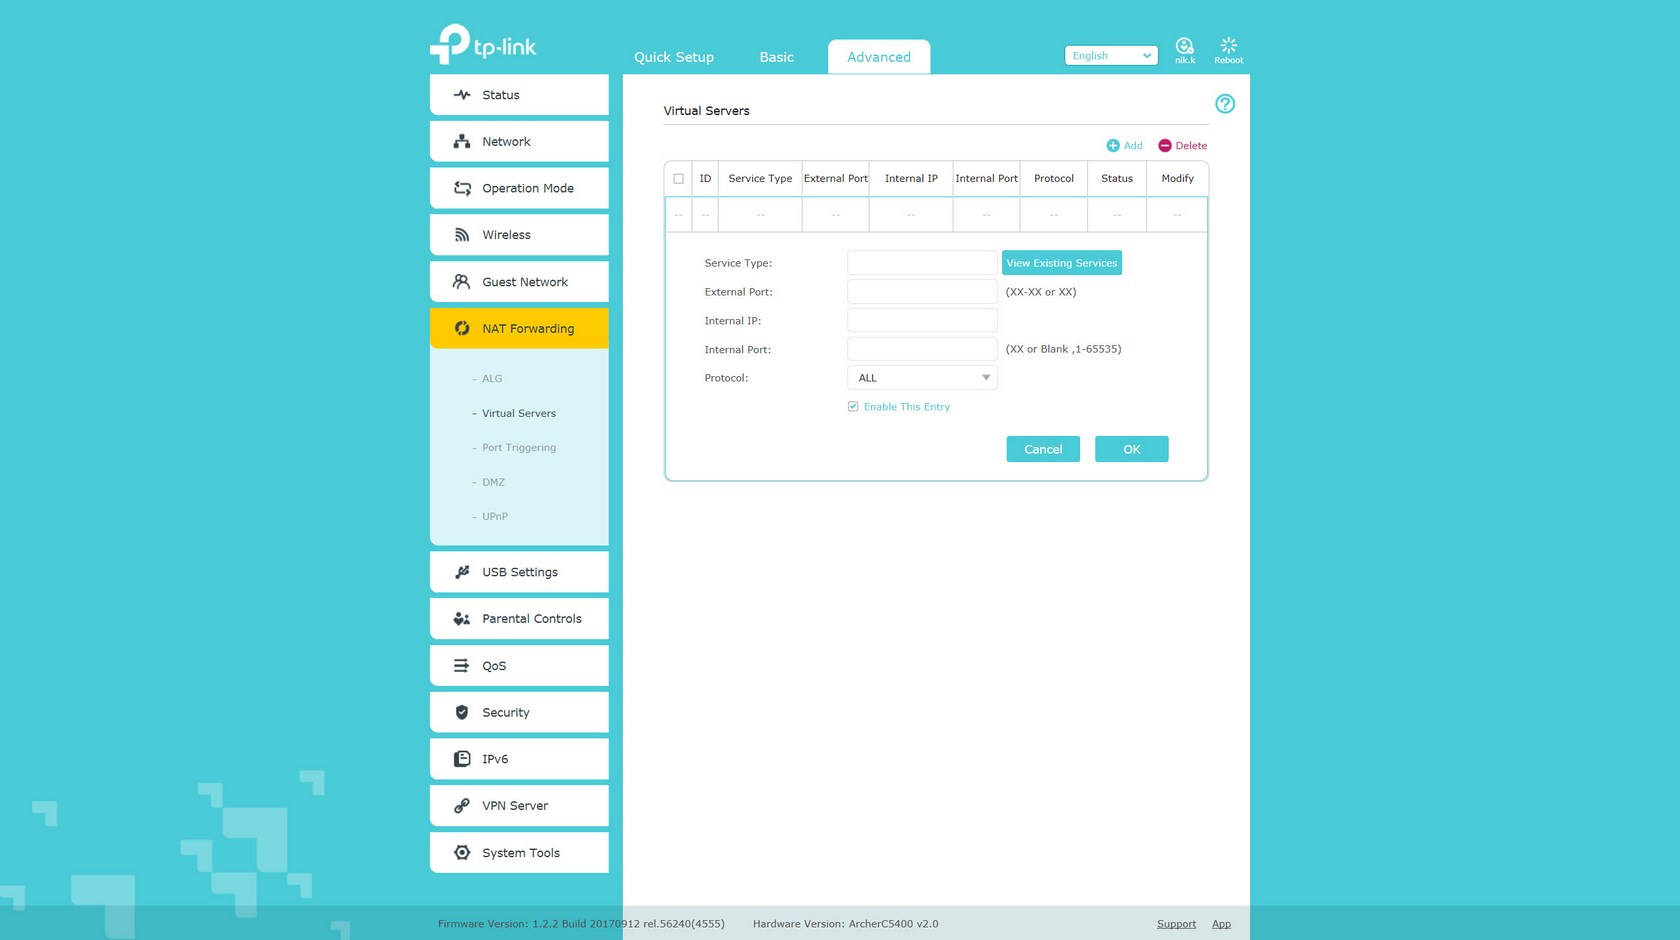
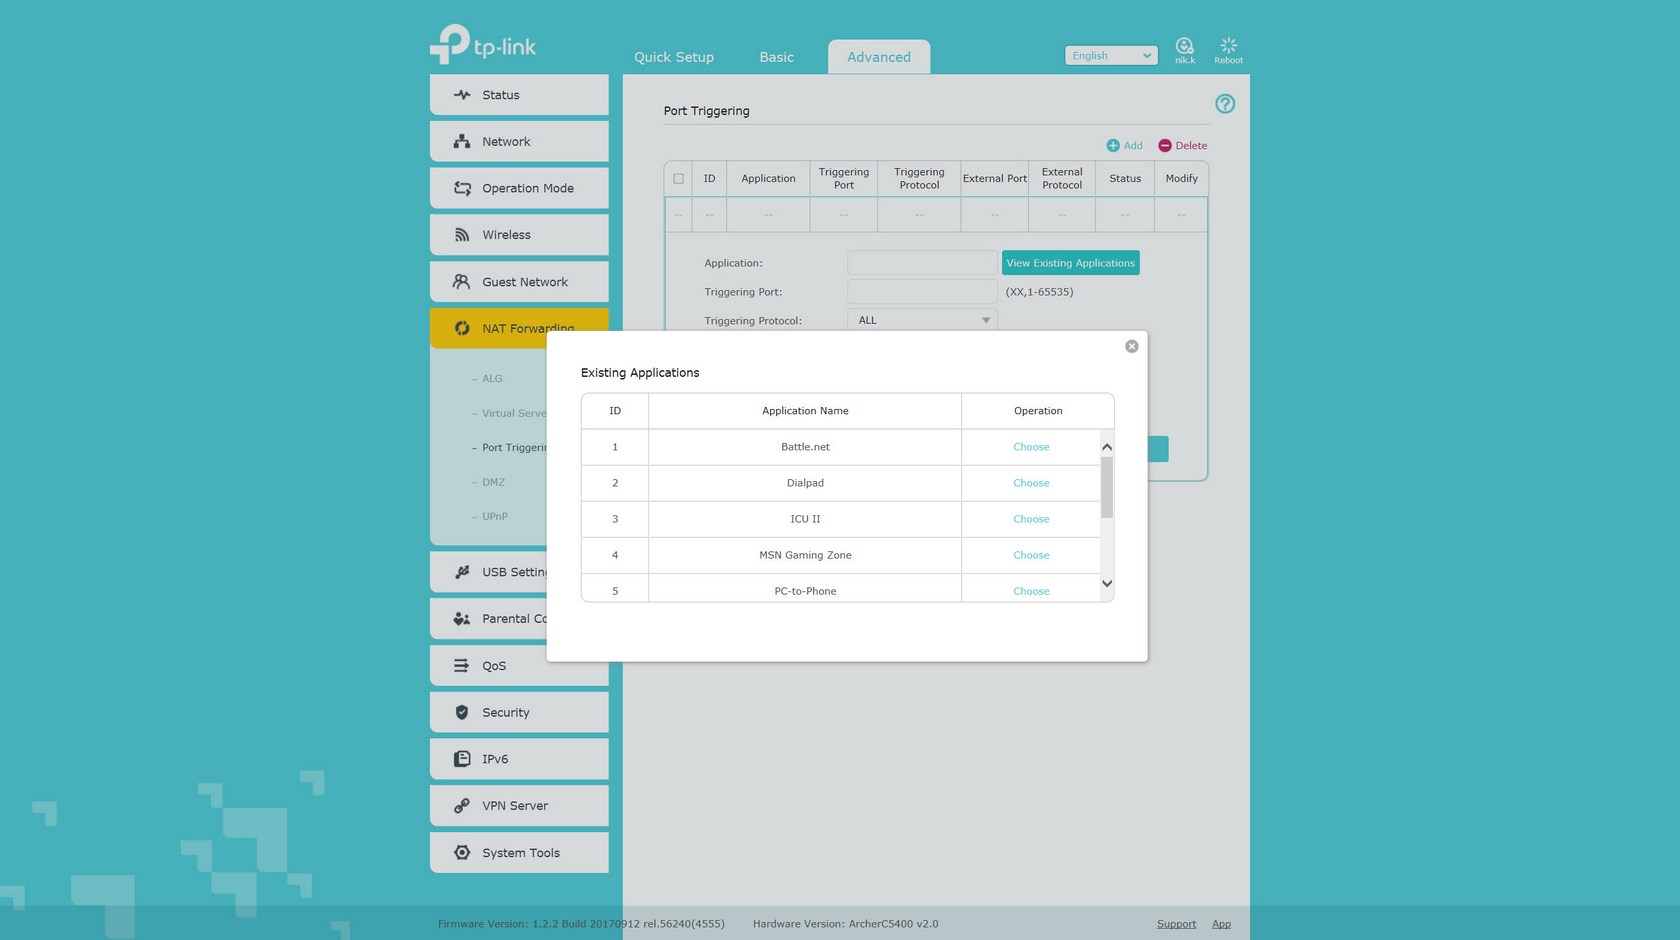
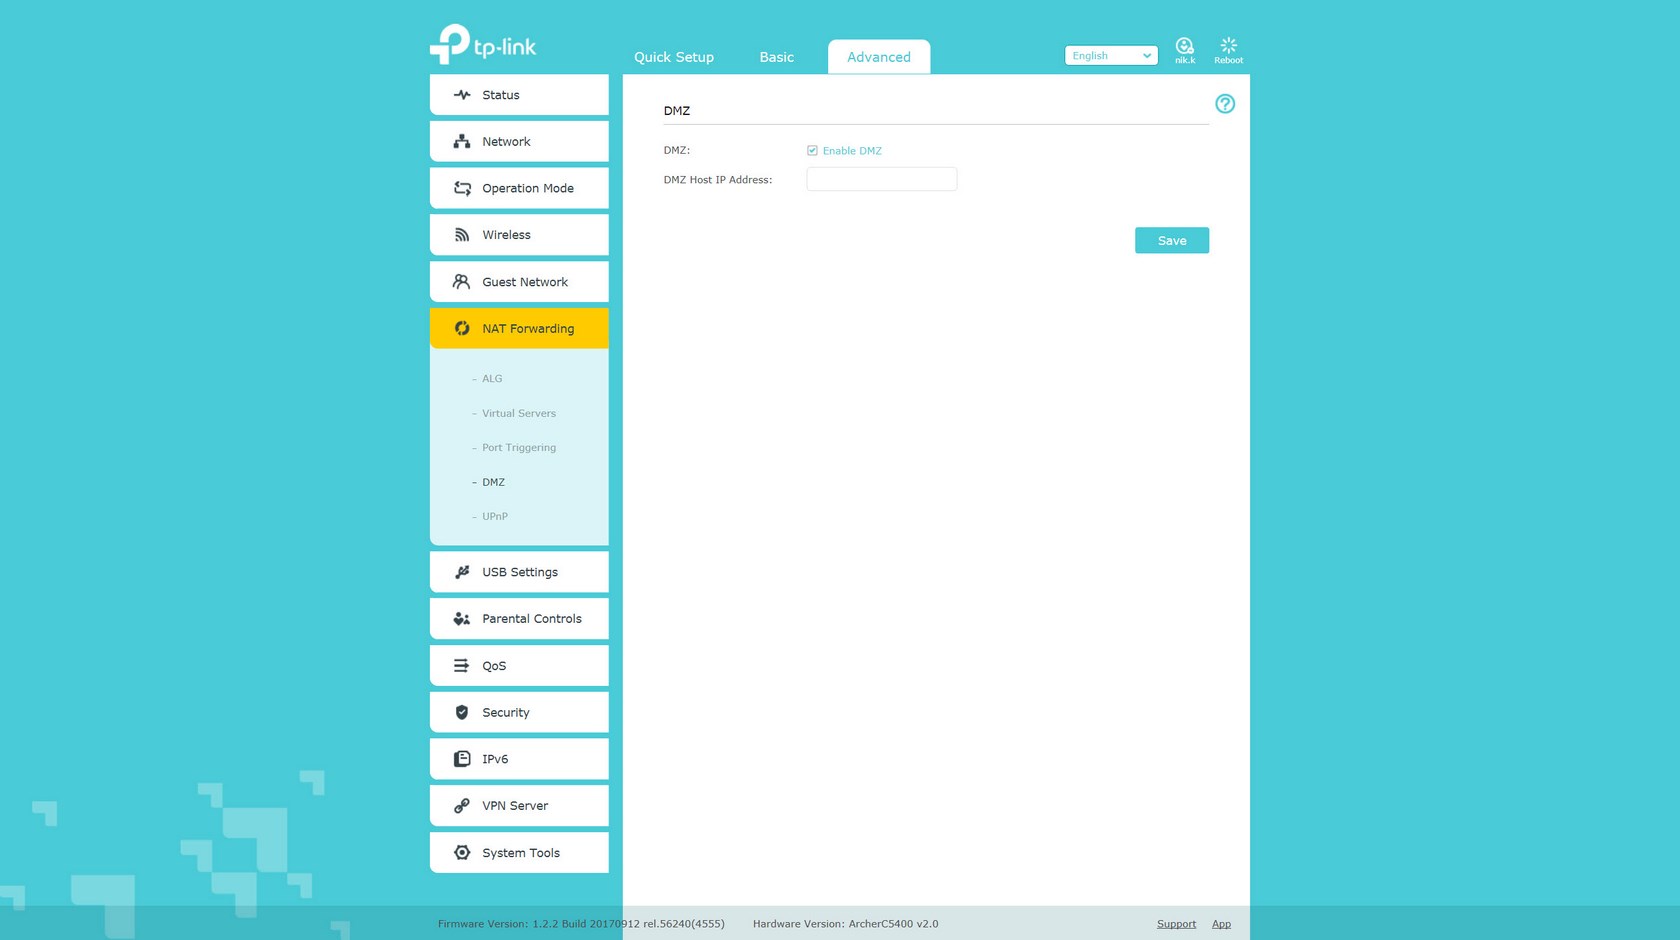
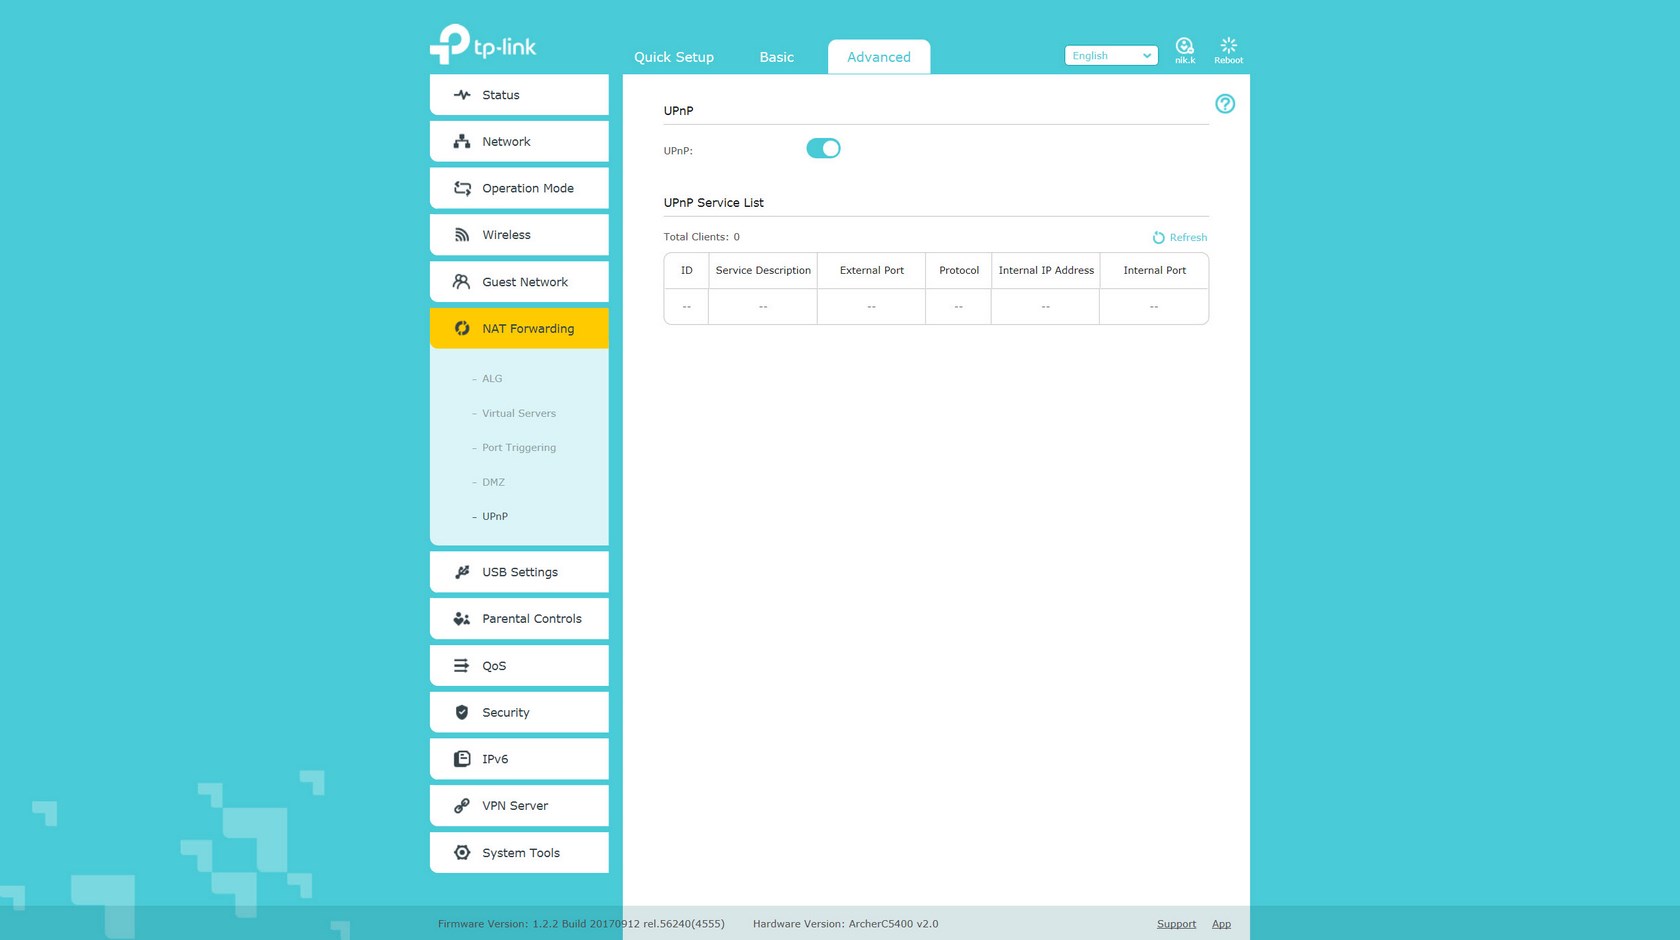
TP-Link has placed a NAT forwarding tab from where you can enable ALG (Application Layer Gateway - Proxy like protection), add virtual servers, enable port triggering, use DMZ (demilitarized zone) and of course enable/disable the UPNP feature (universal plug and play).
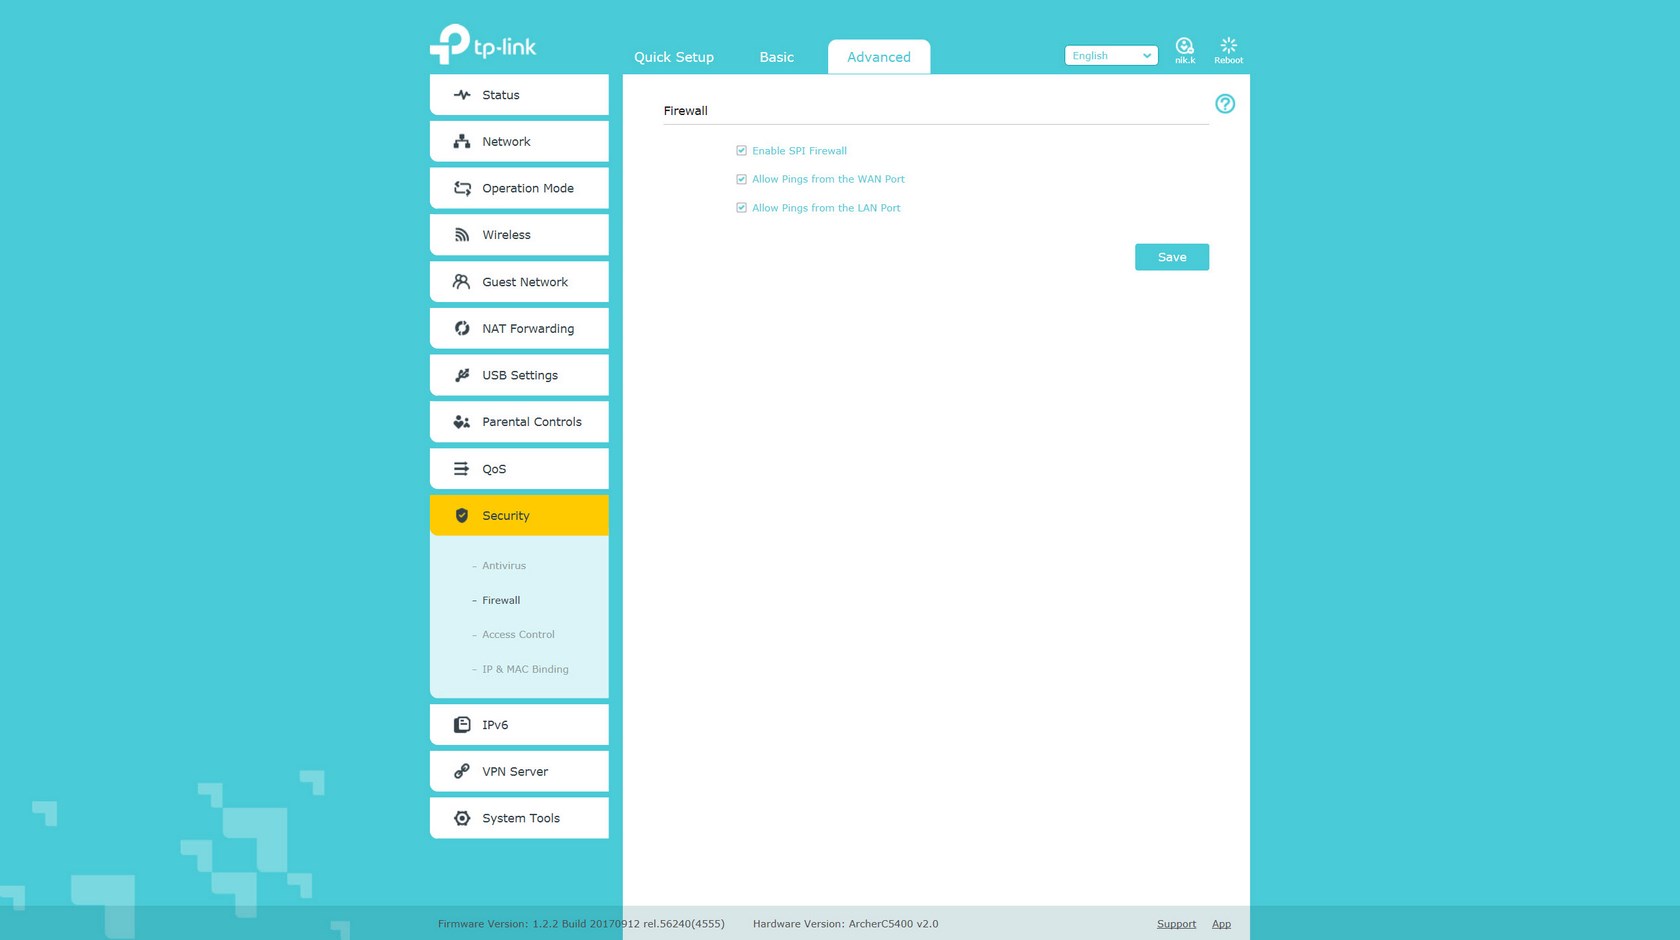
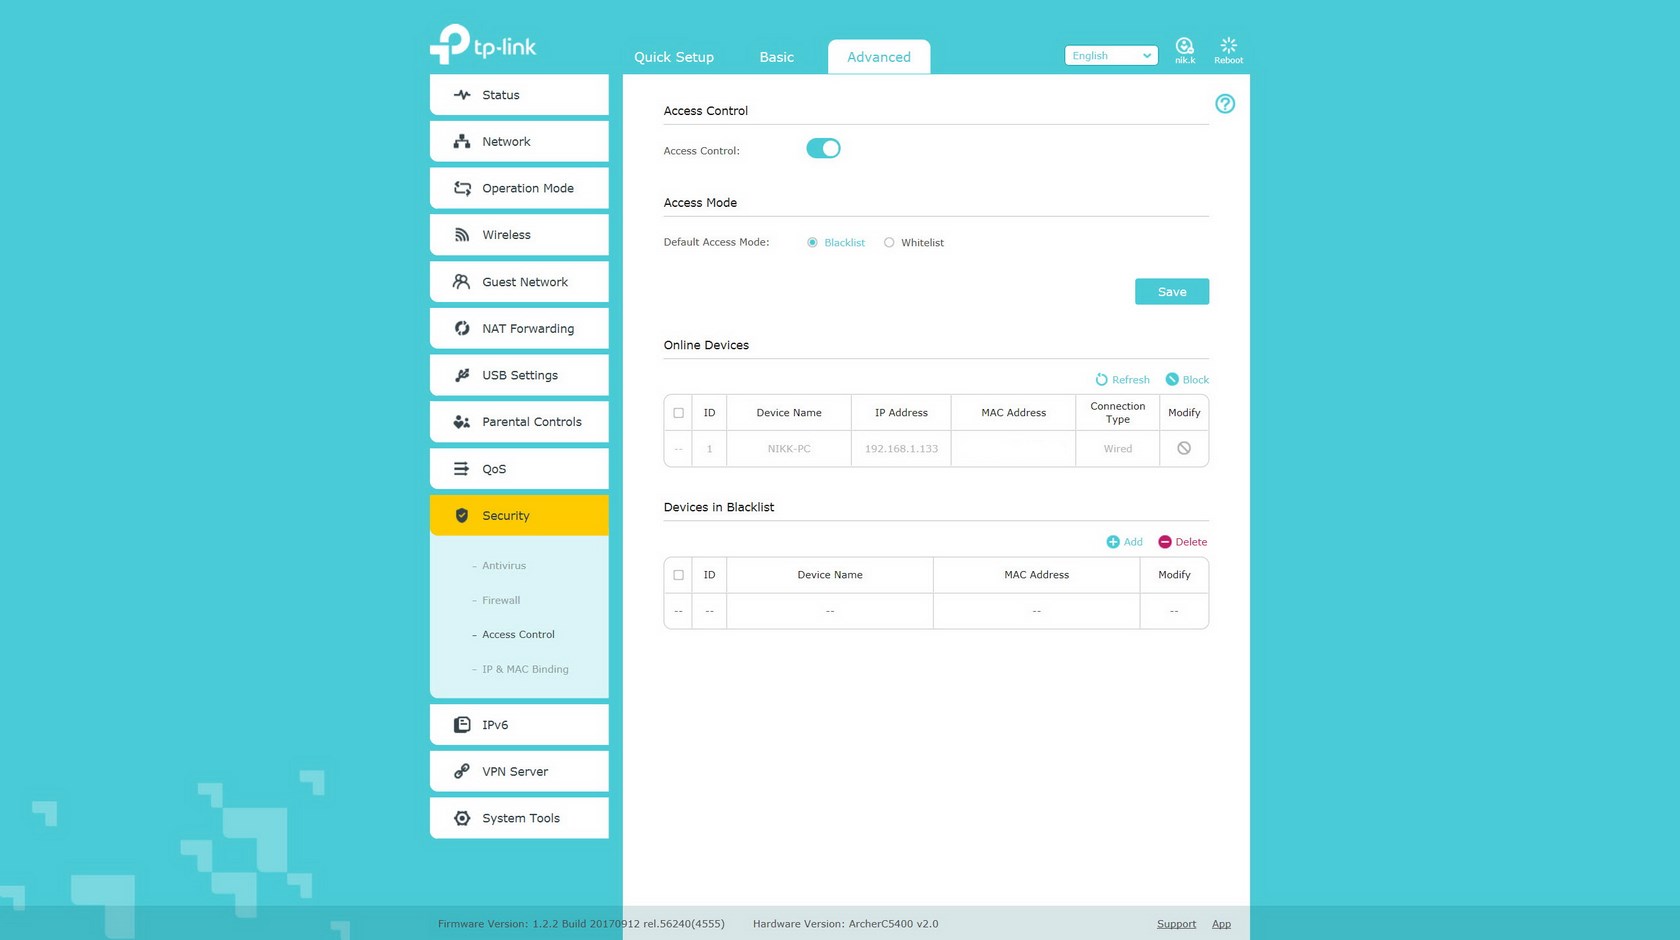
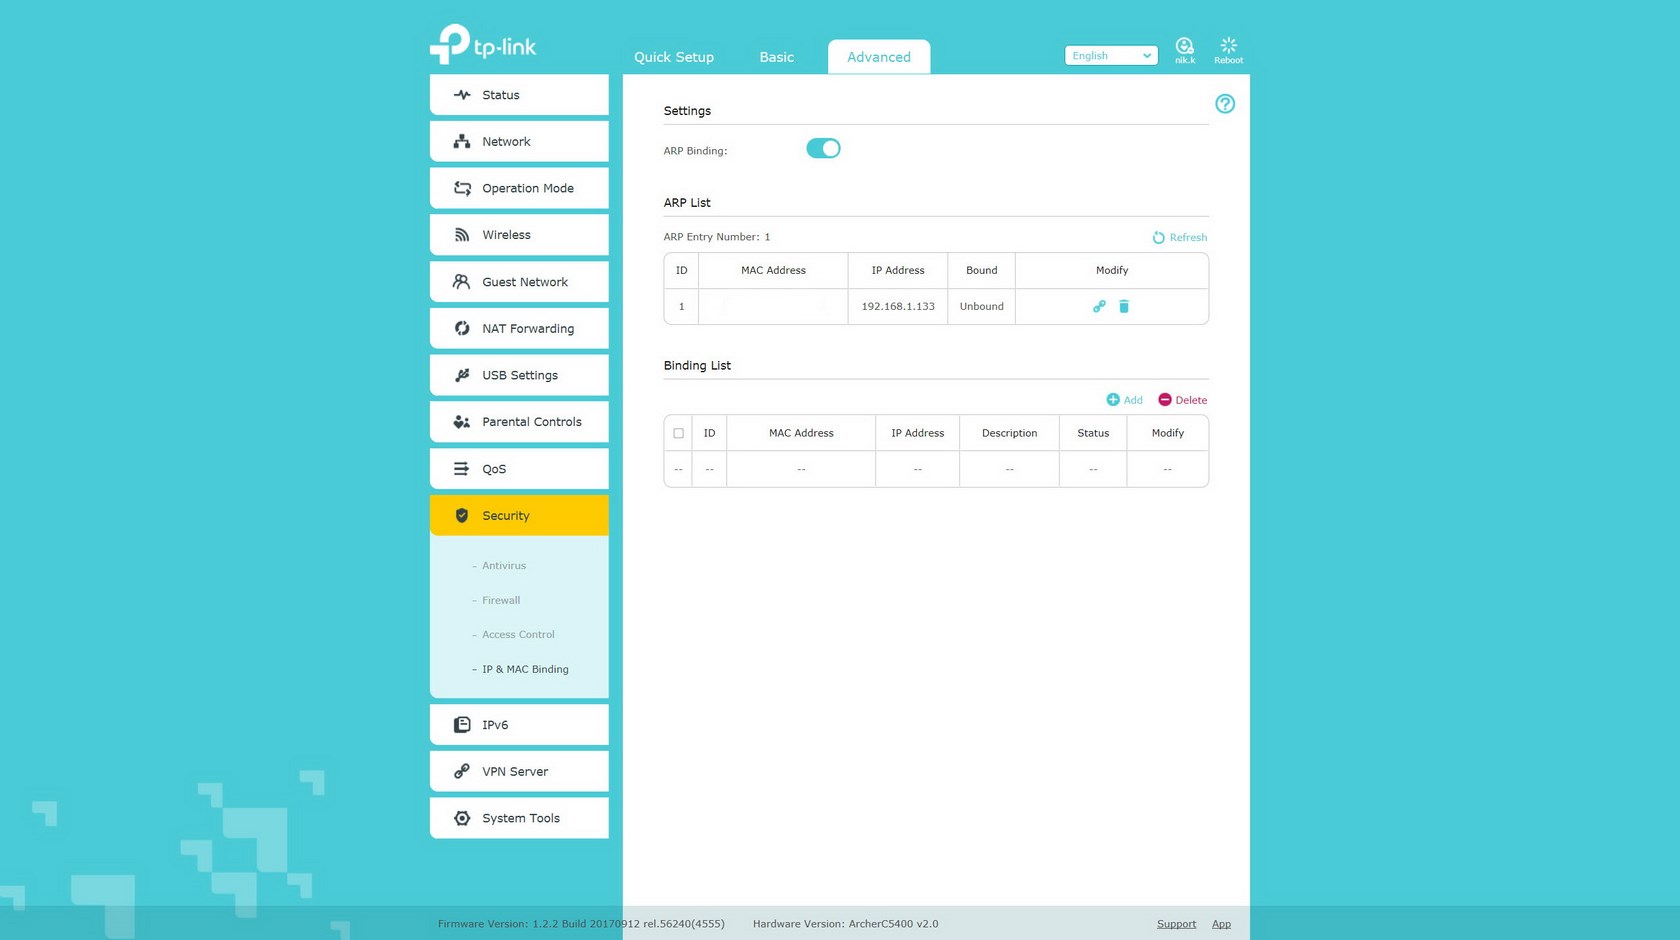
The security tab contains the AV, firewall, access control and IP/MAC address binding features.
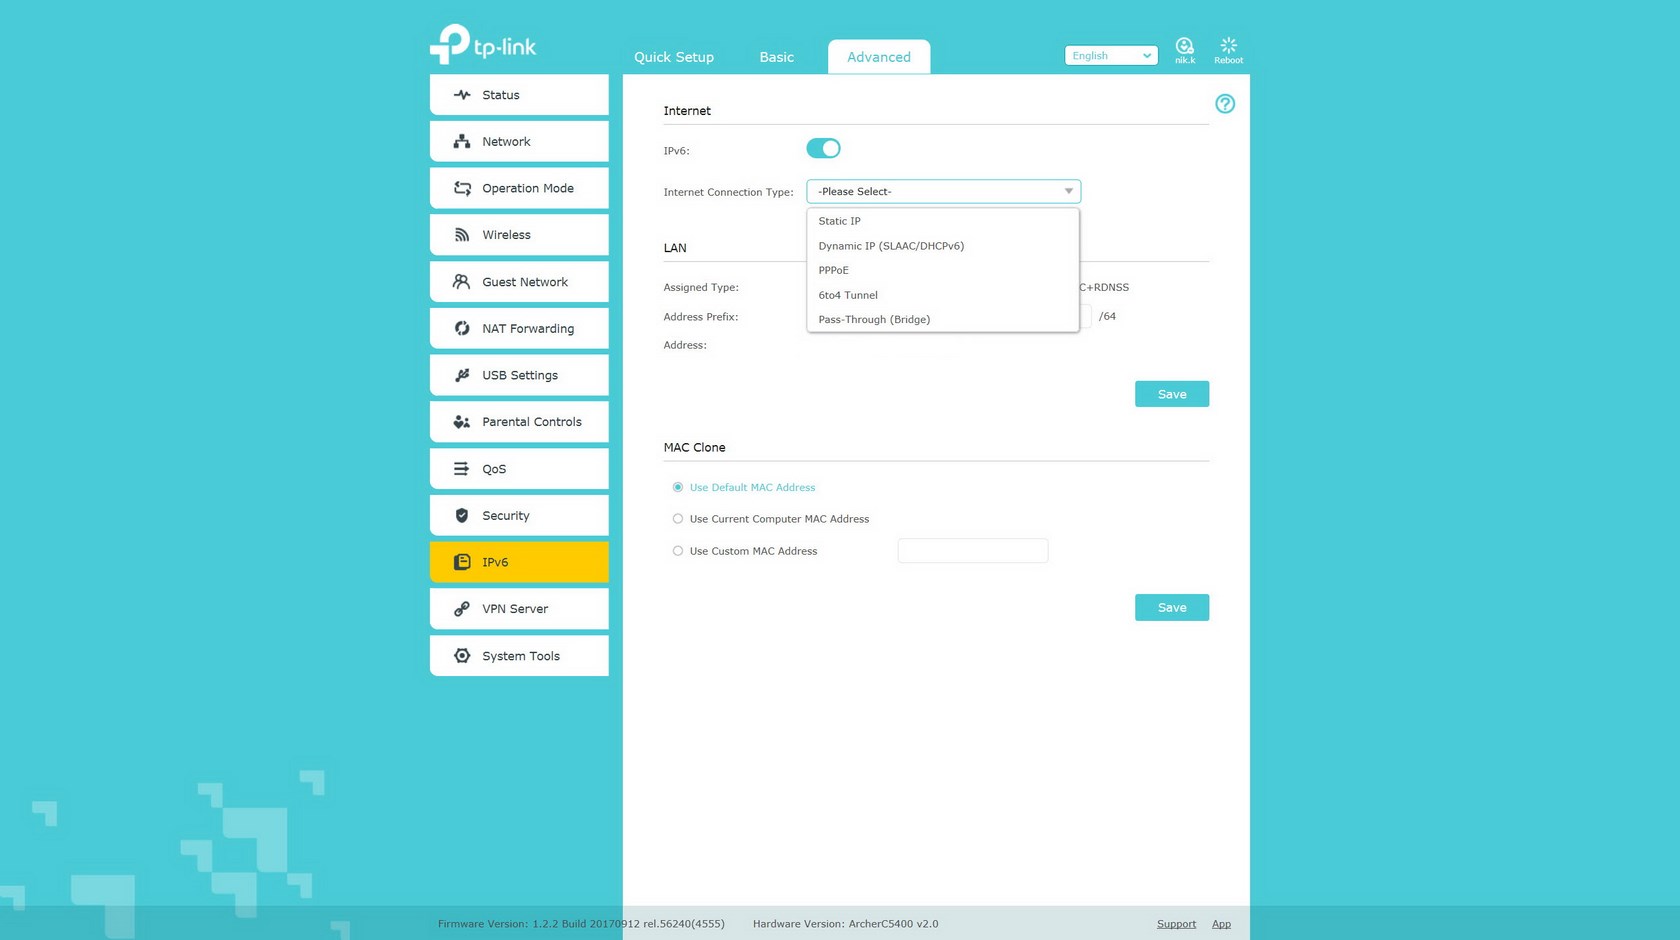
As expected from any current modem/router the Archer C5400 is ready for the IPv6 protocol.
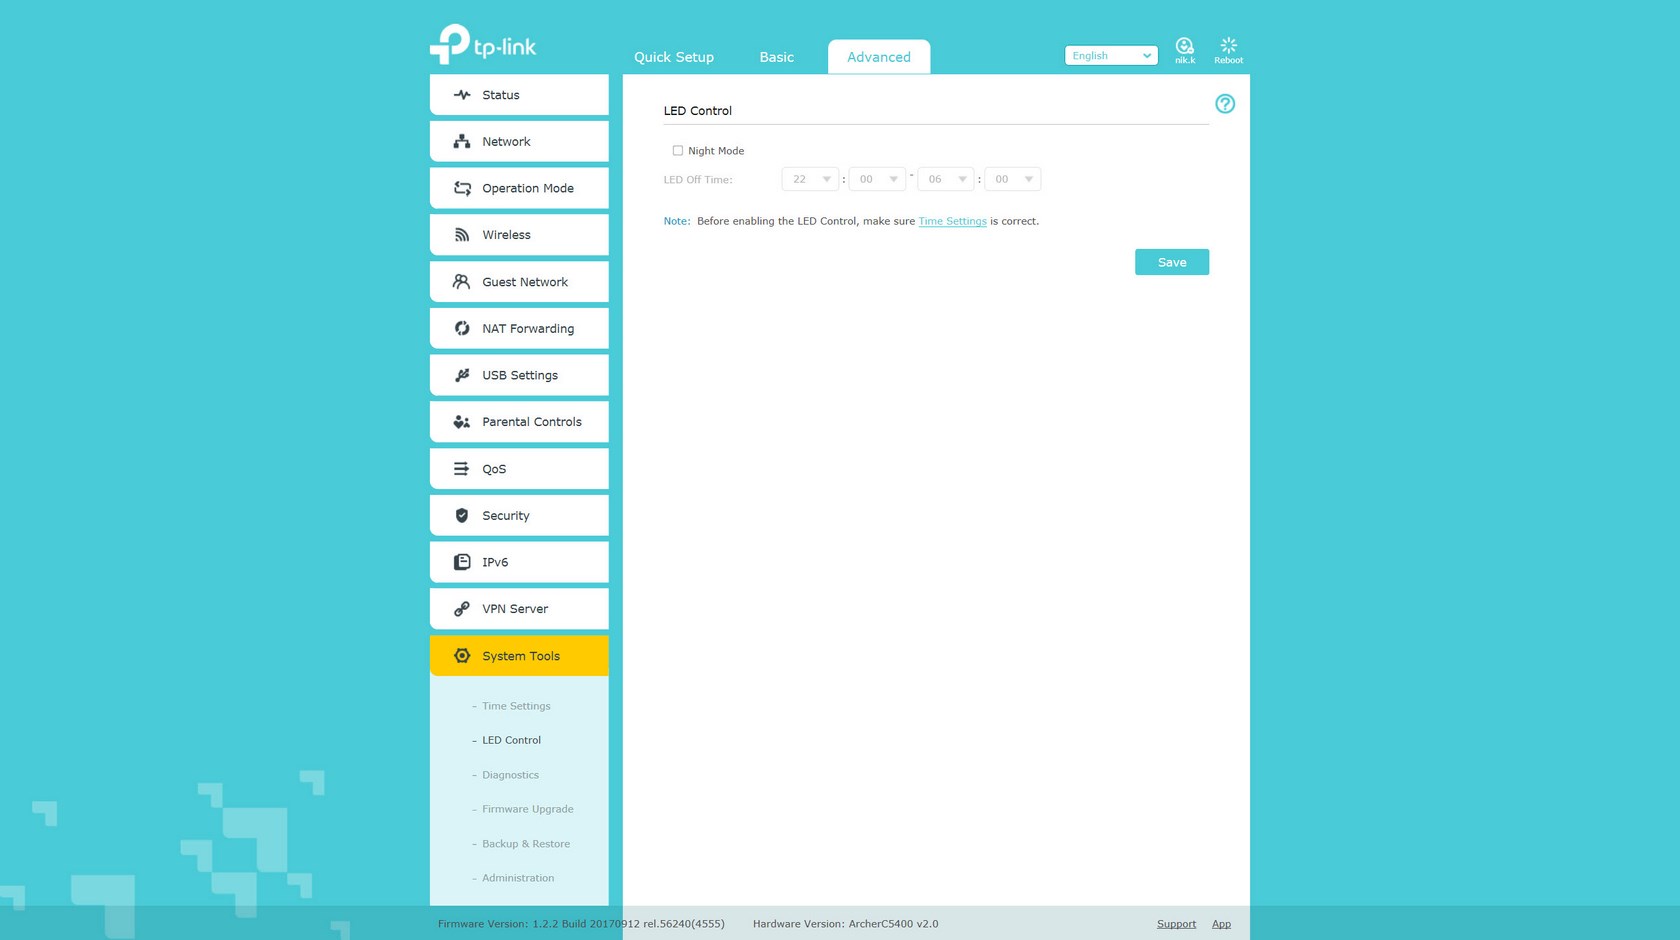
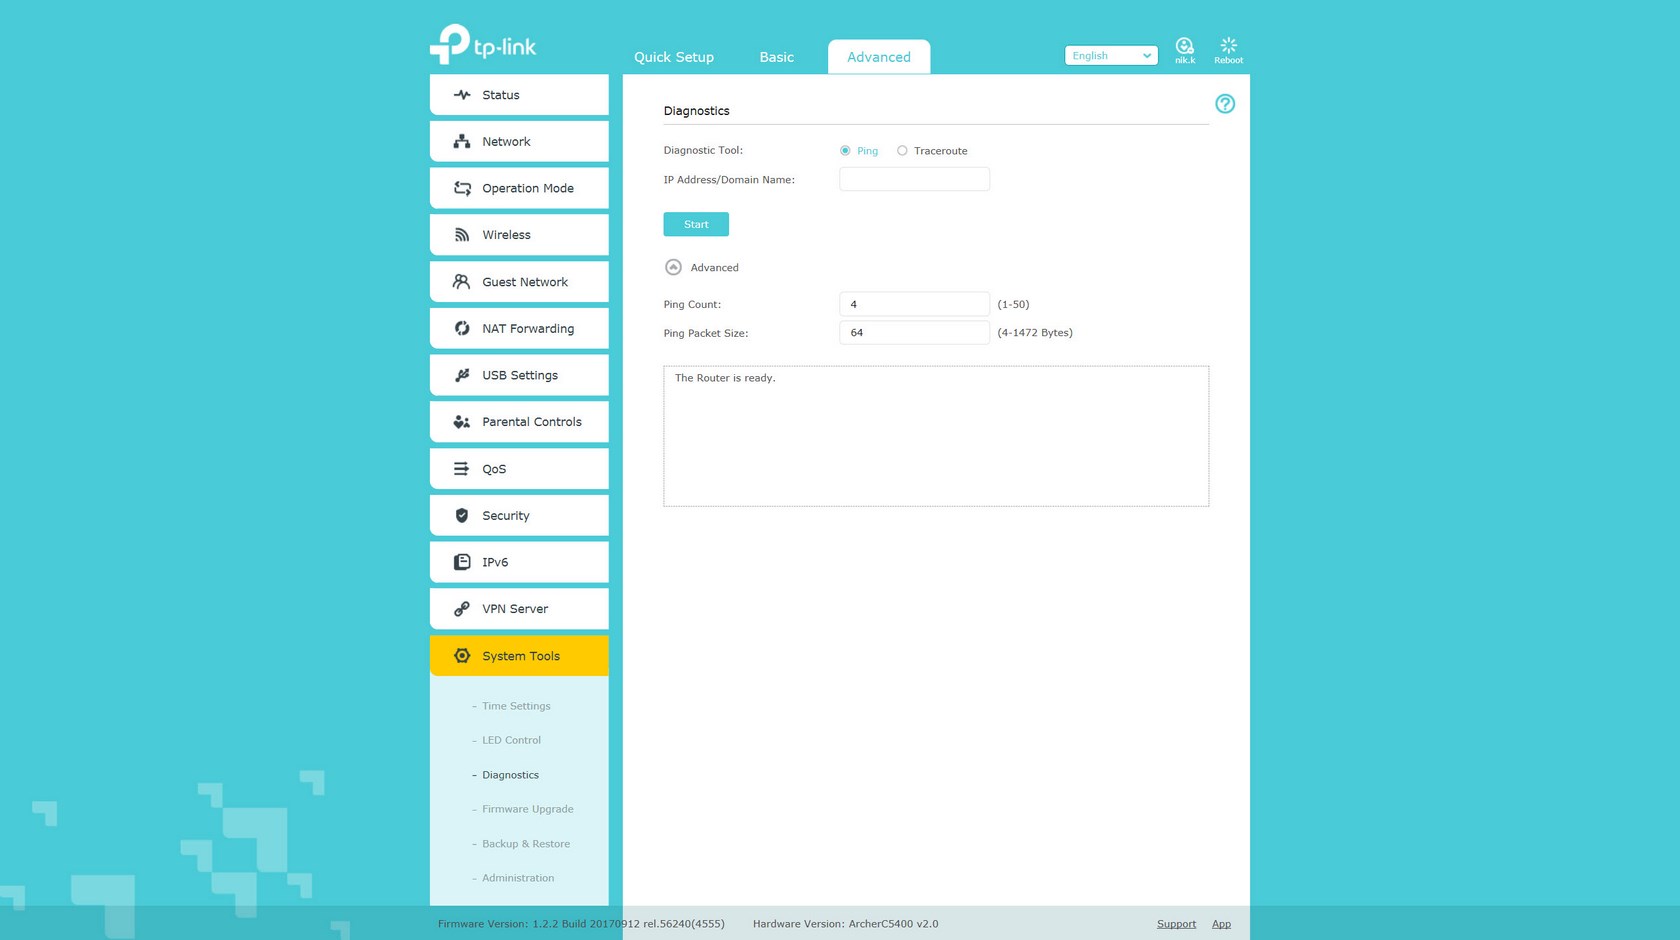
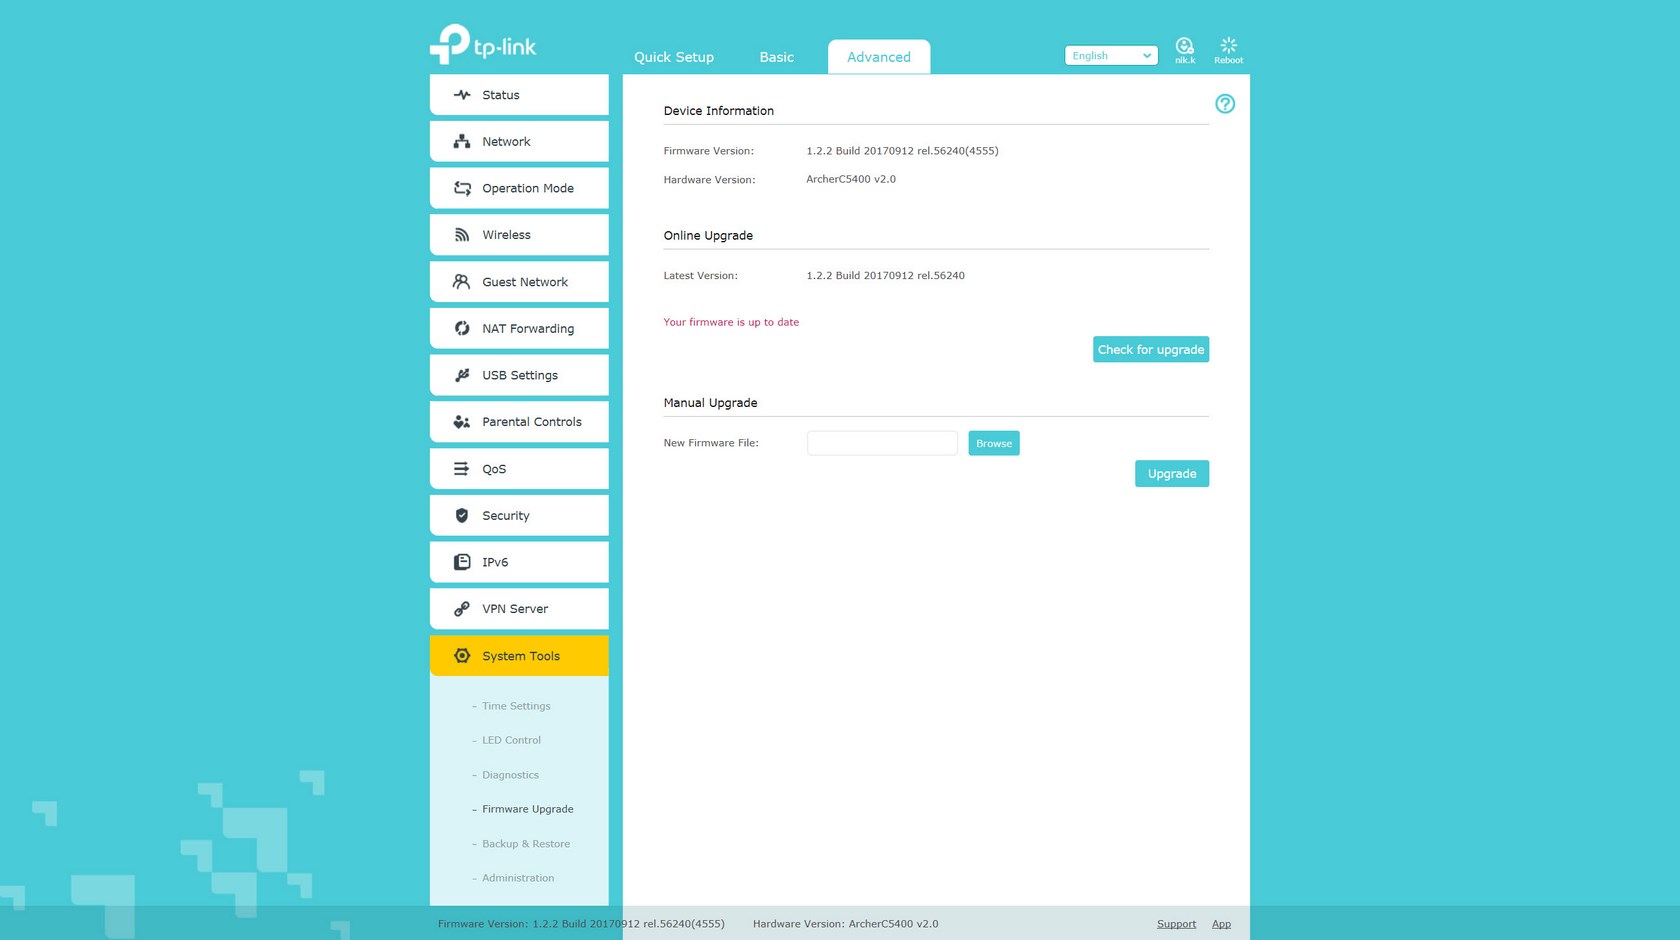
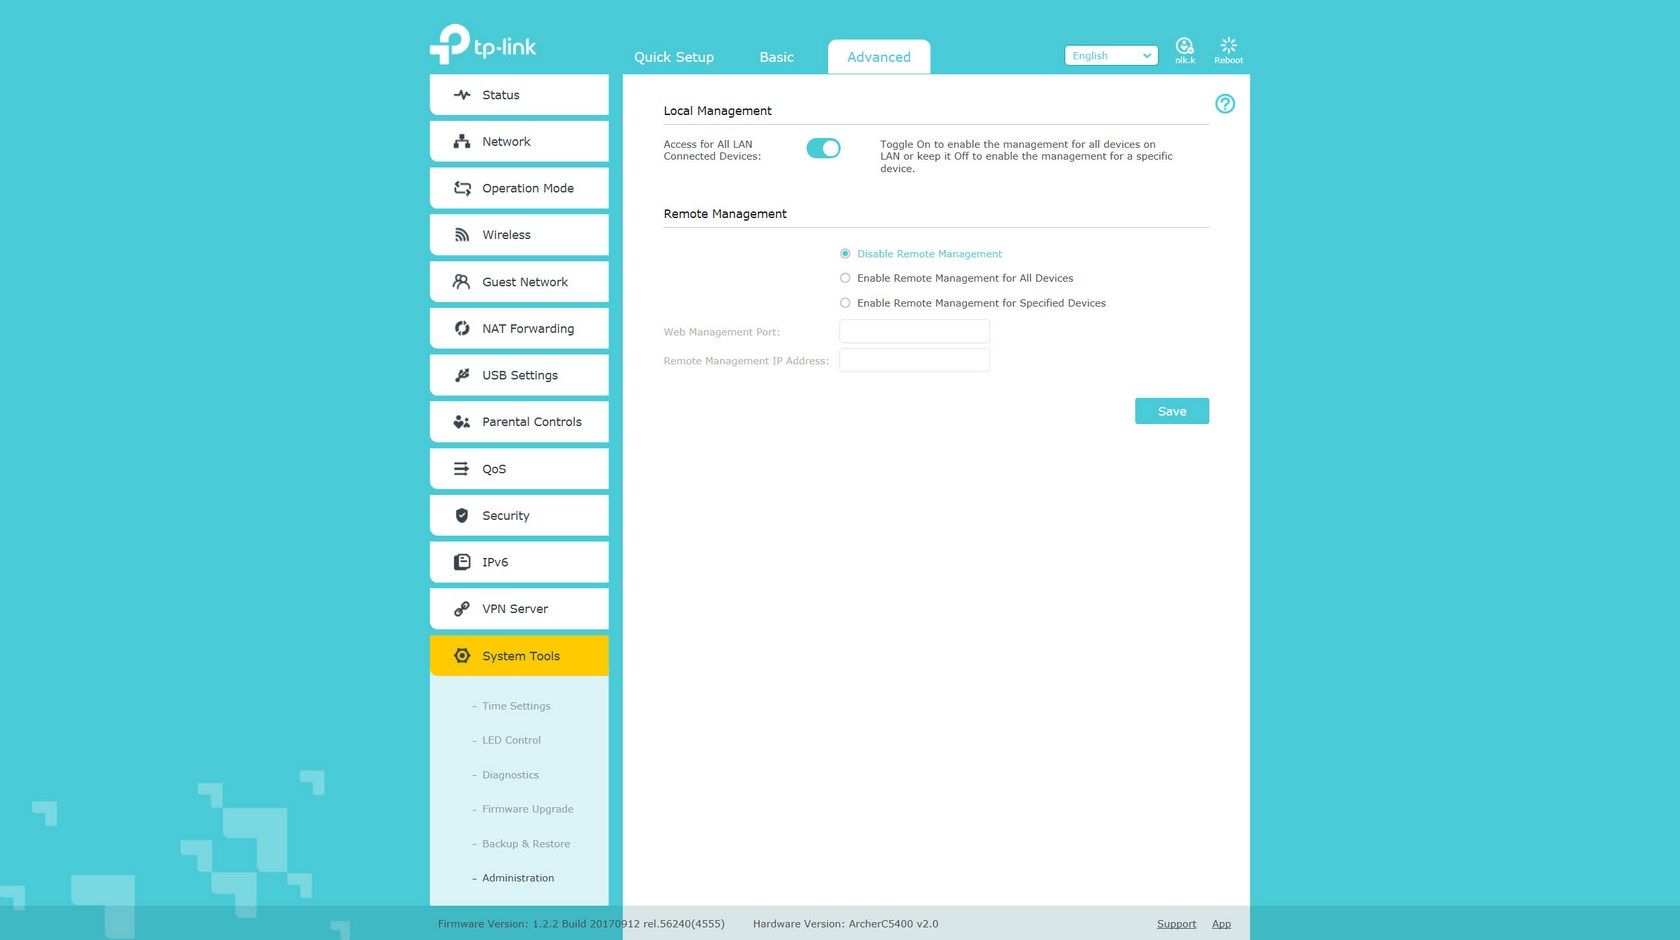
Finally through the system tools tab you can adjust the time, turn the front LEDs on and off (night mode feature), perform network diagnostics, update the firmware, backup and restore all the settings on the router and finally you can enable remote management for any and all attached devices.


.png)

