
 O-Sense

.jpg)


WEB INTERFACE PART 1
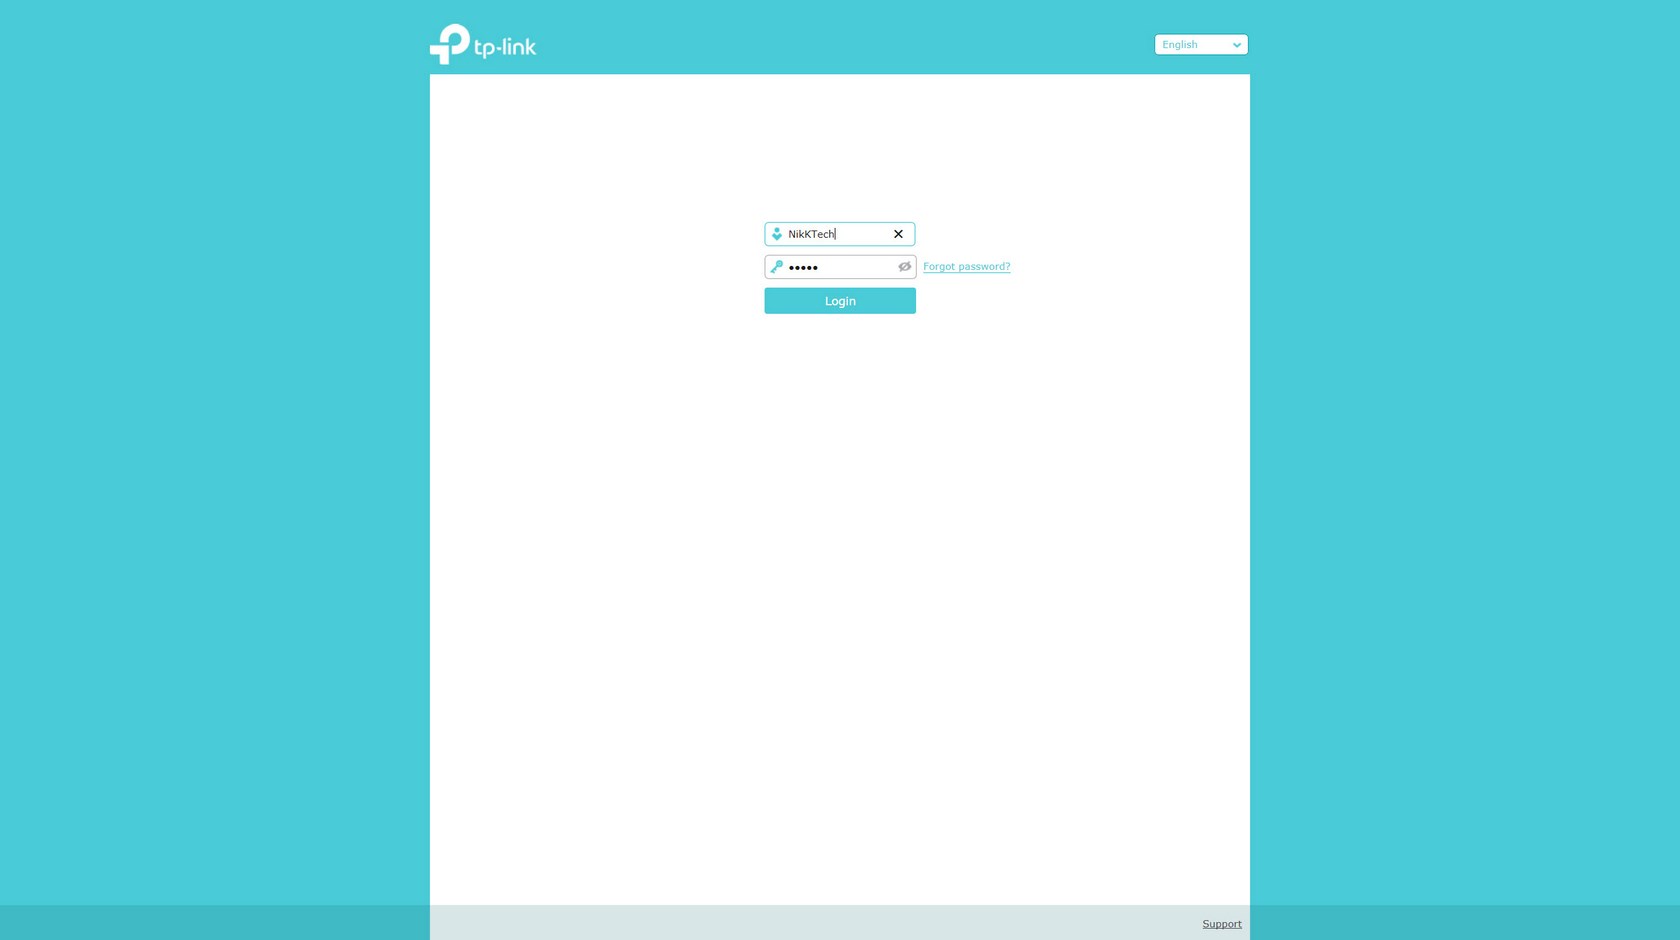
As with all models in the market you can login with the default user name and password (which of course you can change later on like we did).

The main web interface screen does what we've seen numerous times to date and that's to give you a quick look at the status of the router (internet connectivity, connected devices (both wirelessly and wired) and which bands are enabled/disabled.
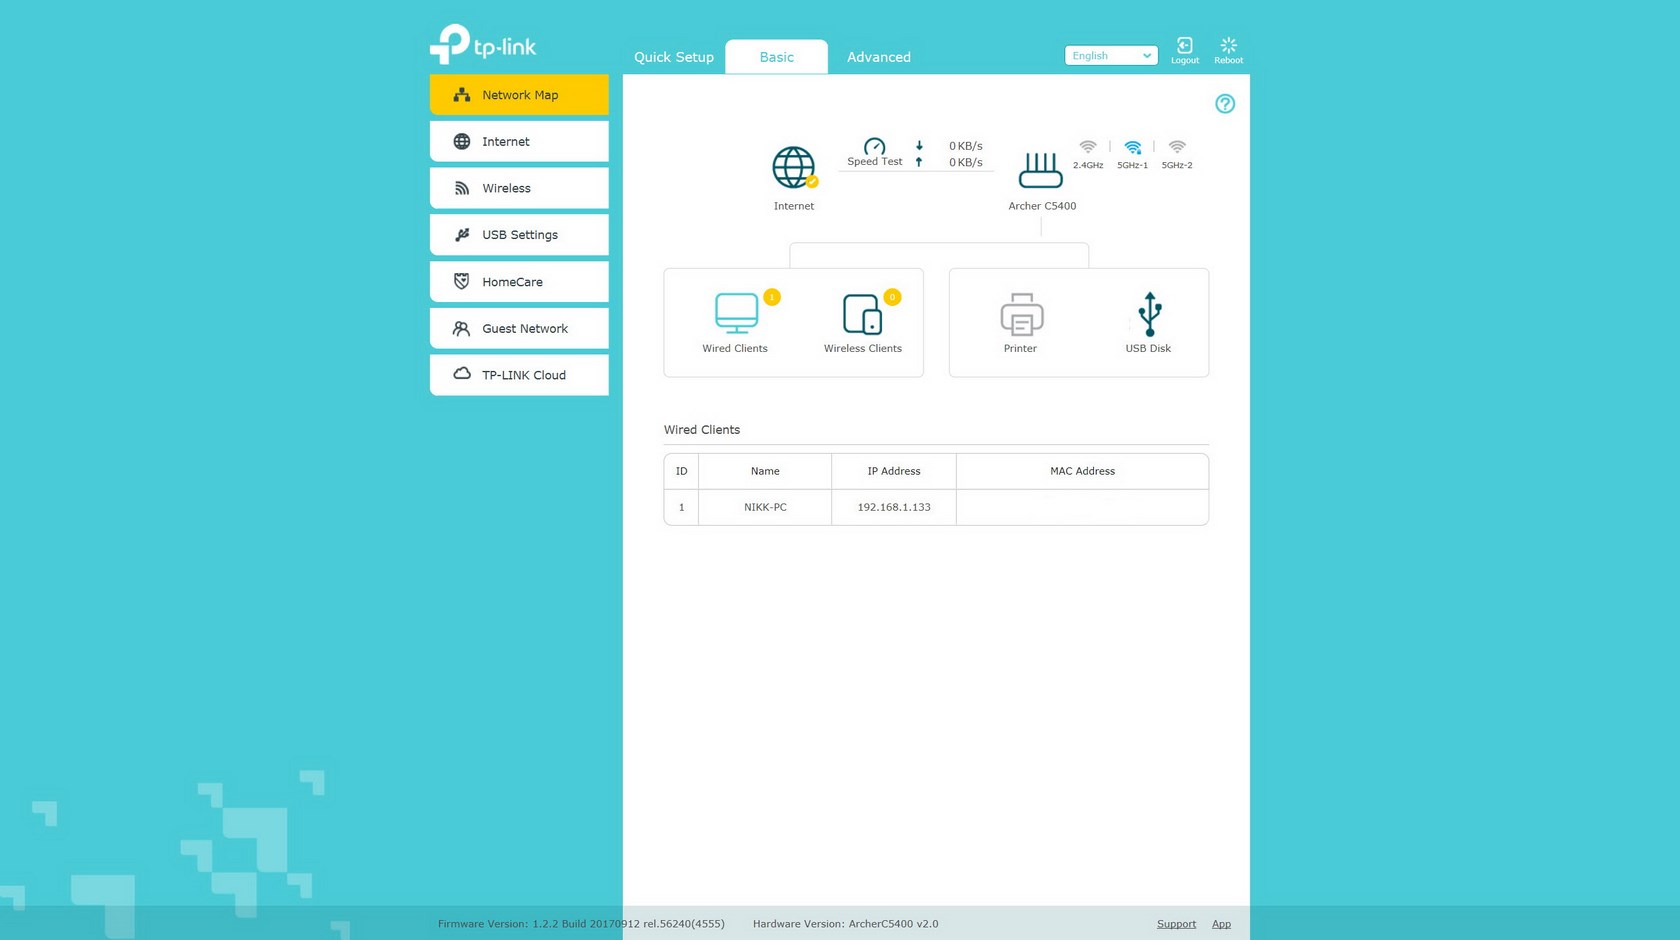
Clicking on the wired and wireless clients reveals their assigned IP and MAC addresses.
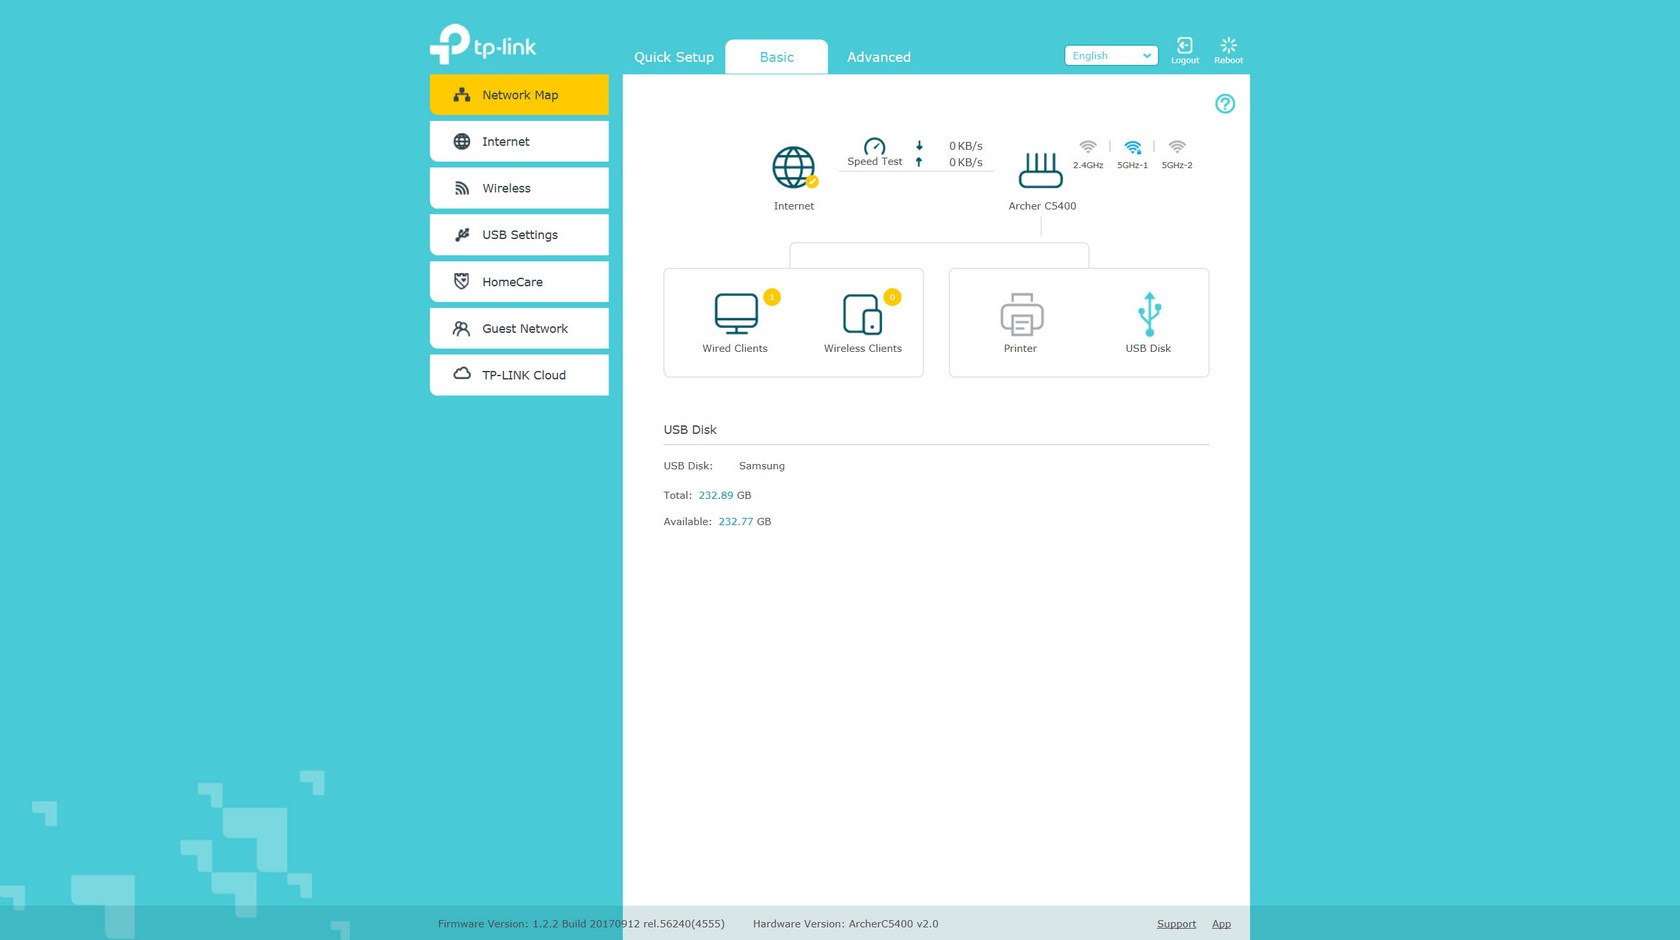
Likewise if you click on the USB connected clients you will see their type and in the case of storage media total and available capacity.
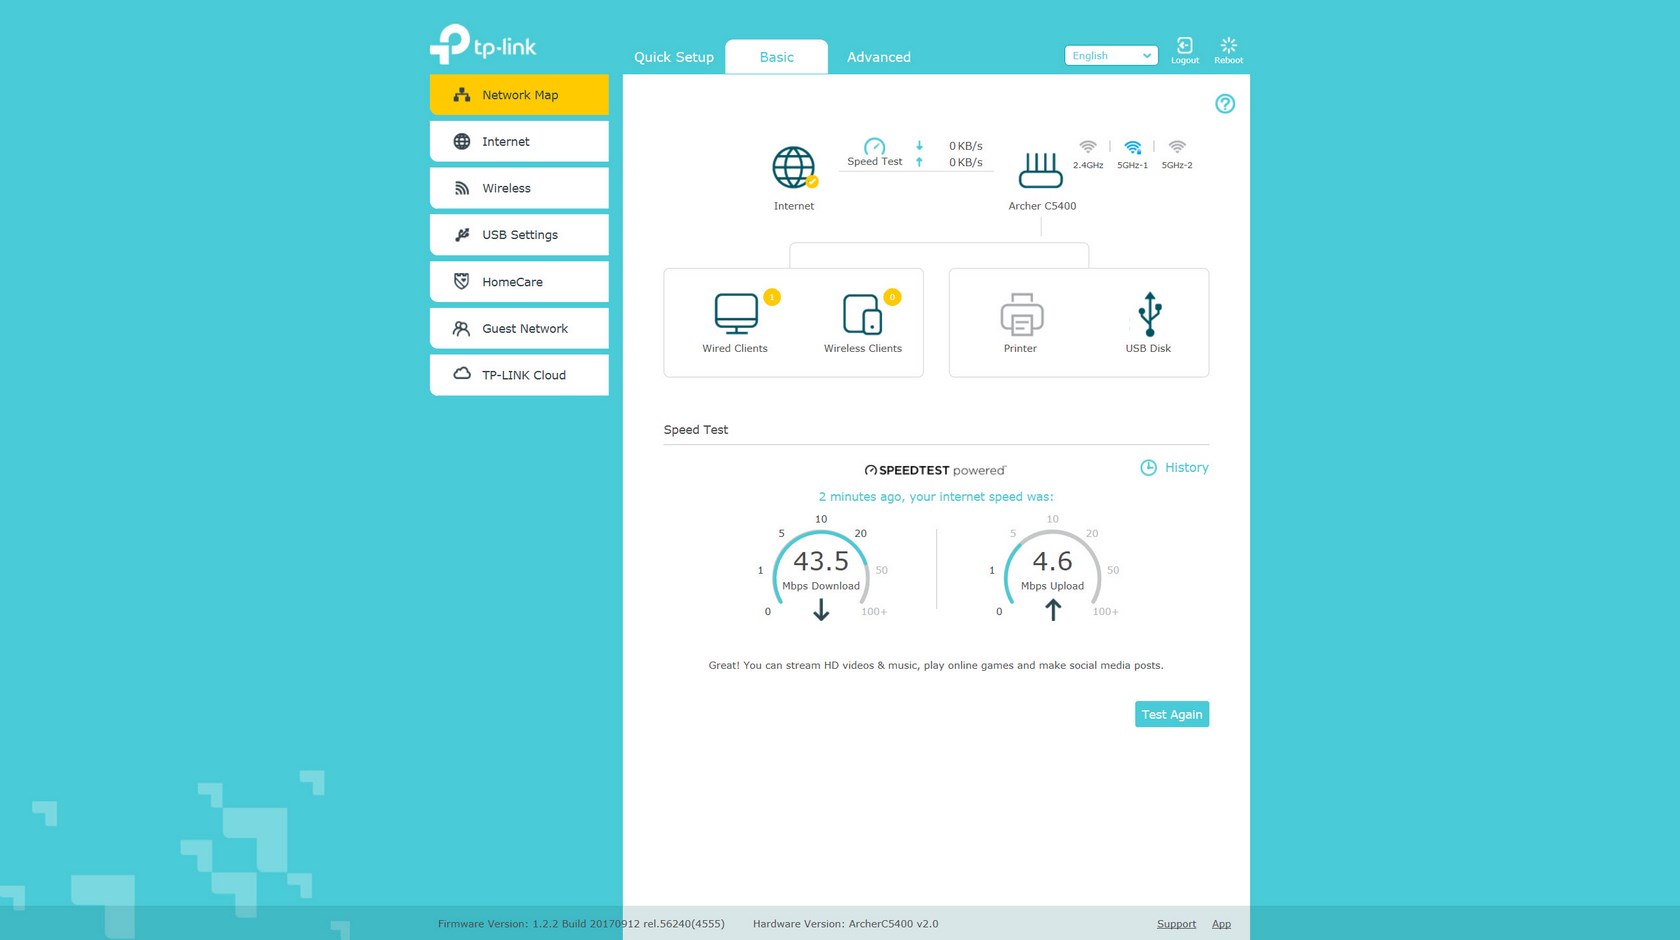
You can also run a SpeedTest from the main screen which is of course based on the well-known one by Ookla.
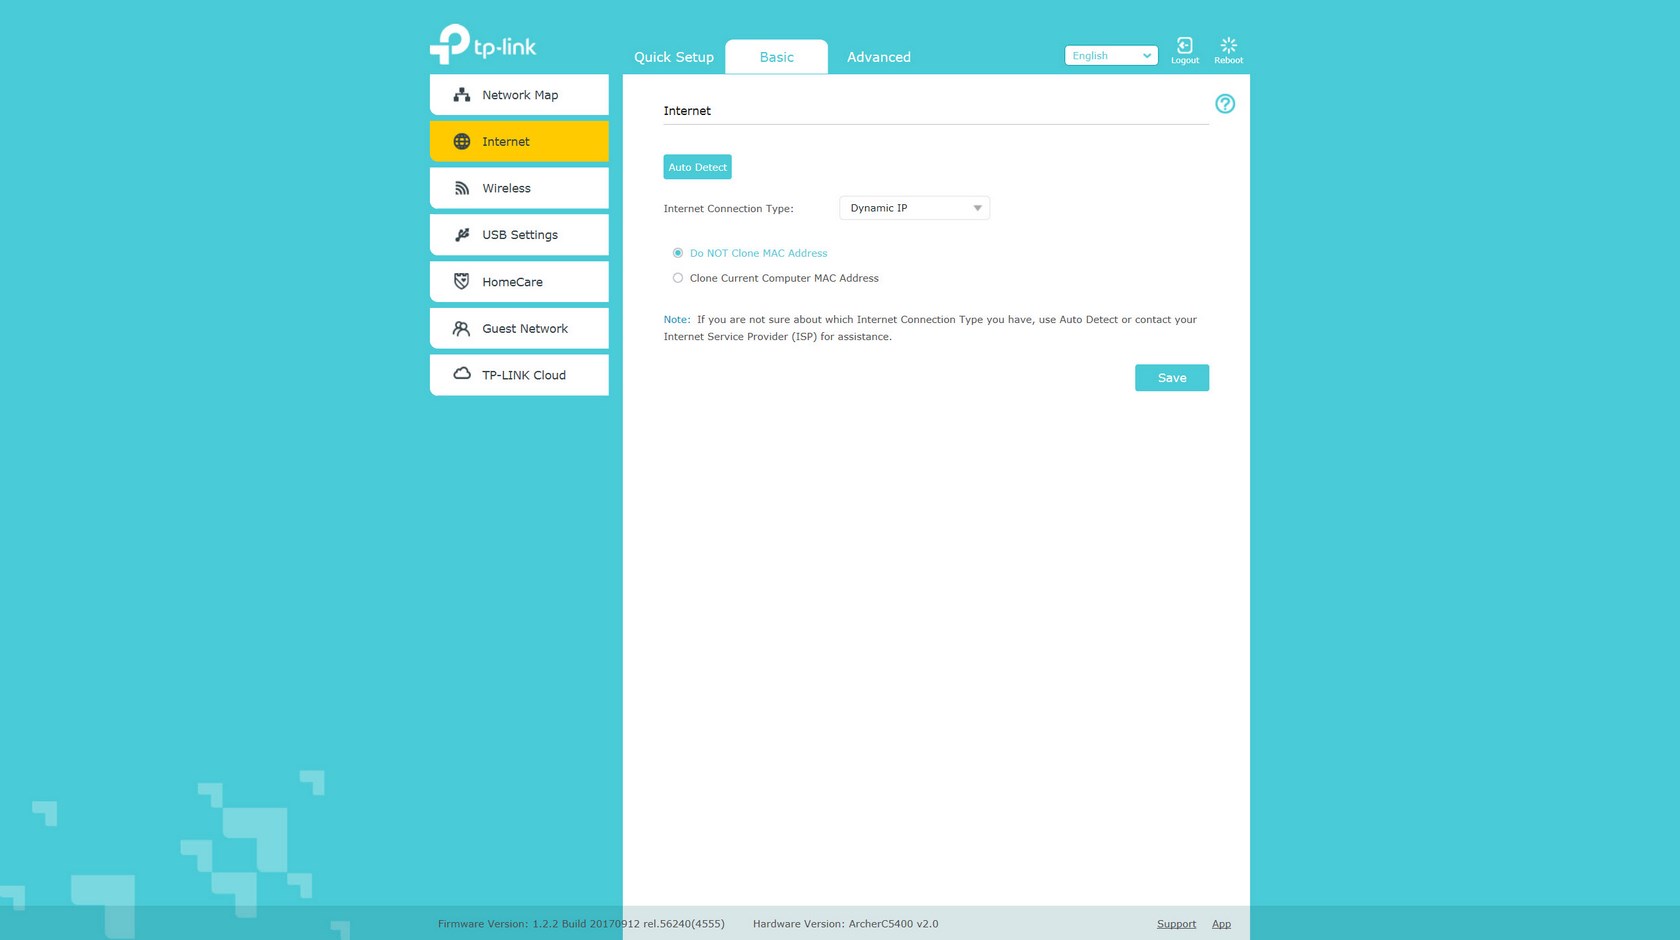
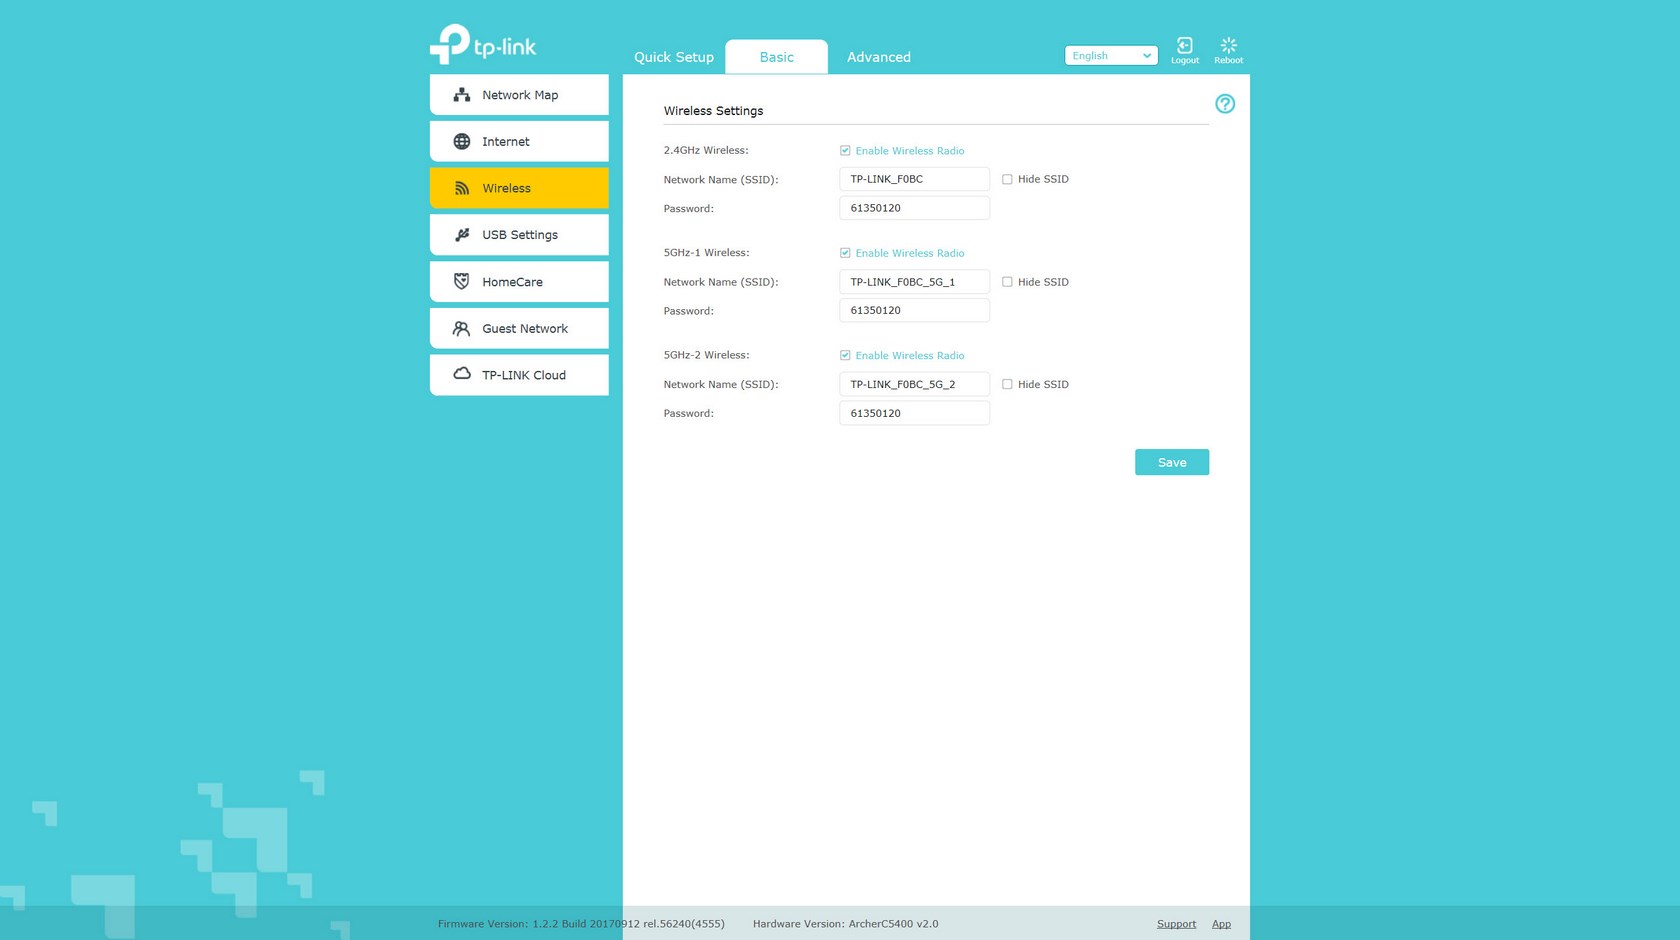
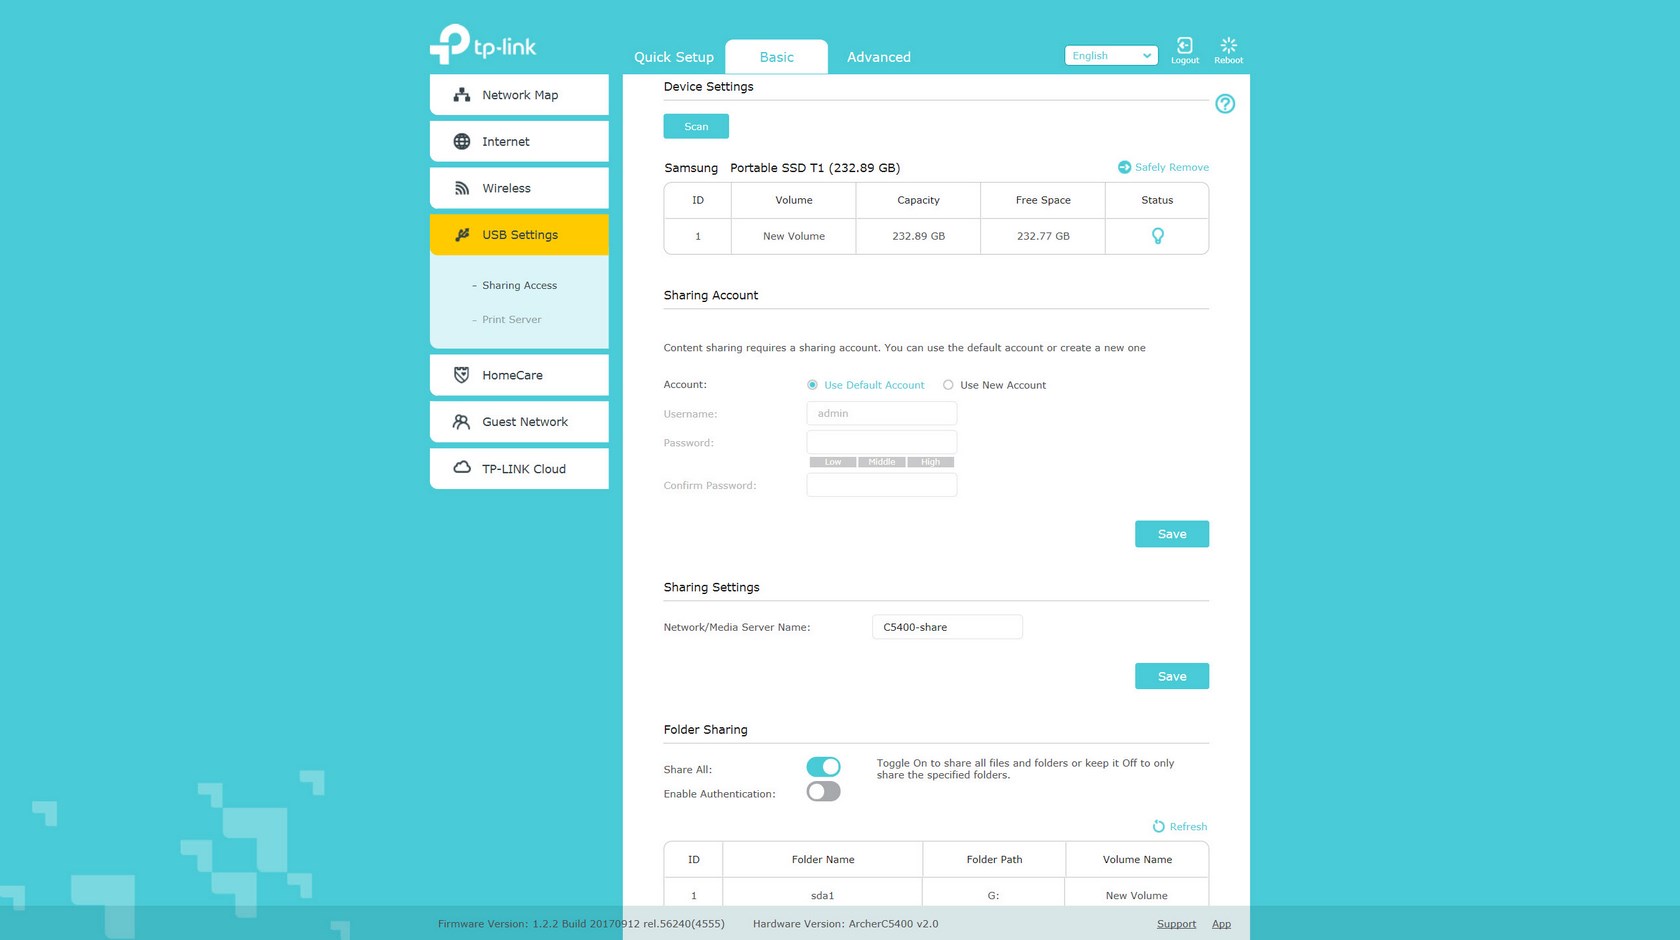
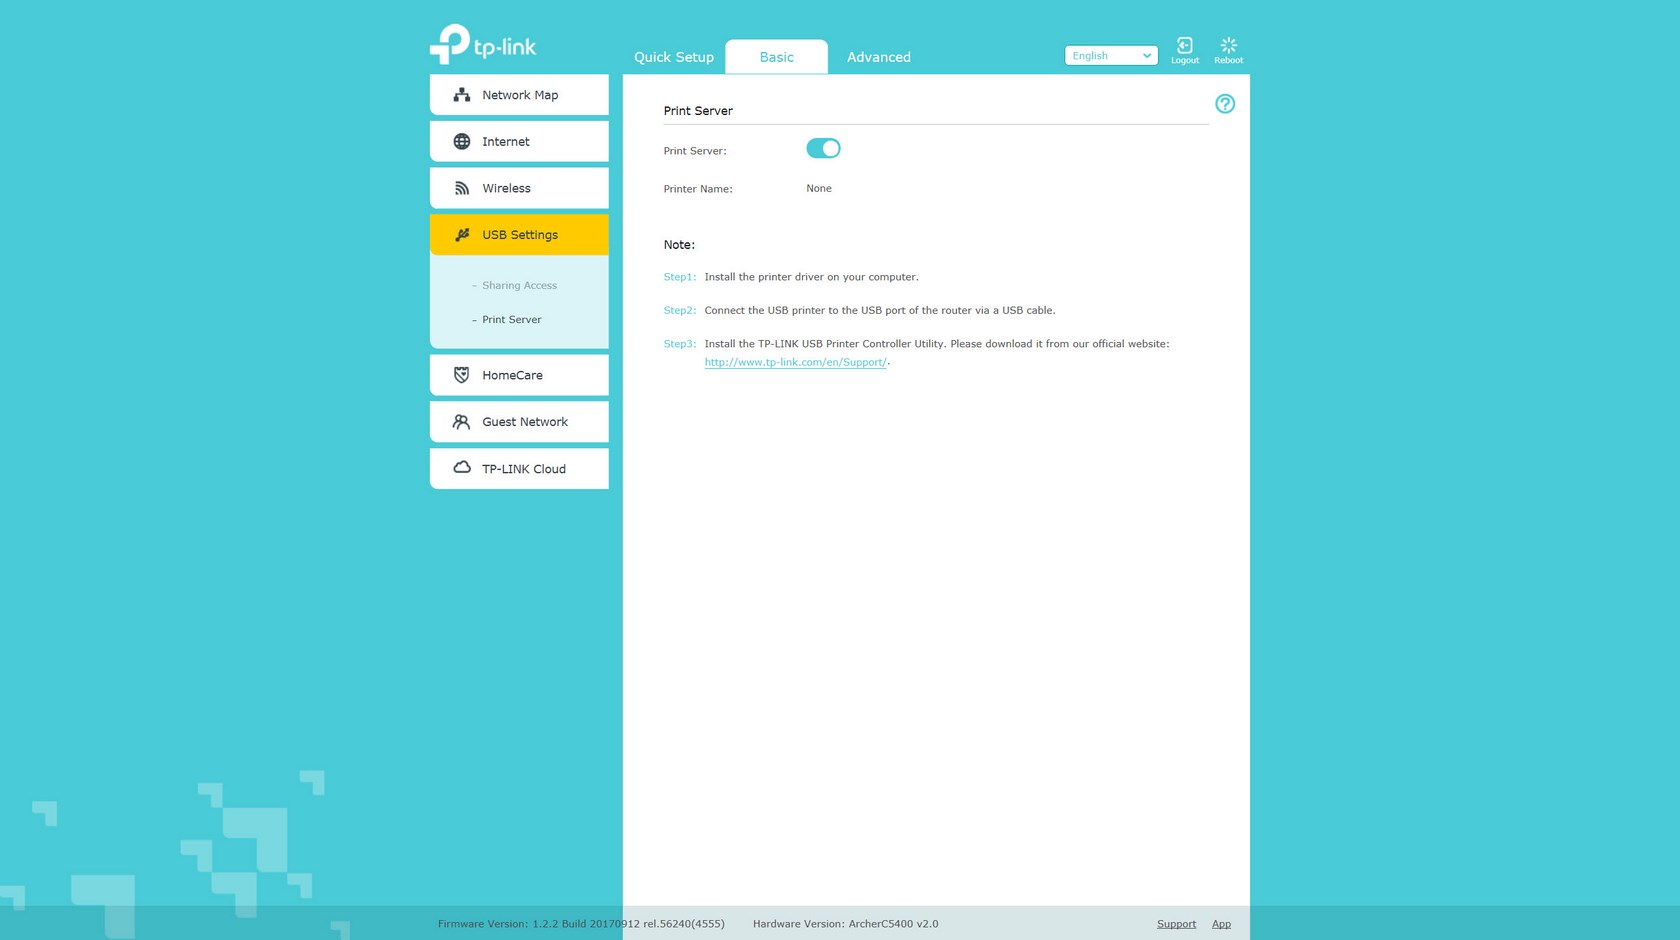
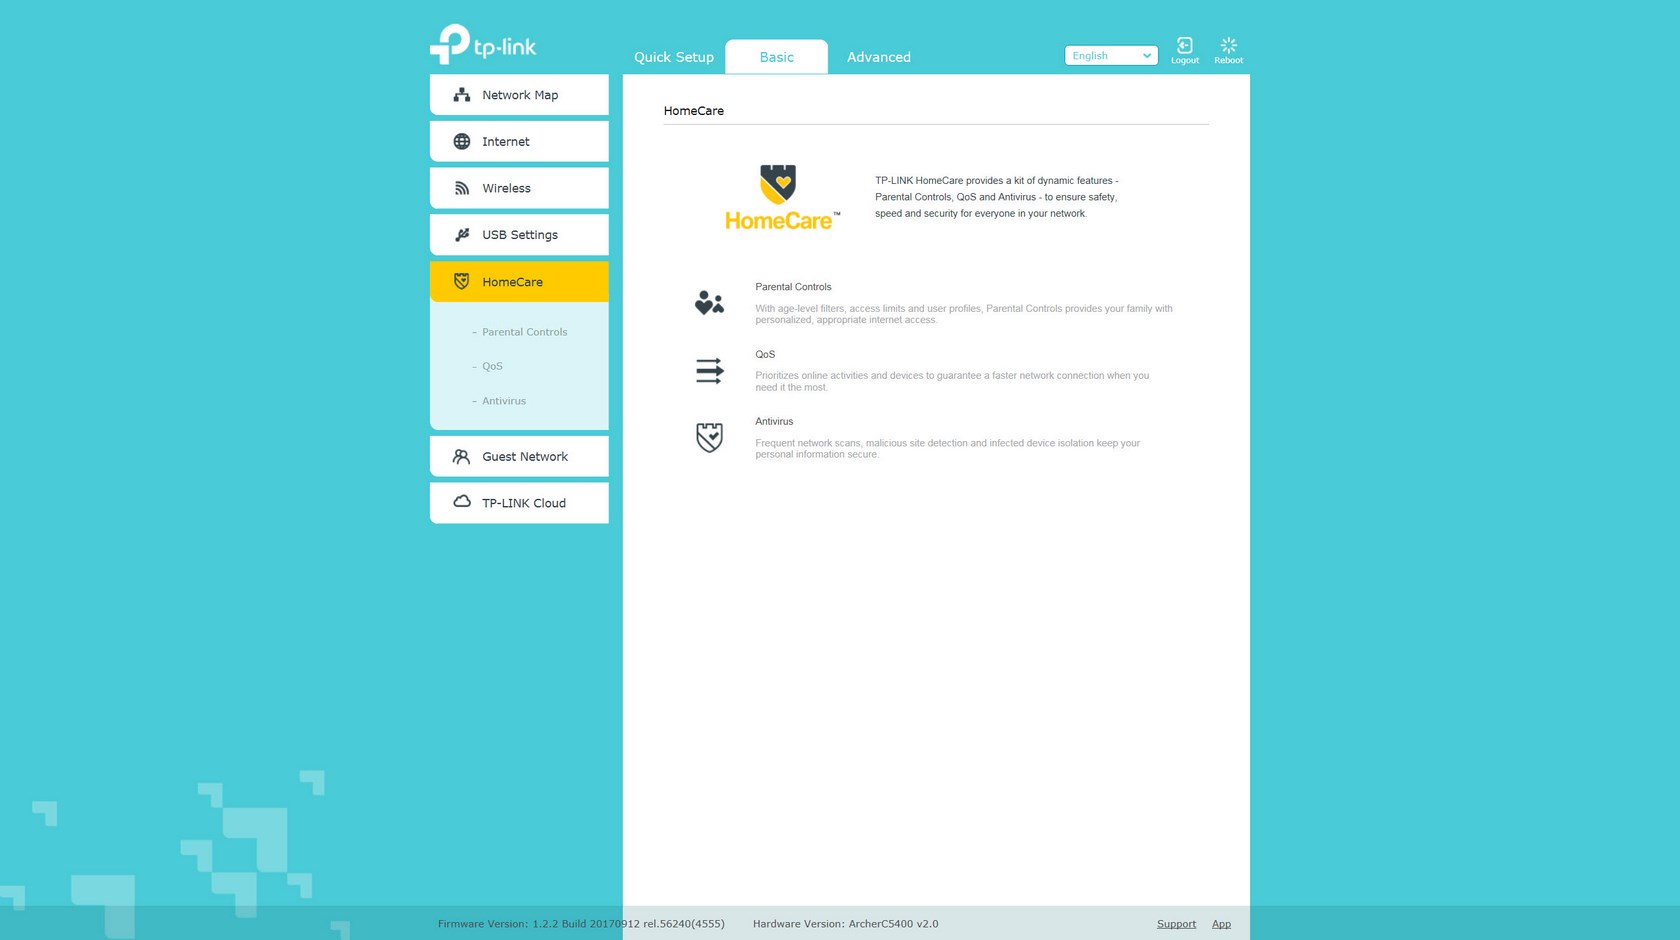
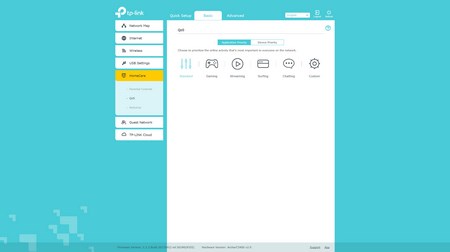
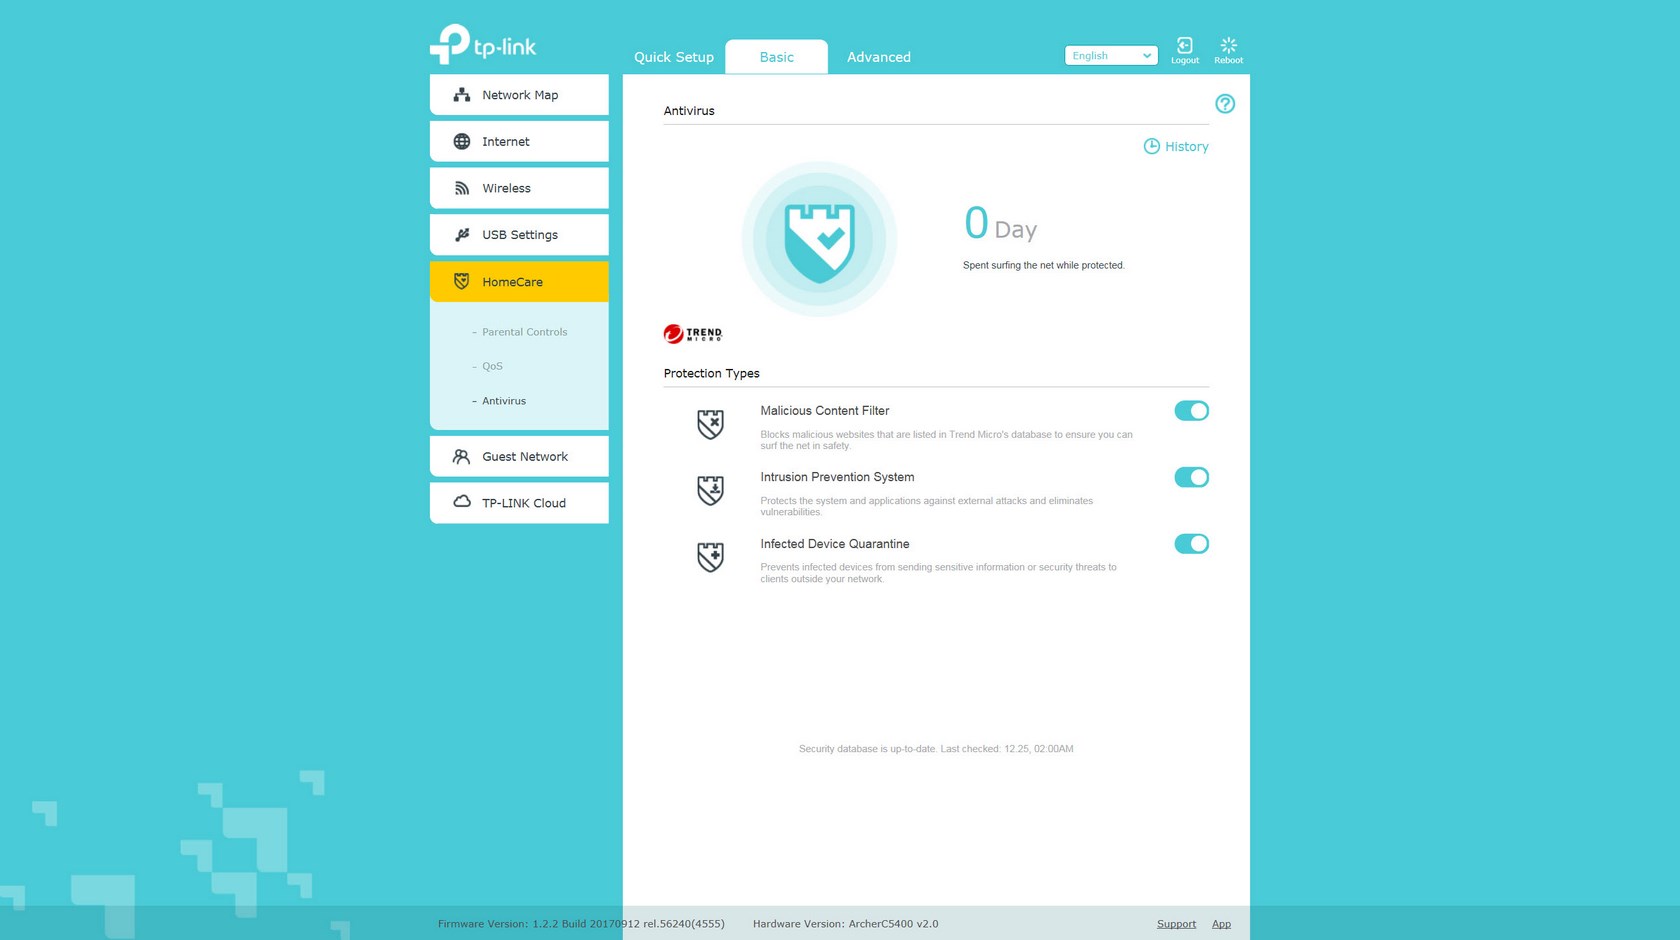
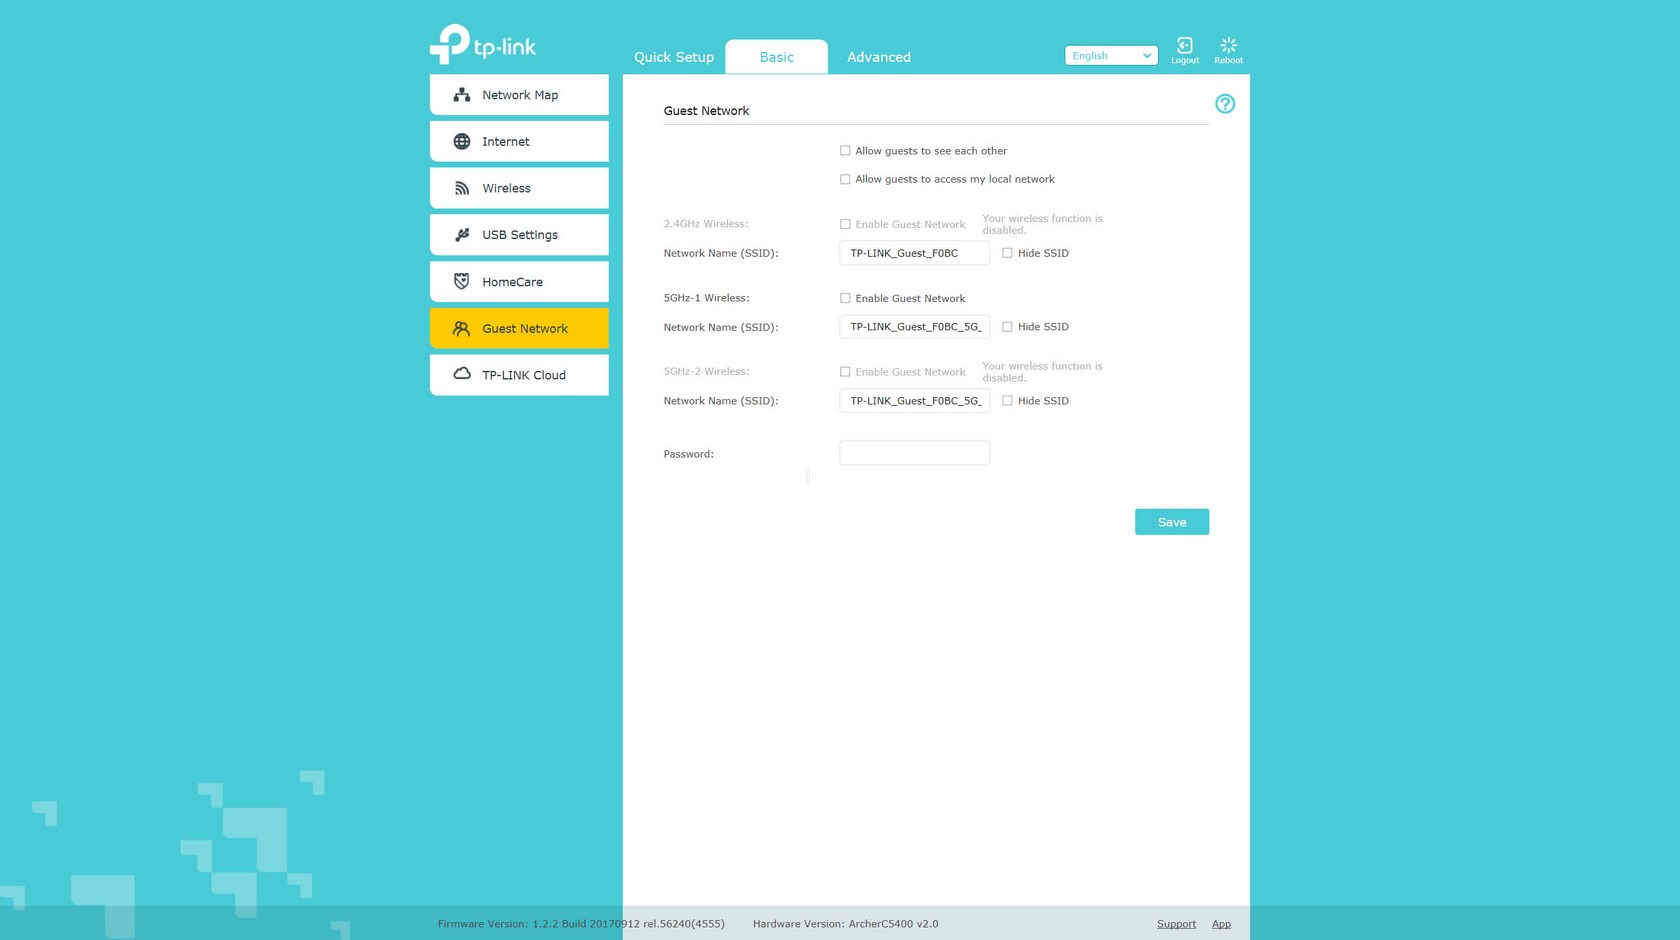
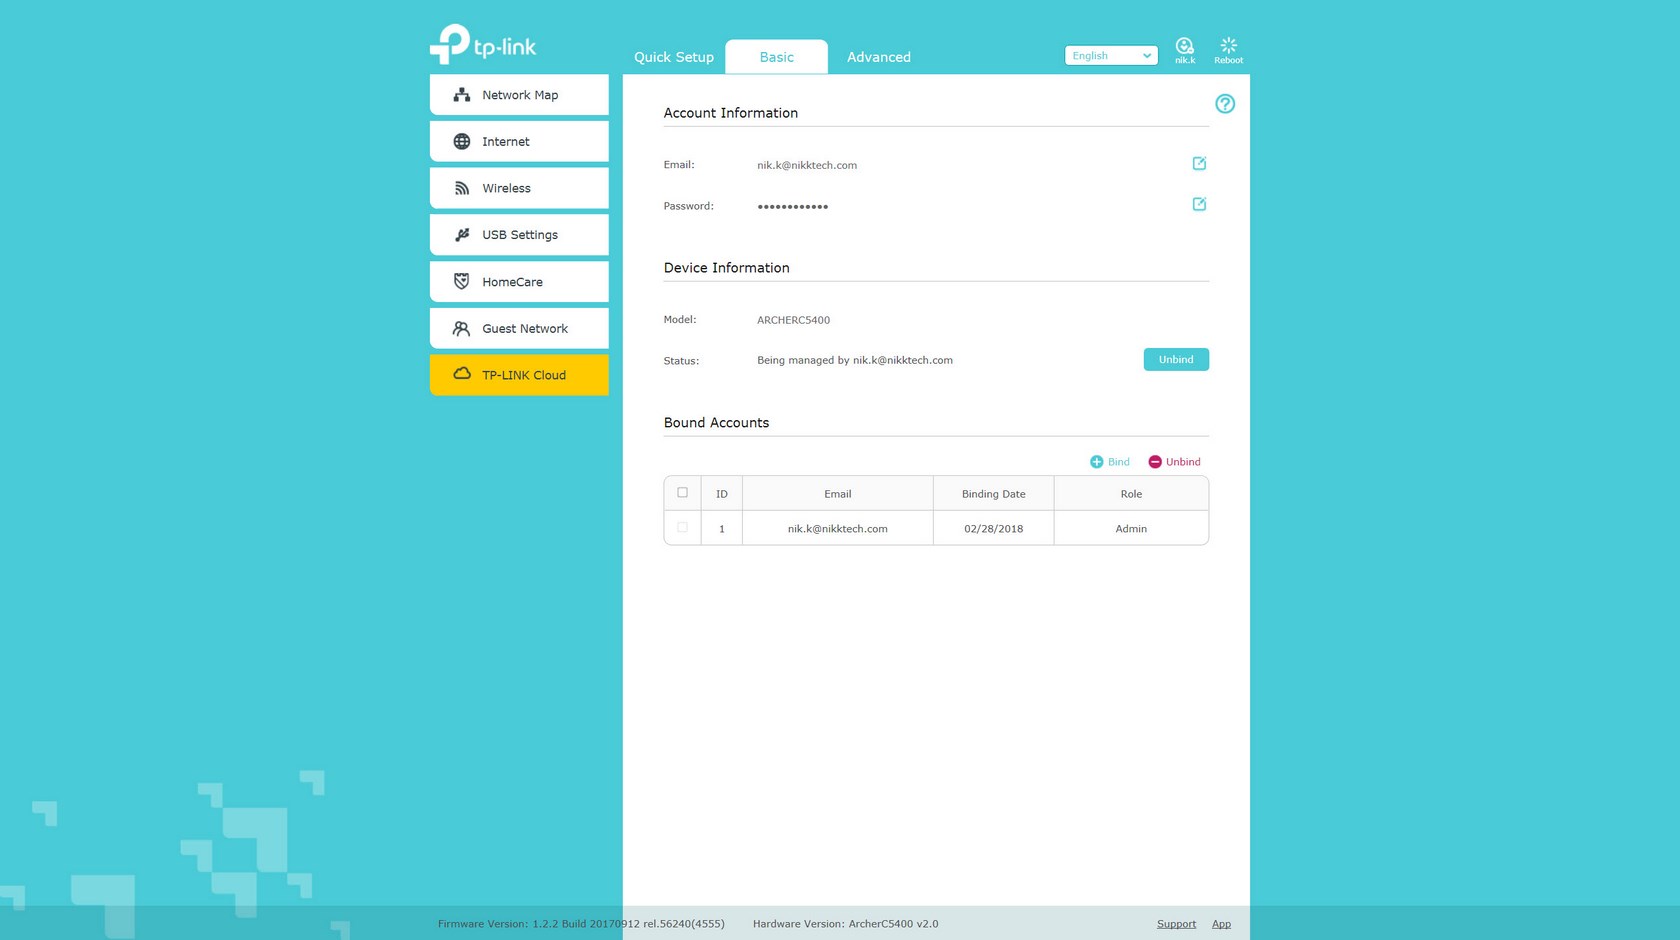
The tabs are separated into two columns Basic and Advanced and so from within the basic one you can set the connection type, change the SSID and password for all three bands, configure sharing for all attached USB devices, setup the Homecare feature (parental controls, QoS and AV), enable the guest network feature and you can also register for a TP-Link Cloud account so you can access the router from anywhere on the planet (access however is not through tplinkcloud.com like with IP cameras by TP-Link but from tplinkwifi.net).


.png)

