
 O-Sense

.jpg)


INTRODUCTION
A spacious PC case is a good PC case, that's what I’ve always believed and till this day i really haven't changed my stance in regards to that. Yes, other things like features and looks certainly do matter as well but at least for me interior space always had the final say (i don't think I’ve ever owned a mini/midi tower). So yes, i wouldn't say no to tempered glass panels, ARGB/RGB lighting, dual-chamber design, vertical GPU mount and plenty of drive trays and radiator mounts but yes interior space has always been my priority. So about two months ago i set out to find a midi tower that combines all of the above and even though it wasn't quite easy i seriously believe the H710i Premium Mid-Tower Case by NZXT is a good fit and so that's what today's review is all about.
Founded in 2004, NZXT is a leader of gaming products and services. Their award-winning products include computer cases, PC cooling solutions, RGB lighting kits, power supplies, and their free PC monitoring software, NZXT CAM. NZXT was created out of a passion for PC gaming and is dedicated to improving products and services to achieve extraordinary gaming experiences.
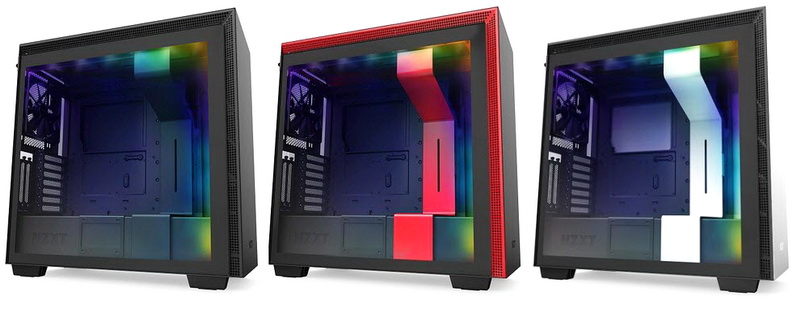
The H710i is not only the latest and largest addition in the H series PC case lineup by NZXT but it's also available in not 1 but 3 different colors (matte black, matte white/black and matte red/black - check above picture). The H710i is a feature-rich mid-tower model which sports RGB lighting via two pre-installing ARGB LED strips, smart device v2 RGB/fan controller, vertical GPU mount, patented cable management system, removable fan/radiator mounting brackets, dual-chamber design, vertical drive trays, front-panel USB-C connector, tempered glass left side panel, push to release button for the right side panel and 4 pre-installed AER fans (3xF120/1xF140). All of you wondering about space well this is probably the best part since inside the H710i one can fit up to 7 drives (5x2.5" and 2x3.5/2.5"), 7 fans (7x120mm or 5x140mm) and/or two 280/360mm radiators, 413mm long graphics cards, 185mm tall CPU coolers and 240mm long power supply units (350mm+ without the bottom drive cage). Time for a closer look on the H710i Premium Mid-Tower ATX Case by NZXT.
SPECIFICATIONS AND FEATURES

PACKAGING AND CONTENTS
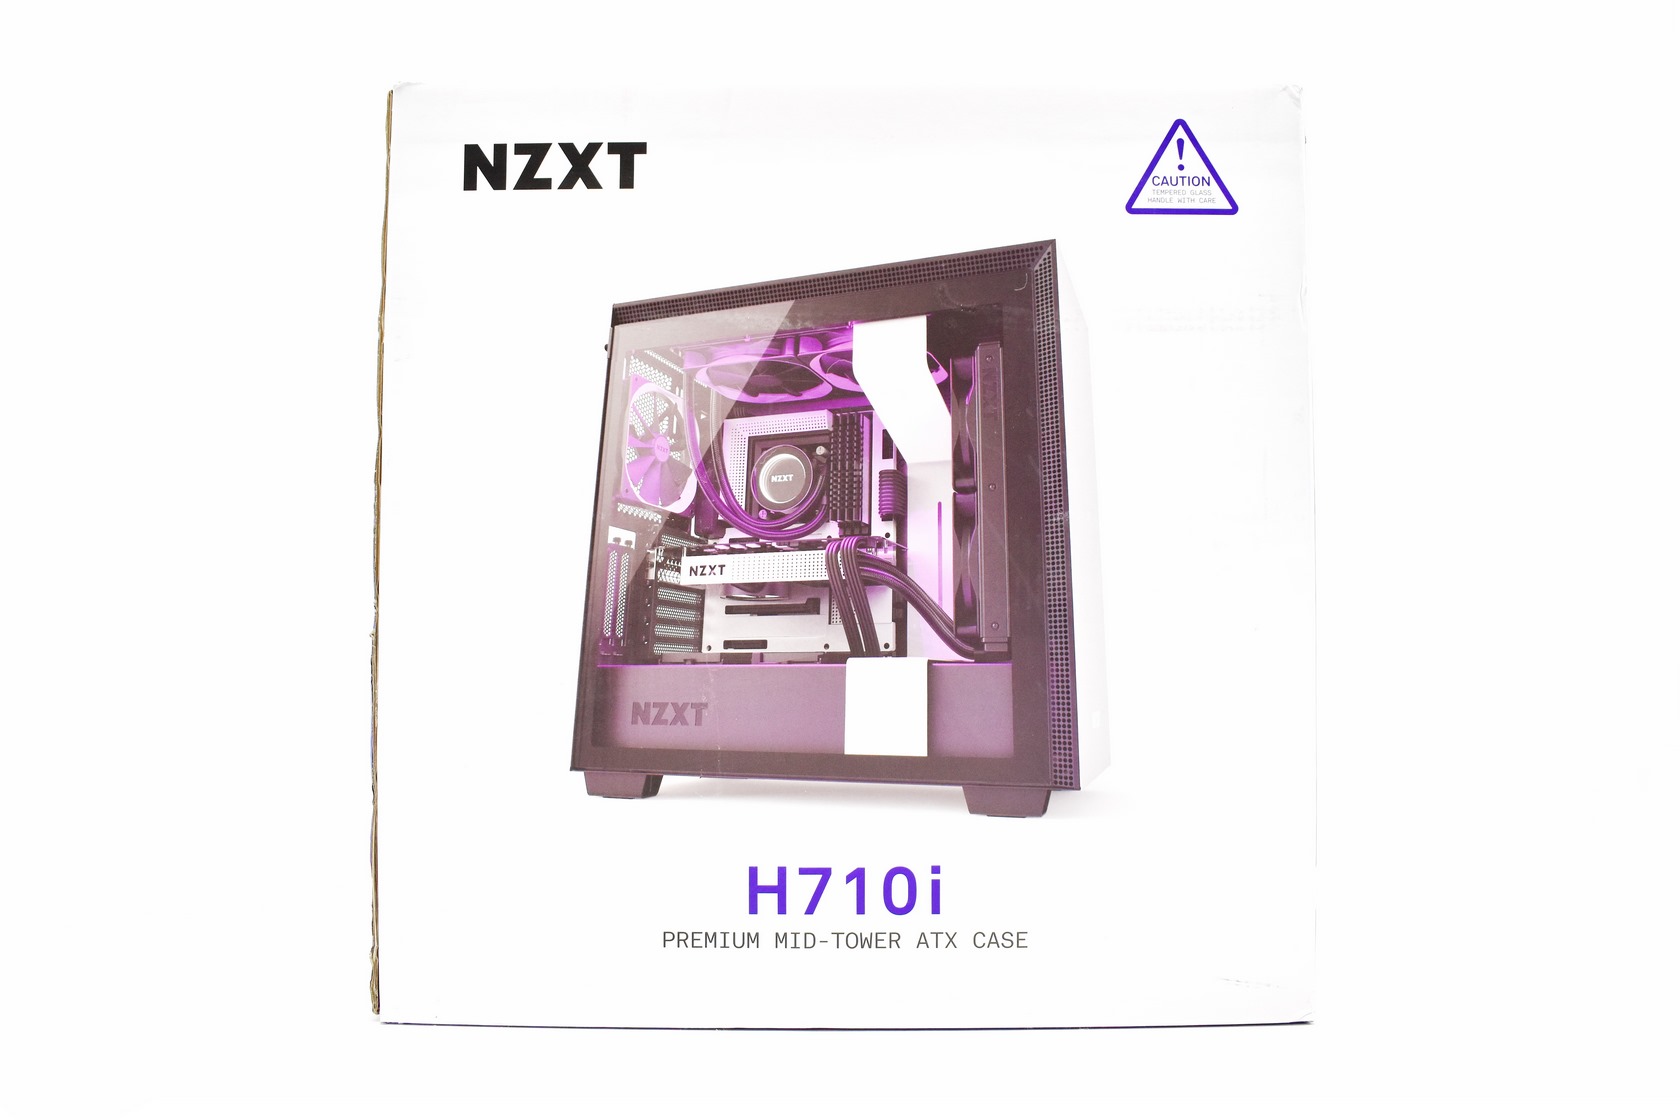
A large picture showcasing the interior of the H710i is placed at the front of the large white cardboard box.
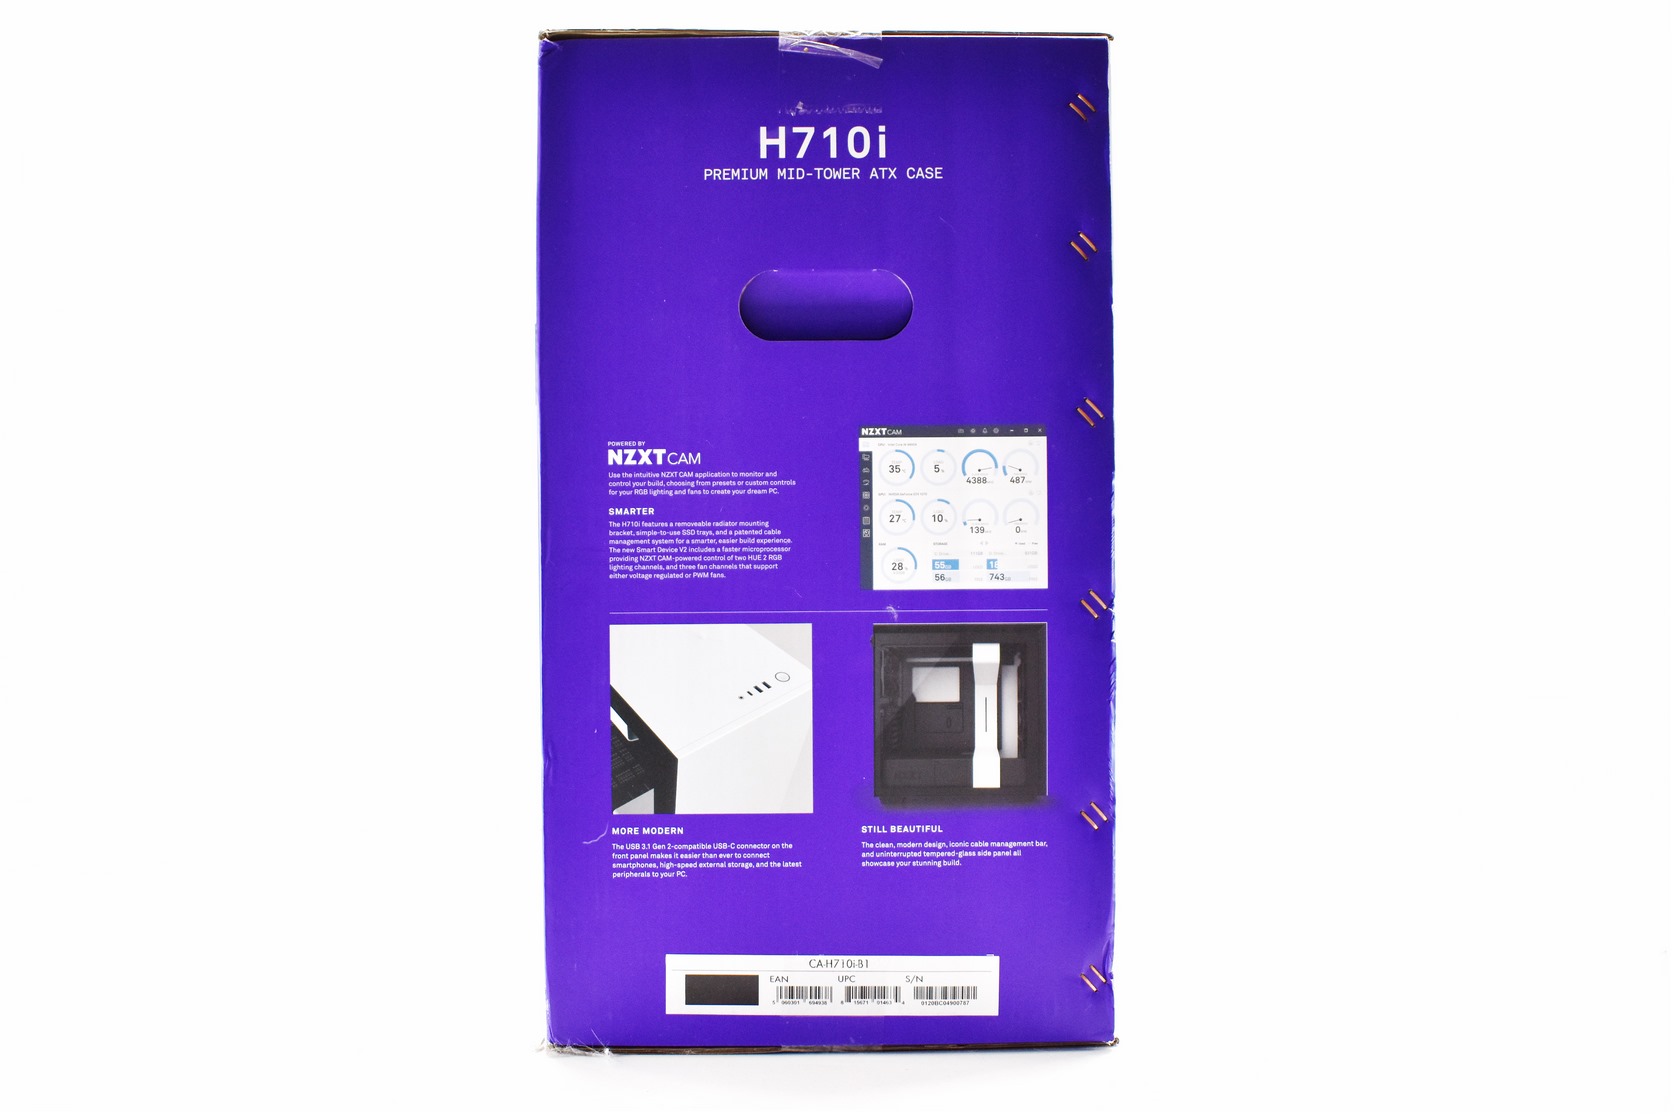
Some of the main product features are described on the left side of the box just over the color selection and barcode.
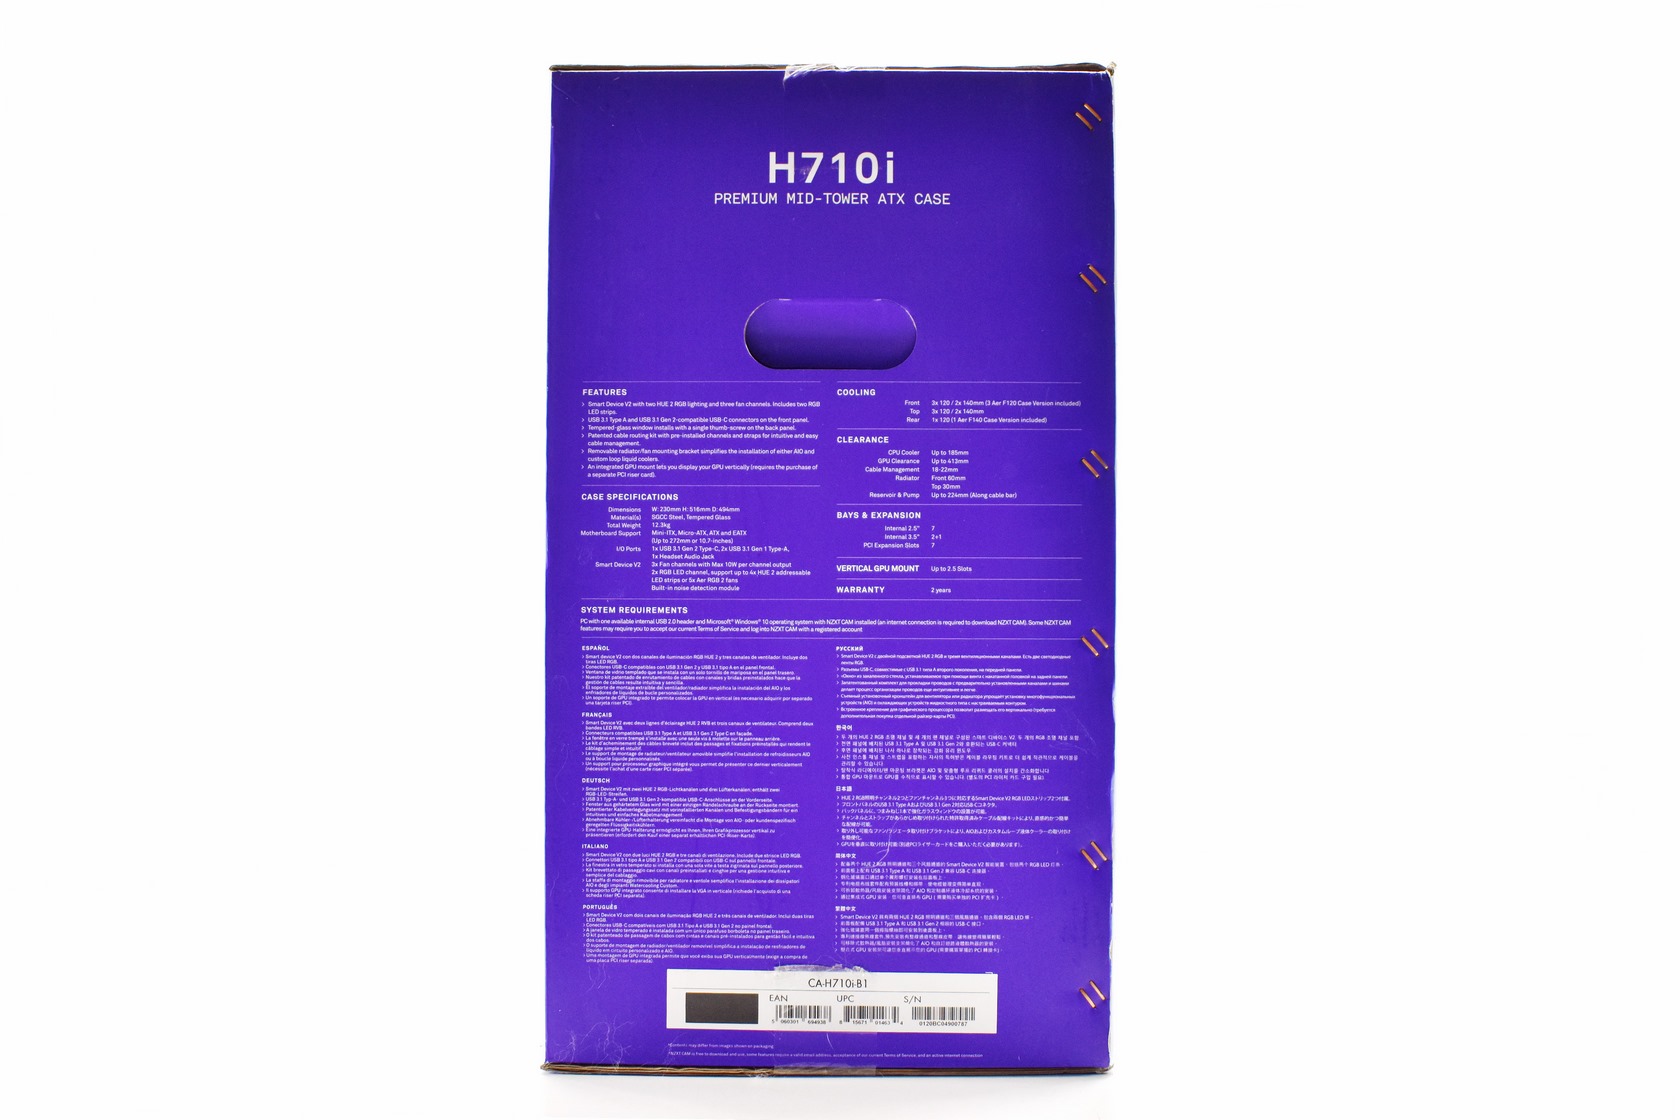
Both the features and specifications of the H710i are listed in the right side in 10 languages (color selection and barcode are also present here).
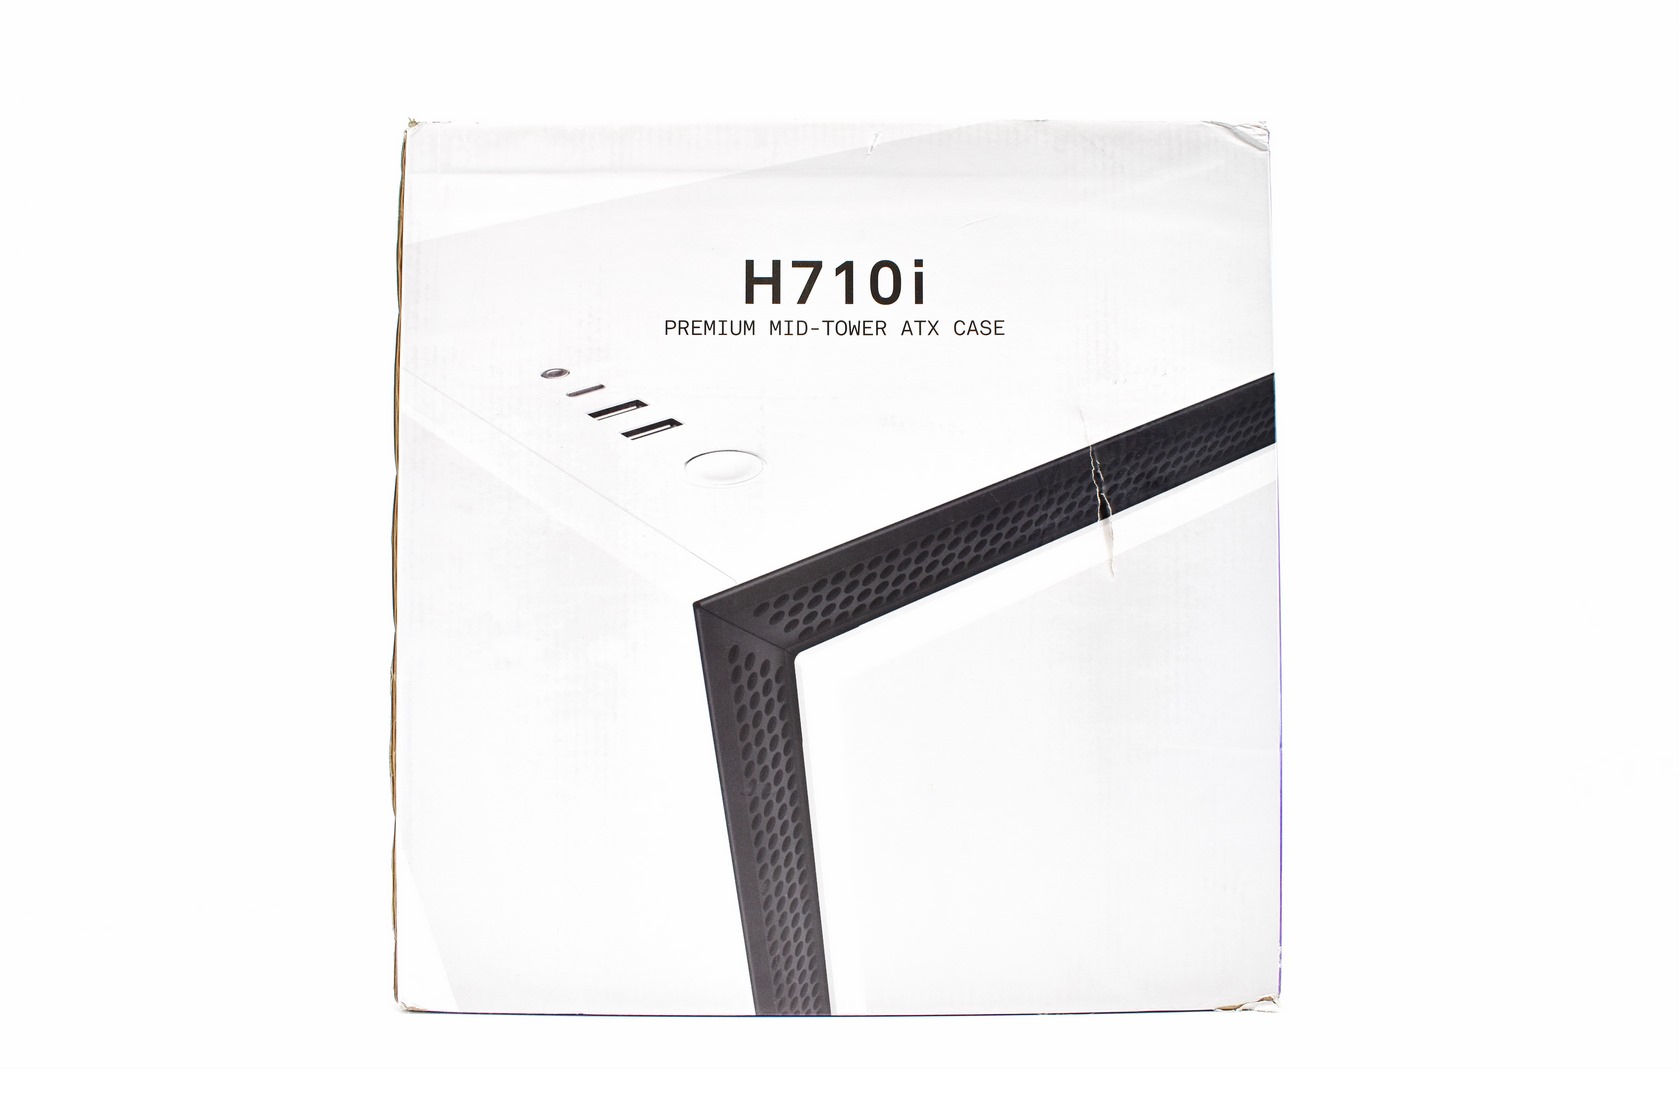
A partial product picture is located at the rear of the box (or could be the front).
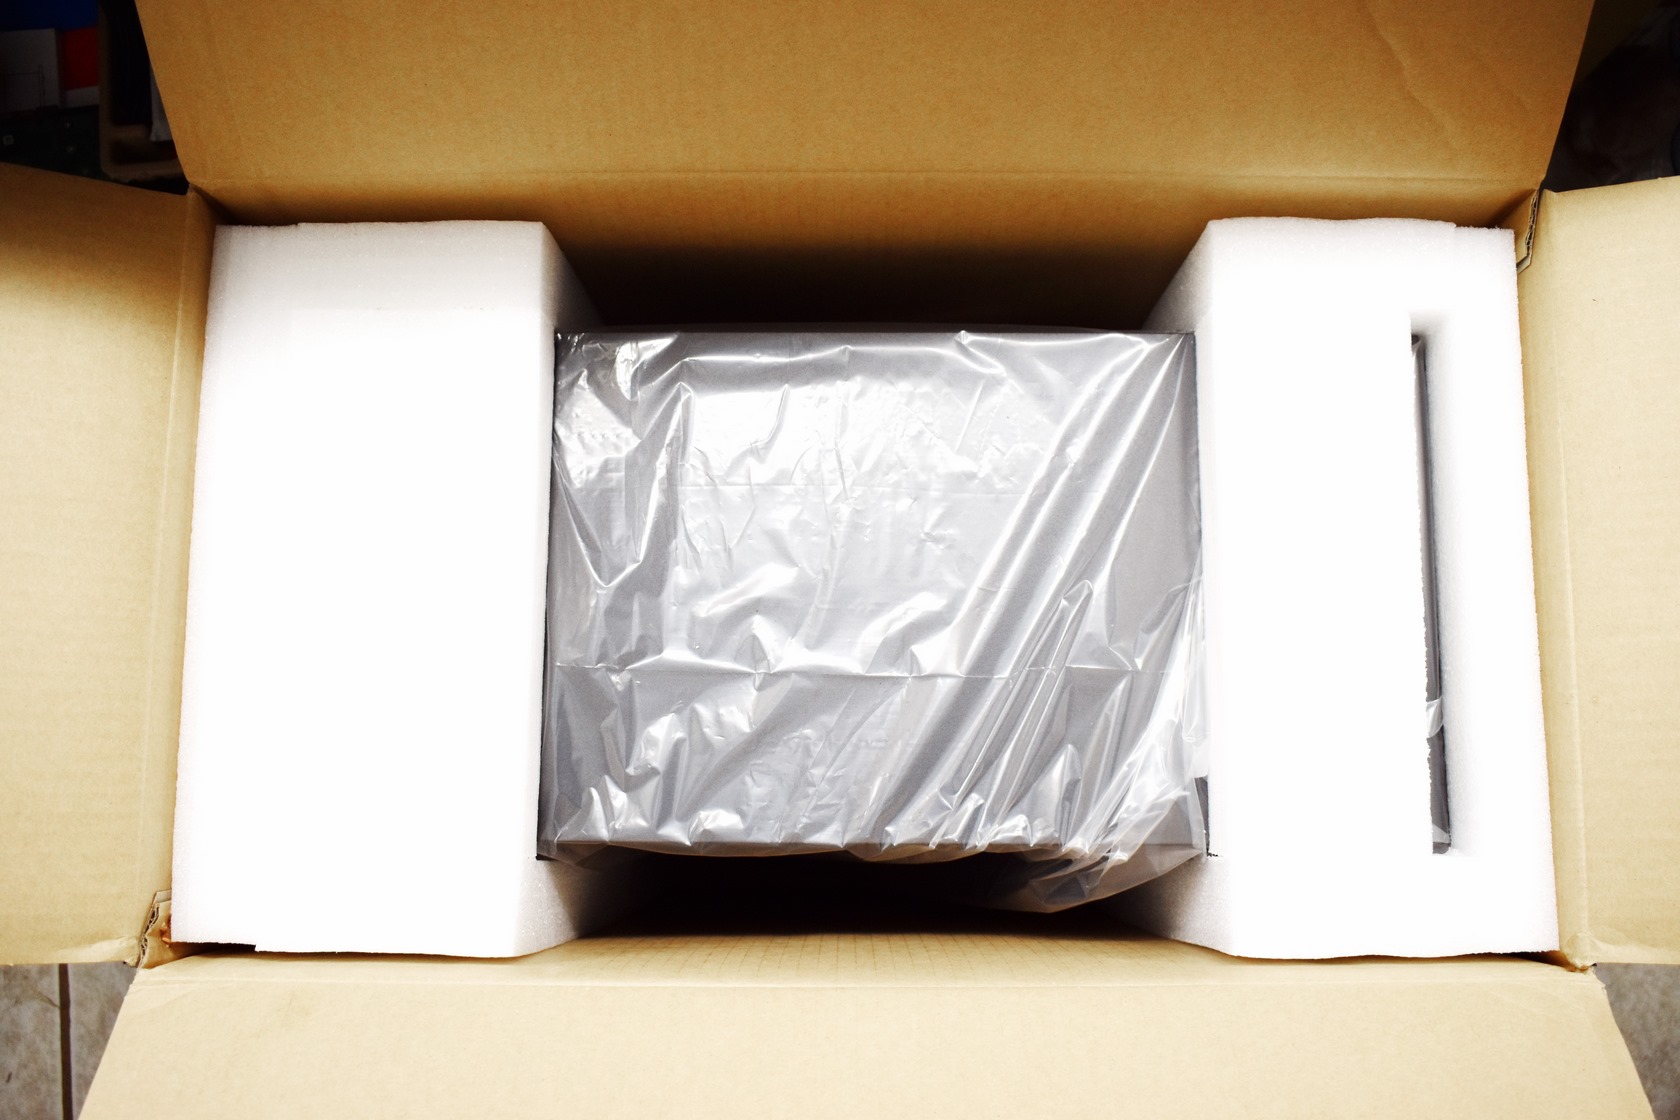
The H710i is wrapped inside a plastic bag and placed between two thick foam spacers.
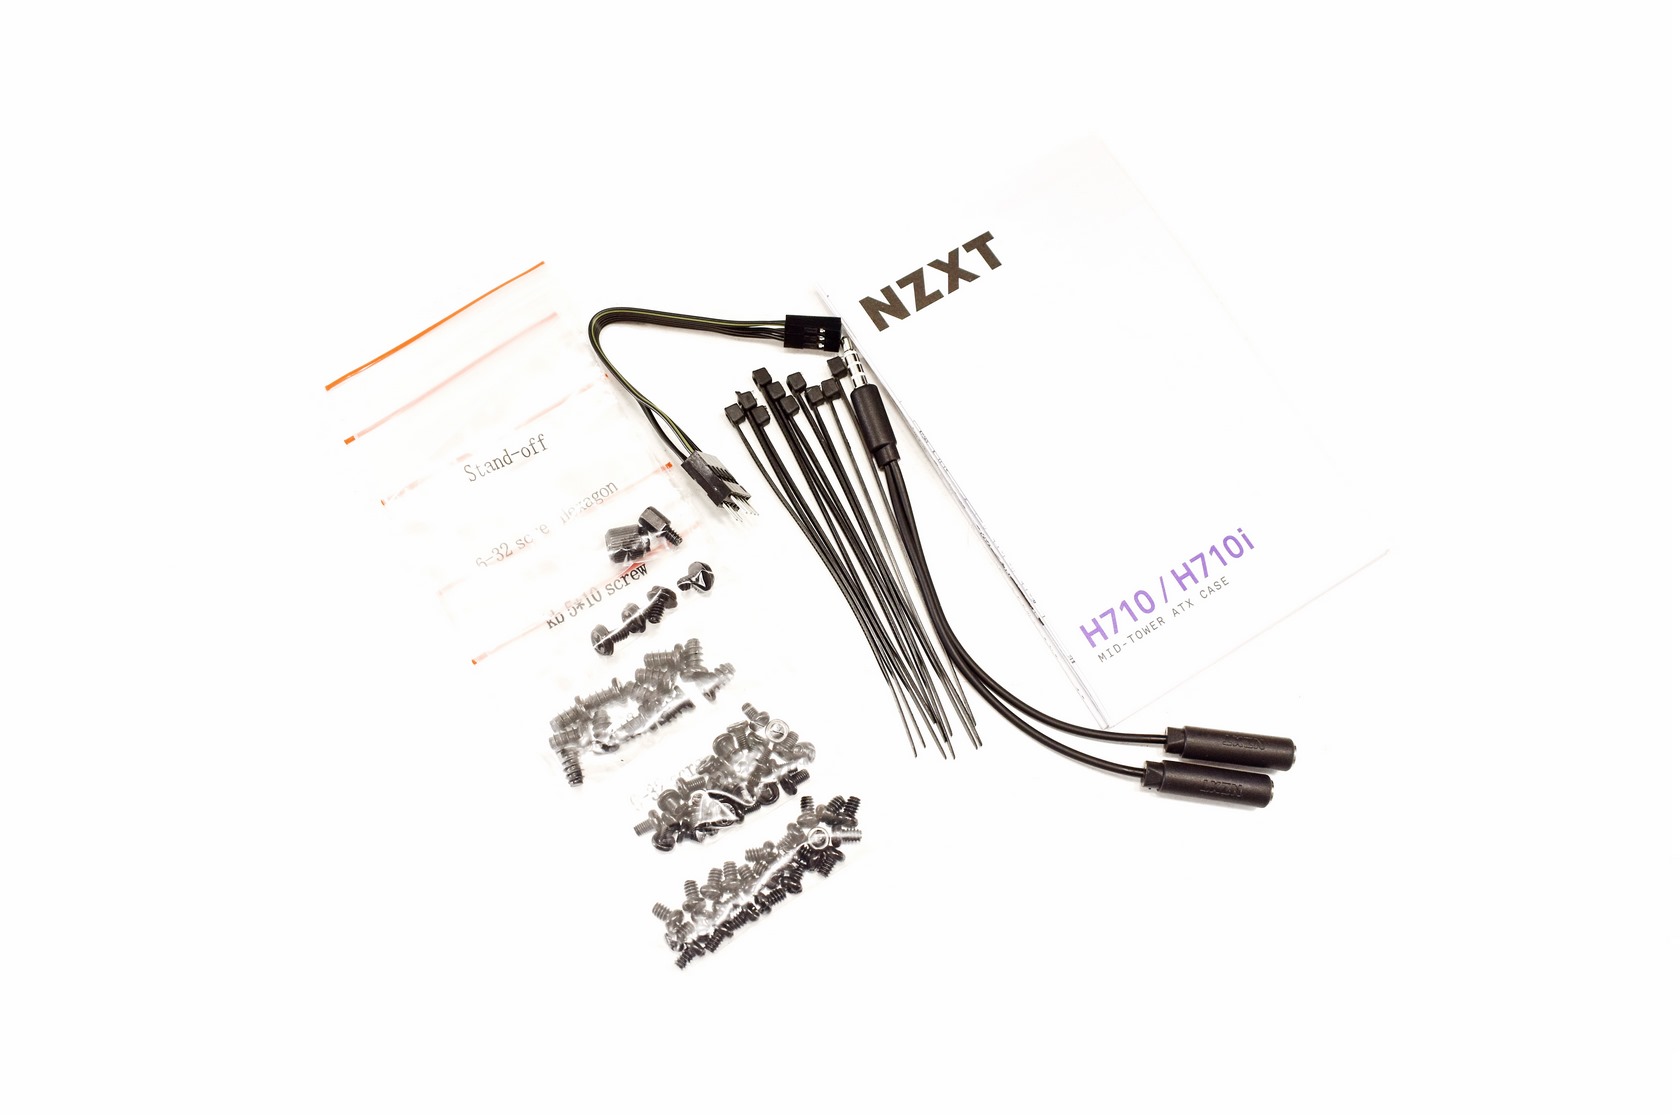
Along with the H710i NZXT also packs 10 cable ties, 3.5mm headset jack splitter, motherboard I/O adapter, 5 small plastic bags with screws and the user manual.
THE H710I EXTERIOR
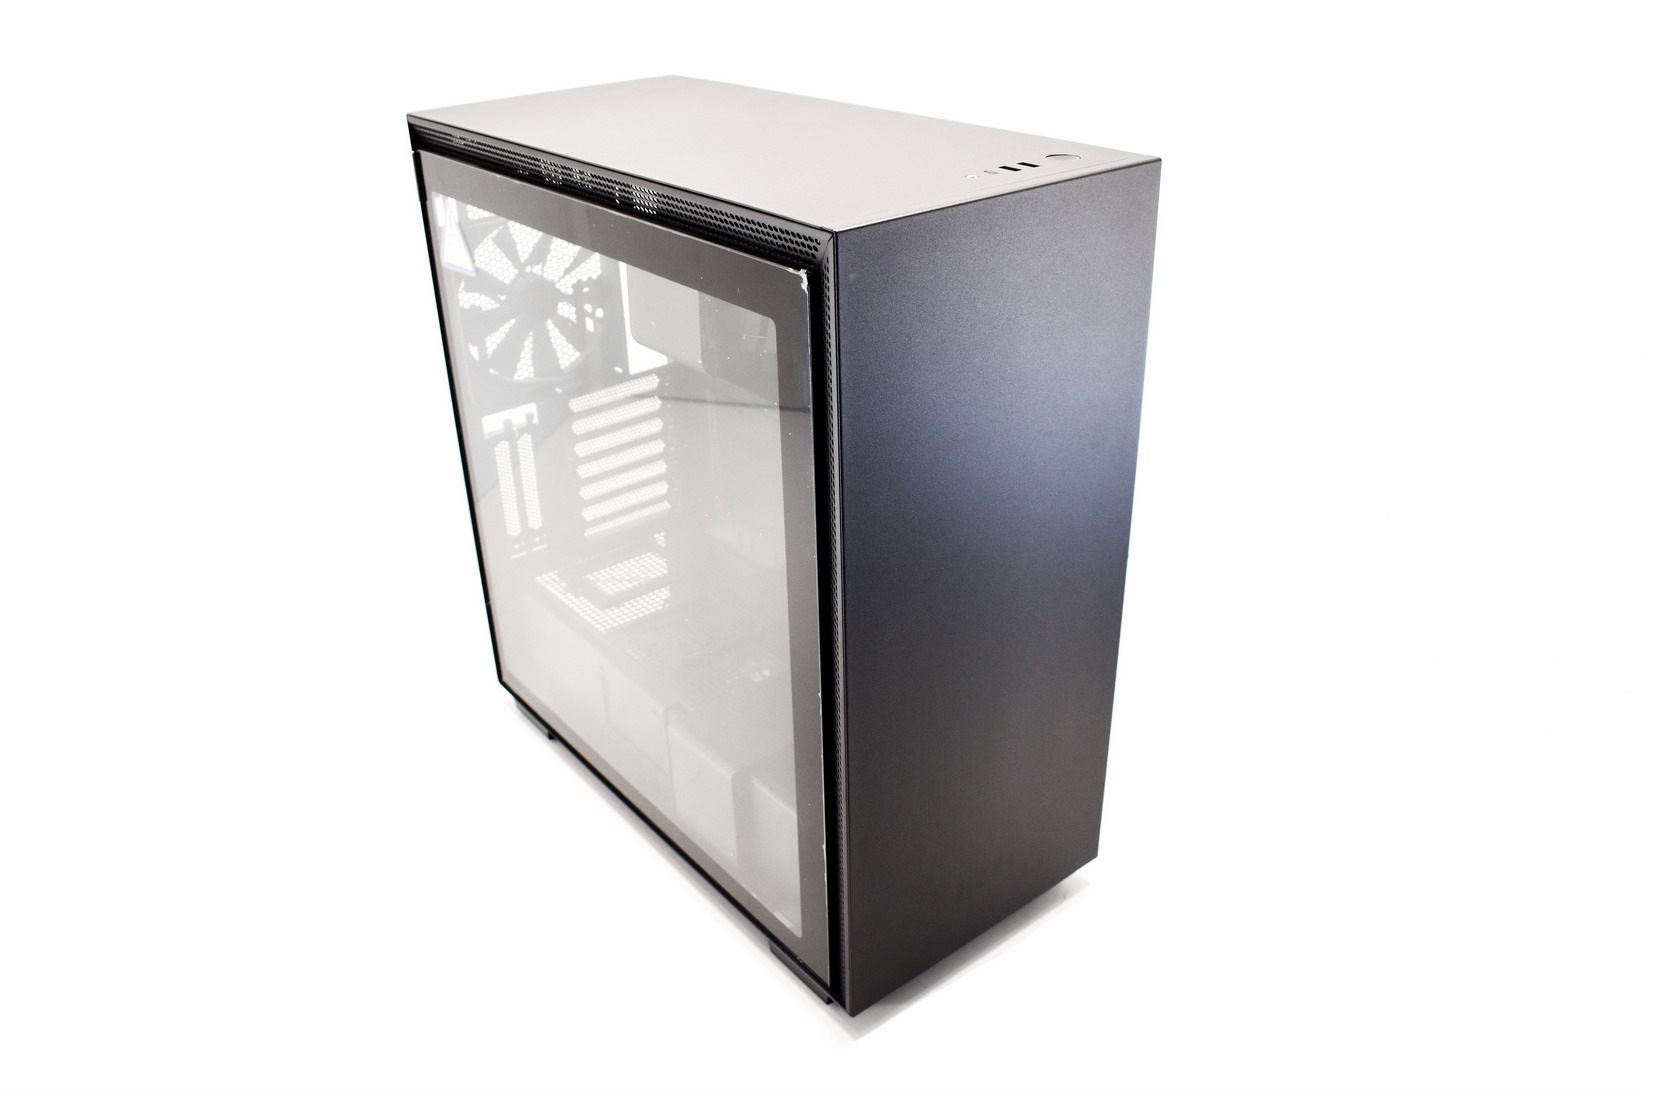
Measuring 516mm in height, 494mm in depth and 230mm in width the H710i is a rather large mid-tower PC case.
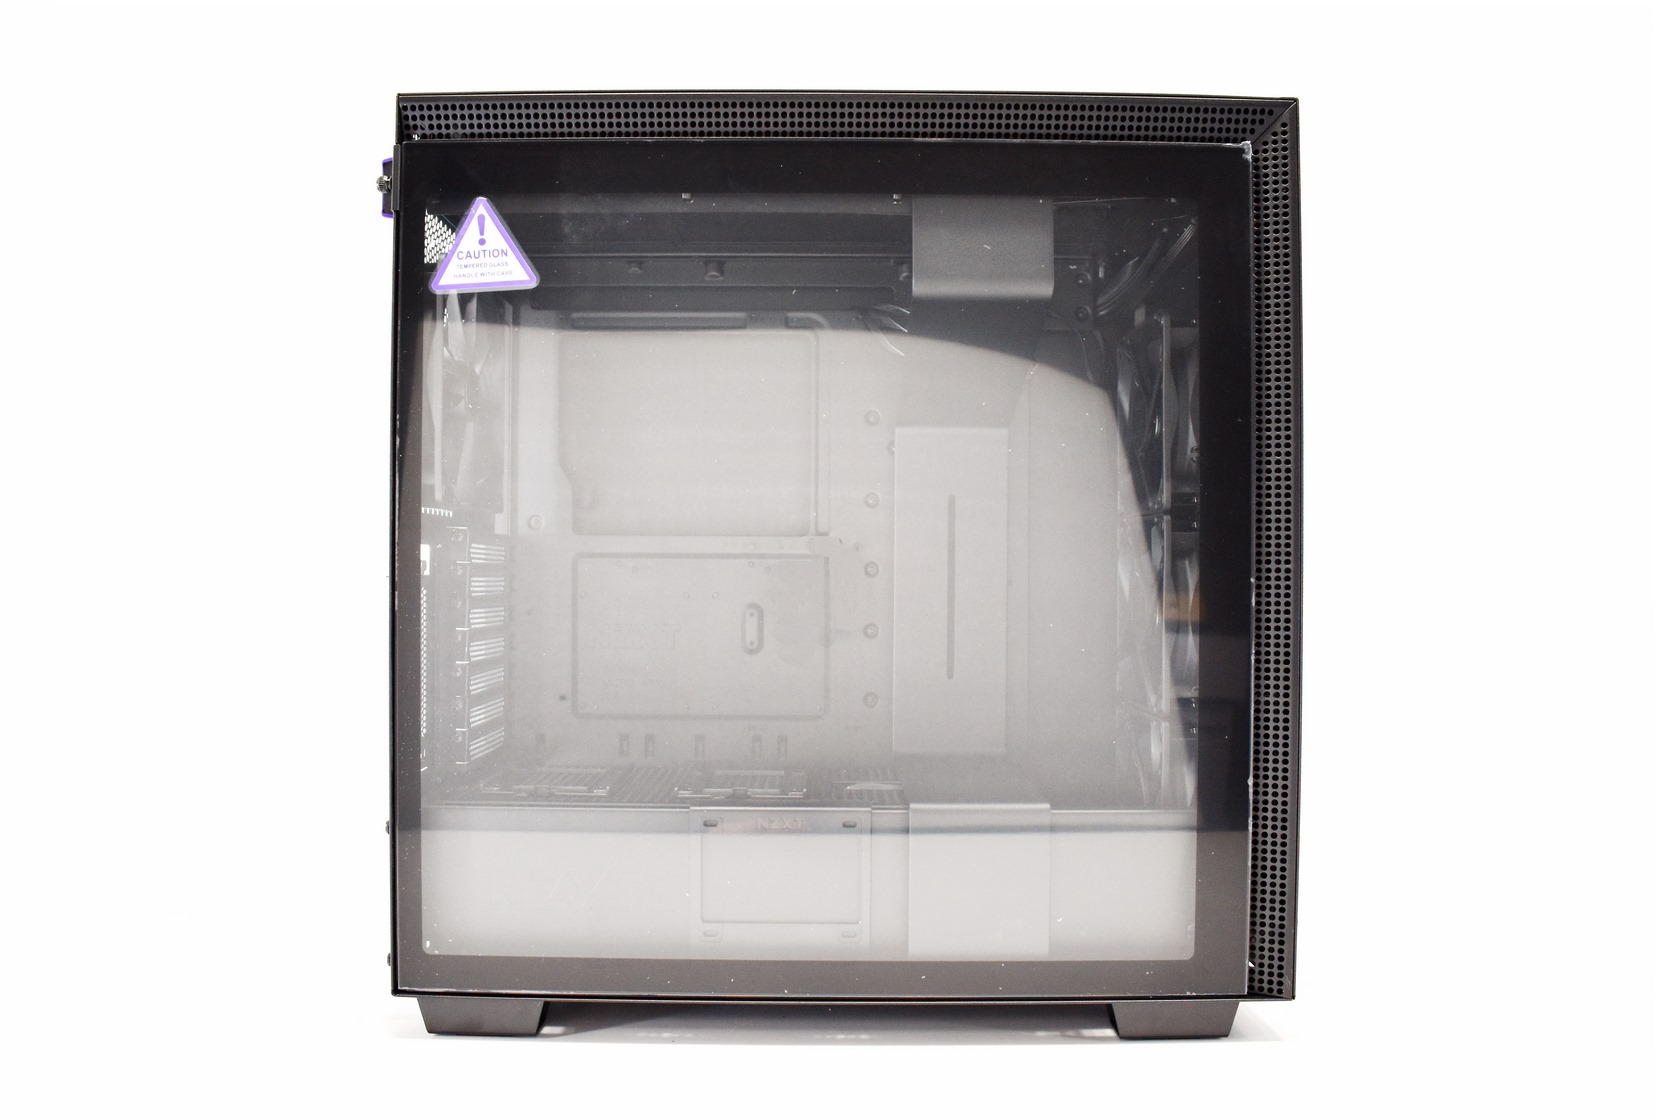
The entire left side panel is made out of tempered glass and is held in place with a single thumbscrew.
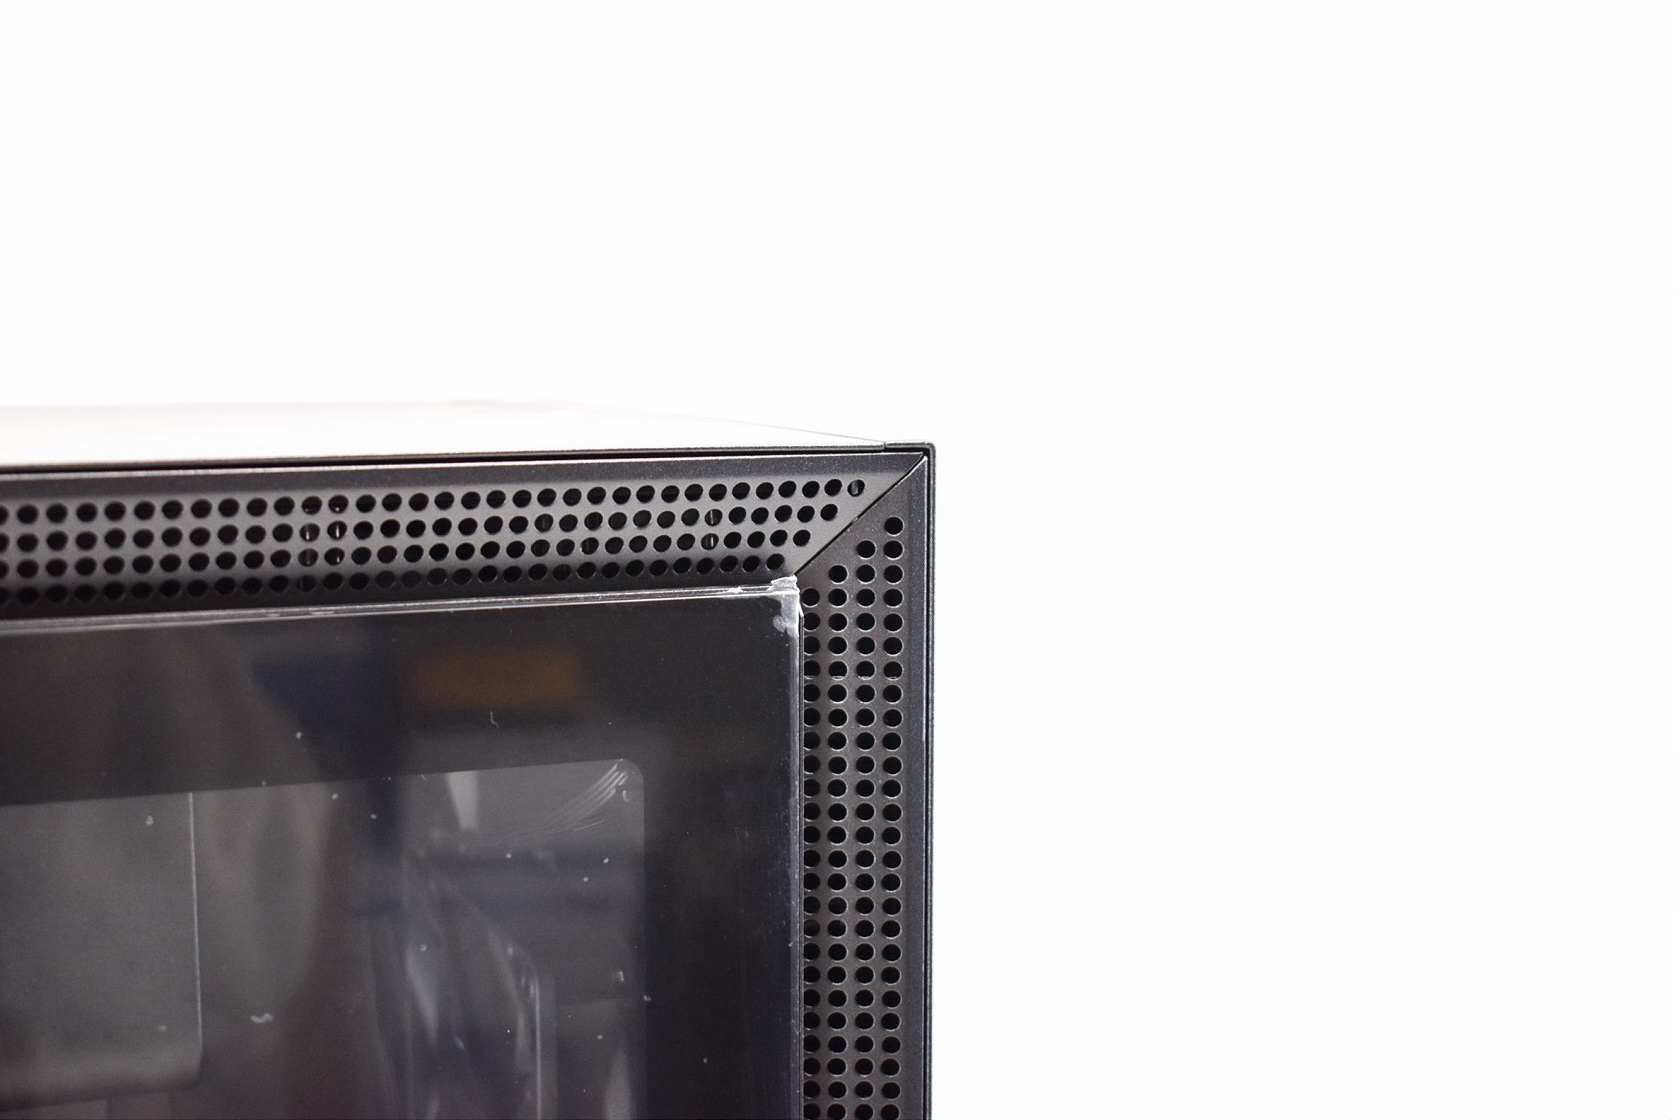
As you can all see the top and front area around the left side panel is perforated so air can reach the fans inside.
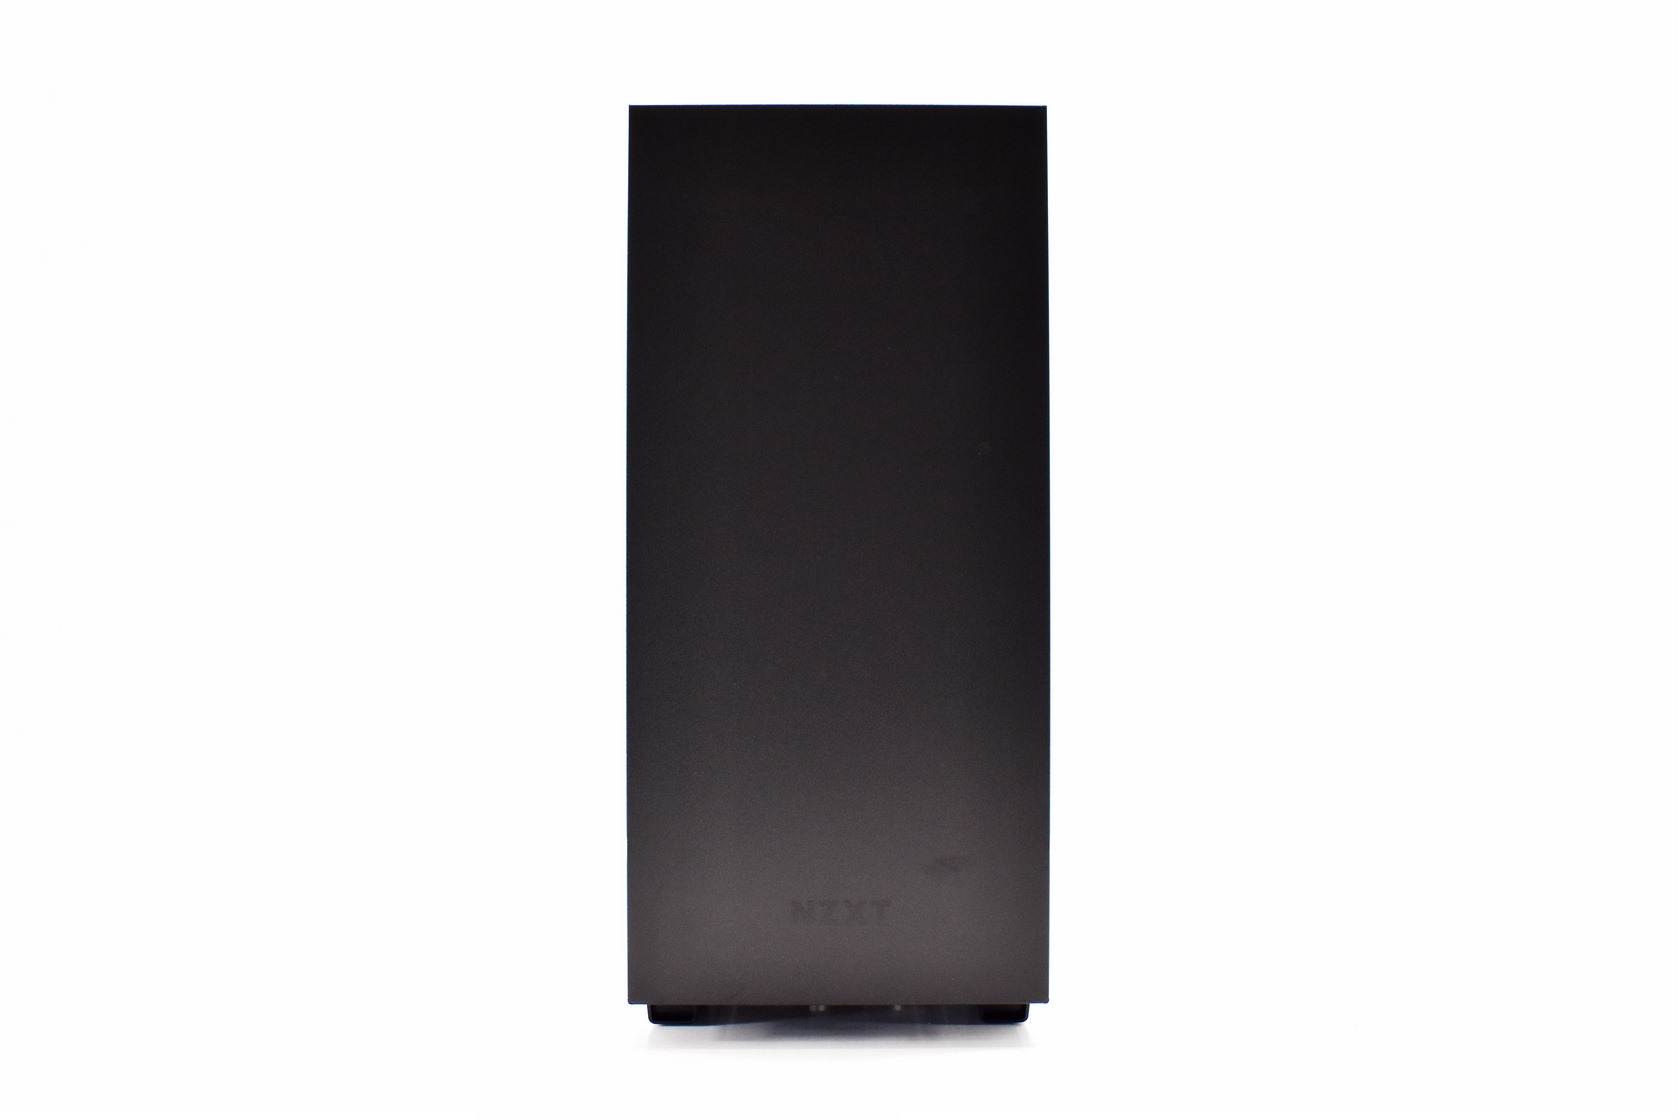
The fascia is made out of SGCC Steel and has the company logo at the base.
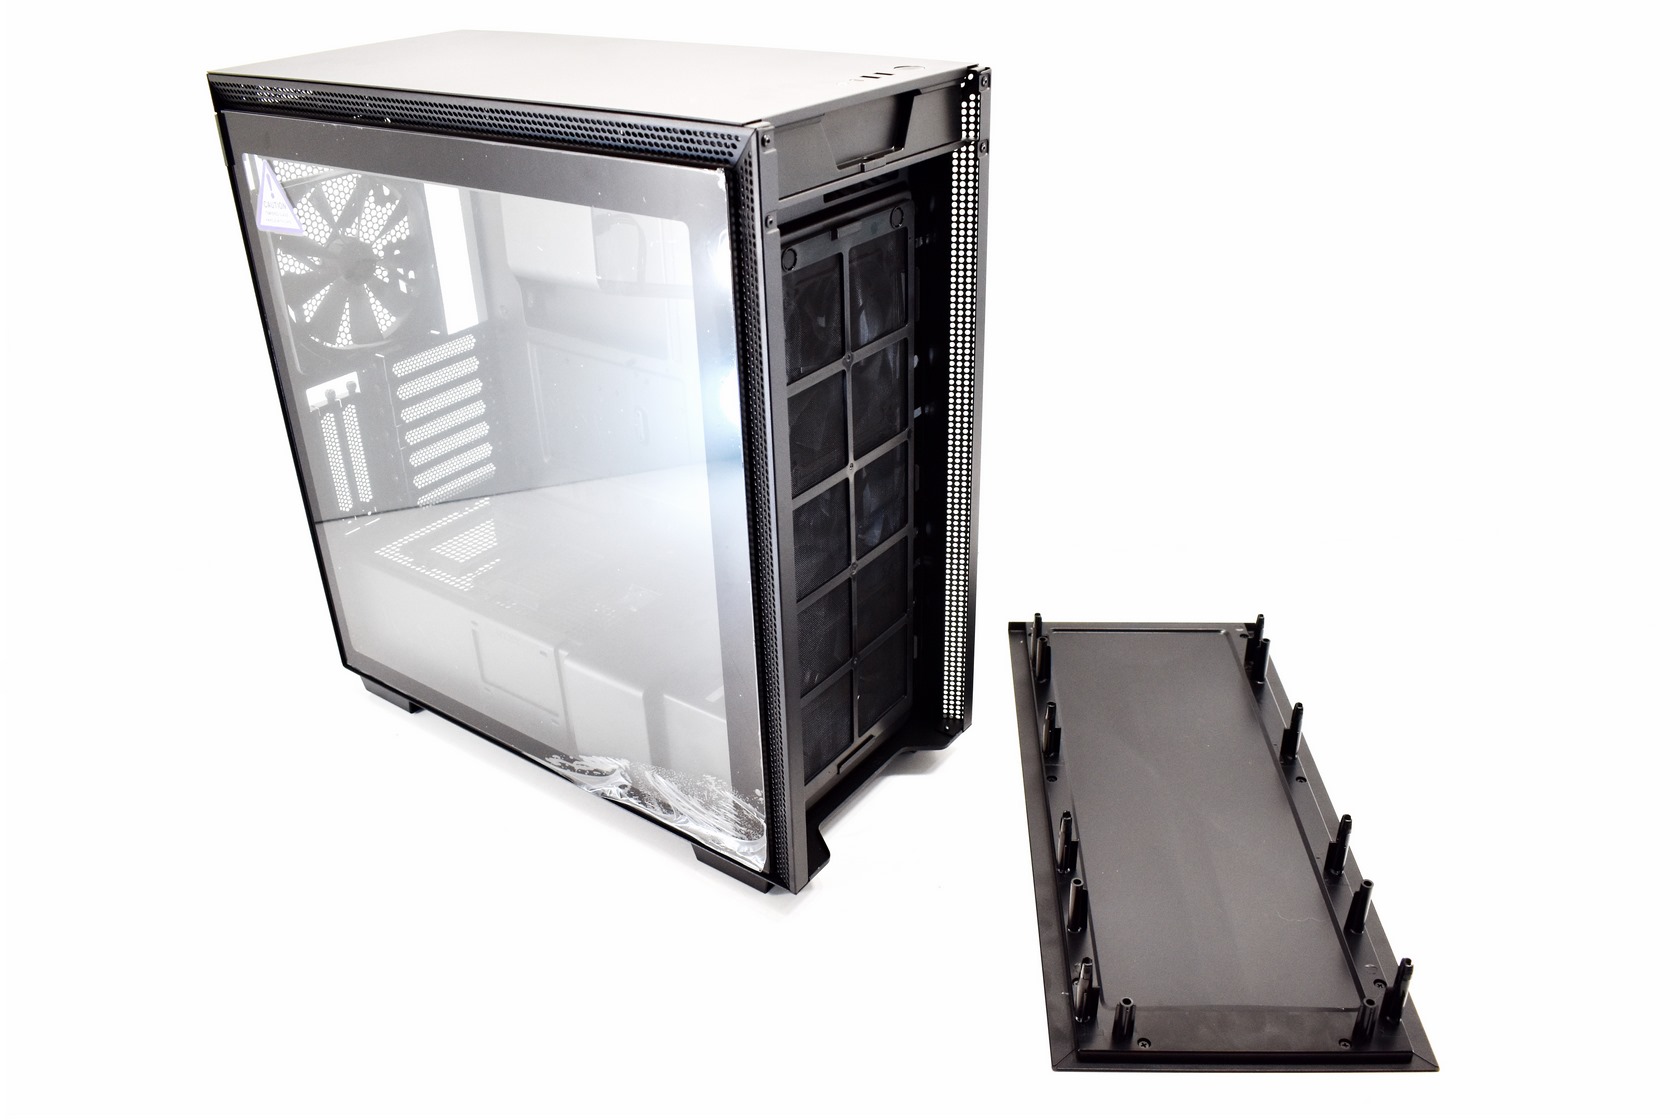
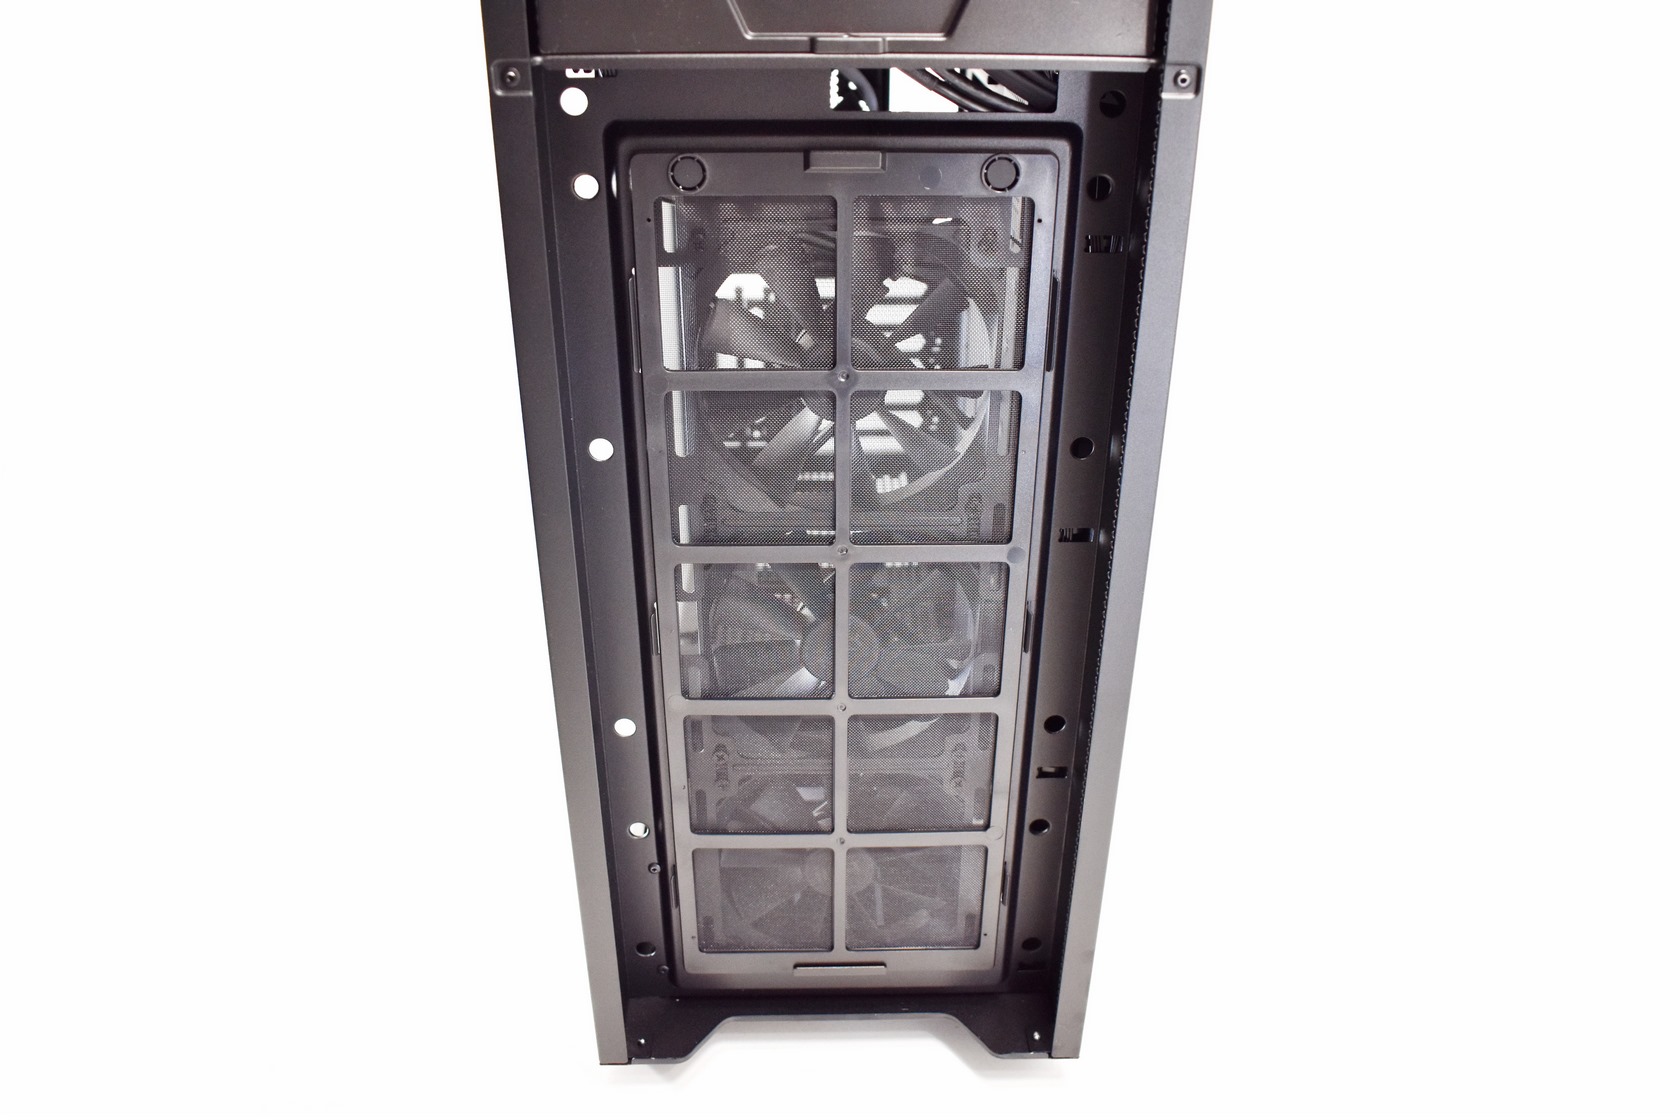
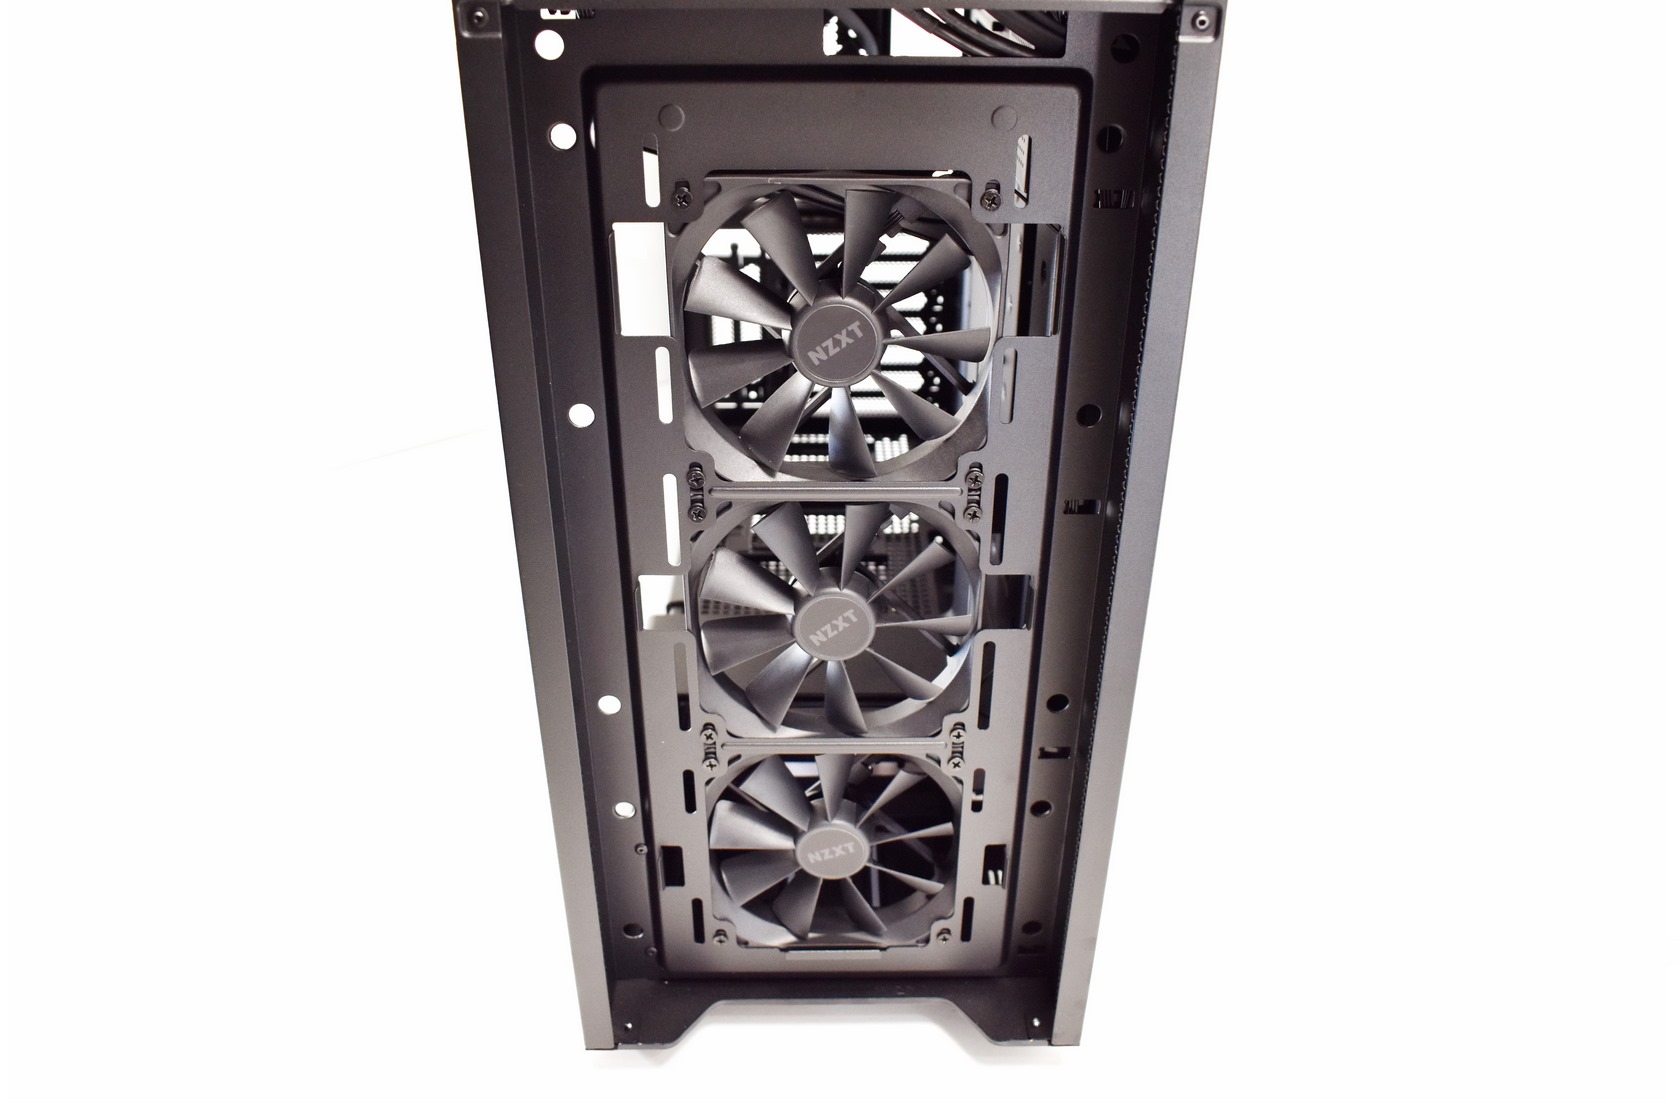
You can remove the fascia by pulling it to access the front air-filter and the 3 AER F120 fans (1200RPM/50.42CFM/28dBA).
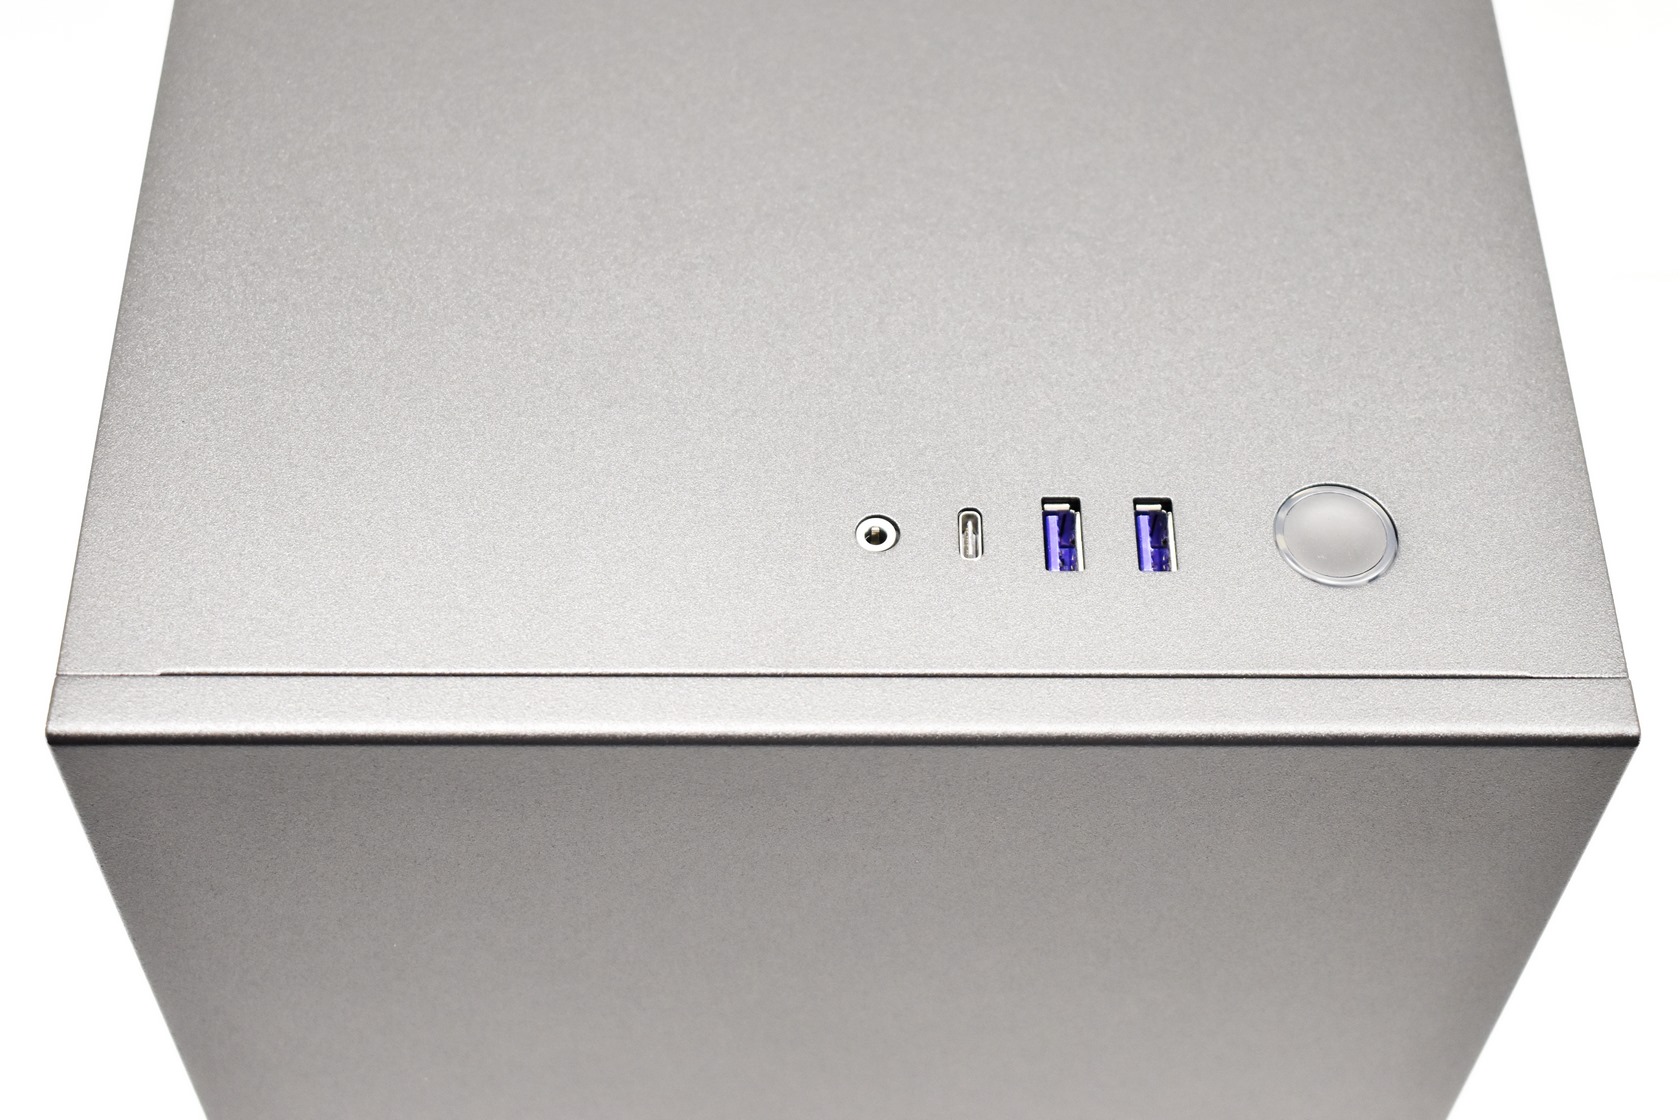
As expected, the I/O is located at the top and includes two USB 3.2 ports, USB-C 3.2 Gen 2 port, 3.5mm port and the on/off power button (ring LED).
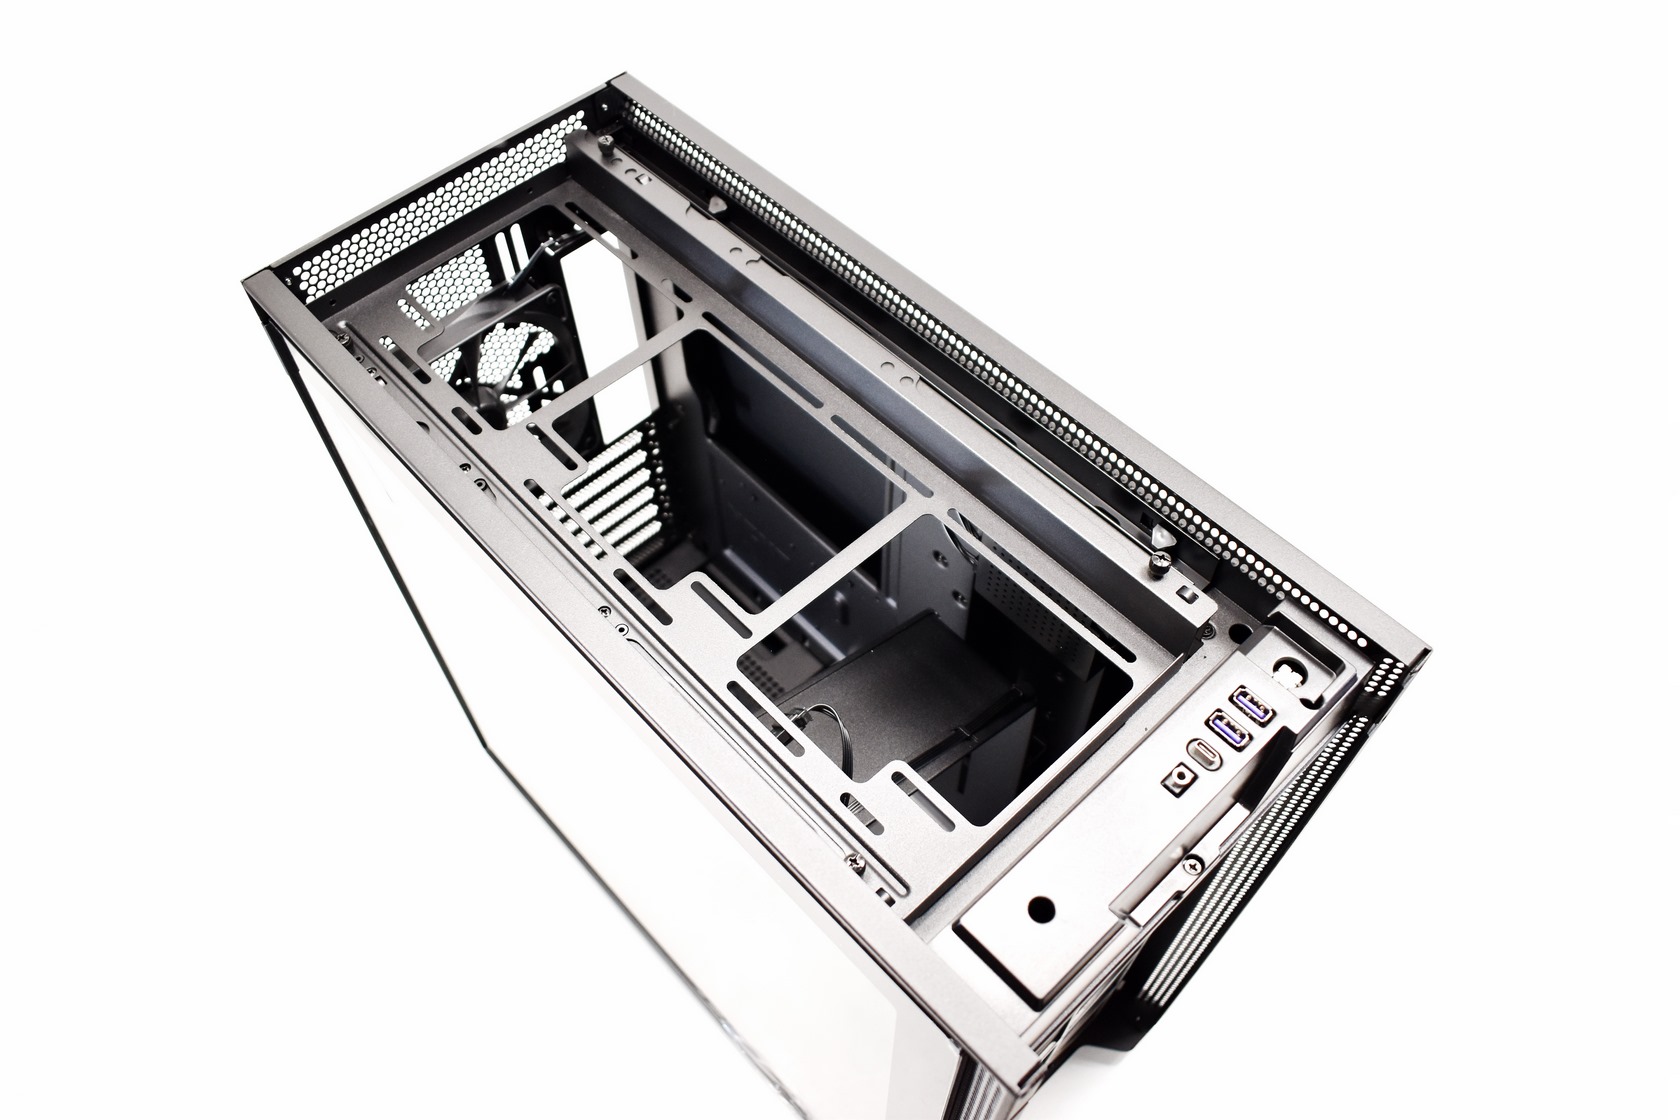
Just like the front you can also remove the top to access the removable fan/radiator bracket (here you can install either 3x120mm (360mm radiator) or 2x140mm fans (280mm radiator).
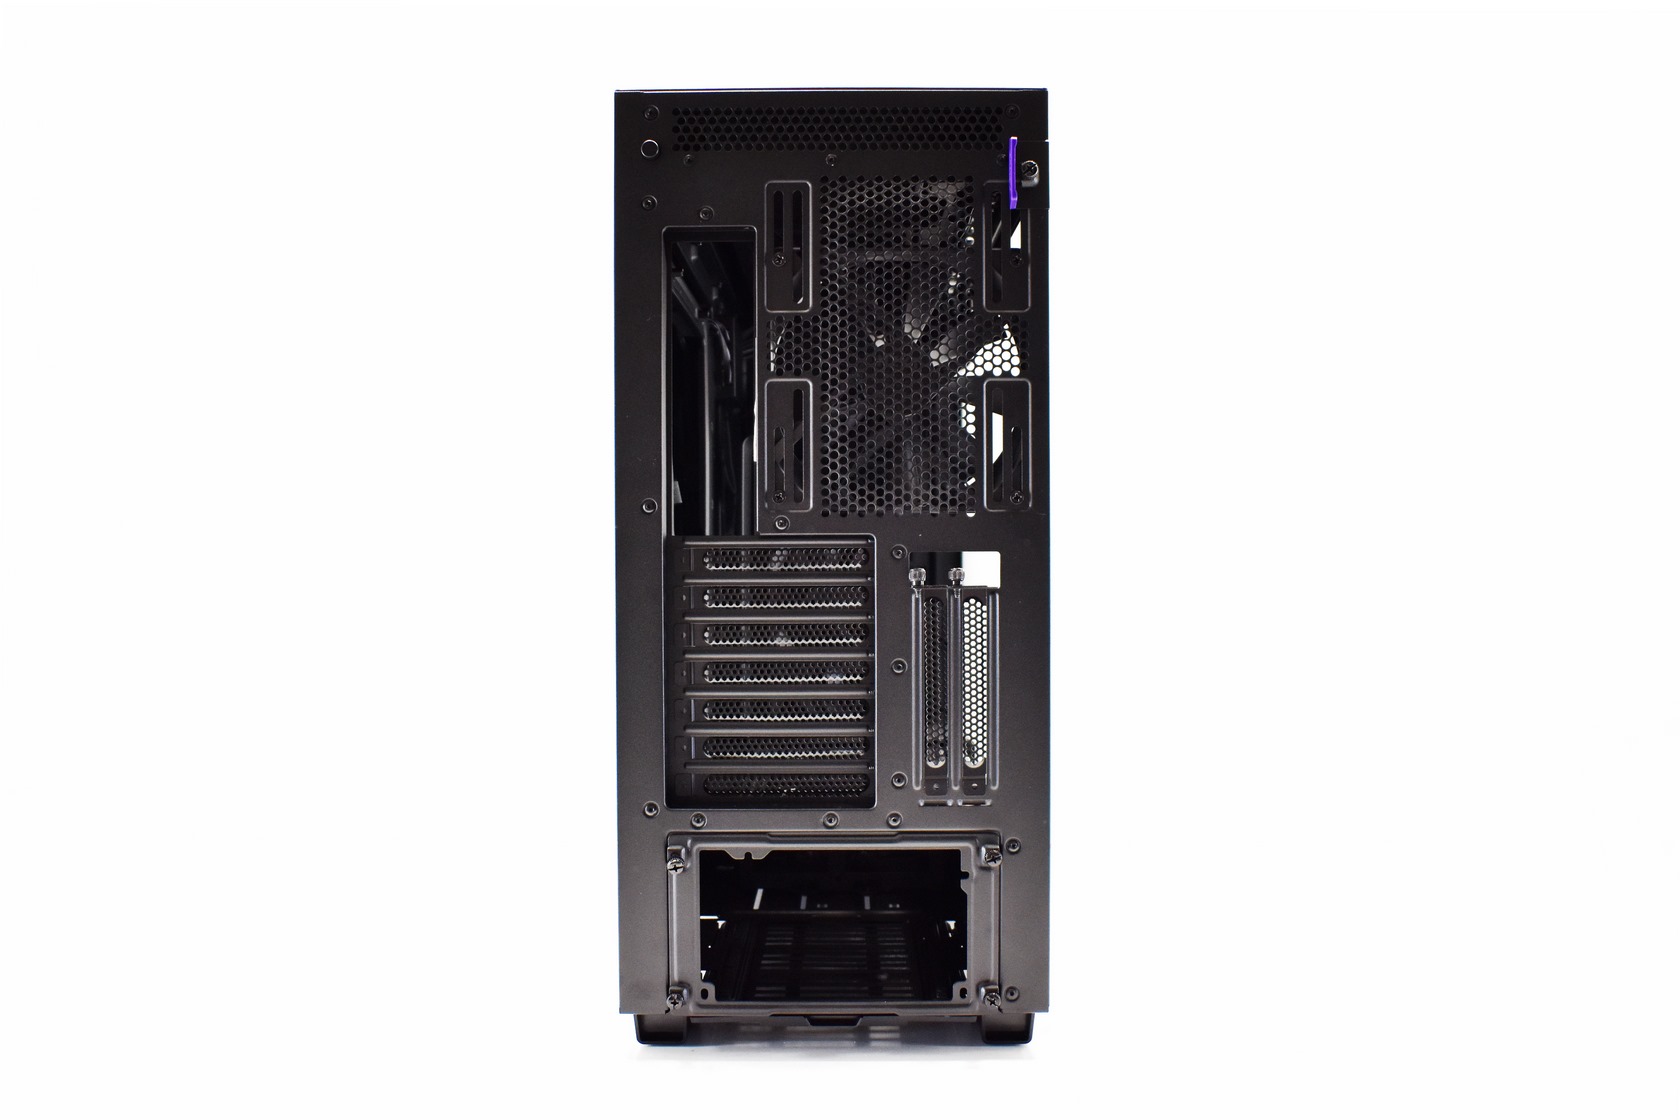
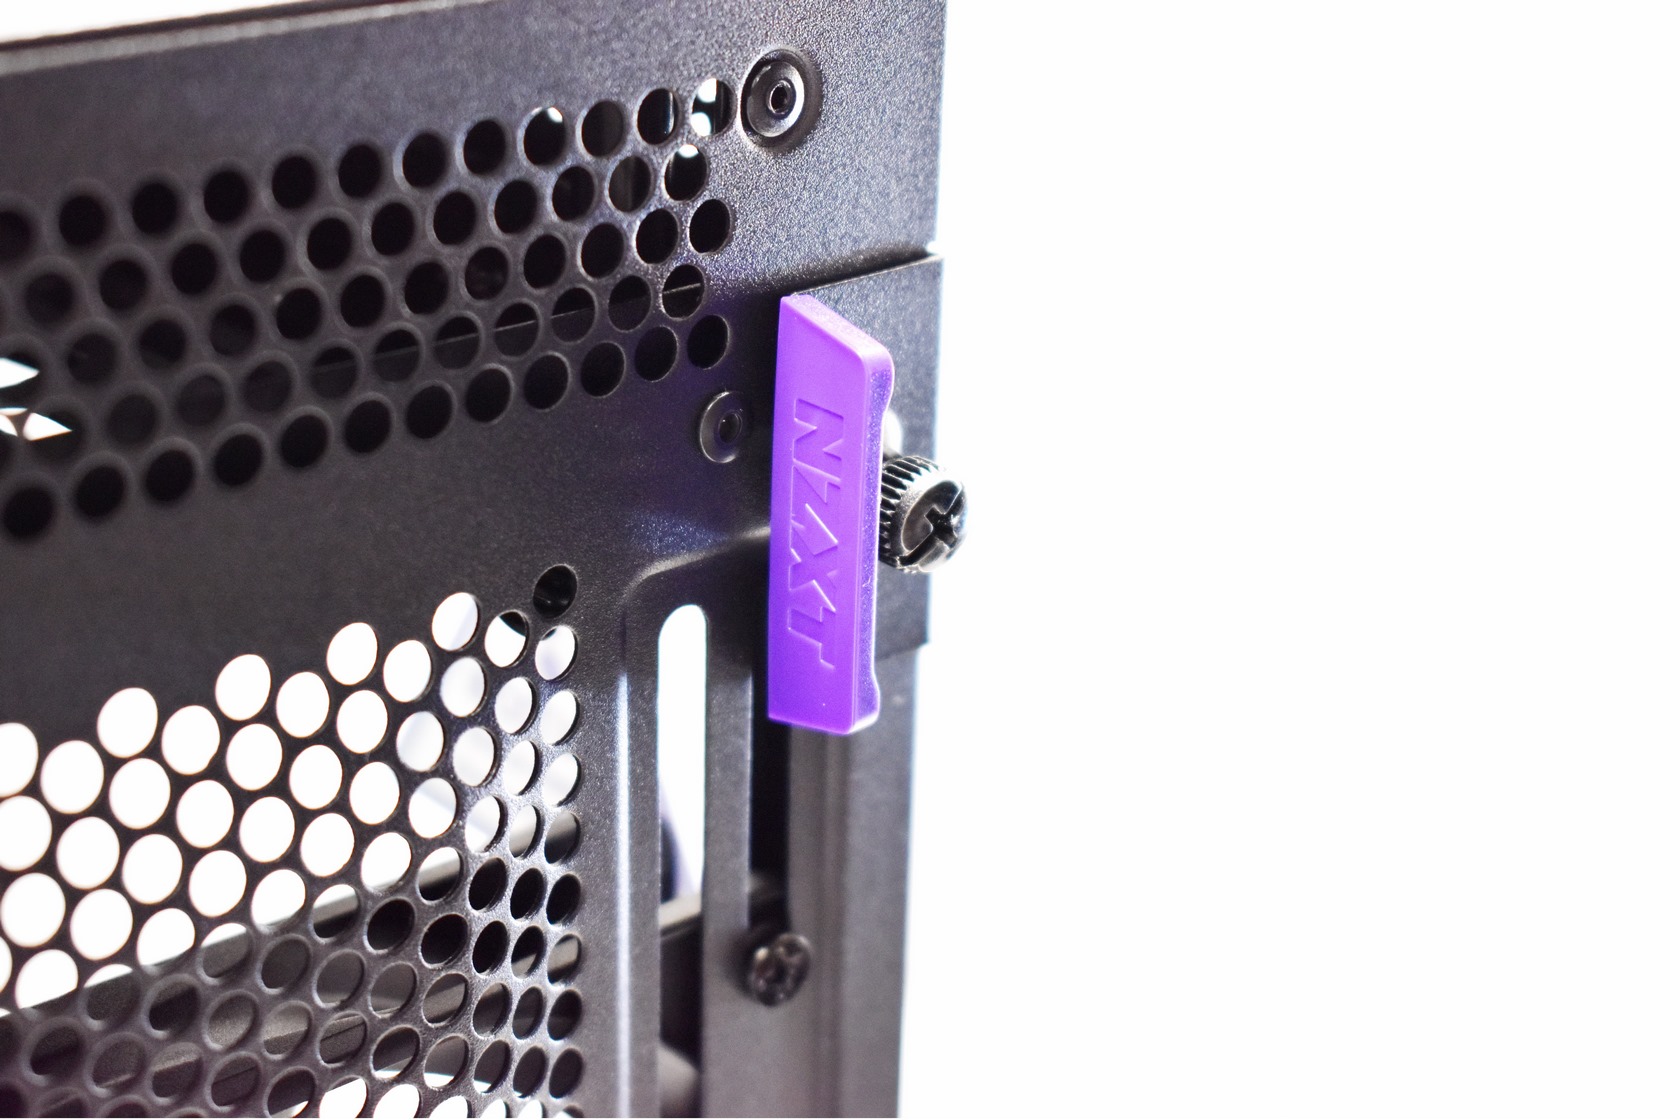
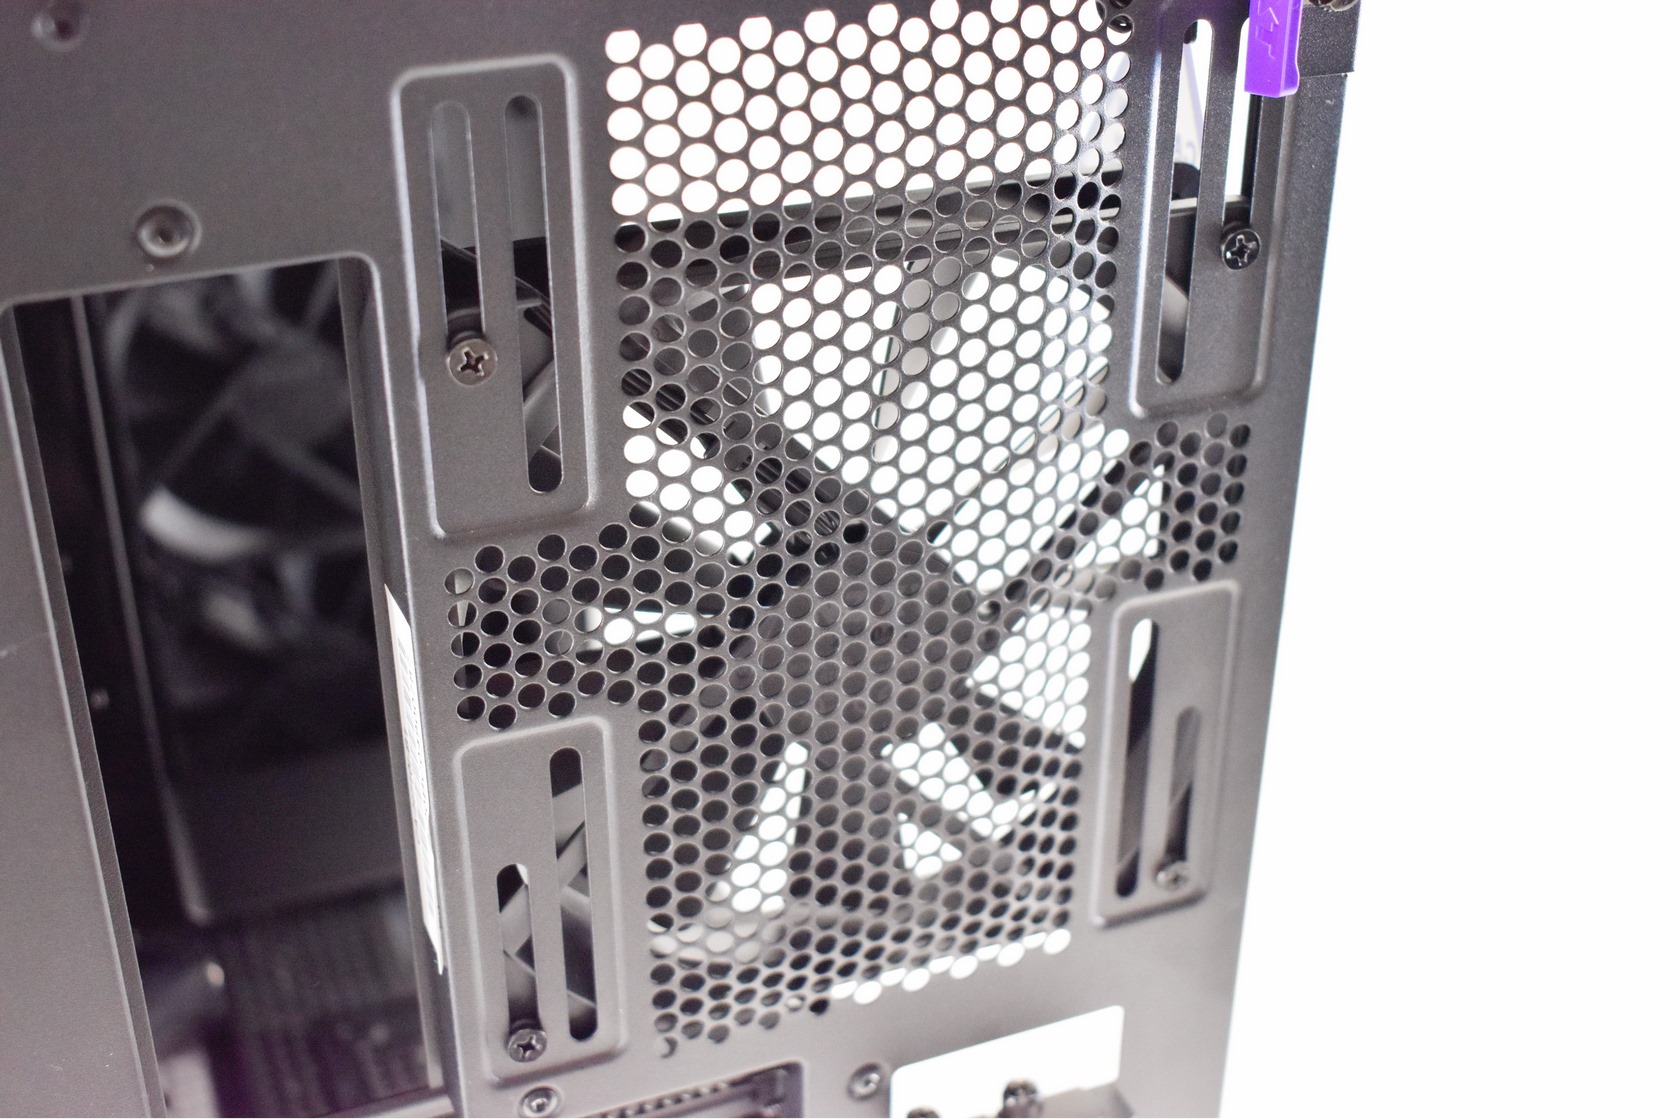
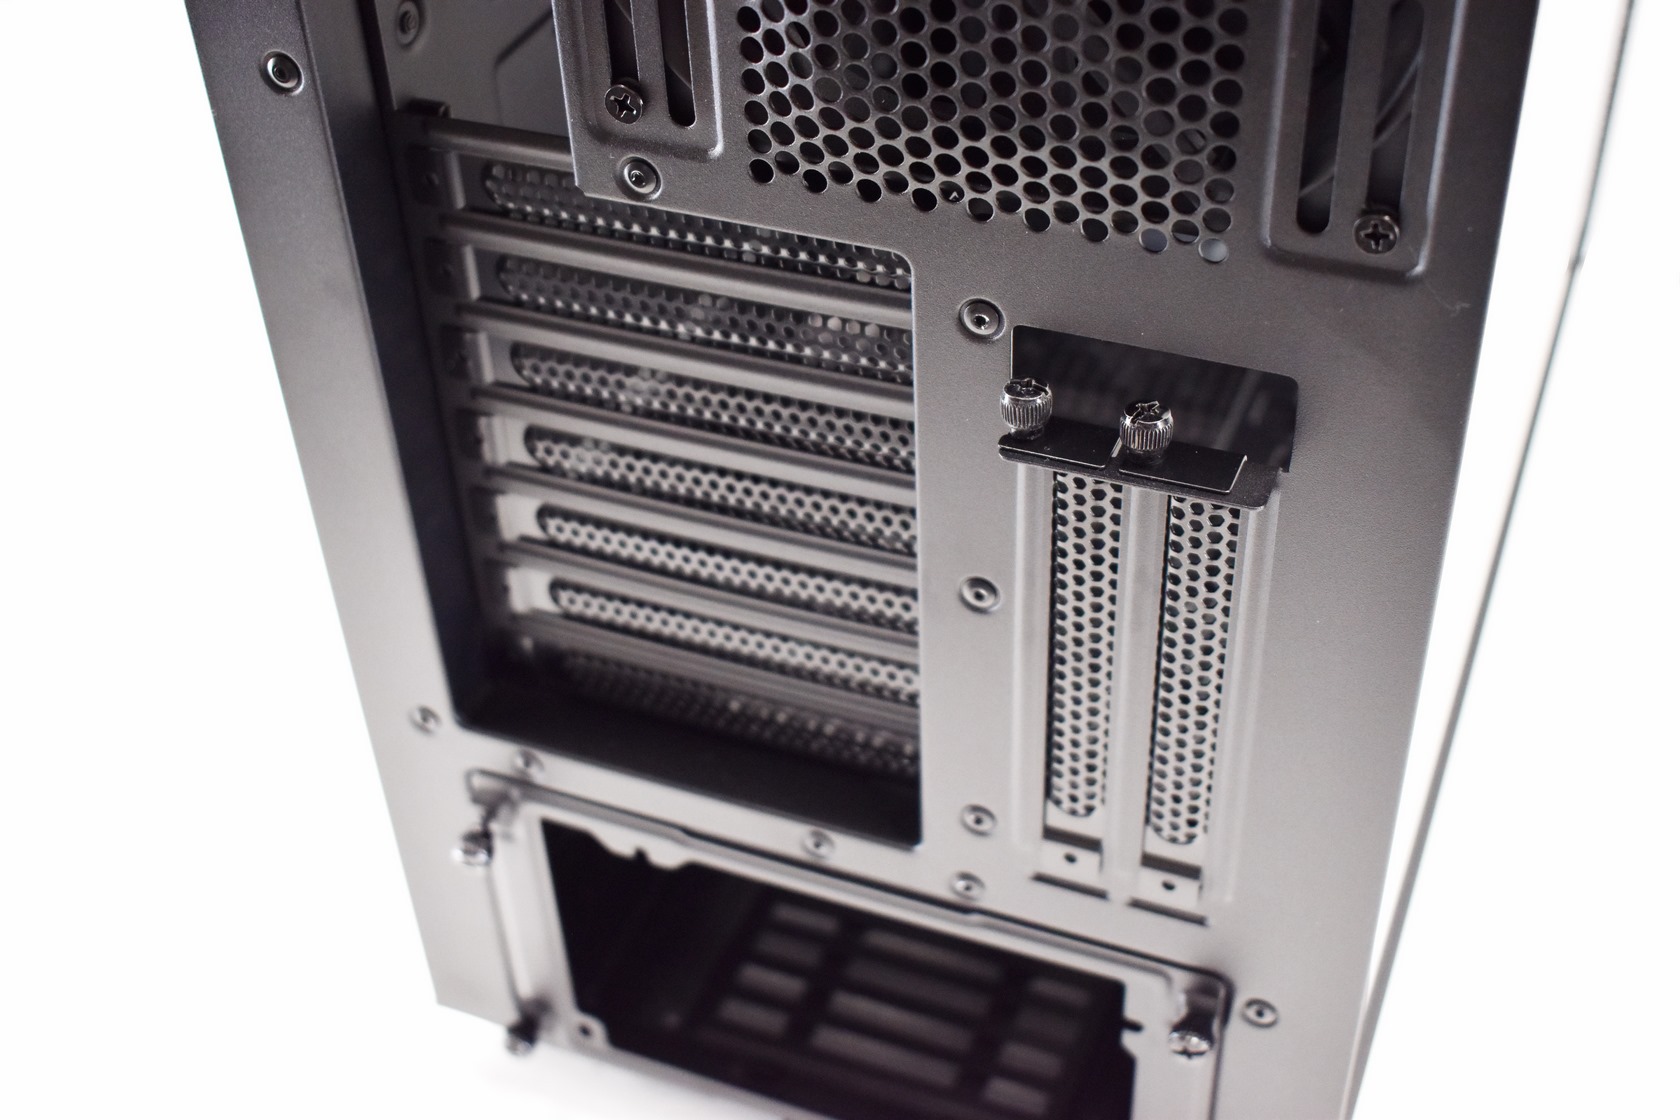
Turning the H710i around we see a small piece of plastic with the company name (attached onto the thumbscrew area of the left side panel), an AER F140 fan (1000RPM/68.95CFM/29dBA), 9 PCI expansion slots (7 horizontal + 2 vertical) and the PSU area.
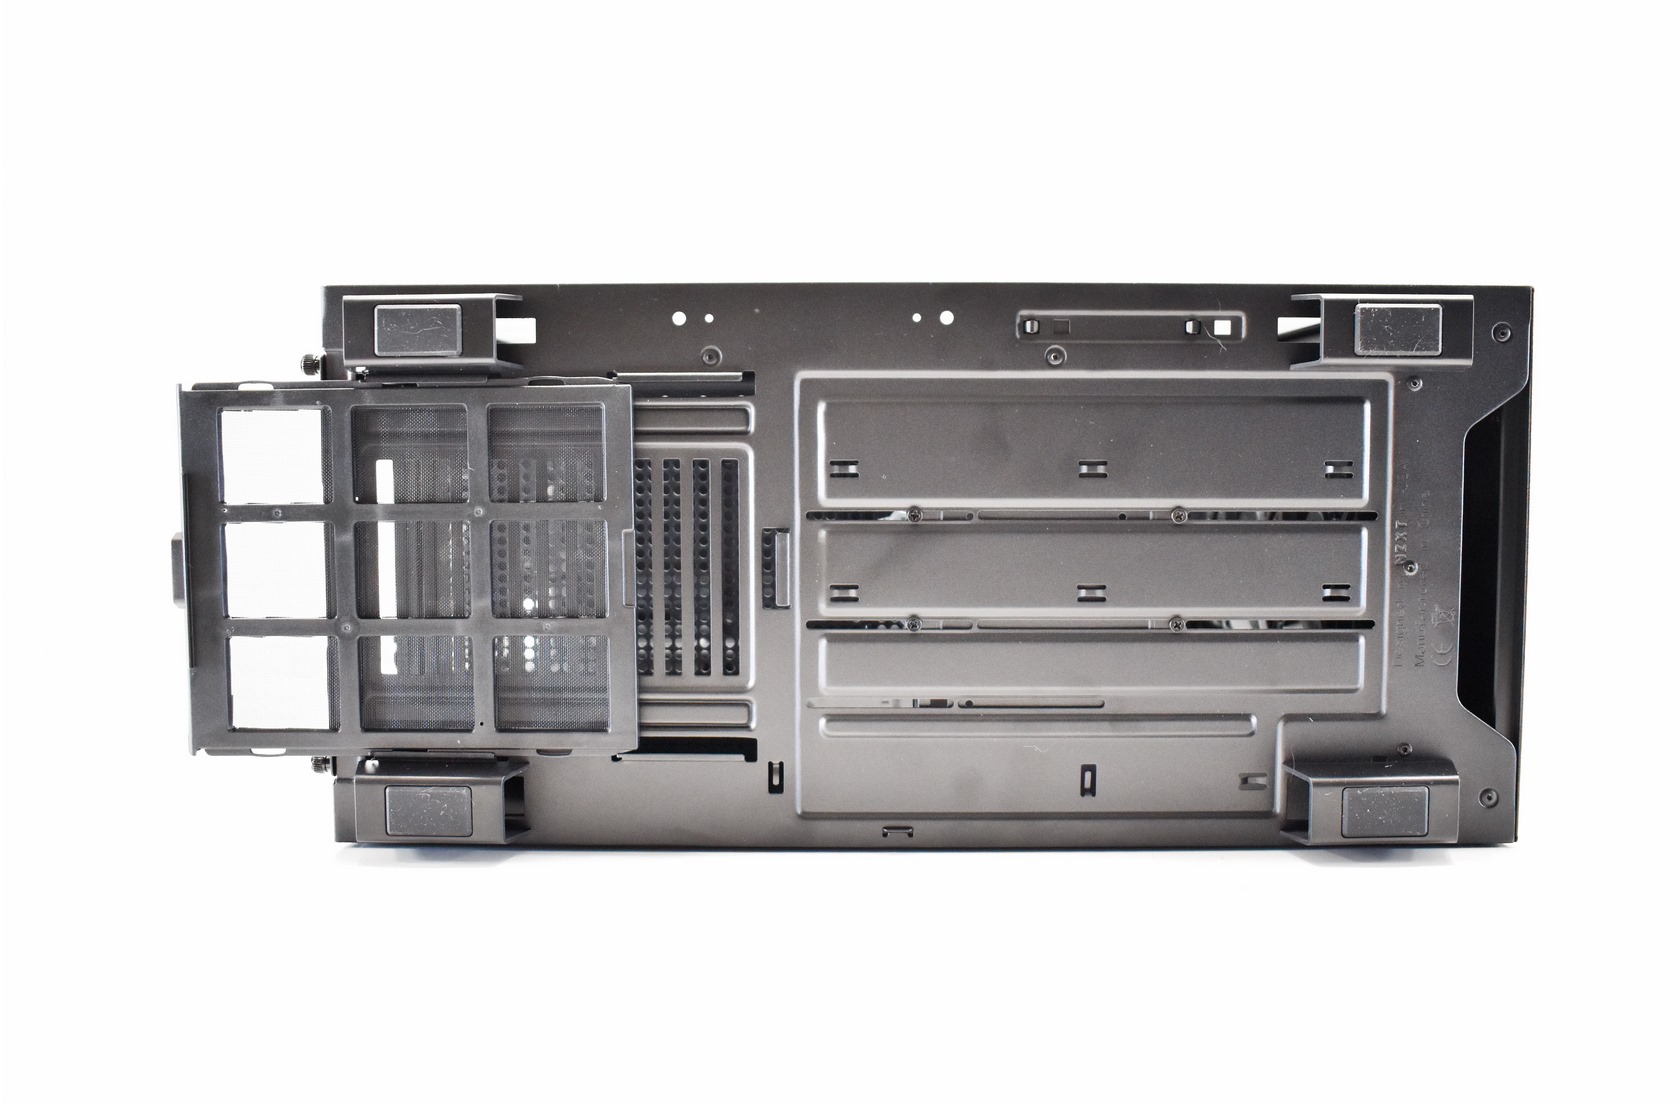
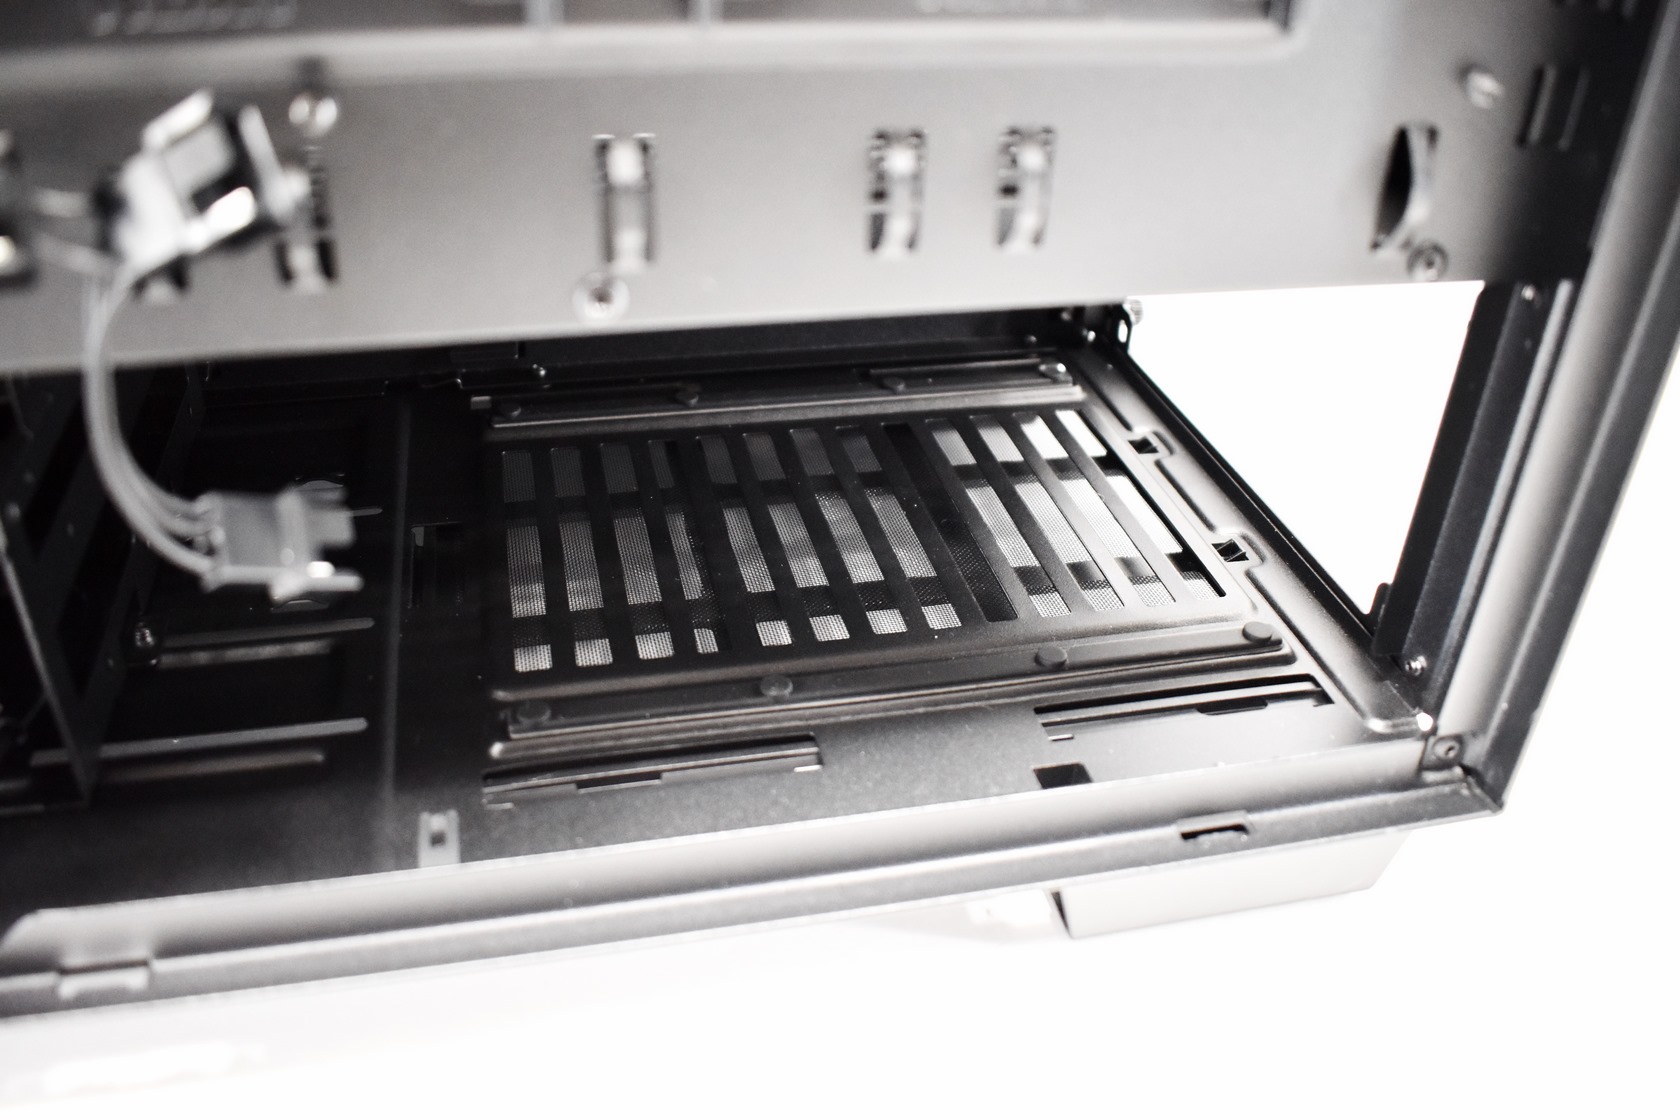
At the base of the H710i we find a rear removable air-filter and the rails where you can move the internal 3.5/2.5" drive cage.
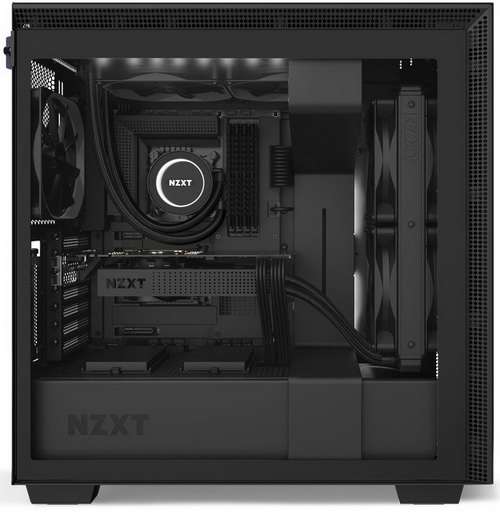
THE H710I INTERIOR
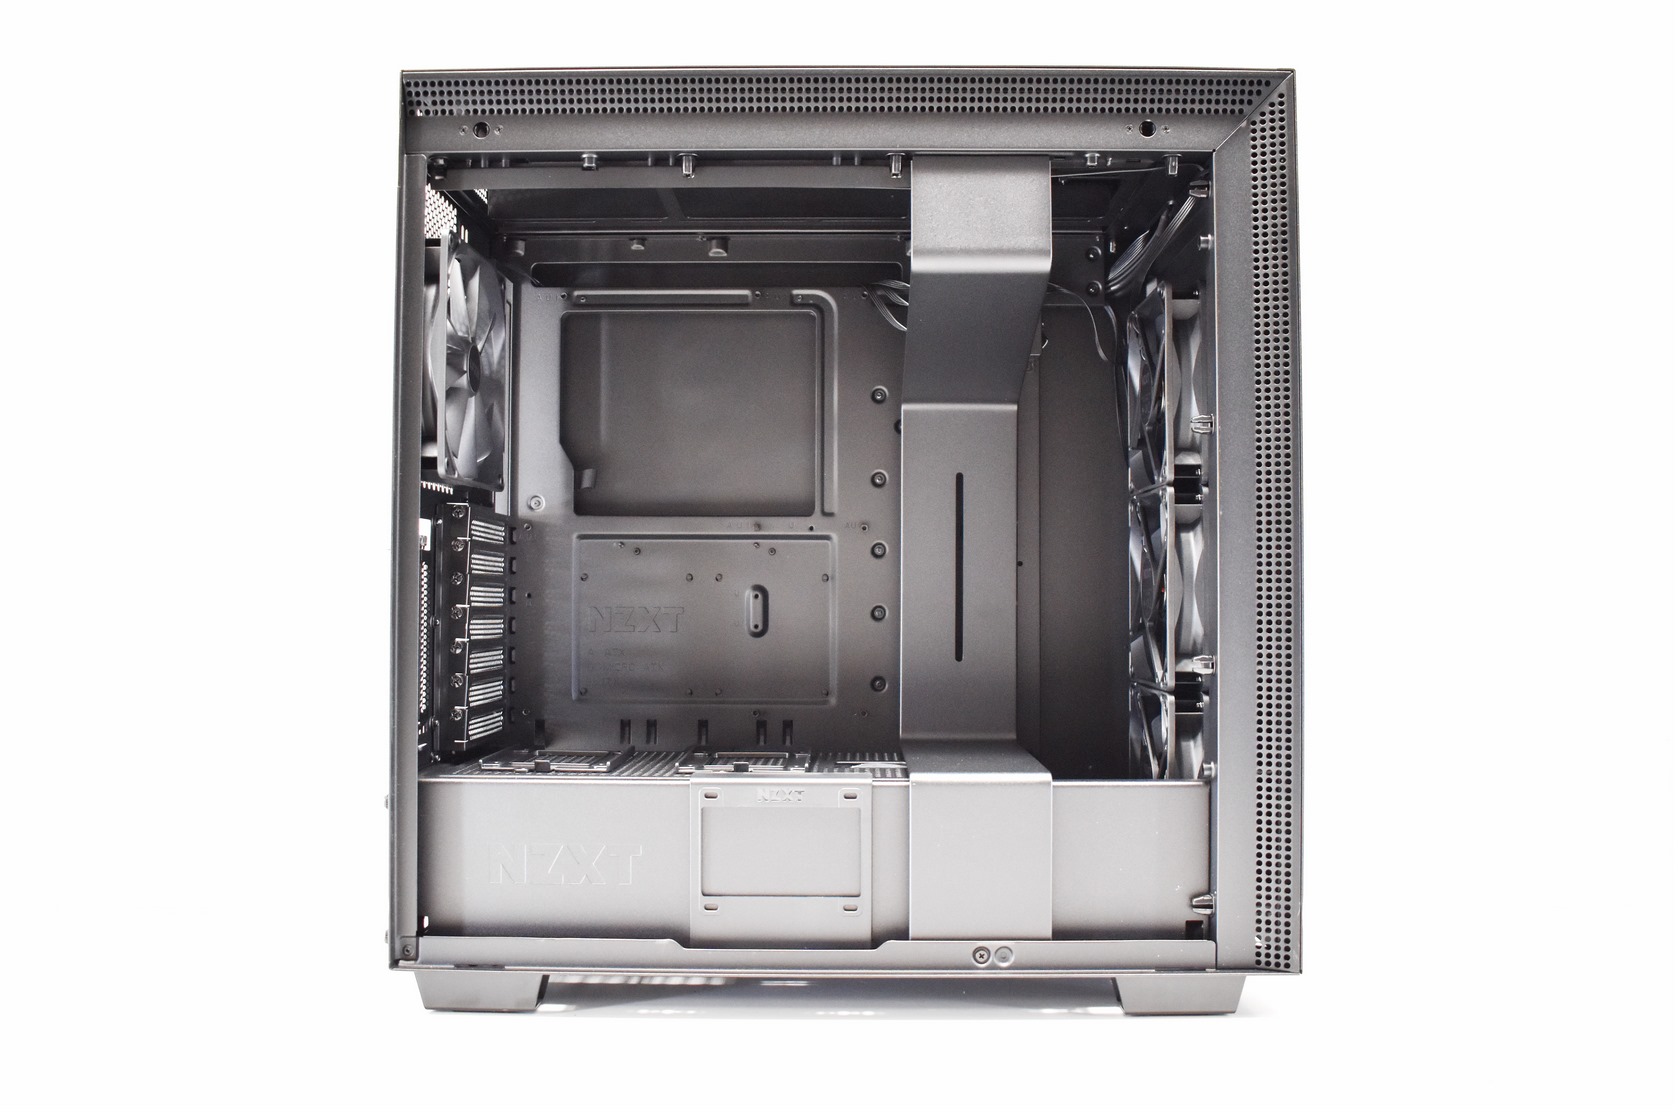
As with most spacious mid-towers the H710i has no drive cages on the left side and yes, it's got plenty of room inside.
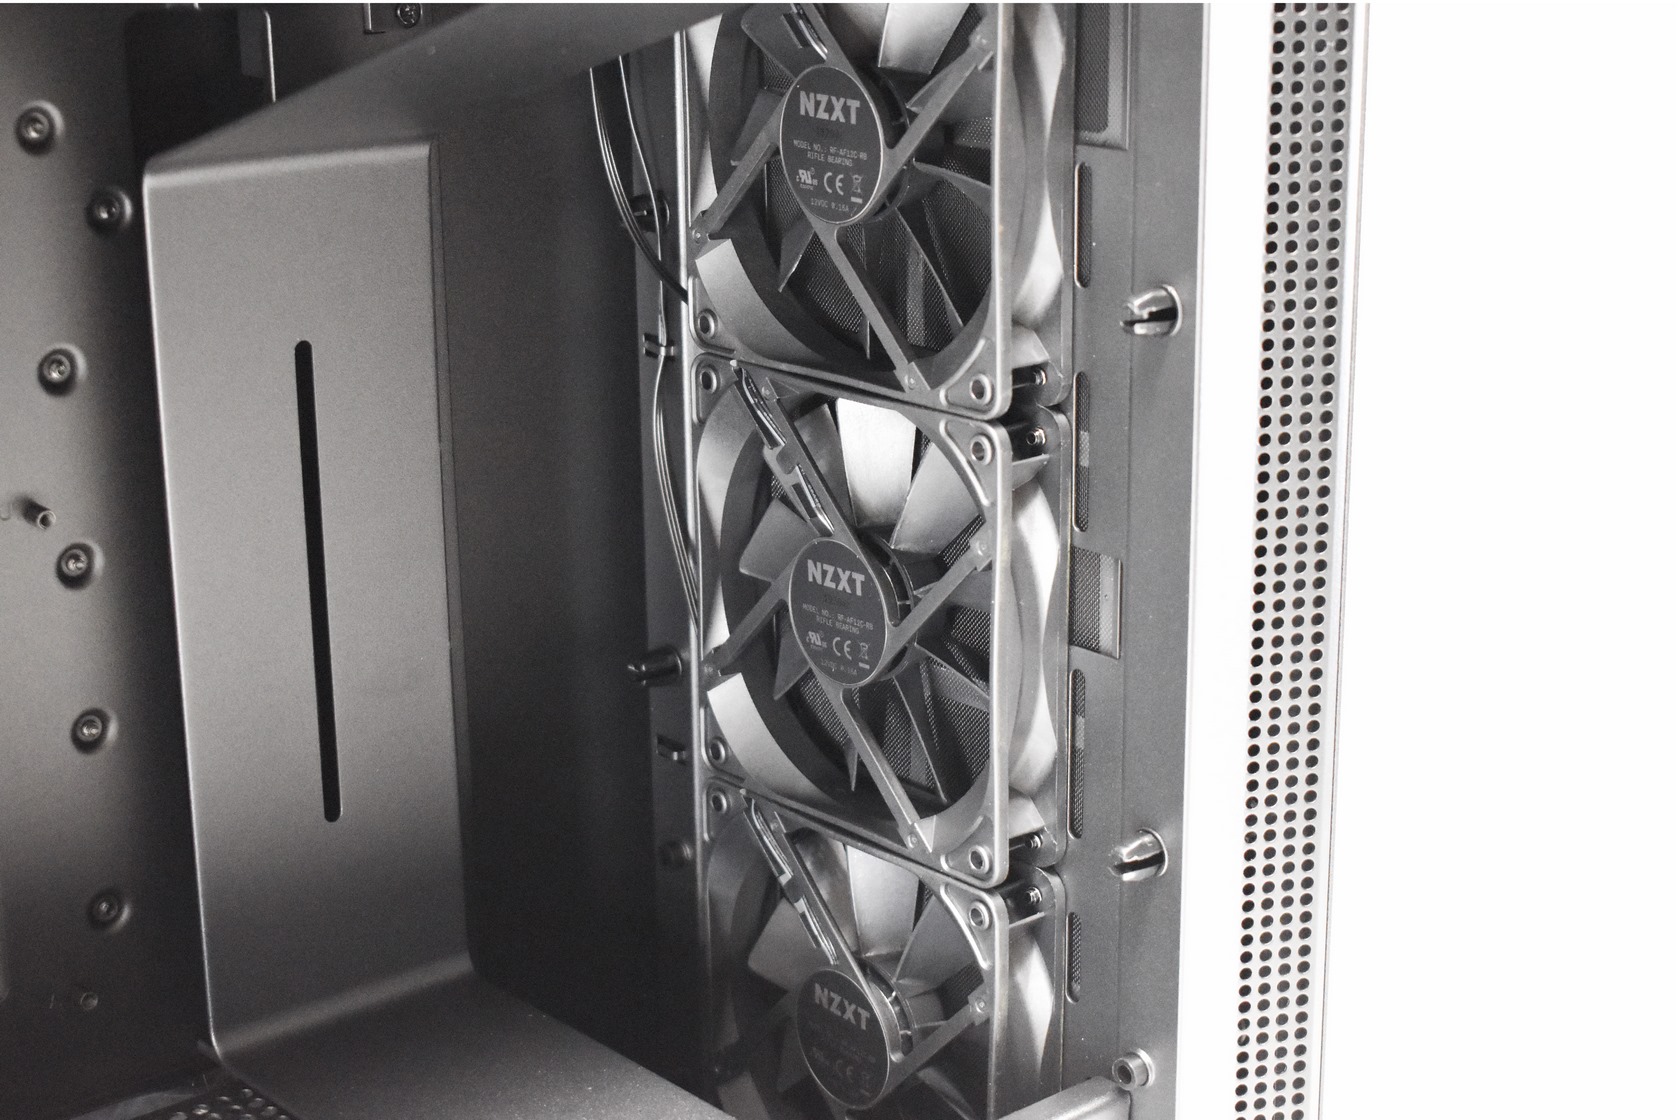
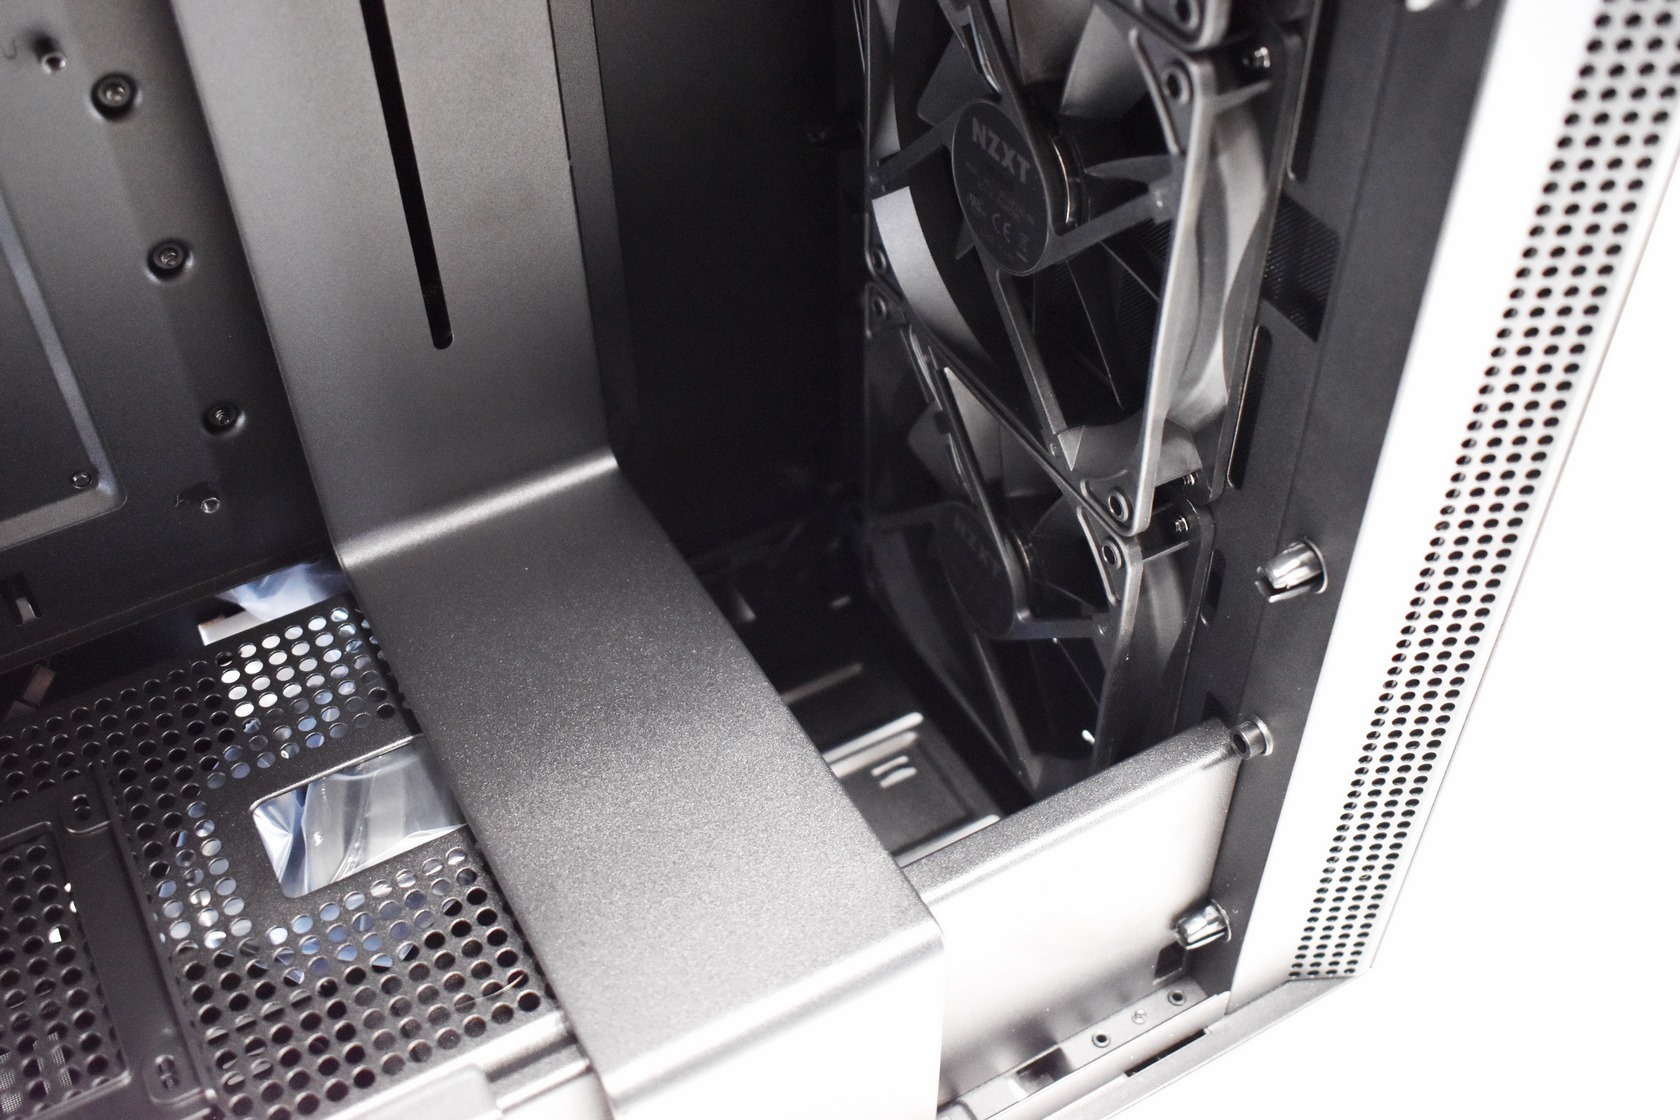
At the front we see the three AER F120 fans and the gap which allows the end user to mount radiators up to 60mm in thickness.
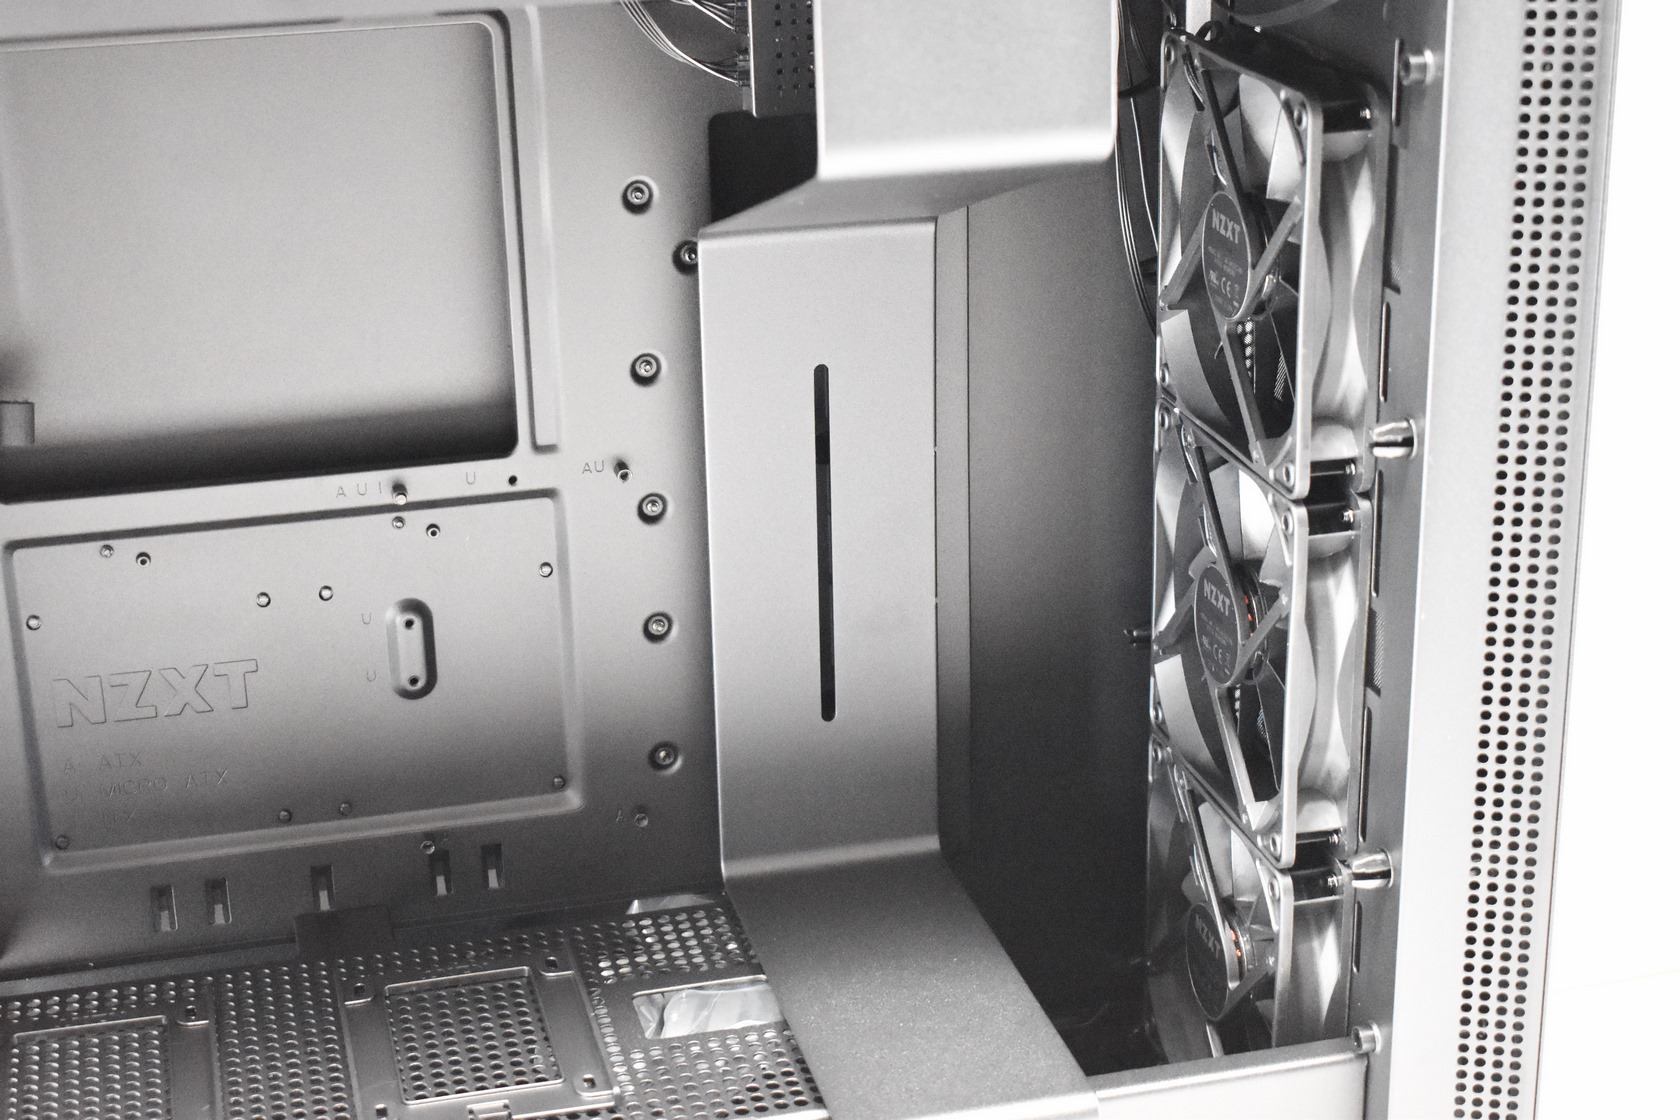
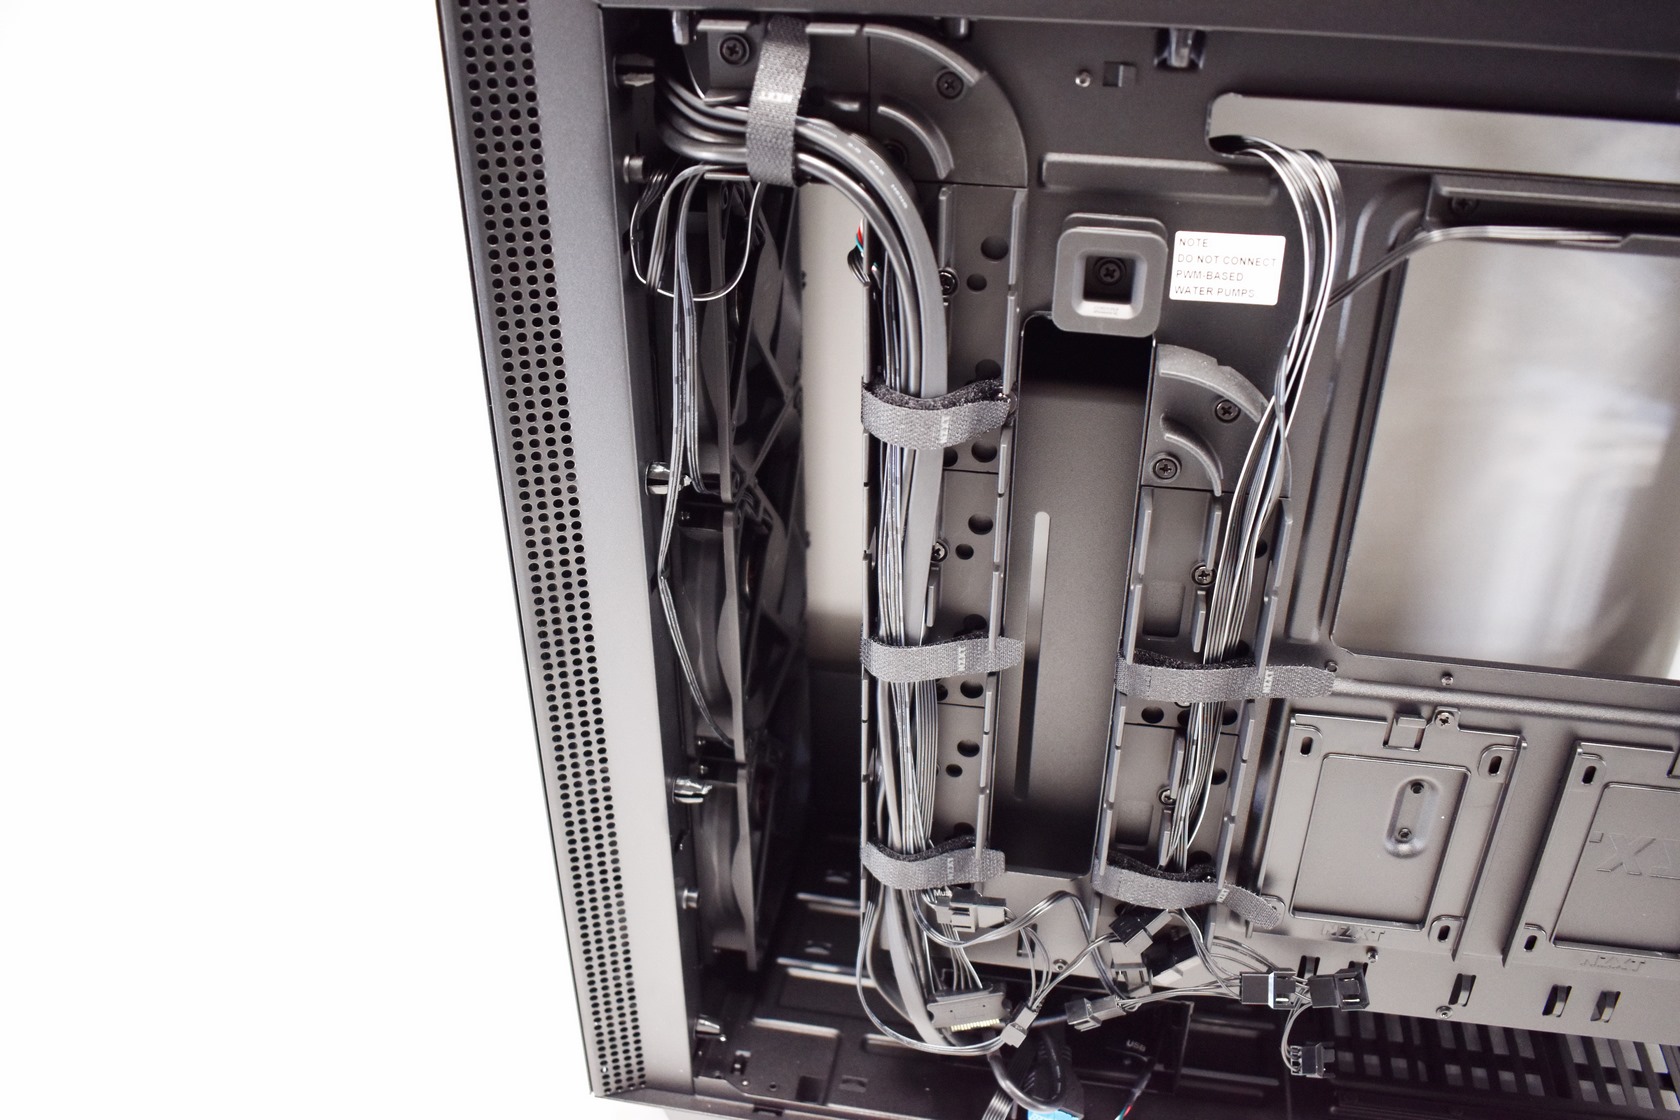
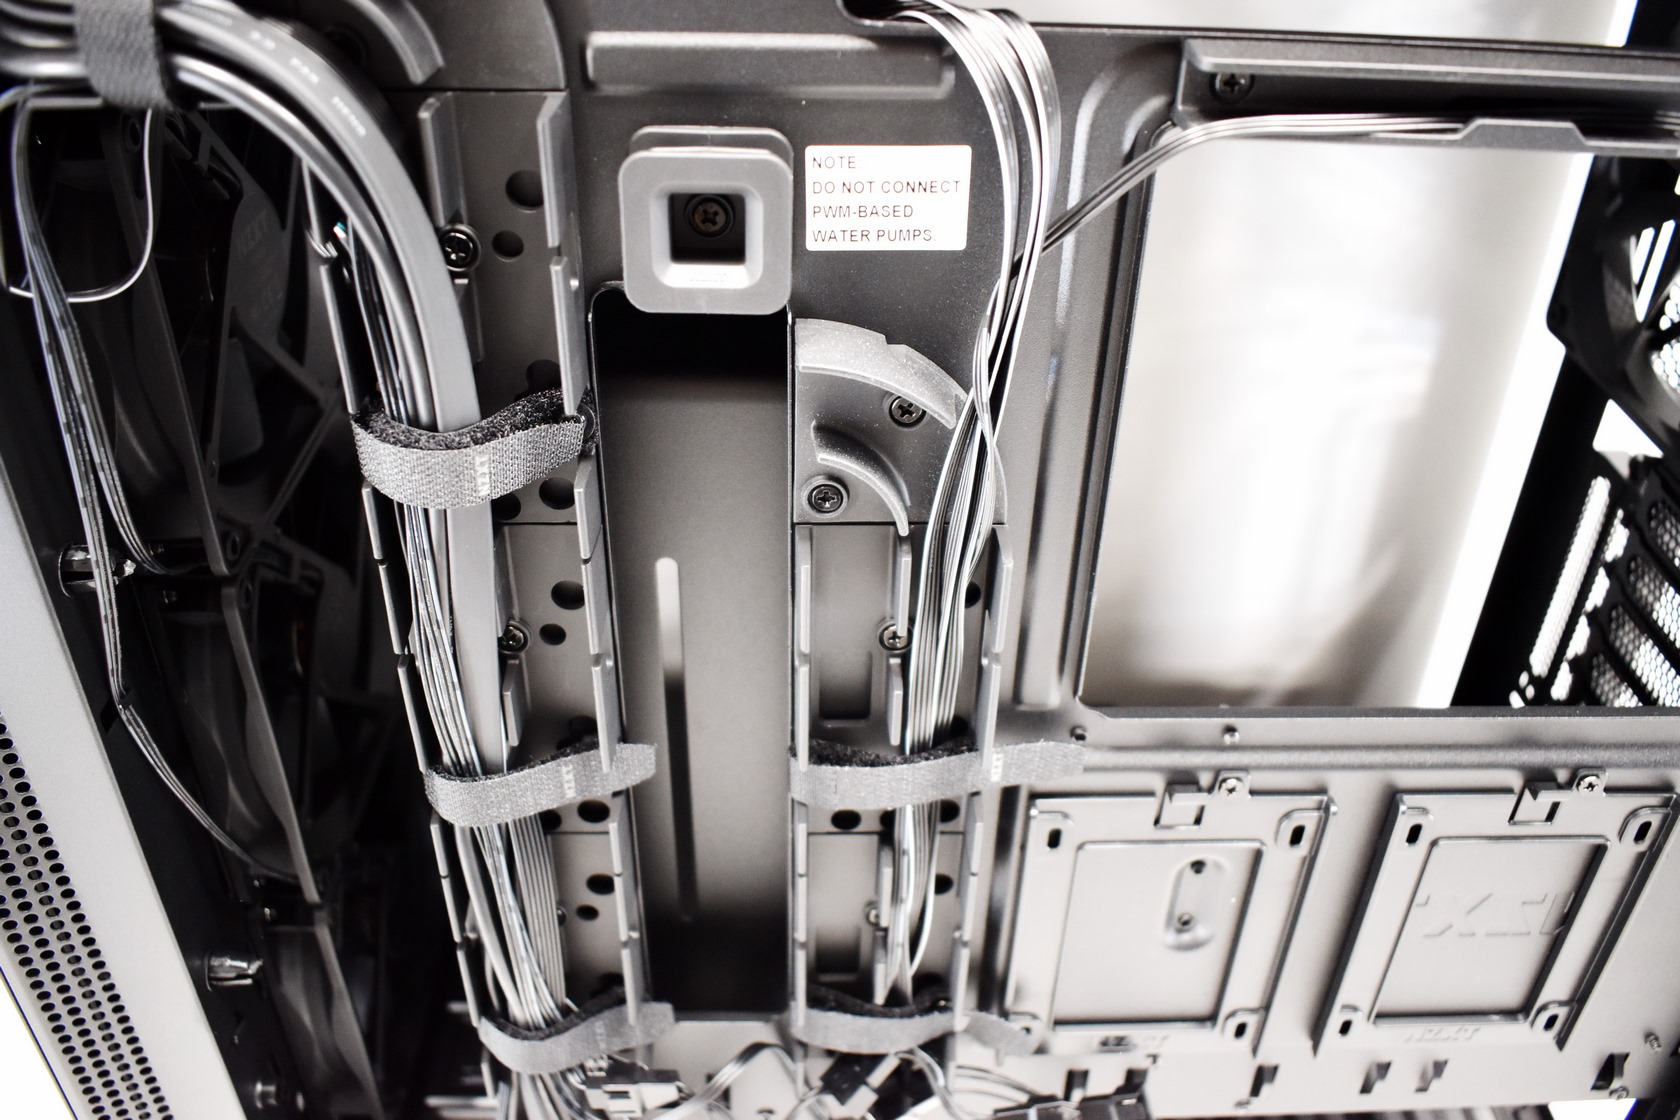
This here is the cable management system NZXT has worked on.
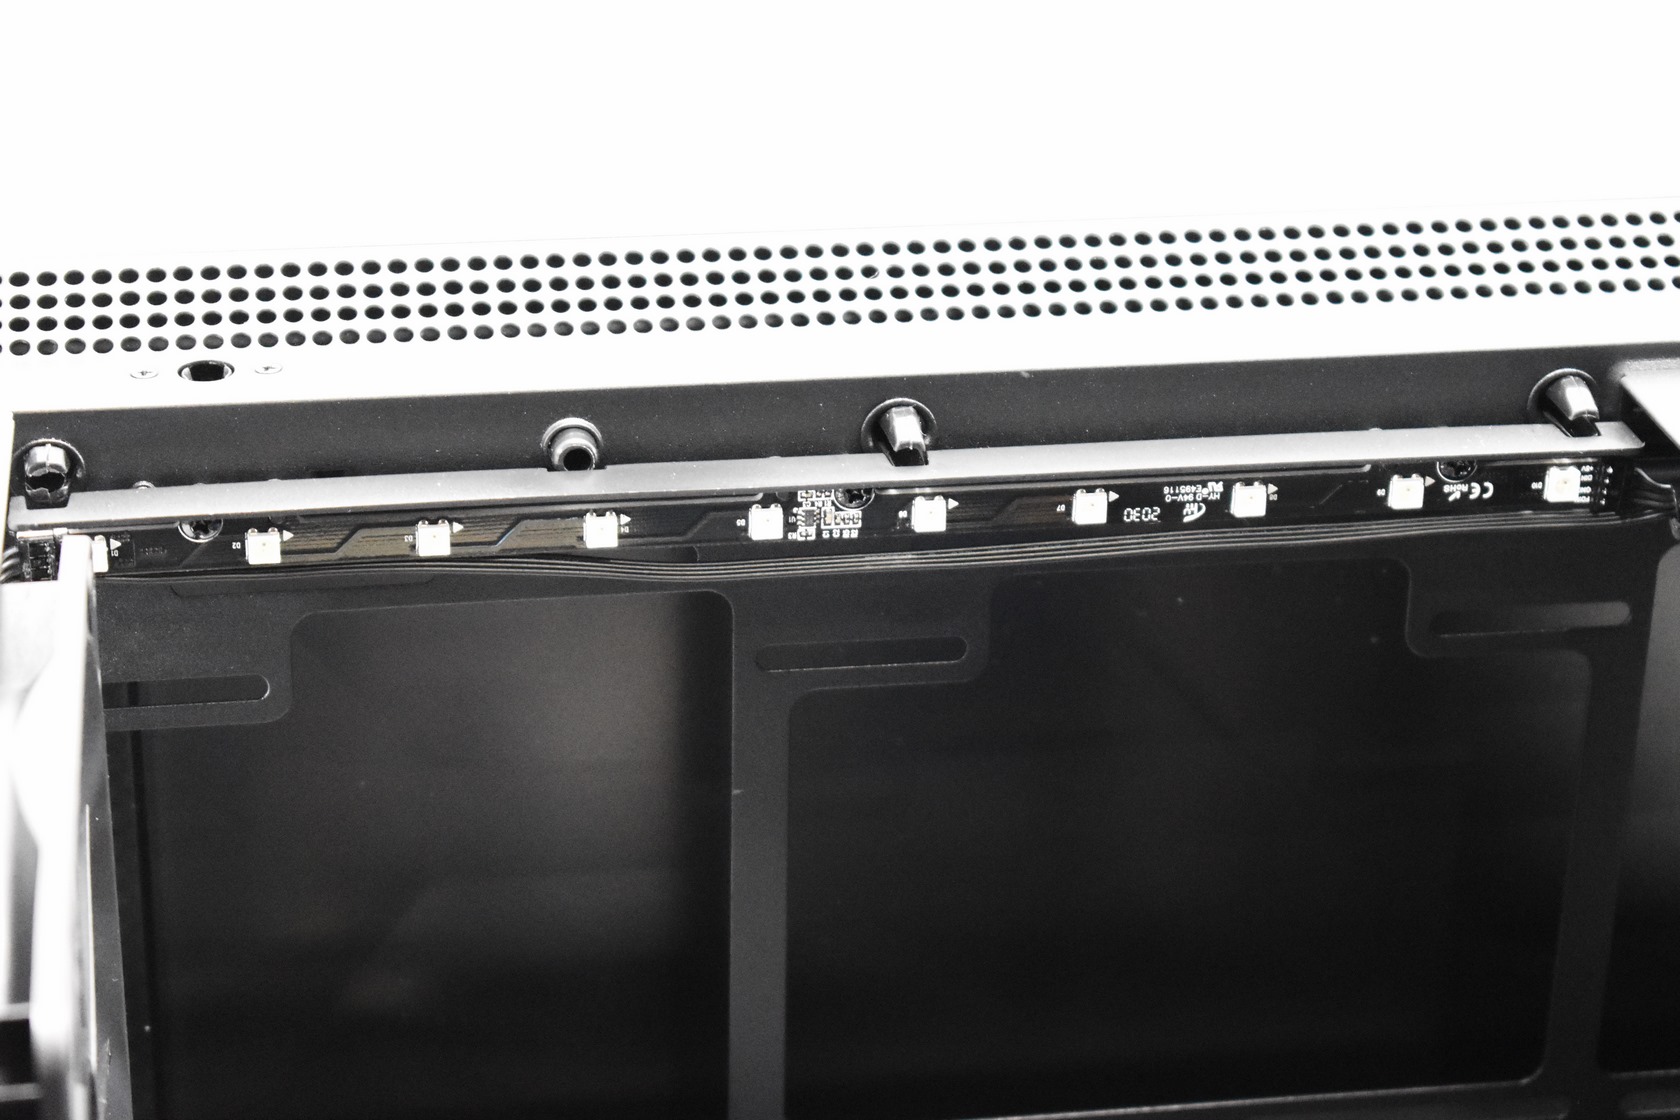
Aside however being able to route your cables behind it there's also an ARGB LED strip stuck on it and another which extends on the top of the case.

Both ARGB LED strips are connected to the smart device V2 thanks to which you can control their effects and colors via the NZXT CAM software.
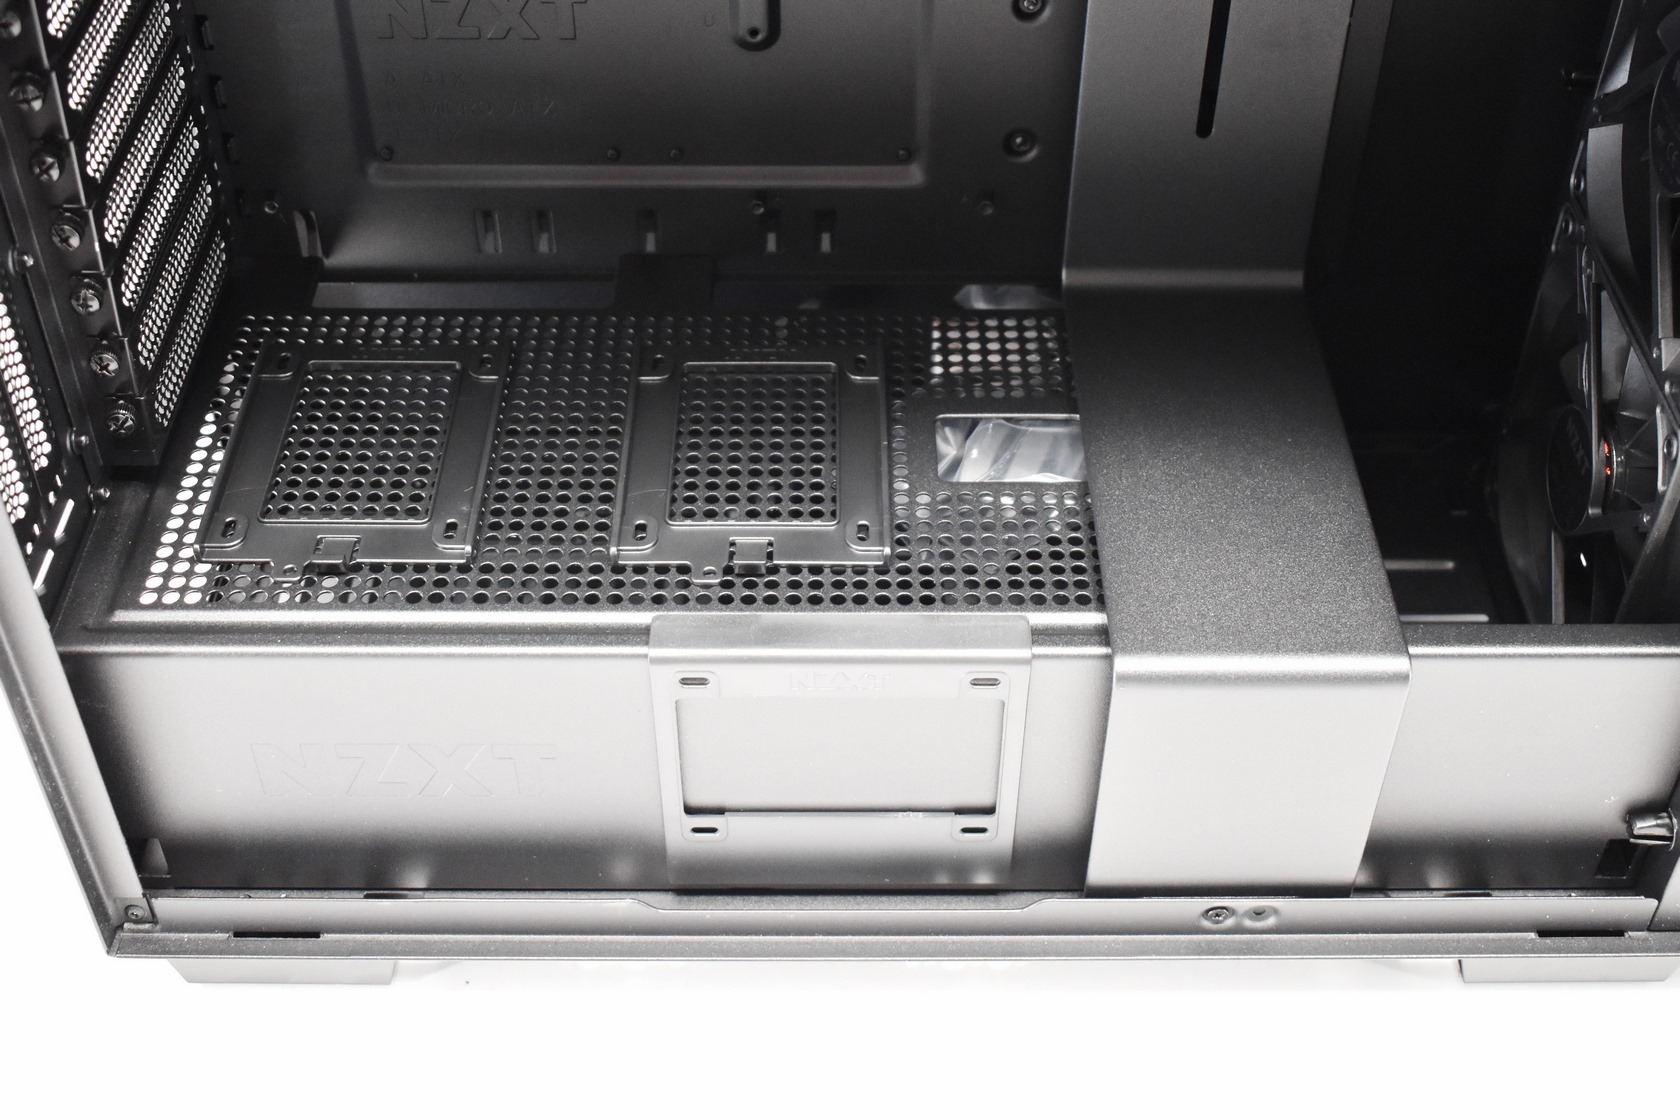
The H710i is a dual chamber design case and as you can see it has two 2.5" trays on top and one at the front.
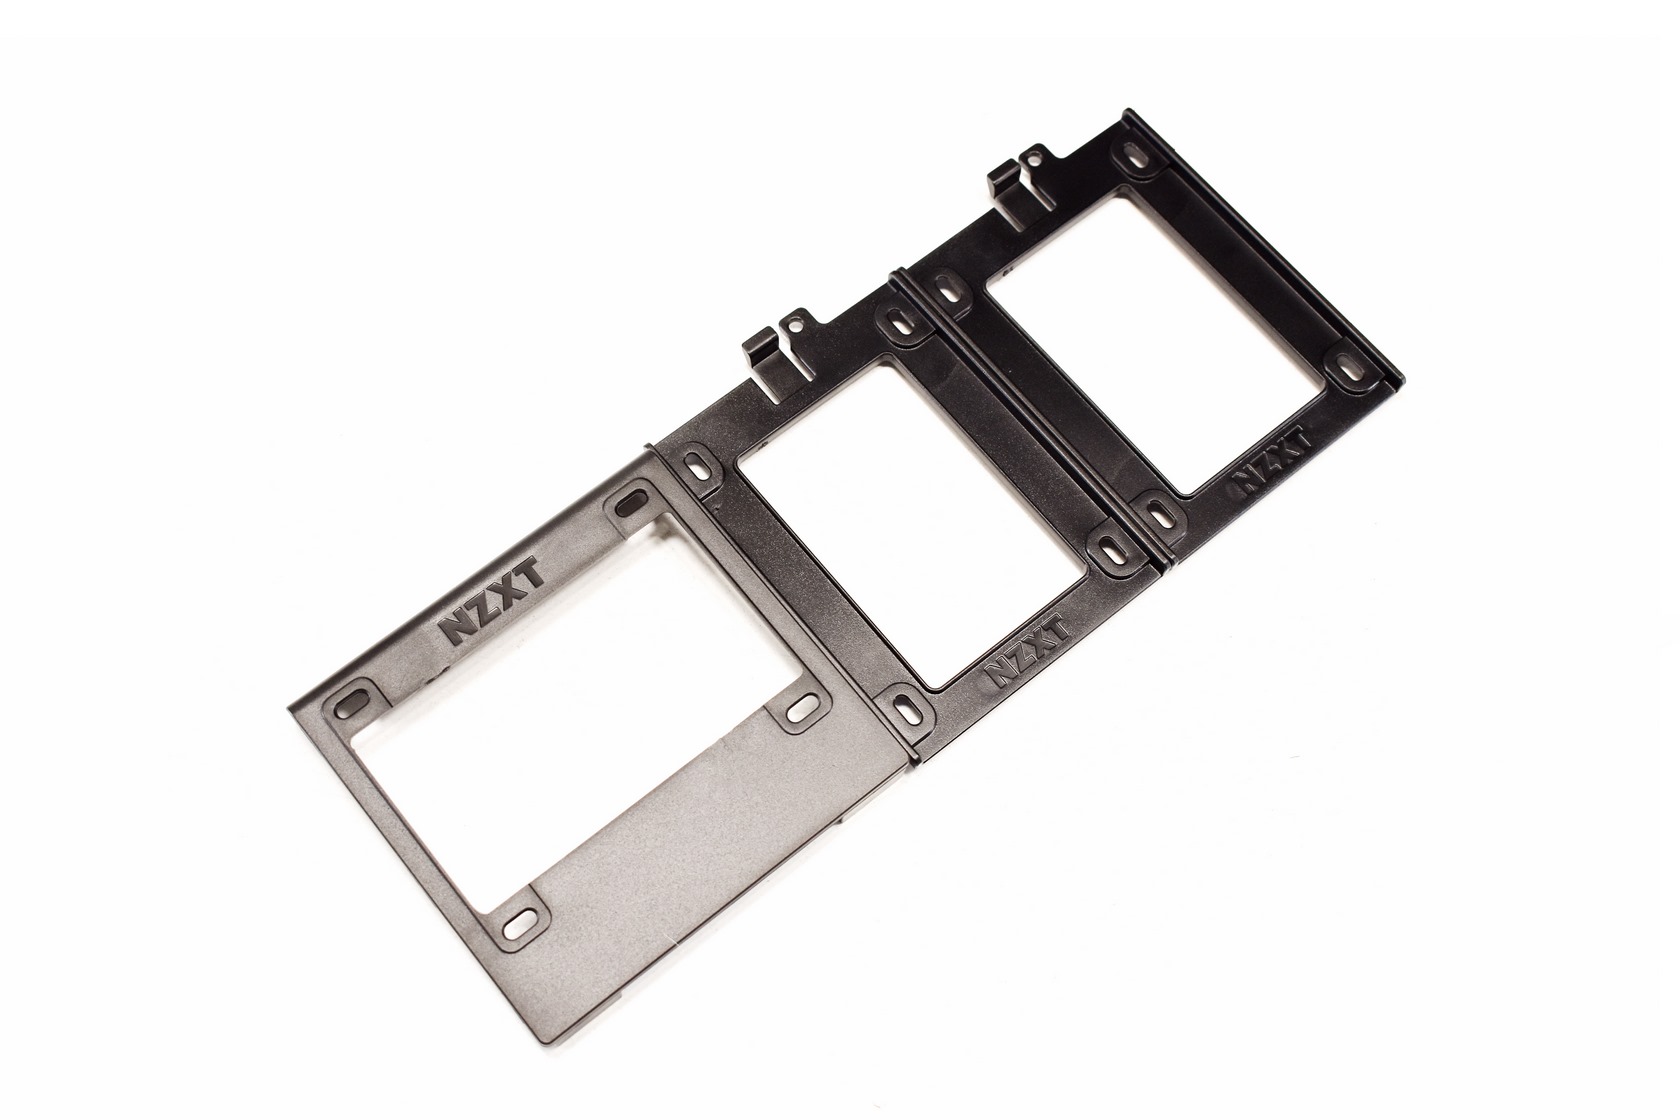
All three trays are made out of plastic but that shouldn't be a problem where they are located.
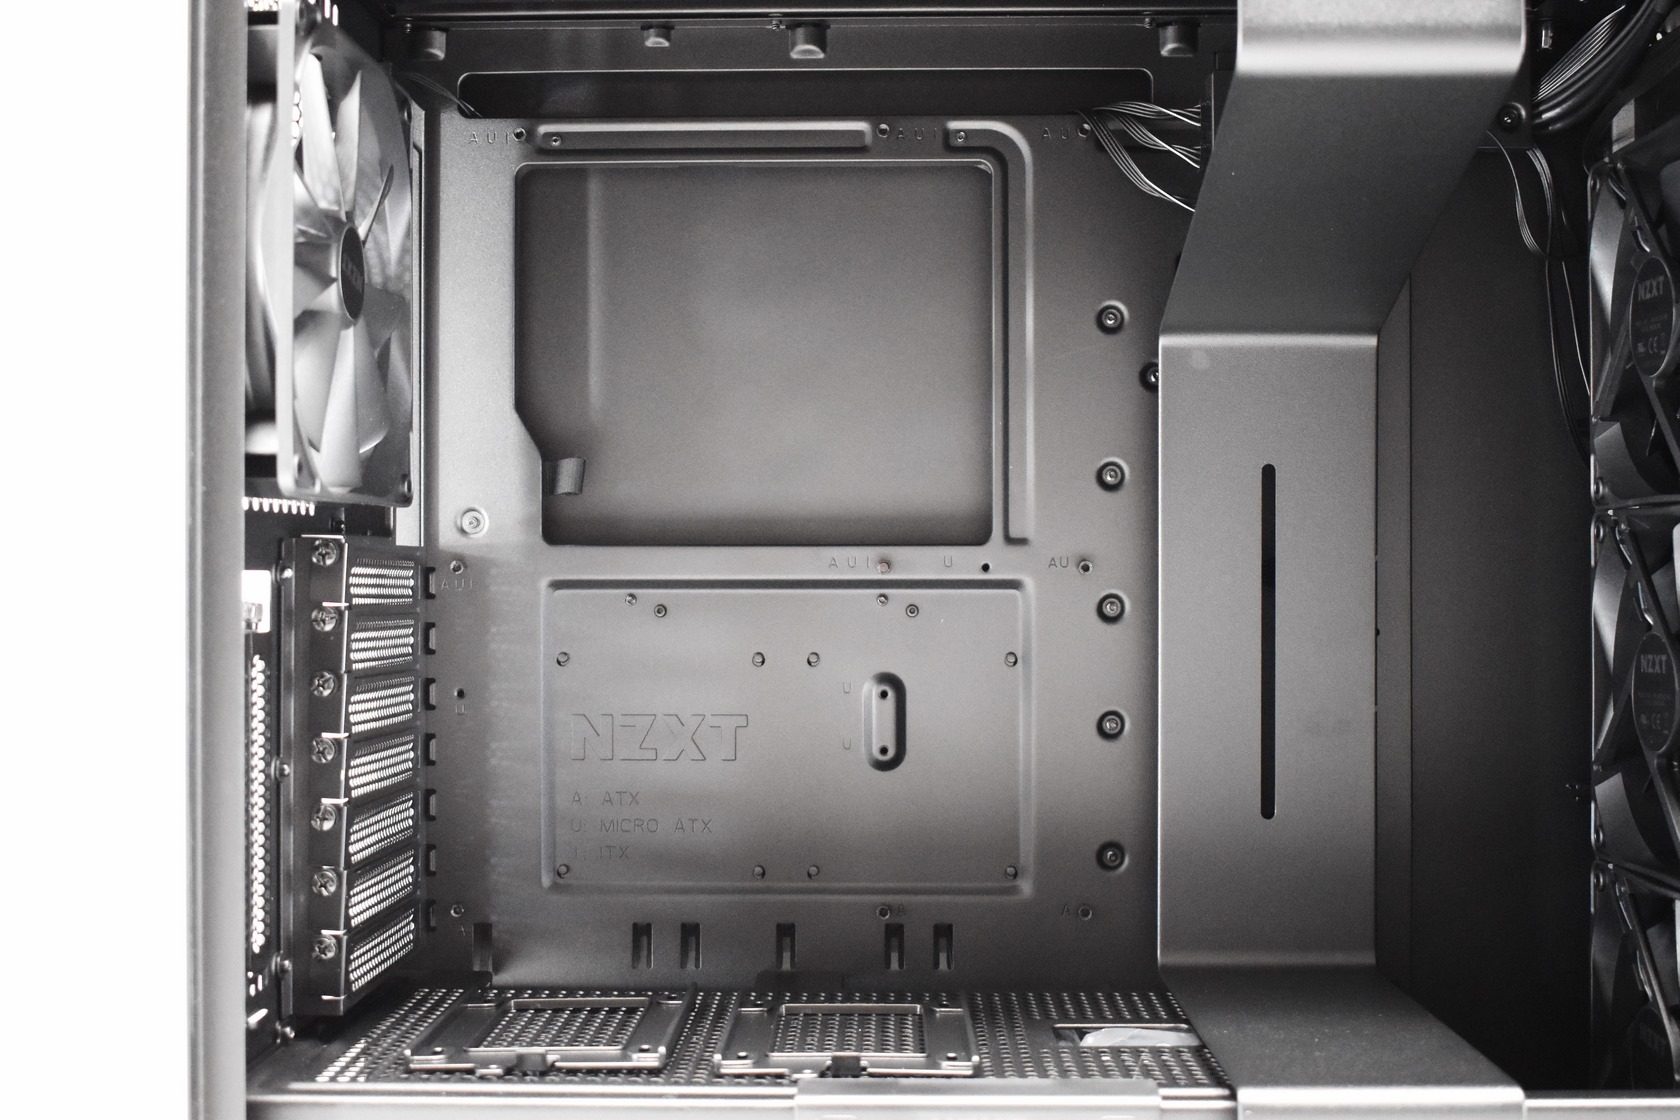
Due to the patented cable management system, there are no "regular" grommets on the motherboard tray (minus the usual CPU cut out).
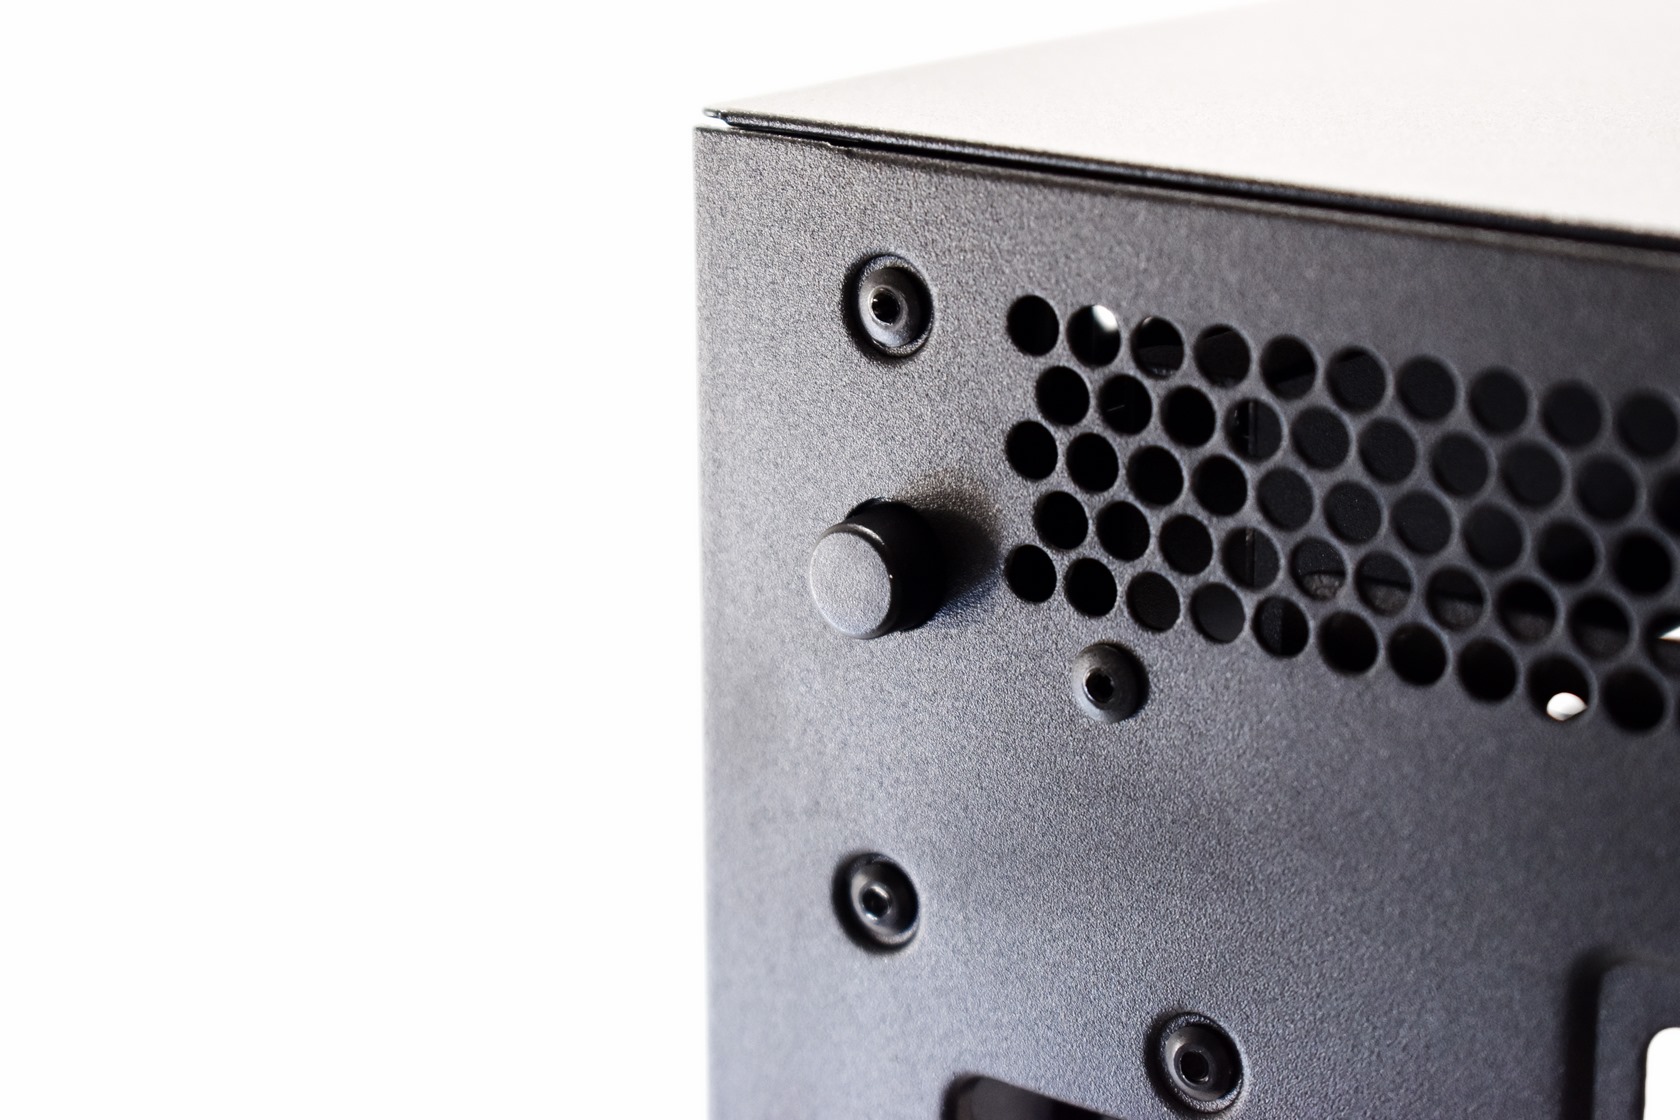
To access the right side, you just need to push this button (which in turn releases the right side panel).
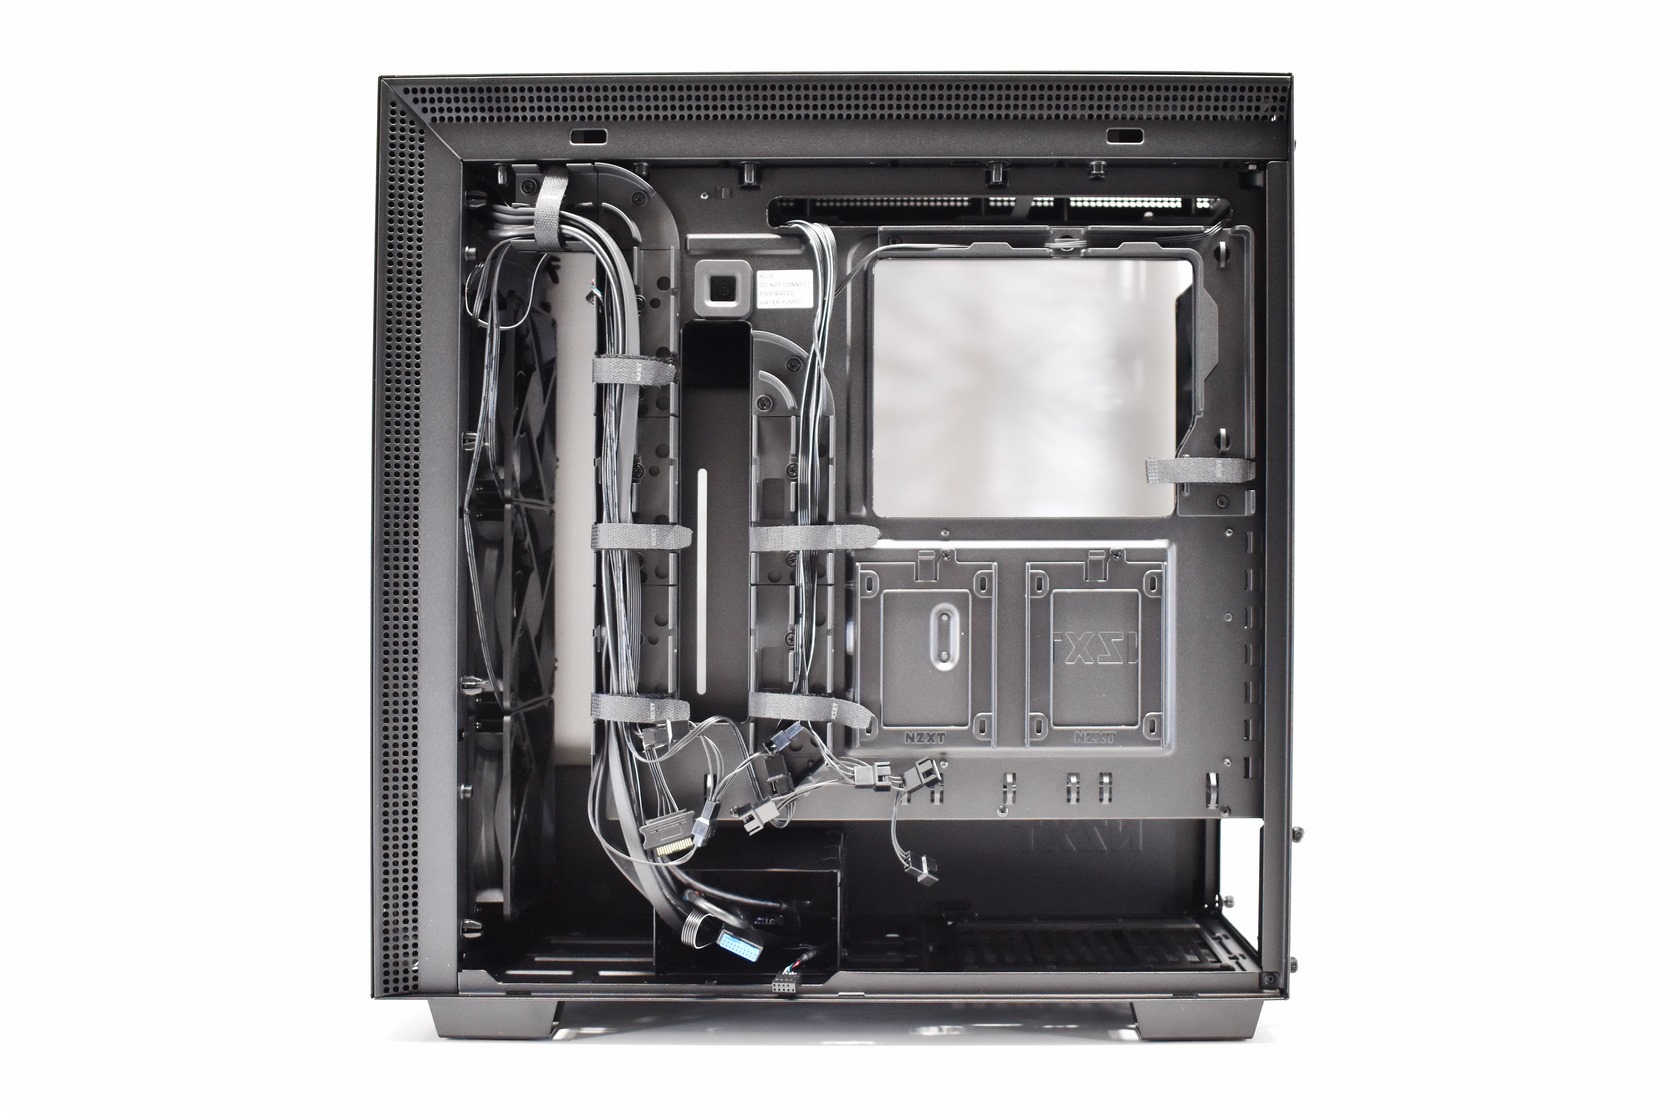
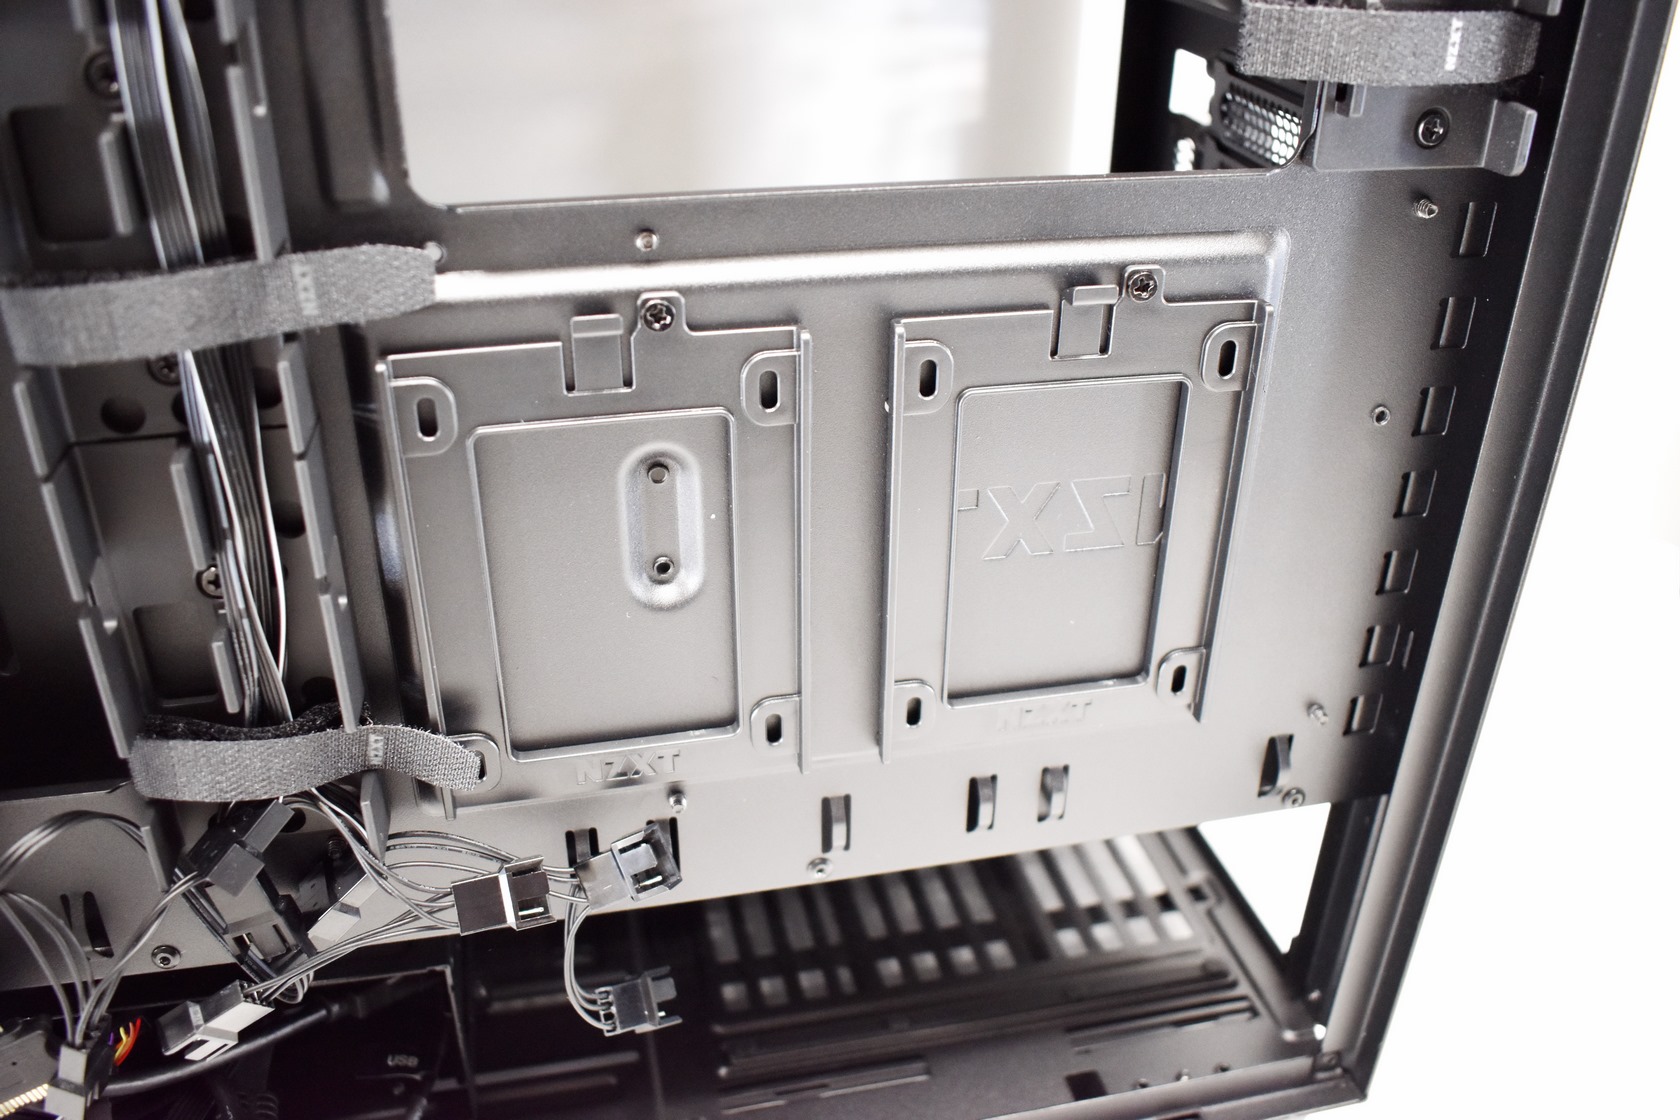
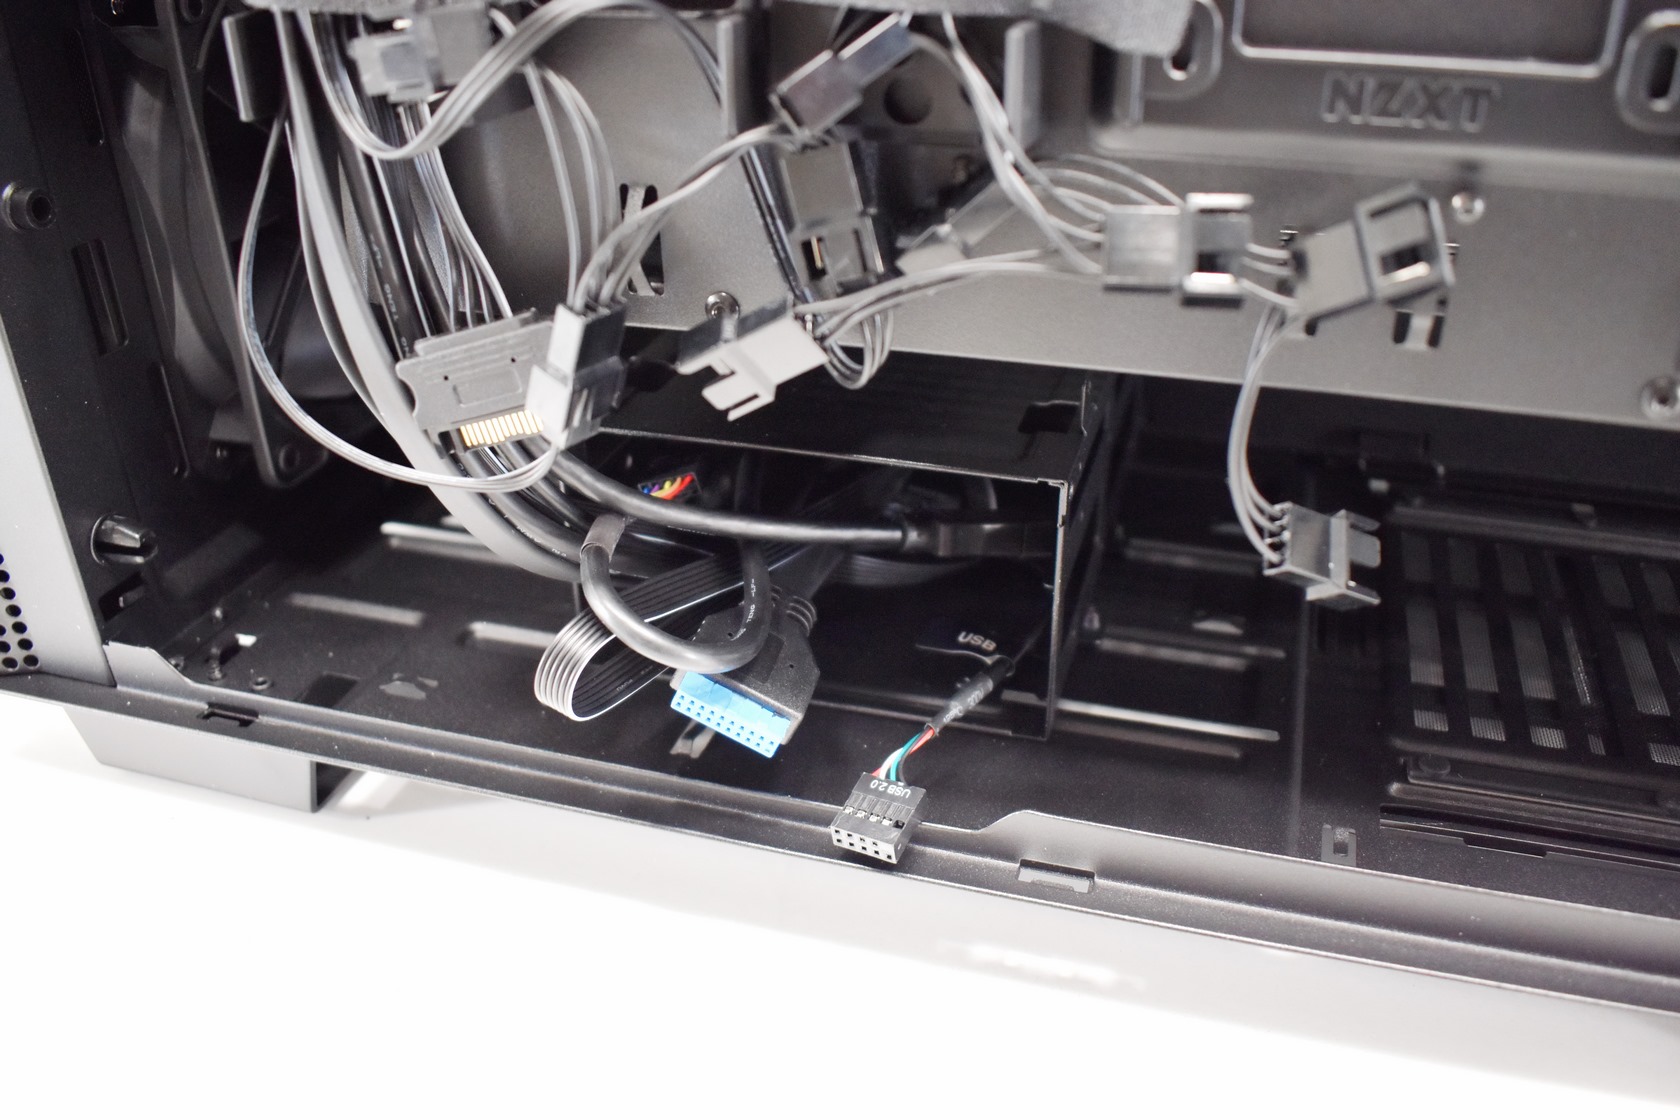
On this side we also see the front radiator area, cable management channels, two more SSD trays, 3,5" drive cage and the PSU area.
BUILDING THE SYSTEM
As always, the purpose of this section is not to build a functional system but rather to showcase what you can expect from the case at hand in terms of interior space.
To mount the PSU, you need to remove the rear PSU bracket, mount it on the PSU and then slide it in the case.

There's plenty of space for long PSUs even with the default drive cage position (if you need more just push it to the left).
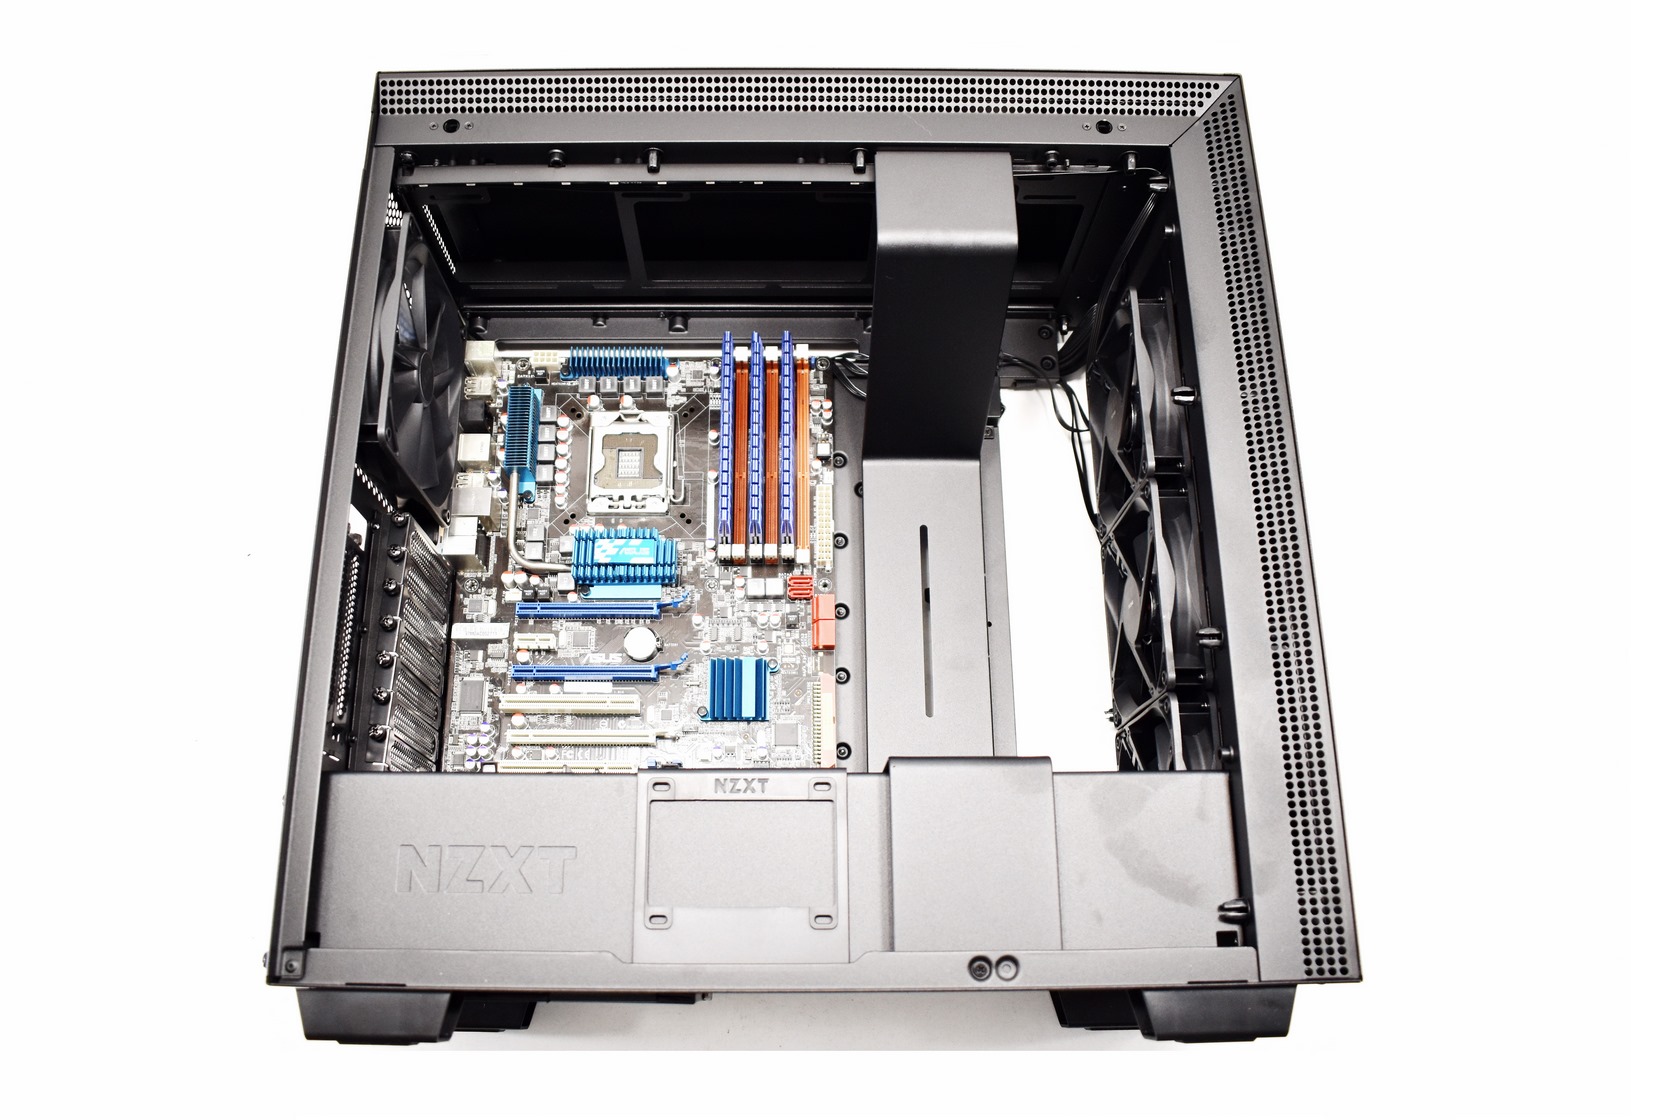
Mounting a regular ATX sized motherboard leaves plenty of room around (and that's not very typical for a mid-tower).
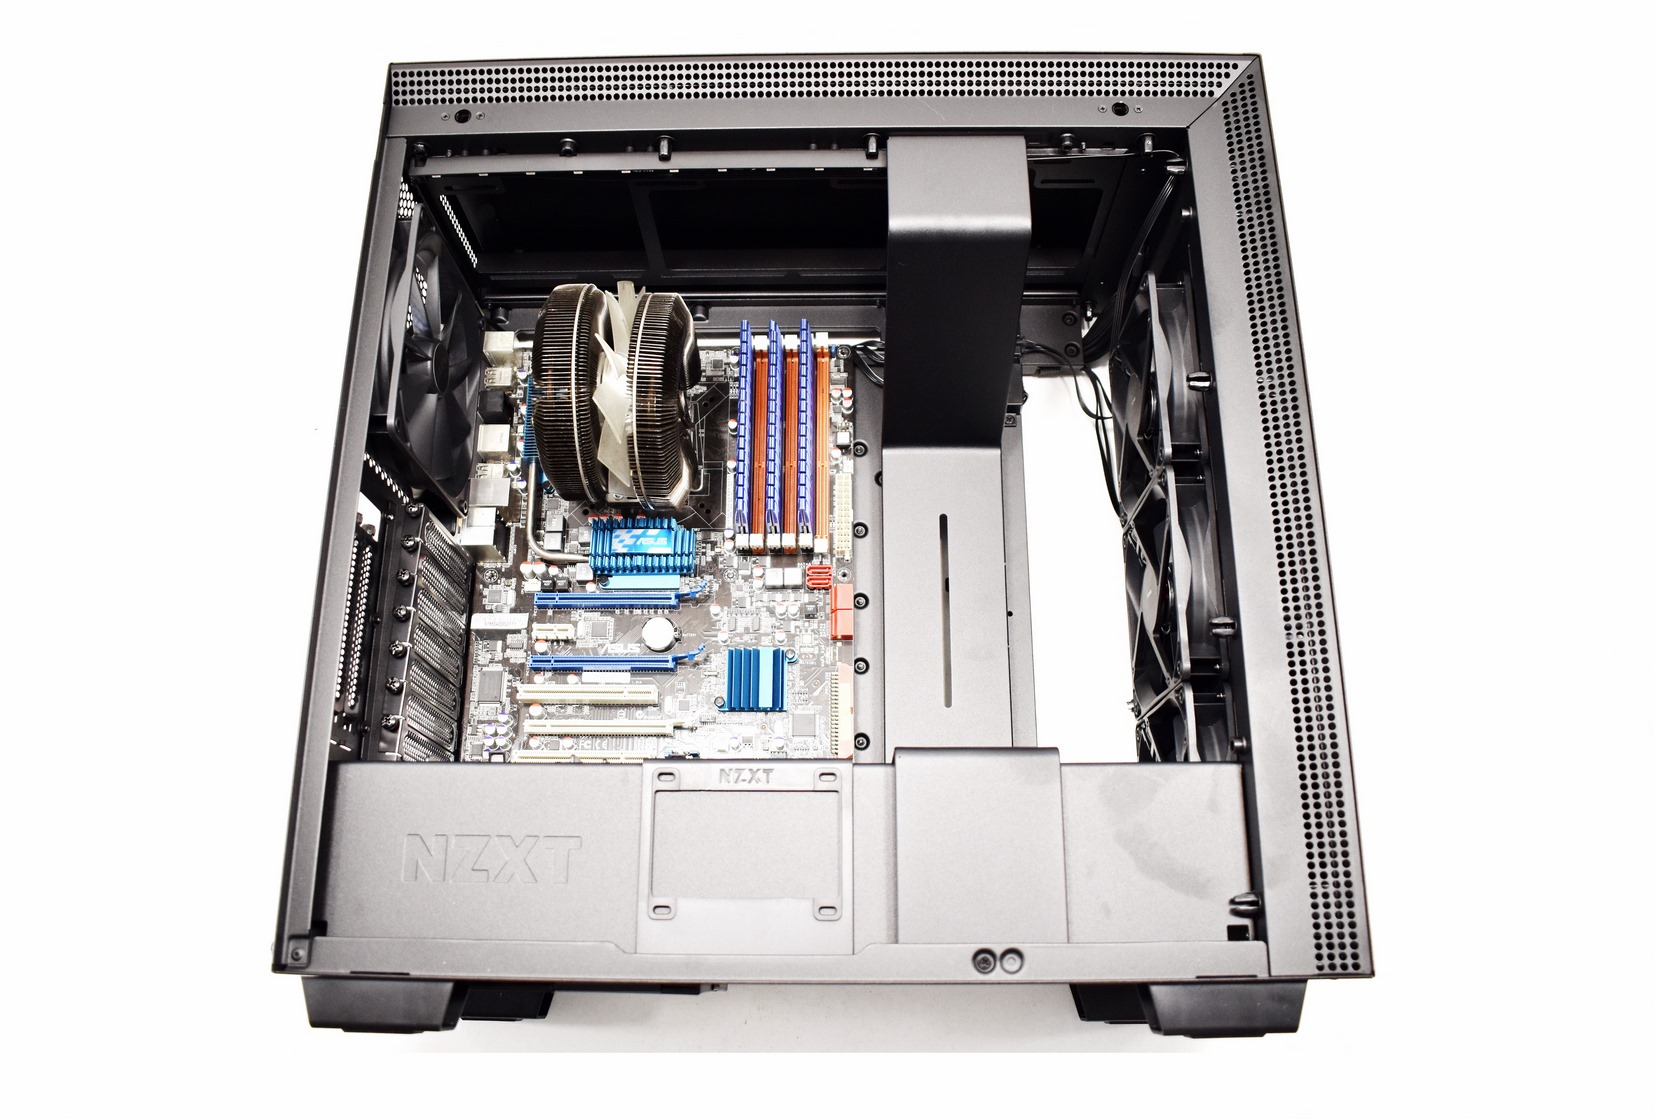
Of course, with room for up to 185mm tall CPU coolers any model in the market should fit inside the H710i.
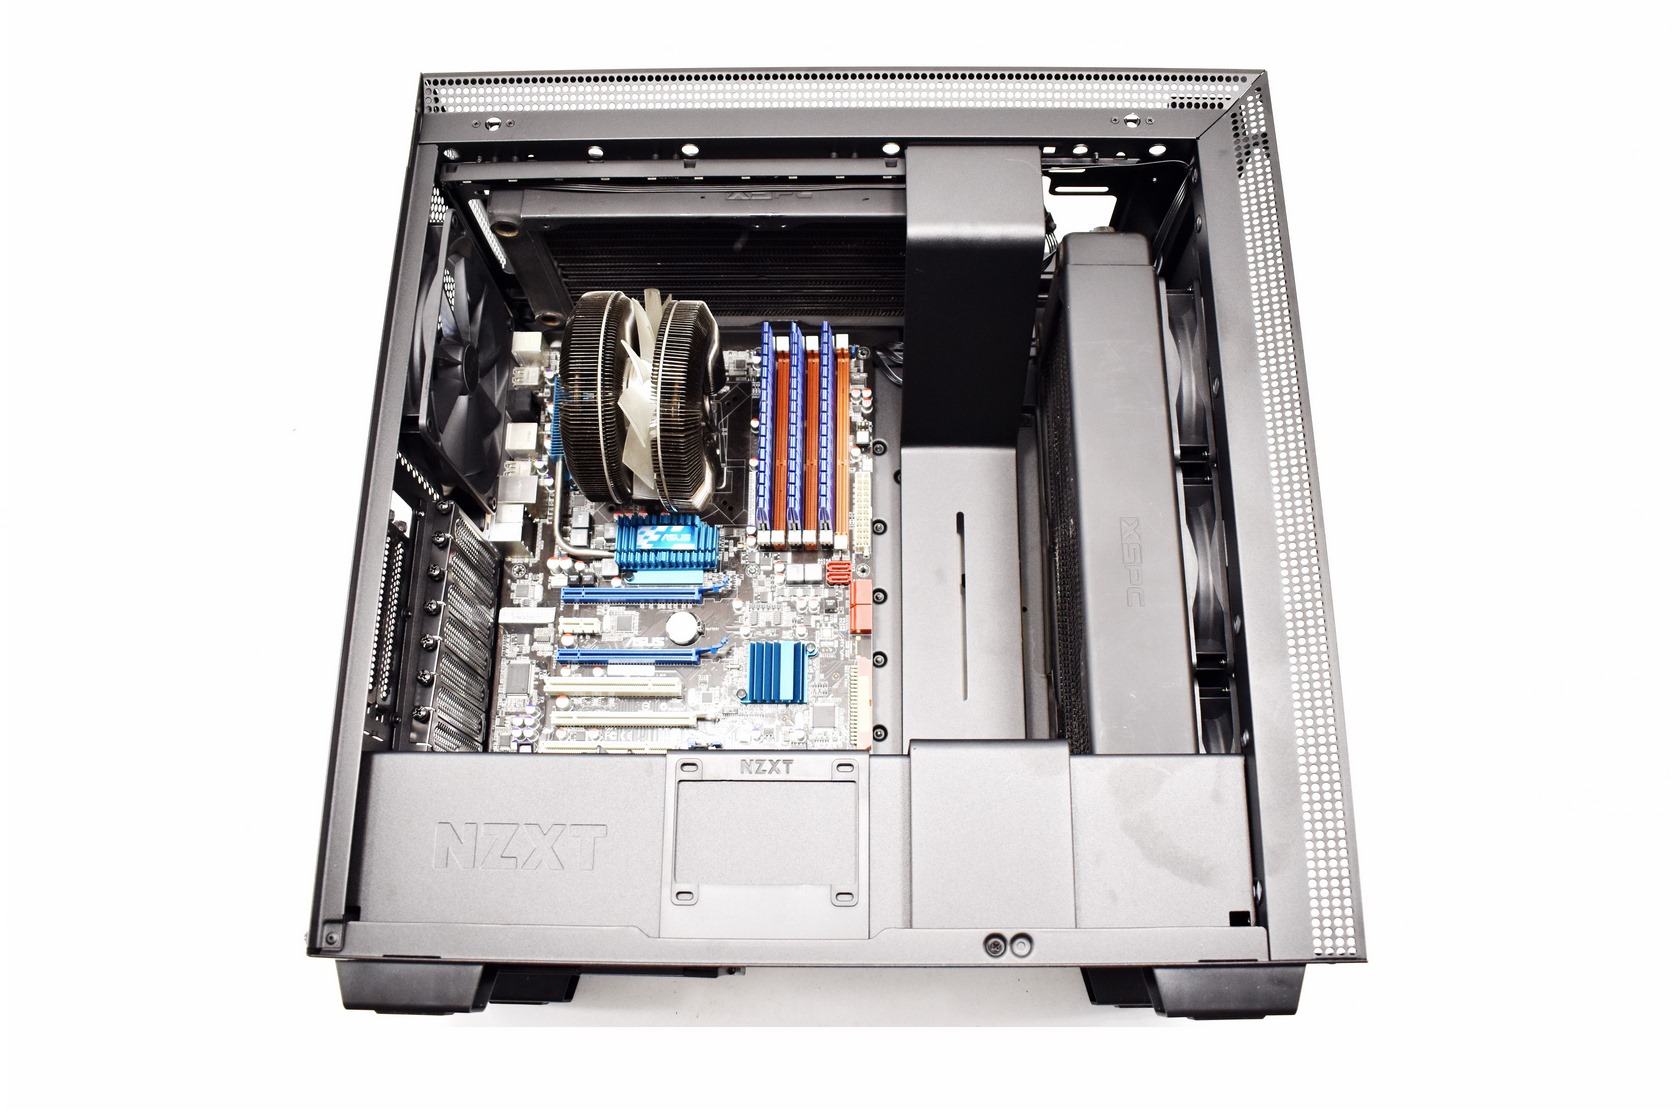
Here I’ve mounted an 360mm radiator at the front (57mm thick if i recall correctly) and an 280mm radiator at the top (30mm thick - the fans go on the top side of the bracket).
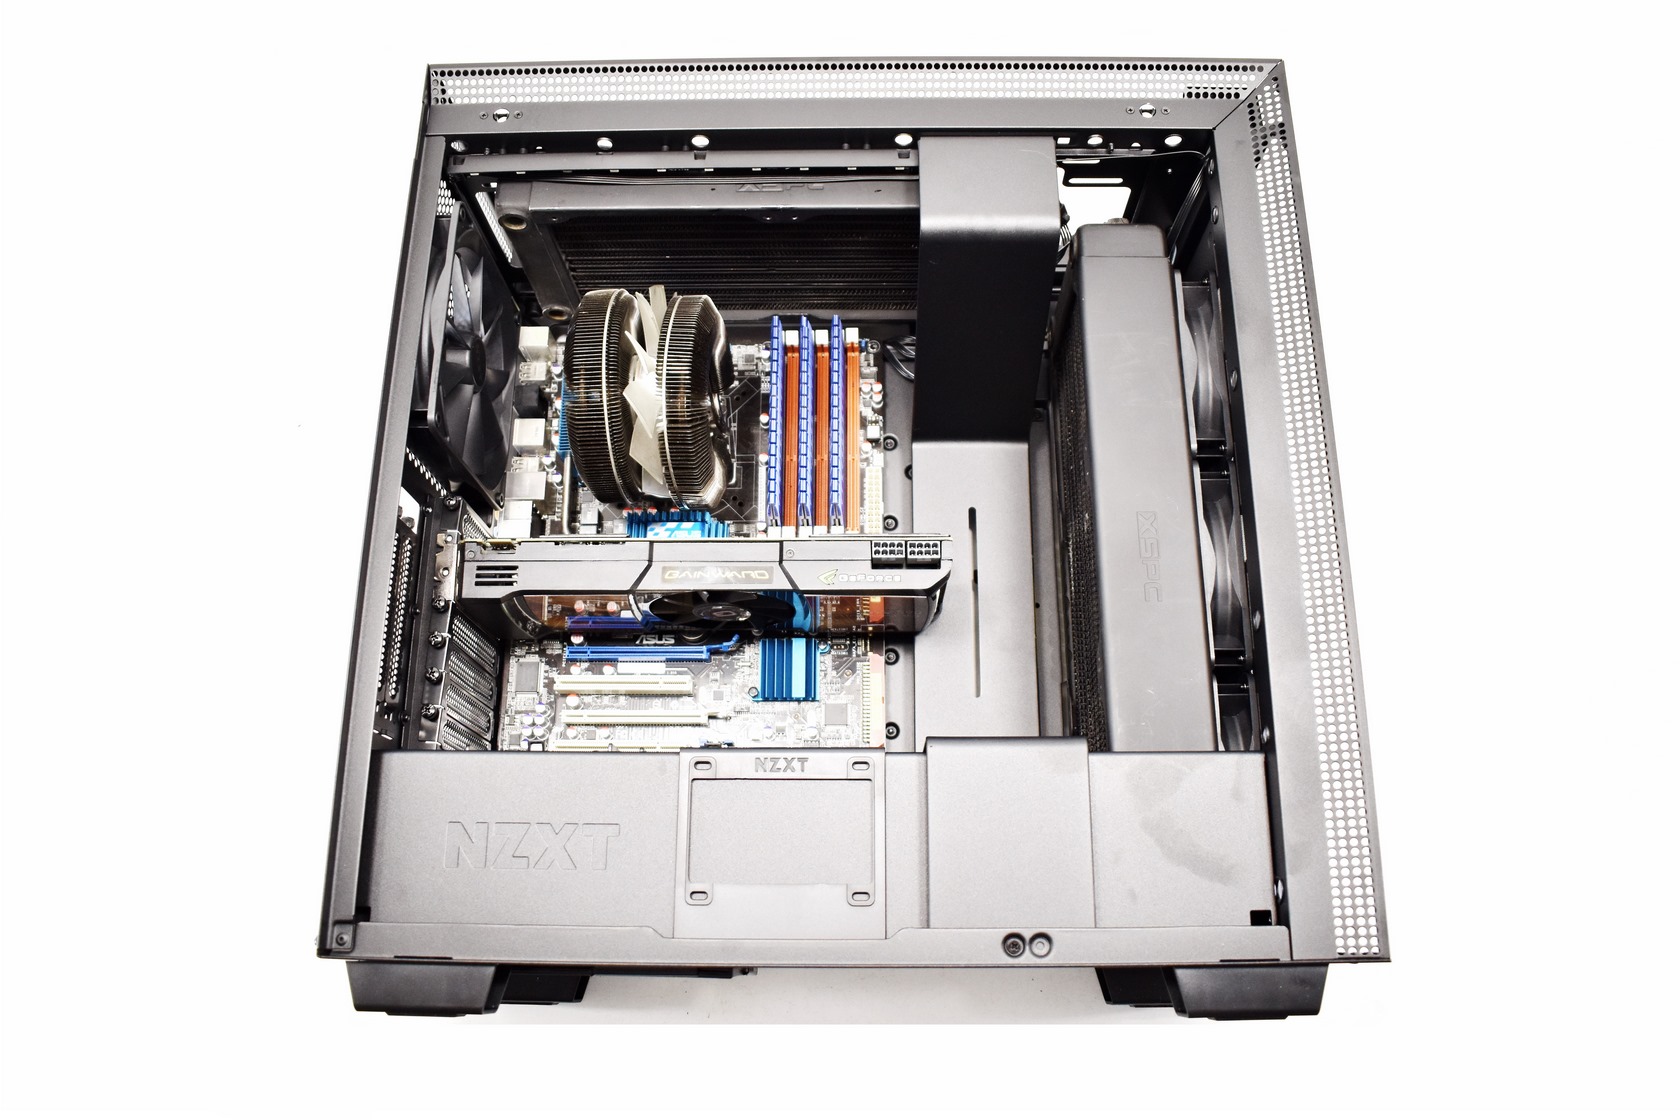
Even if you mount an 60mm thick radiator you'll still have room for 353mm long graphics cards which should be plenty.
NZXT CAM
You can download the CAM software from the official NZXT support page.
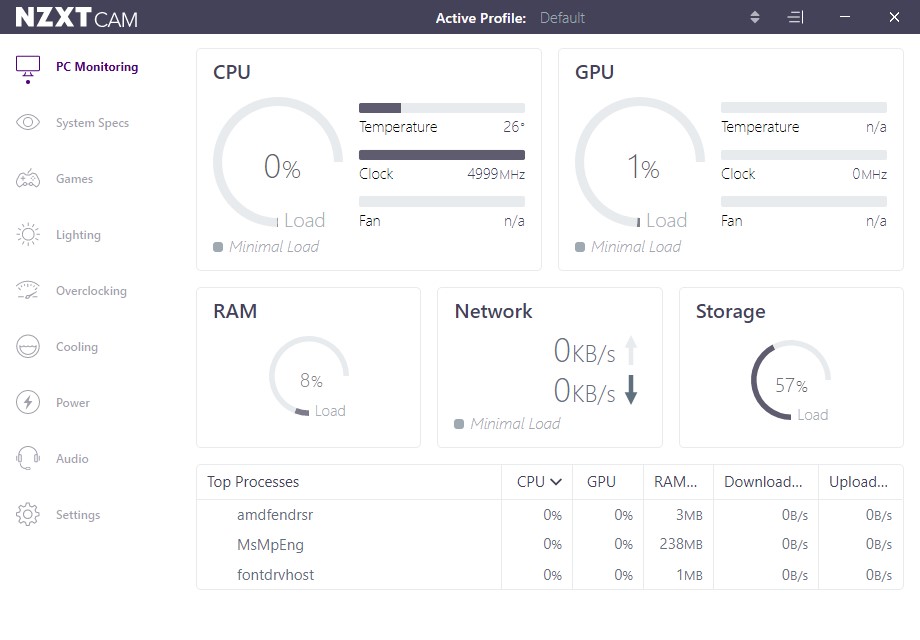
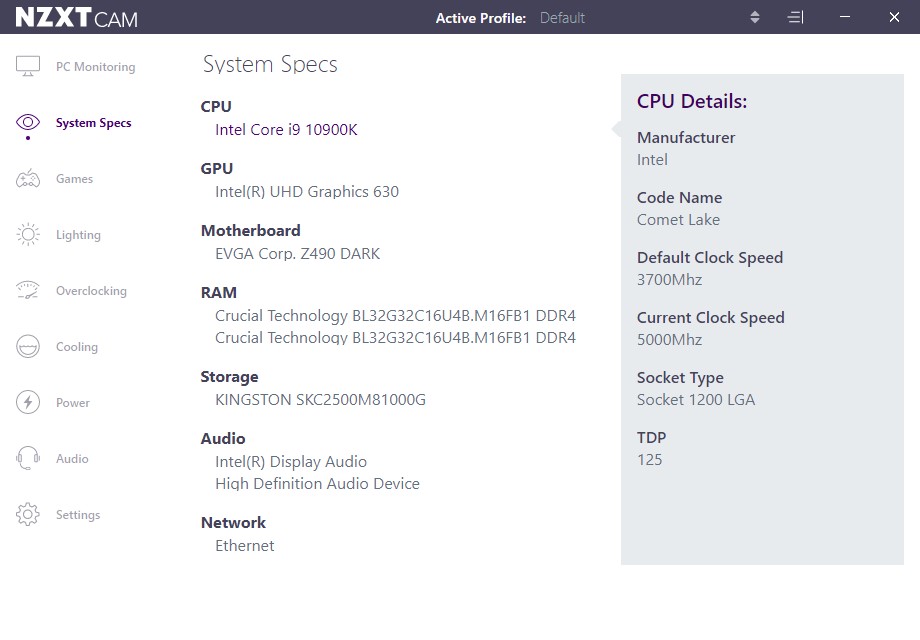 Just like in the past the CAM software can be used to monitor your PC, give you its specs and of course control its OC and cooling (when compatible devices are present).

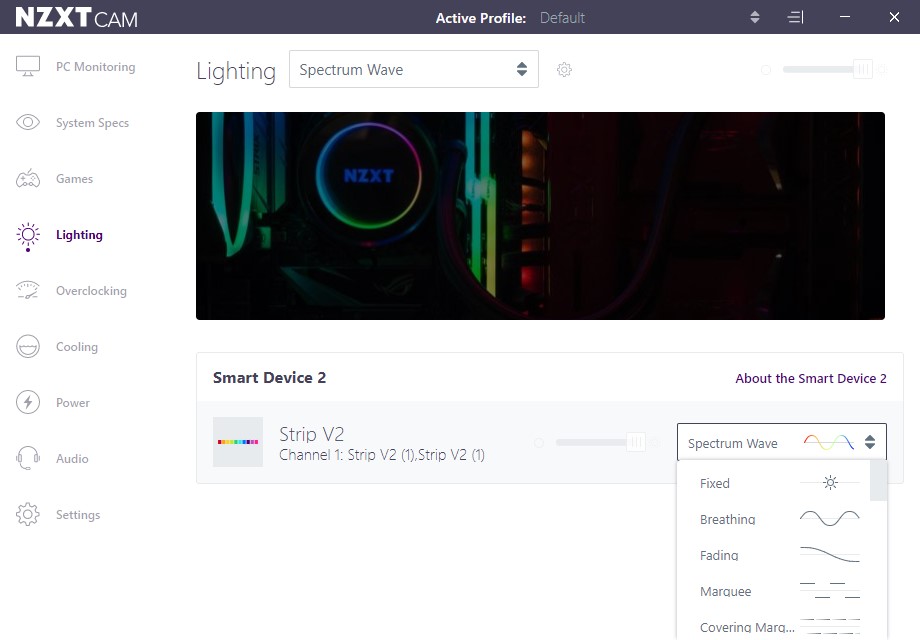


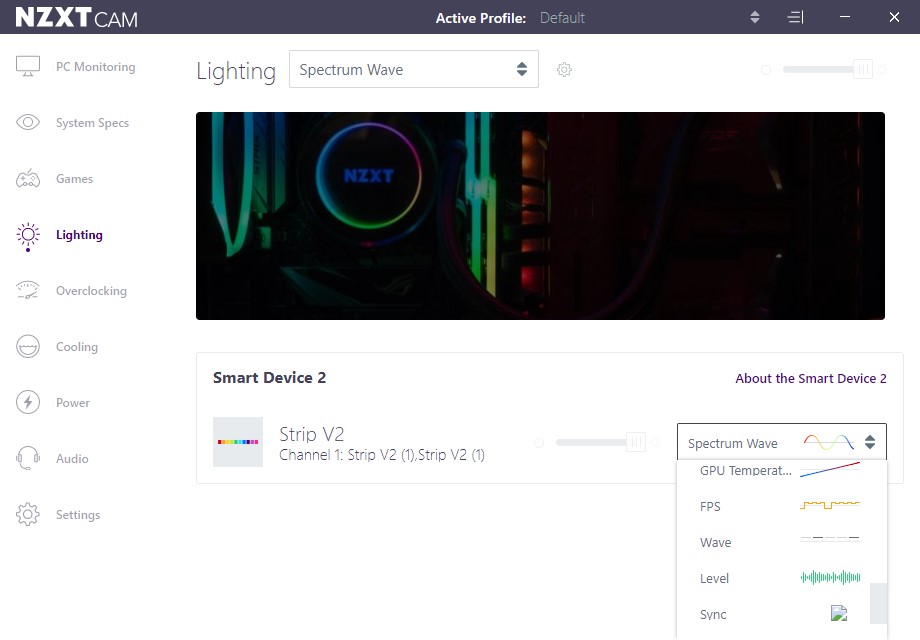

In this case it can be used to control the 2 ARGB LED strips and assign one of the 22 available effects.
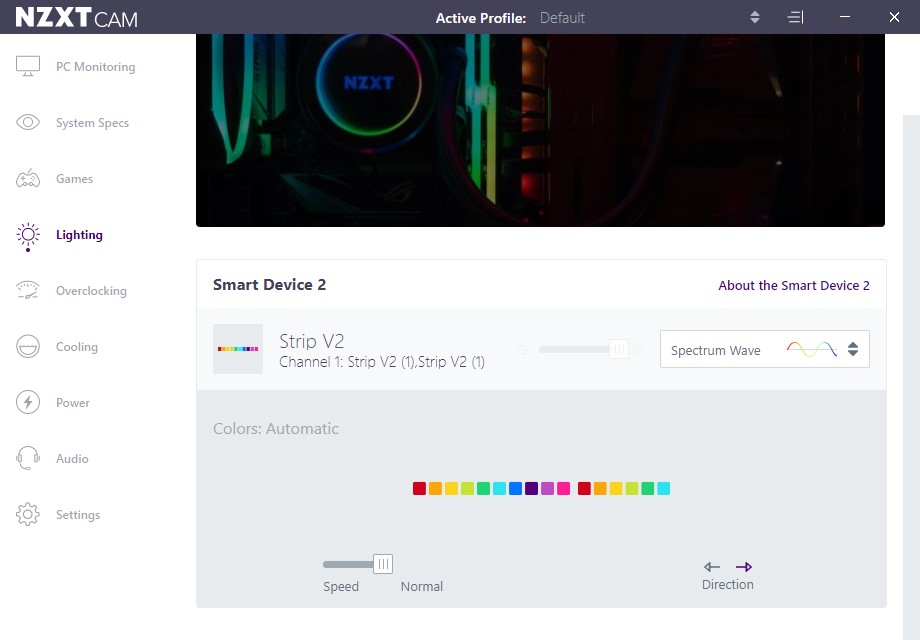
Of course, you can also adjust the colors, direction and speed of each effect.
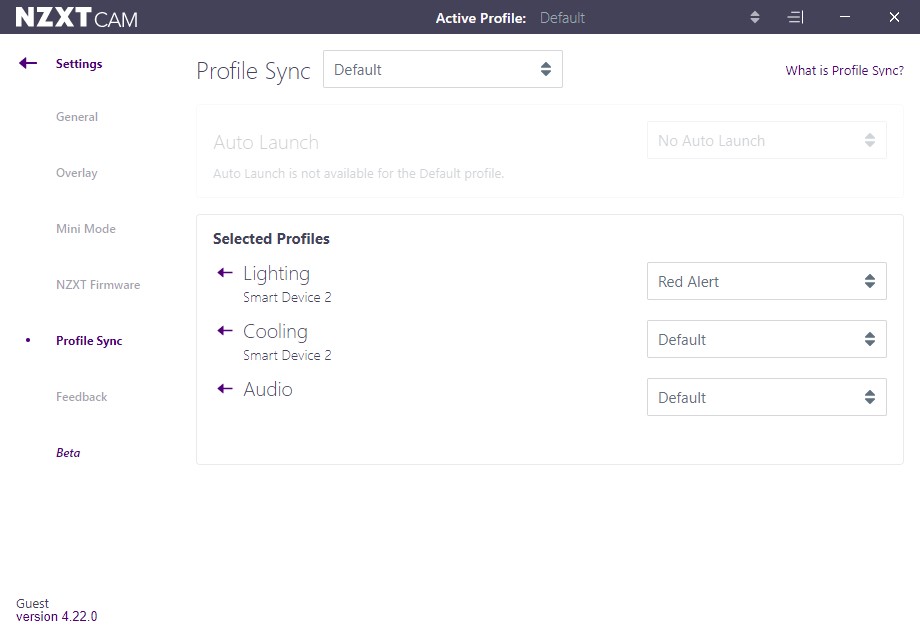
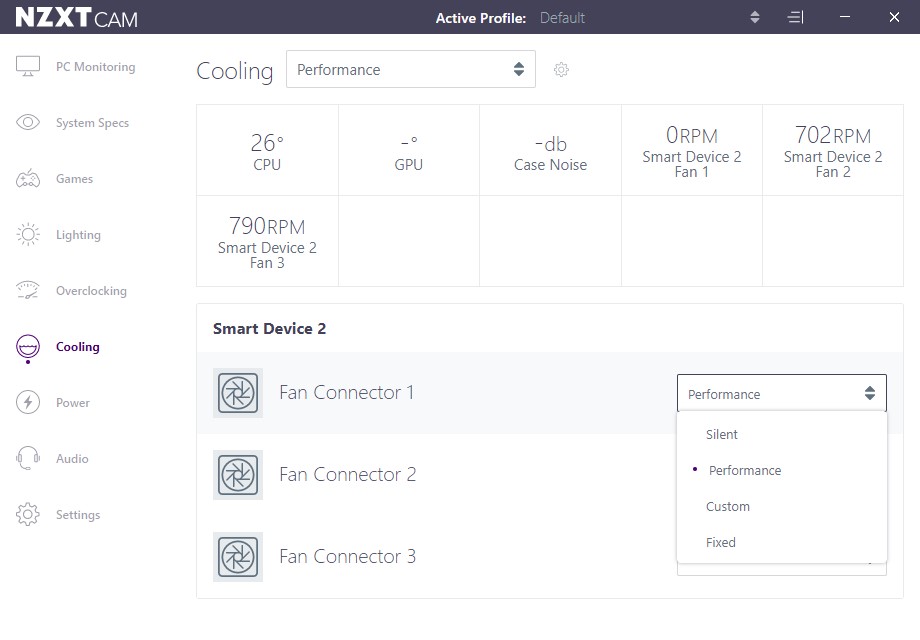 Worth mentioning is that if you own other NZXT compatible devices you can sync the effects with those as well and you can control attached fans.
NOISE LEVEL TEST
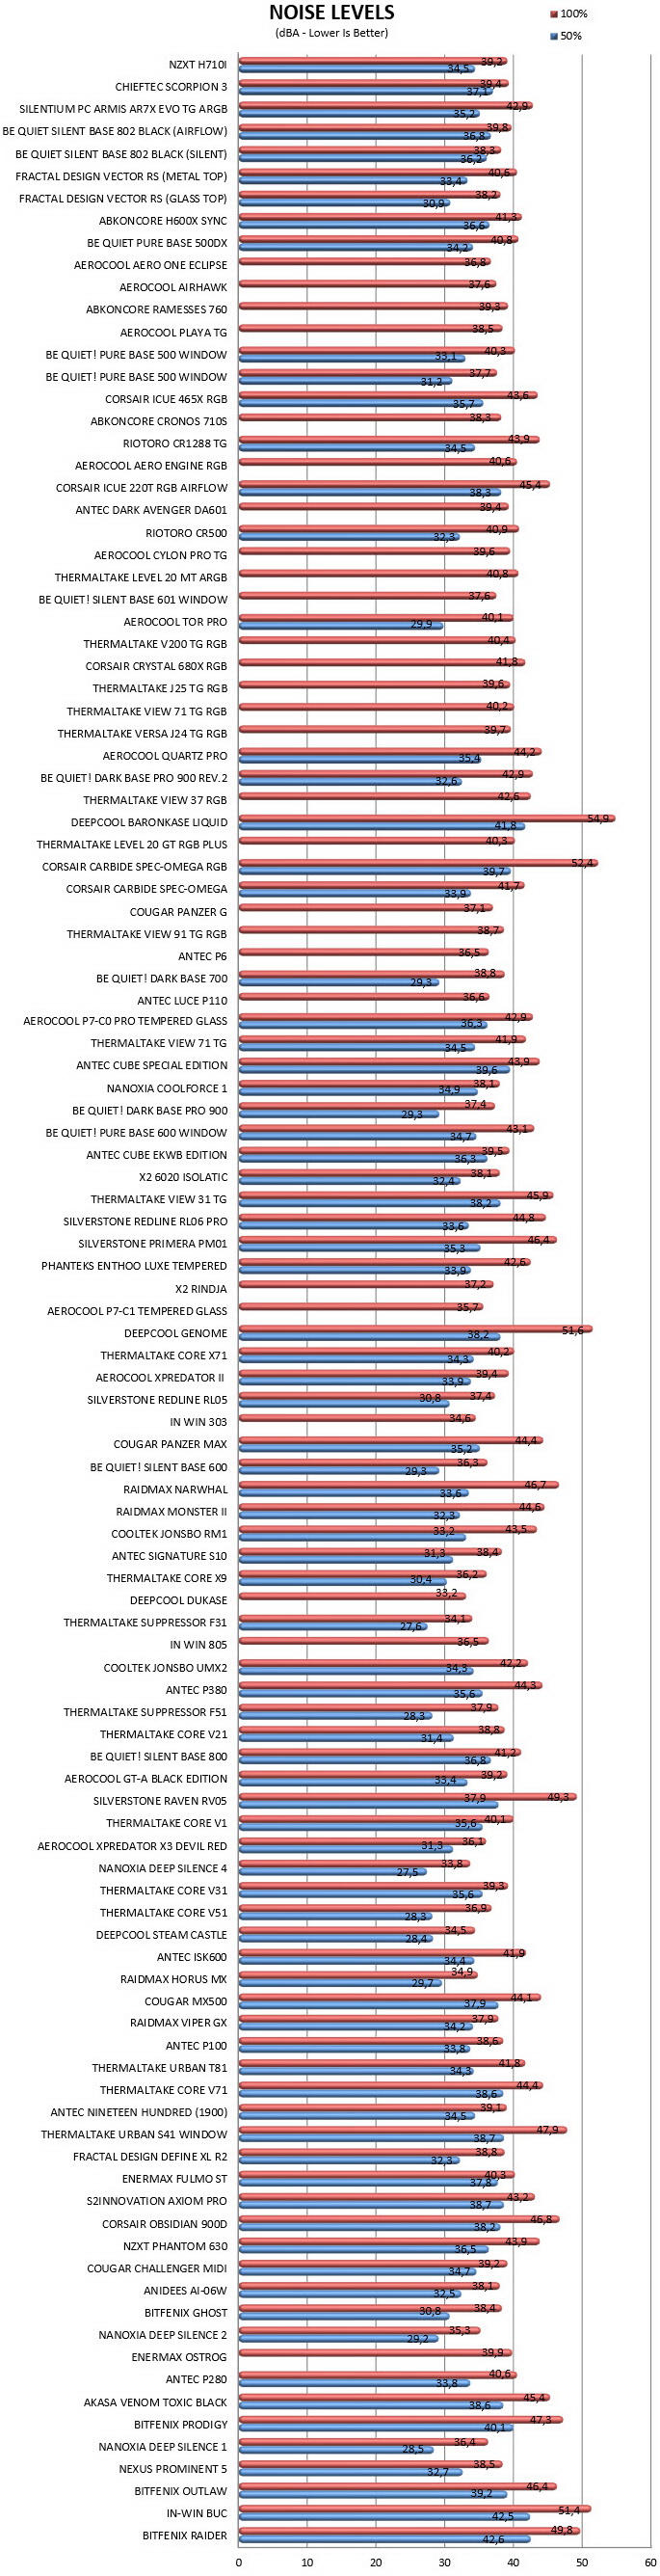
After giving it much thought, we decided on performing noise tests with each PC Case we receive by placing our ExTech HD600 vertically on top of each case to measure the noise levels emanating from the pre-installed fans at both 50% and 100% with the help of a fan controller (if the case doesn't have one, we use our own).
CONCLUSION
The NZXT H710i may not be the largest or most feature-rich mid-tower in the market today (nor the best looking one for that matter) but it’s also something we don’t see a lot in the market since it combines everything that matters namely good looks with spacious interior and a good set of features. The cable management design works very well, the dual ARGB LED strips look nice (thanks to the smart device V2 controller) and as for the 4 pre-installed AER fans well they provide plenty of airflow inside the case. The ability to also mount 280/360mm radiators at the front and top of the case is also welcome and should come very handy for people looking to equip the H710i either with one or more AIO’s or a custom water cooling kit. As for the NZXT CAM software well it may not be the why I’d choose the H710i for (I think its design needs a bit of work) but it’s always nice to have something with which not only can you control the looks of the tower but also its cooling.
With a price tag currently set at USD169.99 inside the USA (Amazon.com) and at 161.76Euros inside the EU (Amazon.de) the NZXT H710i premium mid-tower is priced relatively well. Bottom line aside counting already roughly 20 months in the market I really have nothing bad to say about the NZXT H710i. It’s got a spacious interior, looks, good build quality, several interesting features (including the Cam software) and it doesn’t cost more than it should and so for all of these it certainly deserves the Golden Award.

PROS
- Build Quality (Tempered Glass & SGCC Steel)
- 2 ARGB LED Strips (Smart Device V2)
- Airflow Levels (4 Preinstalled Fans)
- Removable Fan/Radiator Bracket
- 2 Radiator Mounts (240/280/360mm)
- Space For 185mm Tall CPU Coolers, 413mm Long Graphics Cards & 240mm Long Power Supply Units
- NZXT Cam Software
- Front & Bottom Removable Air Filters
- Available Colors
CONS
- I/O Panel (Only 2 USB A Ports & No Reset Button)


.png)

