O-Sense


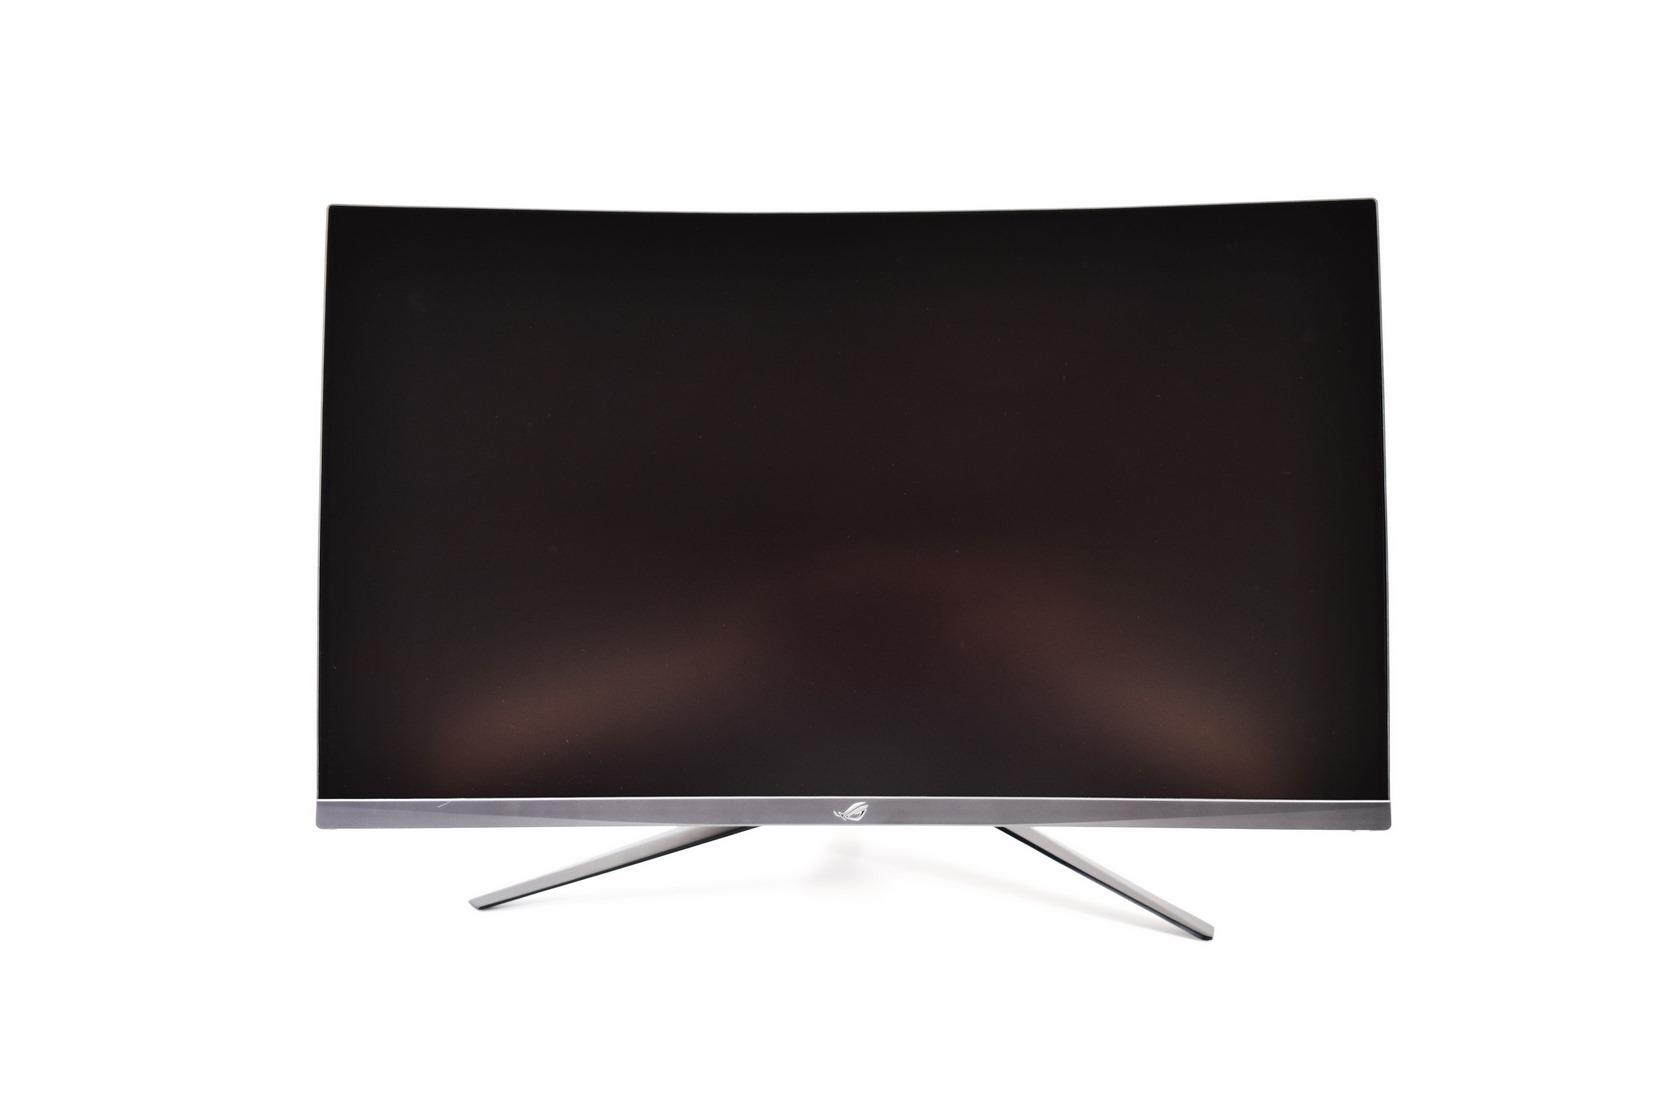
THE ROG STRIX XG32VQ
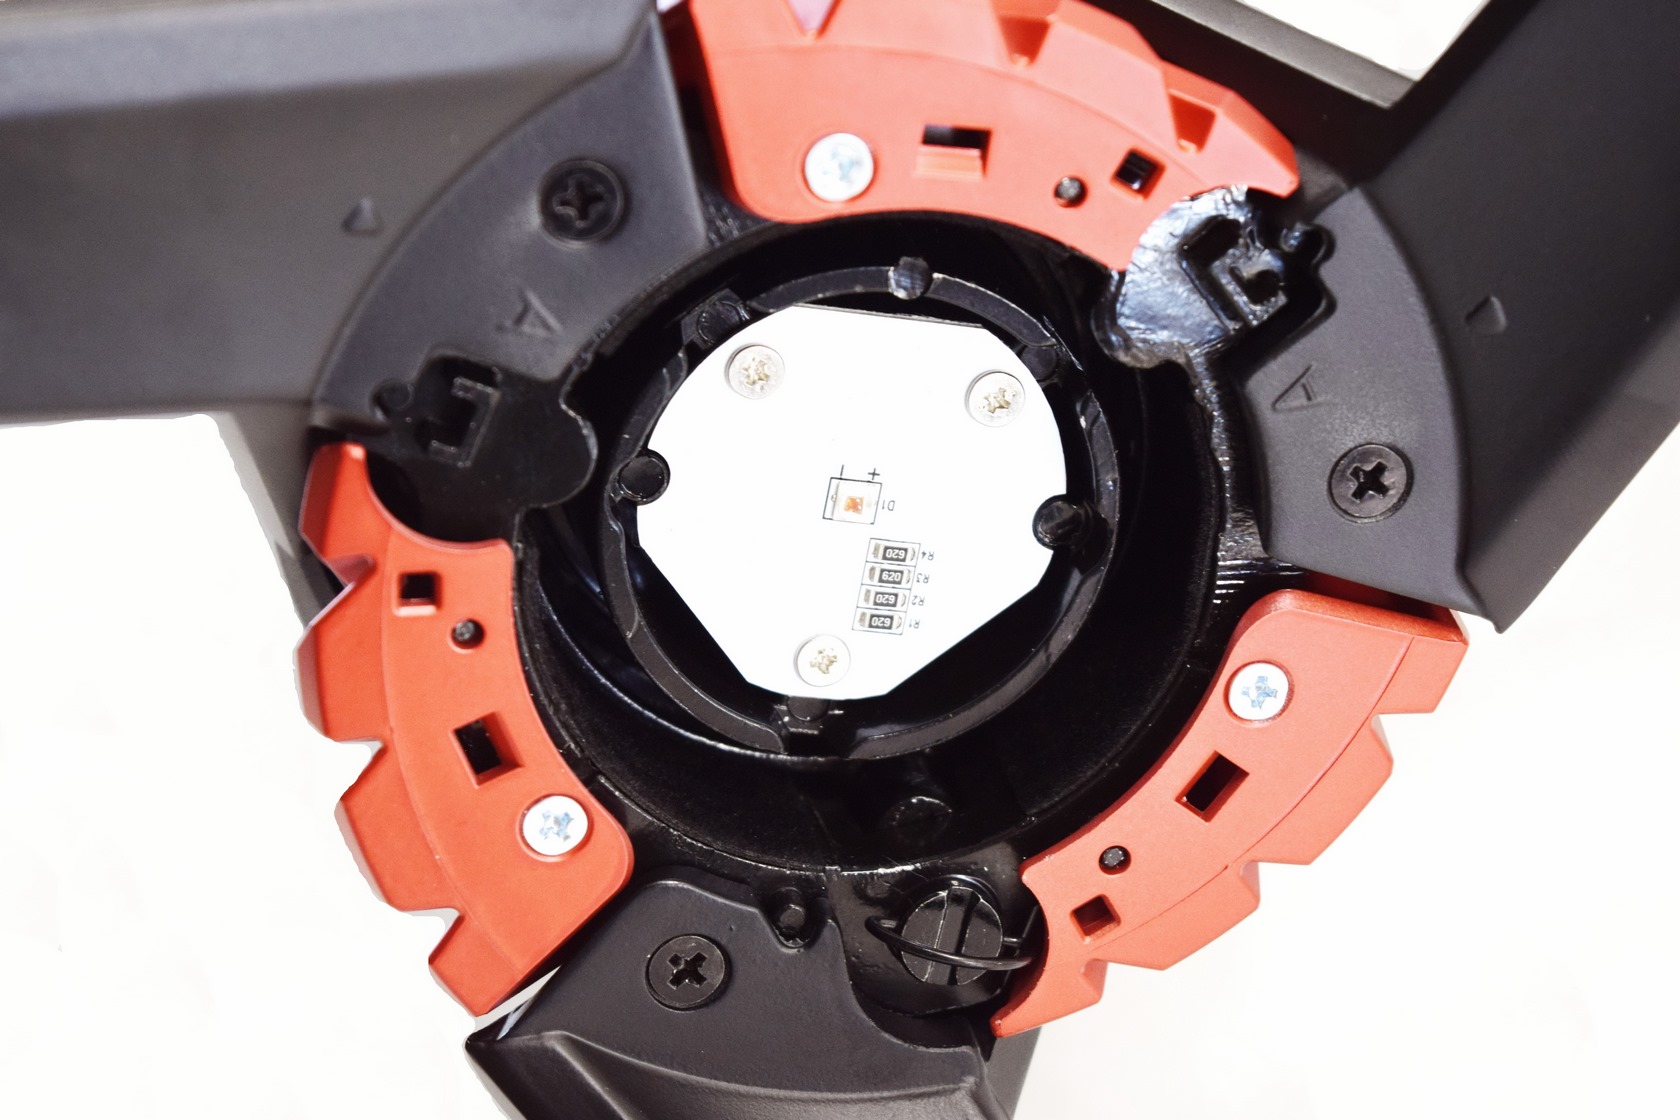
First thing to do is to attach the base to the stand of the screen as seen above (you can also see the LEDs located at the end of the stand).

After that you can place the bottom of the base with one of the three available covers.
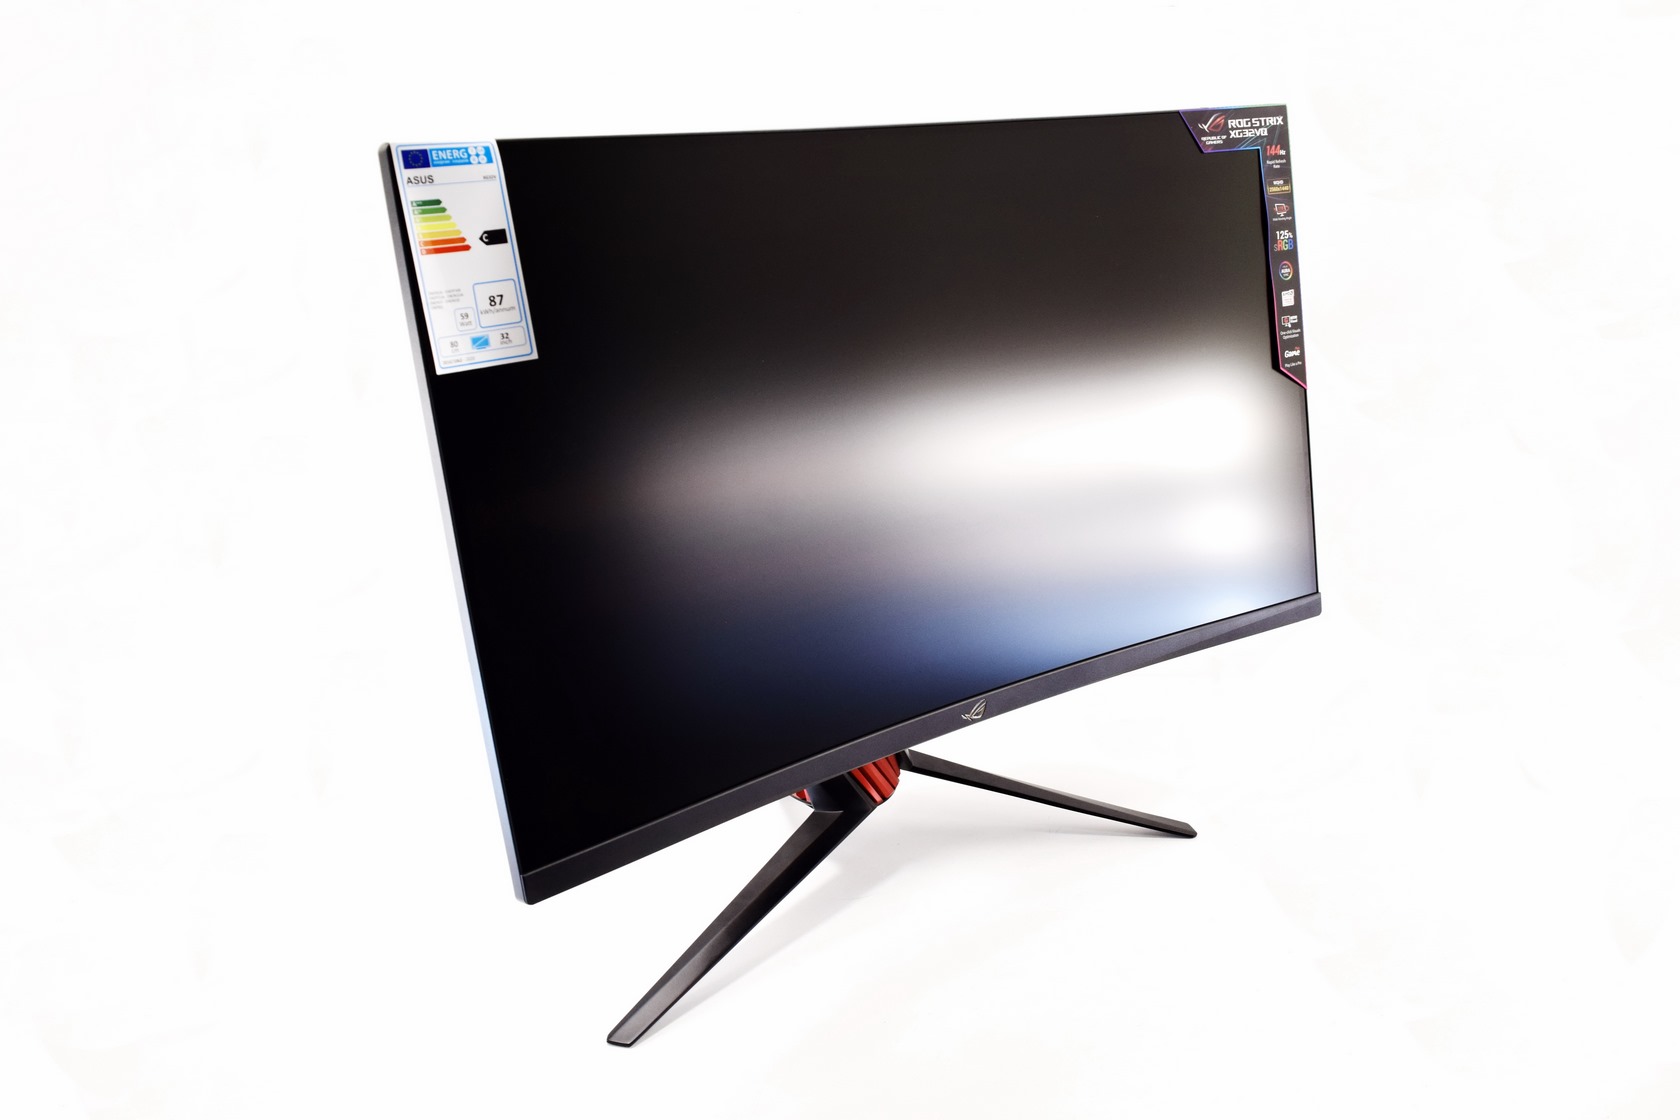
The black and red color combination chosen by ASUS looks great (a bit redder wouldn't hurt).
Measuring 713.38mm in width the wide screen of the ROG Strix XG32VQ could be more ideal for many consumers compared to ultra-wide models.
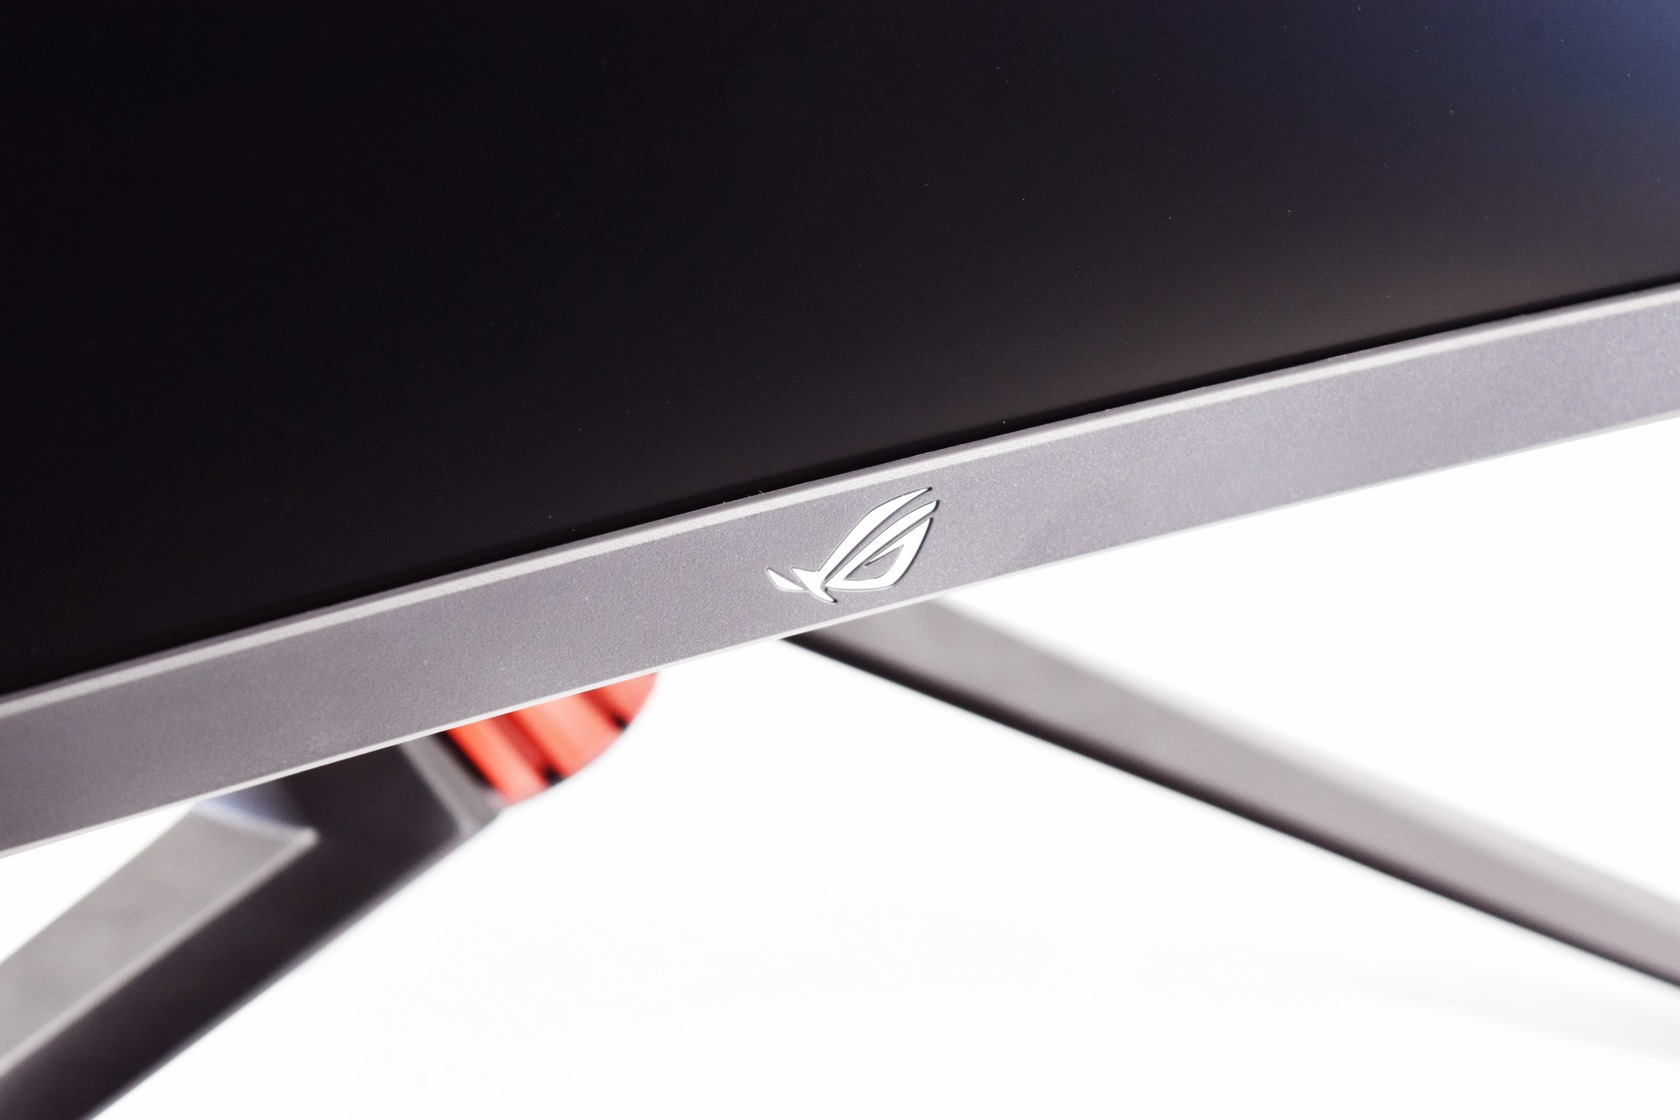
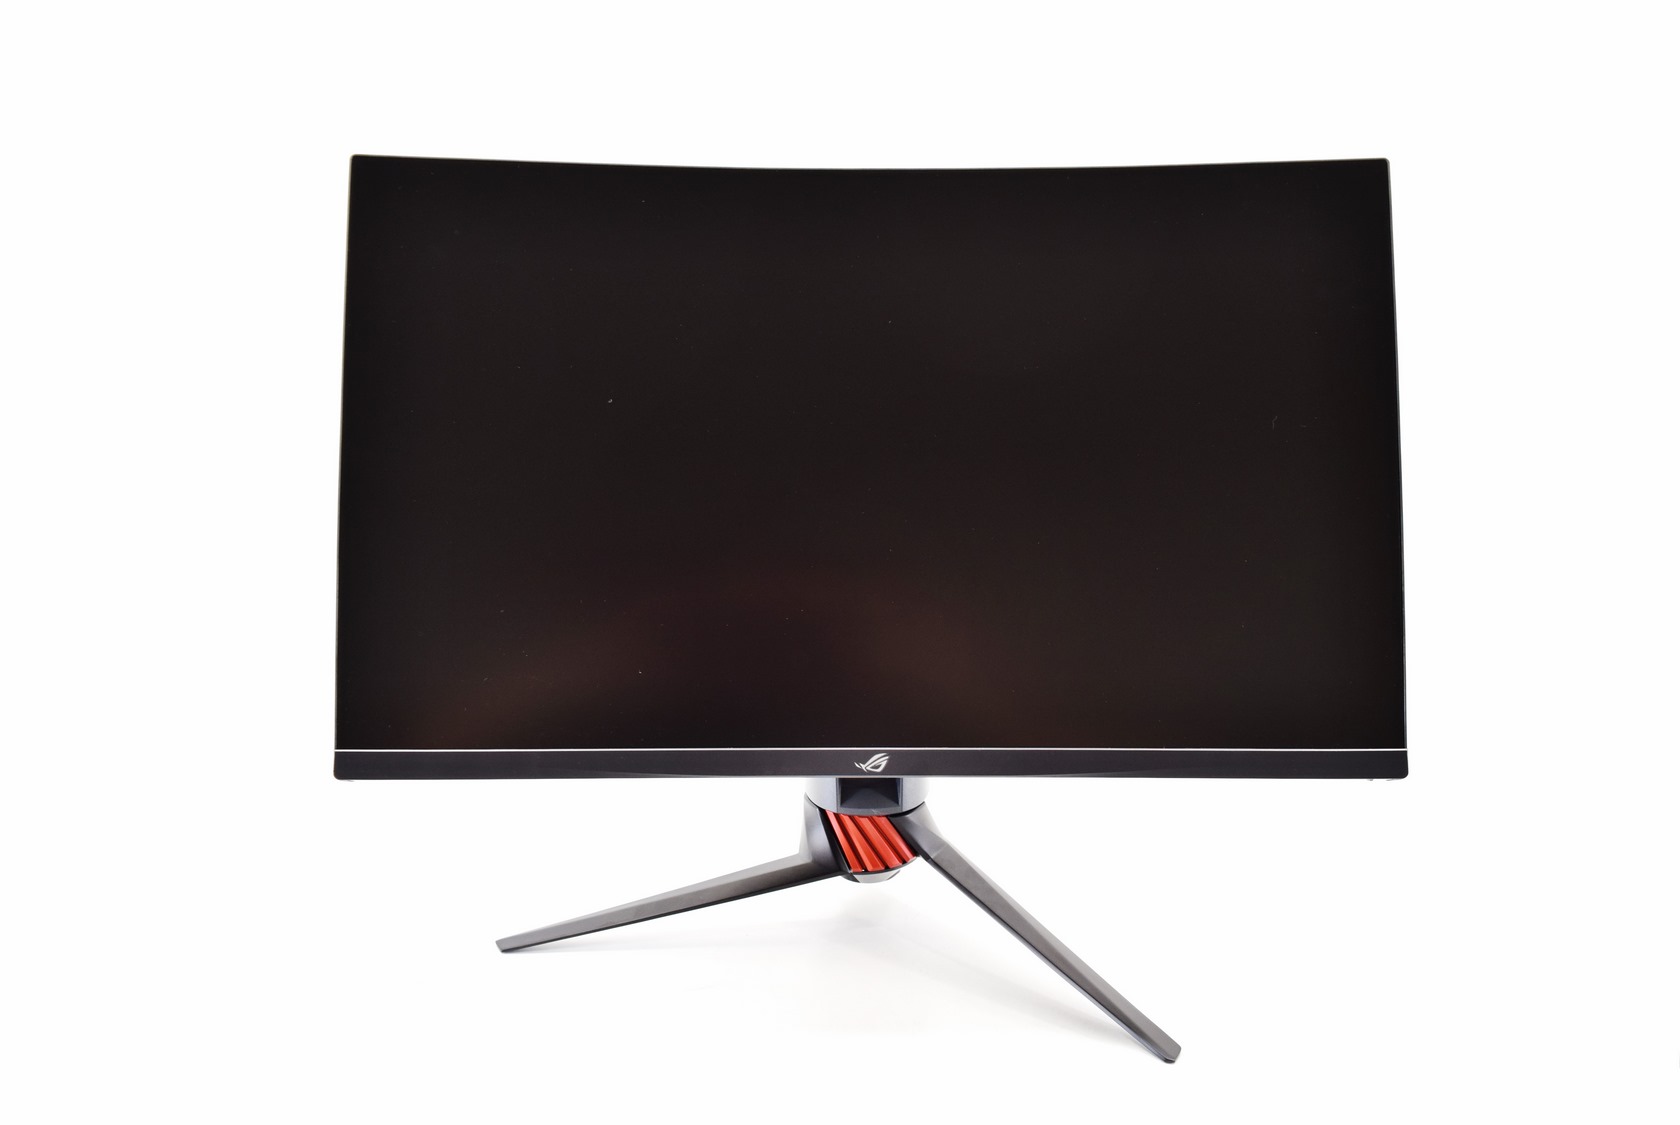
The ASUS ROG Strix logo is placed at the center of the bottom bezel.
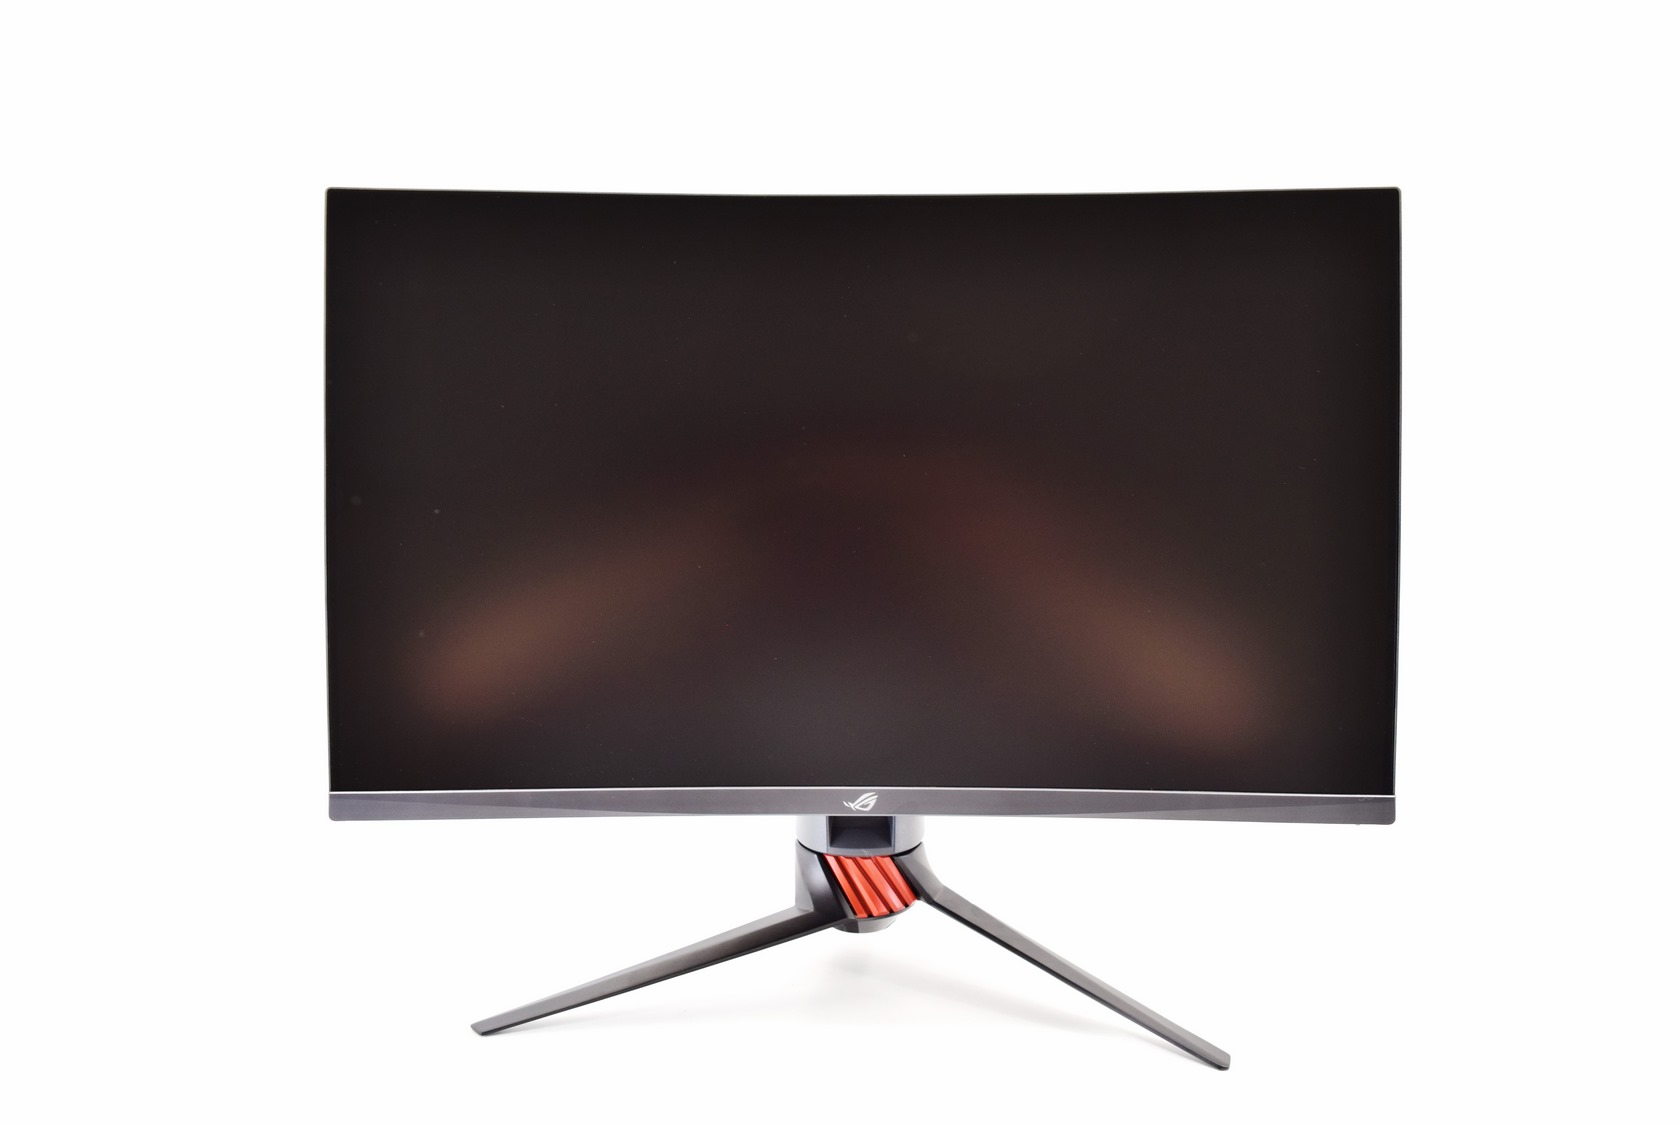
ASUS has used a height adjustable stand which can set the screen as low as 68mm and all the way up to 178mm from your desk.
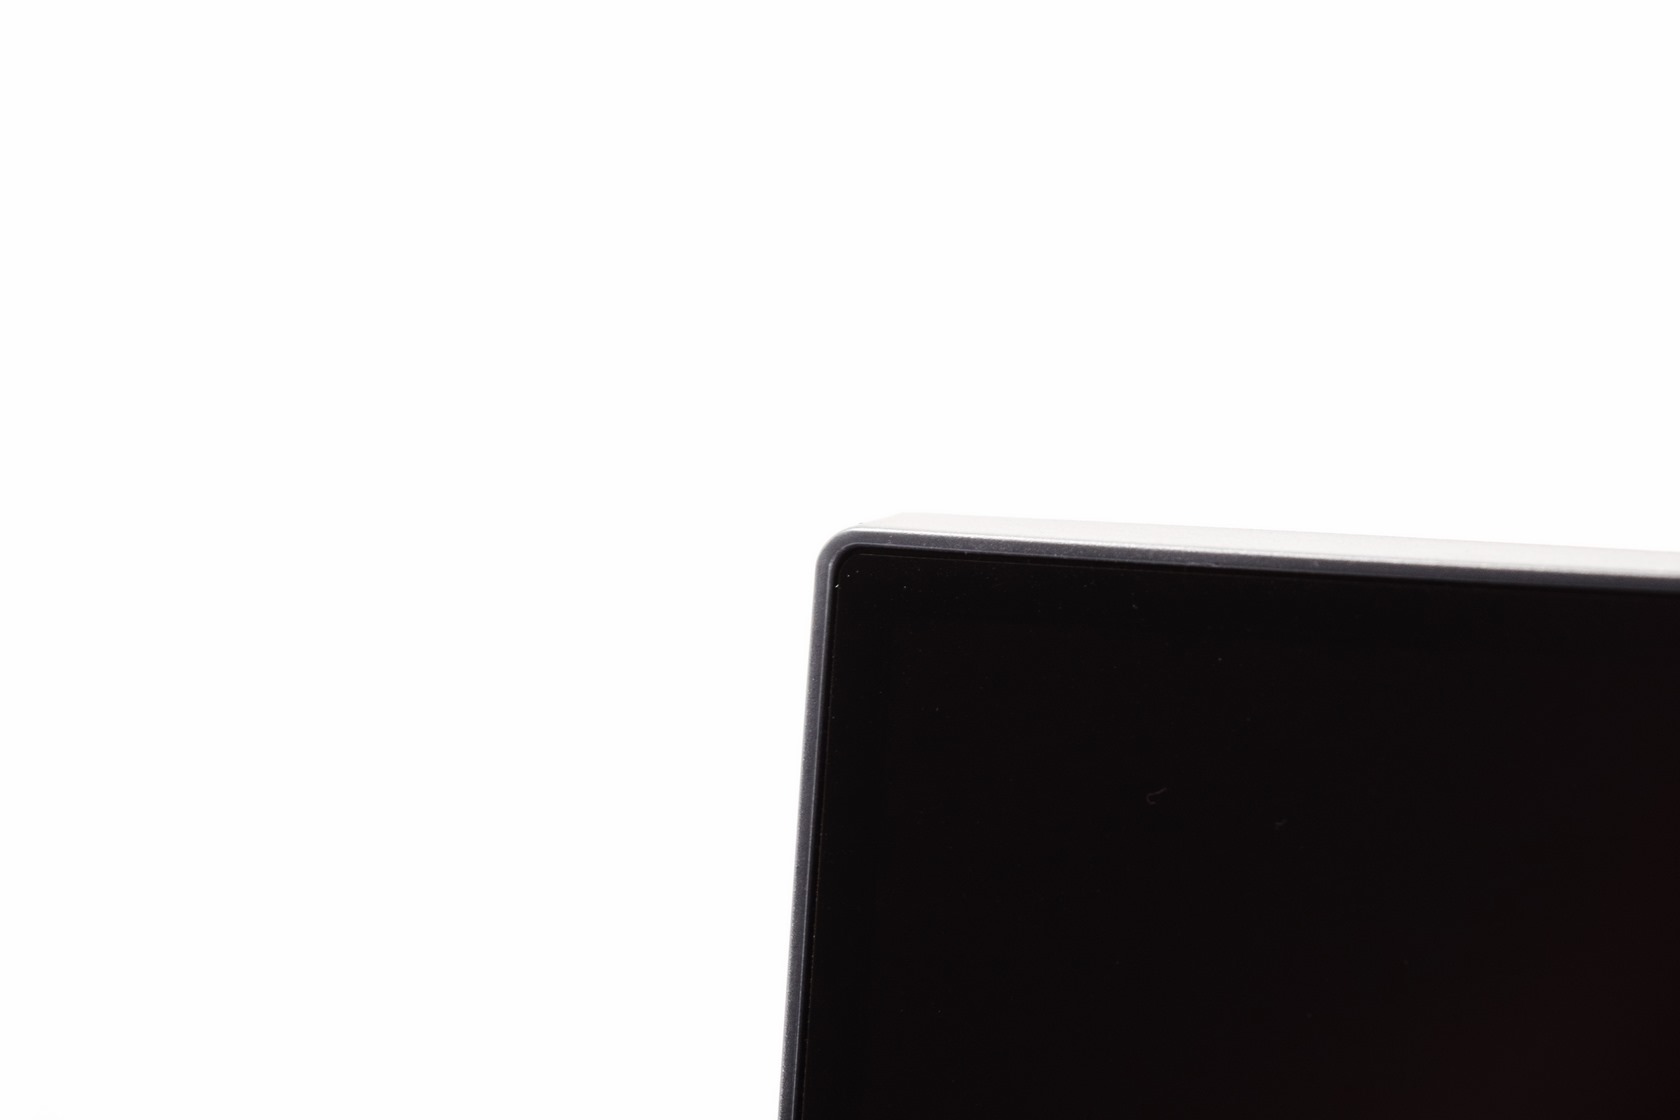
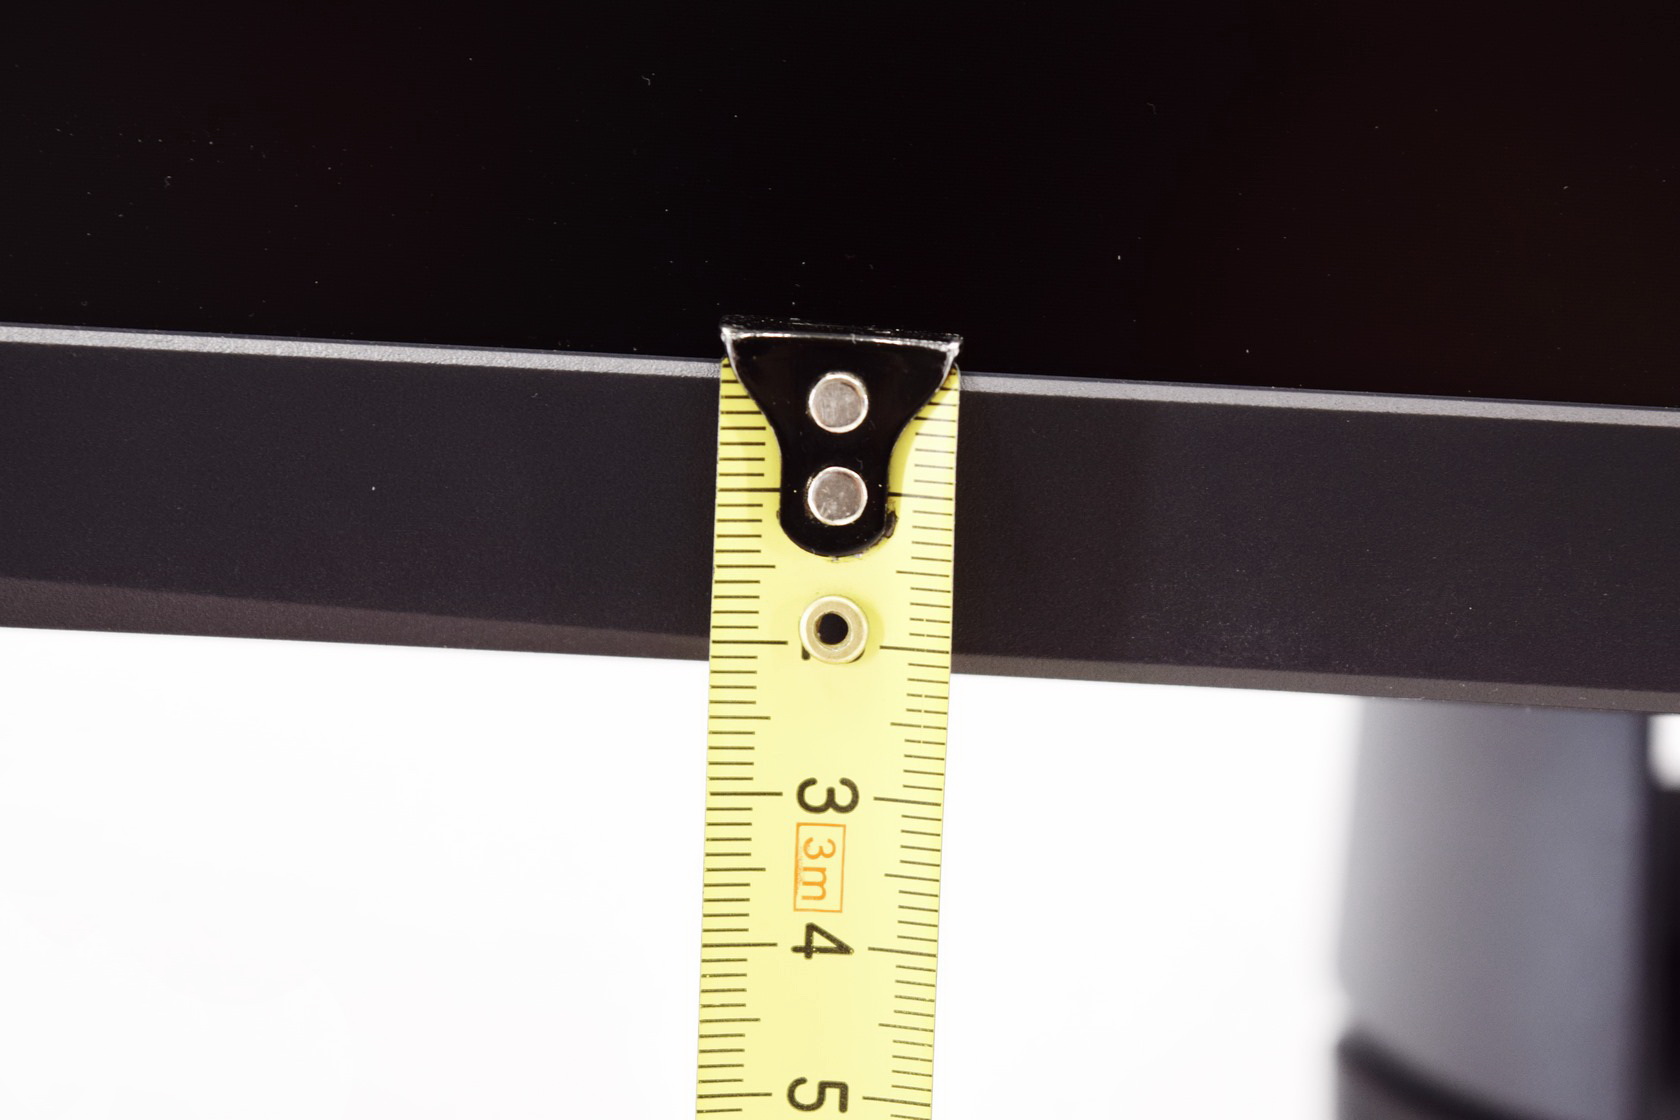
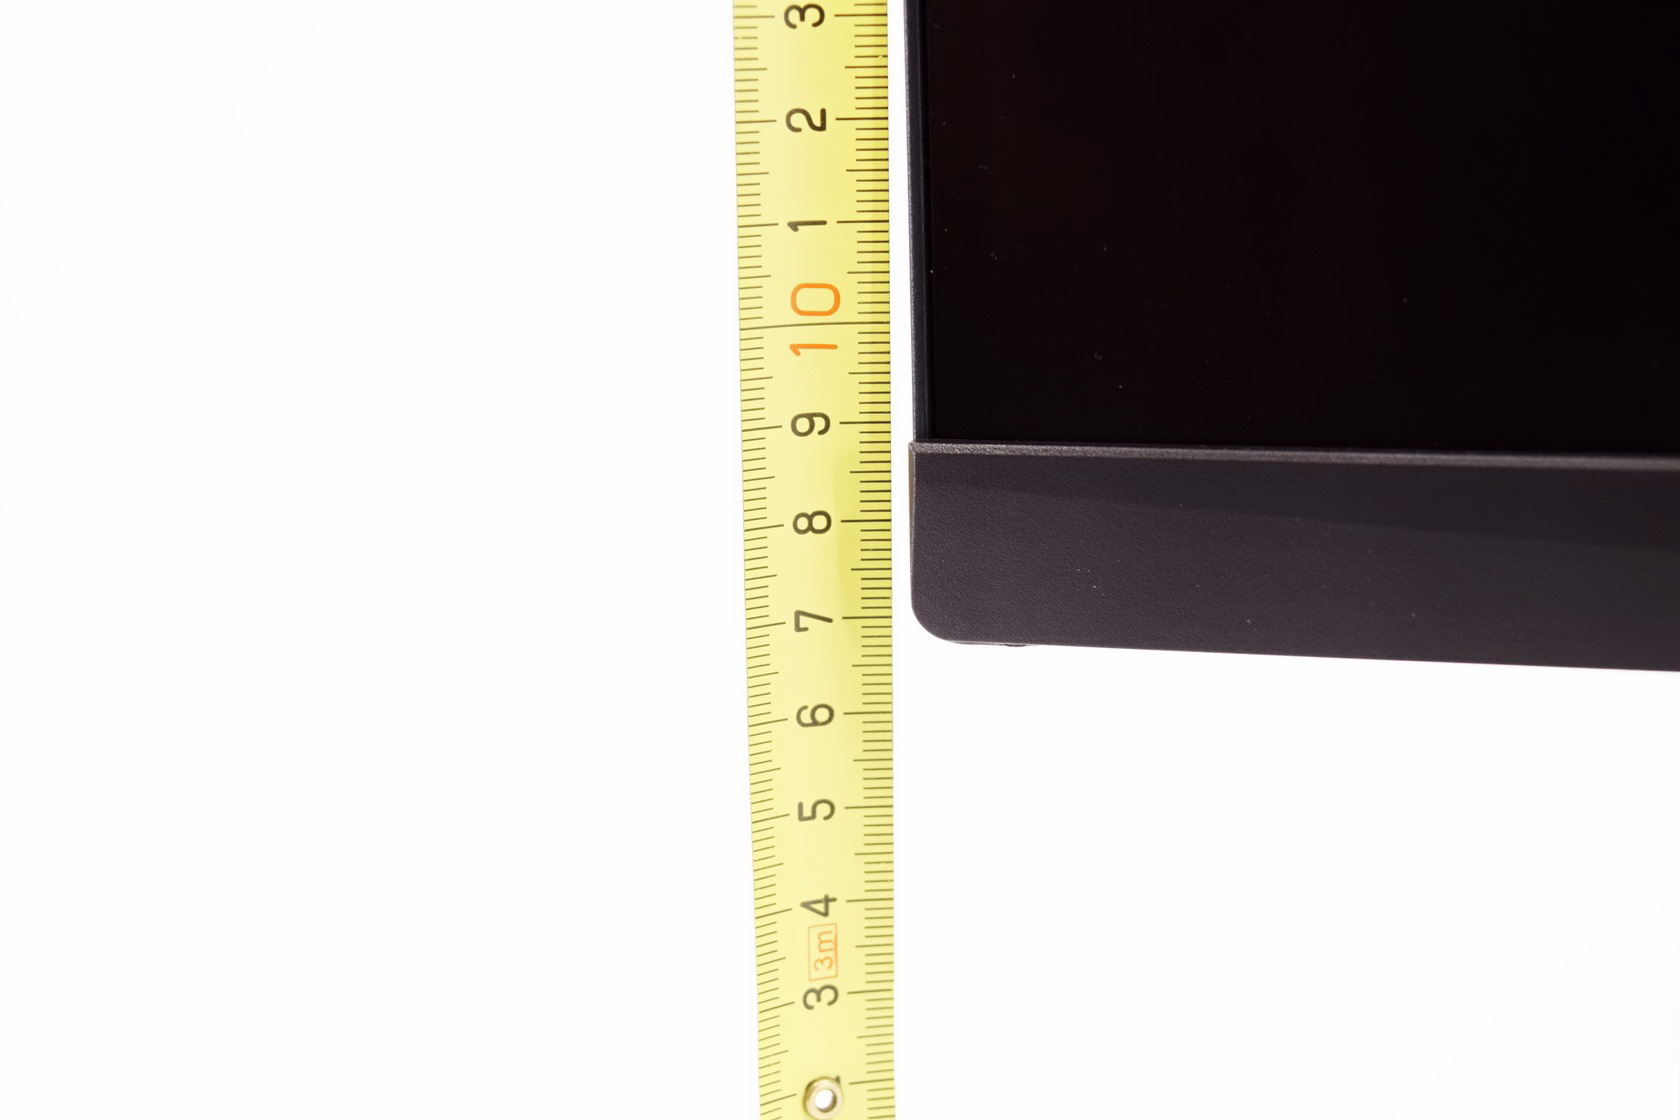
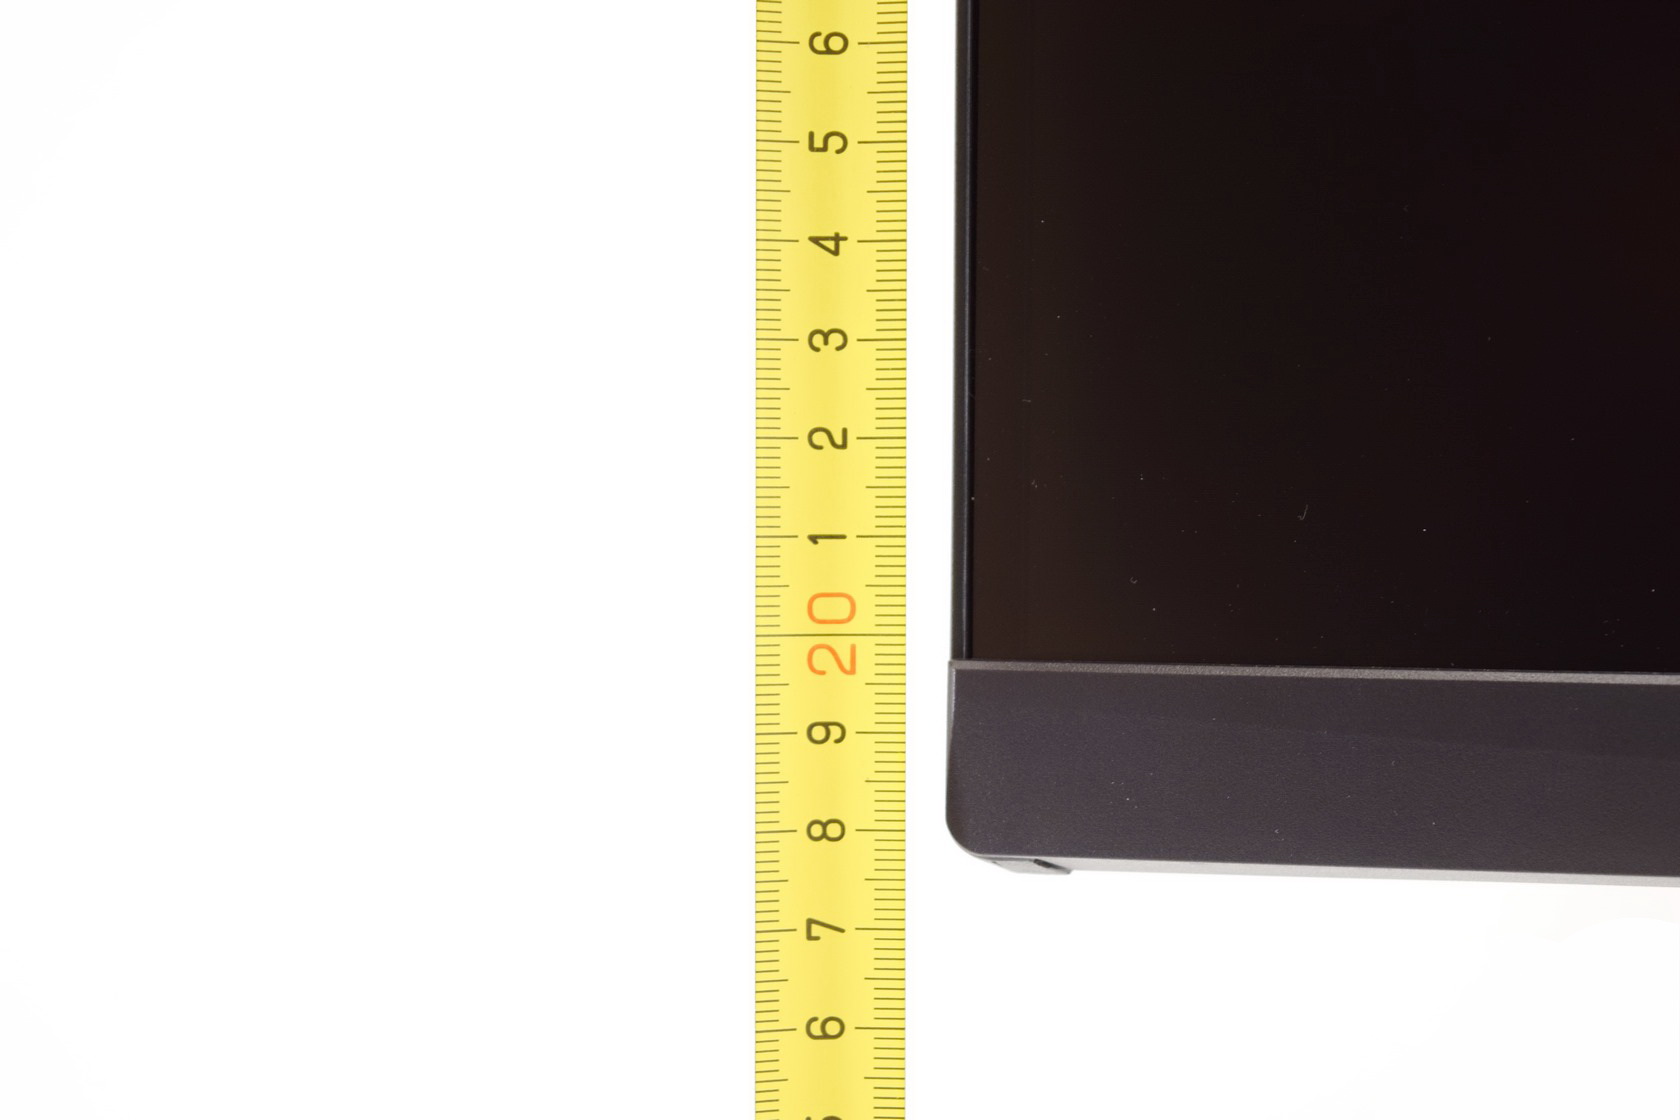
It's also worth pointing out that the bezel is roughly just 1mm on all sides but the bottom which is roughly 21mm thick.
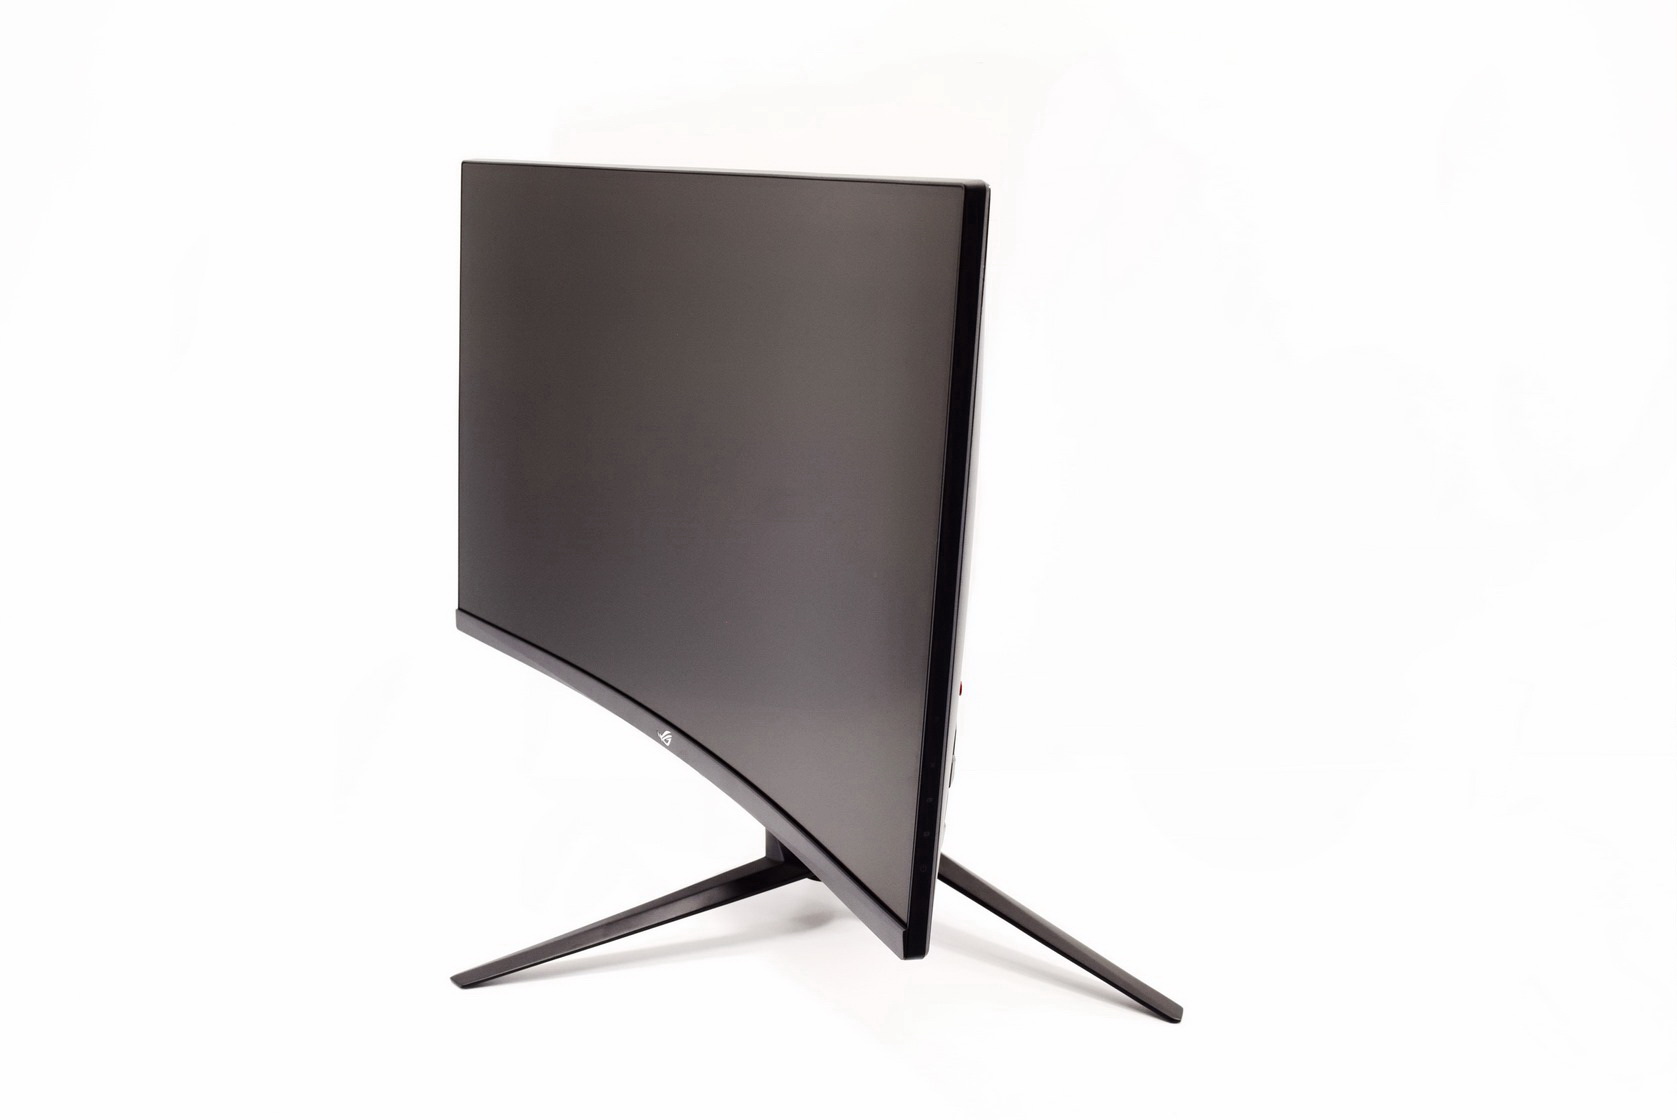
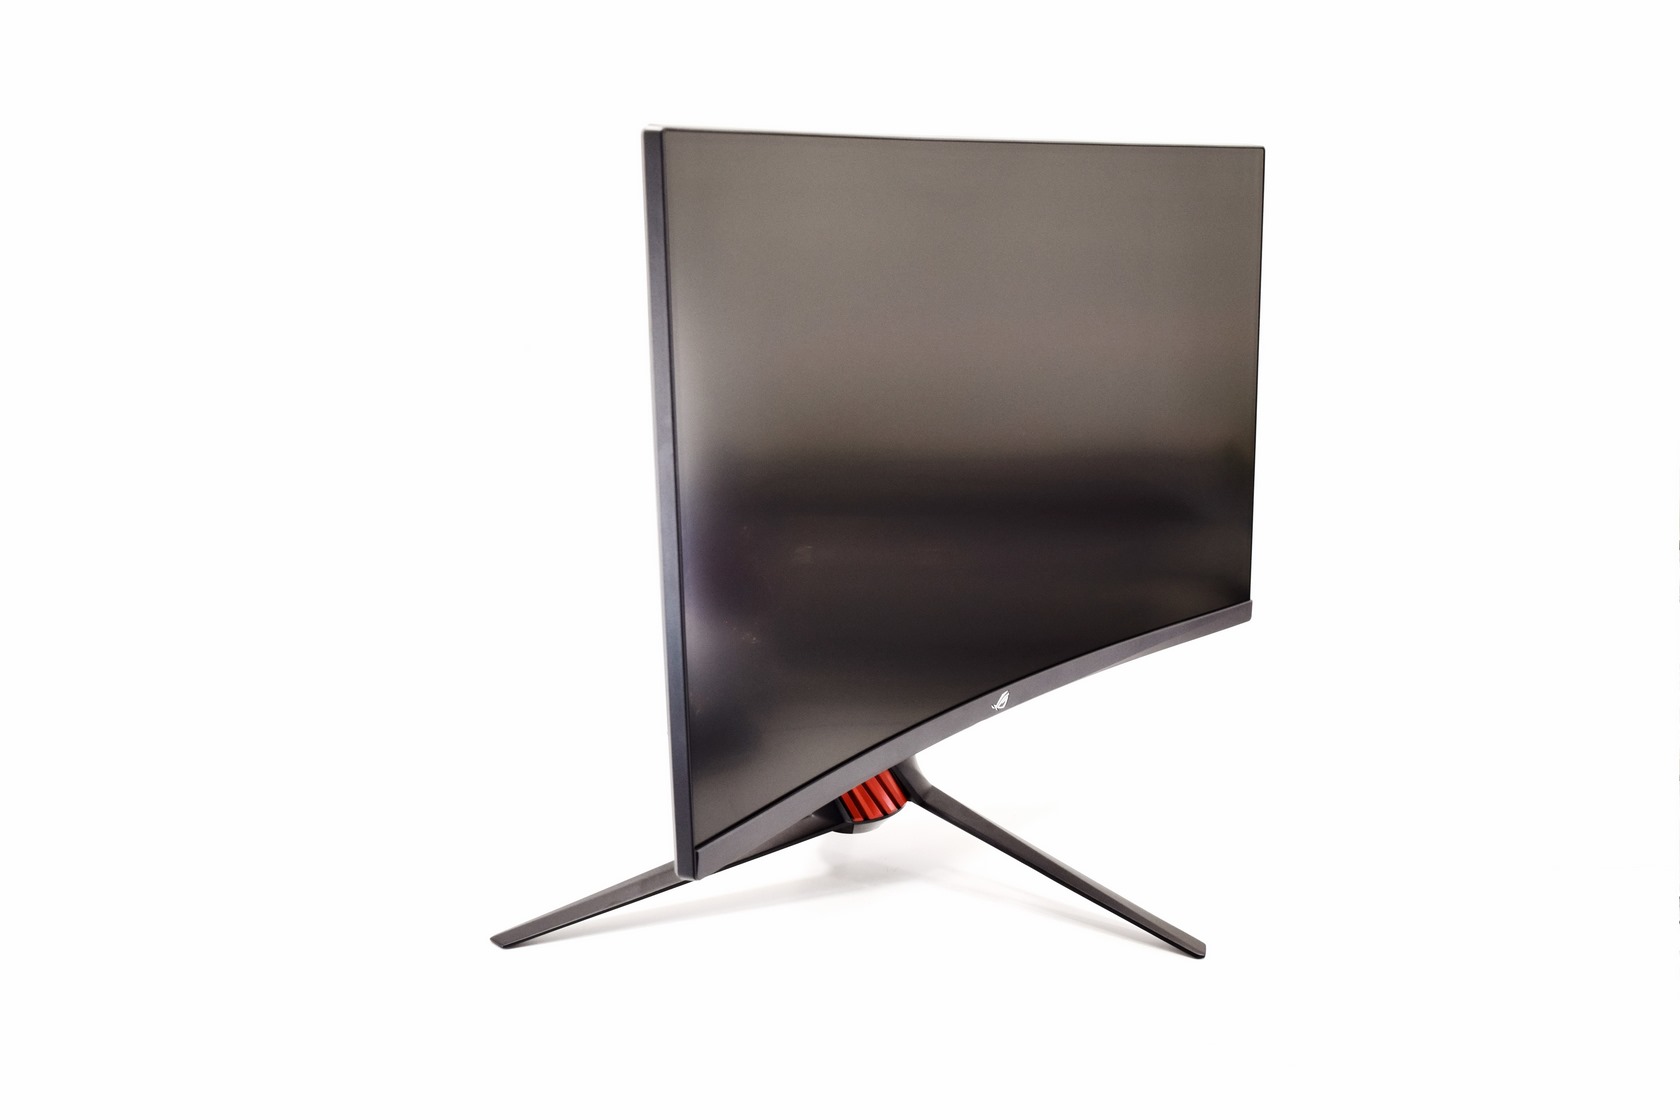
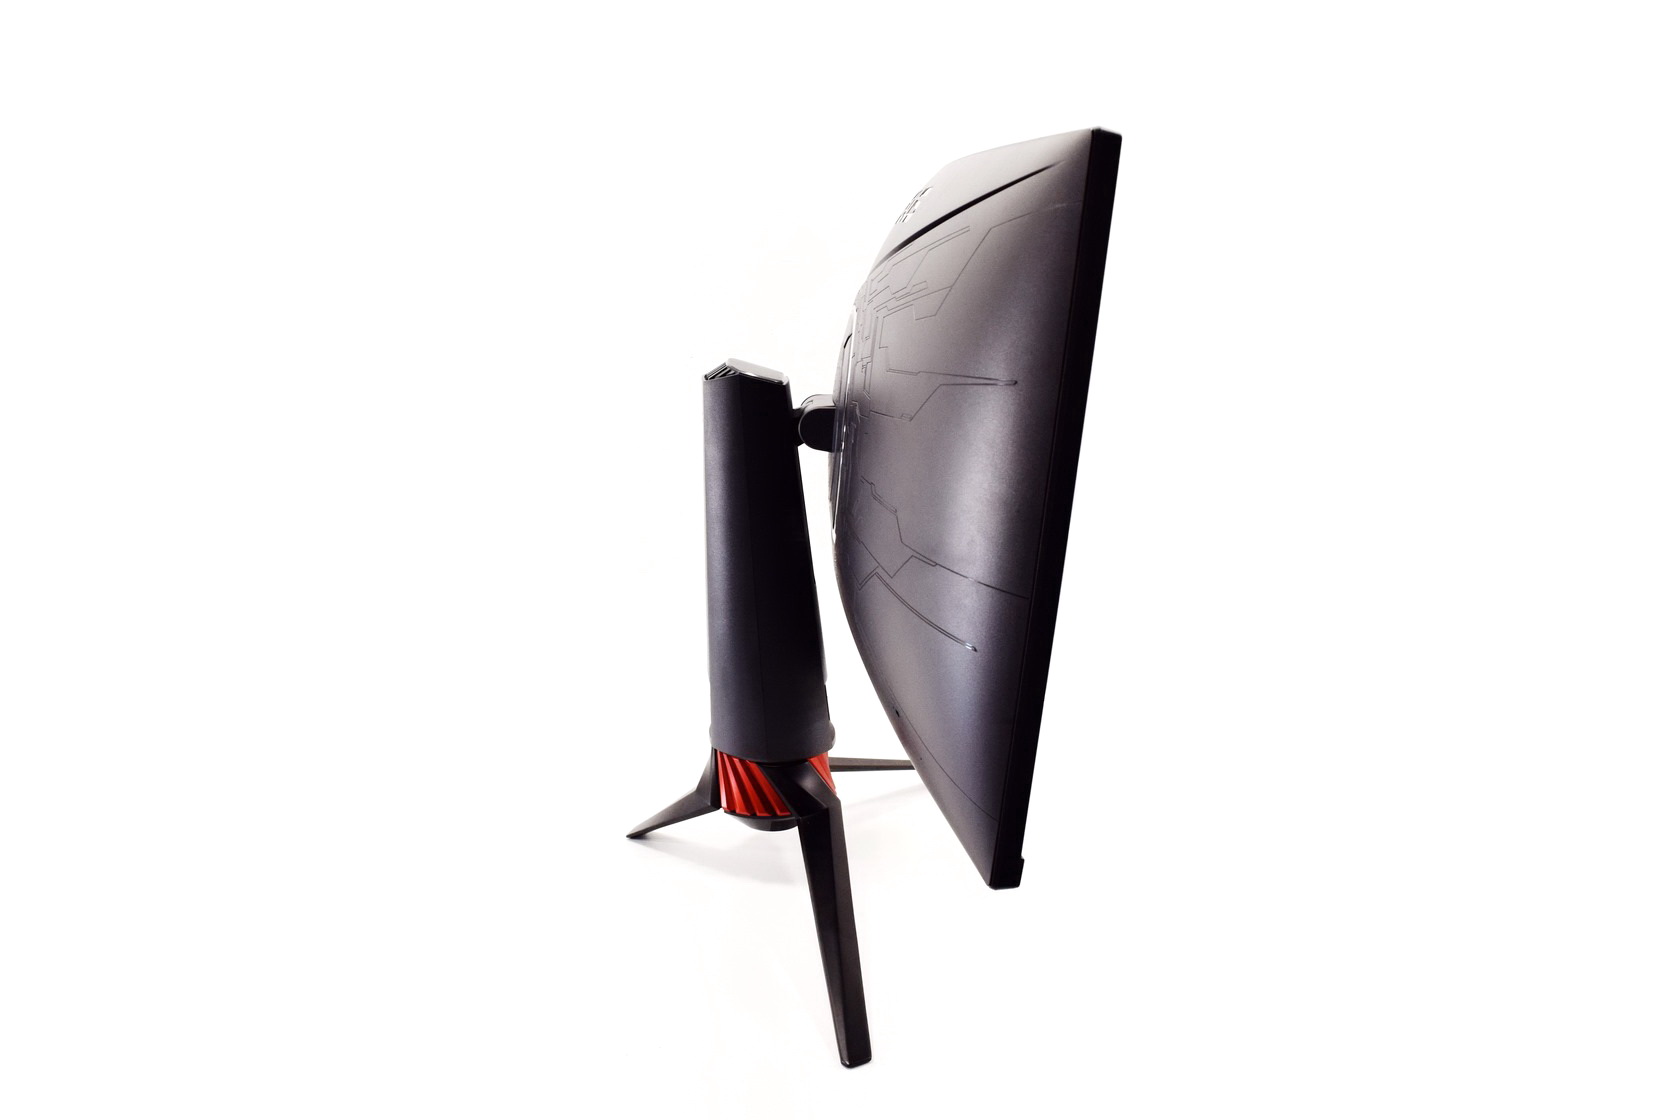
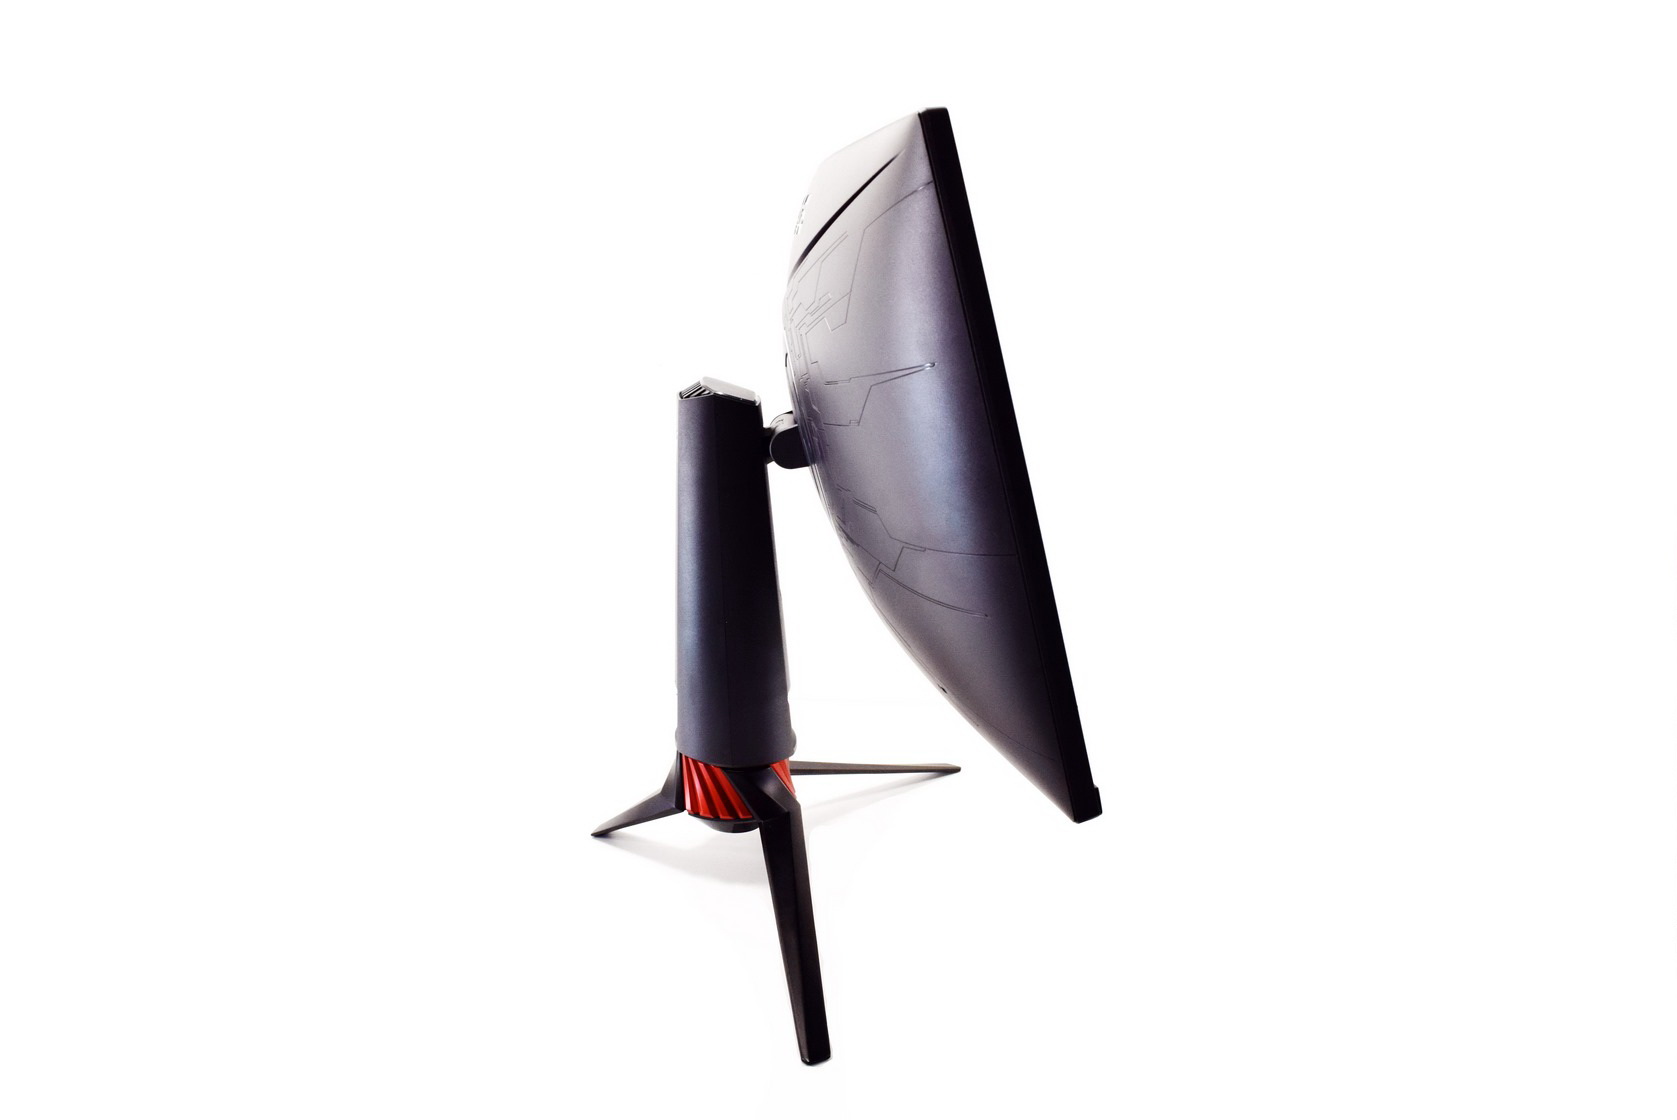 The stand can also swivel up to 50 degrees on each side (100 degrees total) and tilt up to +20 degrees up and -5 degrees down.
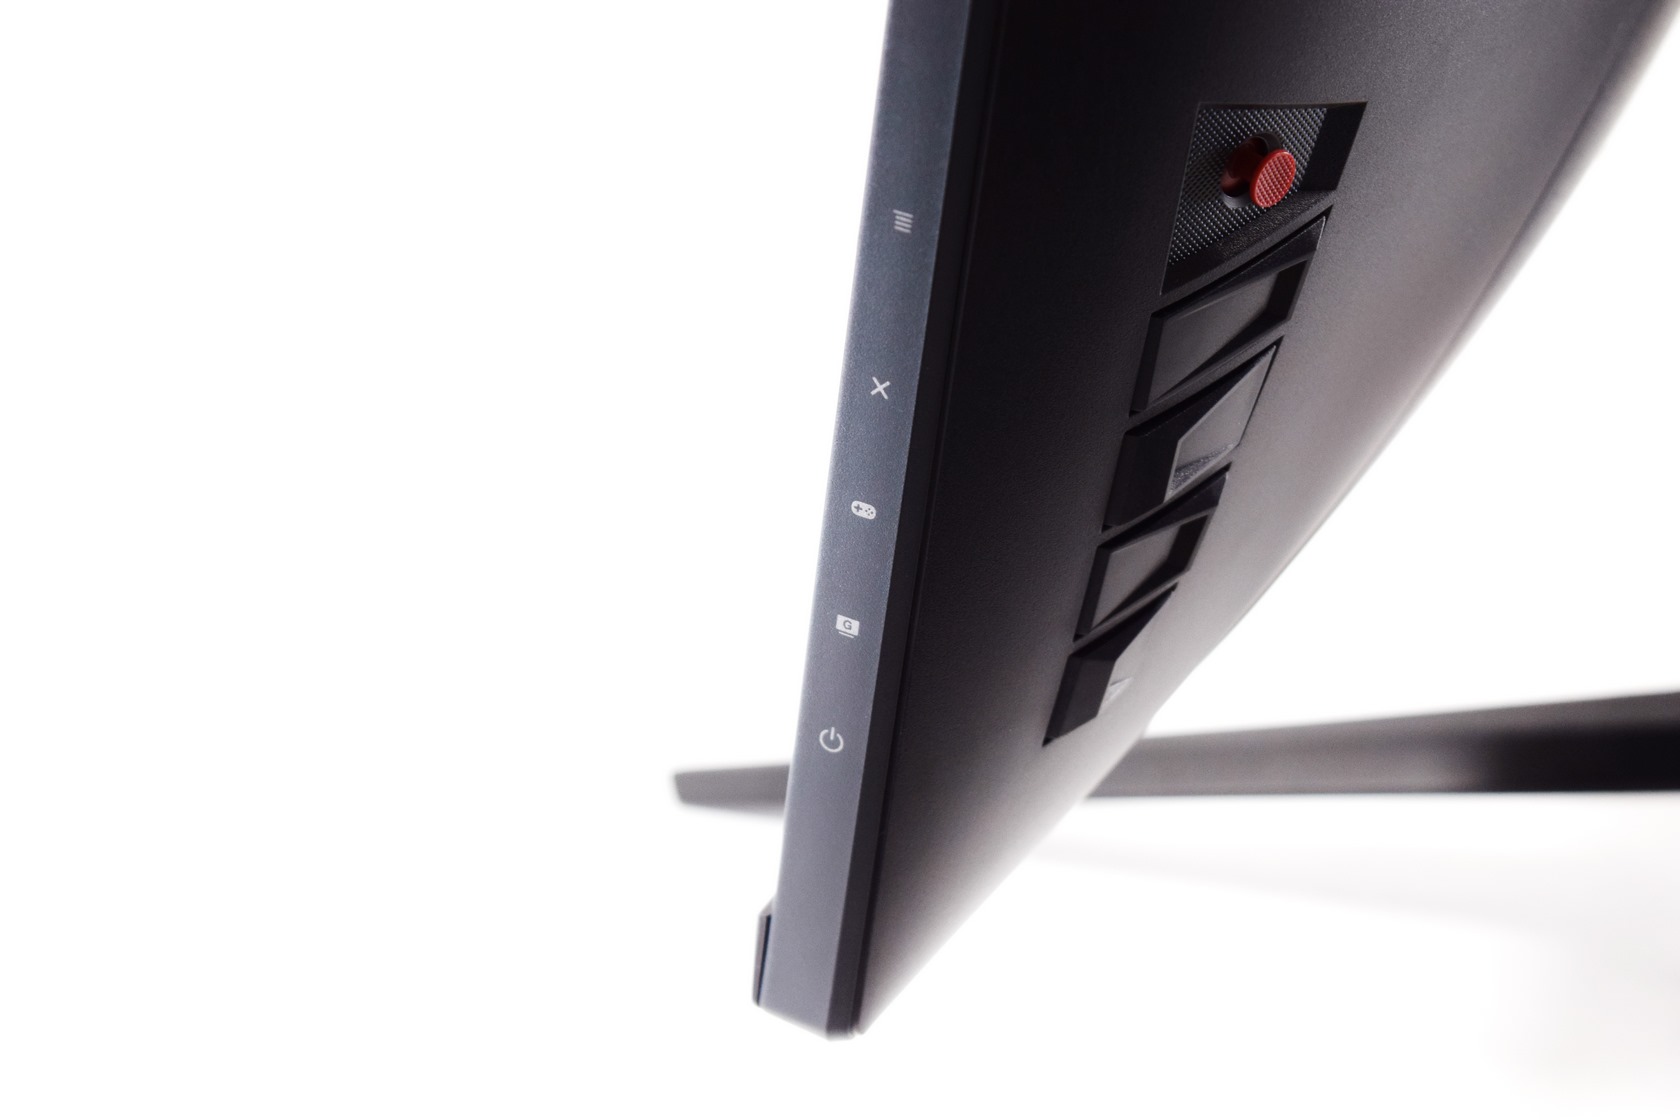
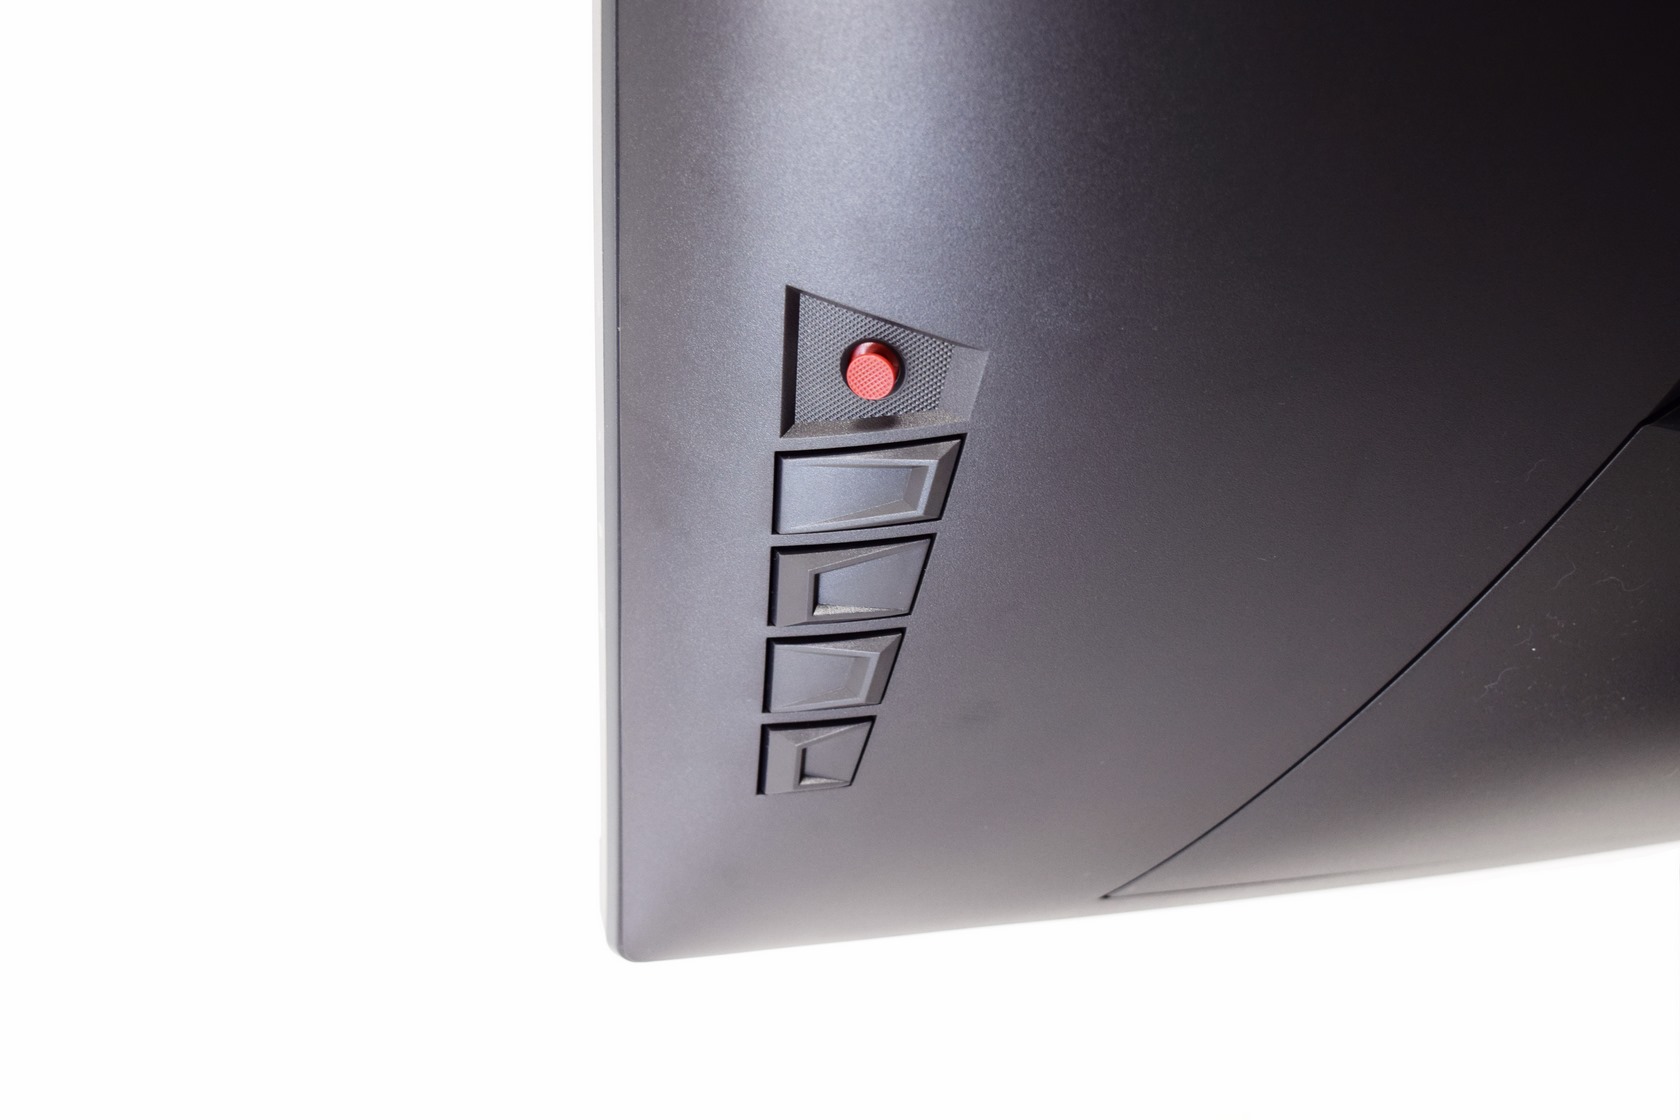 All of the menu buttons (including a red joystick) are located on the rear right side of the XG32VQ and are tagged on the side.
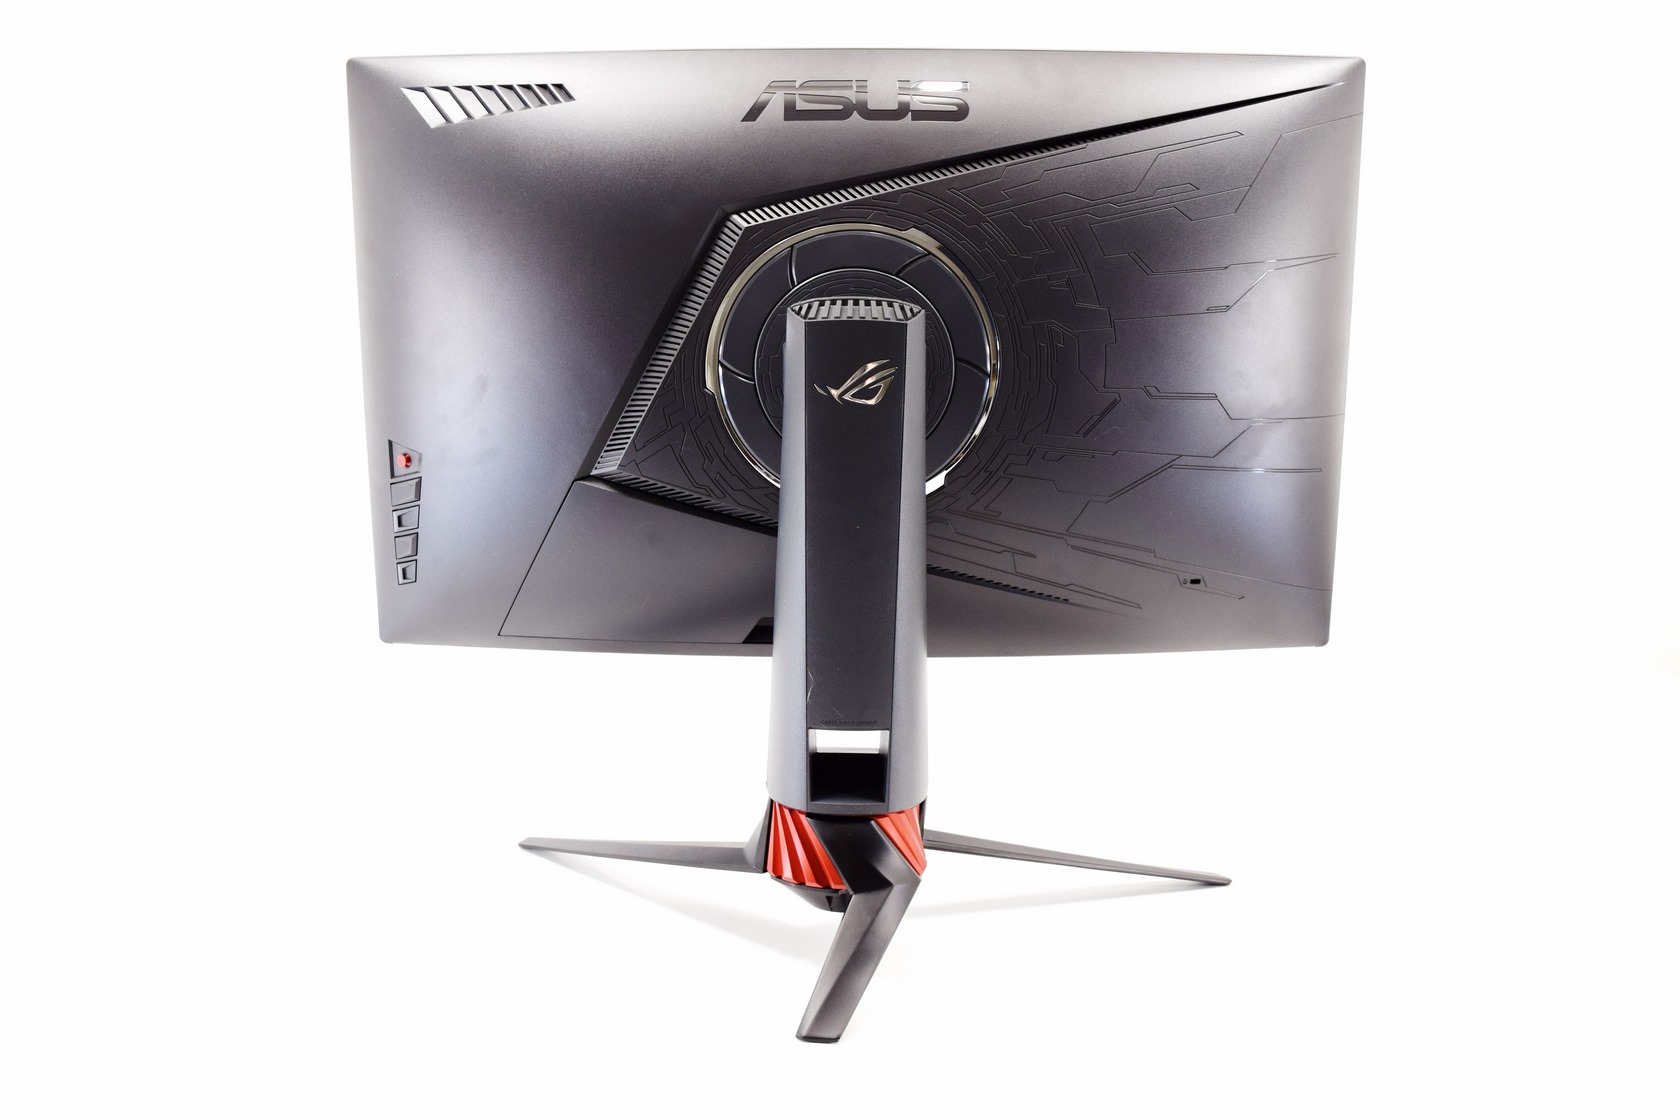
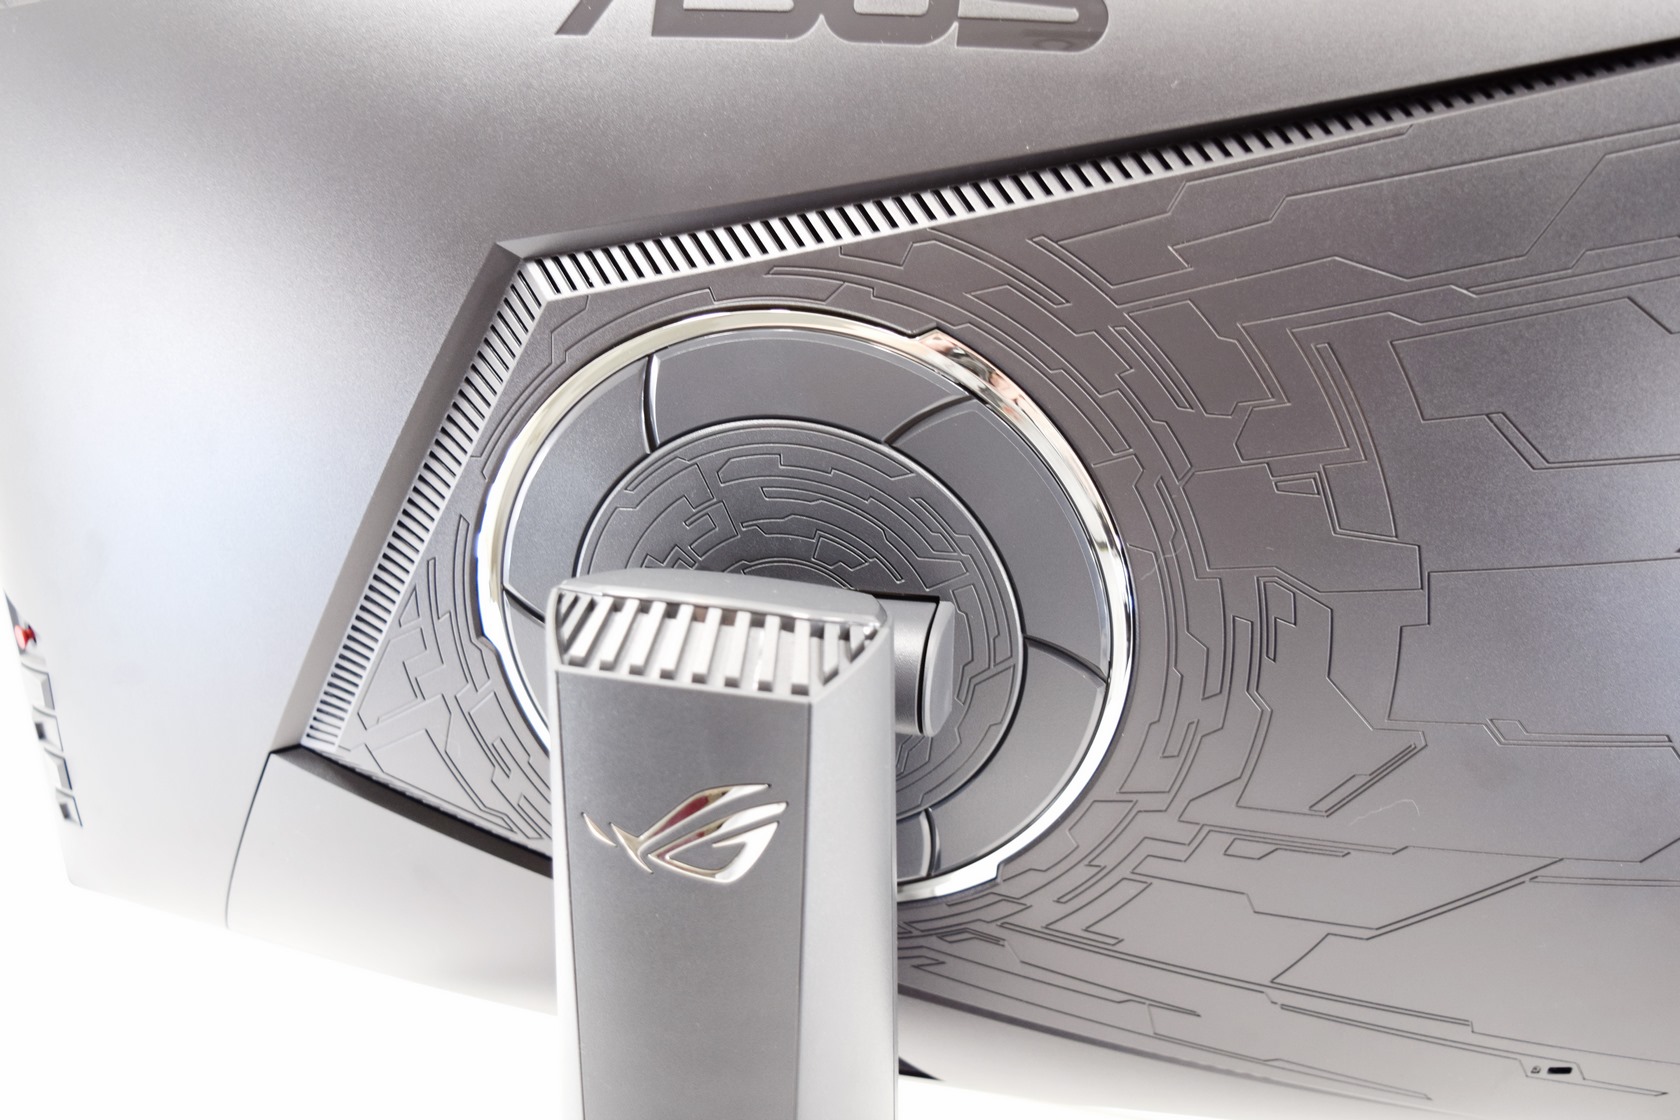
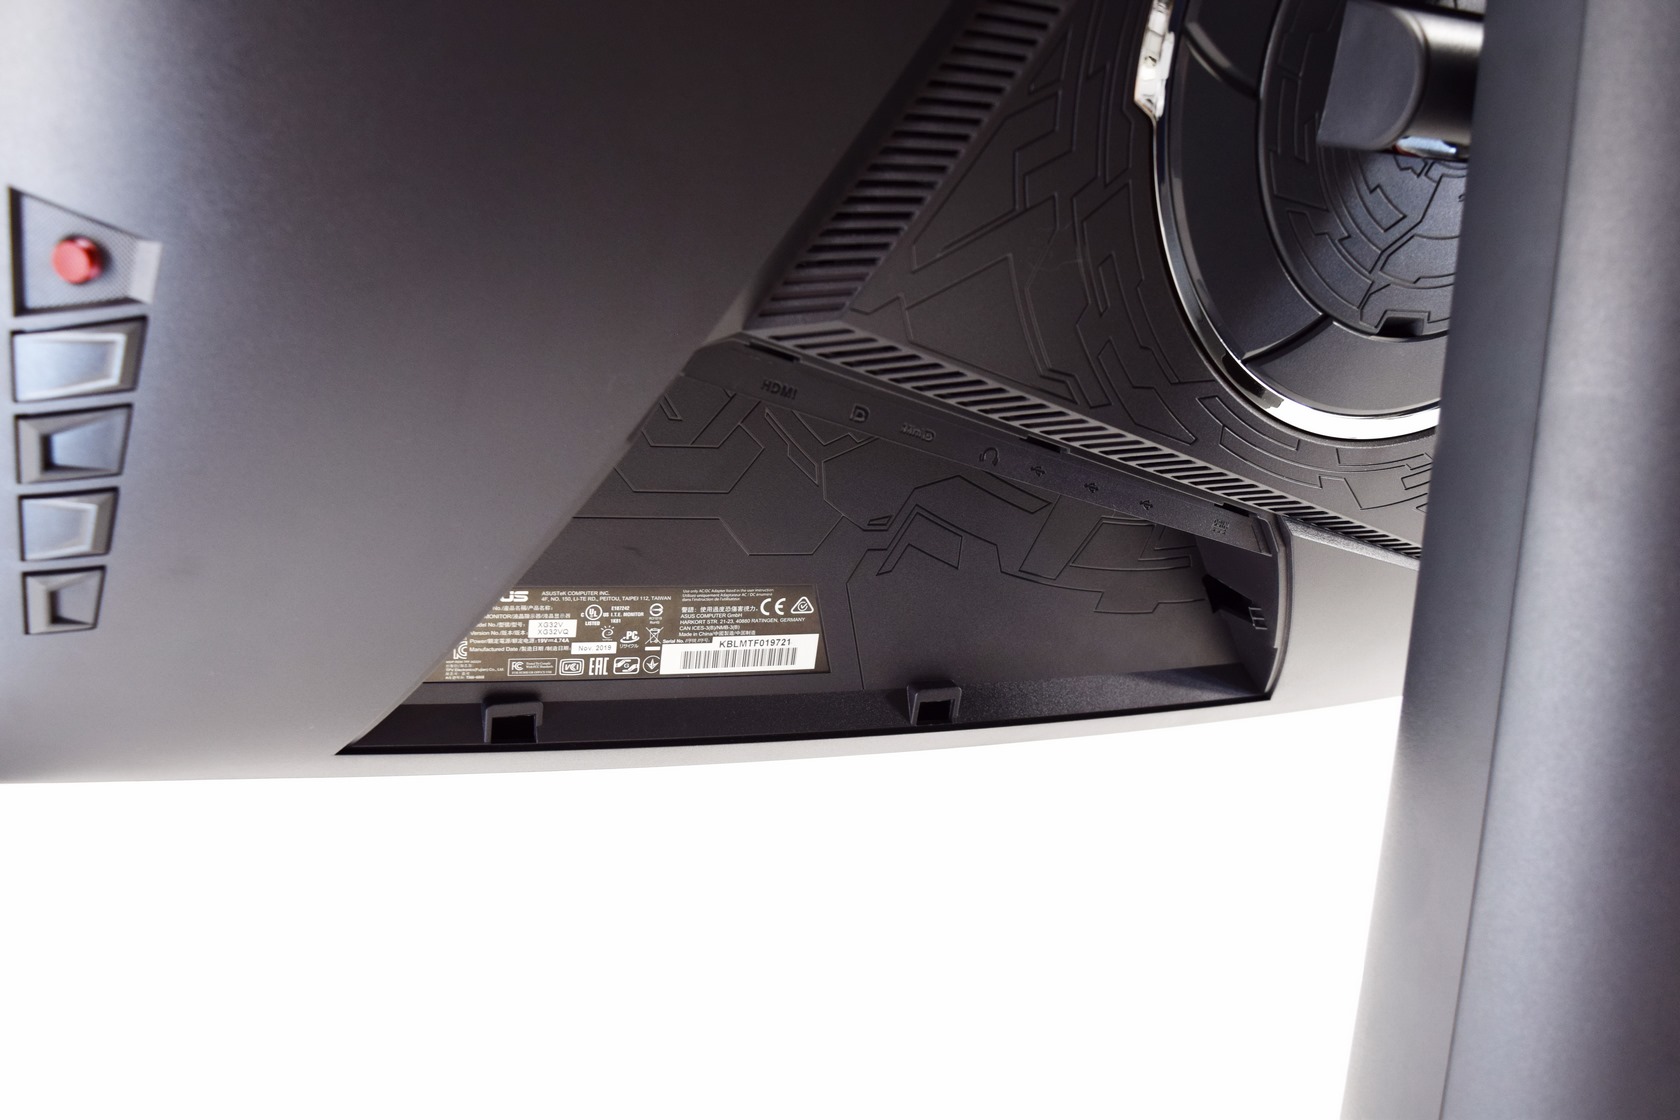
Moving at the rear of the screen we find the company logo, RGB LED ring, RGB company logo and the hidden I/O ports (there's a plastic cover there which needs to be removed to access the ports).
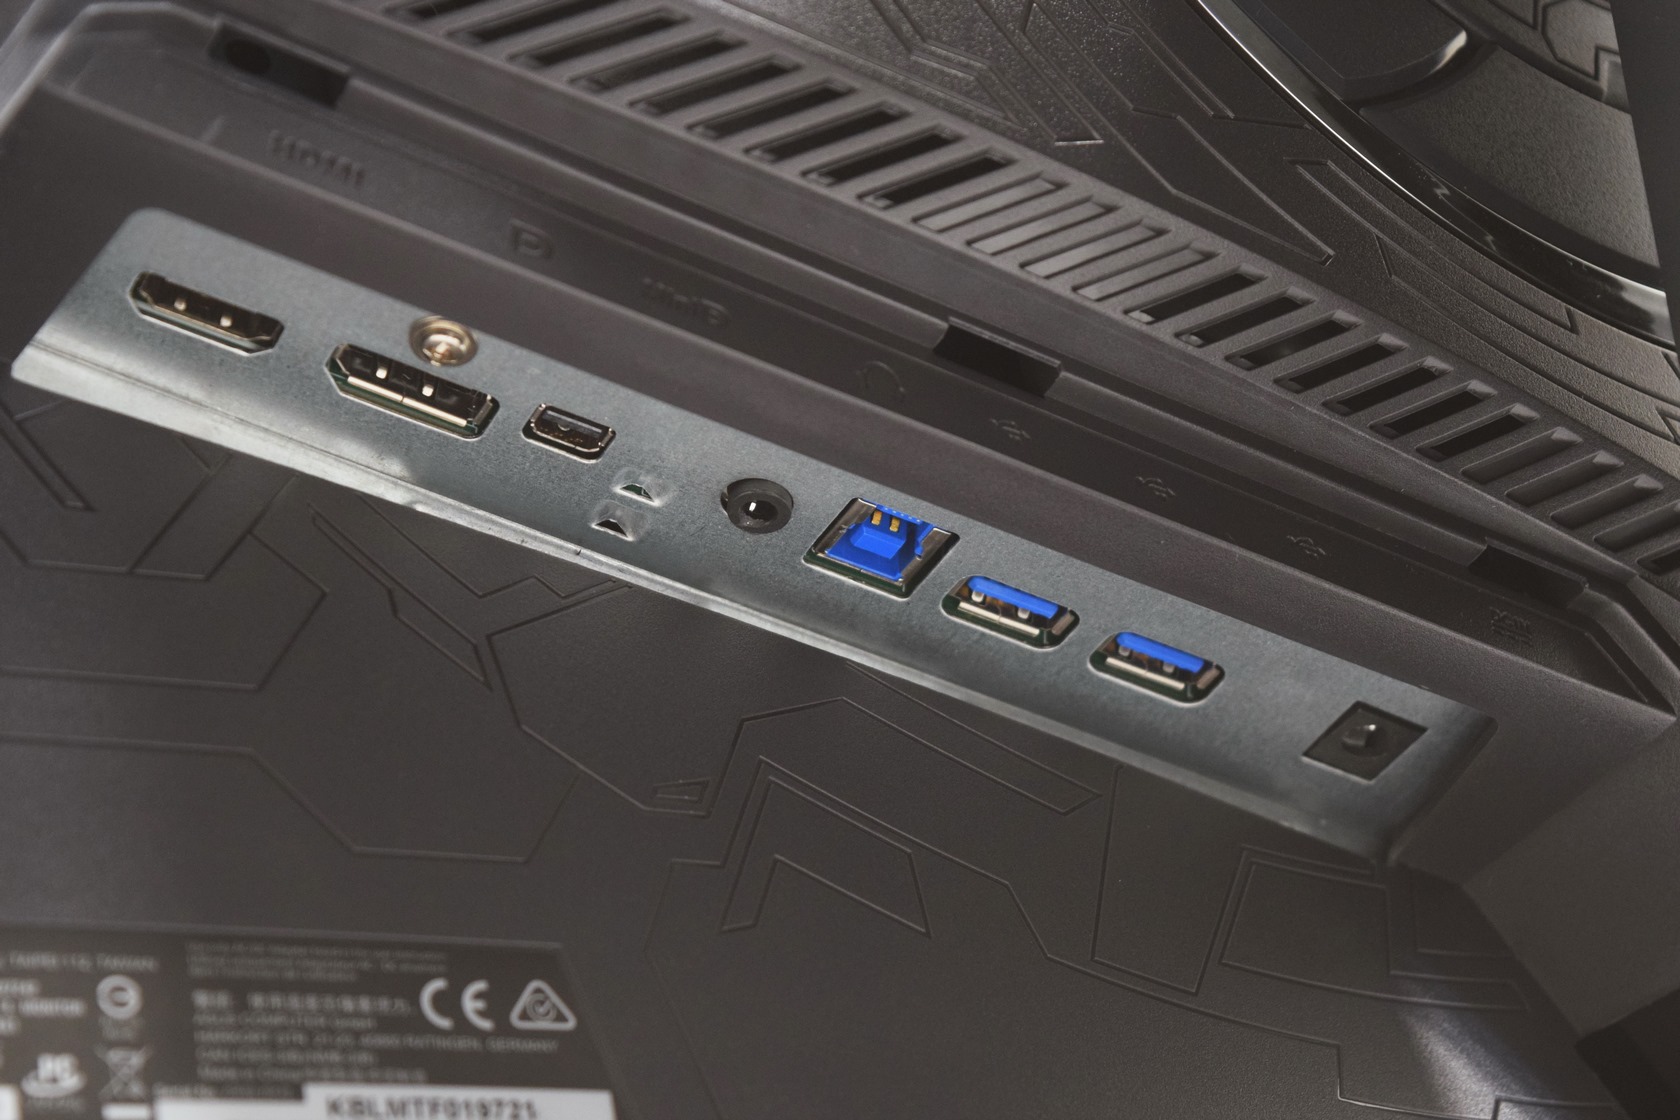
The I/O includes the DC in, 2 USB-A 3.0 ports (3.1 Gen1), USB 3.0 host port, 3.5mm headphone jack, Mini DisplayPort, DisplayPort v1.2 port and an HDMI v2.0 port.
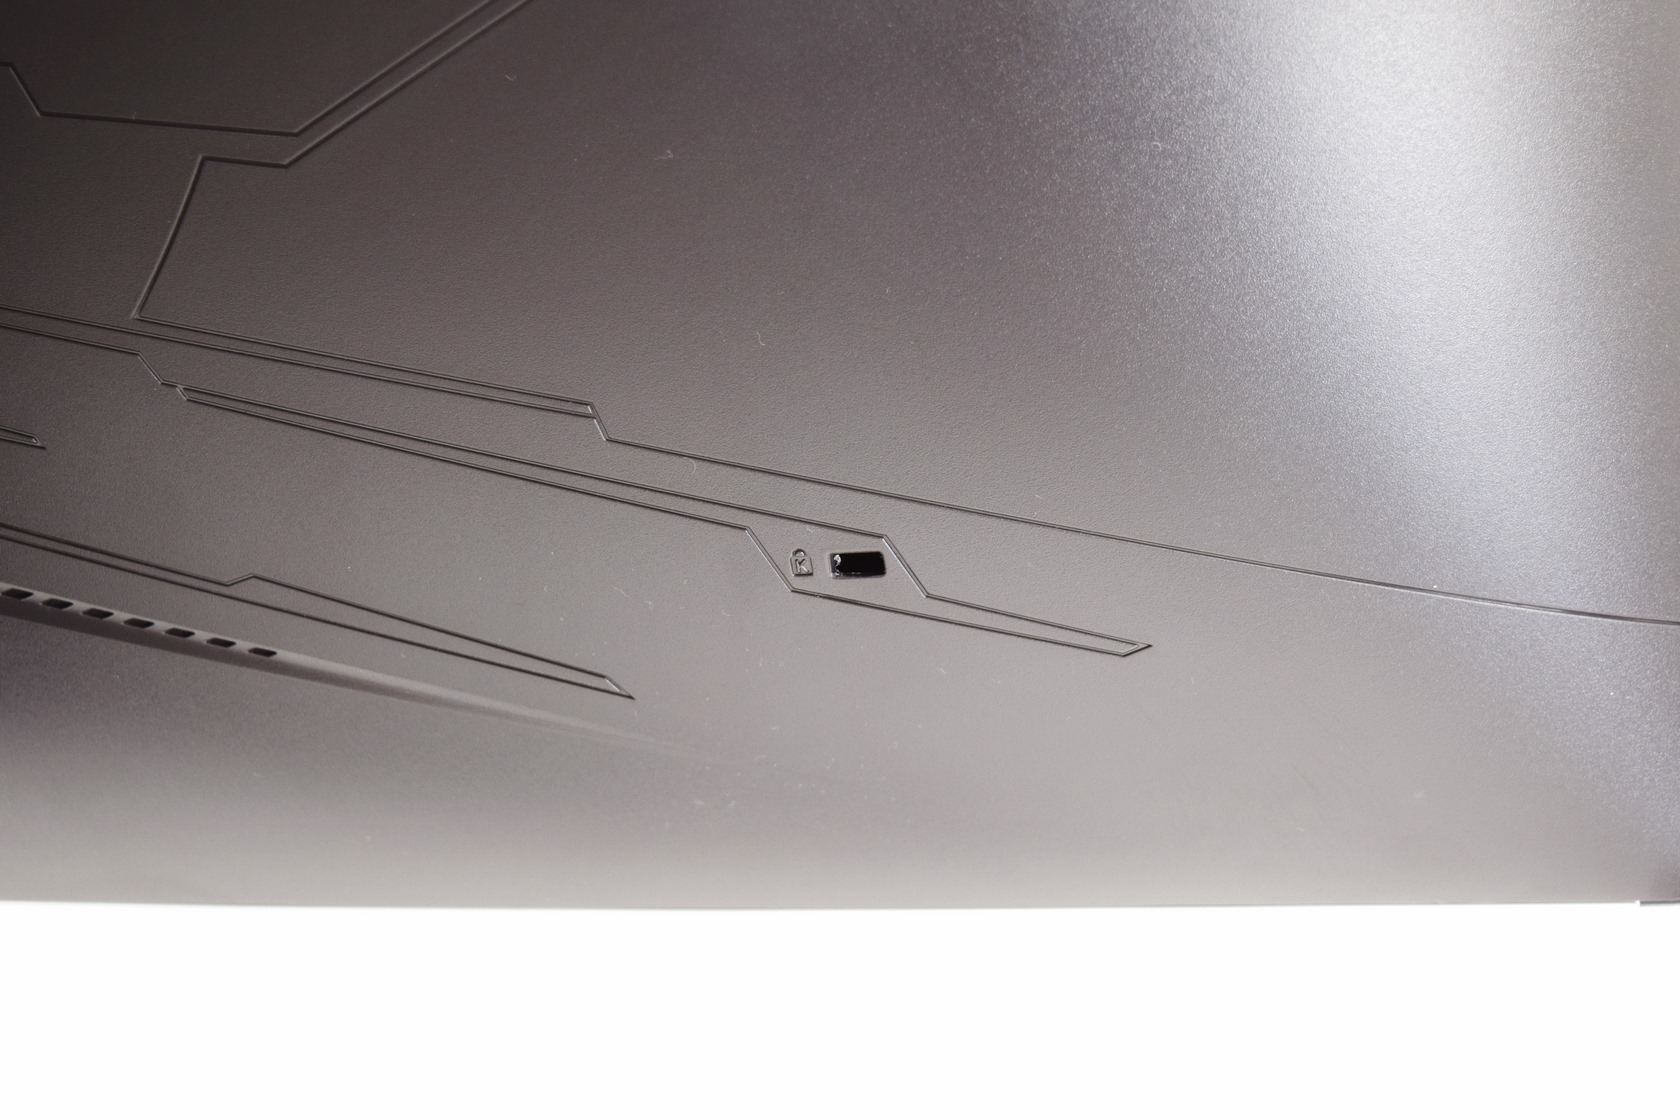
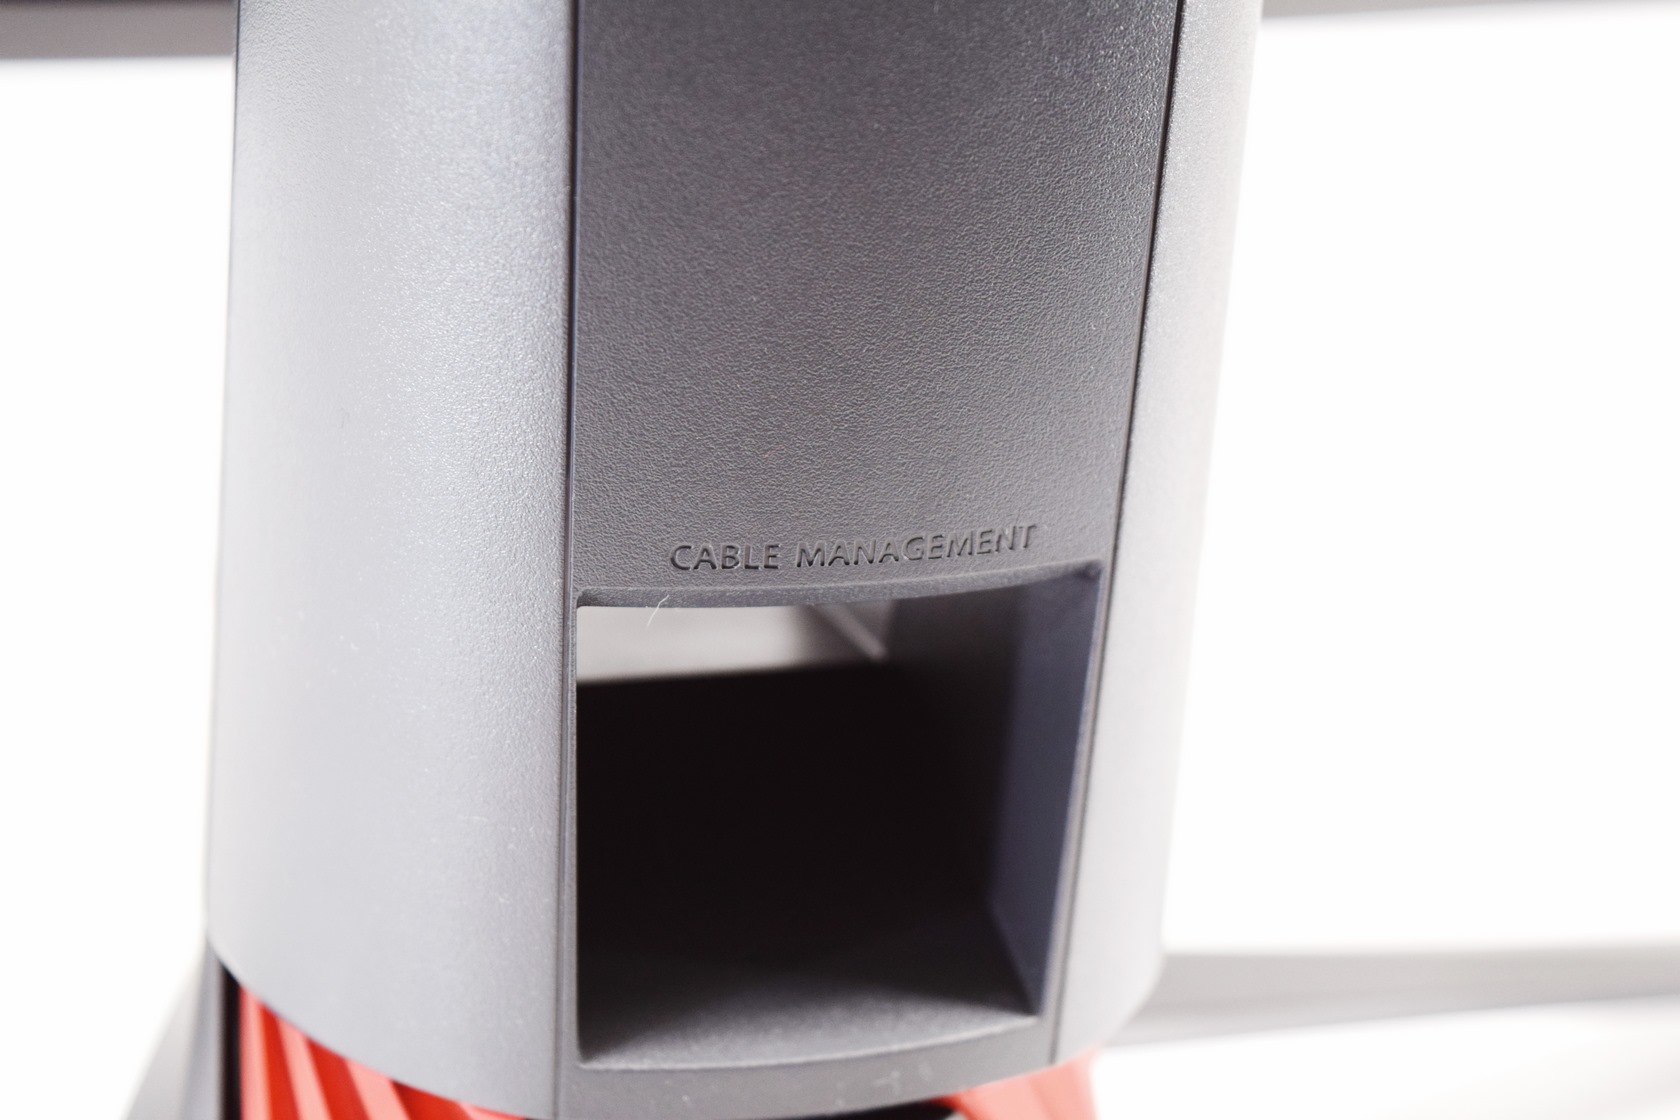
A Kensington lock is also present at the rear of the XG32VQ along with an cable management hole on the lower end of the stand.
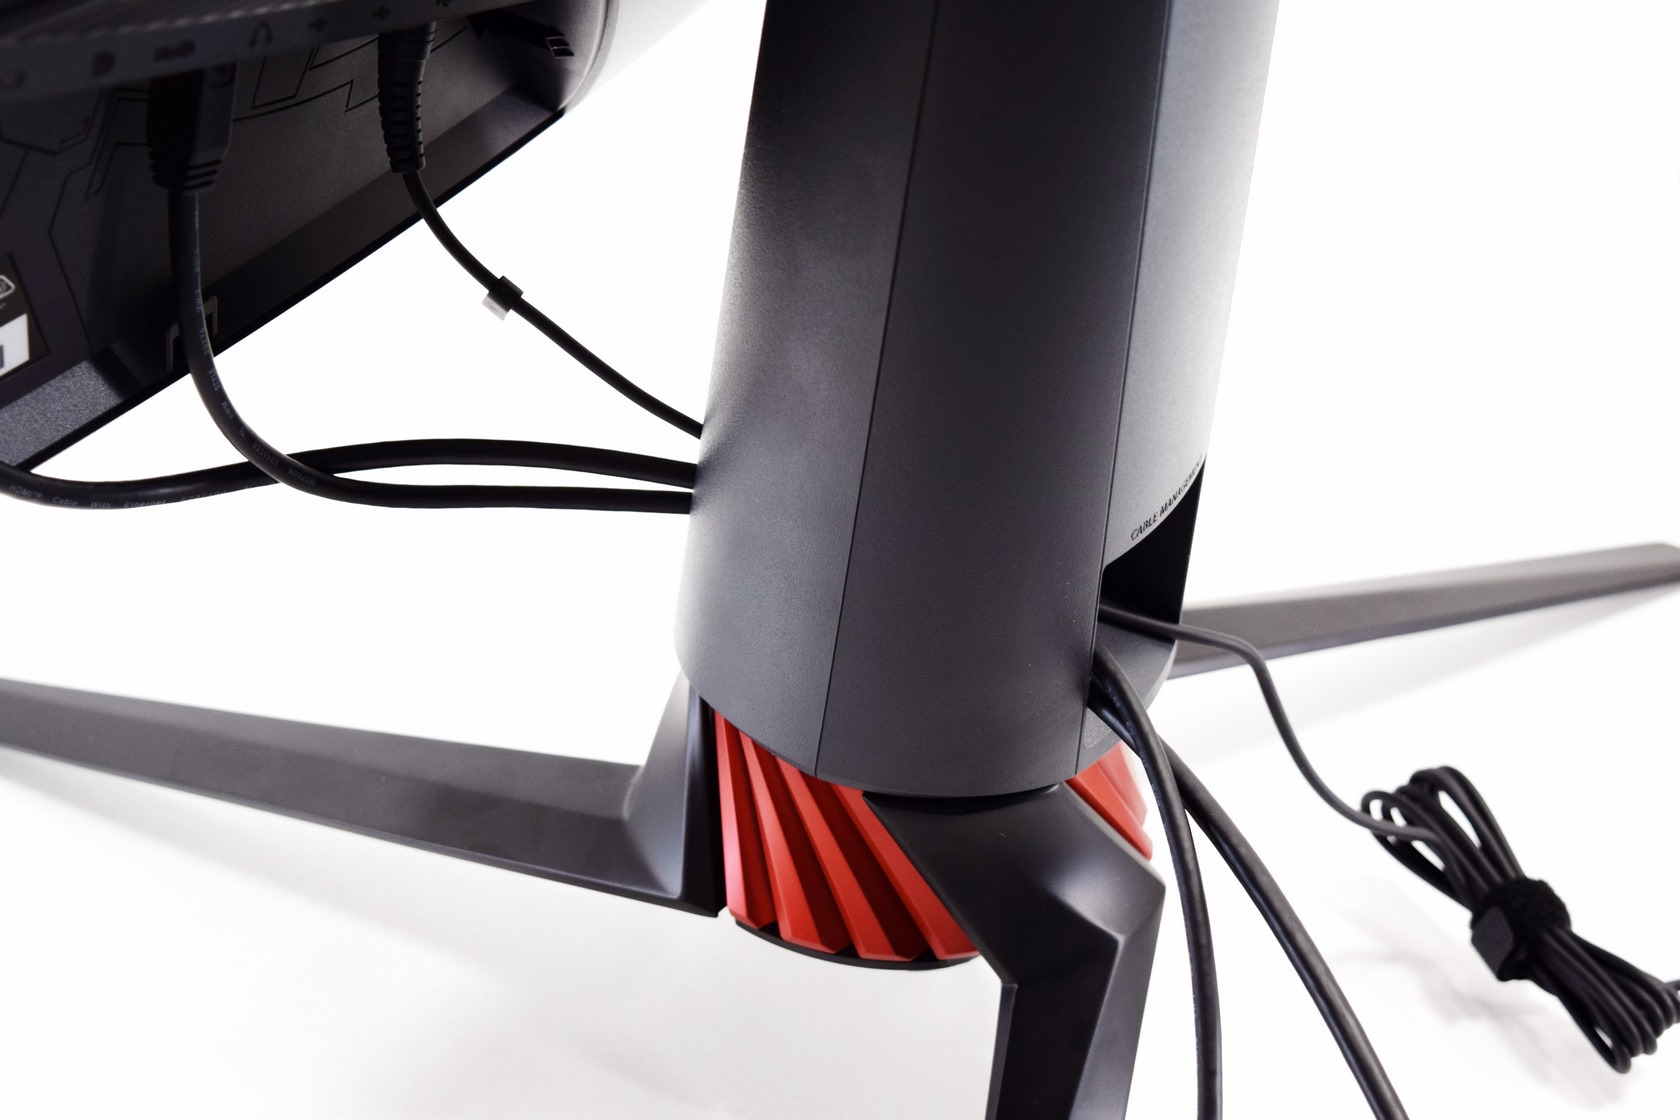
This cable management feature may come in handy but personally i think it would be better if it was further up the stand.