O-Sense


THE XPREDATOR II INTERIOR
 The XPredator II by AeroCool may not be the largest full tower to reach our lab (to date at least) but it does have a good amount of interior space.
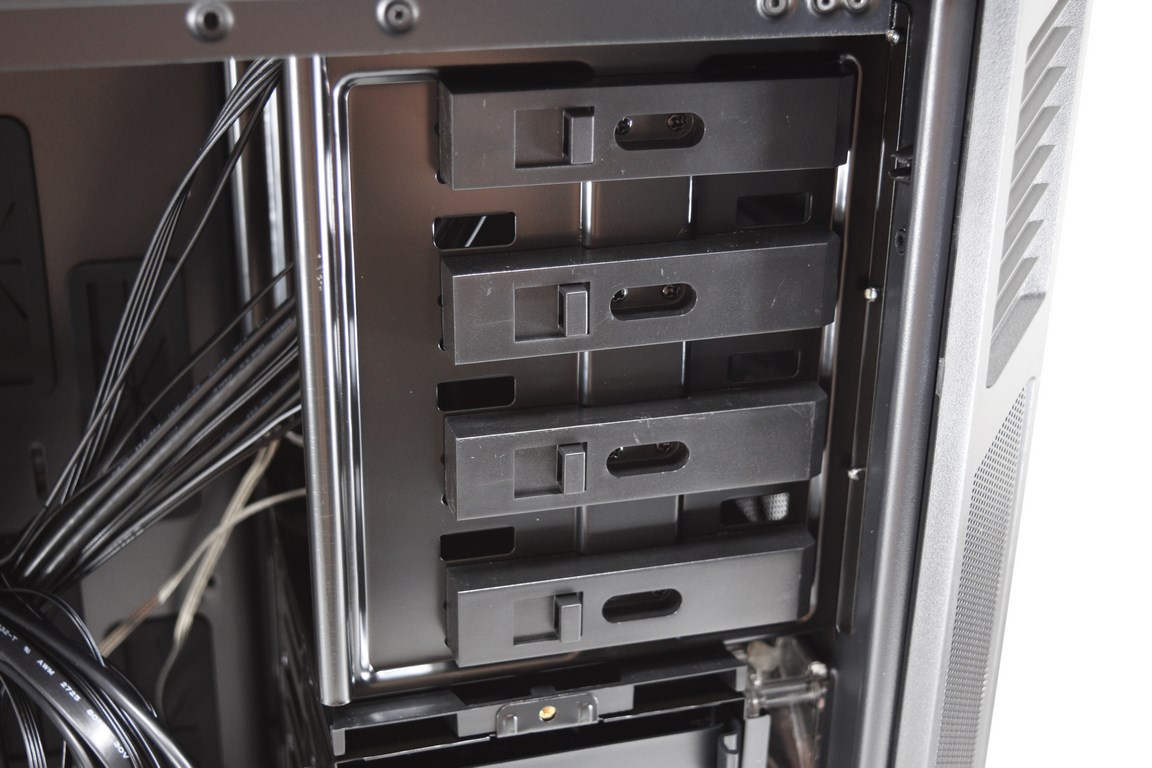
All four 5.25" optical bays feature thick tool-less lock mechanisms.
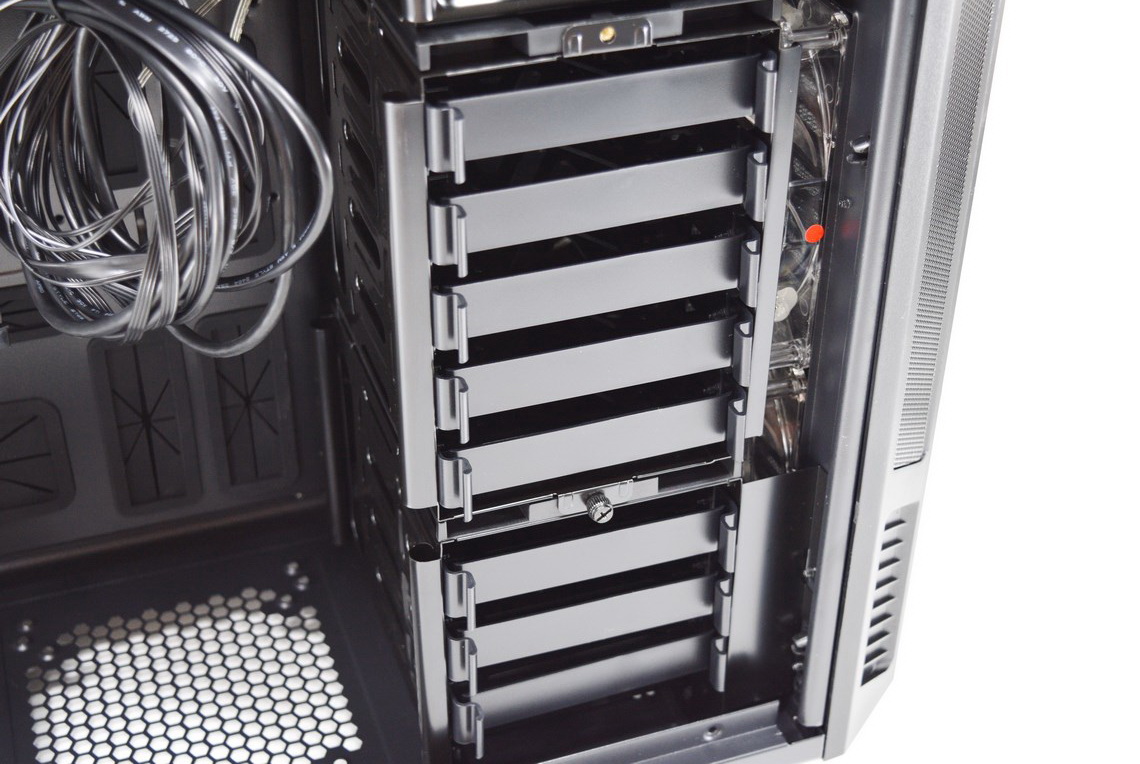
Right beneath them we see two drive cages.
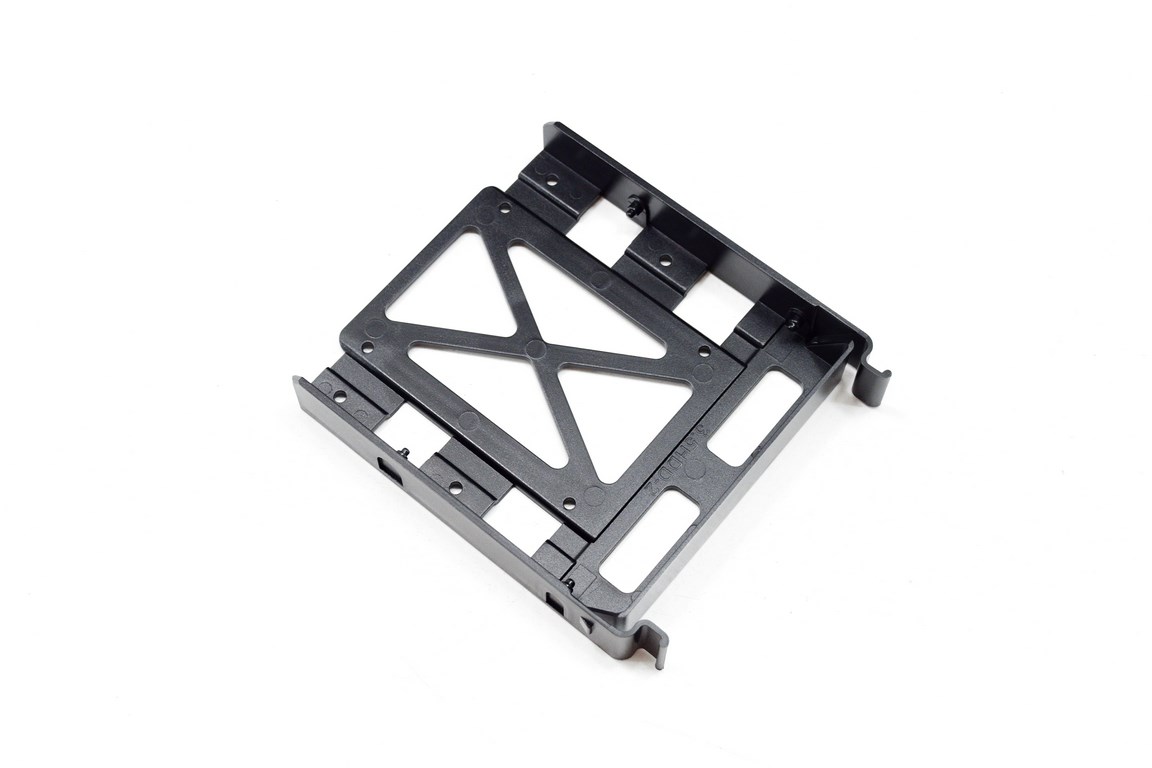
These cages include tool-less 8 trays ment for both 3.5/2.5" drives.
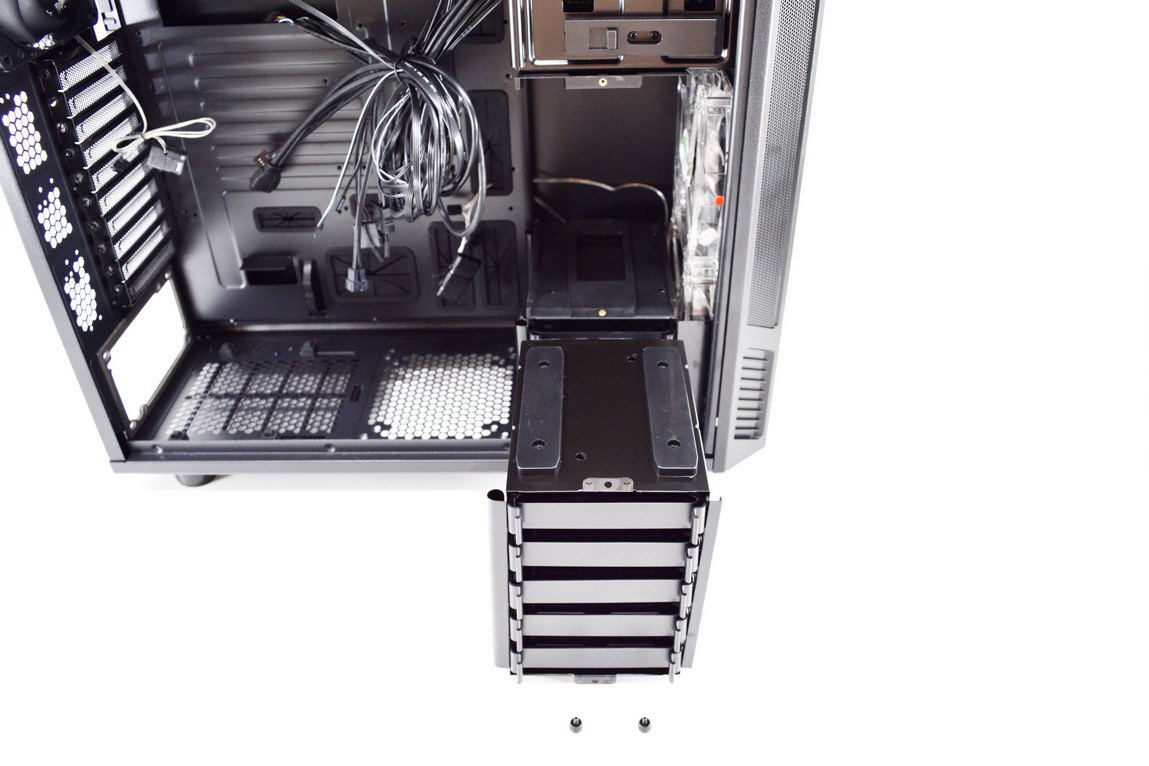
The top drive cage can be released by removing the two thumbscrews placed at the top and bottom.


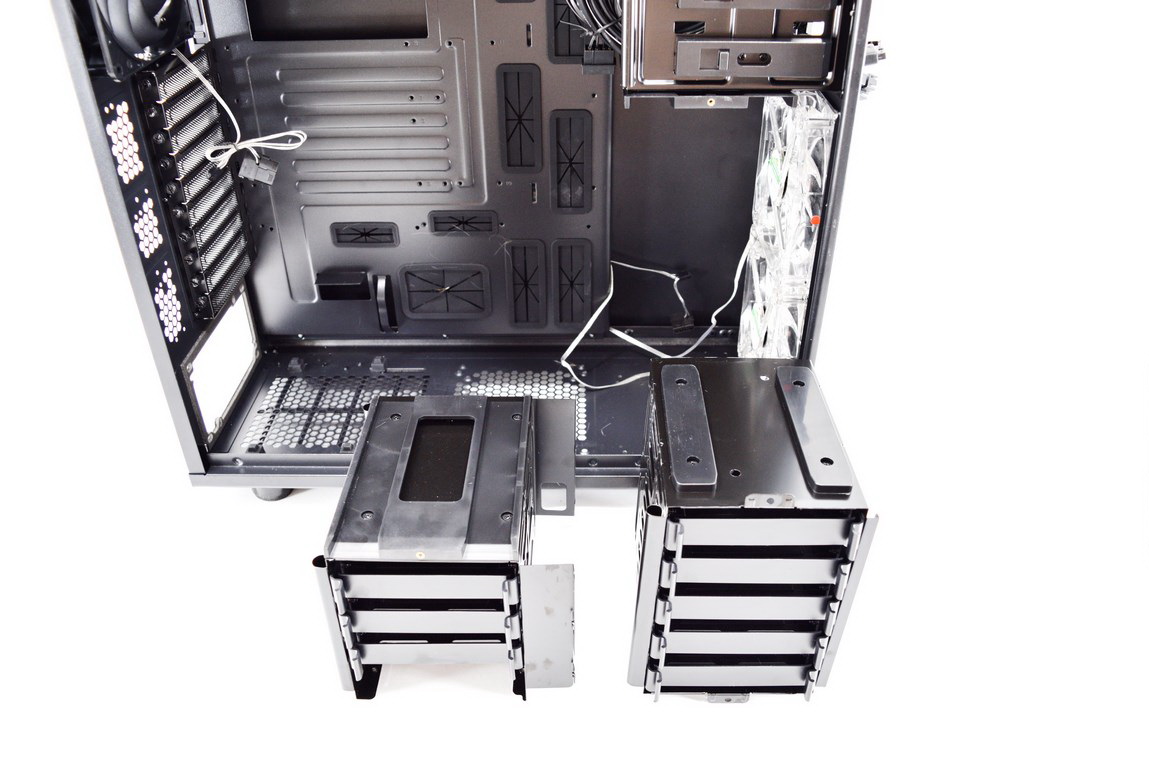 Unfortunately if you decide for whatever reason to remove the bottom drive cage as well you will also need to remove 4 screws from the front and 4 screws from the base of the chassis.
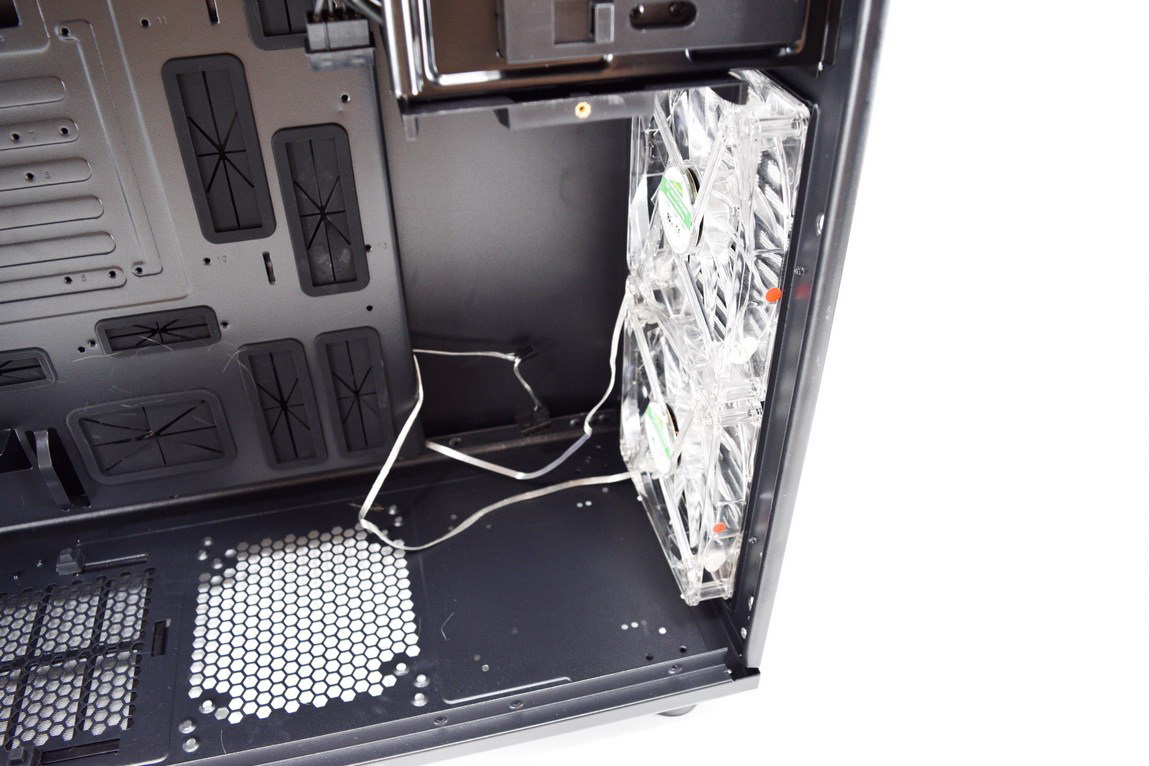
Removing both cages leaves you without any room for 3.5/2.5" drives (modders shouldn't have a problem with this) but it gives you enough room to mount a thick 240mm radiator at the front.
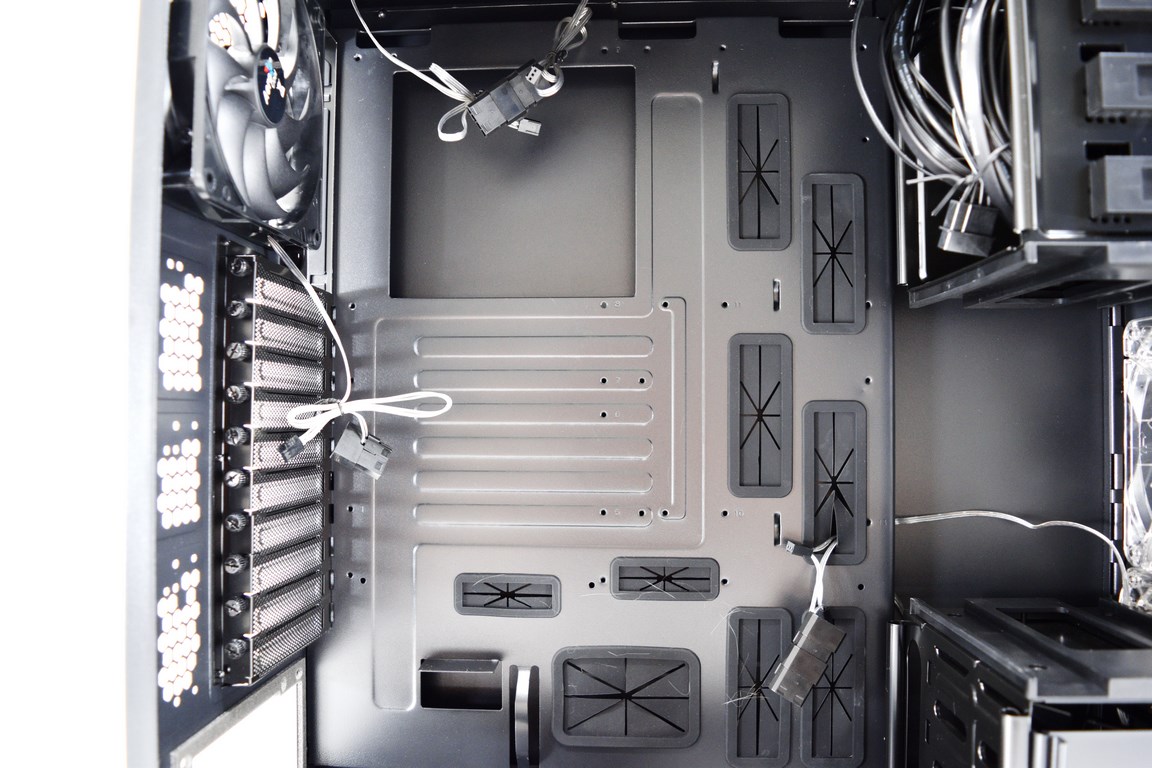
The mainboard tray has a total of 9 holes dressed with rubber for cable management purposes.
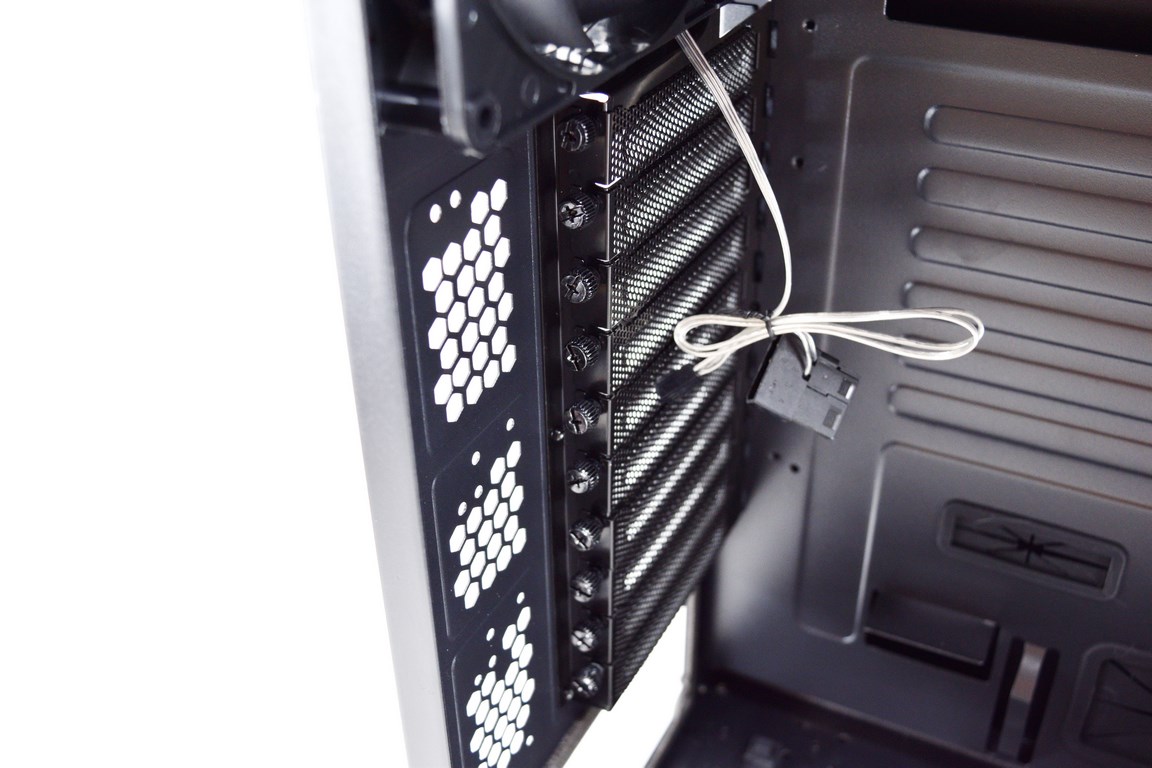
All 10 PCI expansion slots use thumbscrews.
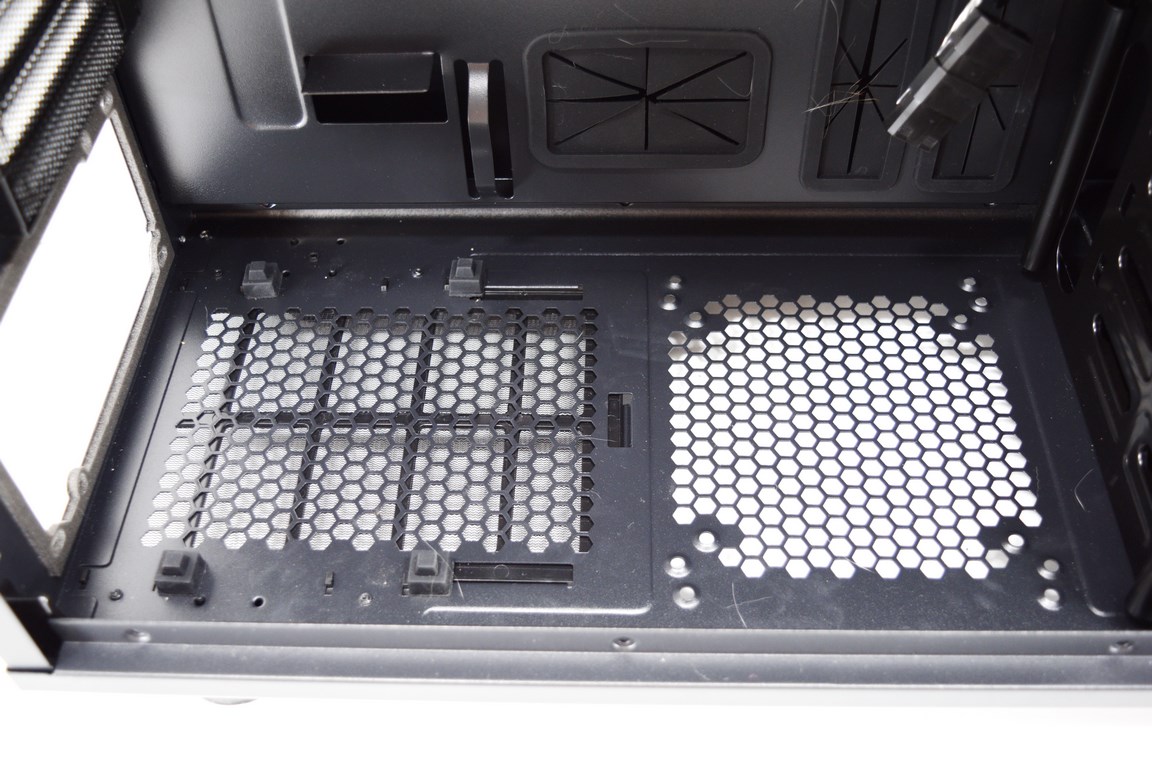
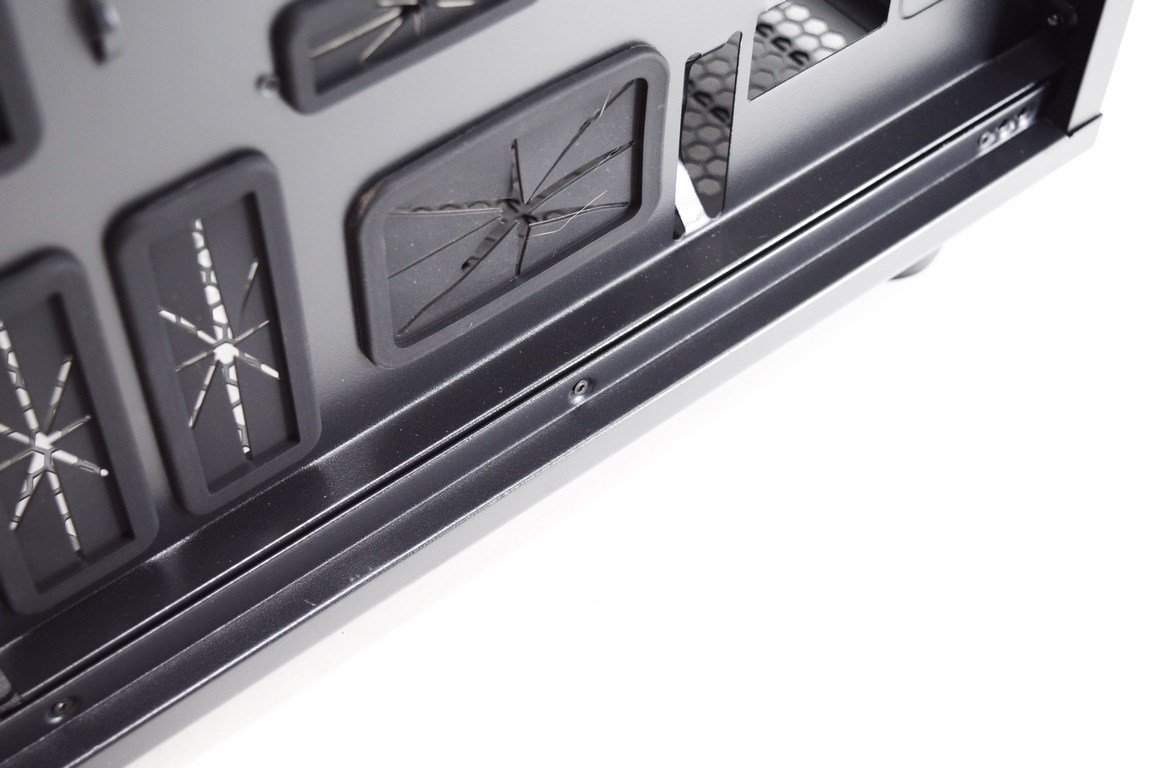
At the base we find two adjustable feet at the PSU area and another 120/140mm fan mount.
There's plenty of room behind the mainboard tray to route cables.
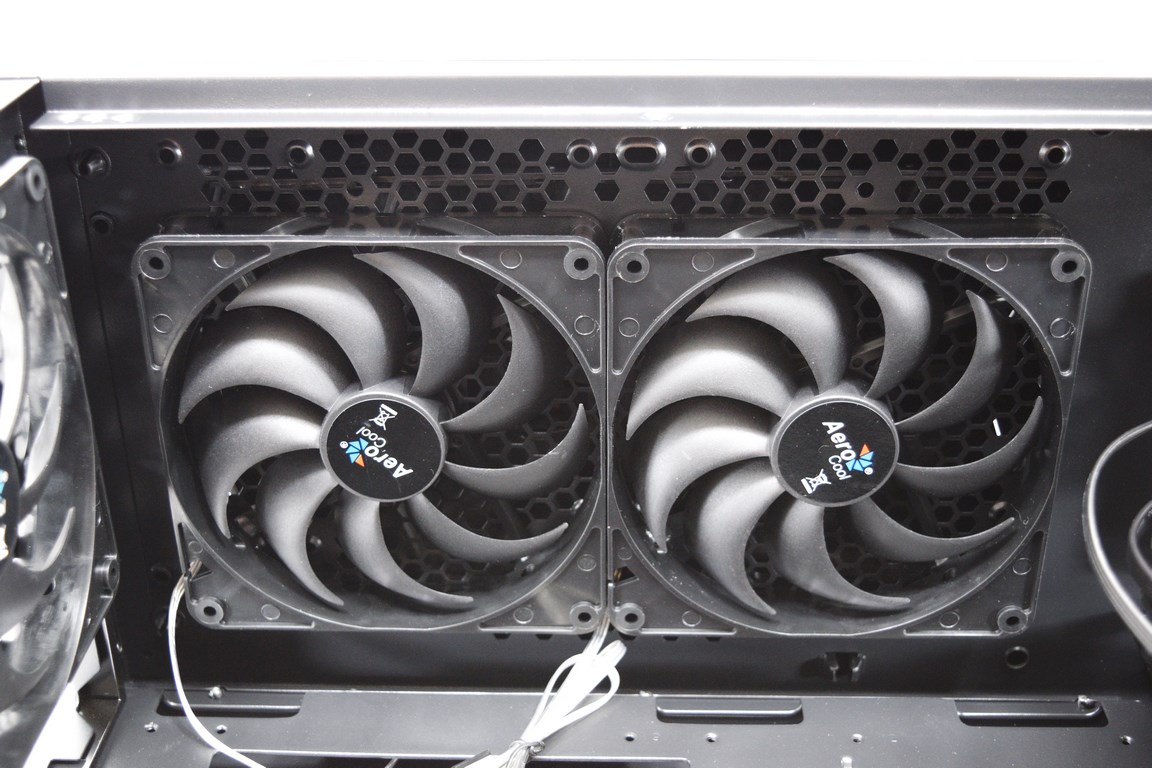
This is an interior view of the top where you can either mount two 120/140mm fans or an 240/280mm radiator (the radiator should use the top unused holes to avoid any clearance issues with mainboard components).