


WEB INTERFACE PART 1
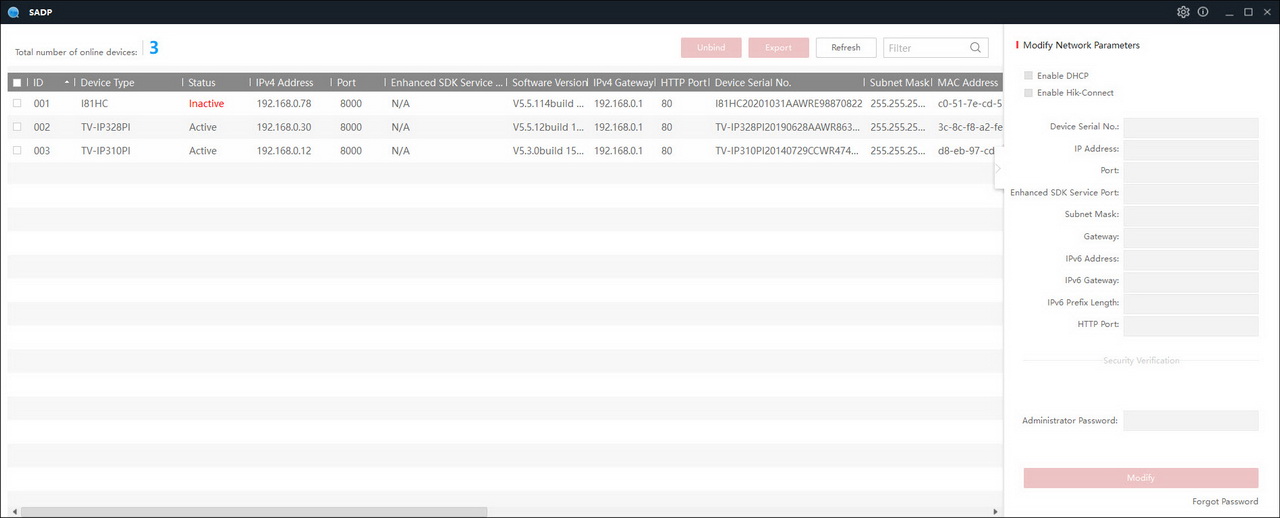
In order to locate the camera, you can download the SADP software from the ANNKE website which as you can see from the above picture will detect all ONVIF compatible cameras.
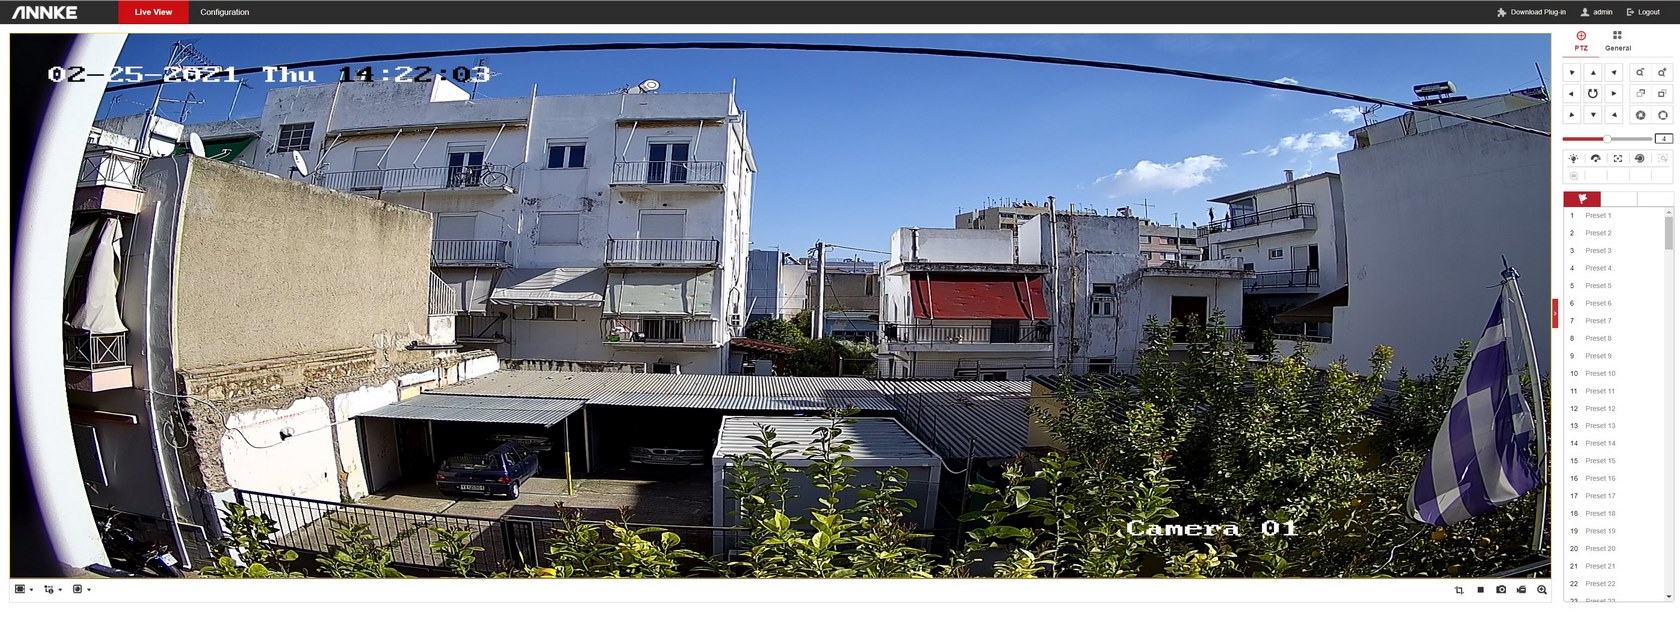
As usually the main screen tab is also the live feed.
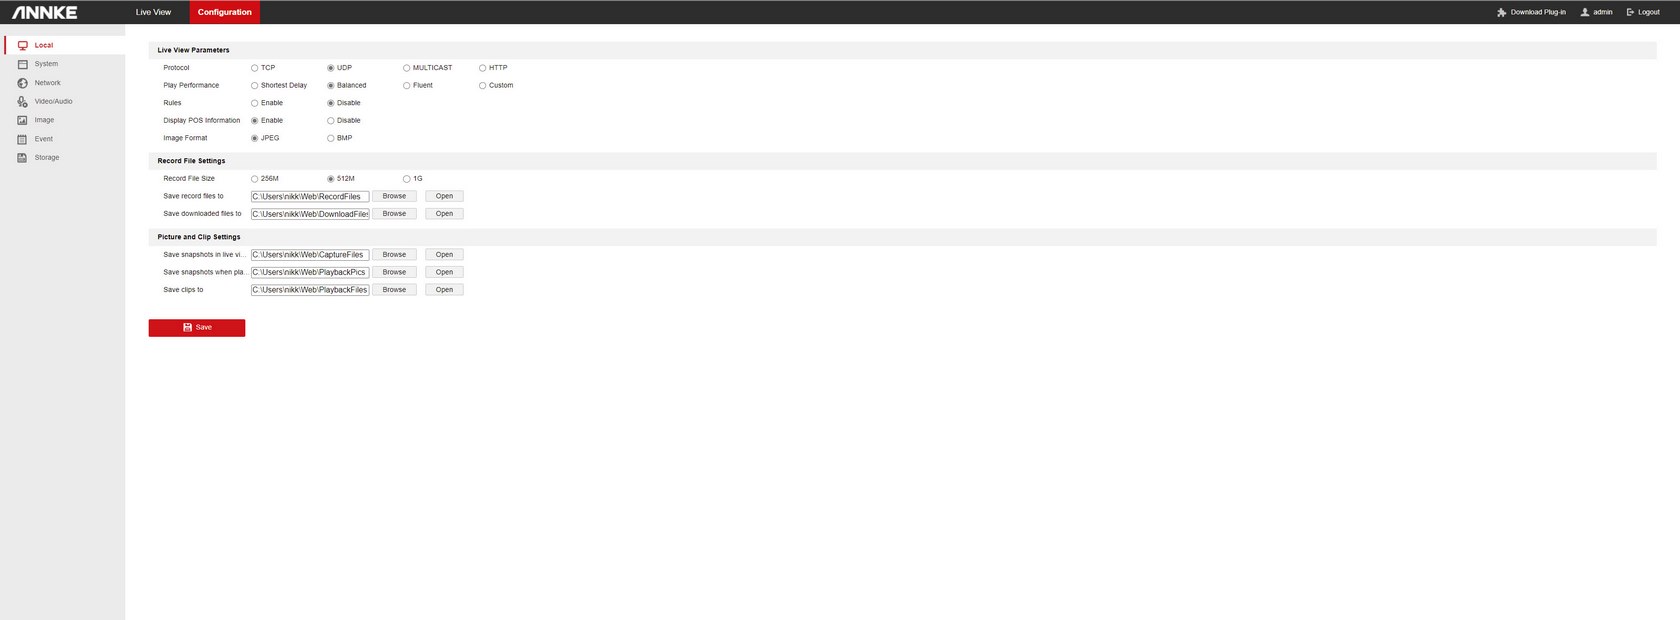
Under the local tab you can change the live image parameters (for connection UDP usually works best for LAN connected IP cameras) and set the local recording directories.
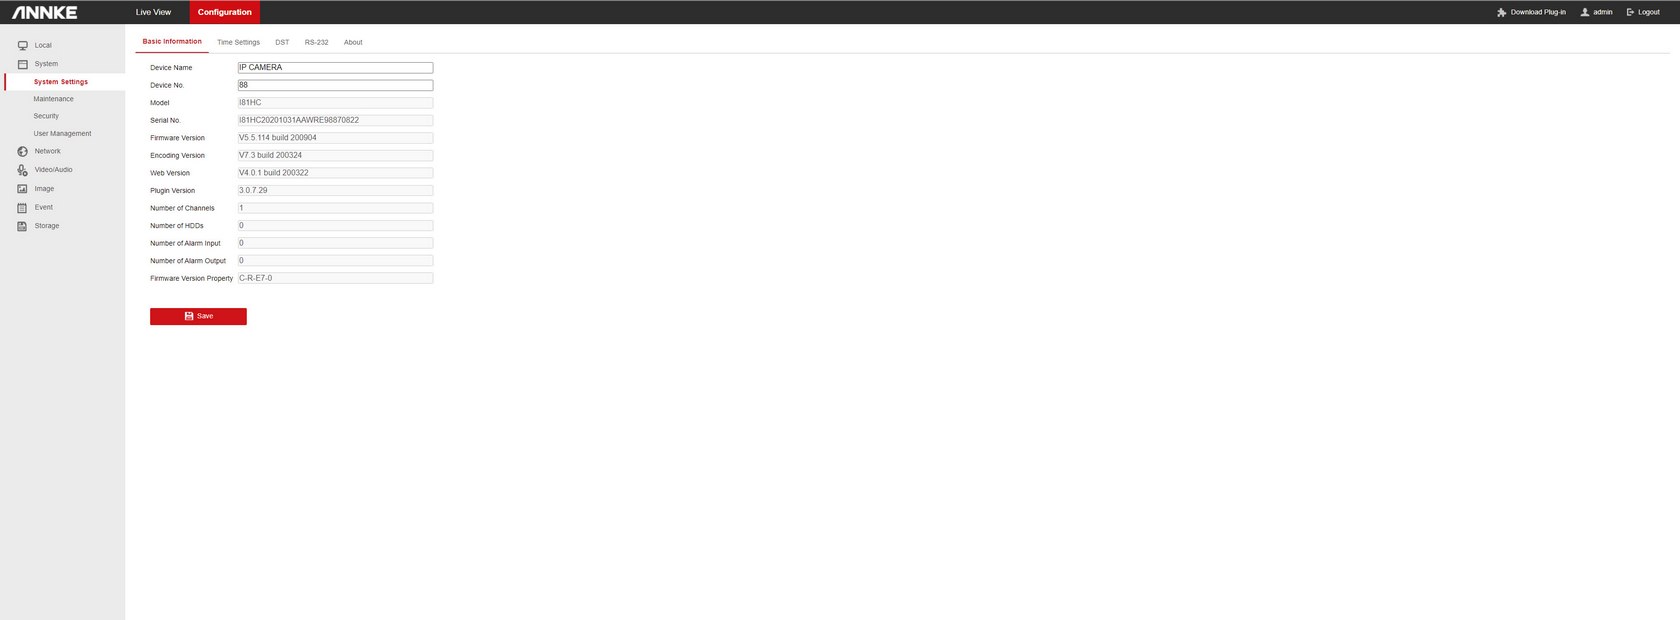
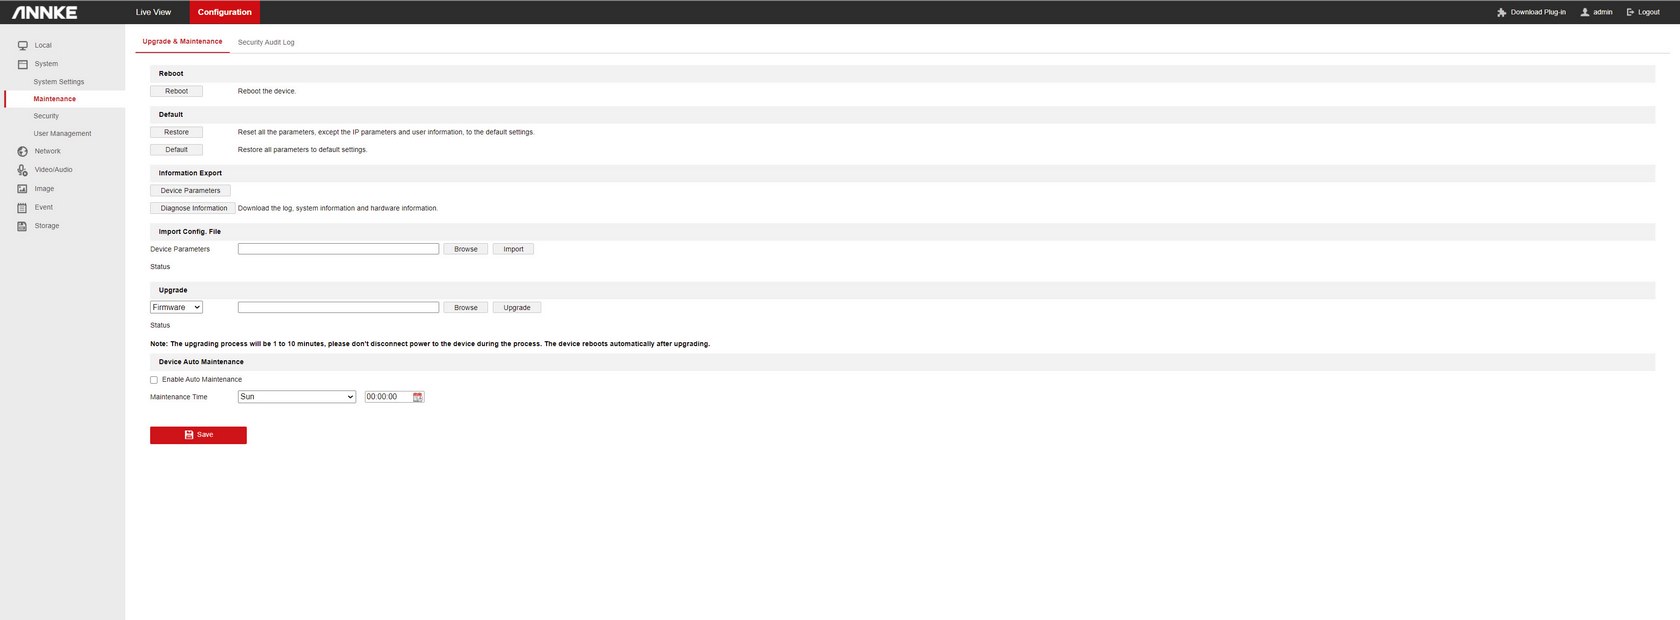

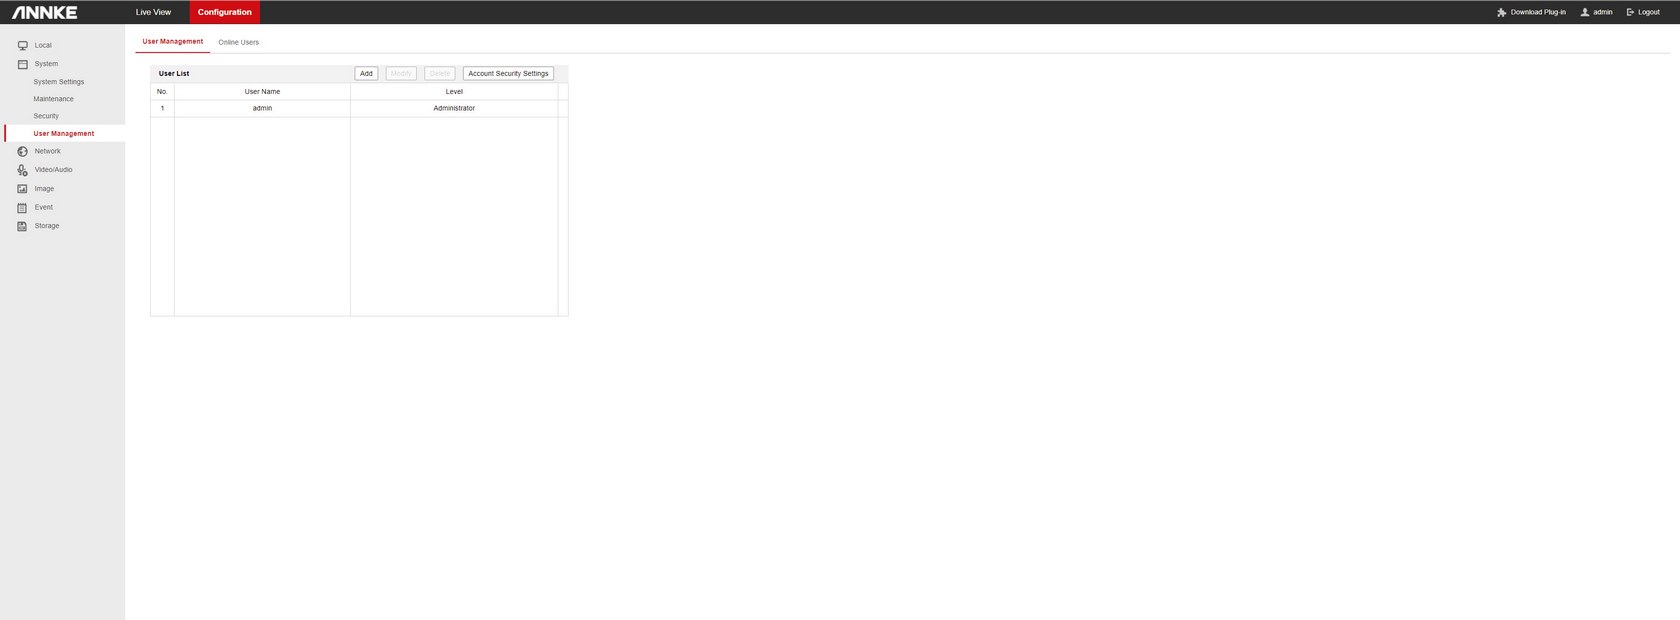
From inside the system tab, you can set the device name, adjust the time, perform firmware updates, reboot the camera, save/restore settings, enable/disable security features (like RTSP, SSH and login hack) and add/remove users.
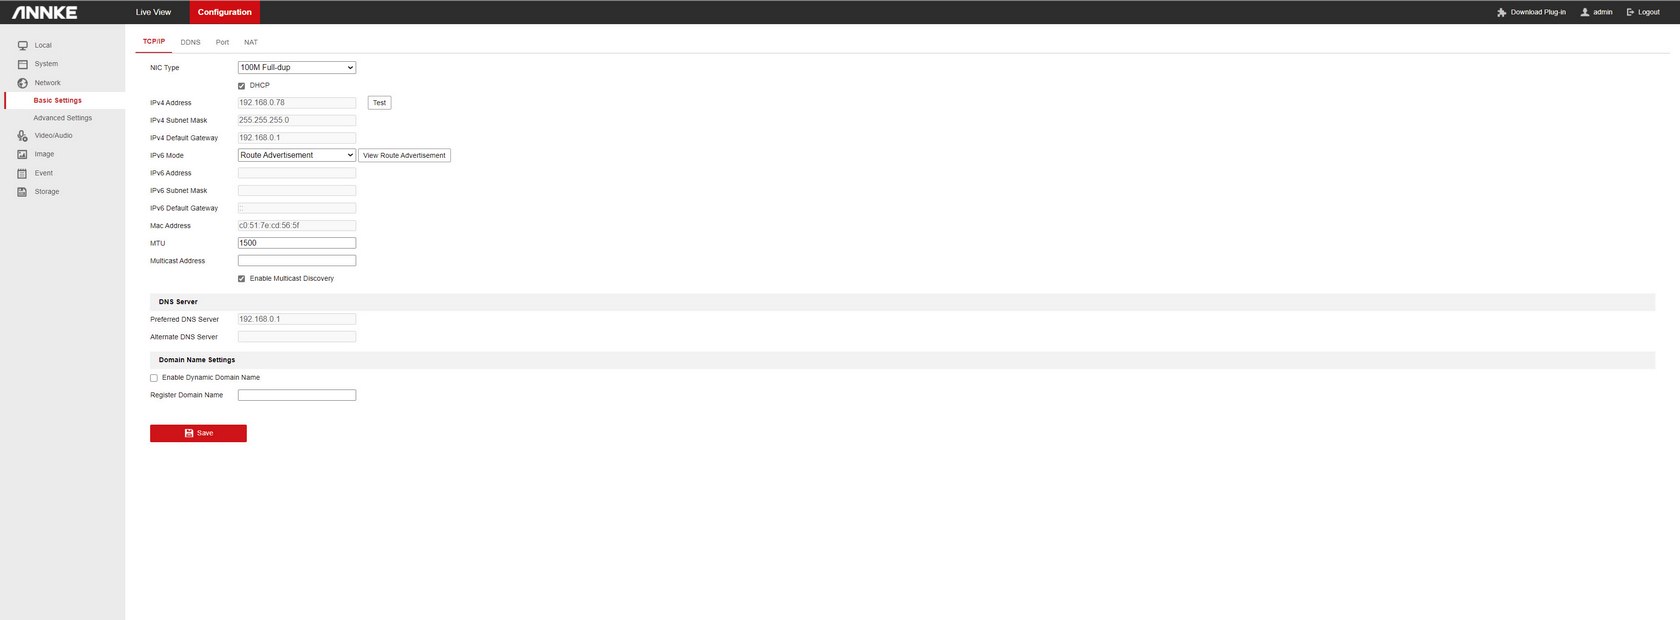
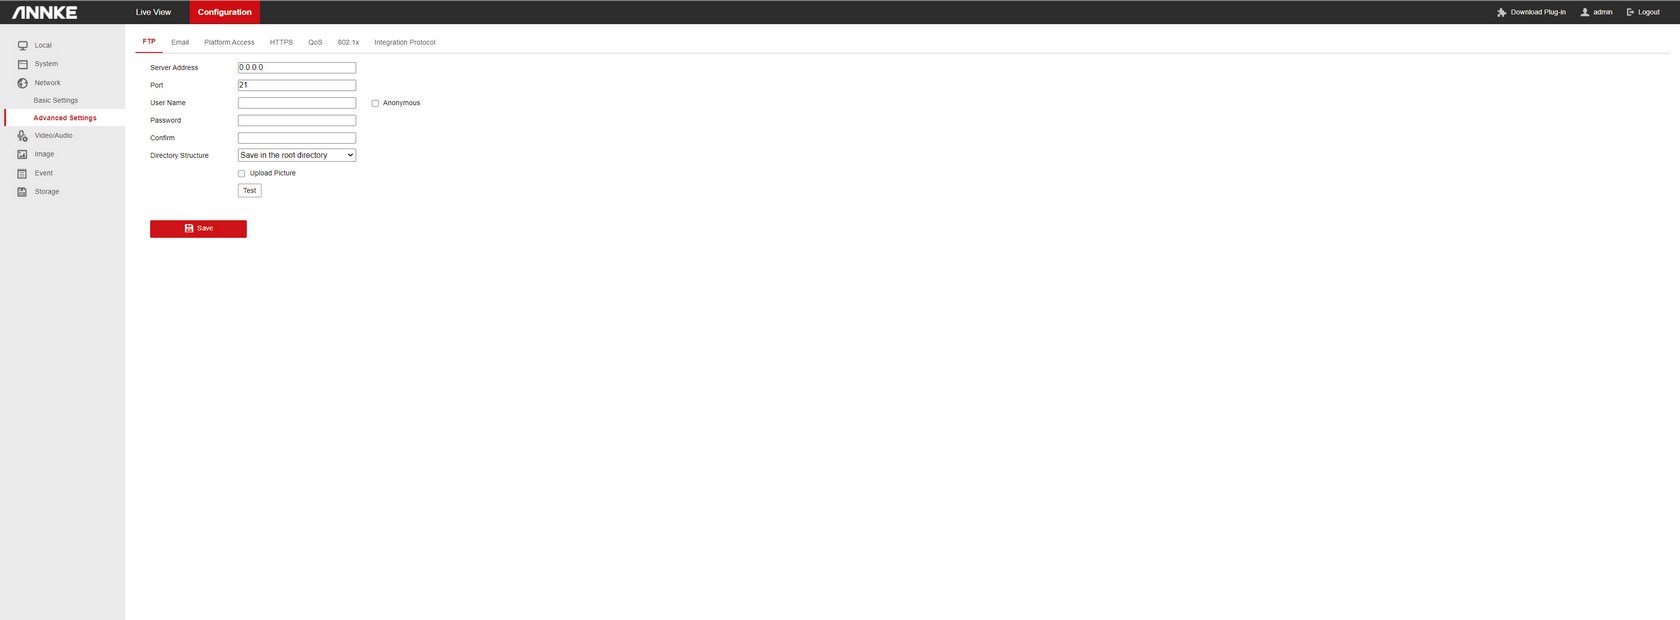
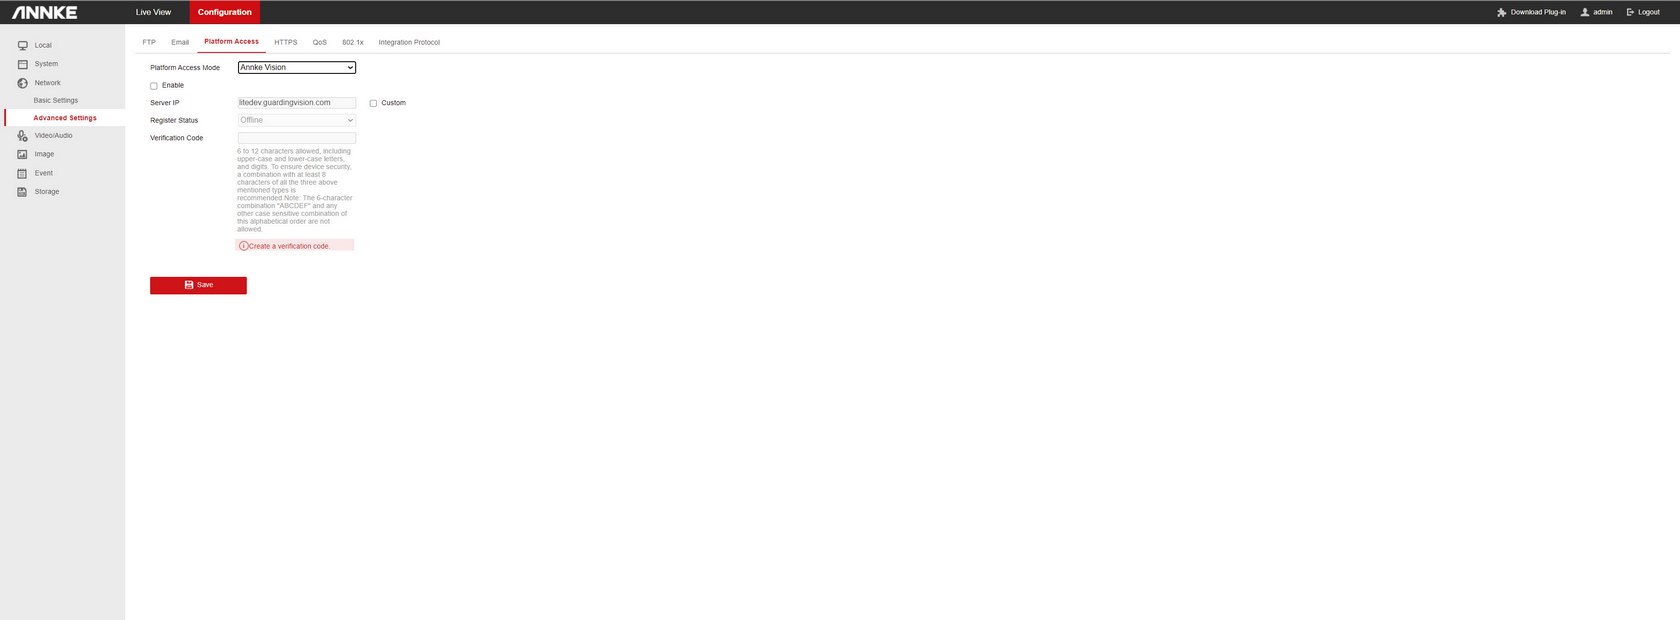
Everything related with the network is placed inside the network menu and so from here you can set the NIC type (10/100M speed), MTU number, IP address, enable IPV6, DNS, DDNS (remote access - ANNKE seems to have their own platform), enable PPPoE internet connectivity, setup SNMP, enable/disable UPNP, use port mapping, enable/disable HTTPS (secure web access), use QoS (quality of service) and enable/disable IEEE 802.1x authentication.

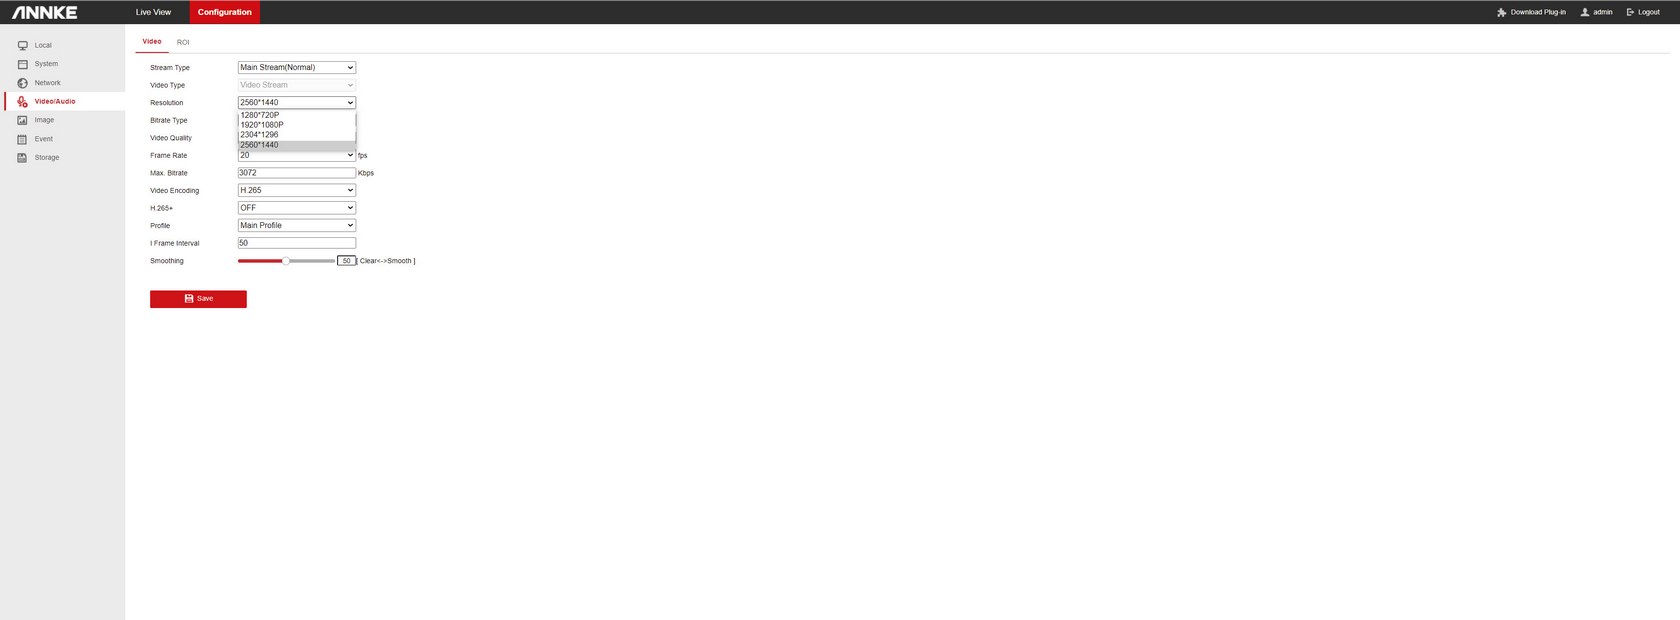
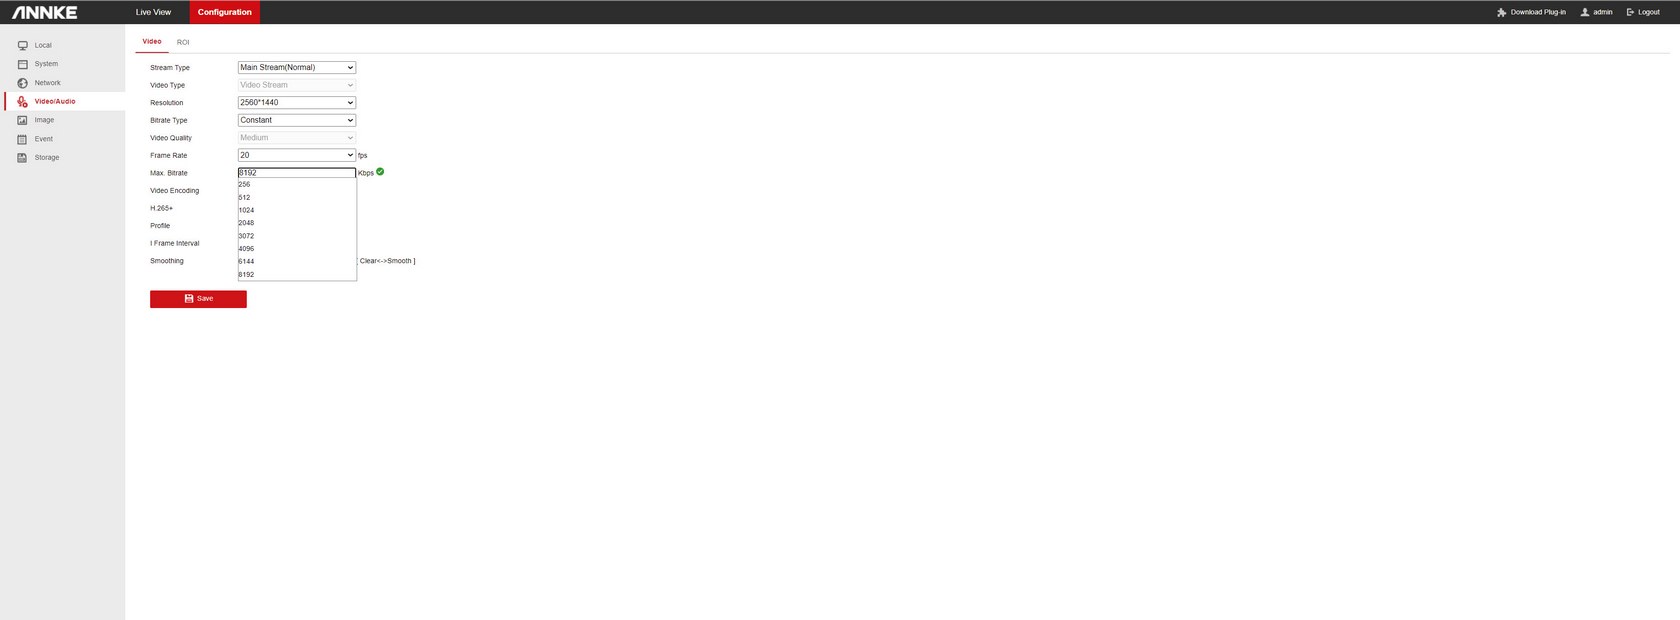
Video quality can be primarily adjusted from within the Video/Audio tab so from here you can adjust the following settings such as encoding compression, resolution, bitrate type, video quality (only for variable bitrate), frame rate, maximum bitrate, I frame interval (the number should be the same as the selected fps) and video smoothing.