


HOME8 ANDROID/IOS APP
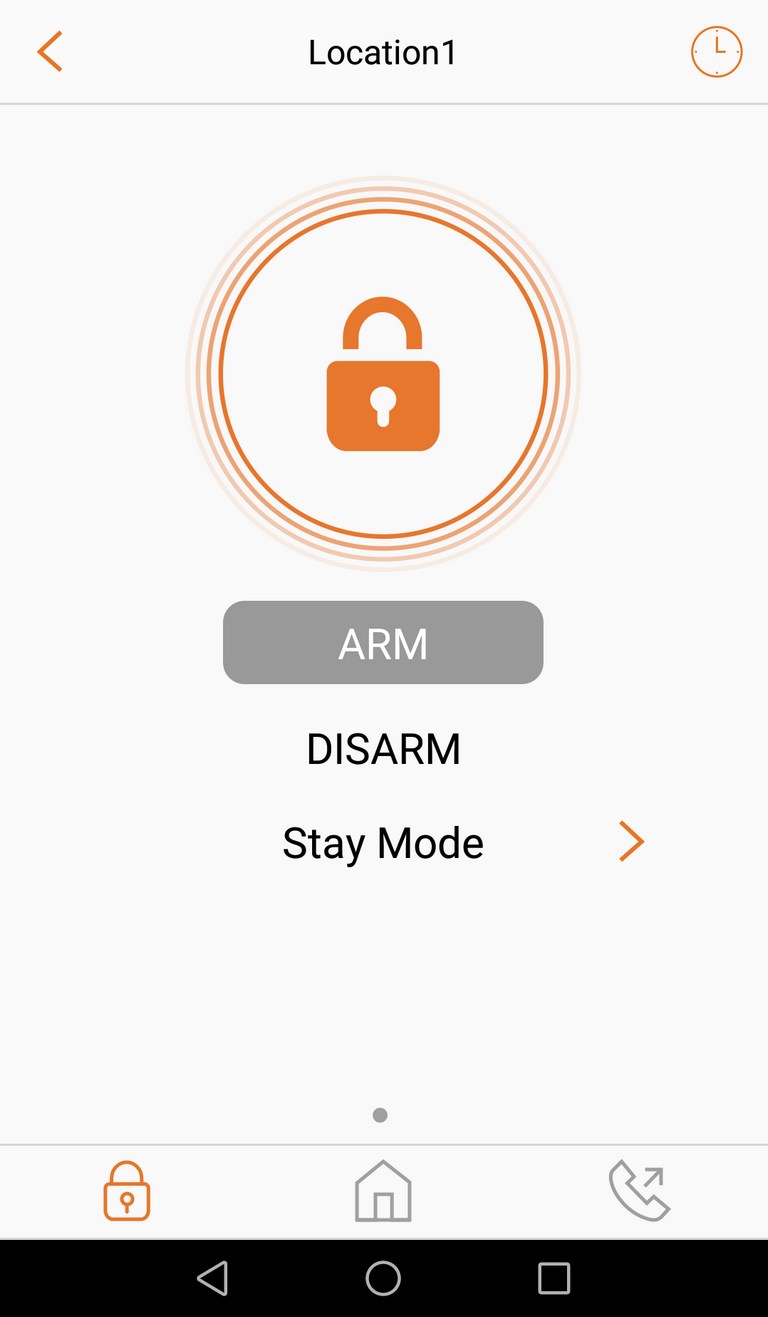
Once you are done with the setup procedure you can go ahead and ARM the system (you can also arm/disarm the system from the keychain controller).
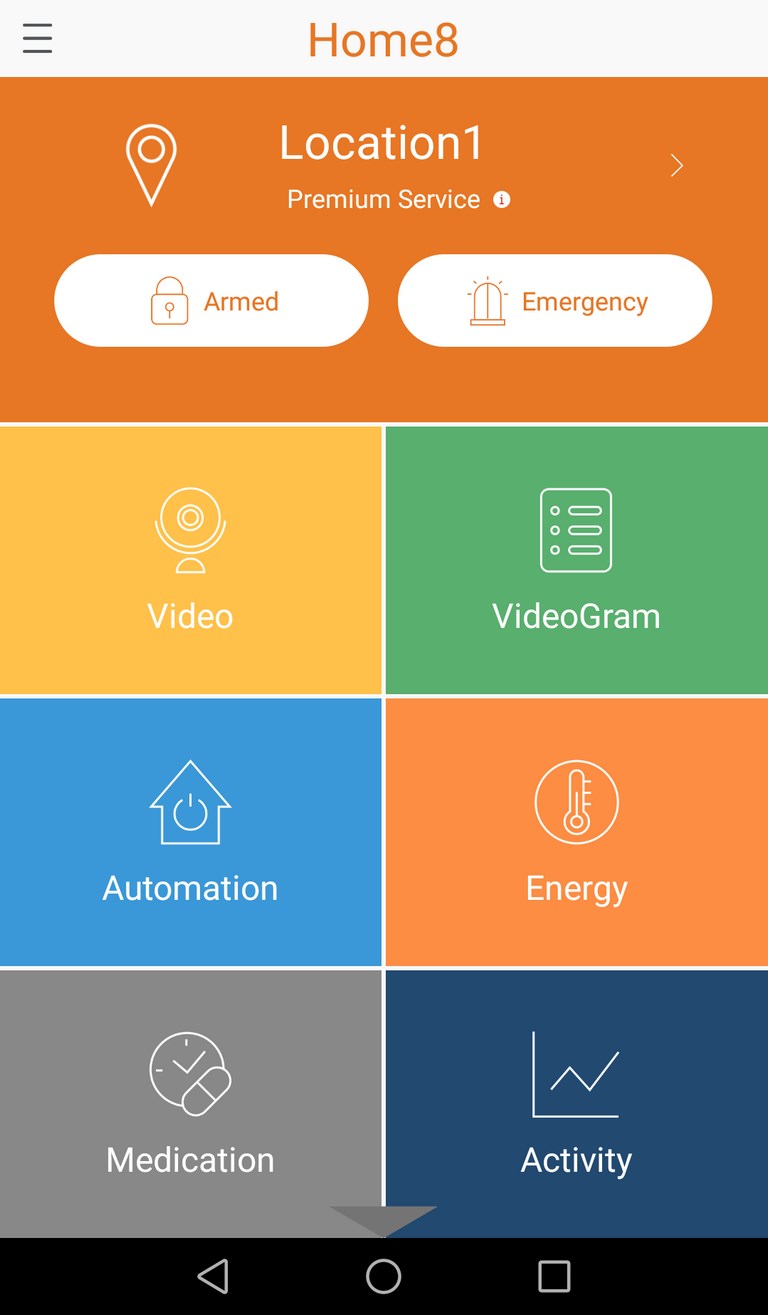
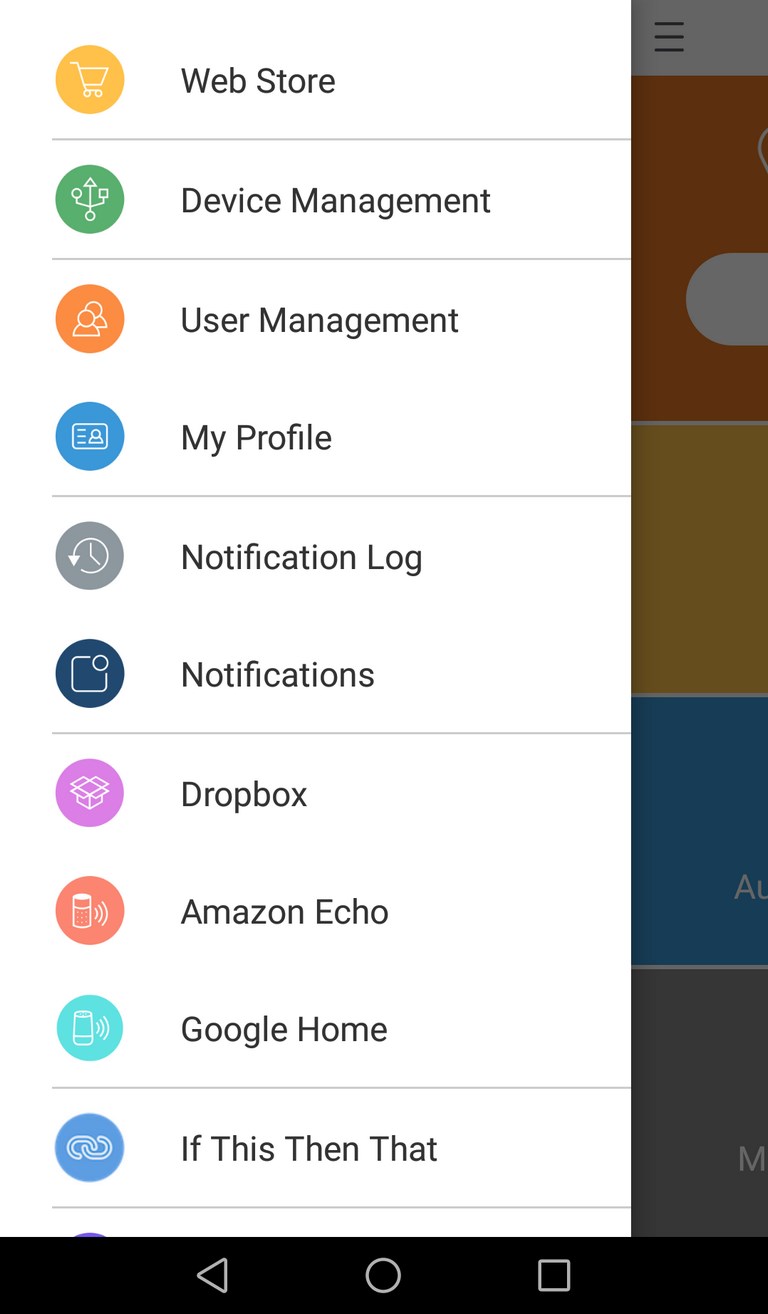
From the main screen of the Home8 app you can access most available functions of the alarm system (the ones you can't can be accessed from the drop down menu).
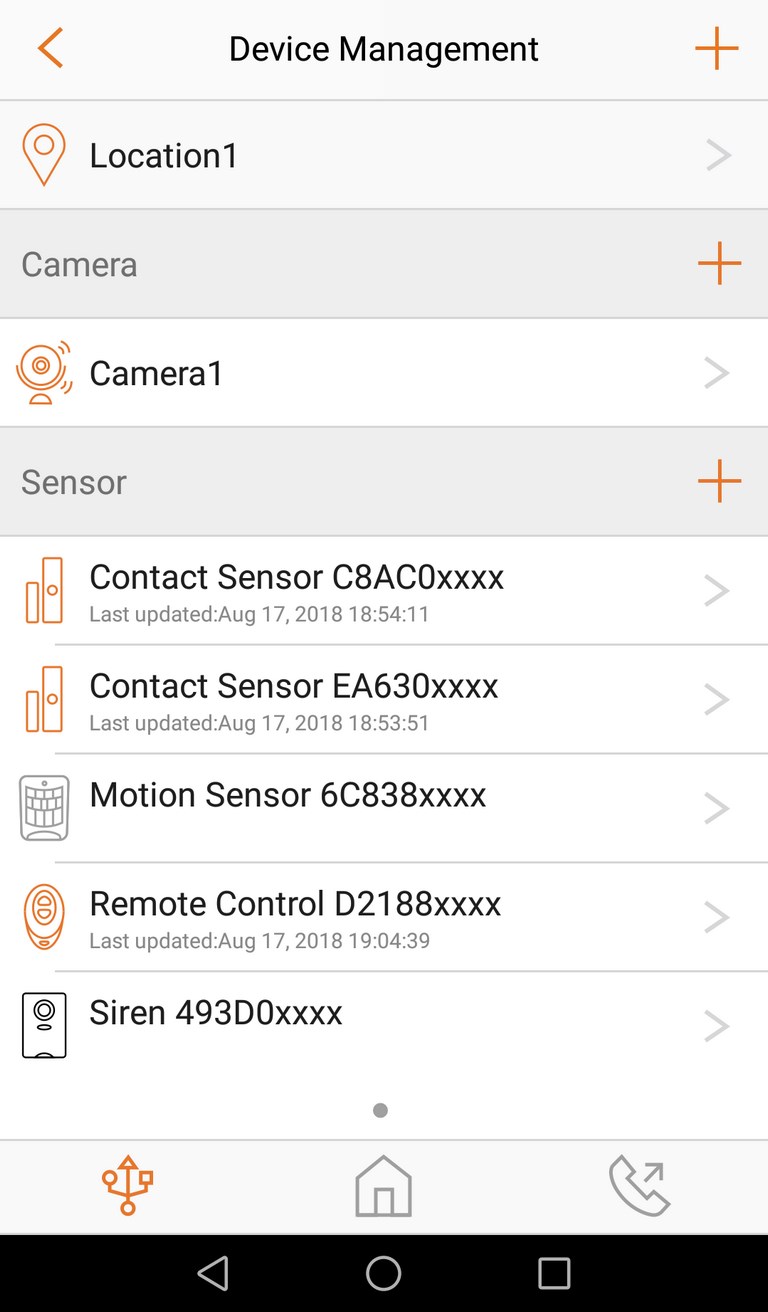
You can access all the registered devices either from the Location tab or the device management tab (some devices may not register automatically so you will need to register them via their 2D barcodes).
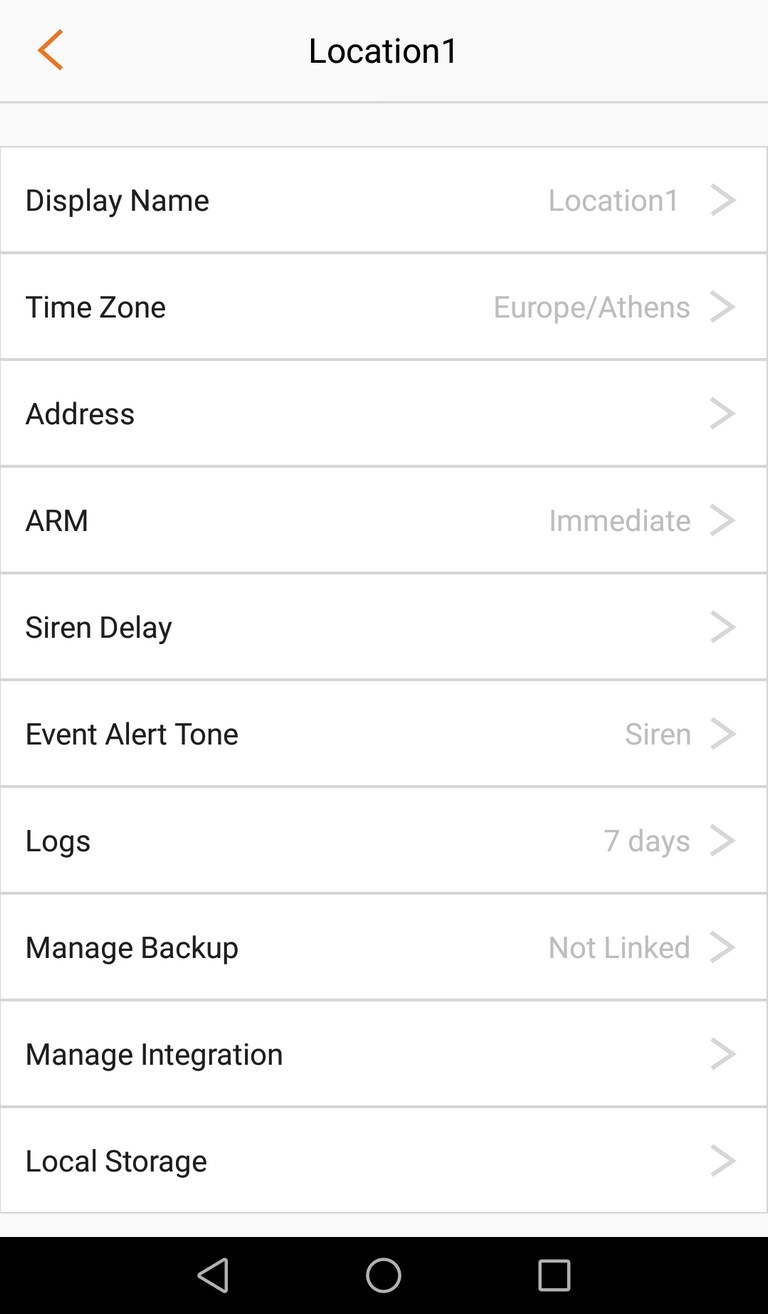
From the location menu as expected you can set the time zone, add an address and adjust the arming time, siren delay and alert tones.
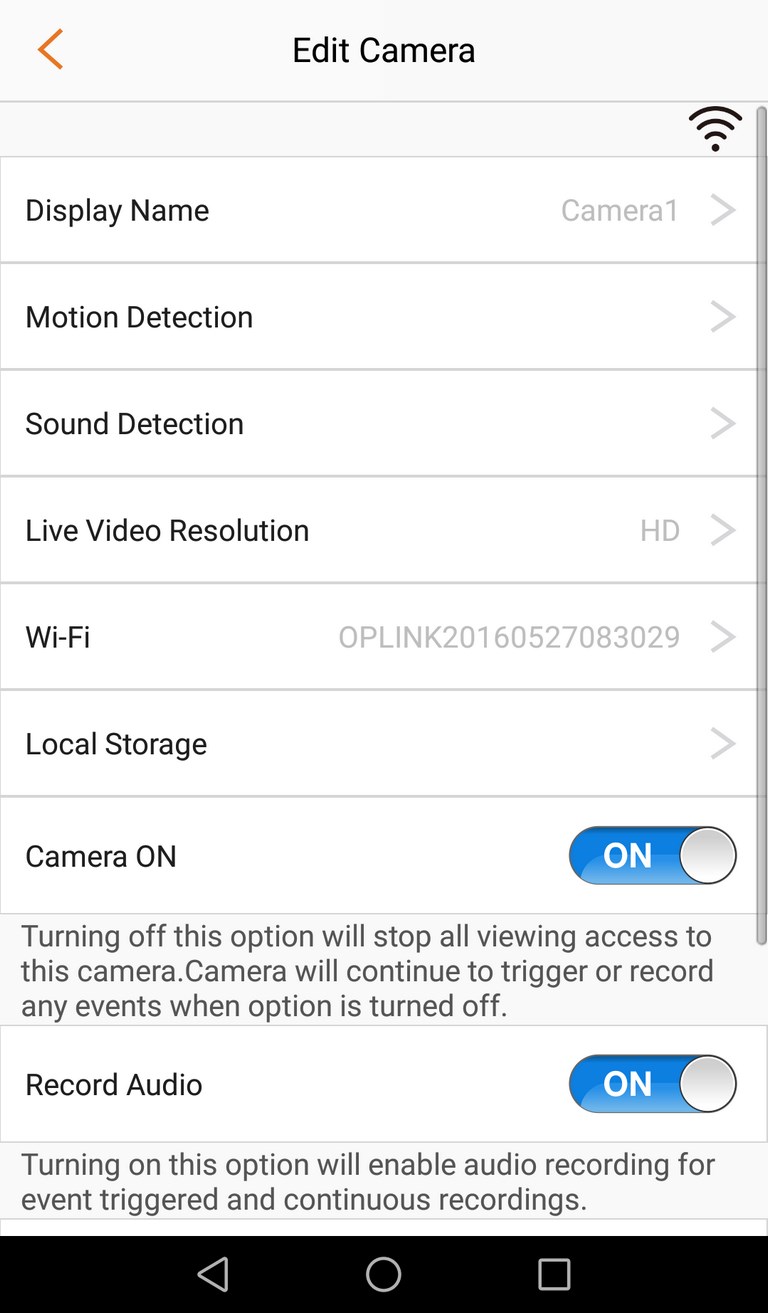
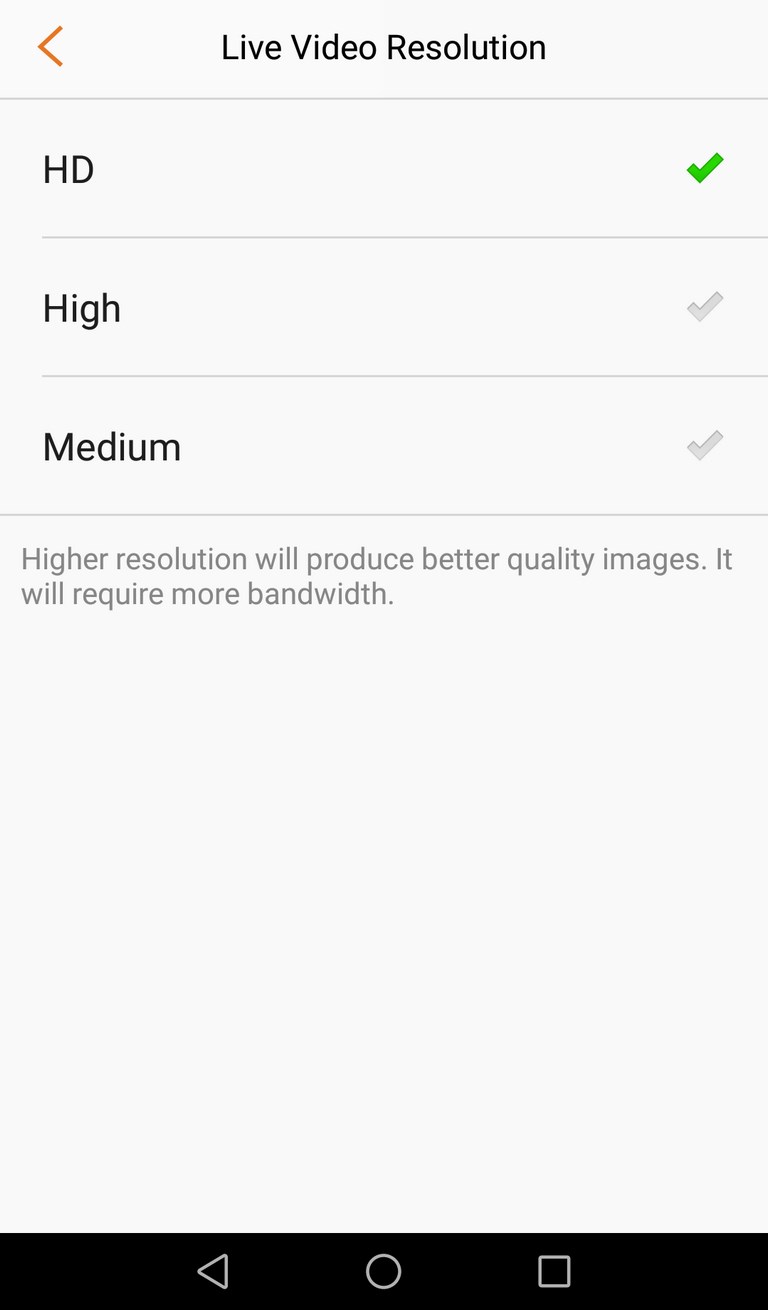
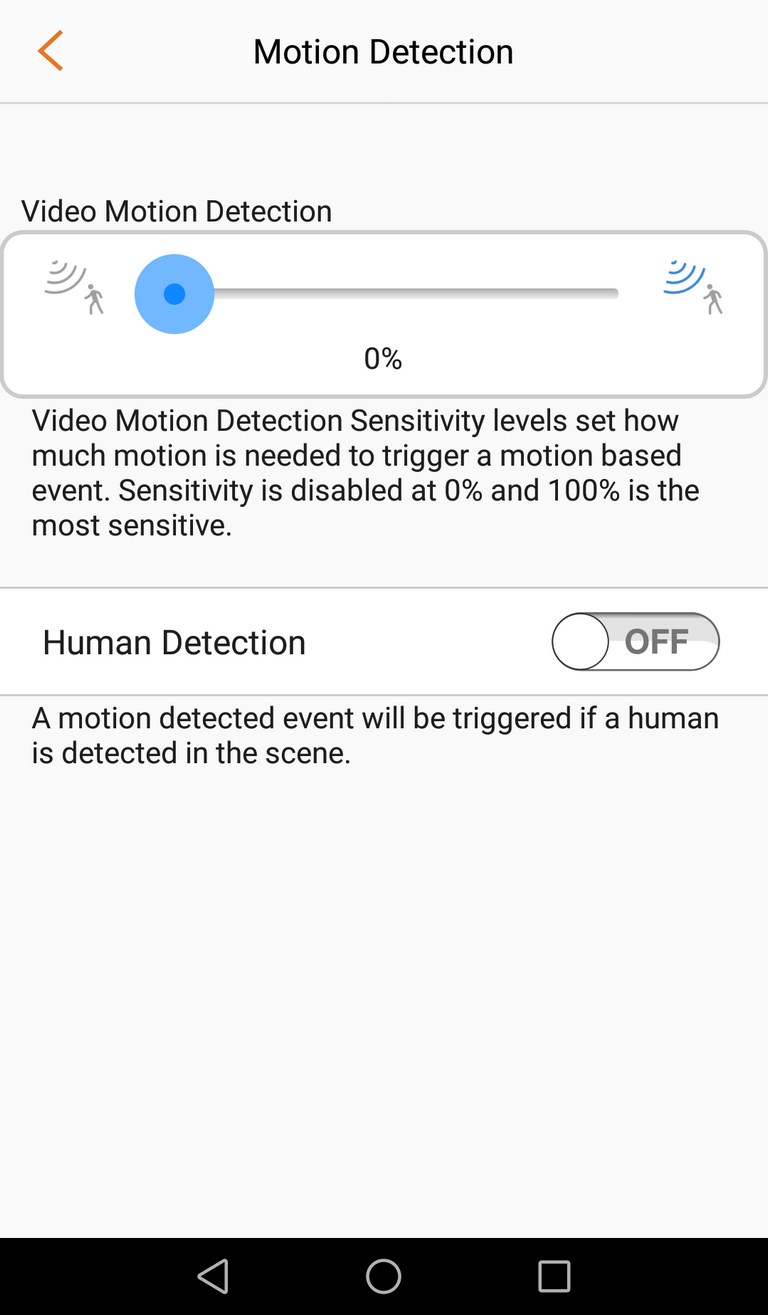
From the camera tab you can enable/disable it, enable audio recording, set it to start recording via motion detection, adjust the live/recording resolution (720p for our tests) and you can also set its SSID.
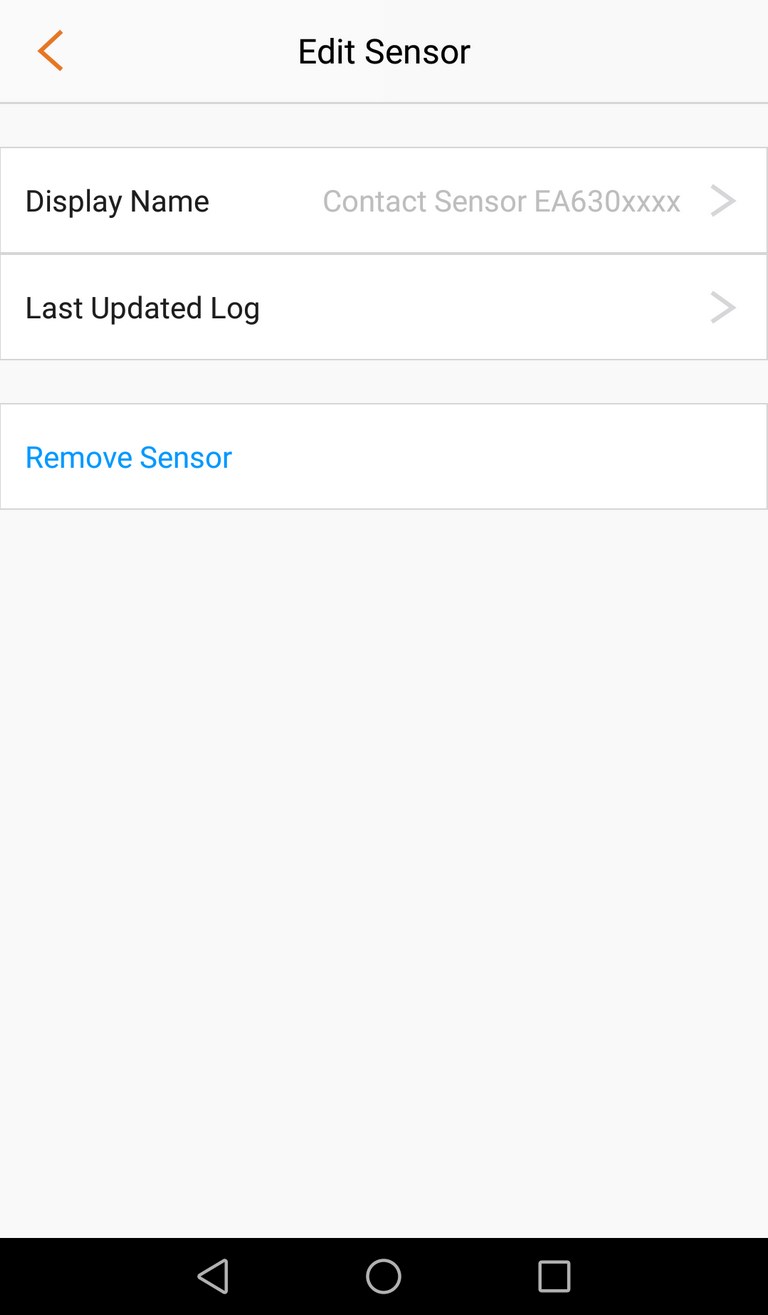
As for the 3 sensors you can only change their names nothing else.
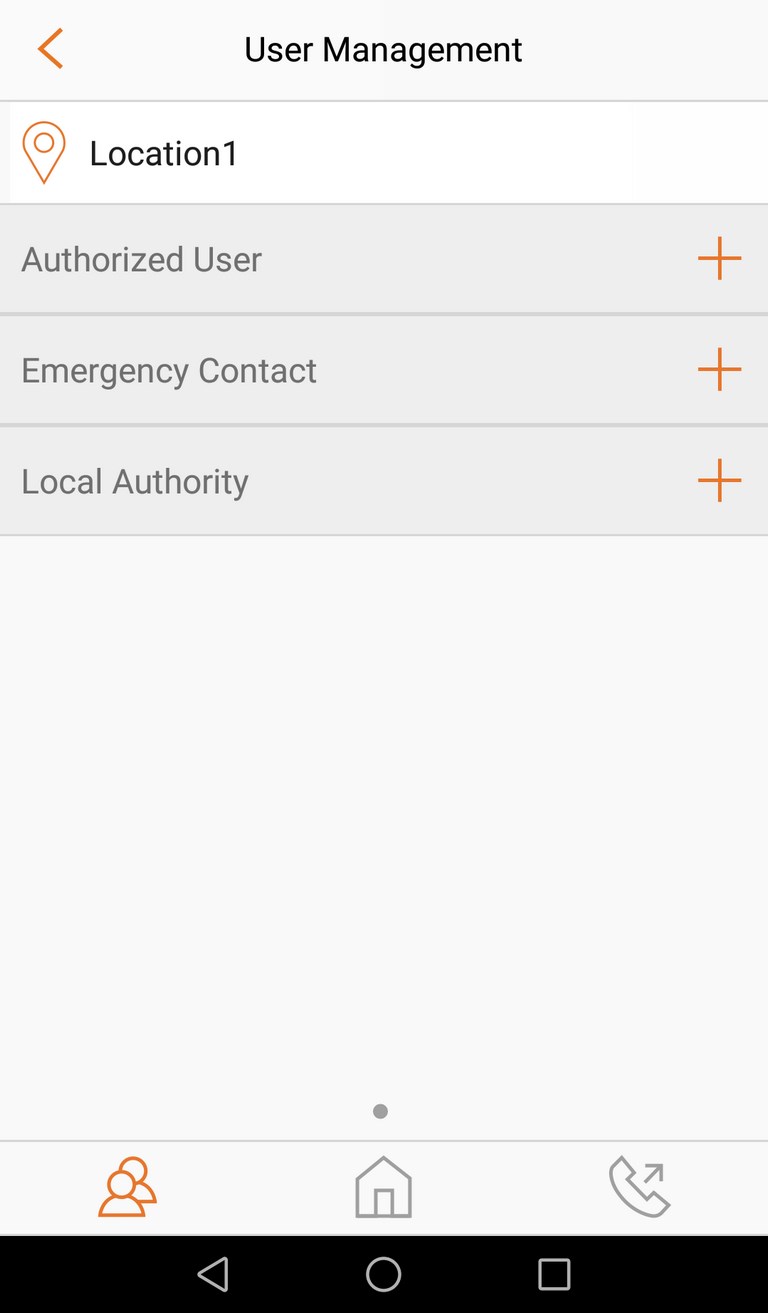
Of course you can also add/remove more users who can access the system.
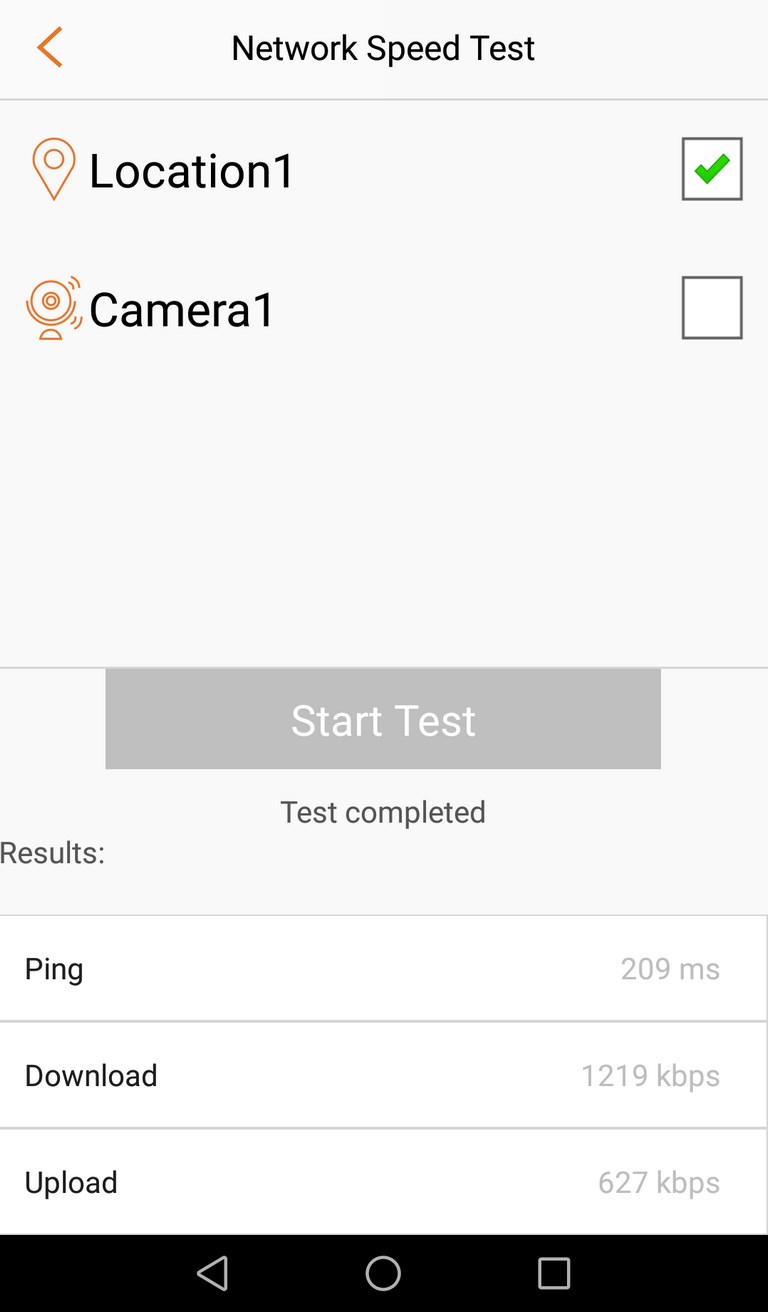
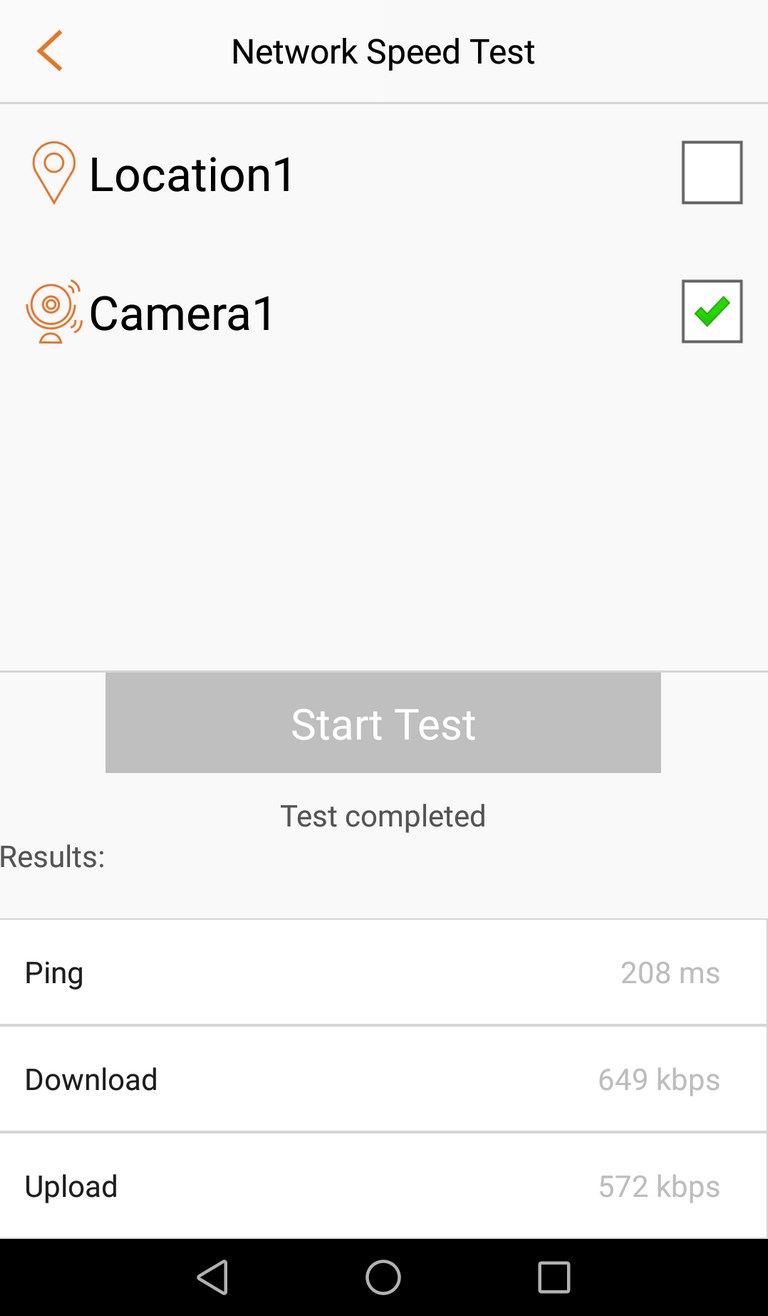
The network speed test is a good way of seeing if your camera is within the optimal range from the hub.
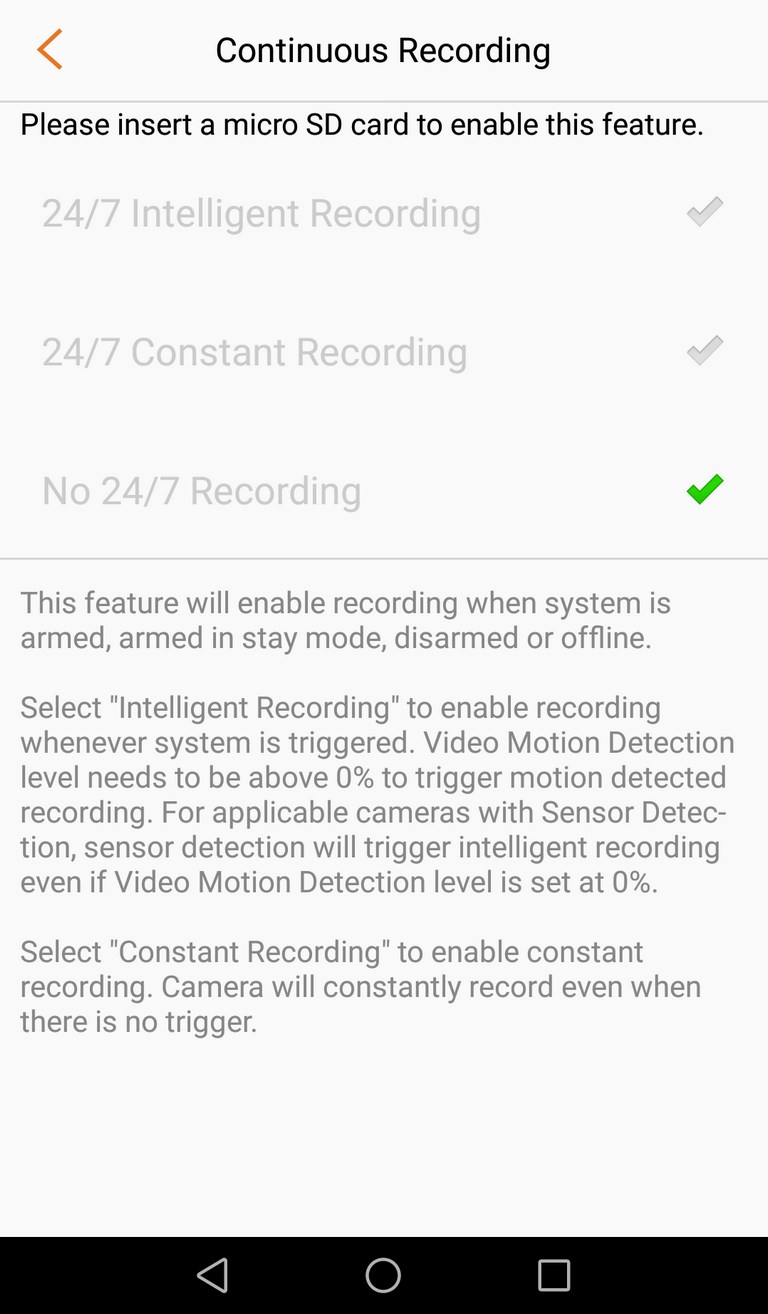
The app also allows for 24/7 recording if you mount a micro SD card into the mini cube HD camera.
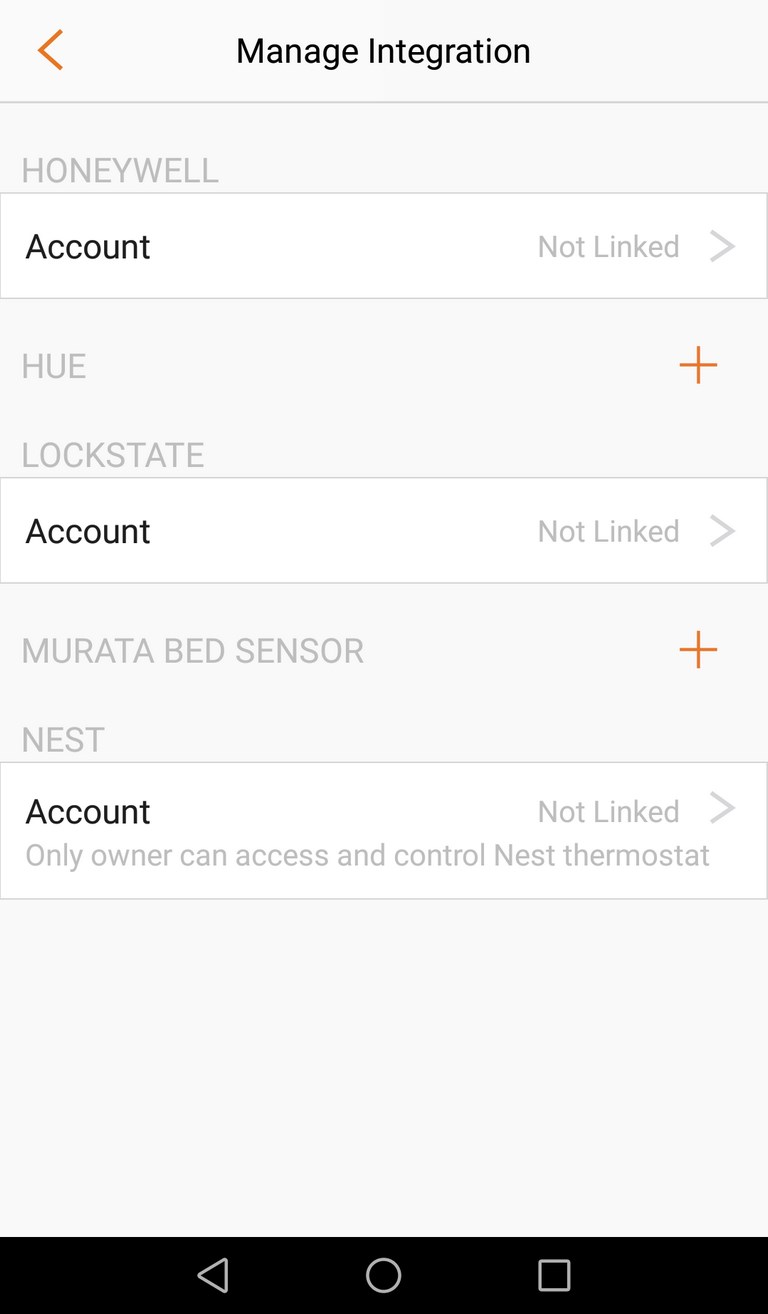
Home8 has made it possible for their security system to work flawlessly with devices from HONEYWELL (Hue), LOCKSTATE (bed sensor) and NEST.
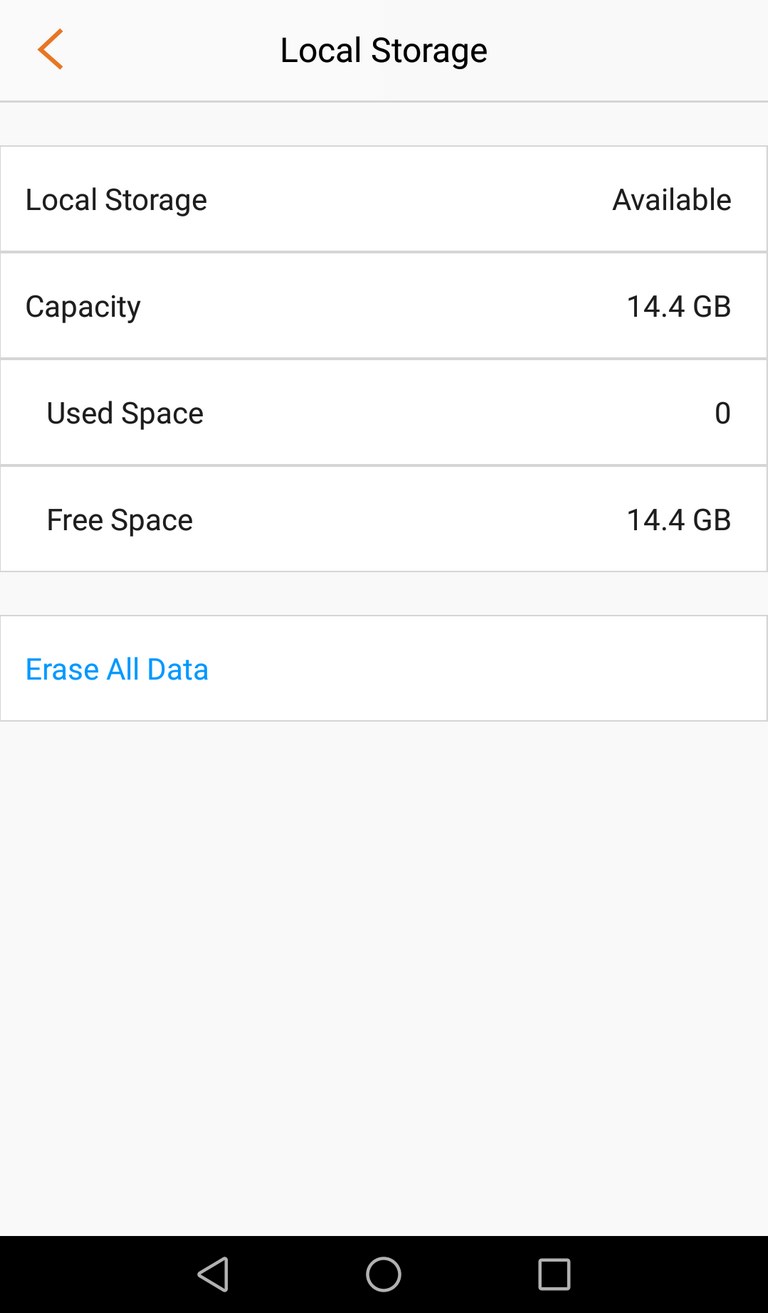
With a total free space of 14.4GB the bundled USB thumb drive may not be the ideal choice for long recording periods but you can always replace it with an HDD up to 1TB in capacity.
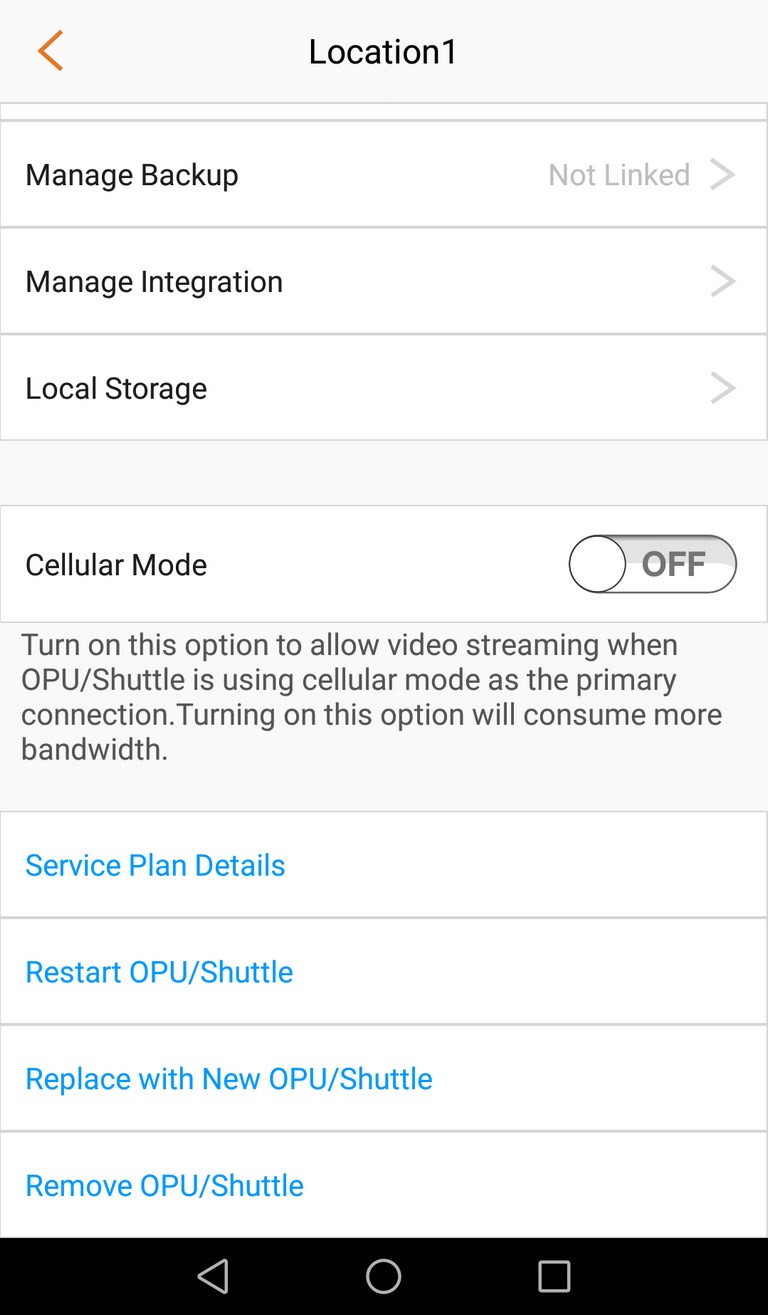
If you happen to be using the hub with a cellular plan you can enable higher video and audio quality from within the app as seen above.
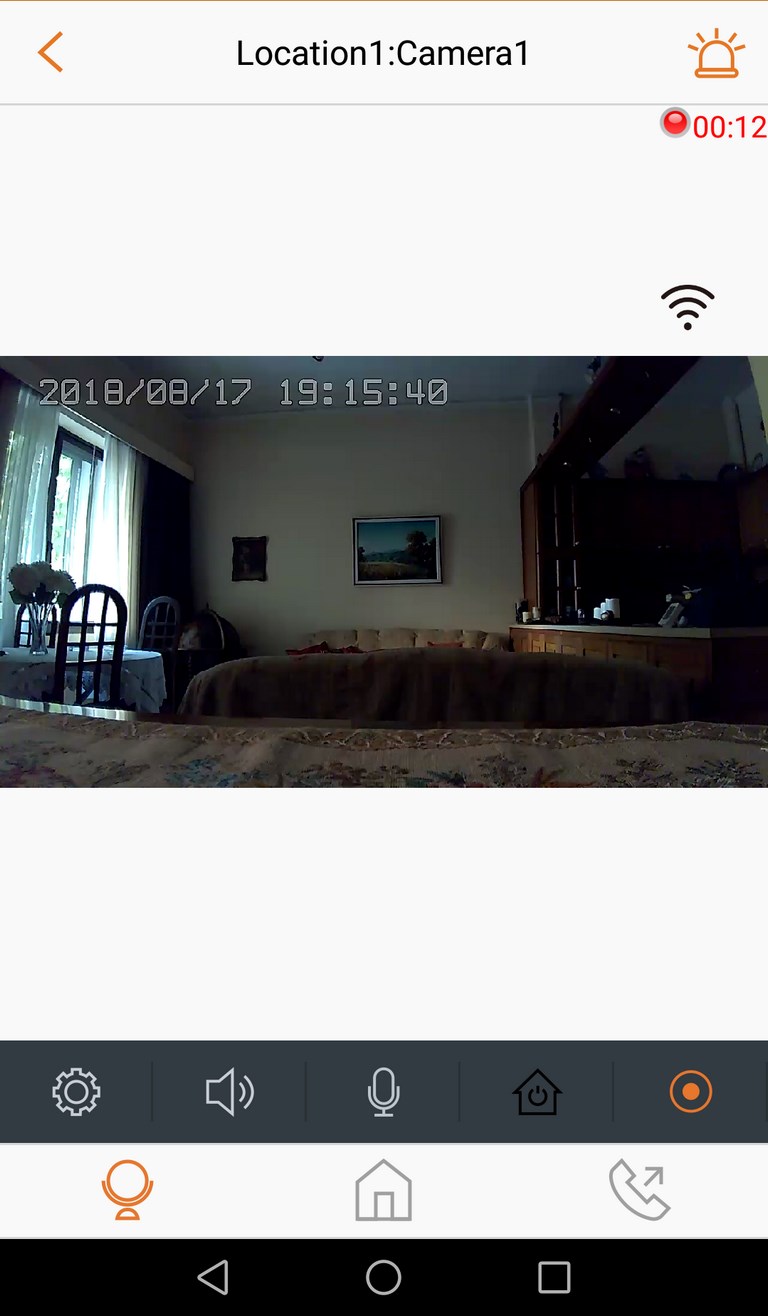
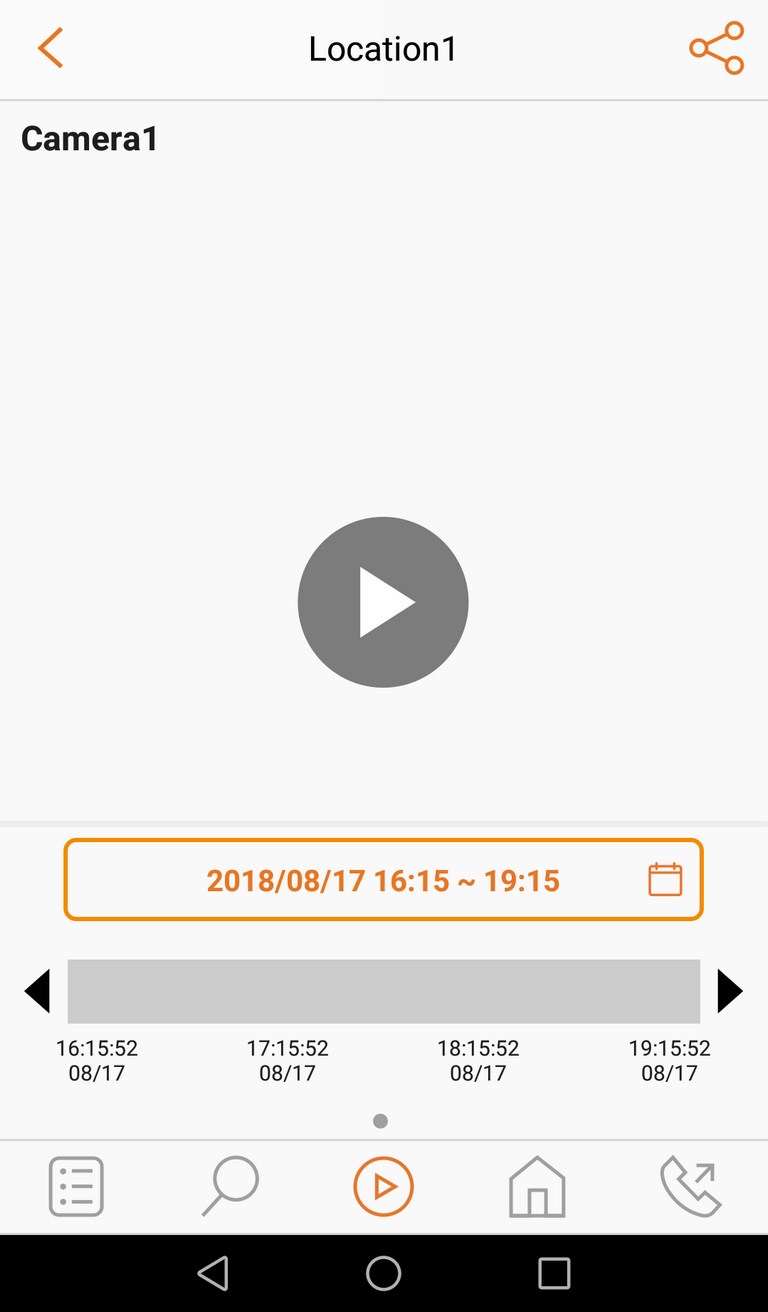
Aside letting the camera record automatically you can also enable recording manually from the live feed tab (which in turn you can watch from the playback tab).
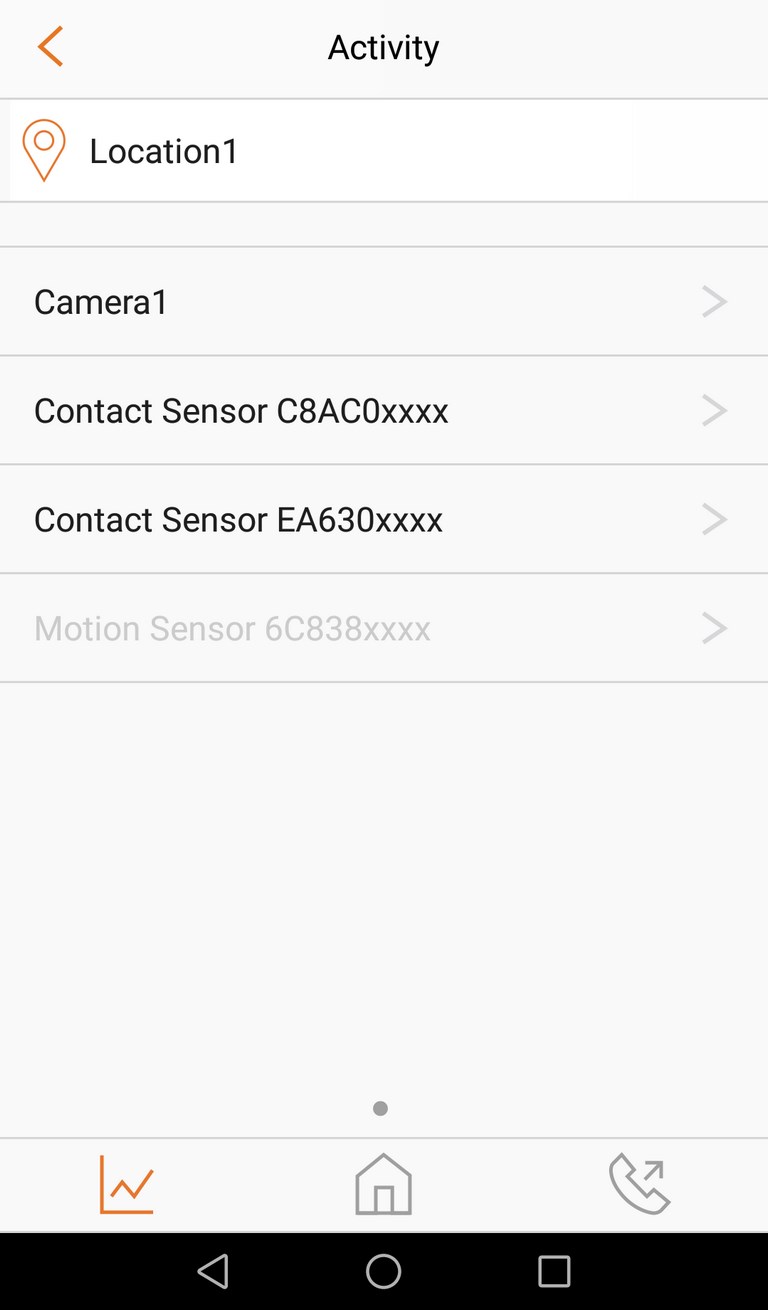
Worth mentioning is that you can check the activity of the installed sensors to see when they recorded events (like the opening and closing of a door or window).
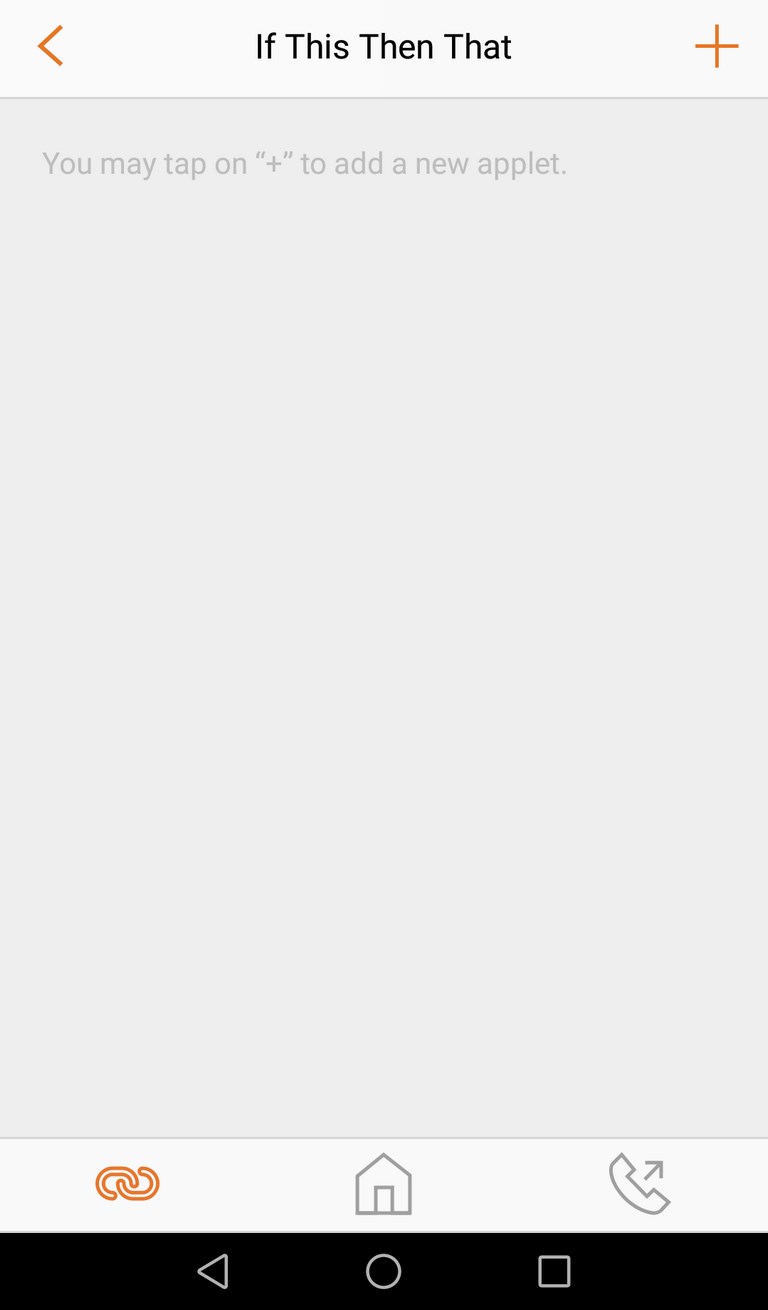
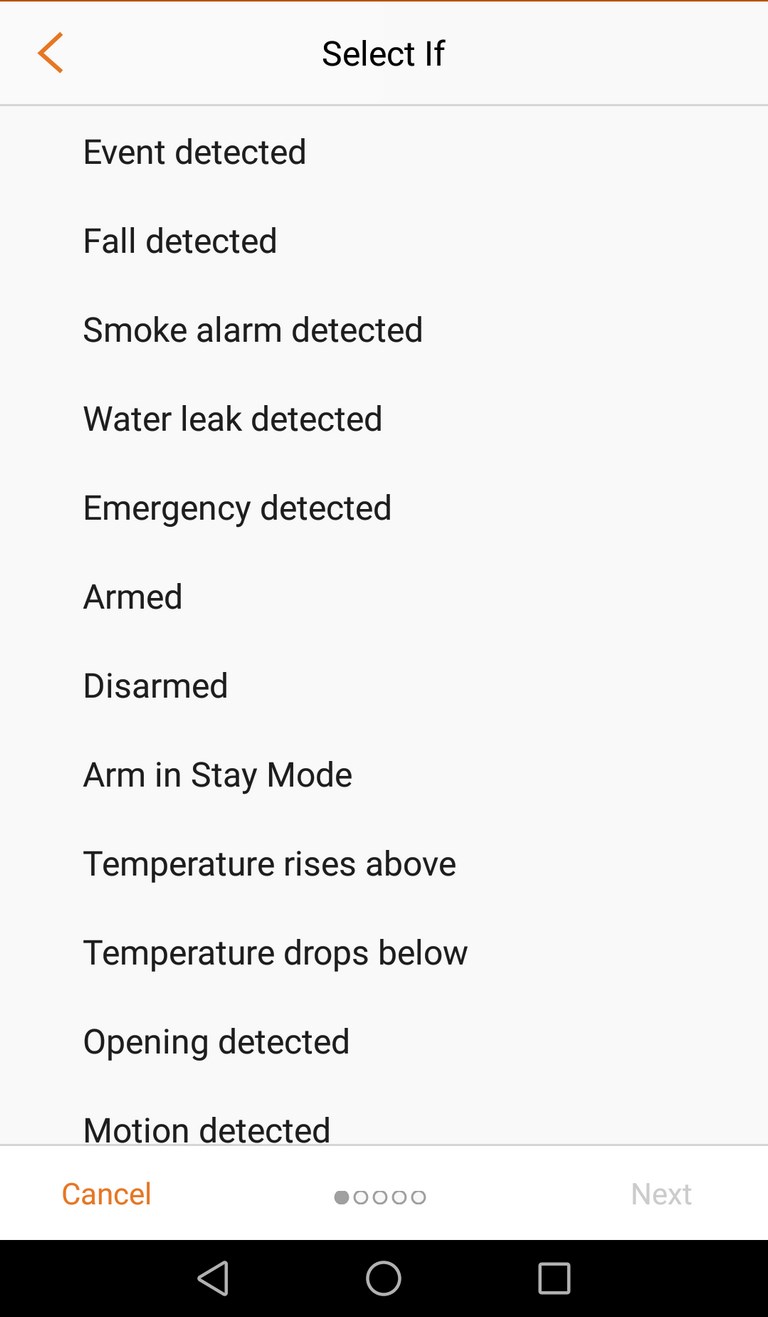
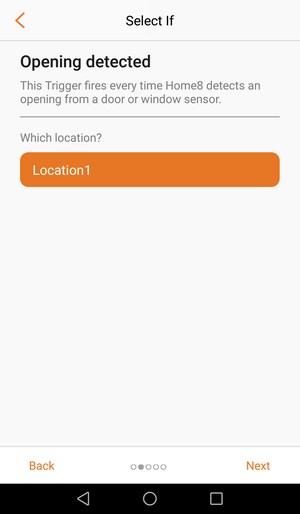
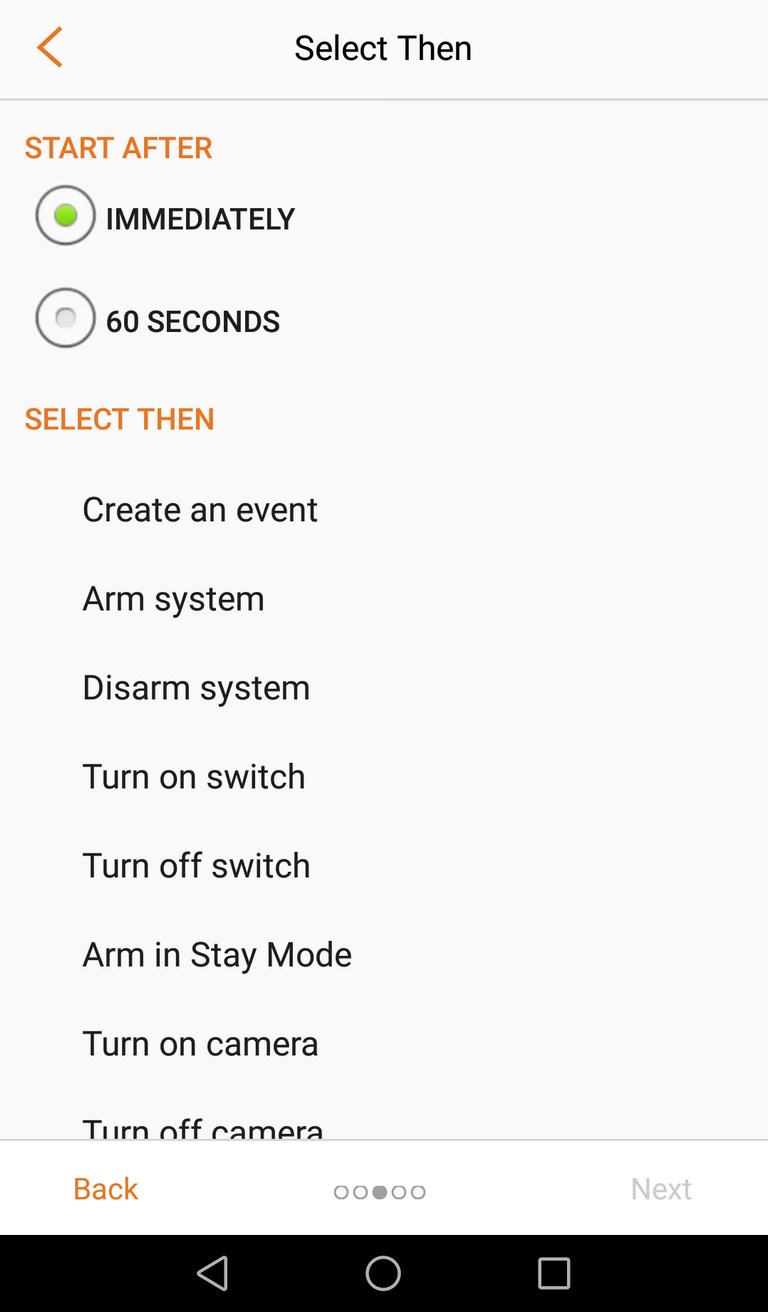
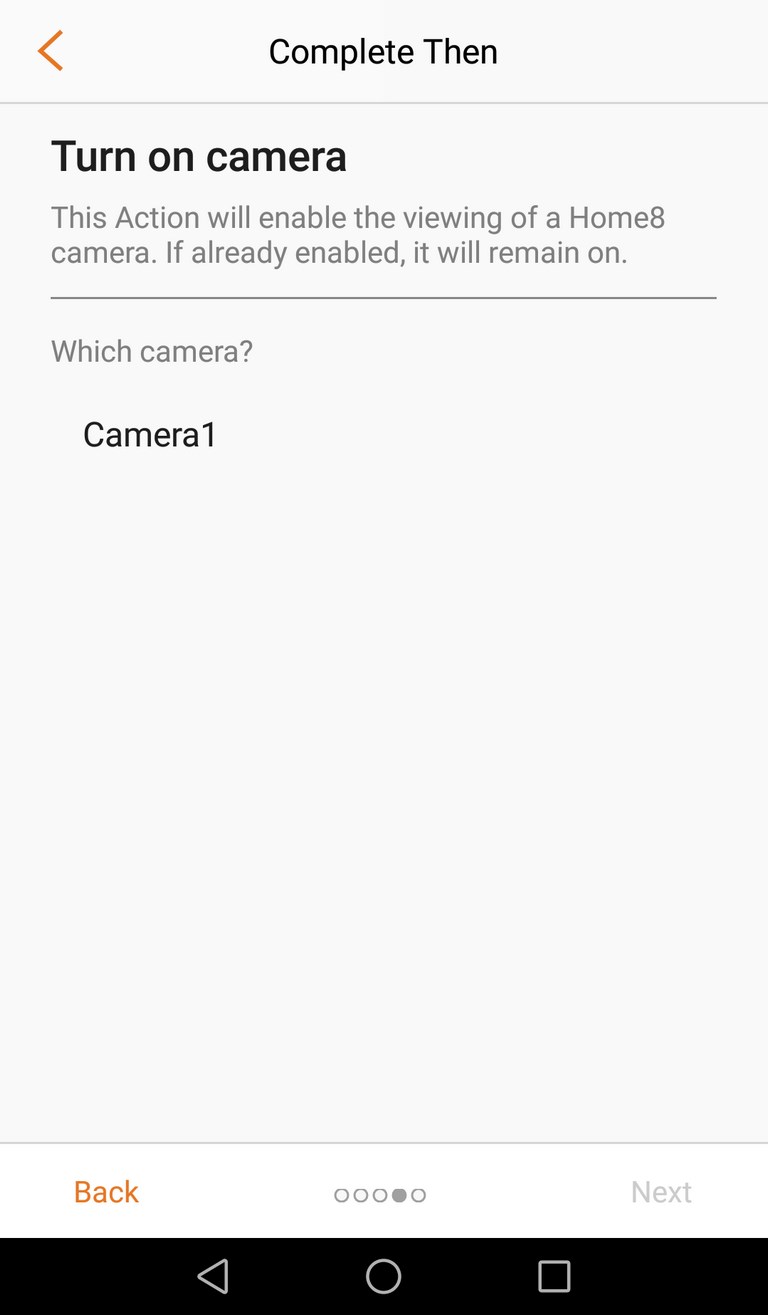
The “if this then that” tab should be very familiar to programmers since from this tab you can configure the alarm system to take action after certain events occur.