O-Sense


USING THE MH-4140 PART 1

The first thing you should do prior to using the system is to plug the NVR (and the cameras if you can/want) into a TV screen and follow the setup wizard.
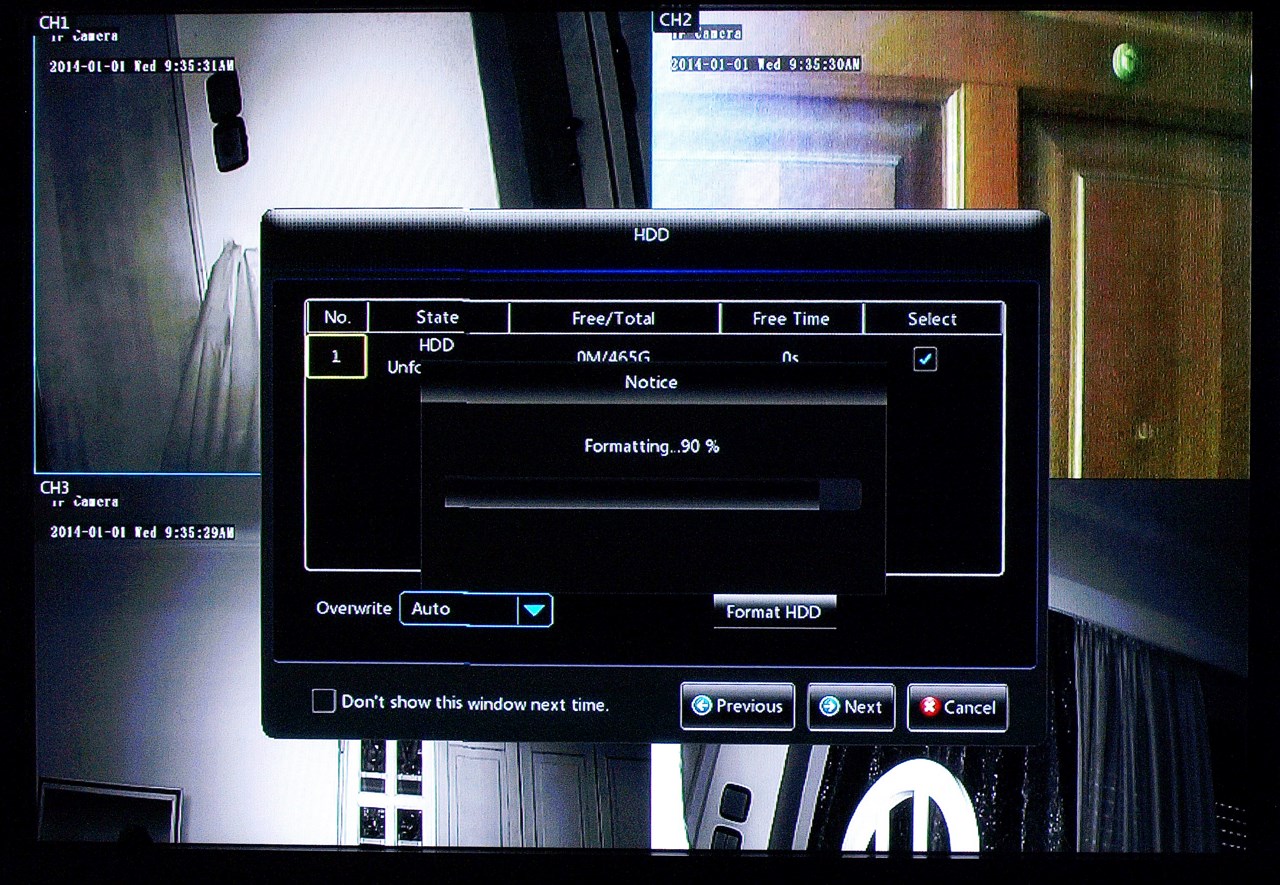
If you have already installed an HDD inside the enclosure you will be prompted to format it prior to starting the setup procedure.
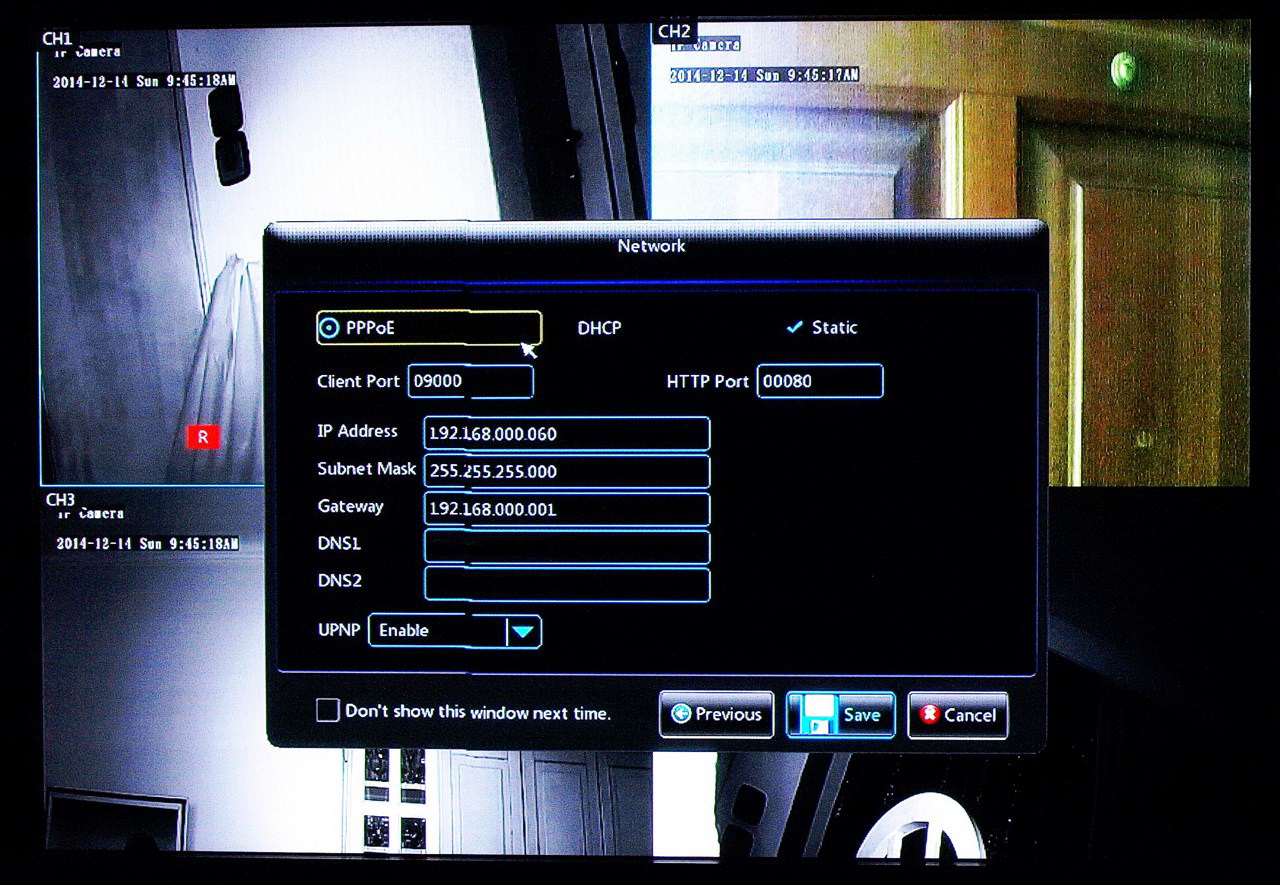
Perhaps the most important setting of this wizard is the network setup since through here you can set an static or dynamic IP address over the local network for the NVR.
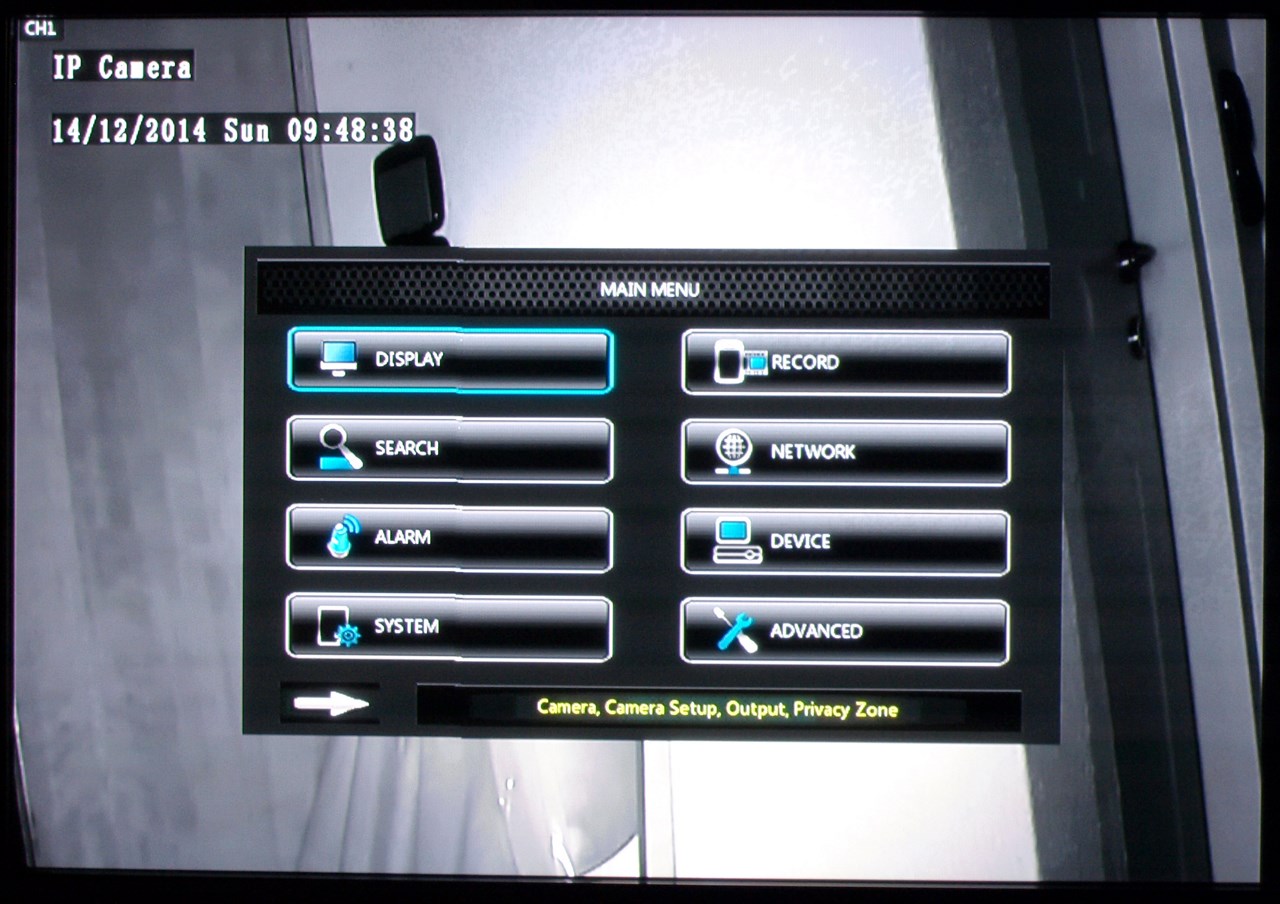
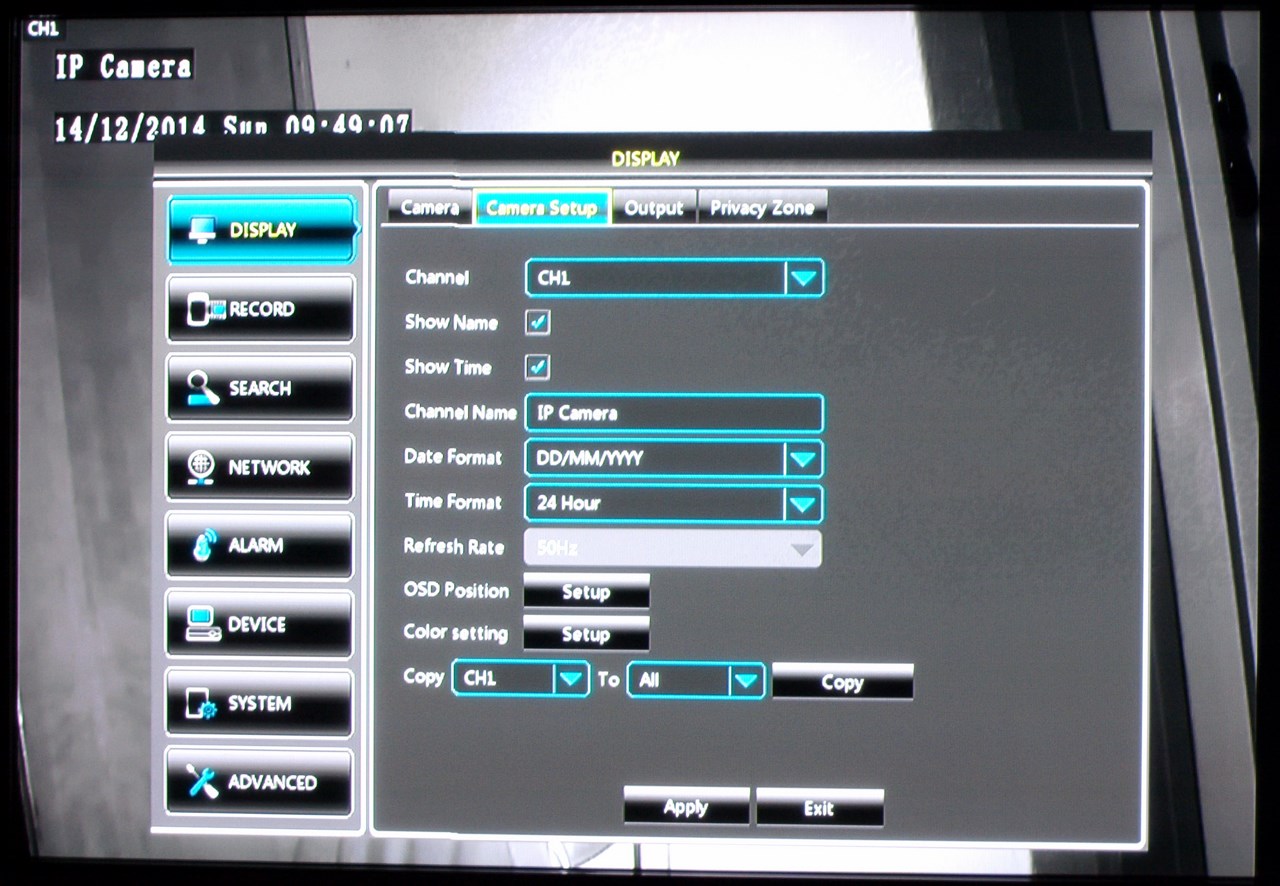
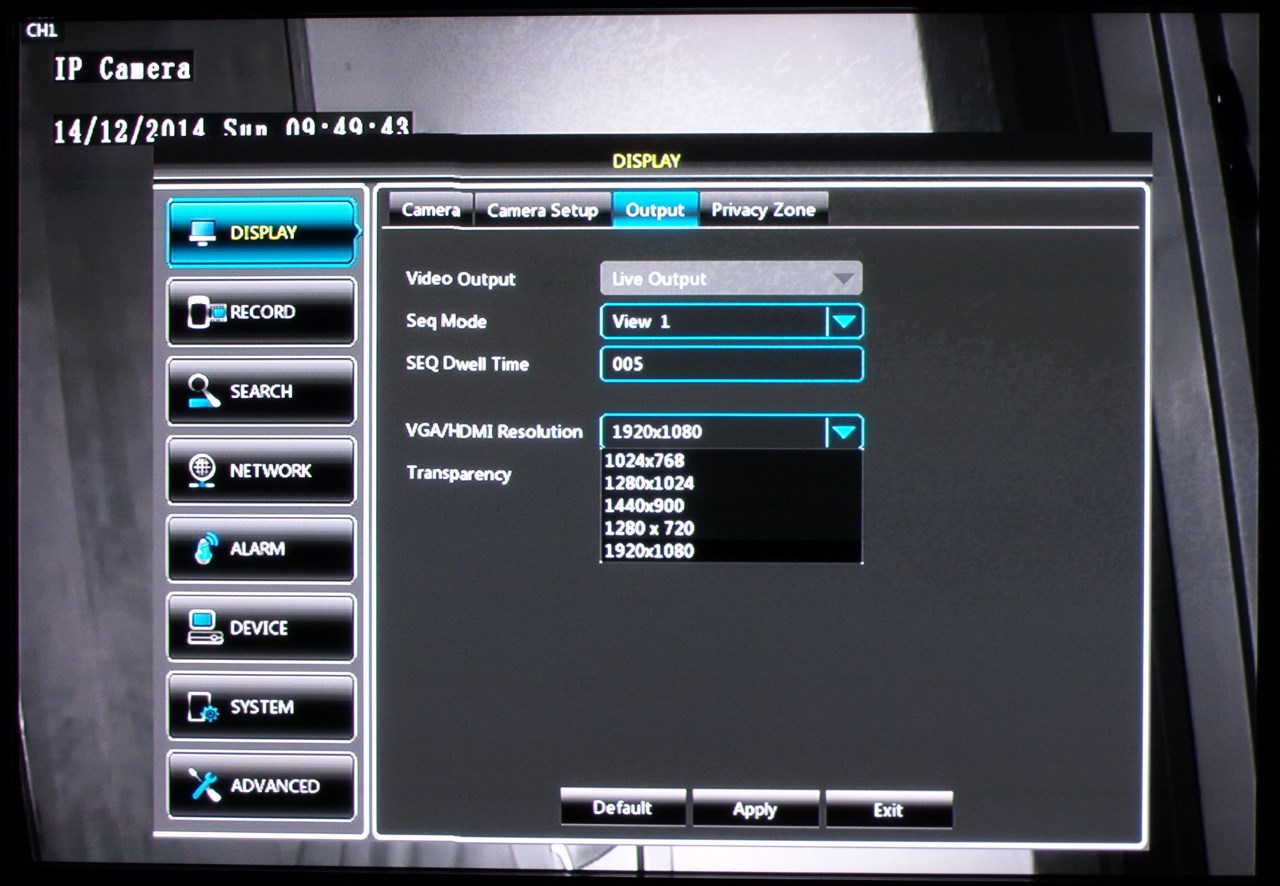
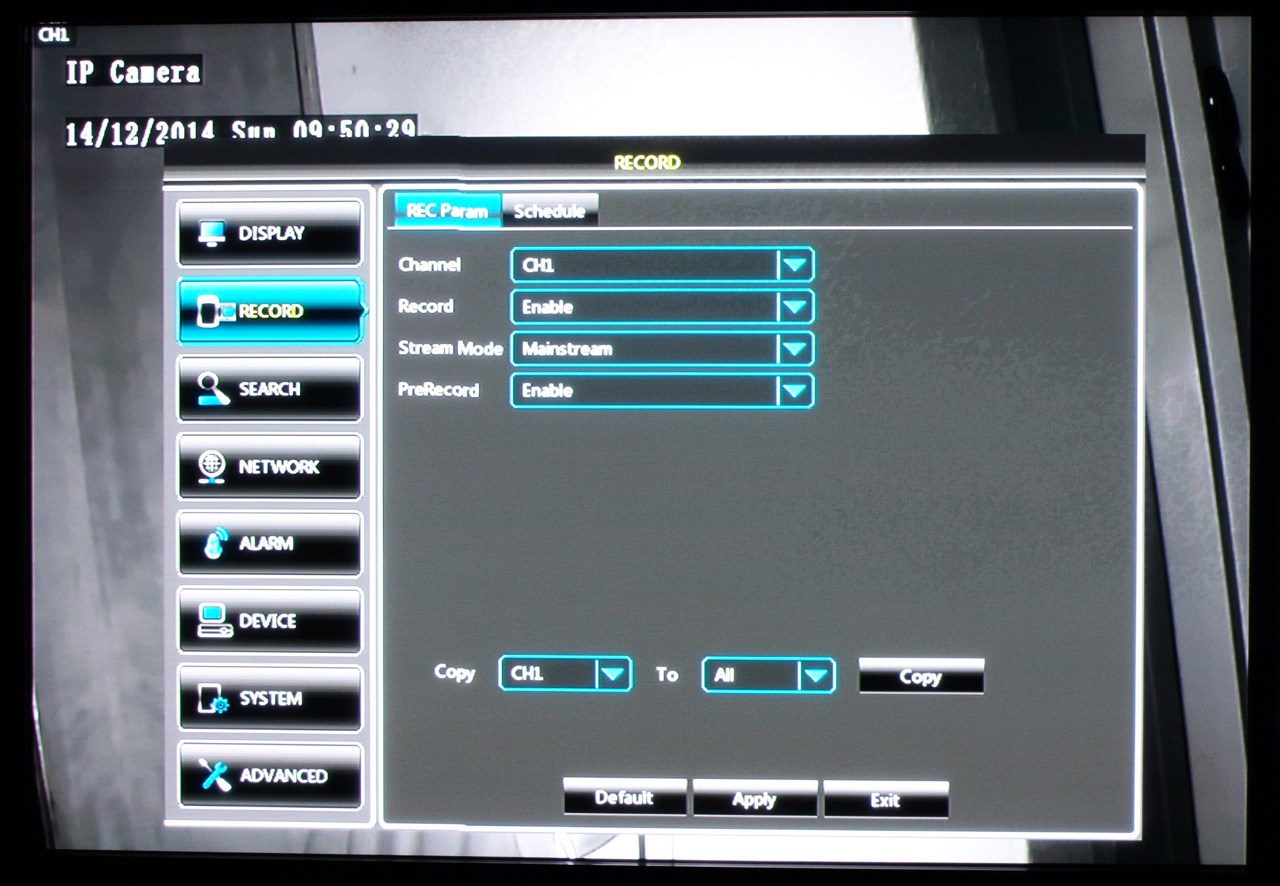
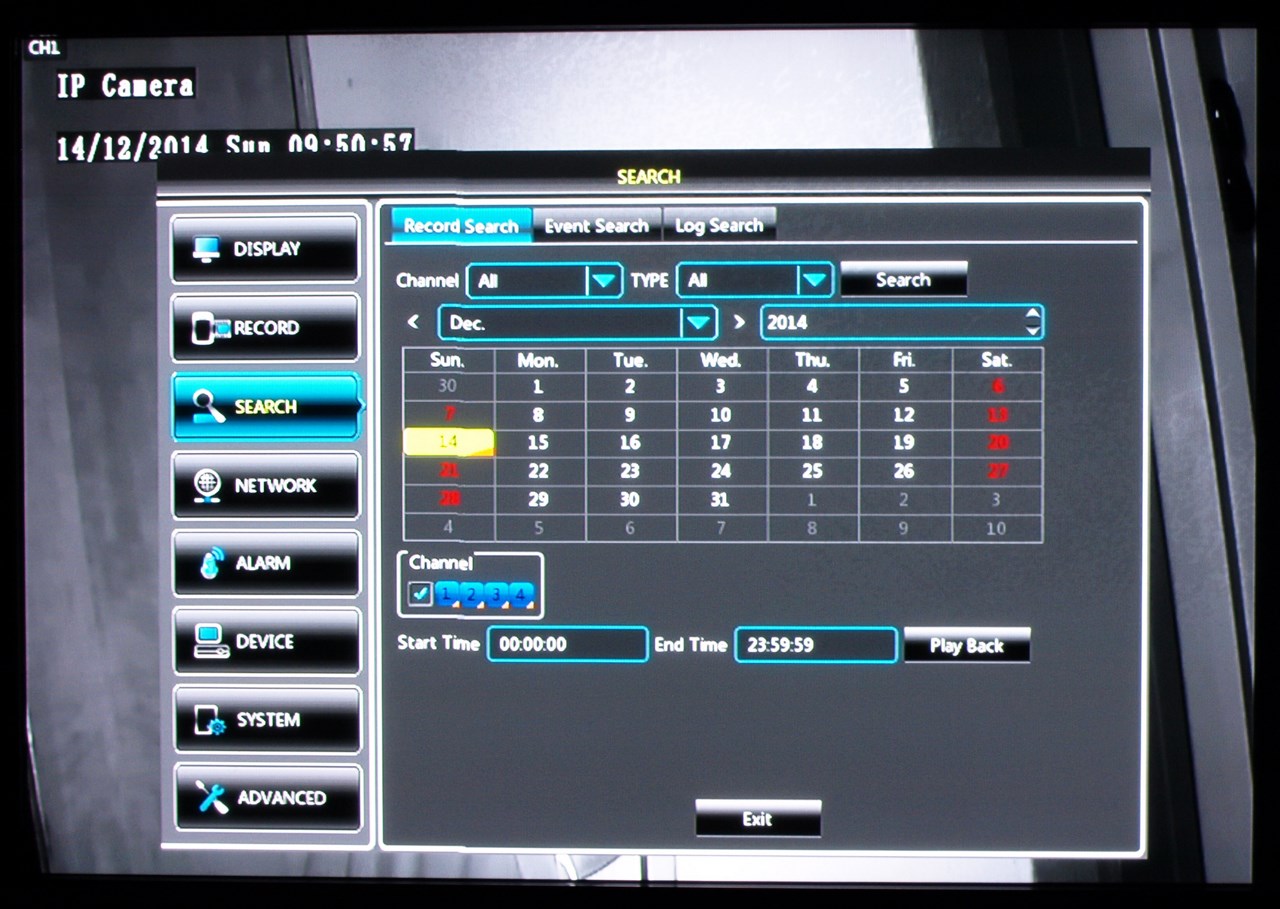
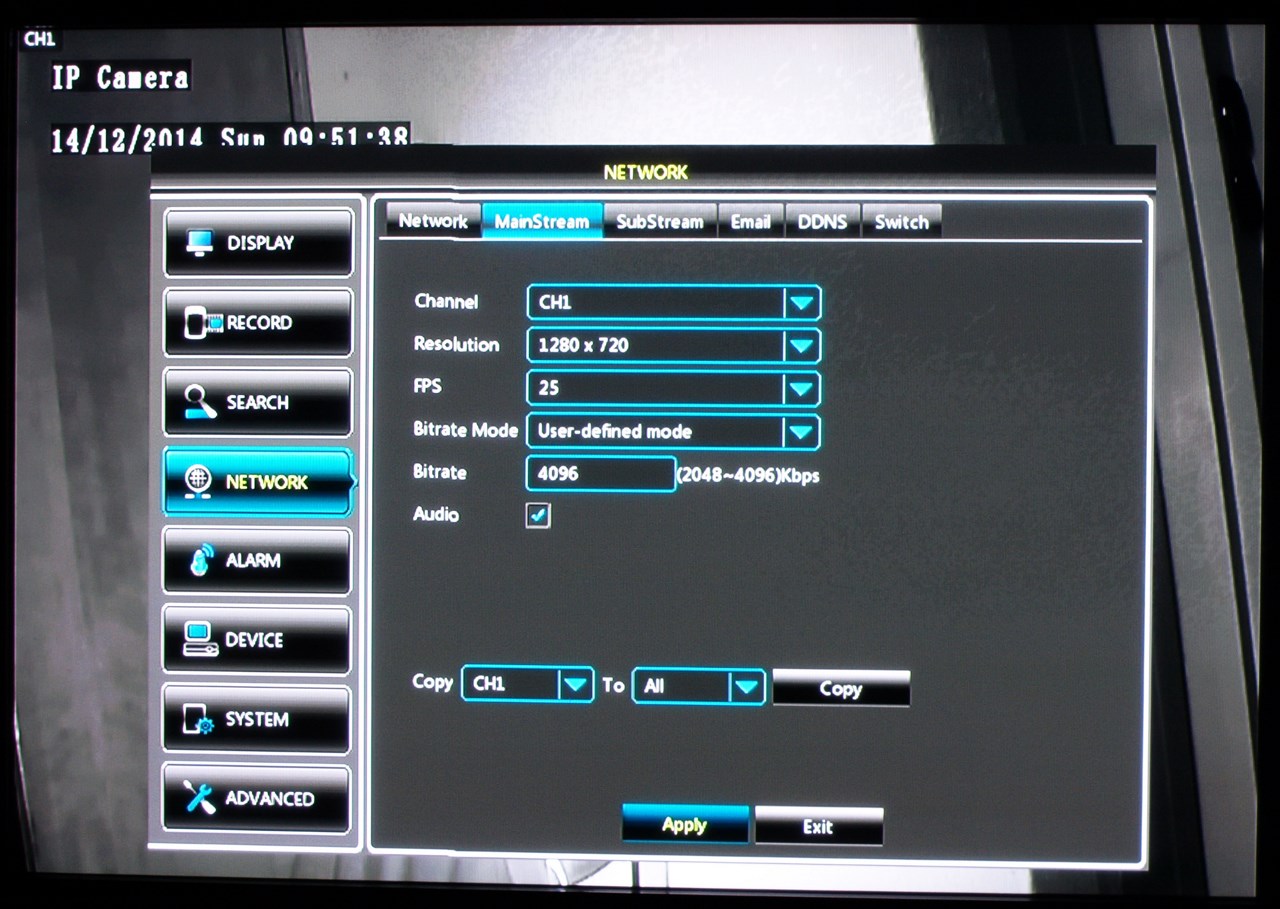
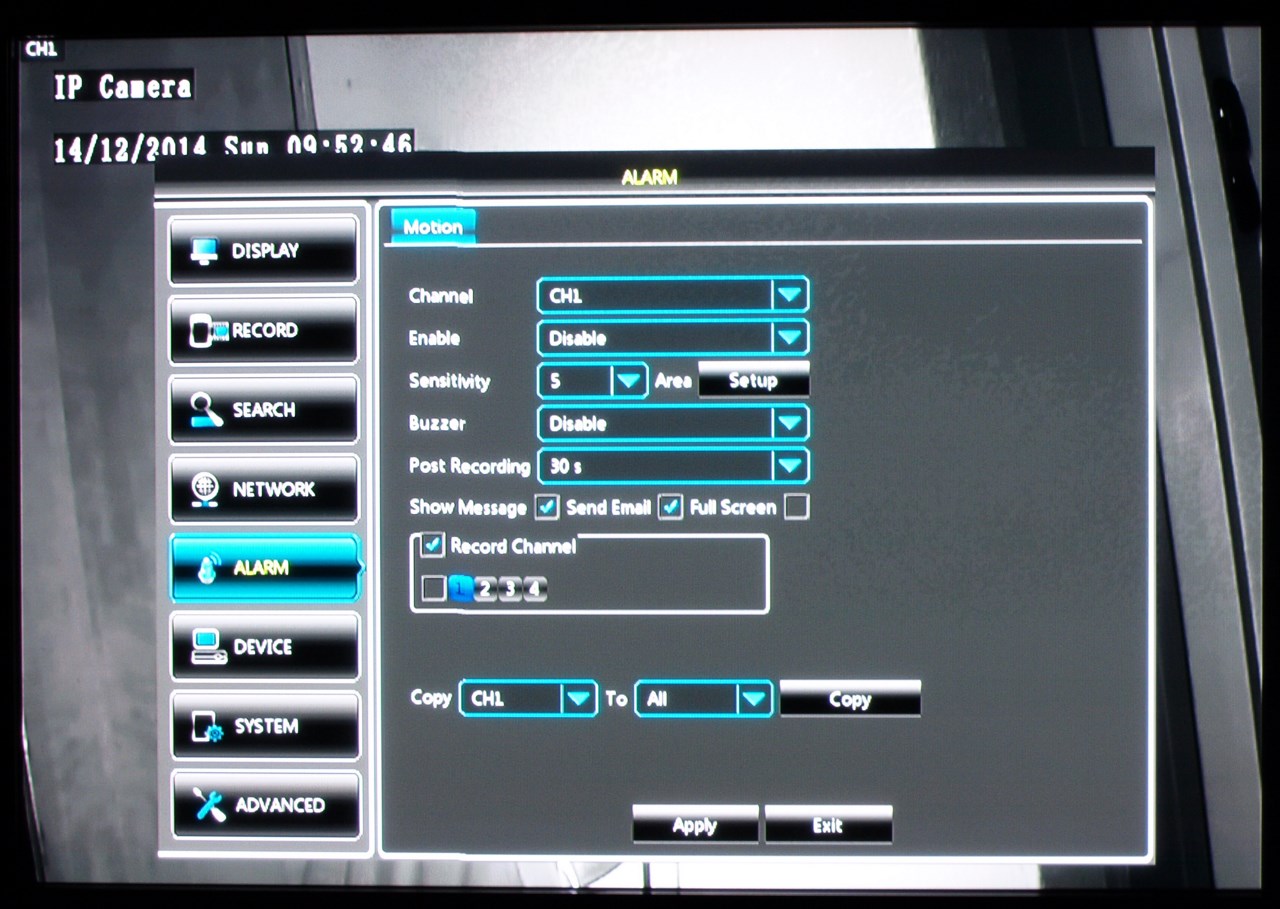

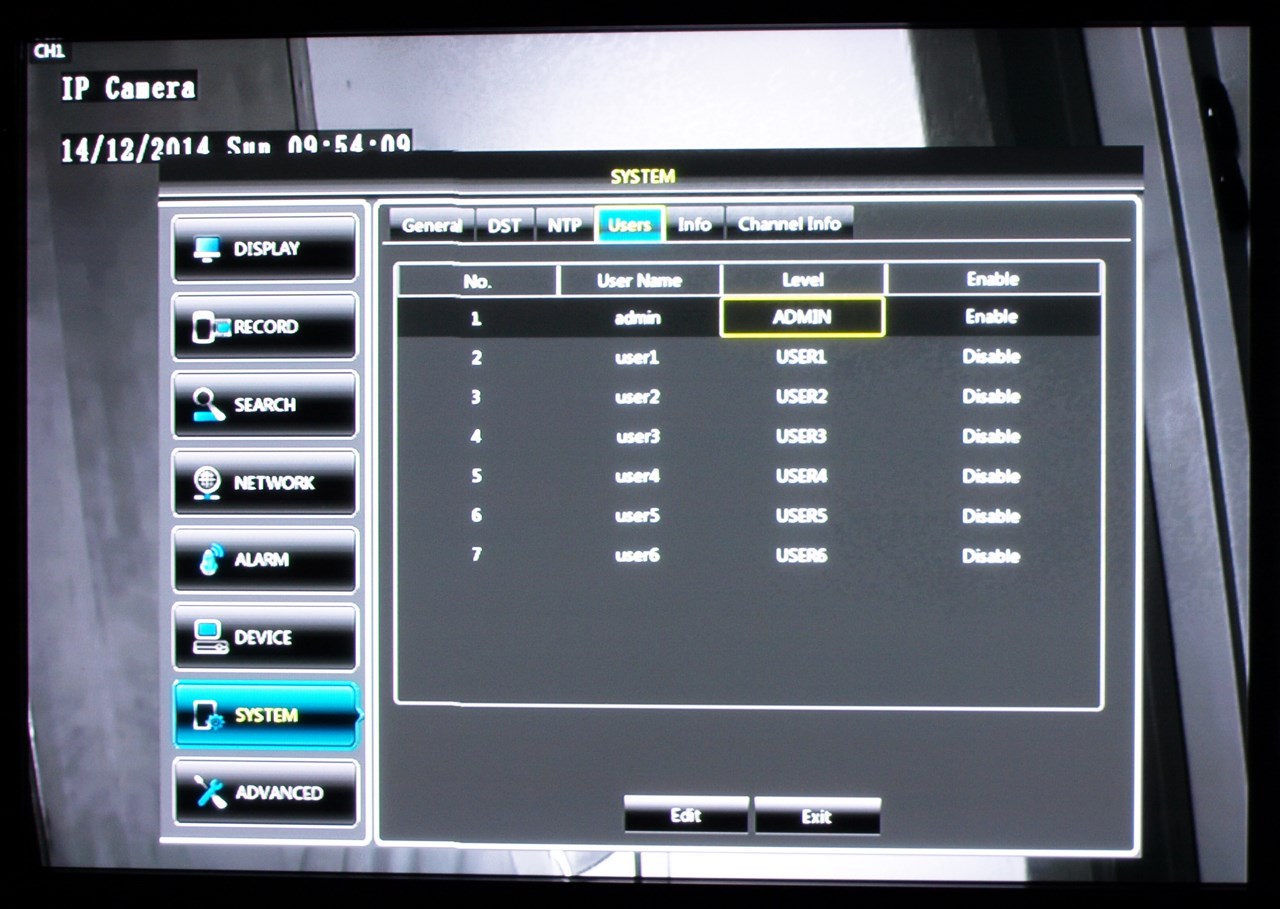
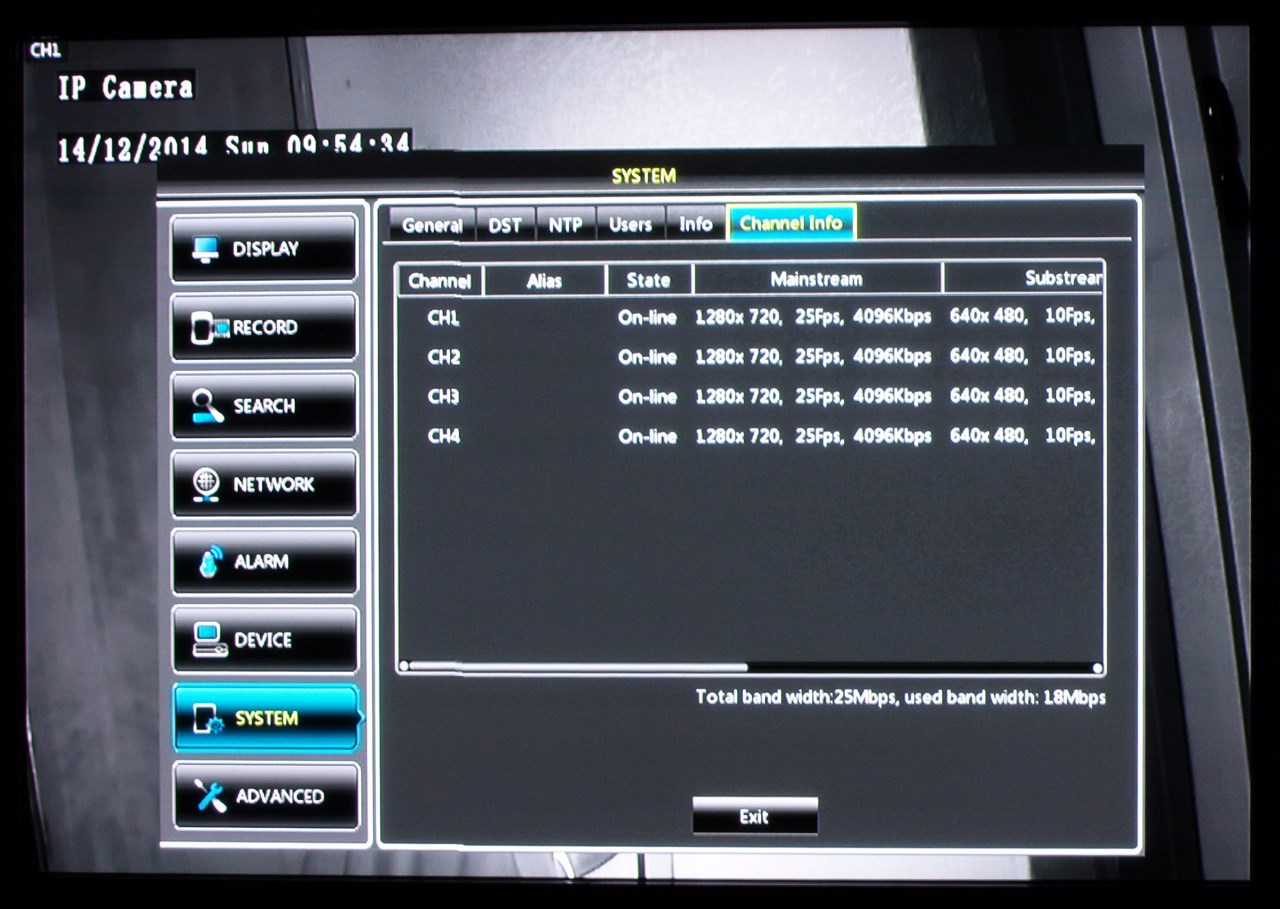
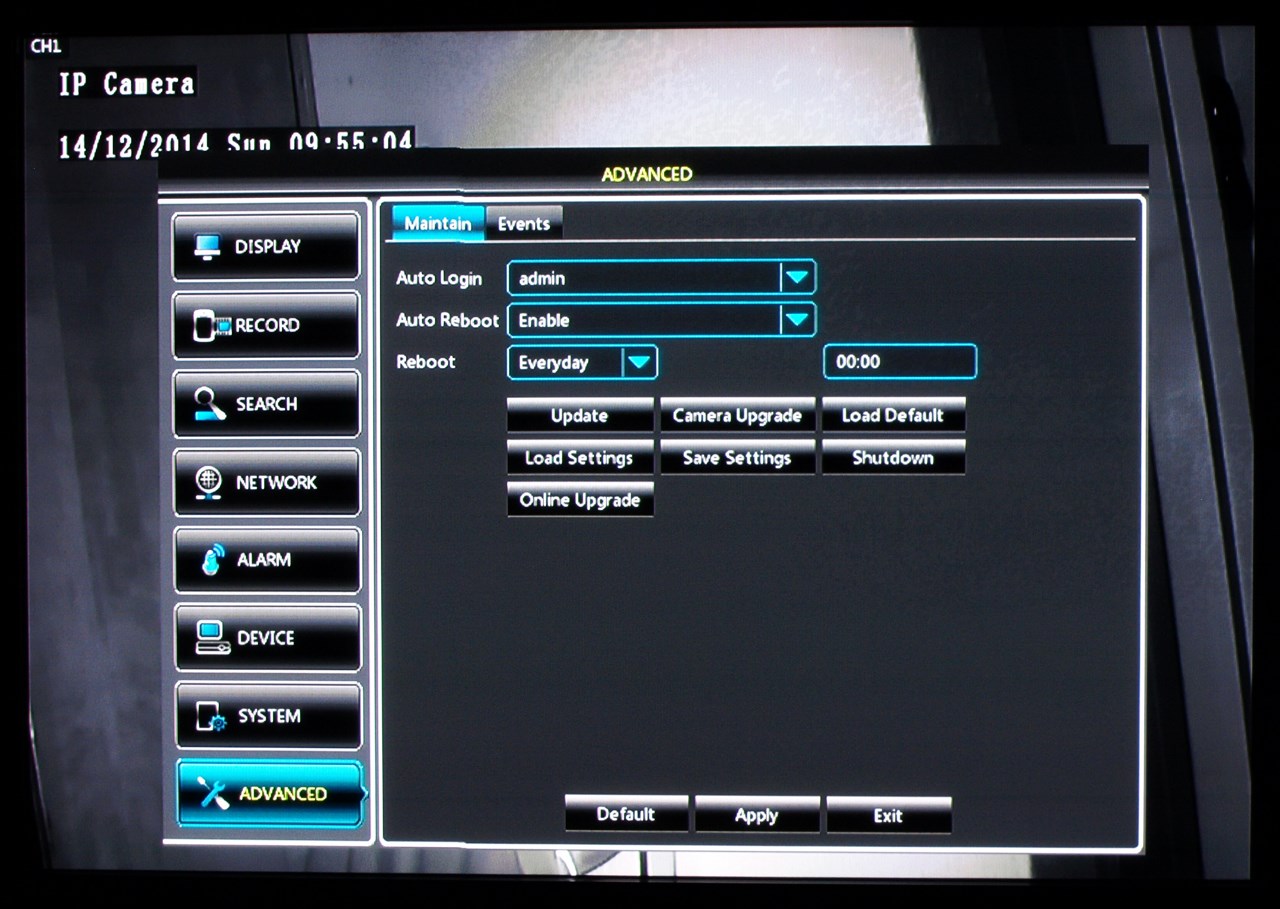
Once the wizard is complete you will see the main menu of the NVR via which you can Through the settings menu of the NVR you can setup the date, video NVR output resolution, recording parameters, recording resolution, playback options, motion sensor, user access and you can also upgrade the FW of the unit.
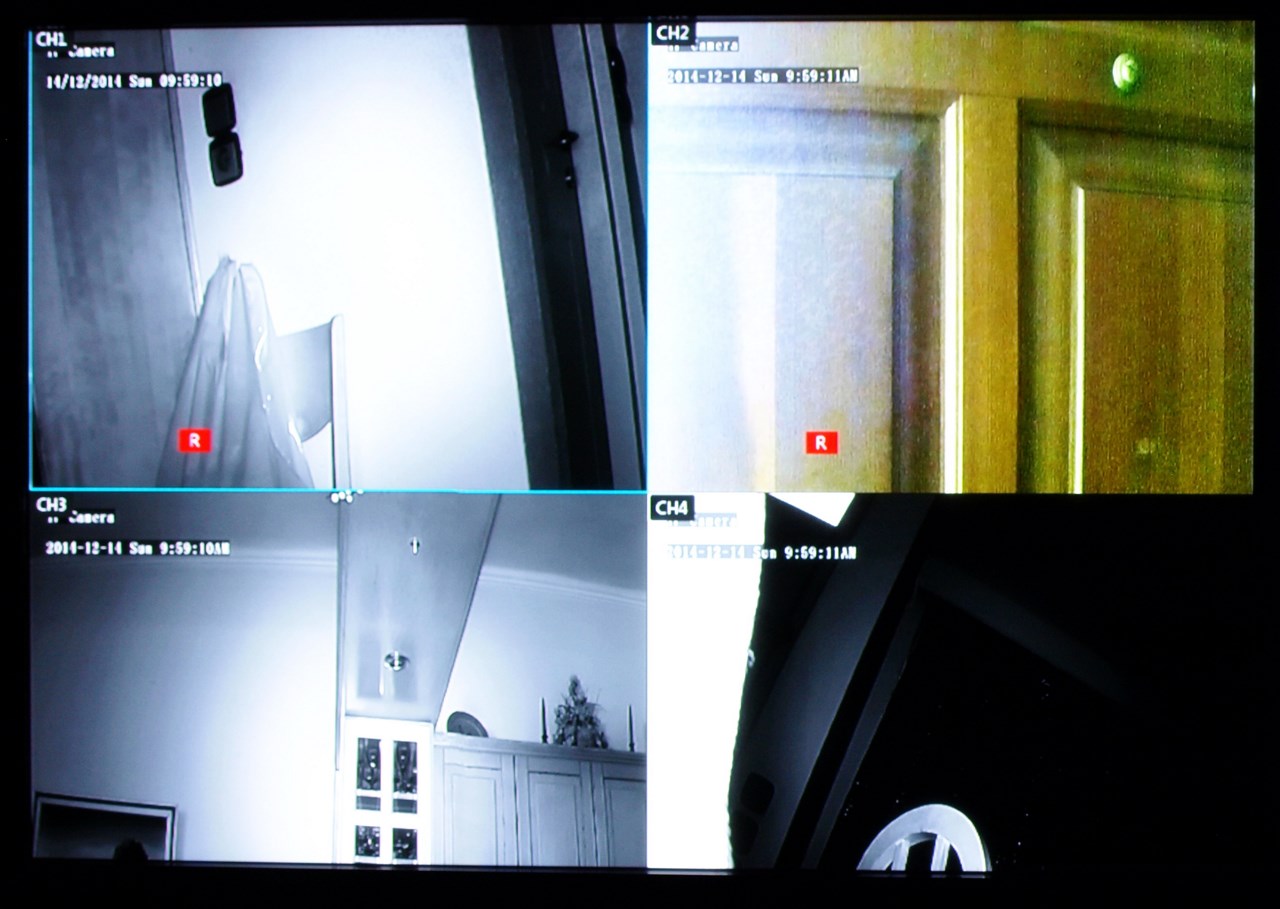
Here we see all 4 cameras placed around the house with all lights turned off.