
 O-Sense

.jpg)


ENGENIUS CLOUD
There are two ways to control the ECS1008P, one is via the web GUI (192.168.x.x) and one via the EnGenius Cloud which is also what I’ll be using today.
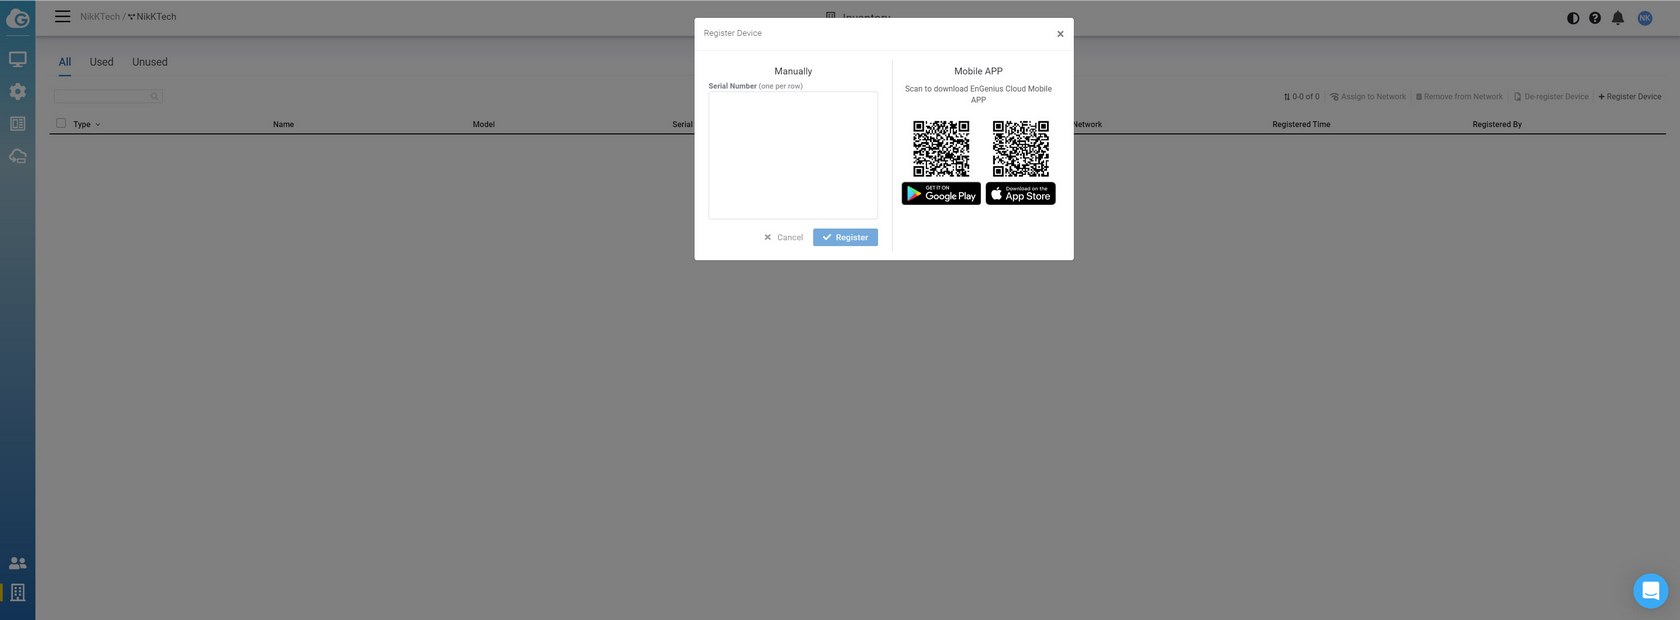
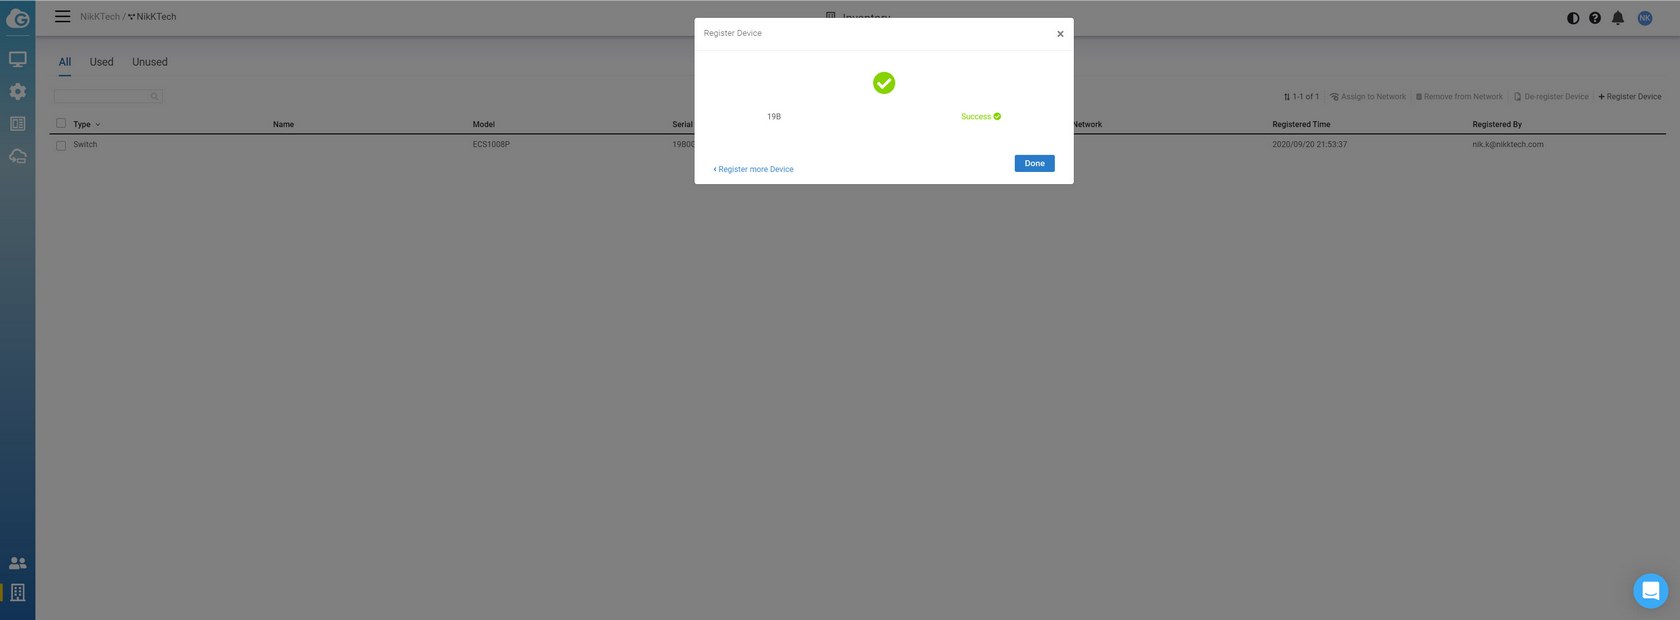
Adding the ECS1008P is simple (you will need to make an account with EnGenius Cloud if you don't already have one) so just head into the inventory tab (lower left corner) and use the serial number of the switch to register it.
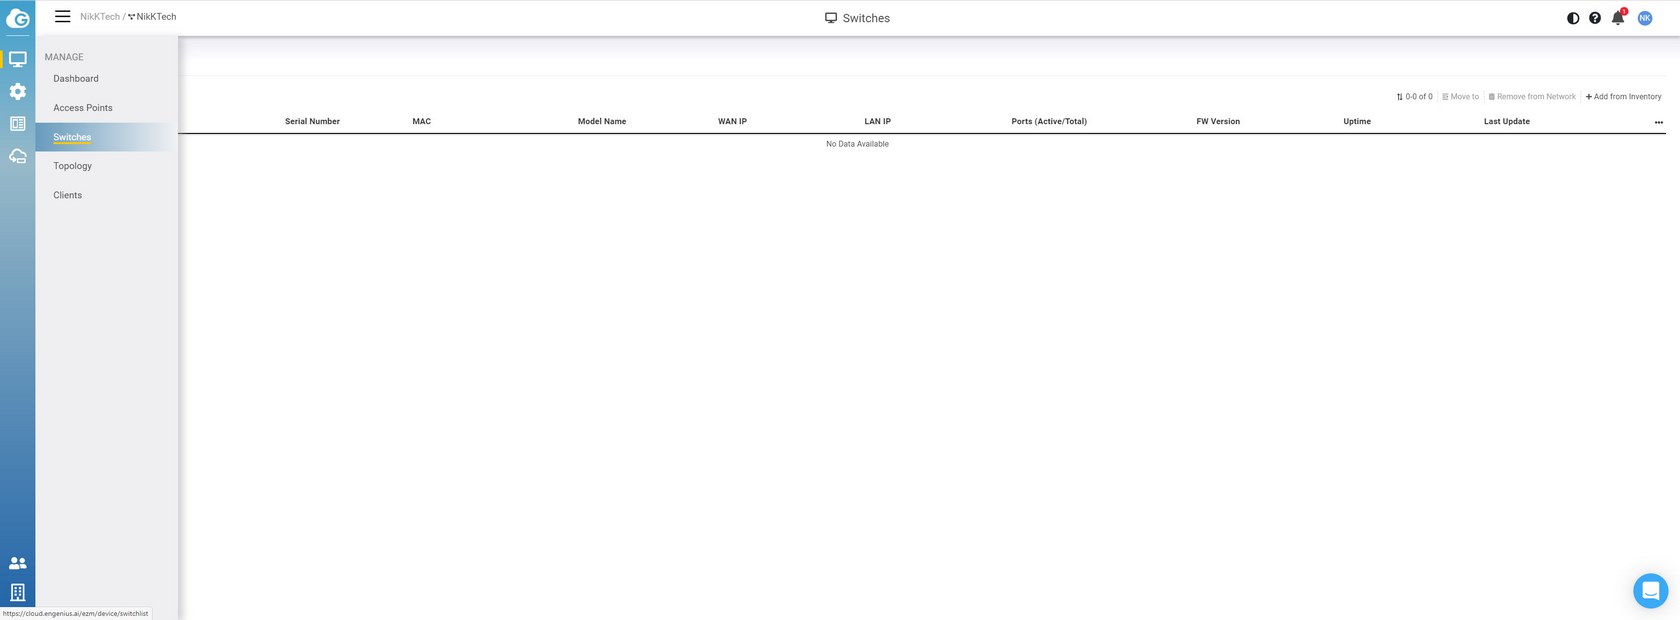

After that you will need to go to the switches section in the management tab and add the ECS1008P from the inventory.
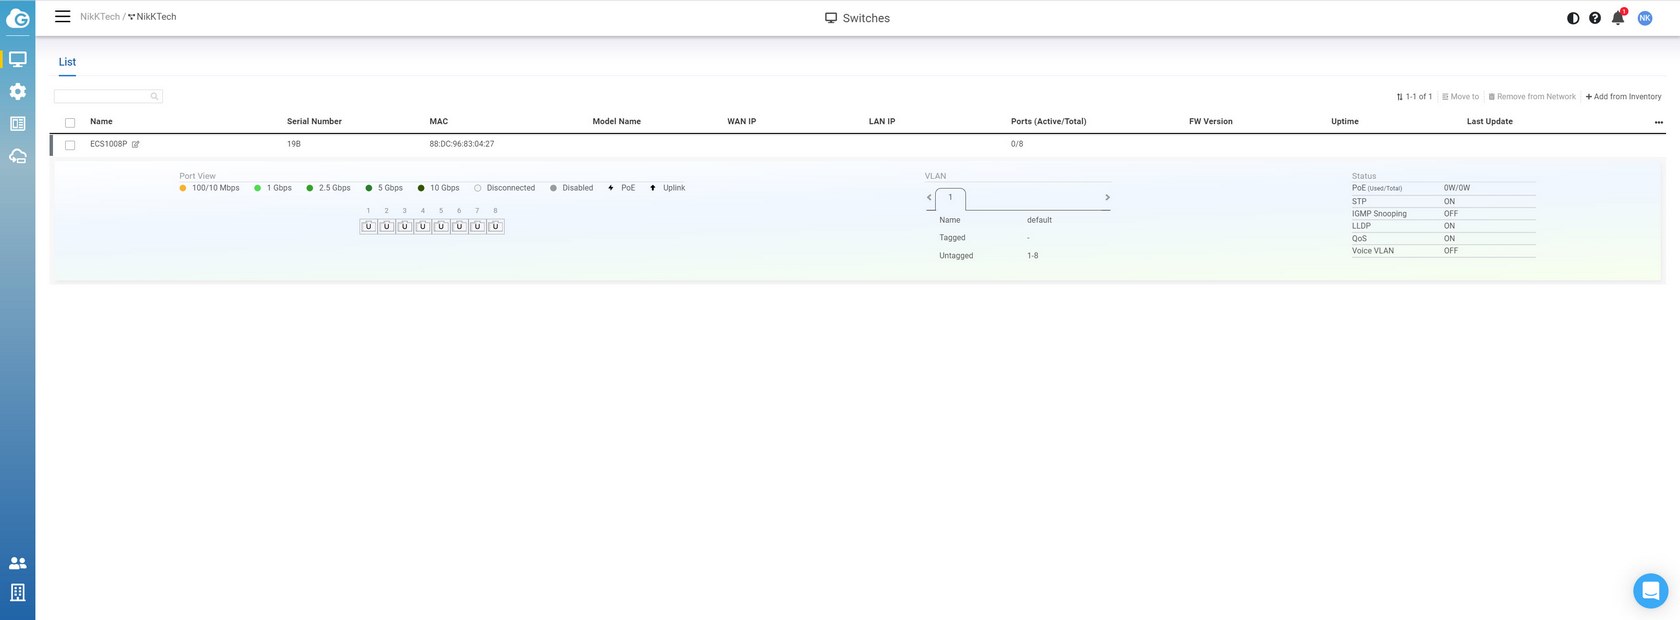
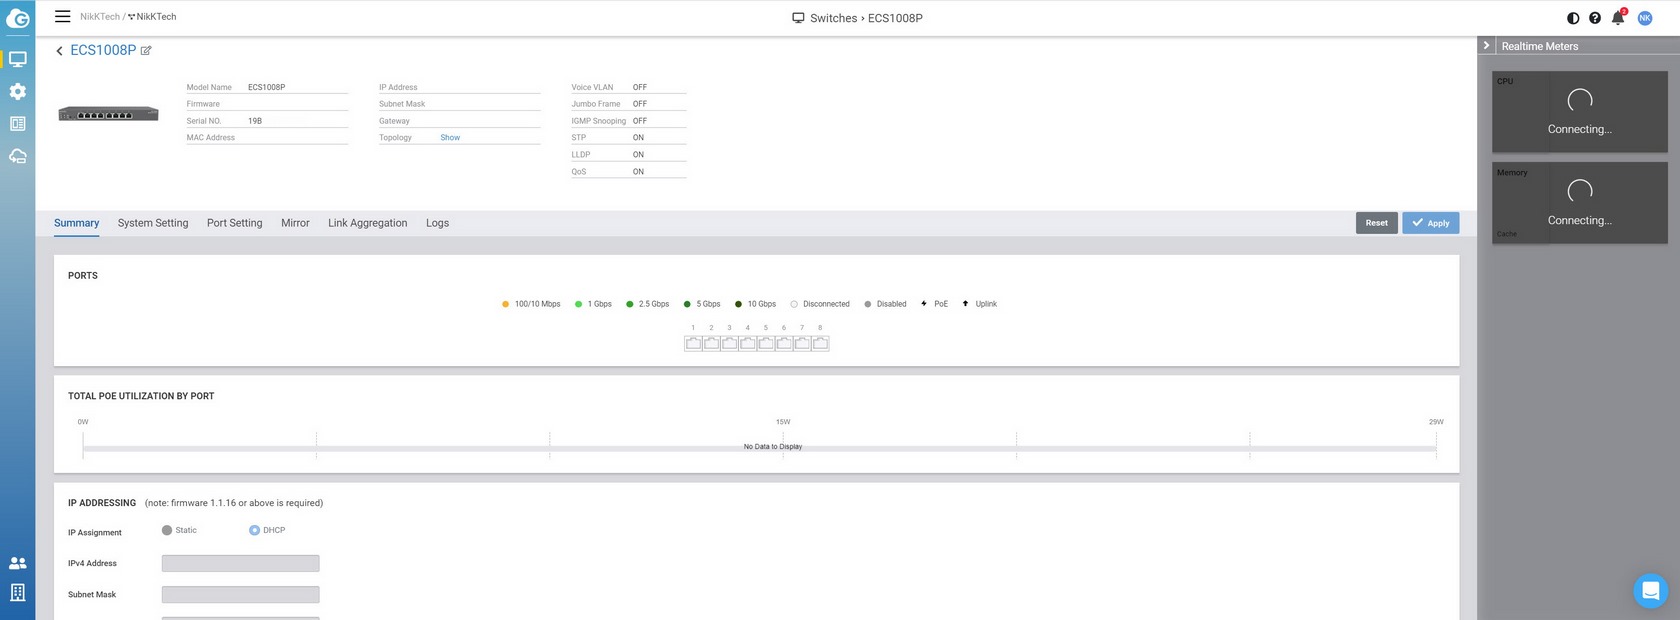
Once that's over with you get a quick status page from within the switches section as seen above.
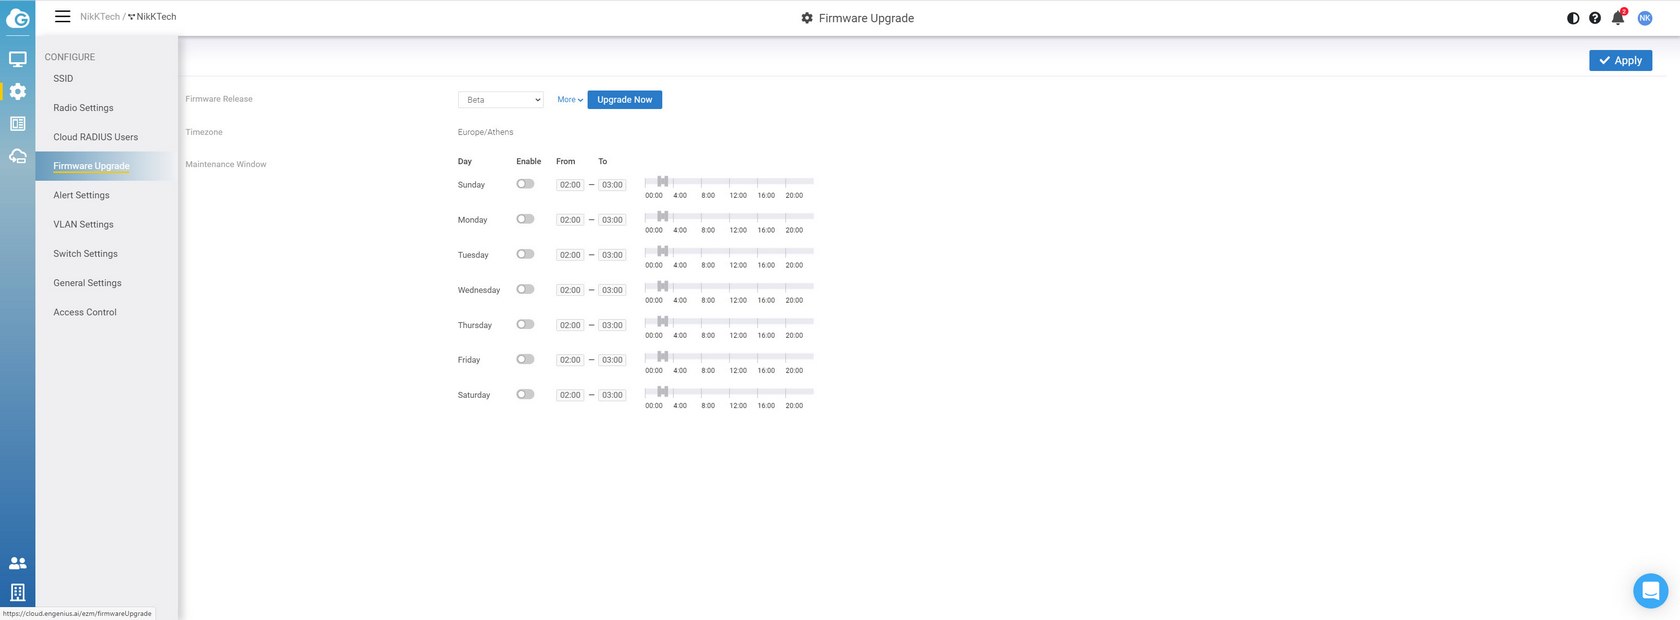
If you haven't used the ECS1008P before the moment you access its functions it will look for available firmware updates (you can't update it manually via the web GUI) after which you can either leave it do it automatically (at a specific day and time which you can adjust) or you can click on the upgrade now button to perform it immediately.

For this review i used firmware version 1.1.36 (the Realtime meters also function properly once the update is finished).
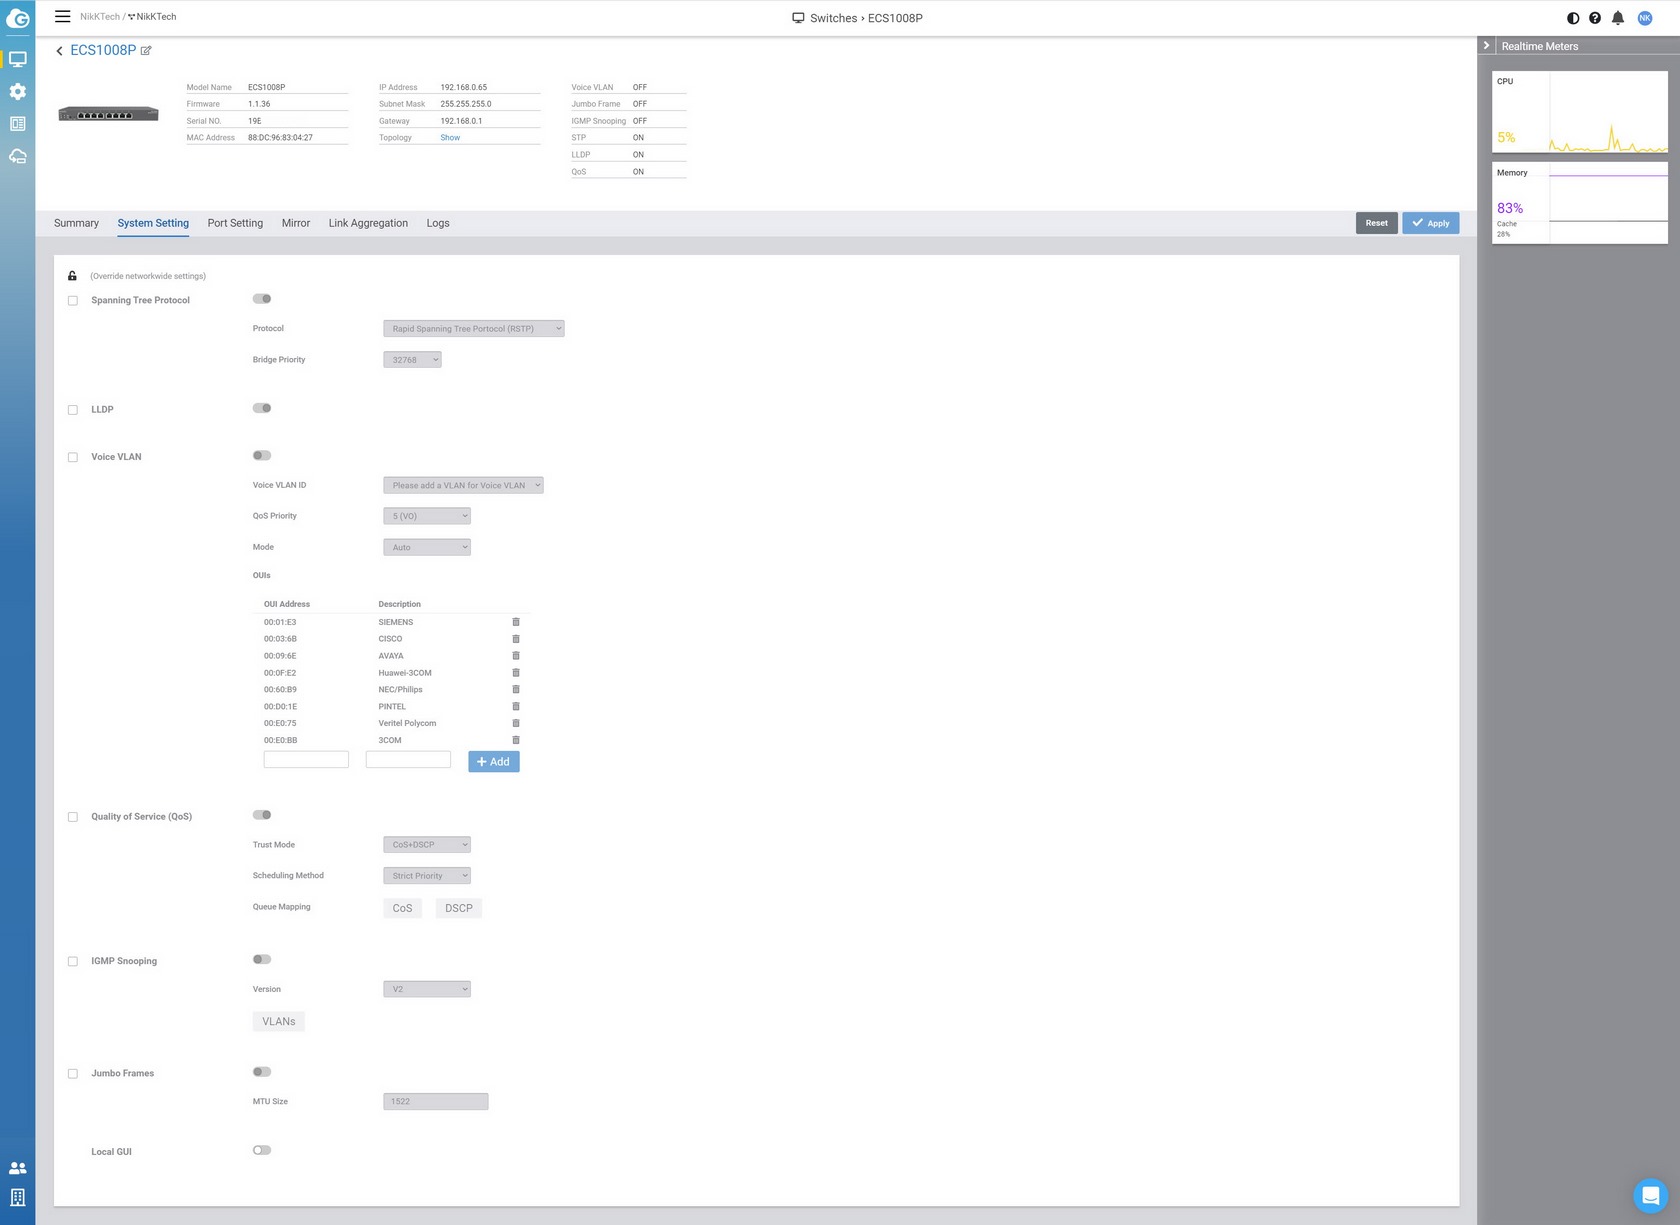
Many of the features can be accessed under the system setting tab (this includes spanning tree, LLDP, Voice Lan, QoS, IGMP snooping and Jumbo Frames.
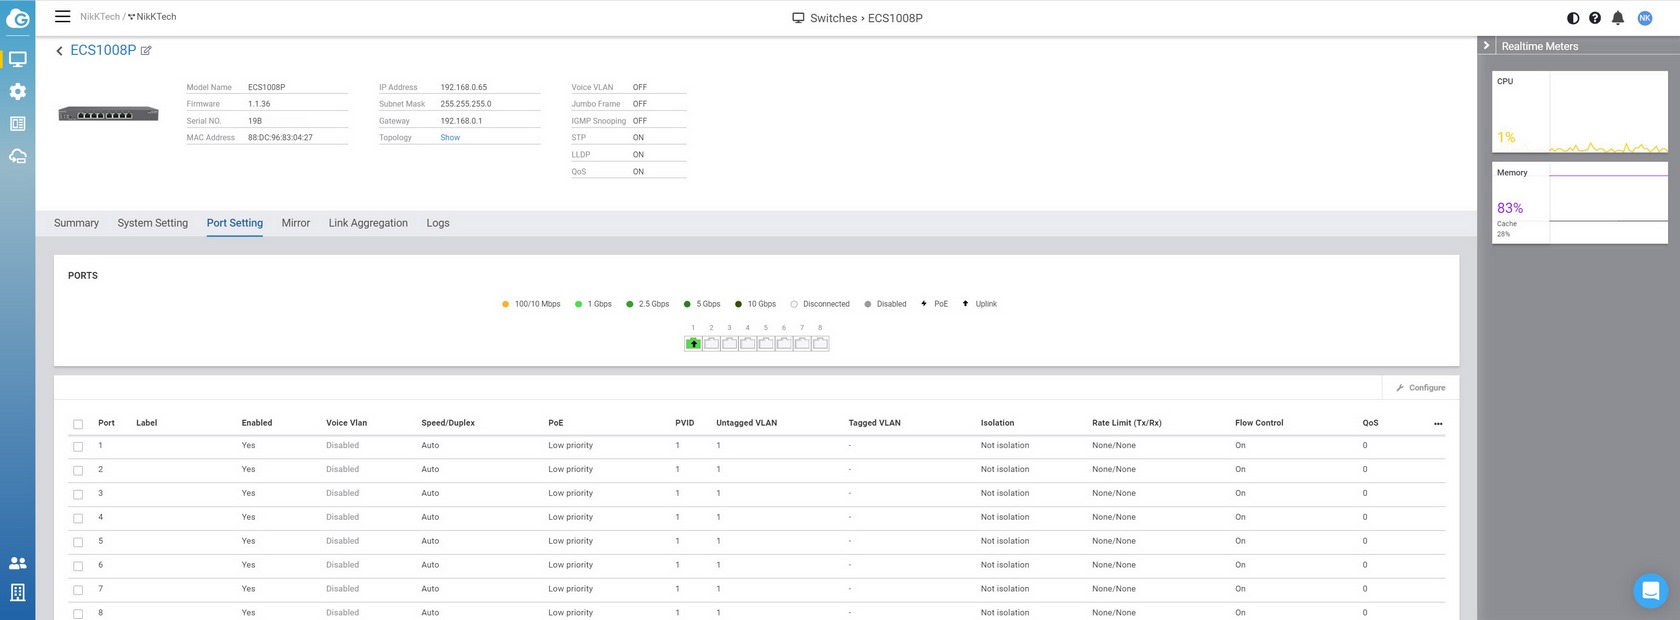
As expected, you can monitor and control all 8 ports from the Port Setting tab.
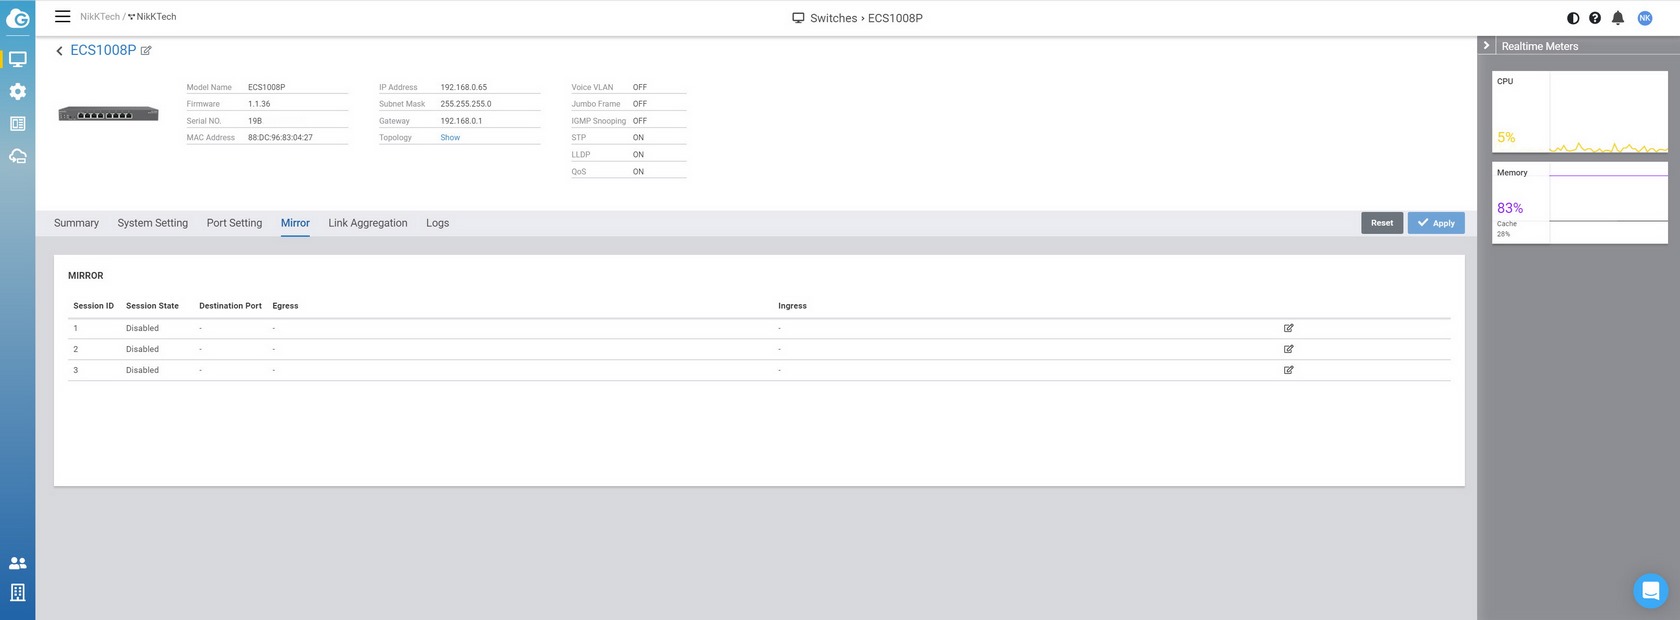
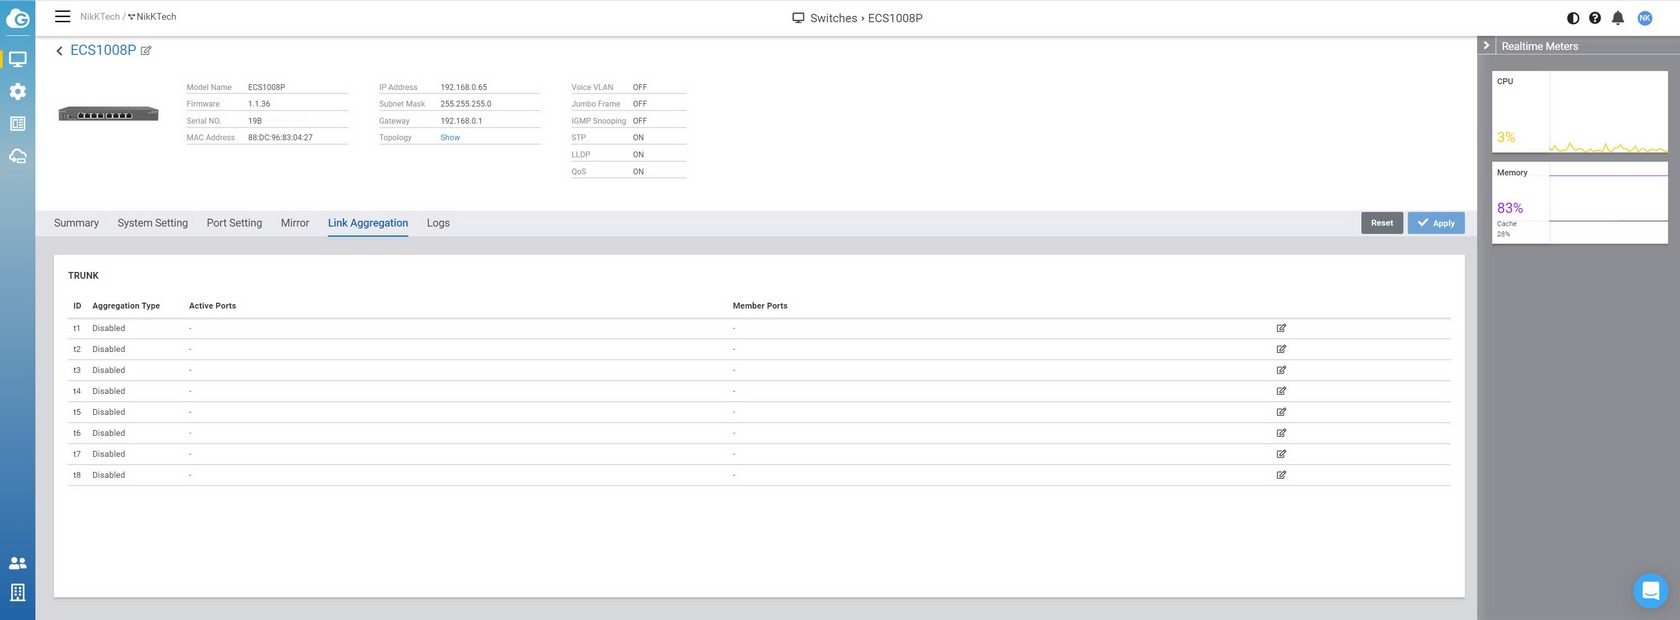
Port mirroring and Link aggregation are also supported via their tabs.
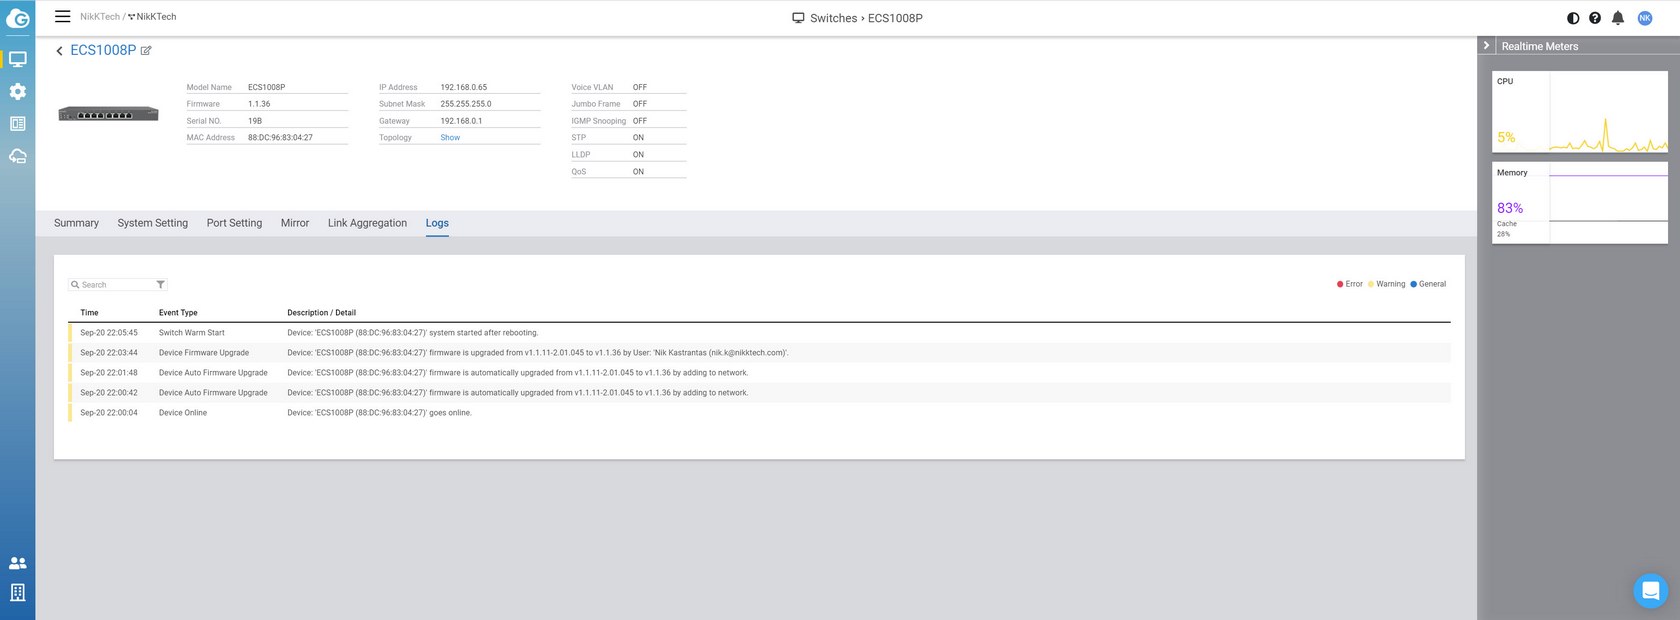
There's also a log tab which logs everything in regards to your access to the ECS1008P.
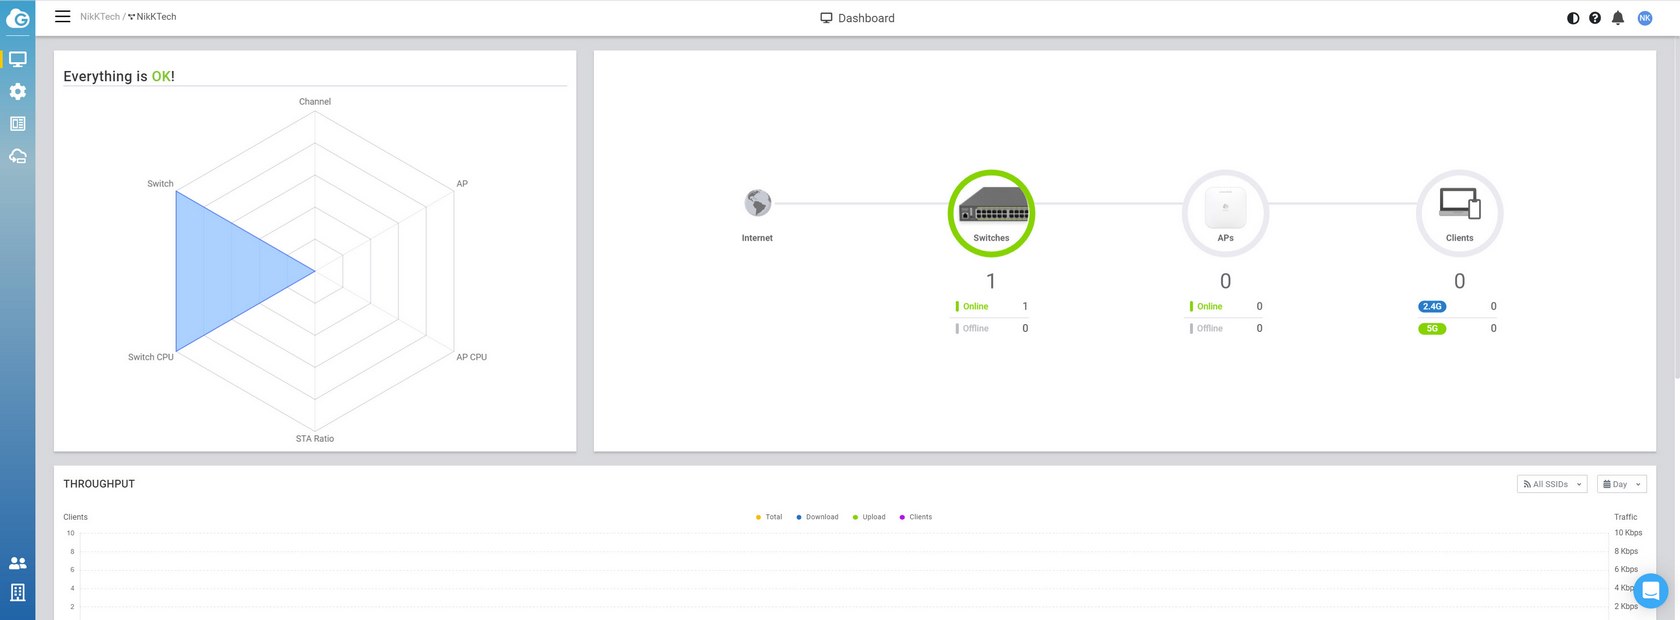
Of course you can see the switch the moment you enter your EnGenius Cloud Dashboard.


.png)

