
 O-Sense
.jpg)


WEB INTERFACE PART 1
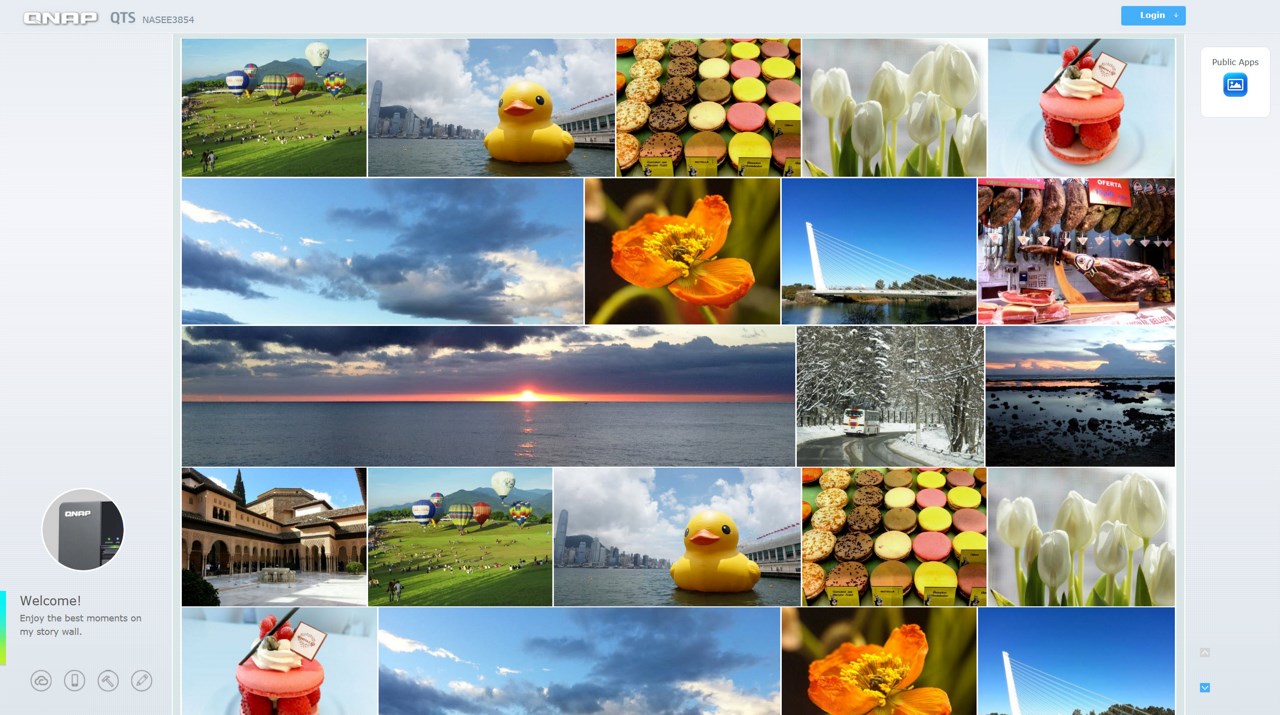
Once again the default QTS login screen is filled with nice and colorful pictures.
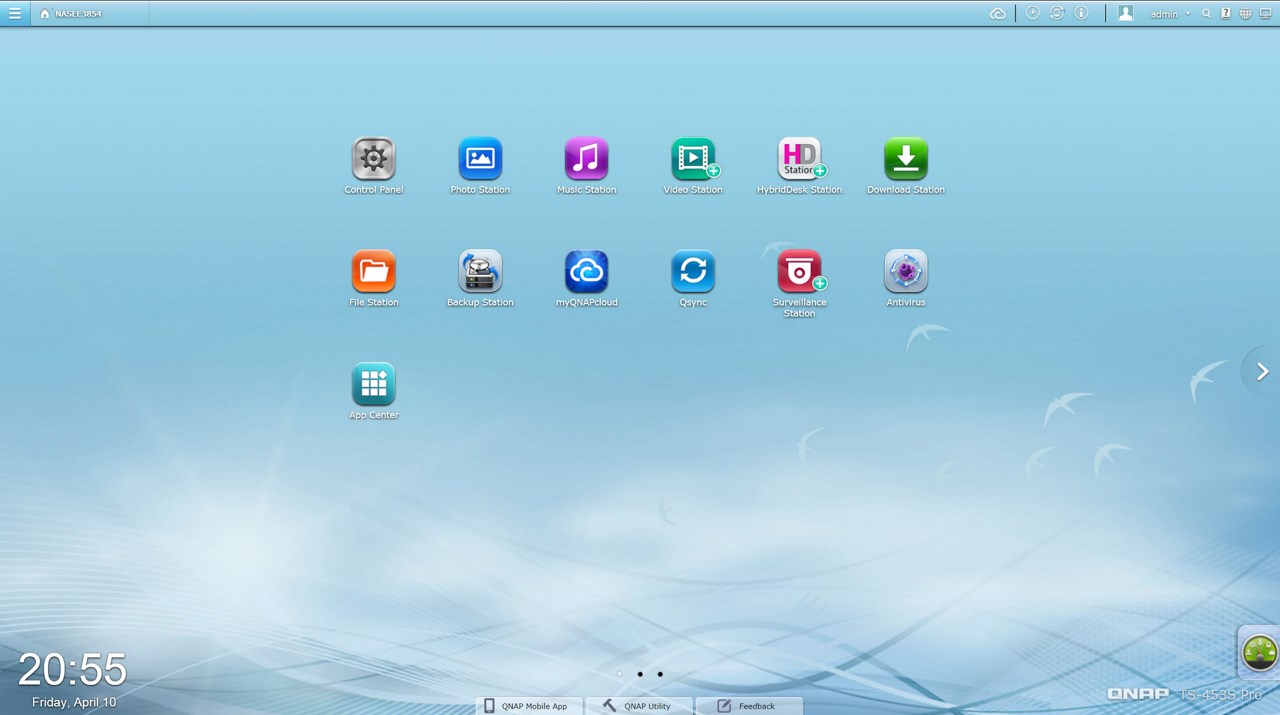
The GUI screen looks great as always and pretty much everything you need is located at the main screen.
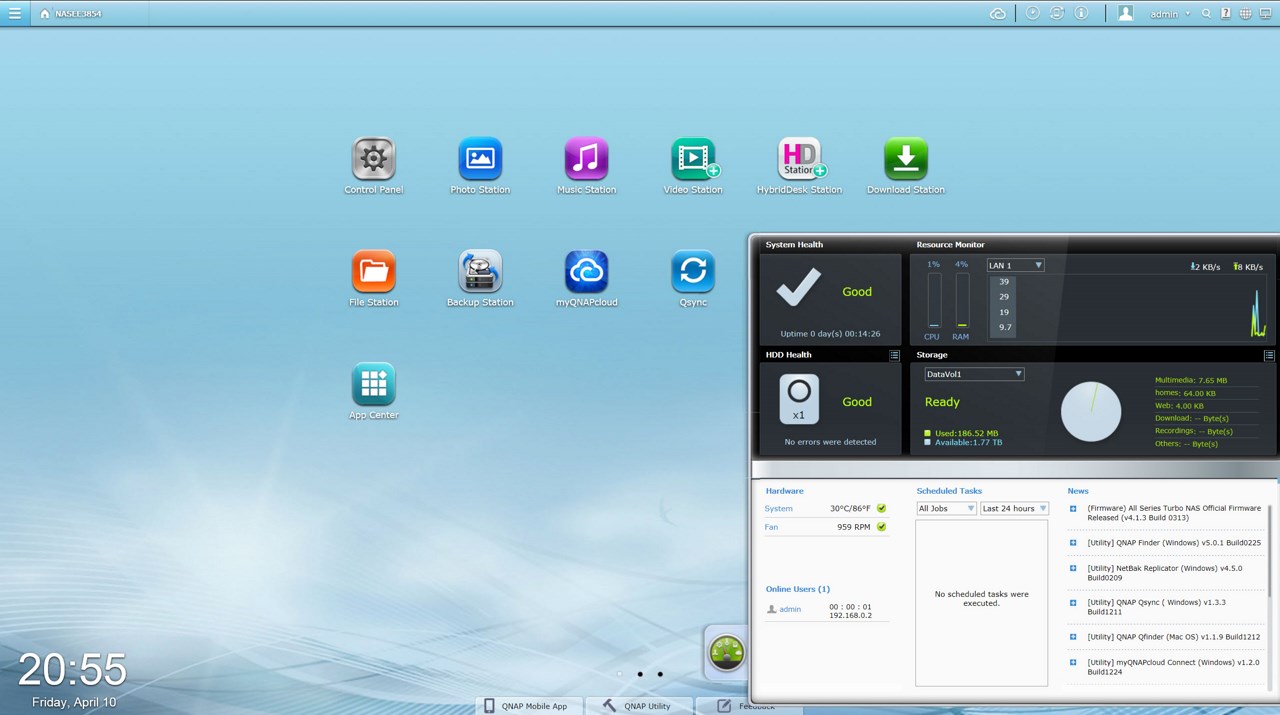
The very detailed resource monitor can be accessed from the lower left corner while a drop down start-like menu can be accessed from the top left corner.
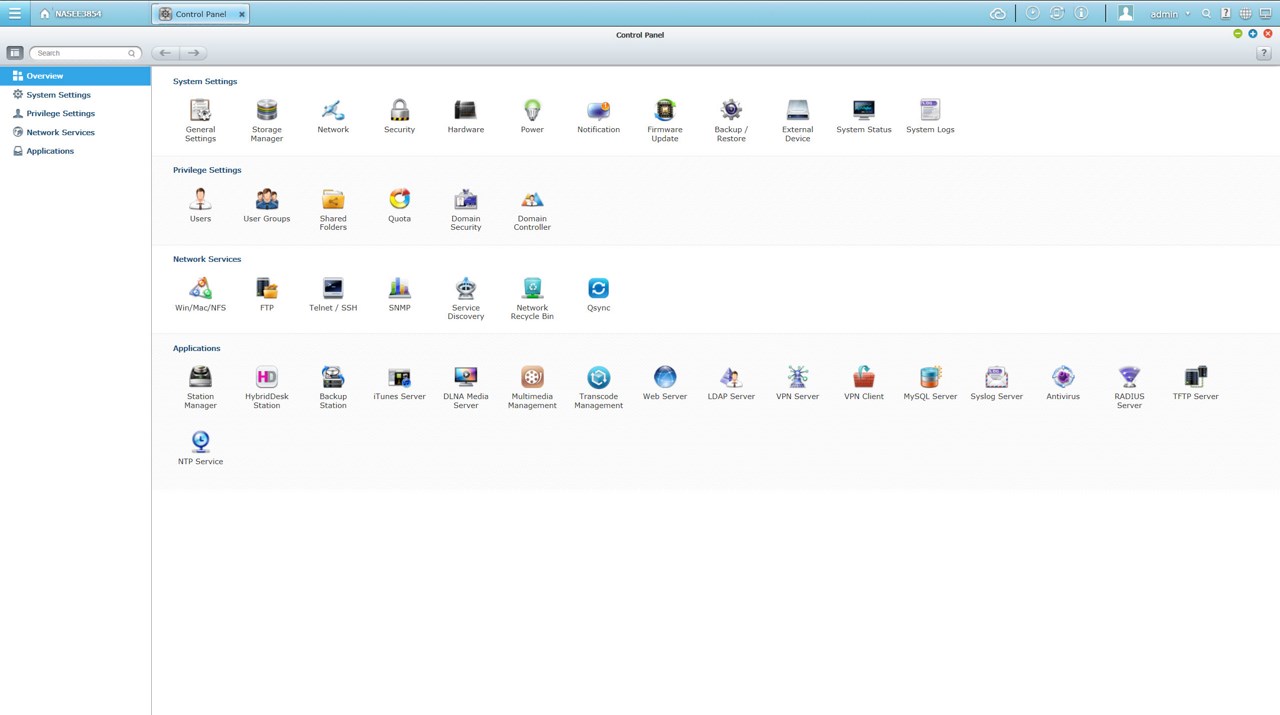
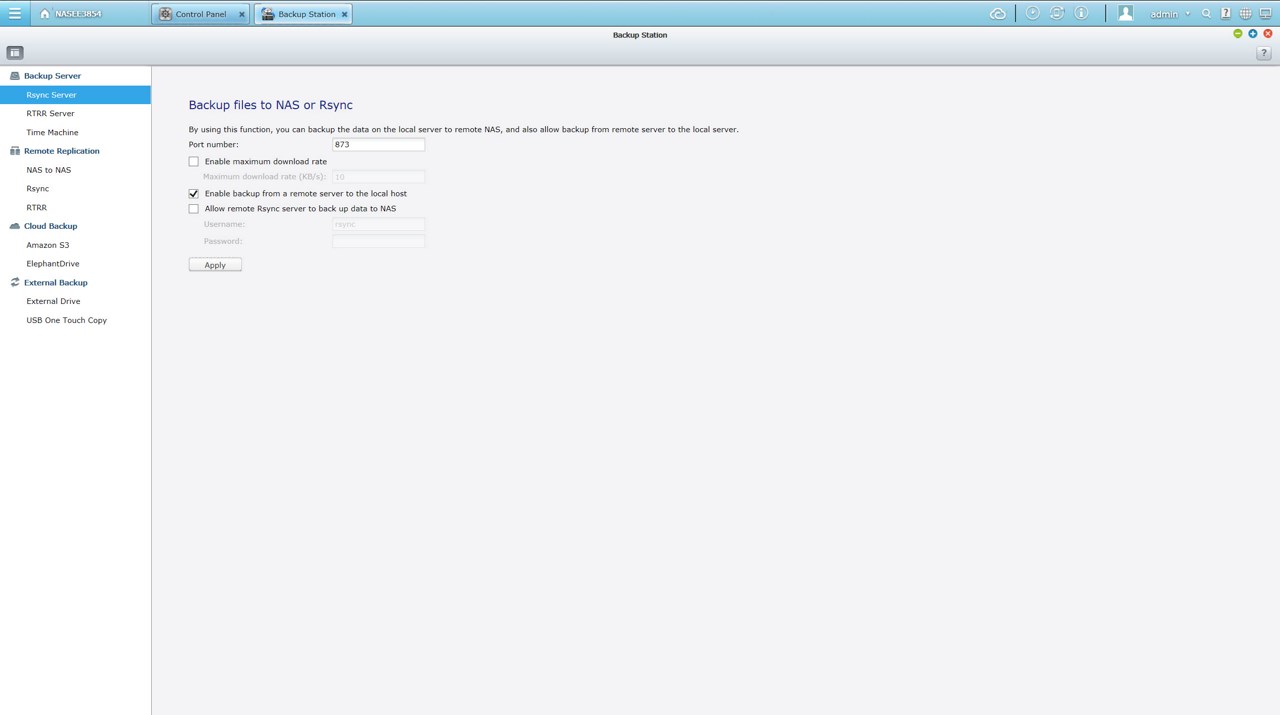
As always everything goes through the control panel of the QTS.

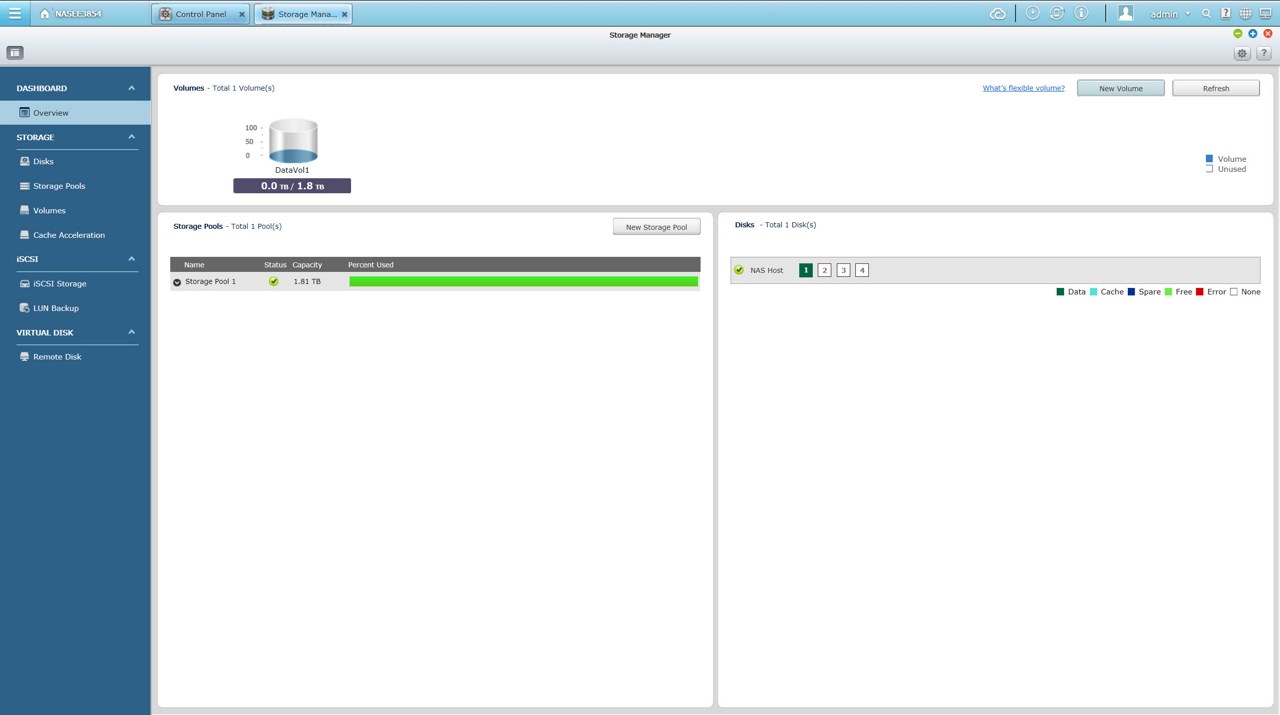
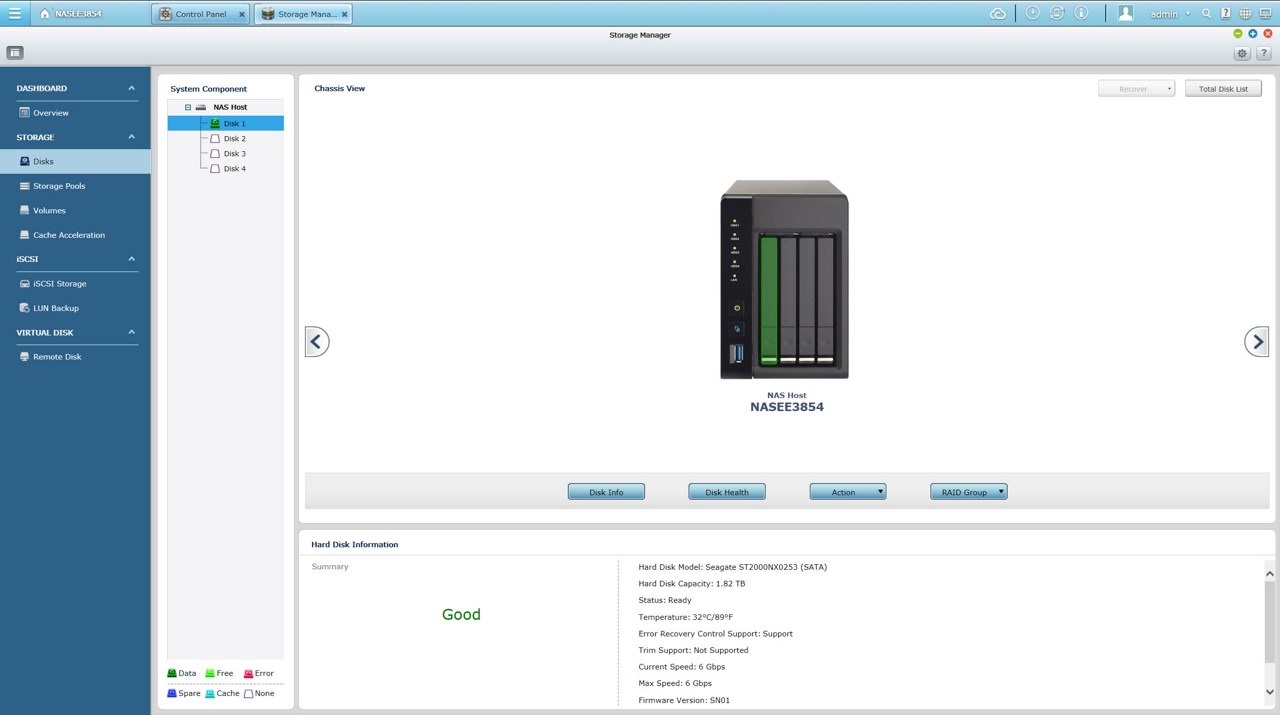
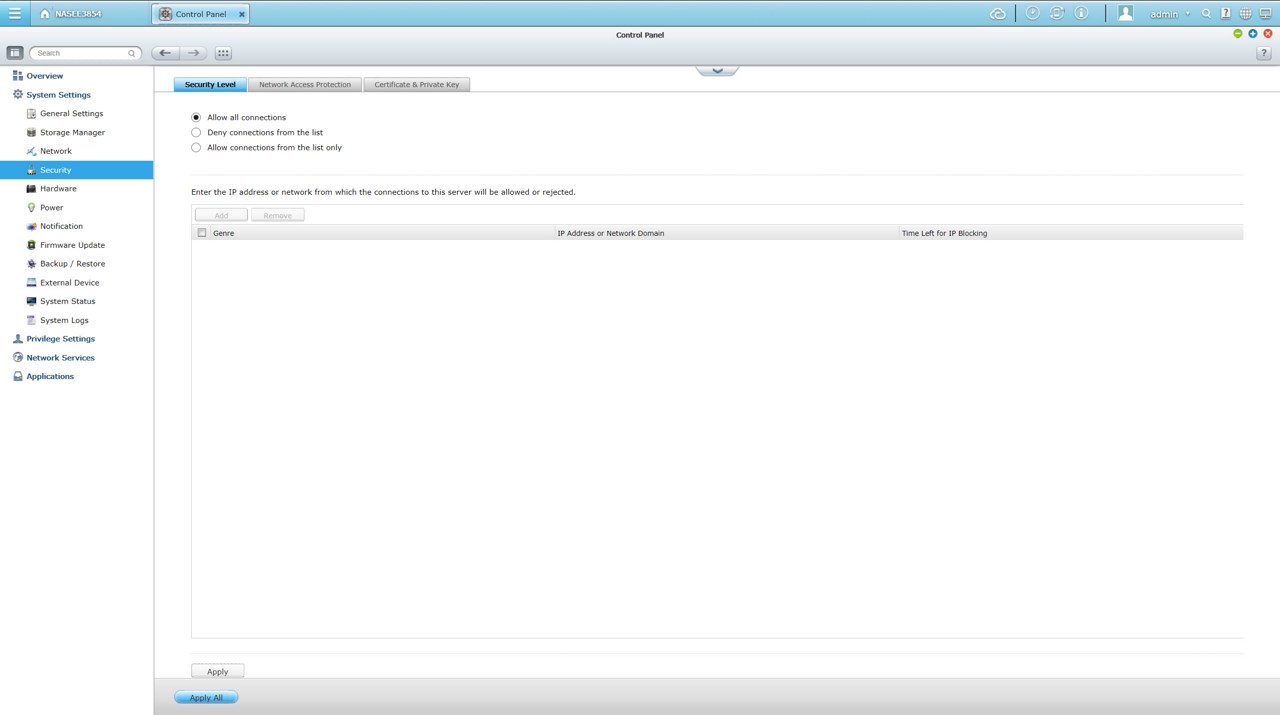
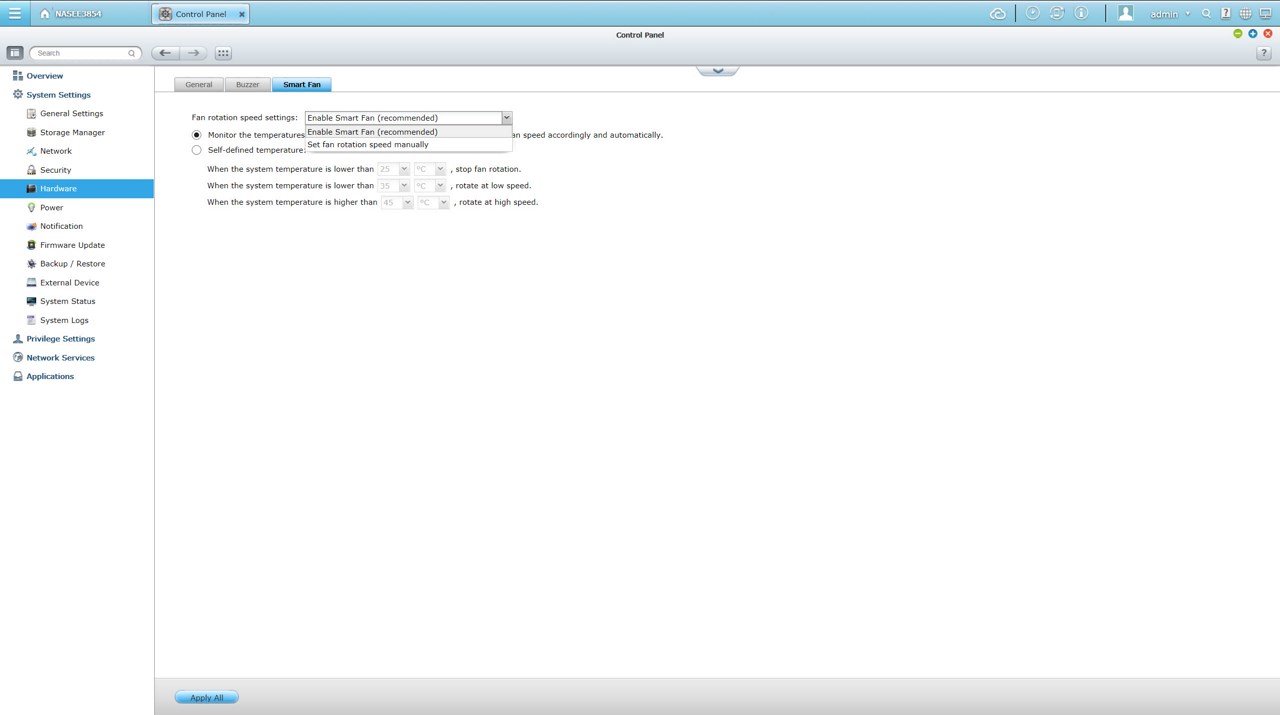
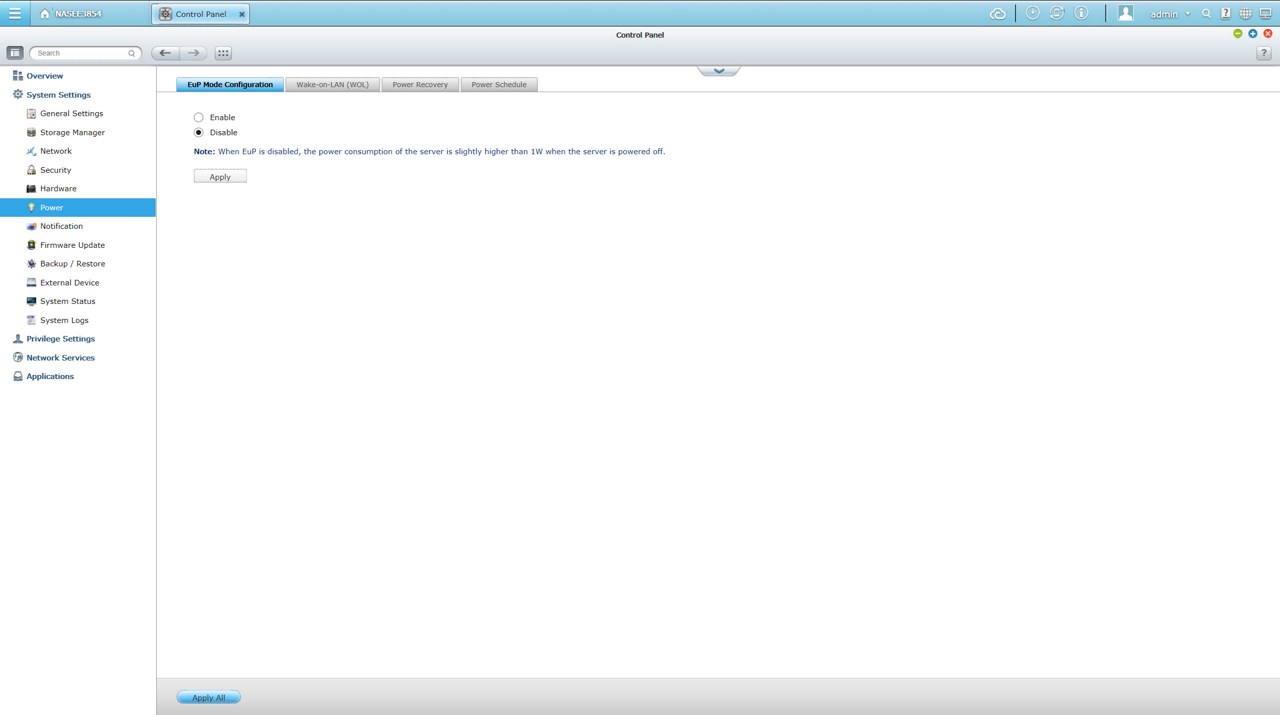
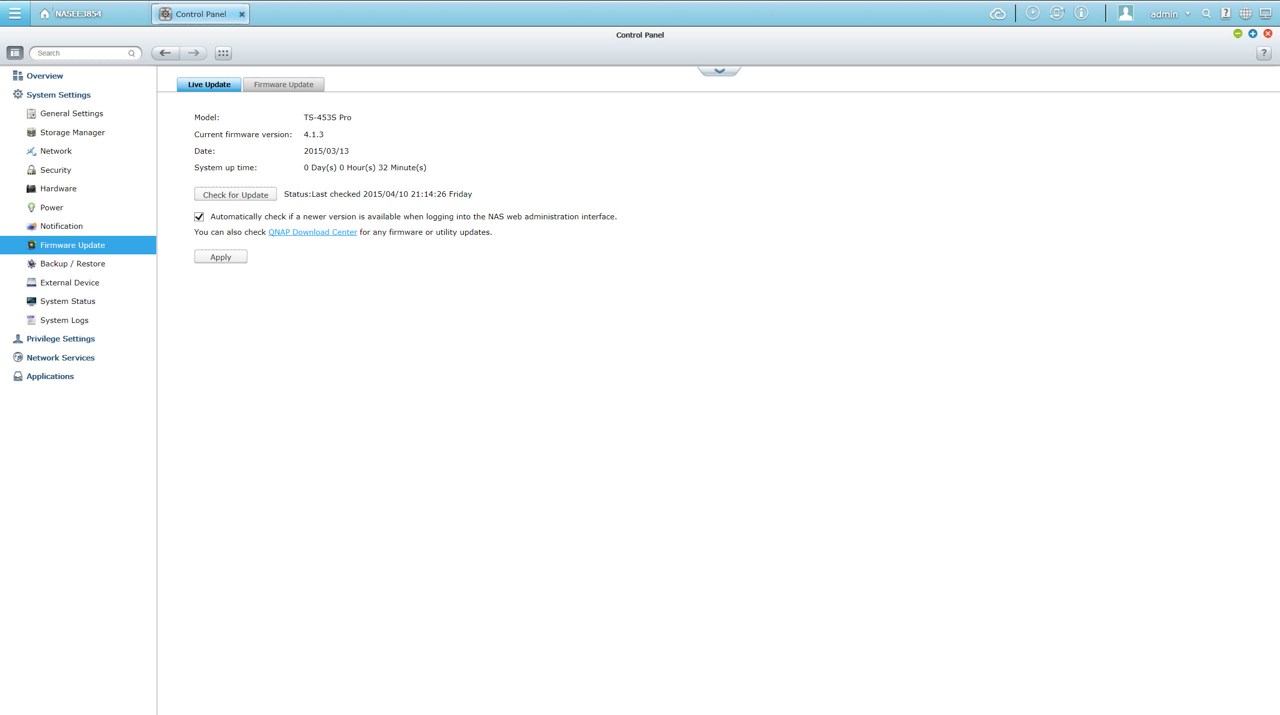
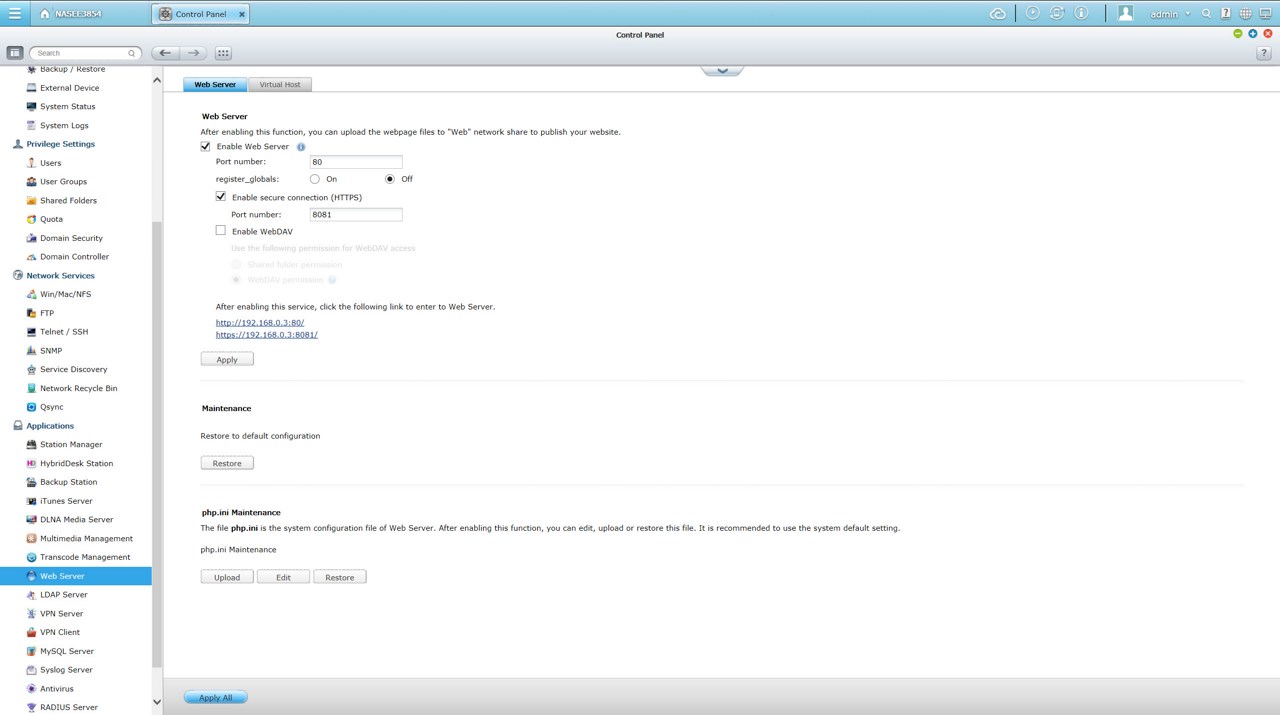
Via the System Settings menu you can set the name for the server, adjust time, set a password, specify your location, adjust the network IP, play around with power options, set notifications, check the state of the installed drives, create RAID and Virtual drives, enable/disable security settings, configure the speed of the fan, check hardware information, setup backup options, access external device settings, check the logs and of course perform firmware updates.
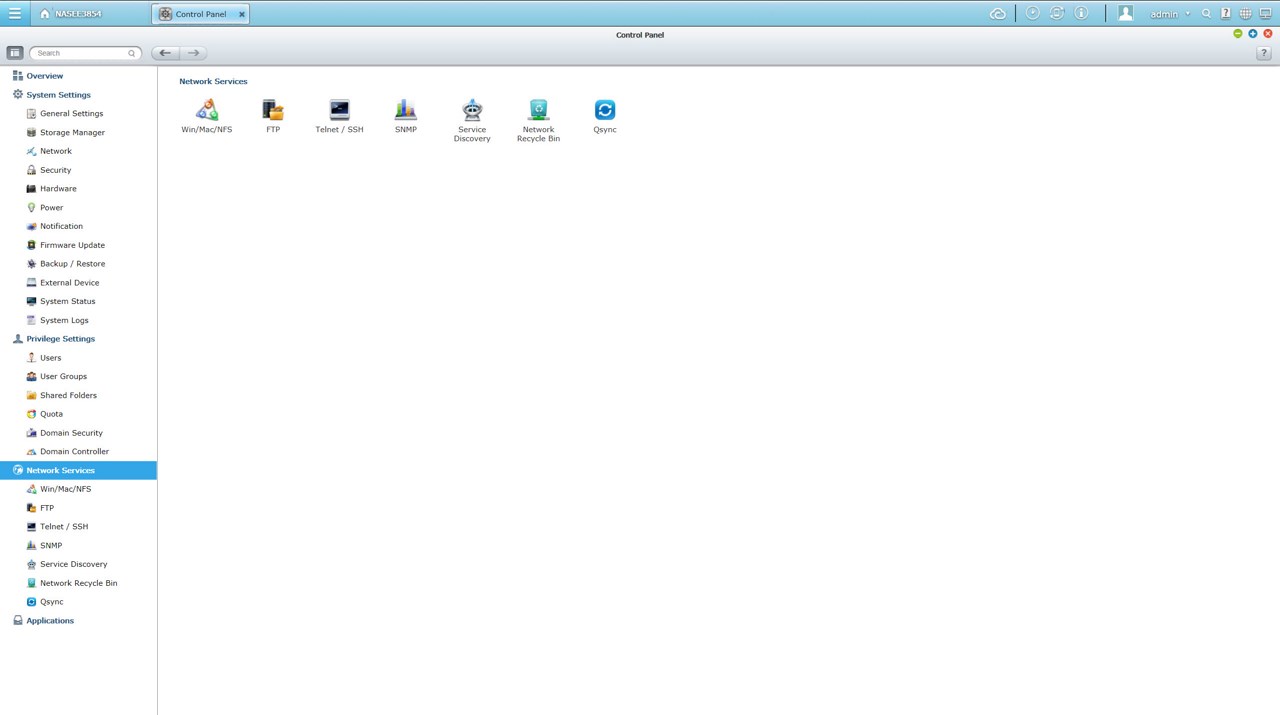
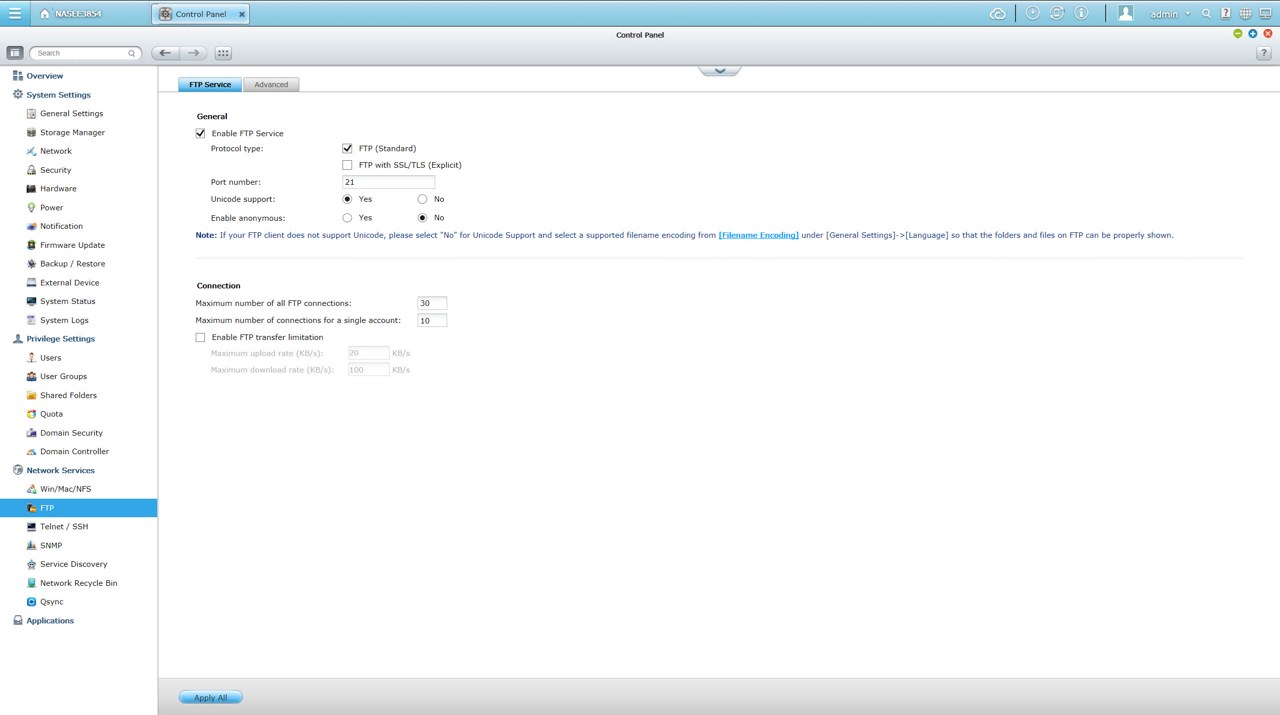
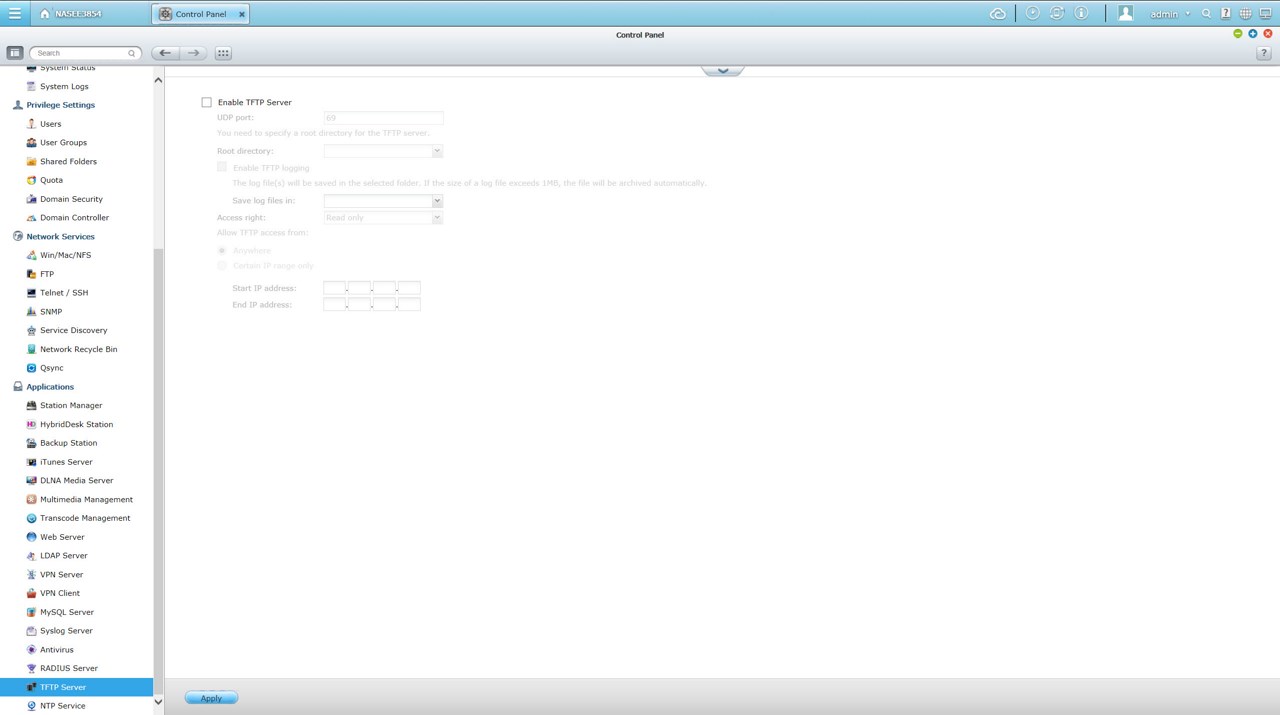
From within the Network Services menu you will find everything network-related including FTP settings, Telnet service settings and service discovery settings. You can also setup/configure the Qsync application which allows you to have your files synced between the NAS and your other internet capable devices at all times.
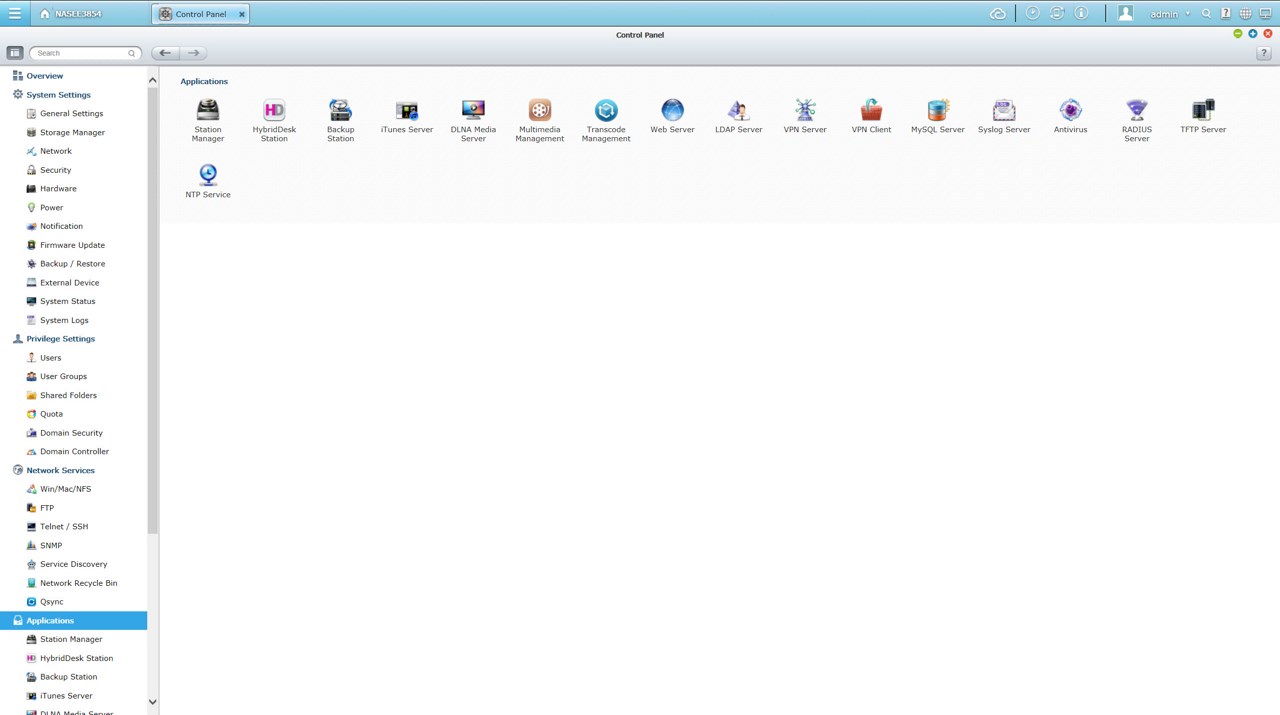
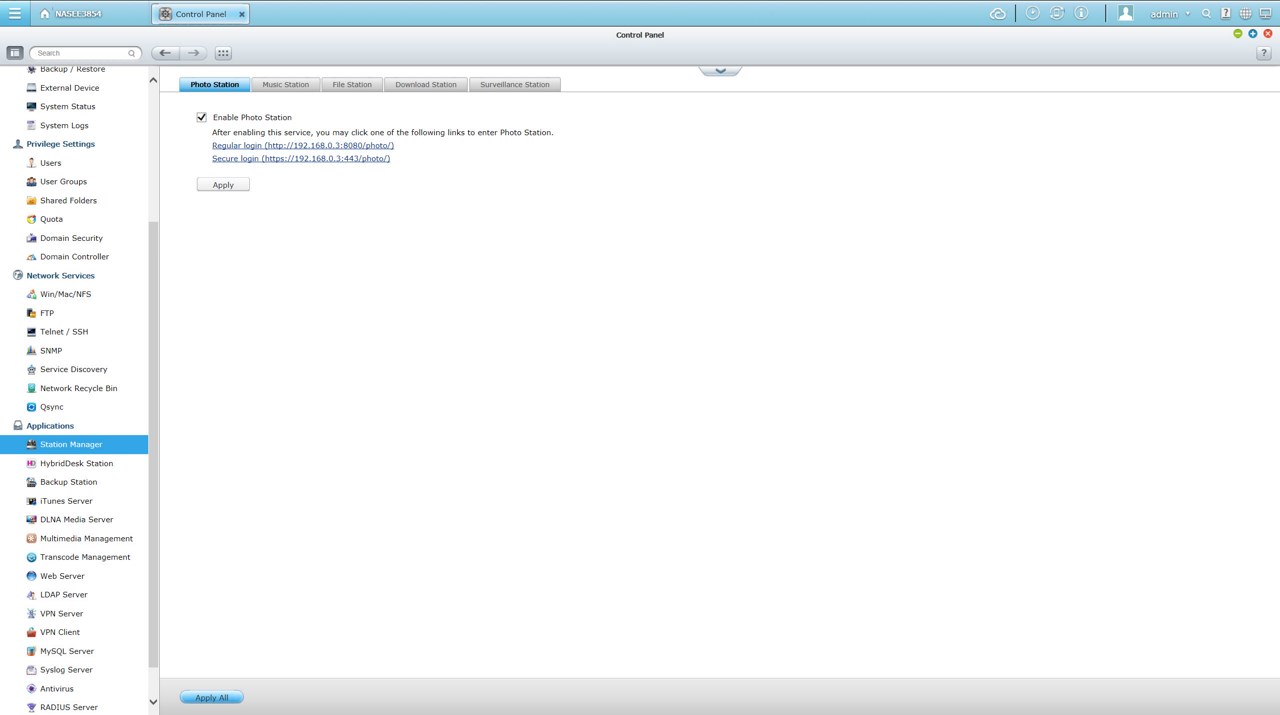
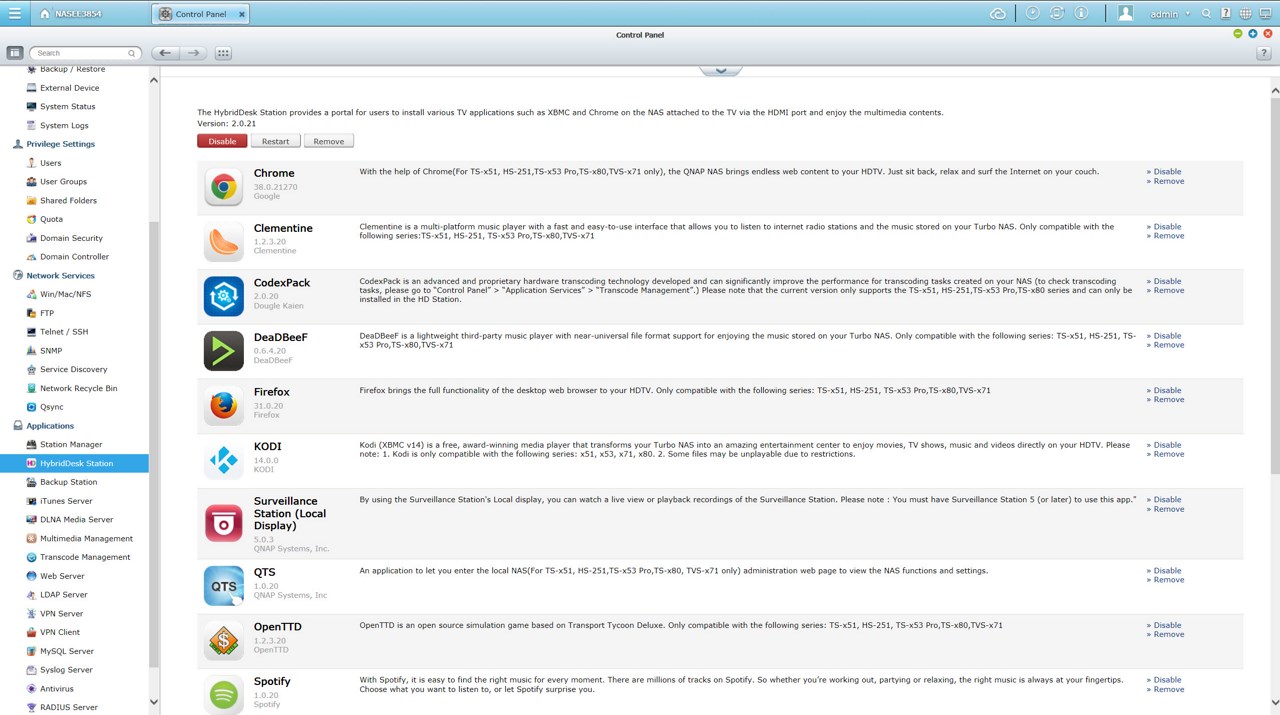
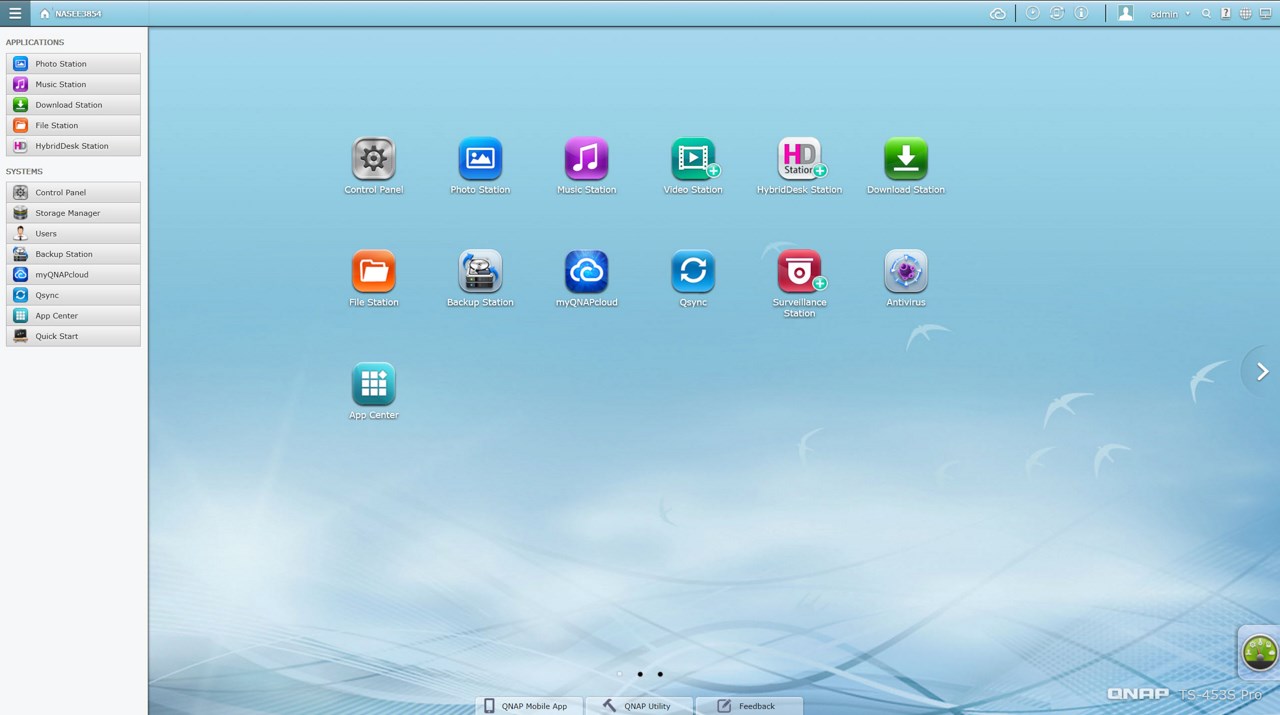
In order to use some of the installed stations you will need to enable them from within the Applications tab.


