


QVR PRO 1.3
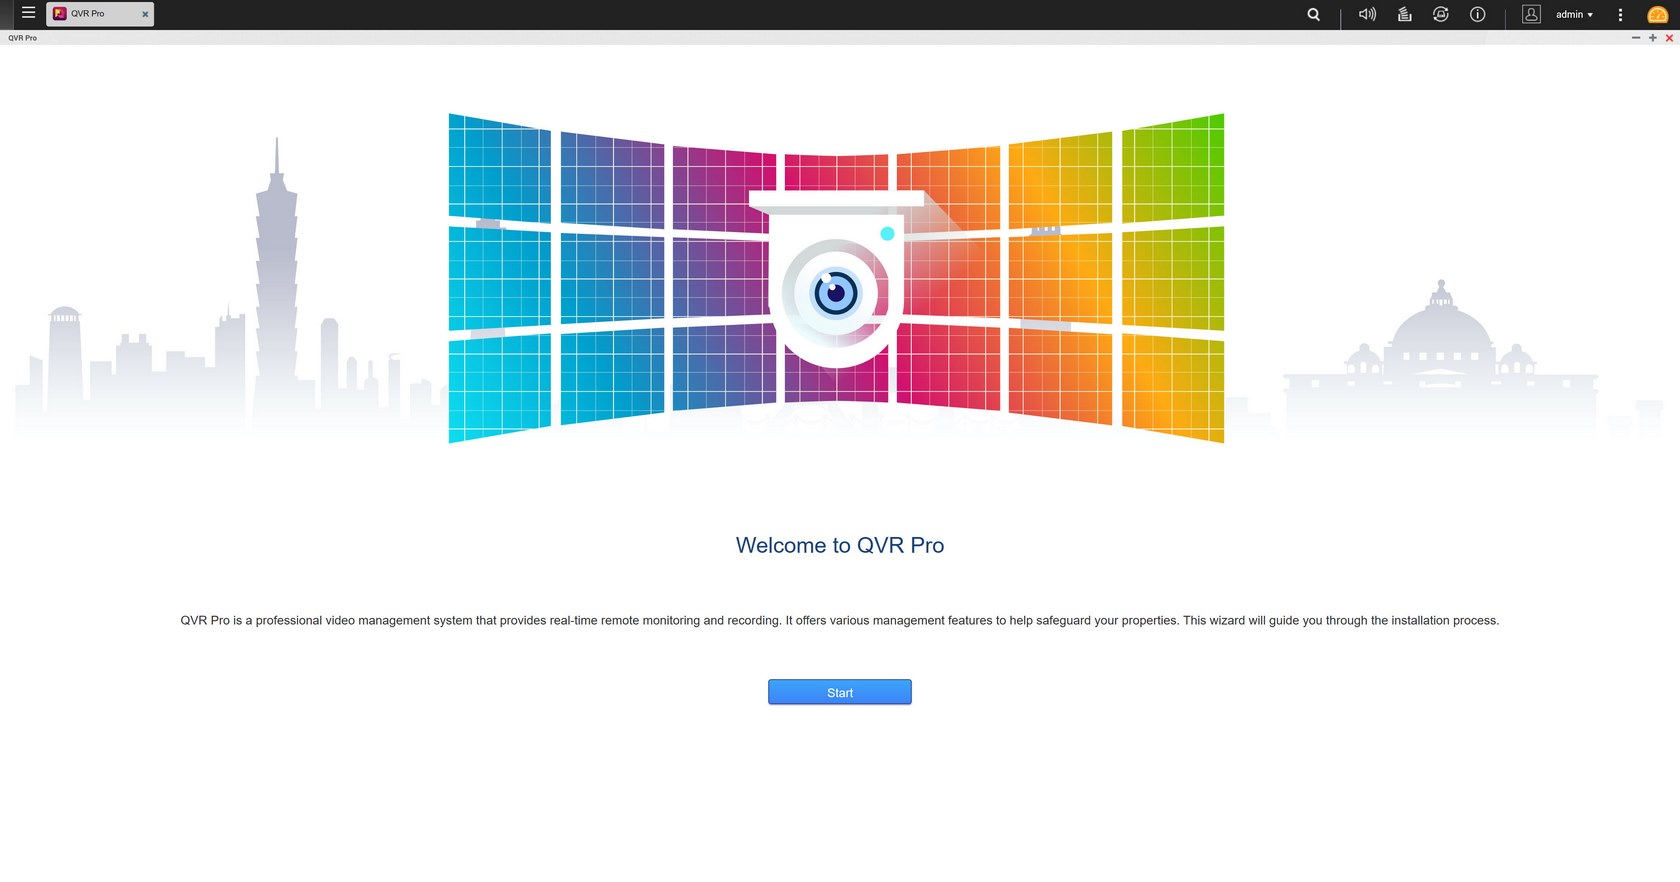
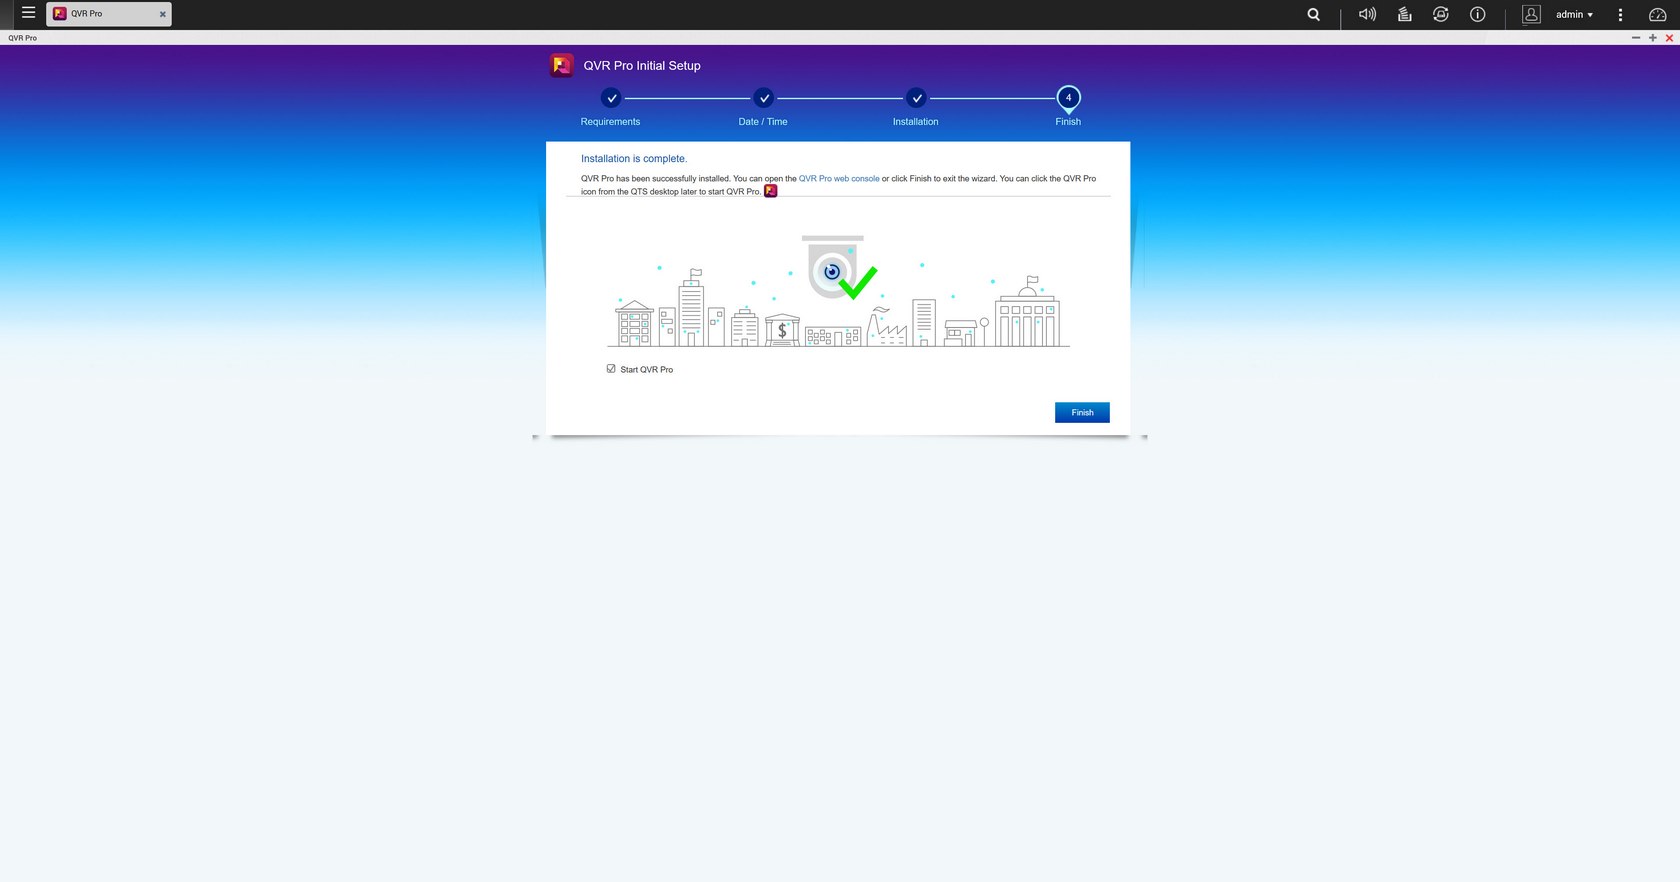
The QVR Pro app is probably the most advanced network video recording app out there at this time and so its setup/installation also requires a bit of input from us.
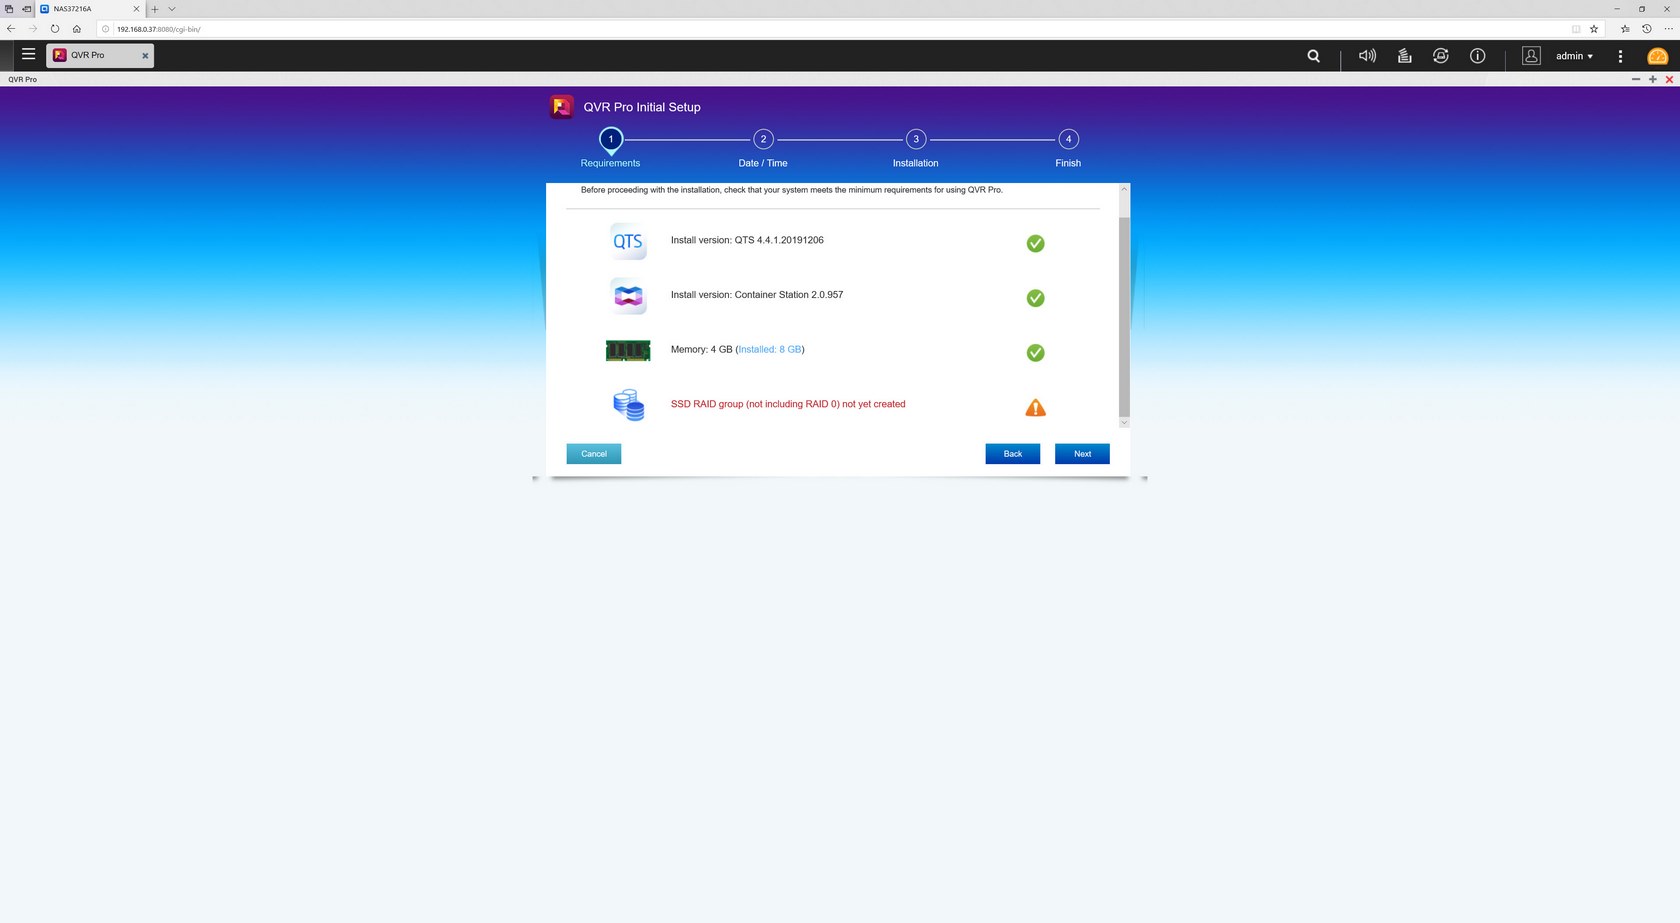
As you can see the app has some perquisites which it checks for prior to proceeding with the installation.
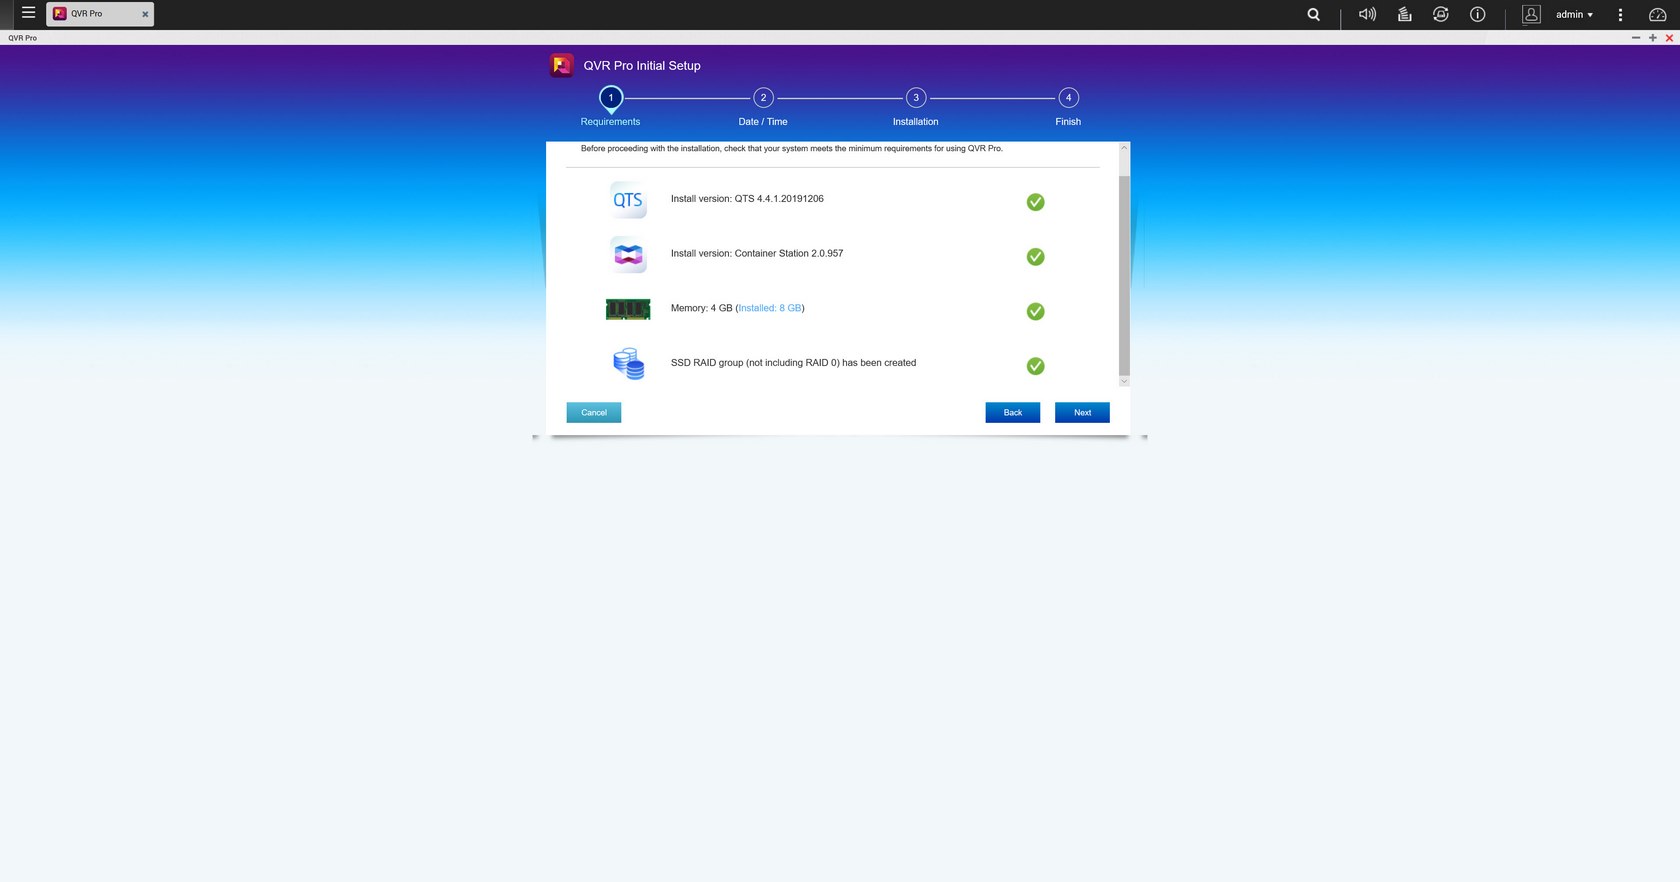
Now the SSD Raid group perquisite is not really needed (you can proceed with the installation) but using various RAID modes does provide better protection for your recordings.
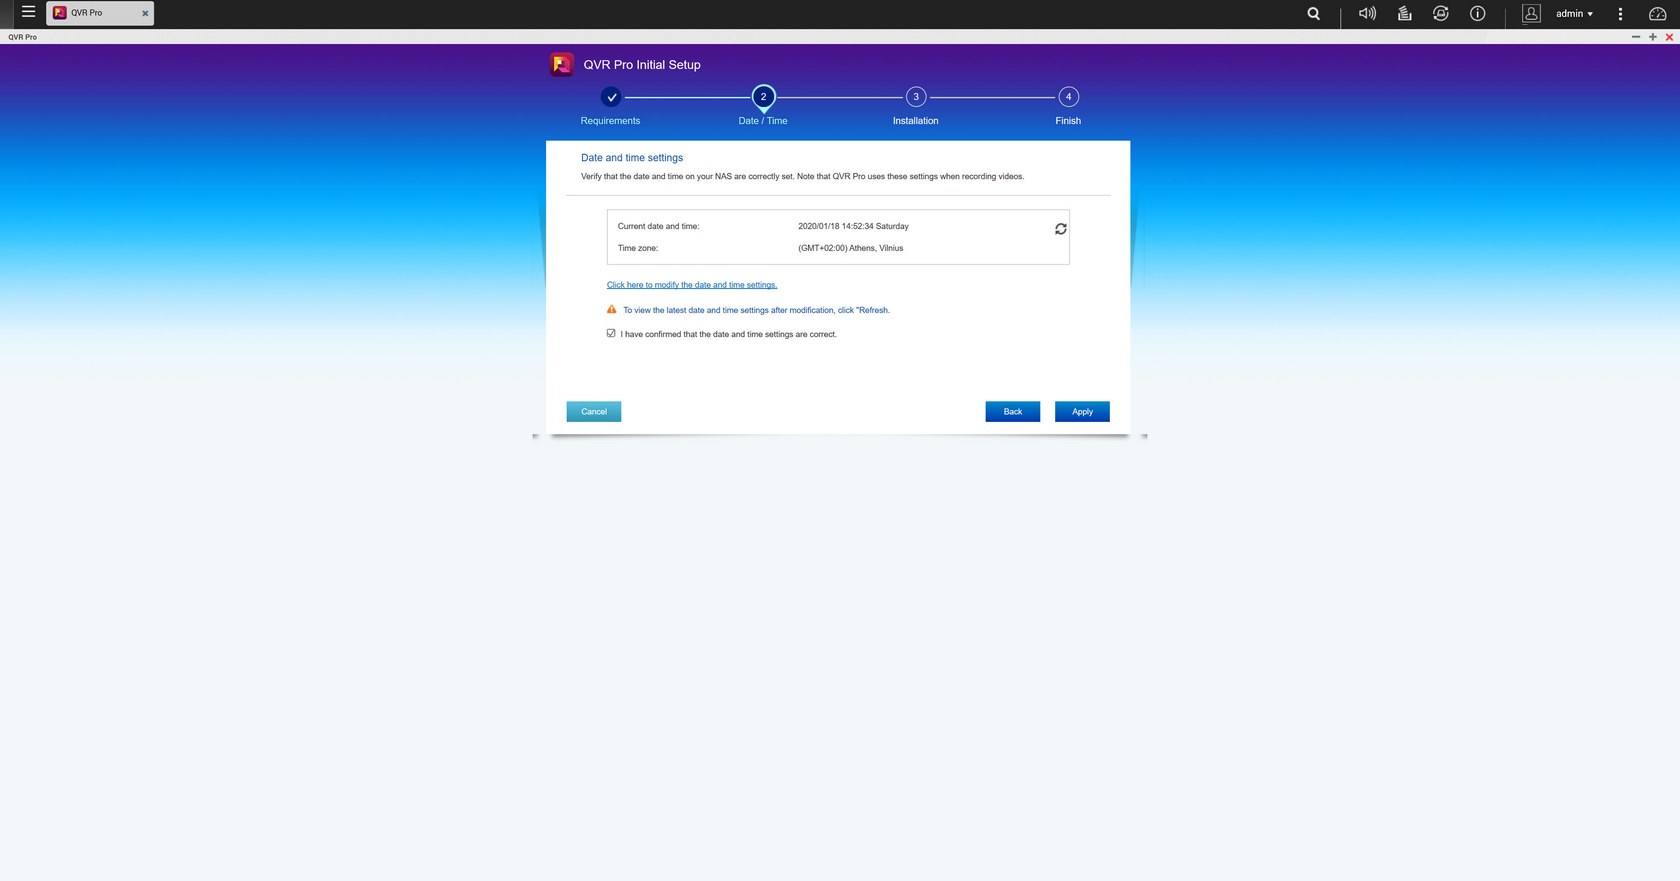
The app also takes the date and time zone from QTS but if you want you can change that.

QVR Pro has a main screen that is very similar to that of the QTS.
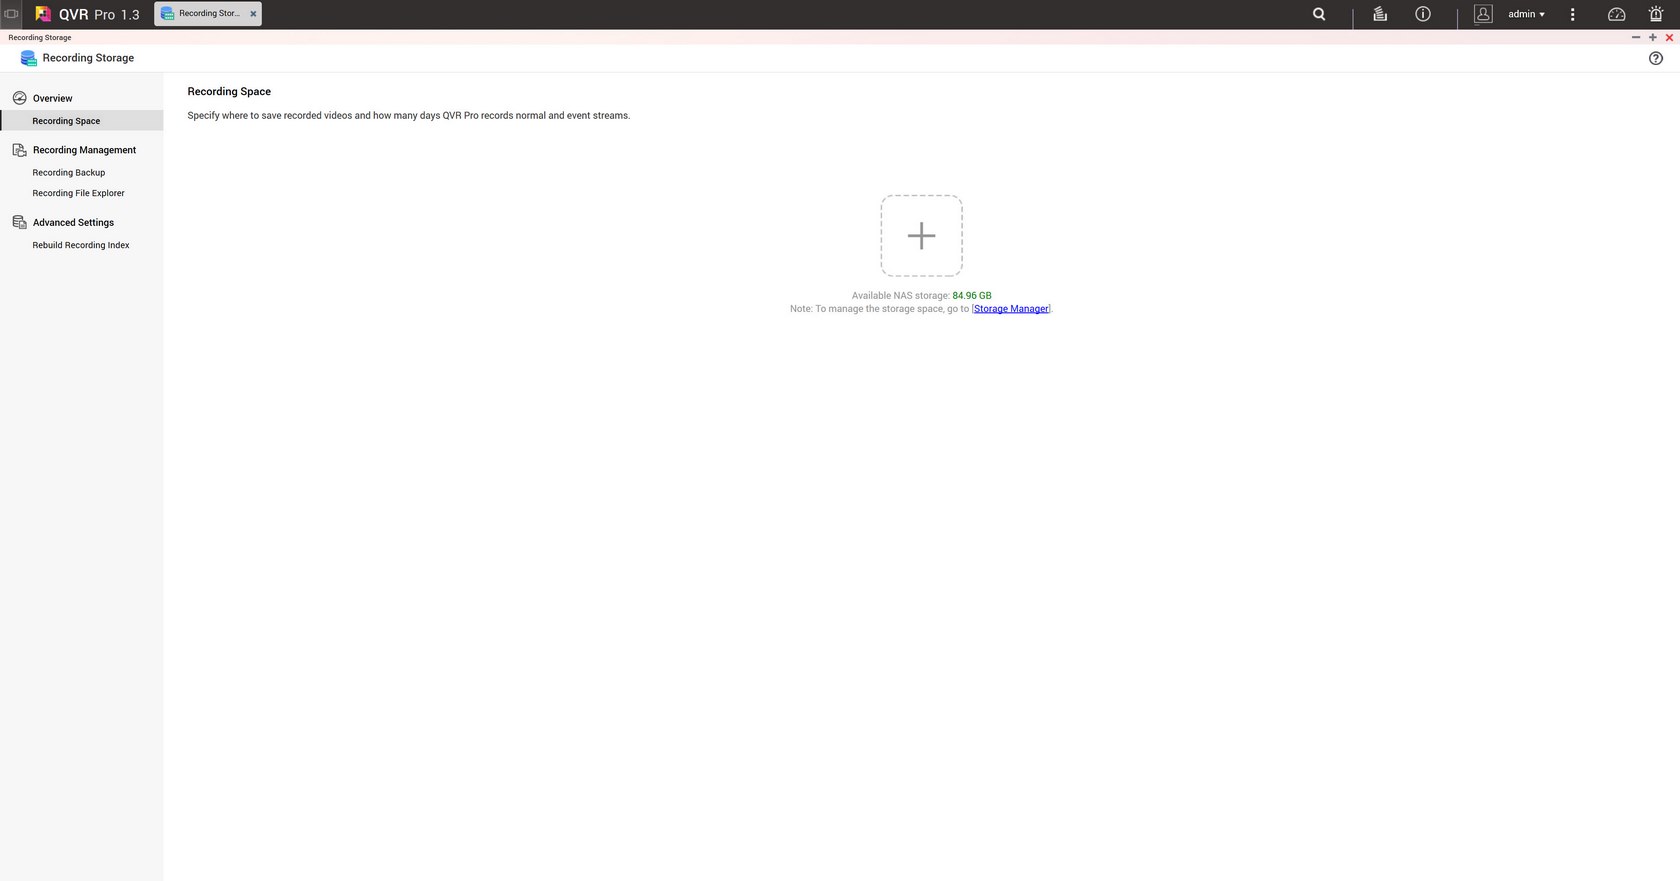
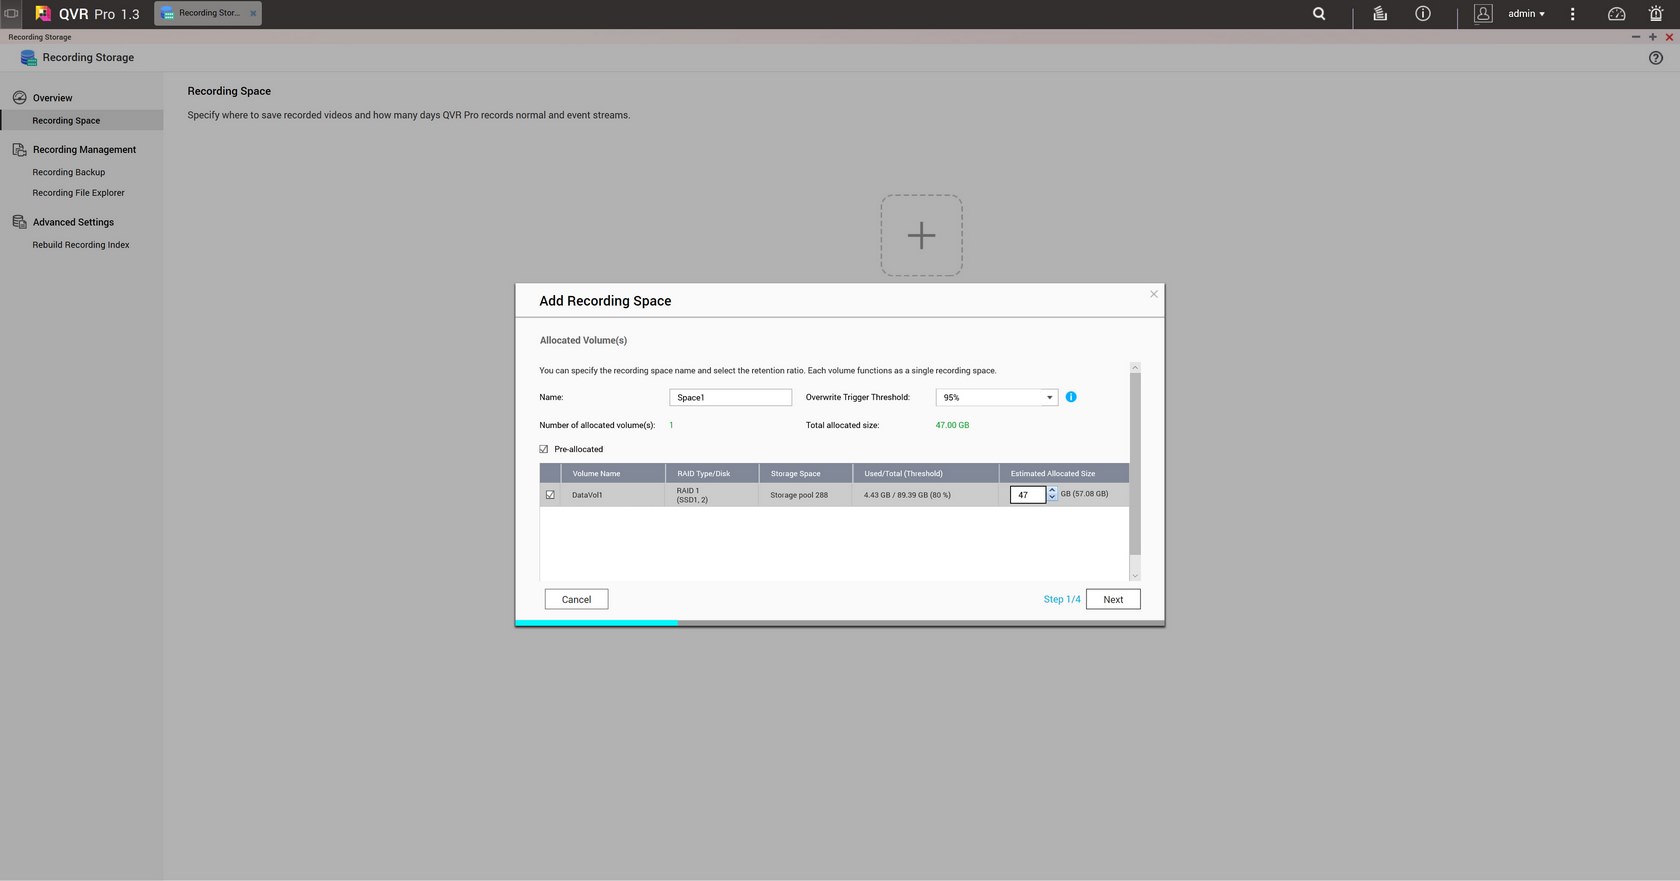
Giving the app some space for recordings is the very first step and so head into the recording storage tab to set the desired amount and of course the desired overwrite trigger threshold.
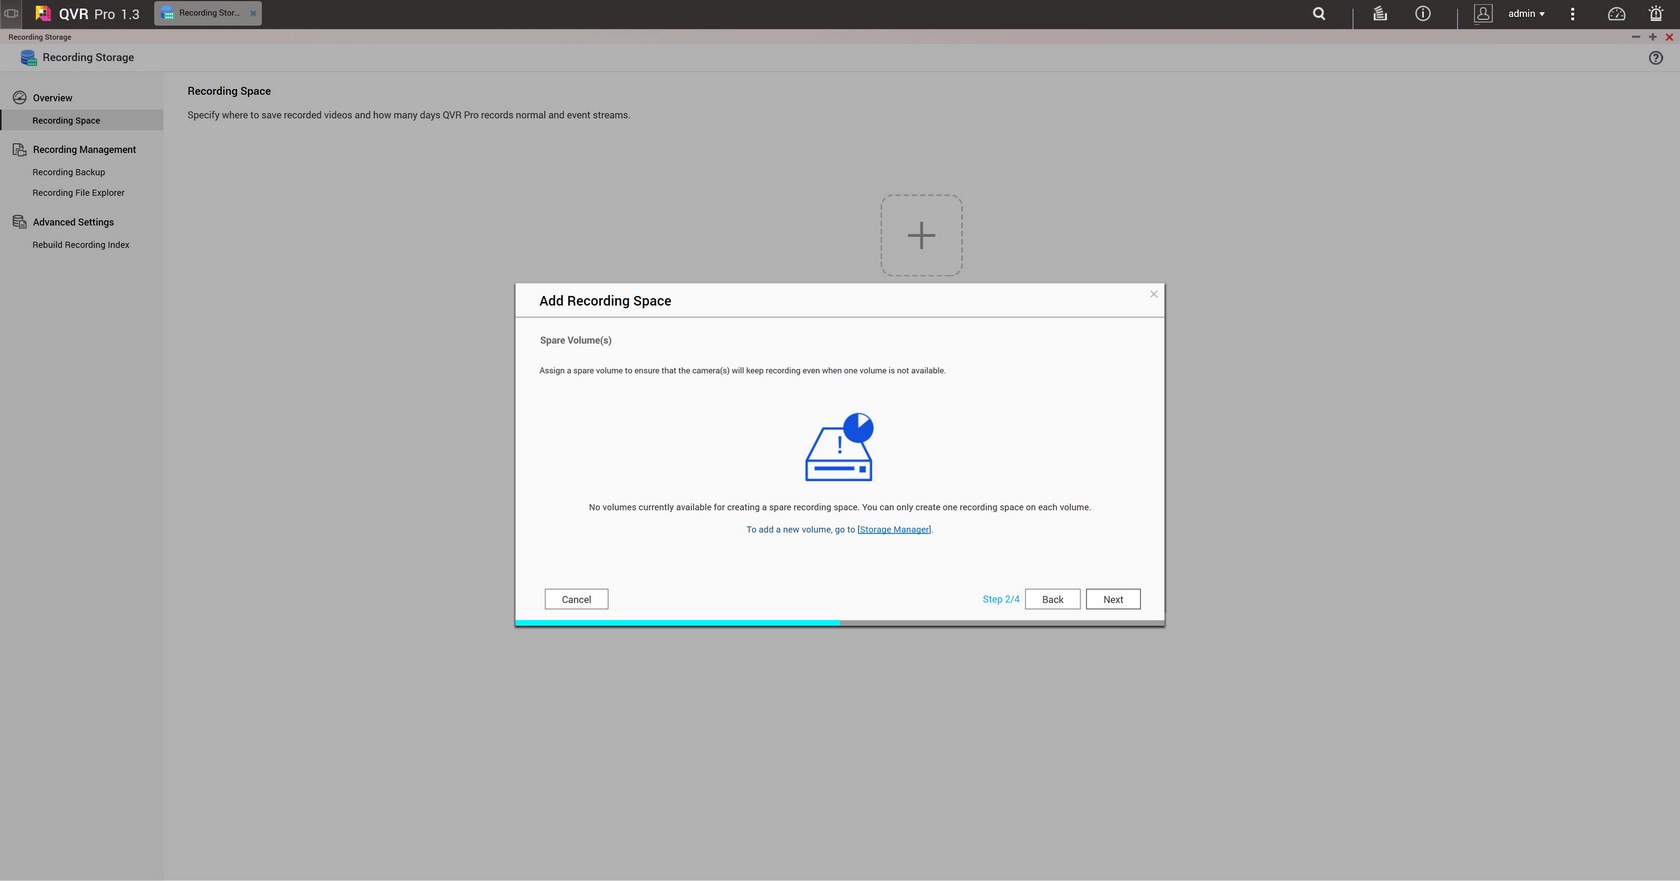
In order to ensure that nothing happens to your recordings you can choose to also store them in a spare volume (even more space is required however).
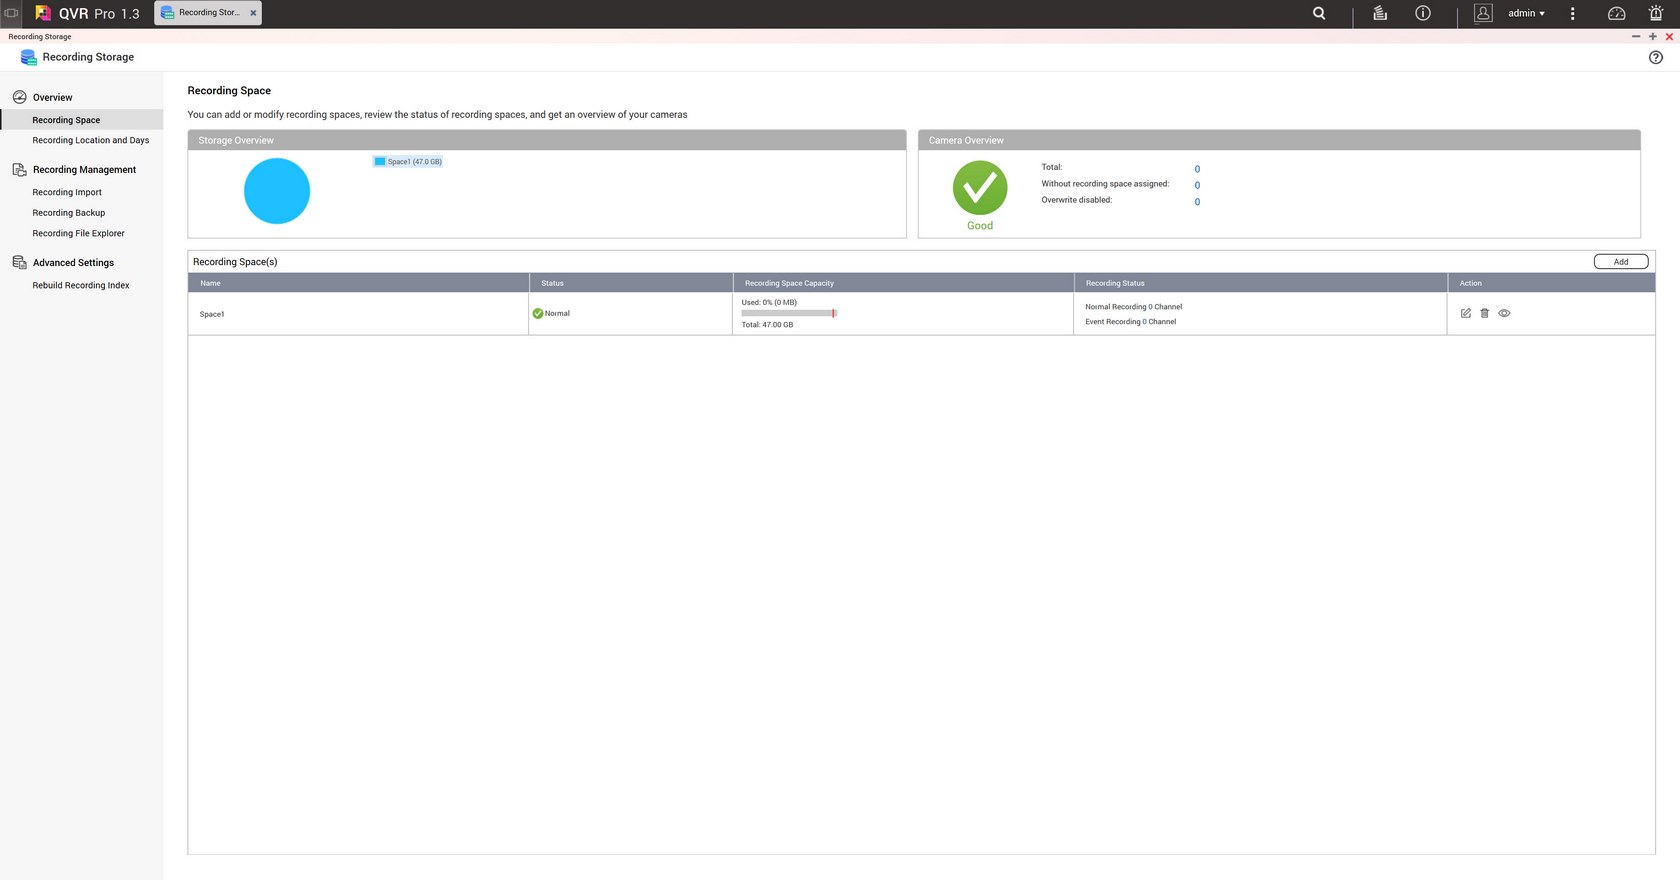
After the space is configured you can still expand it from the actions area.
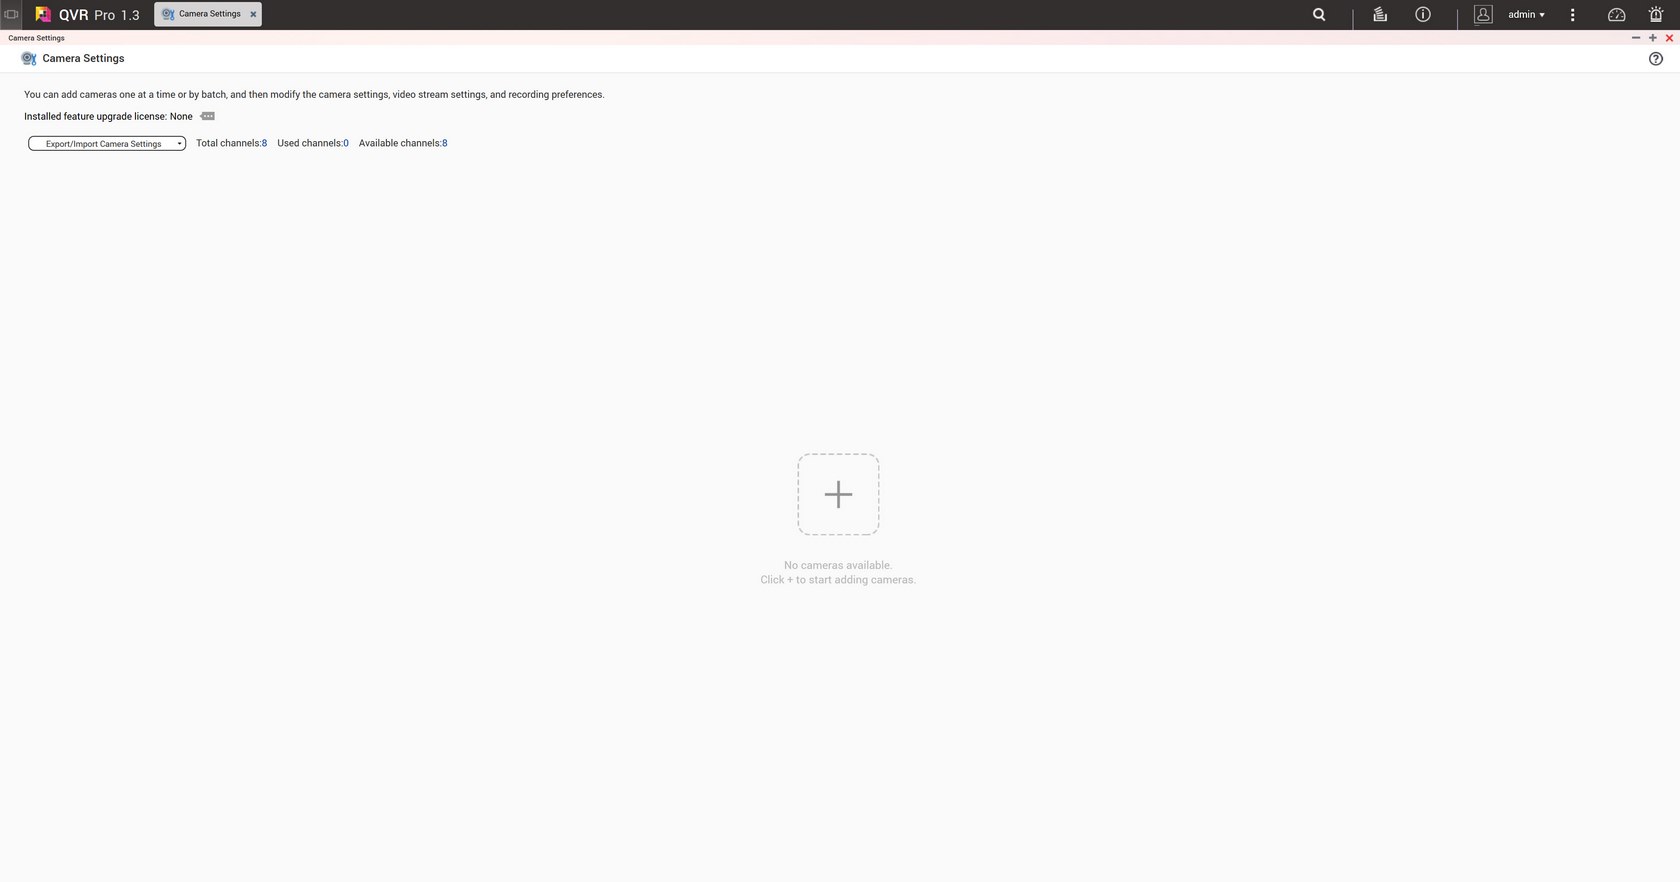
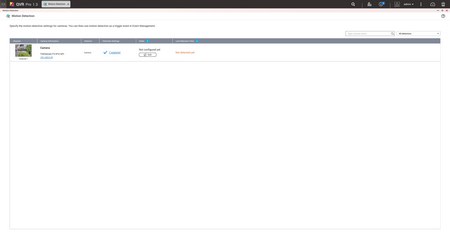
Adding a camera is the next obvious step and that can be done from the Camera Settings tab.
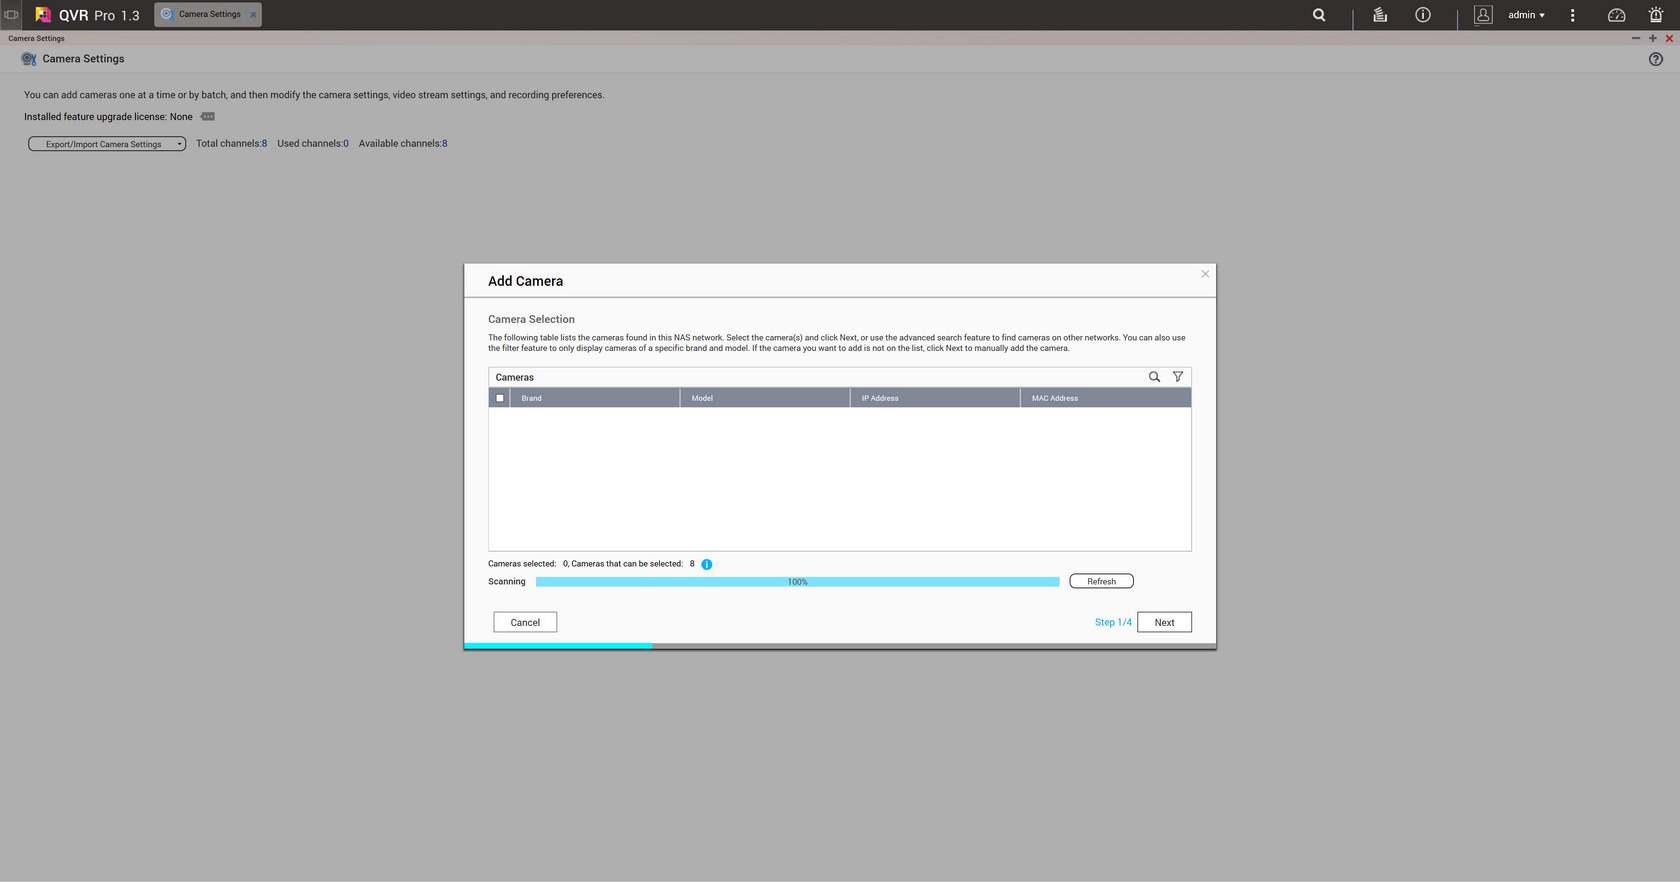
Unfortunately, since the TBS-453DX was connected to our local network via a 10G switch it was unable to detect any of the cameras automatically.
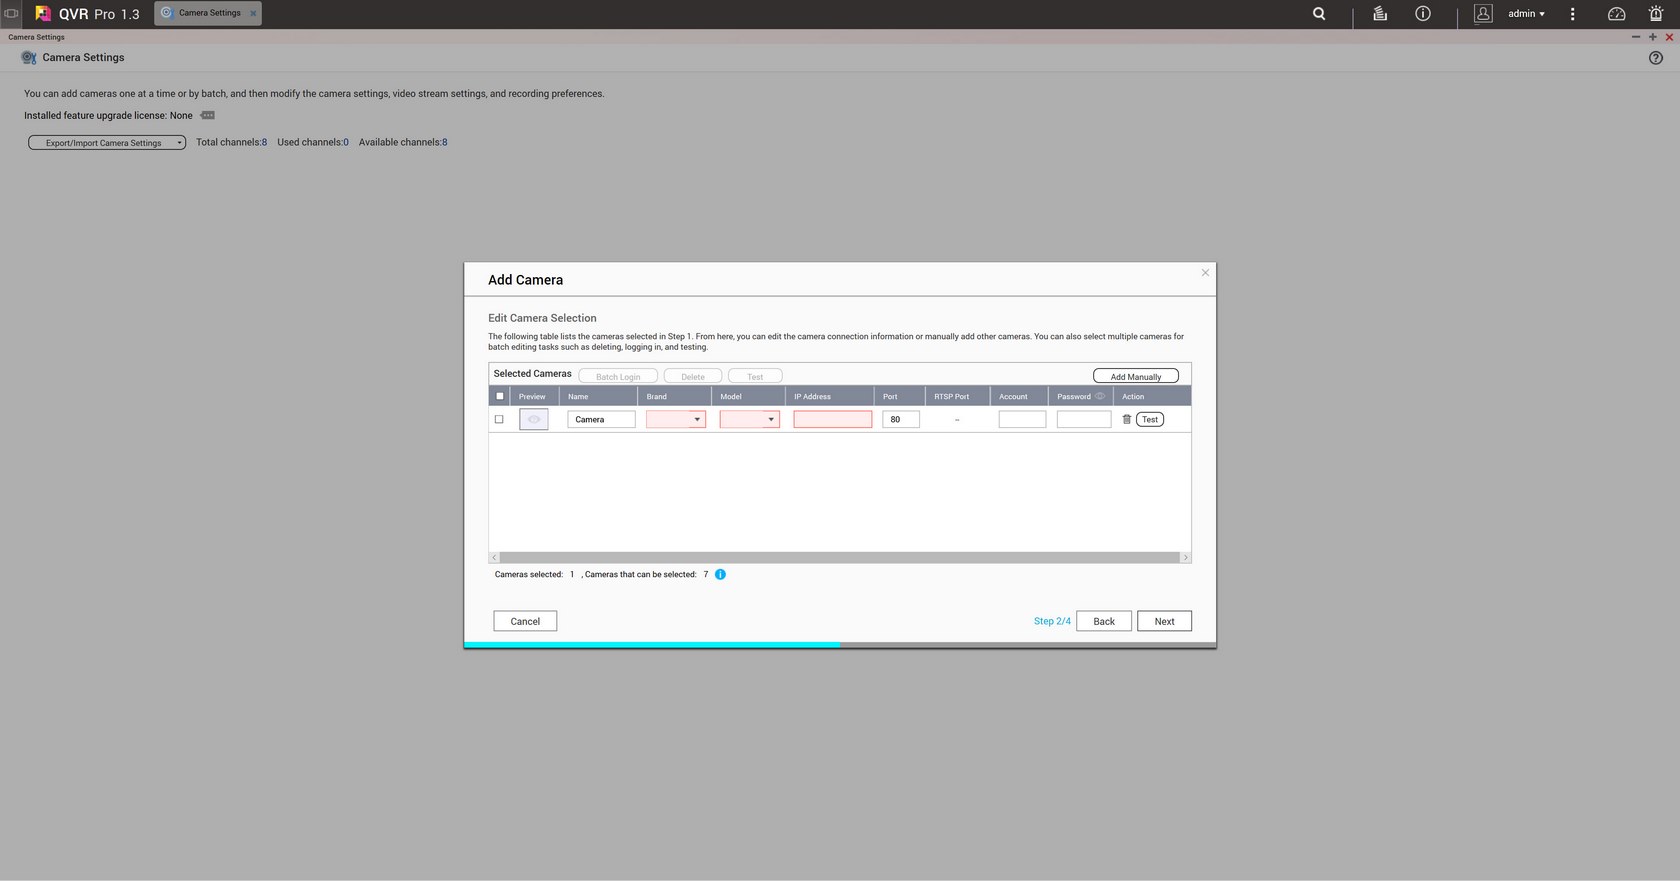
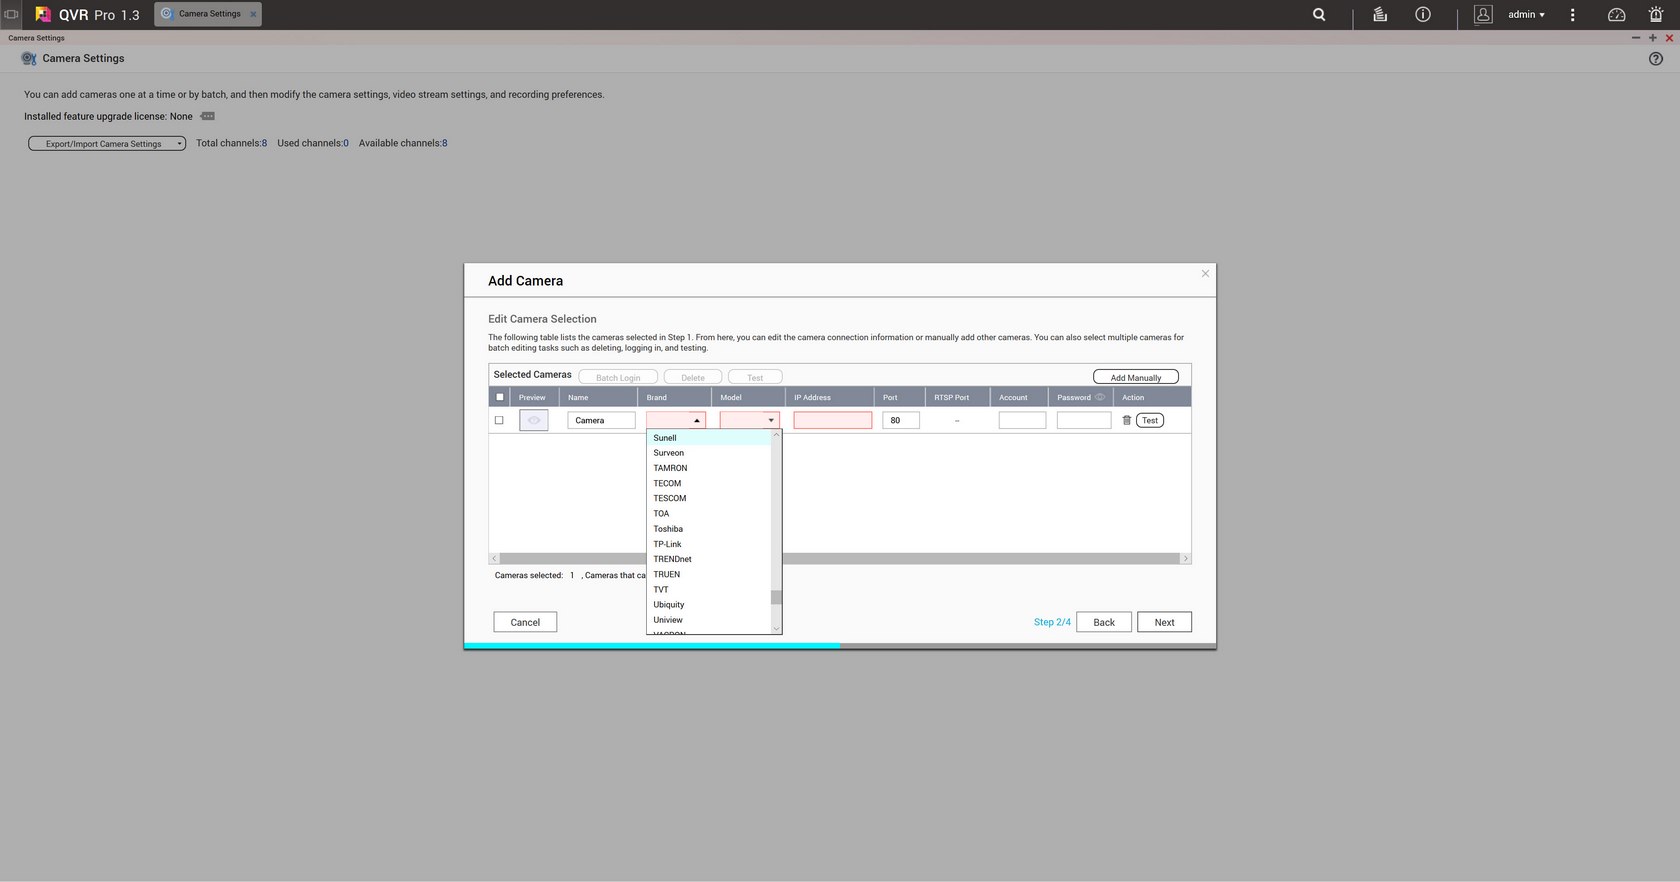
In such cases you need to manually enter the details of the camera such as manufacturer, model, IP address, user name and password.

Once you do that the app will ask you to modify the settings of the camera.
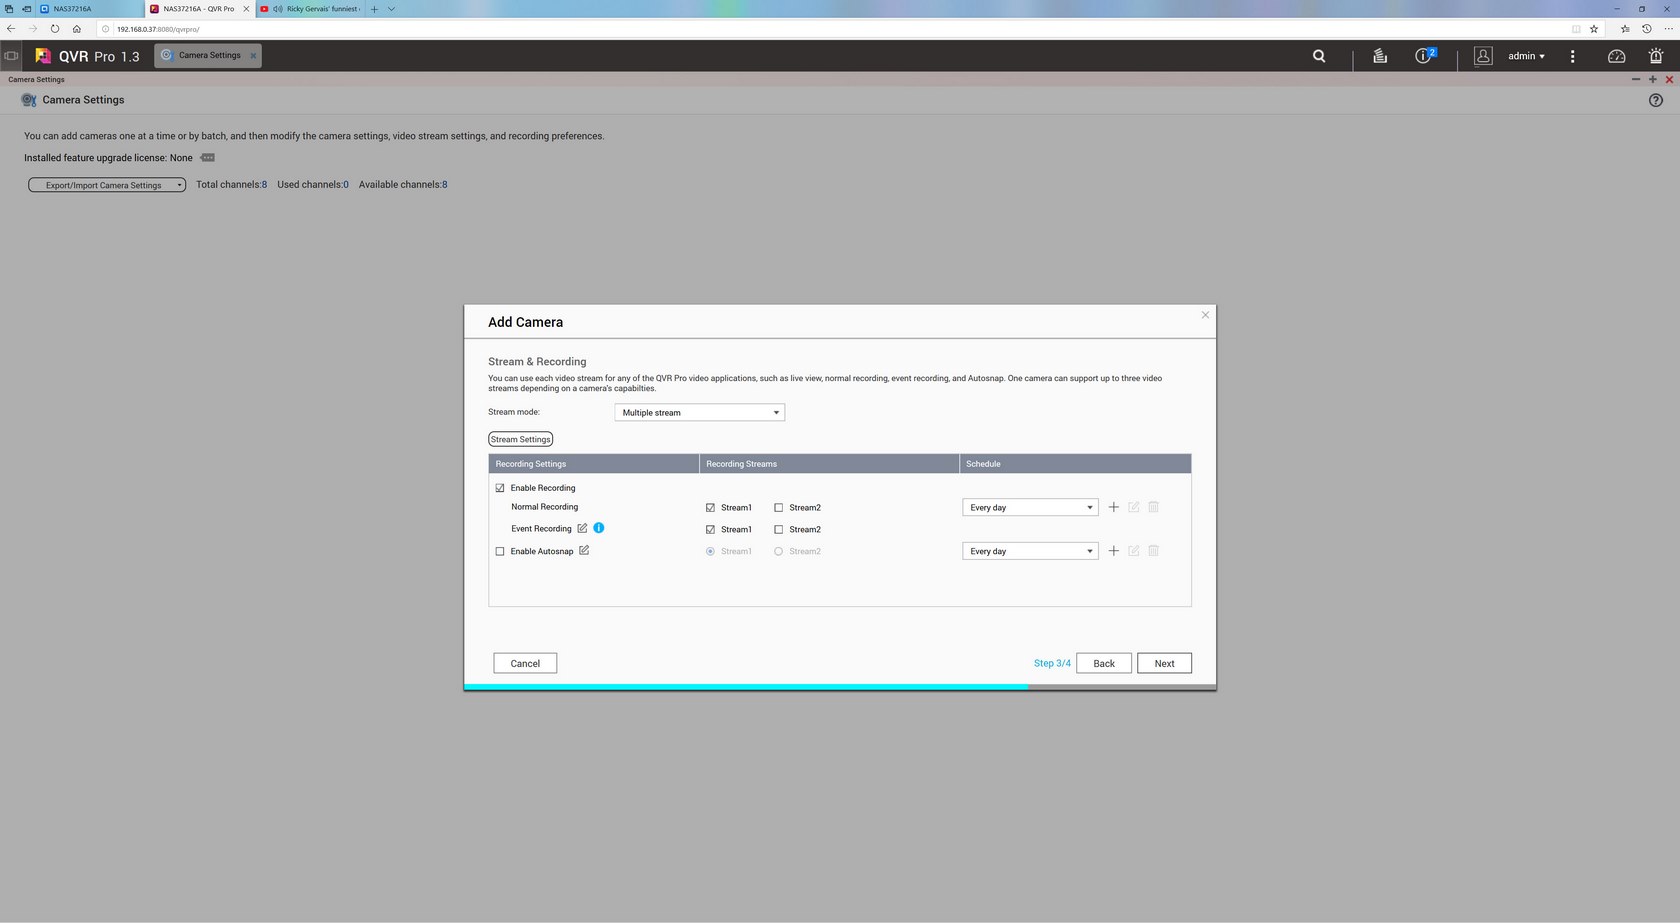
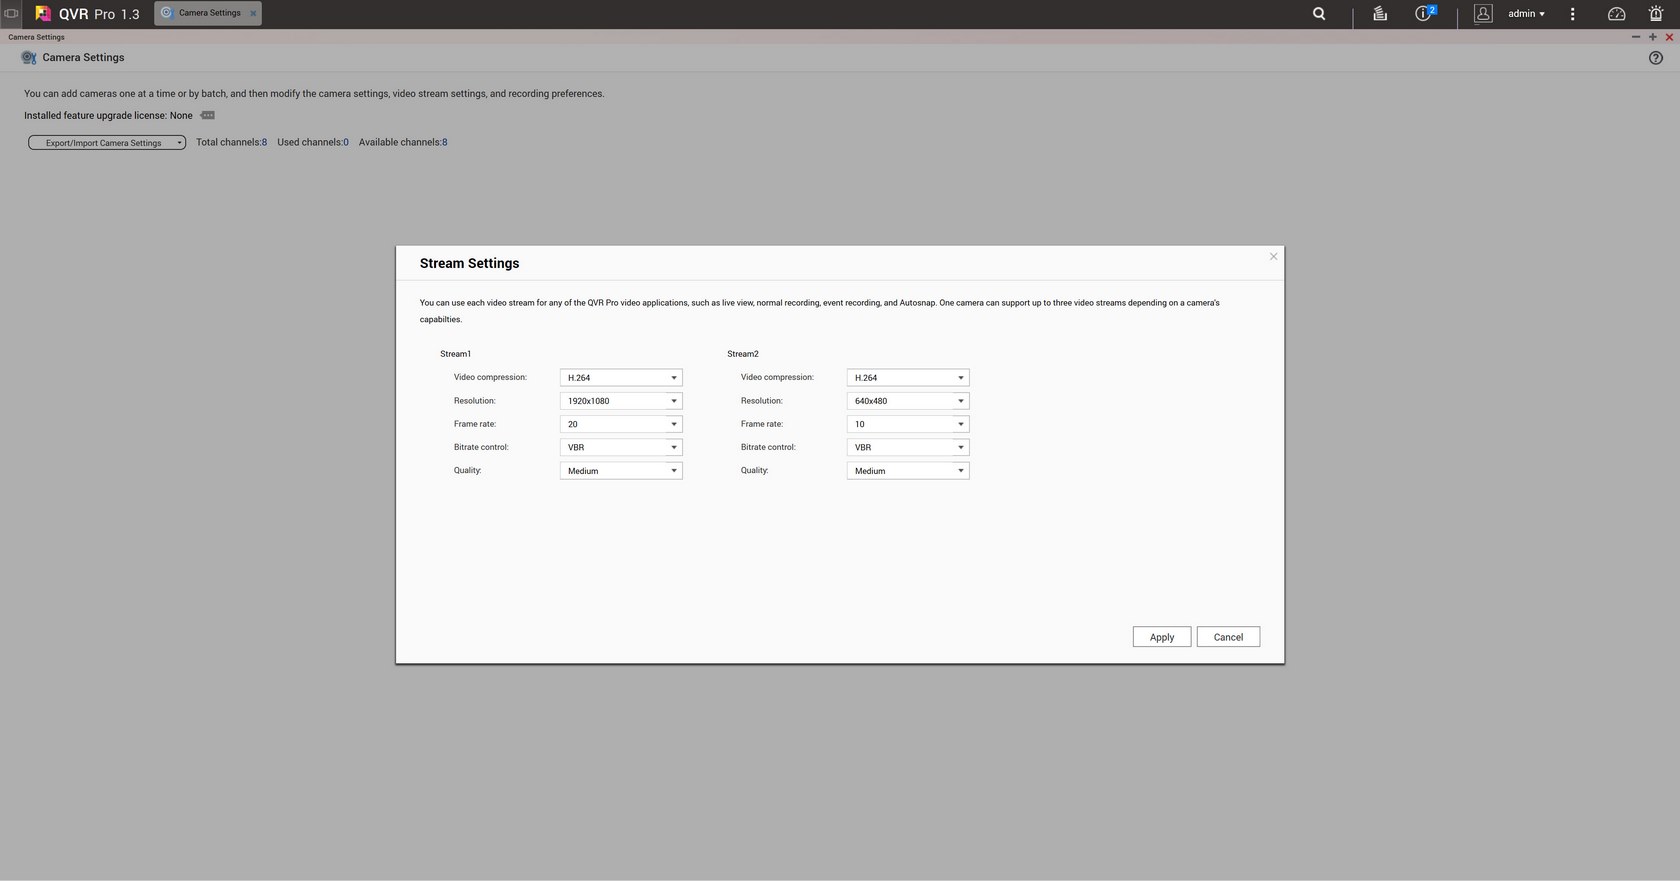
That includes enabling both normal and event recording on 1 or 2 streams and of course set the video codec, resolution, frame rate, bitrate and image quality.
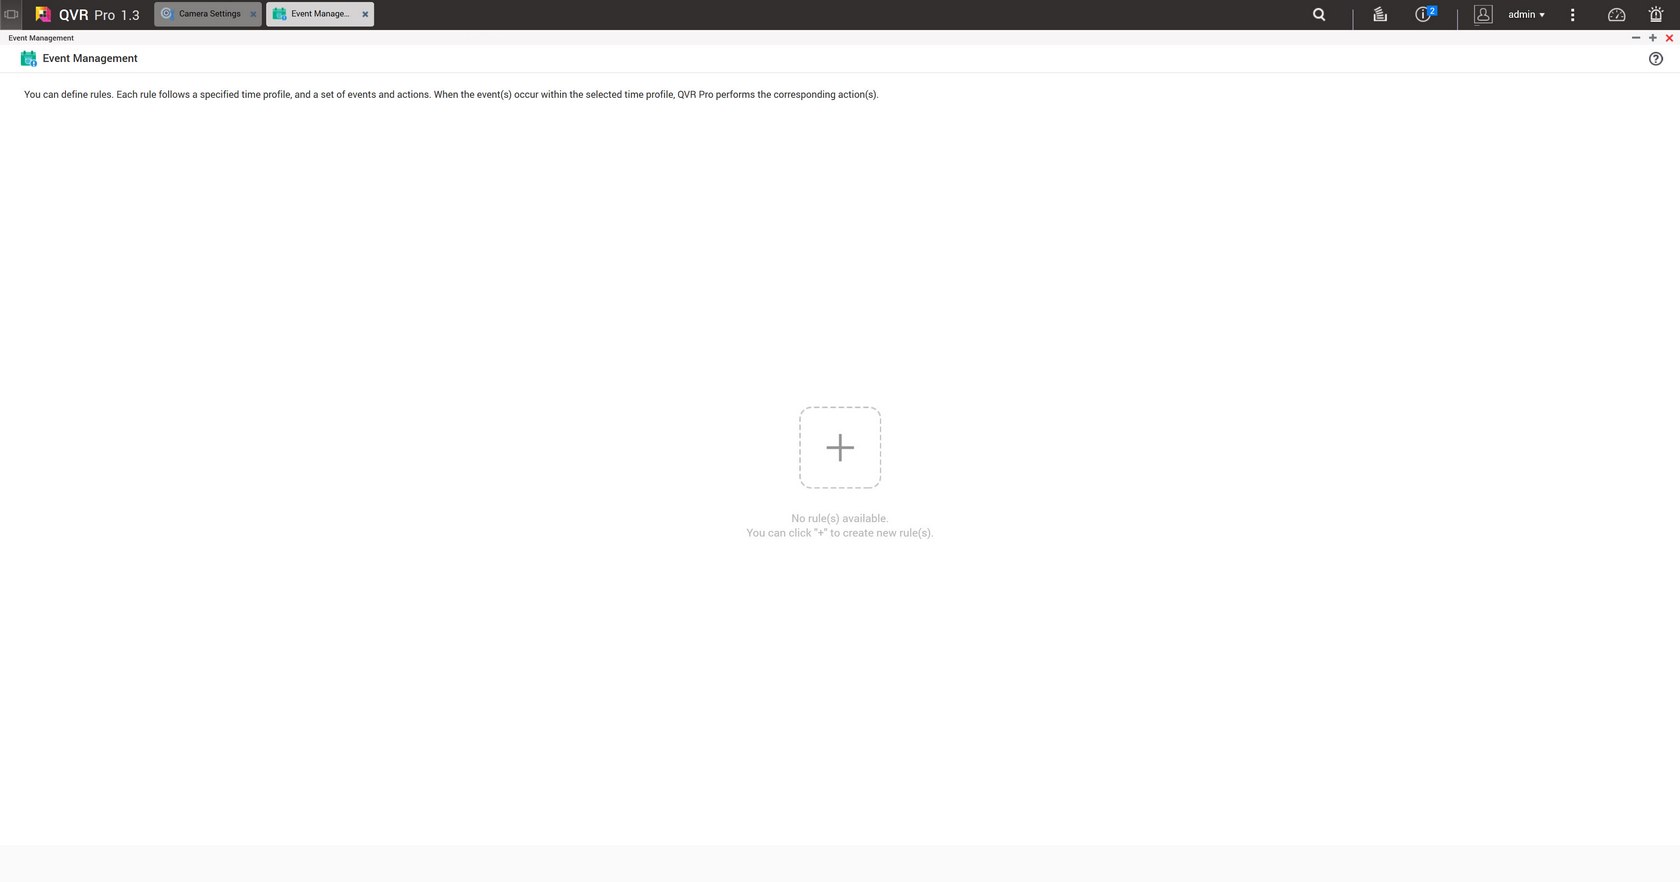
QVR Pro also gives you the ability to add various events for your cameras from the event manager.
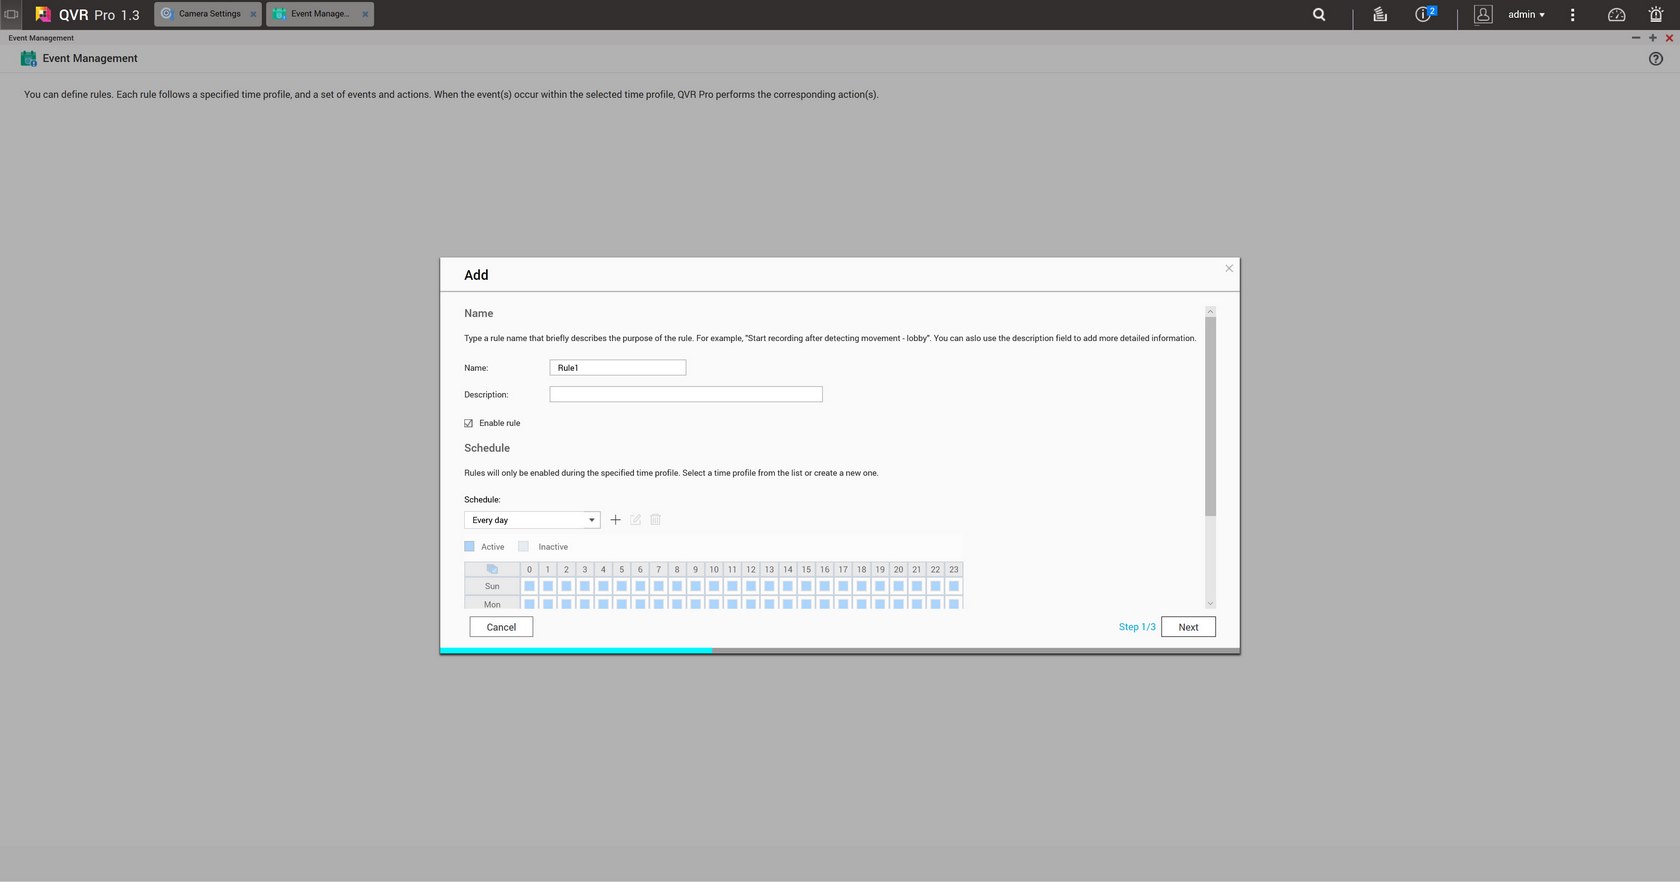
To do that just add a new one, choose the days you want it to be active and press next.
You can start configuring the even rules from the edit button seen above.
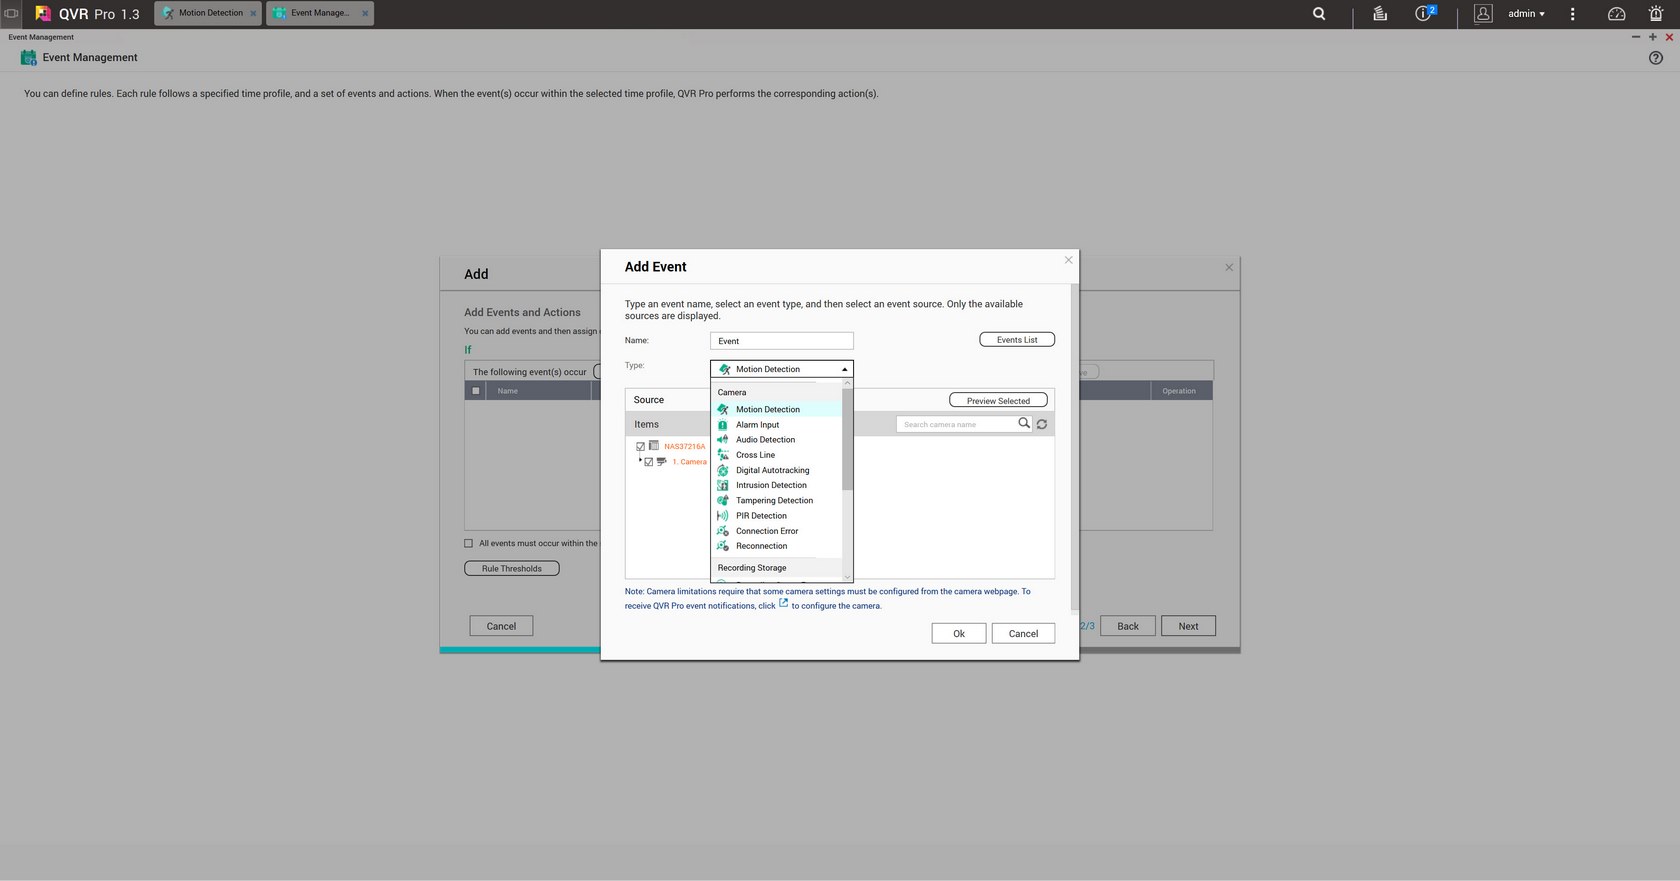
There are many events one can add including motion detection, alarm input (if supported by your camera), audio detection (again if supported by your camera) and more (aside the motion detection event which can be used with every camera model almost every other event needs to be specifically supported by your camera).
You also need to link an action to the event so you can choose the camera to start recording and much more (again some actions like alarm output need to be supported by your camera).

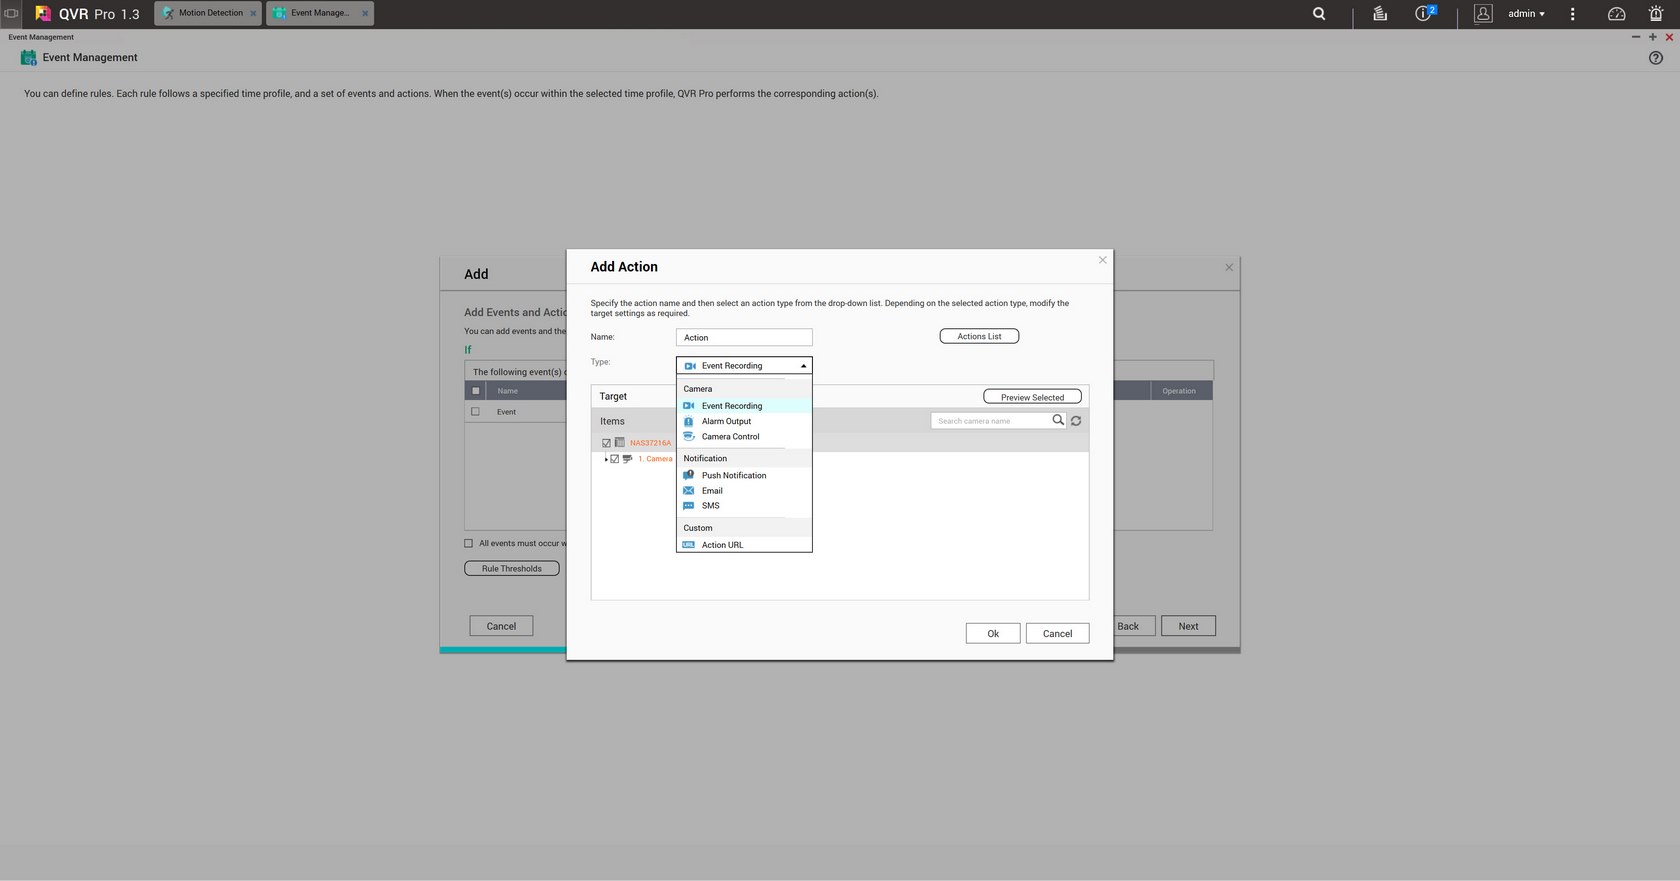
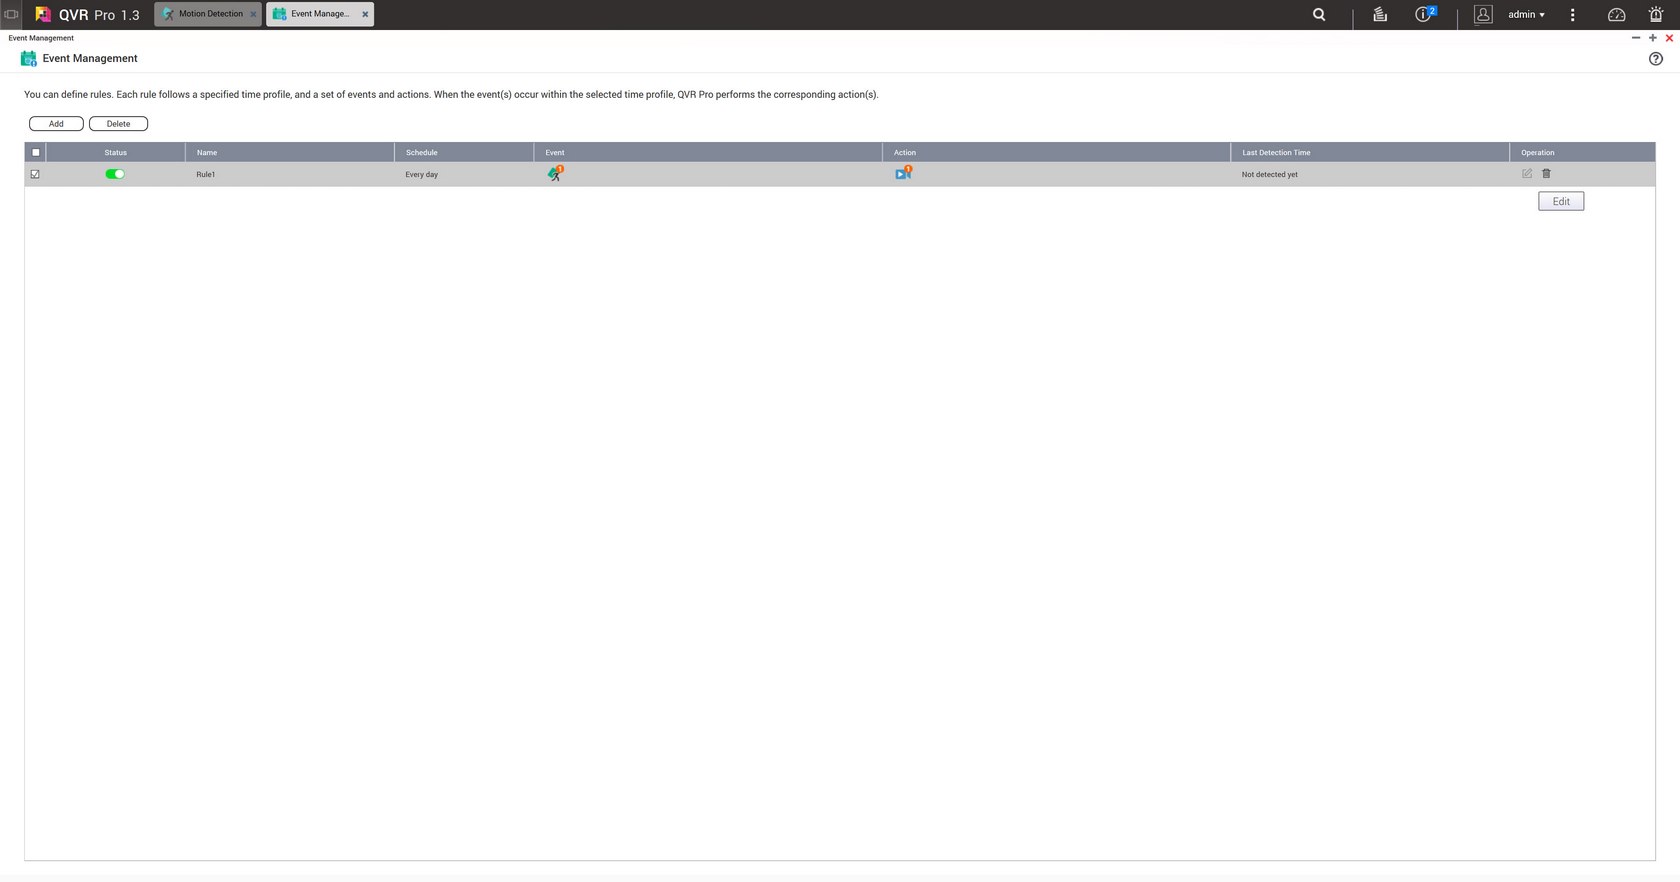 Once you've finished with the event (if) and the action (then) just press the next button to save it.

By default, QVR Pro has a licence for a total of 8 IP cameras (more than enough even for us) but if that number is not enough for you then you can purchase additional licence keys.
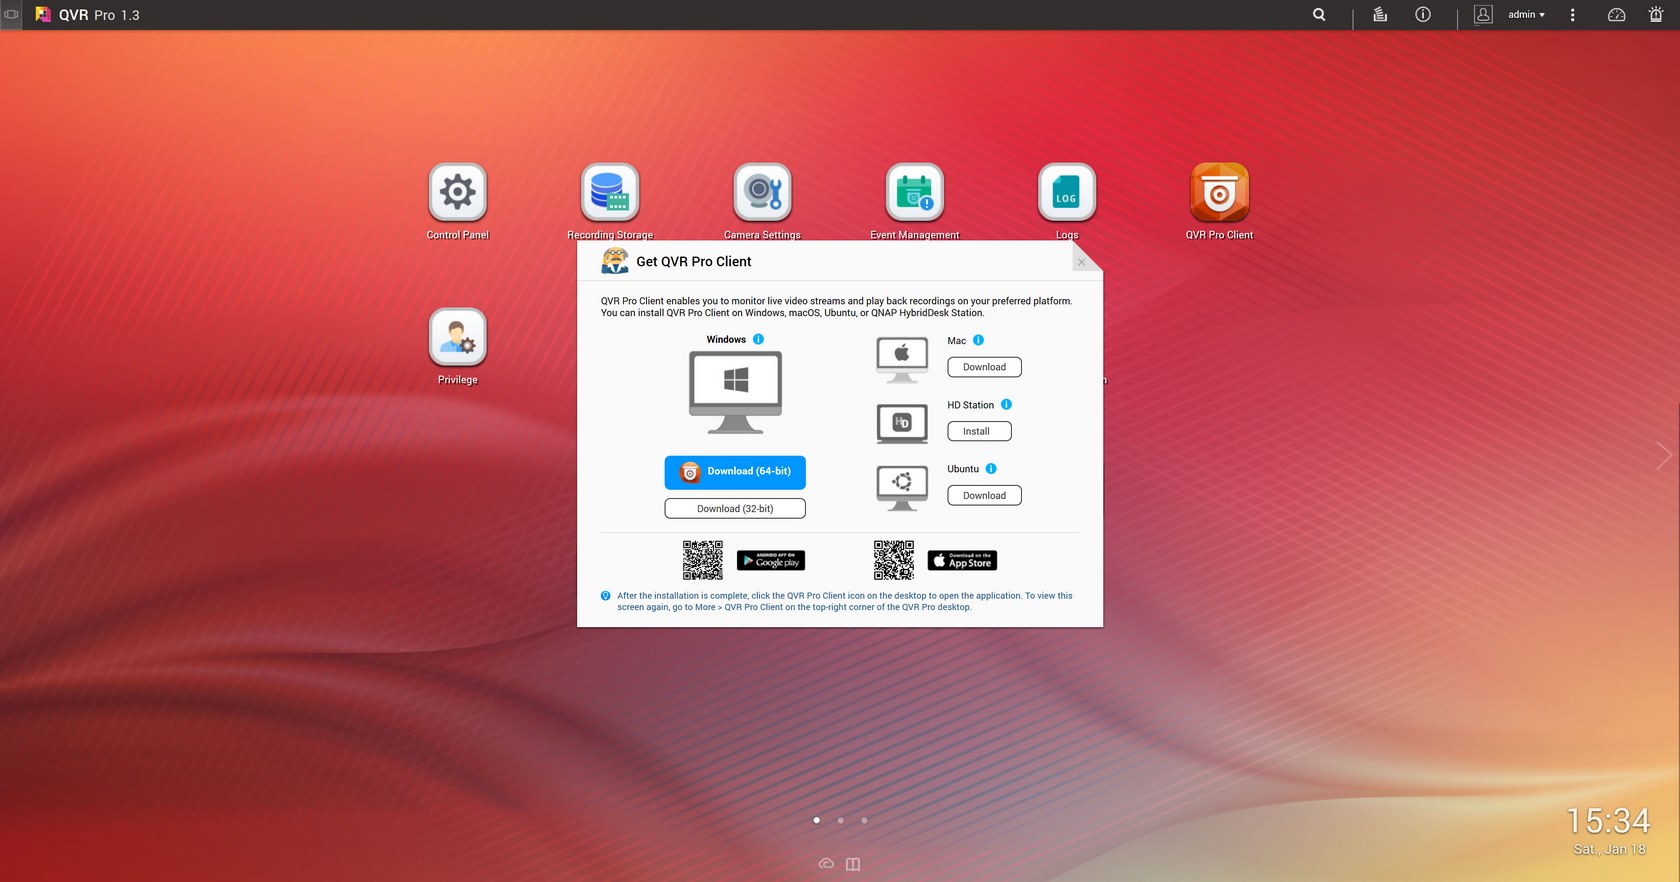
The QVR Pro client is a Windows/MAC/Ubuntu/Android/iOS software which allows you to access the QVR Pro feeds without accessing the NAS. To download it just click on (or scan) the preferred version seen above.
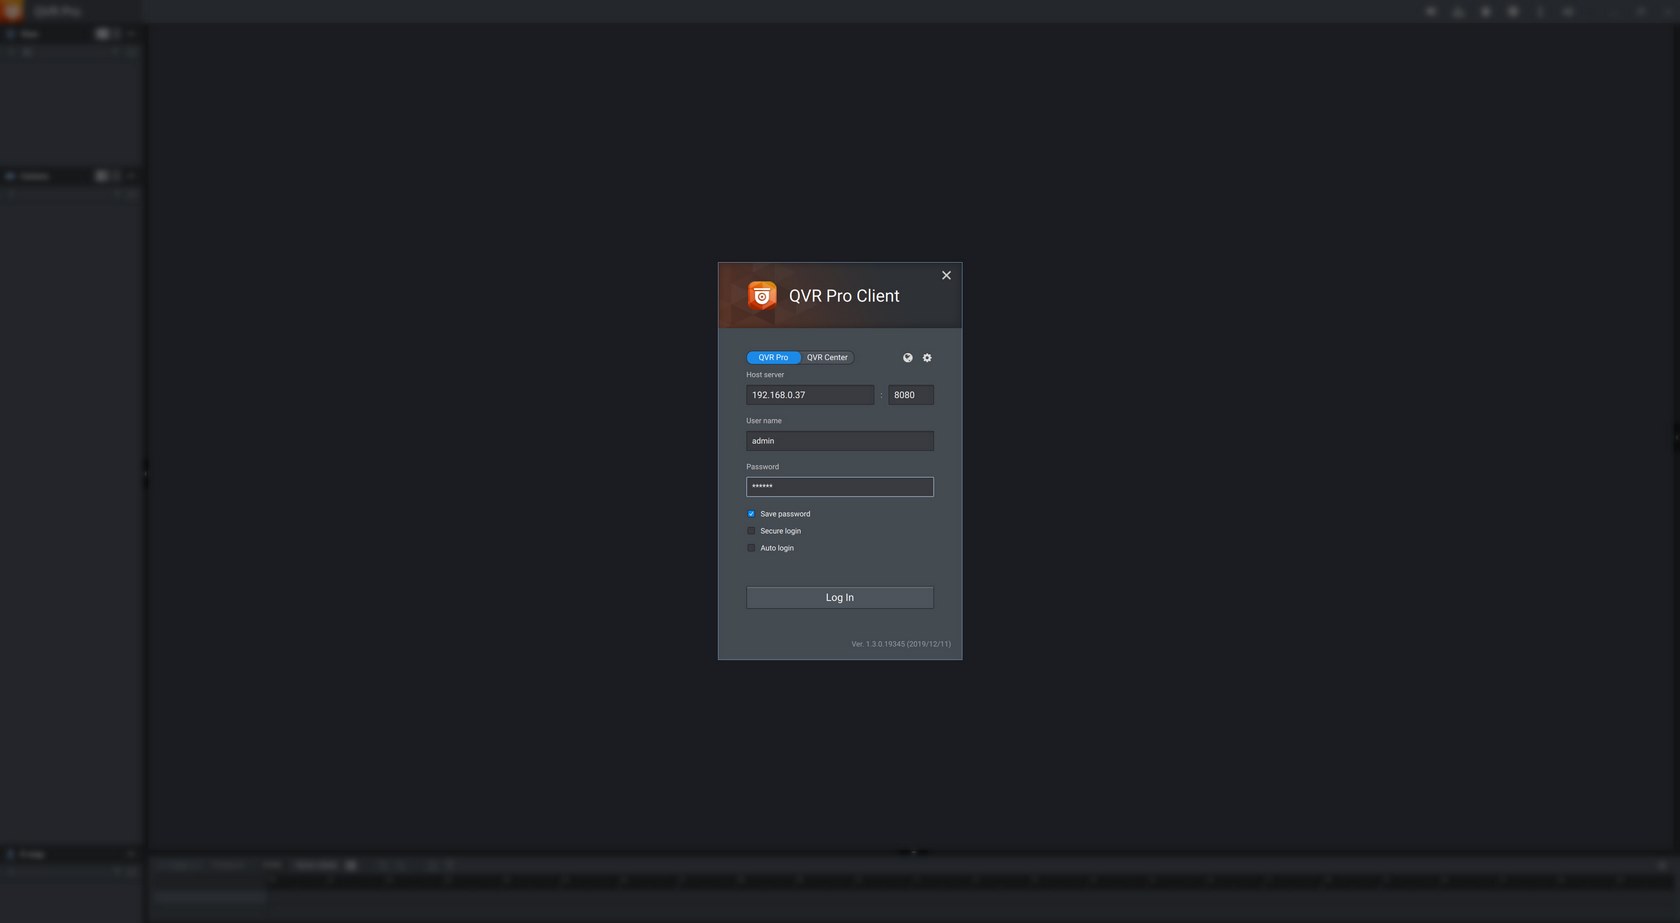
After that just enter IP address, port, user name and password of your IP camera to gain access.
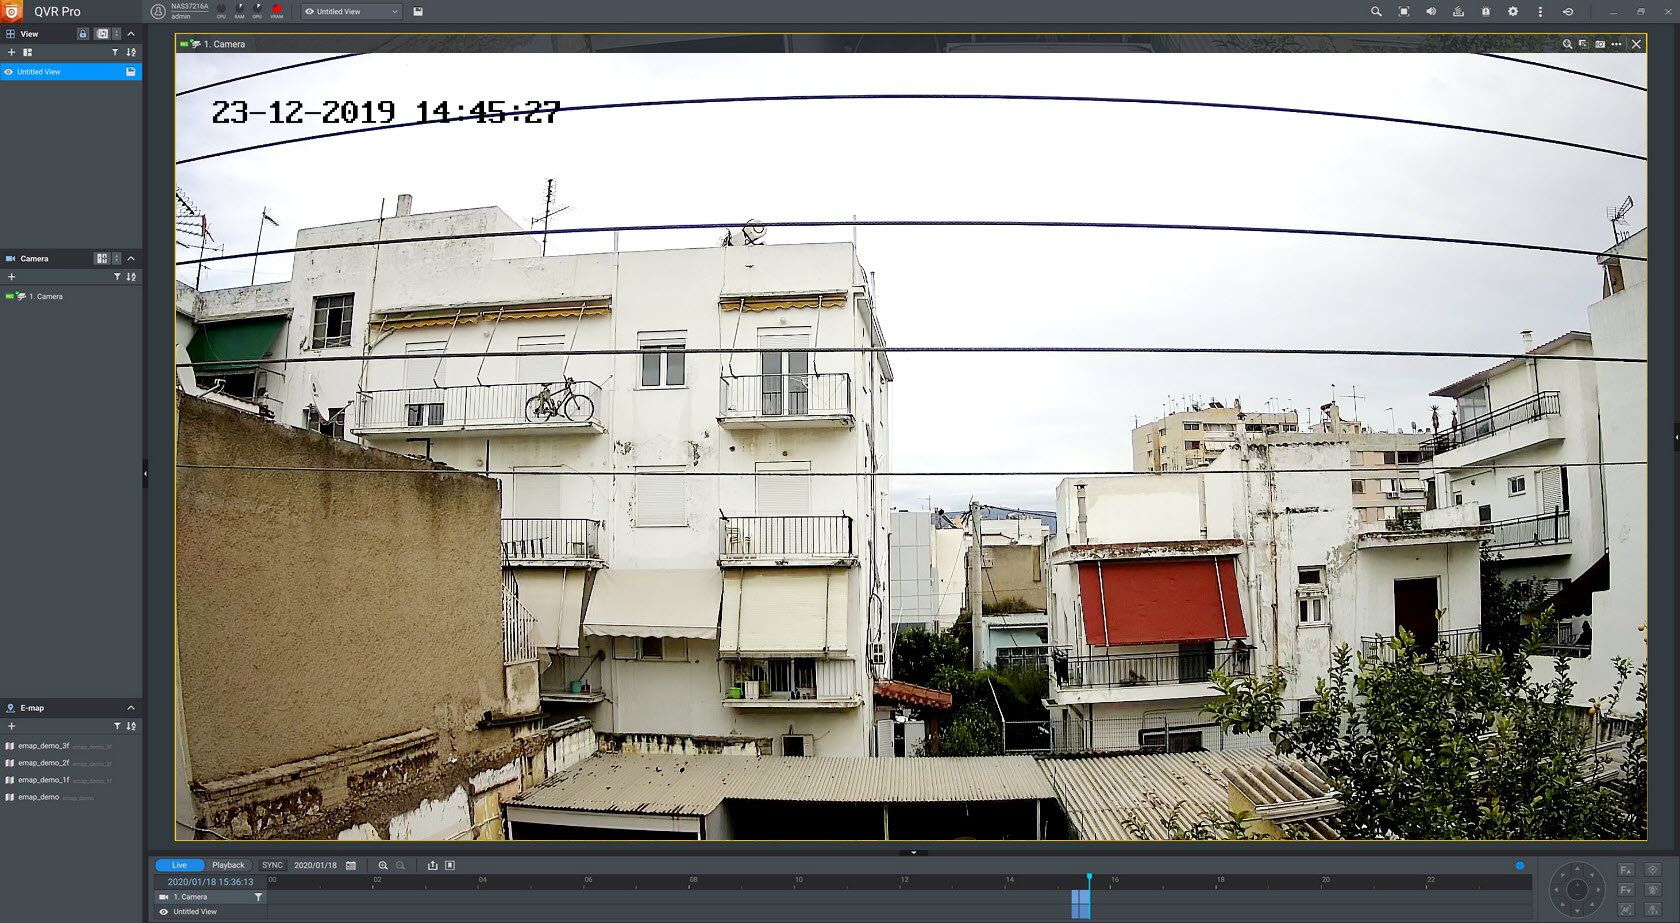
You can check both live and recorded feeds from the QVR Pro client and of course split the screen to include all your cameras (if you have more than one that is).