


ASSEMBLY - FINAL LOOKS
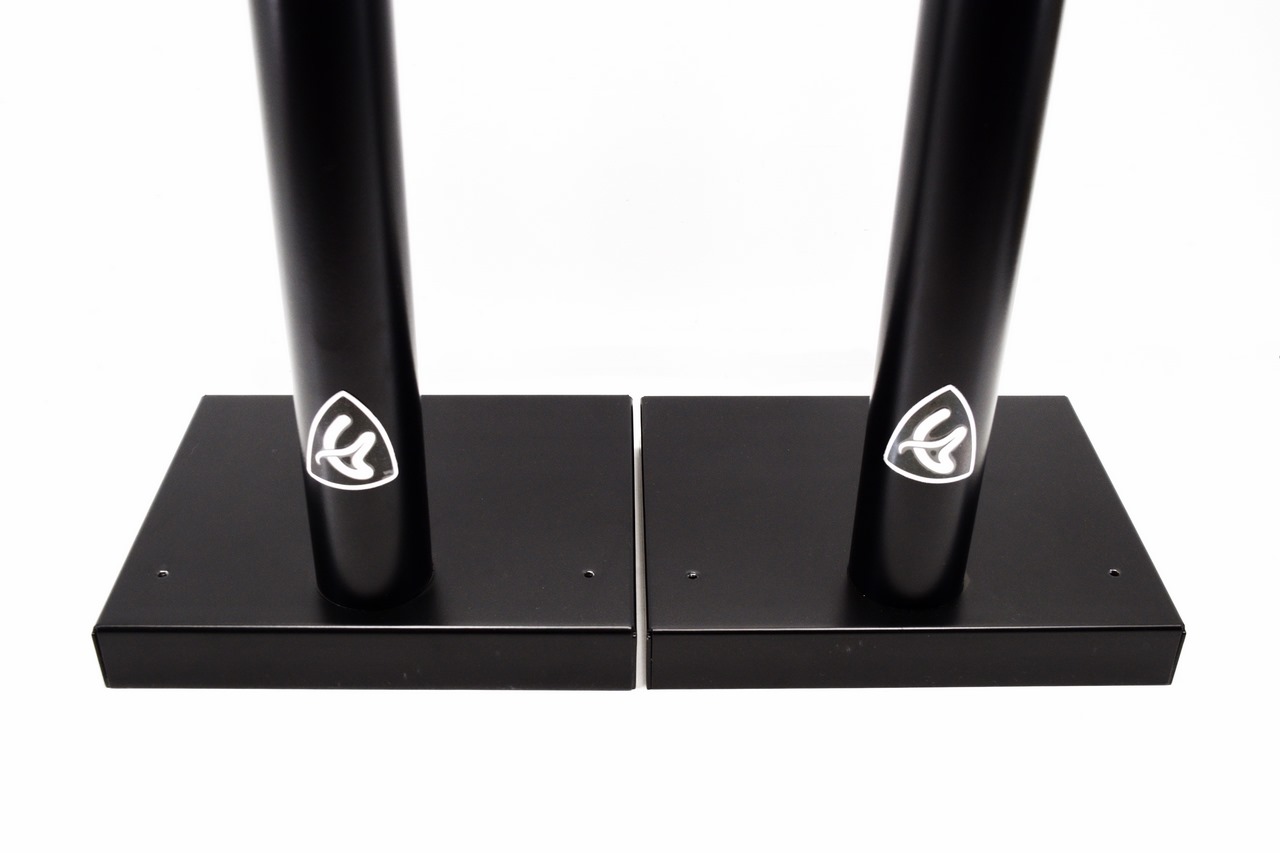
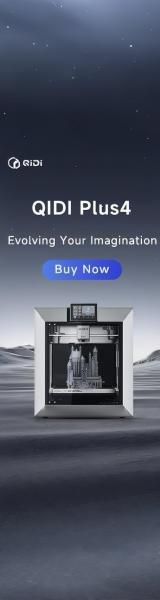
We recommend starting the assembly from the two steel legs which as you can see have the Arozzi logo on them (the coms badge however would be more suitable for this version of the Leggero).
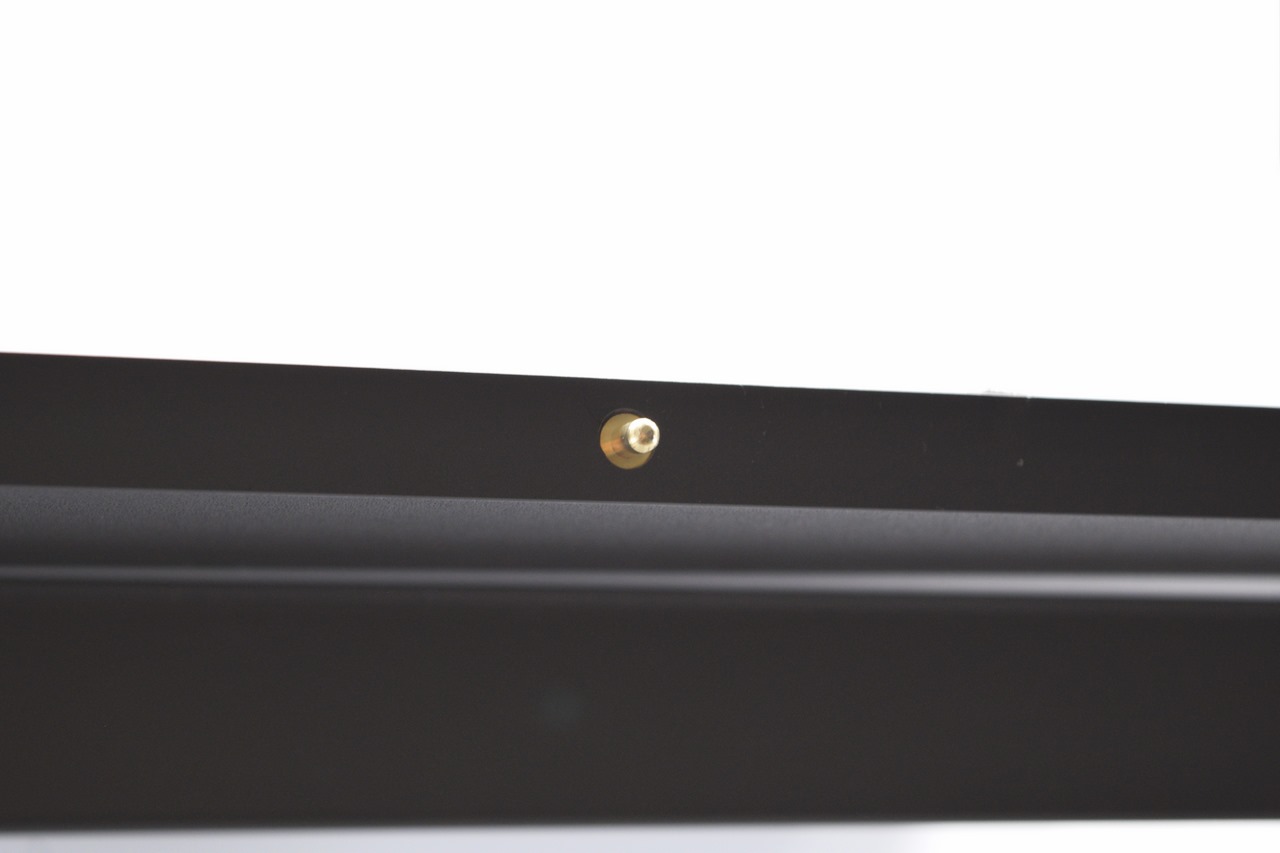
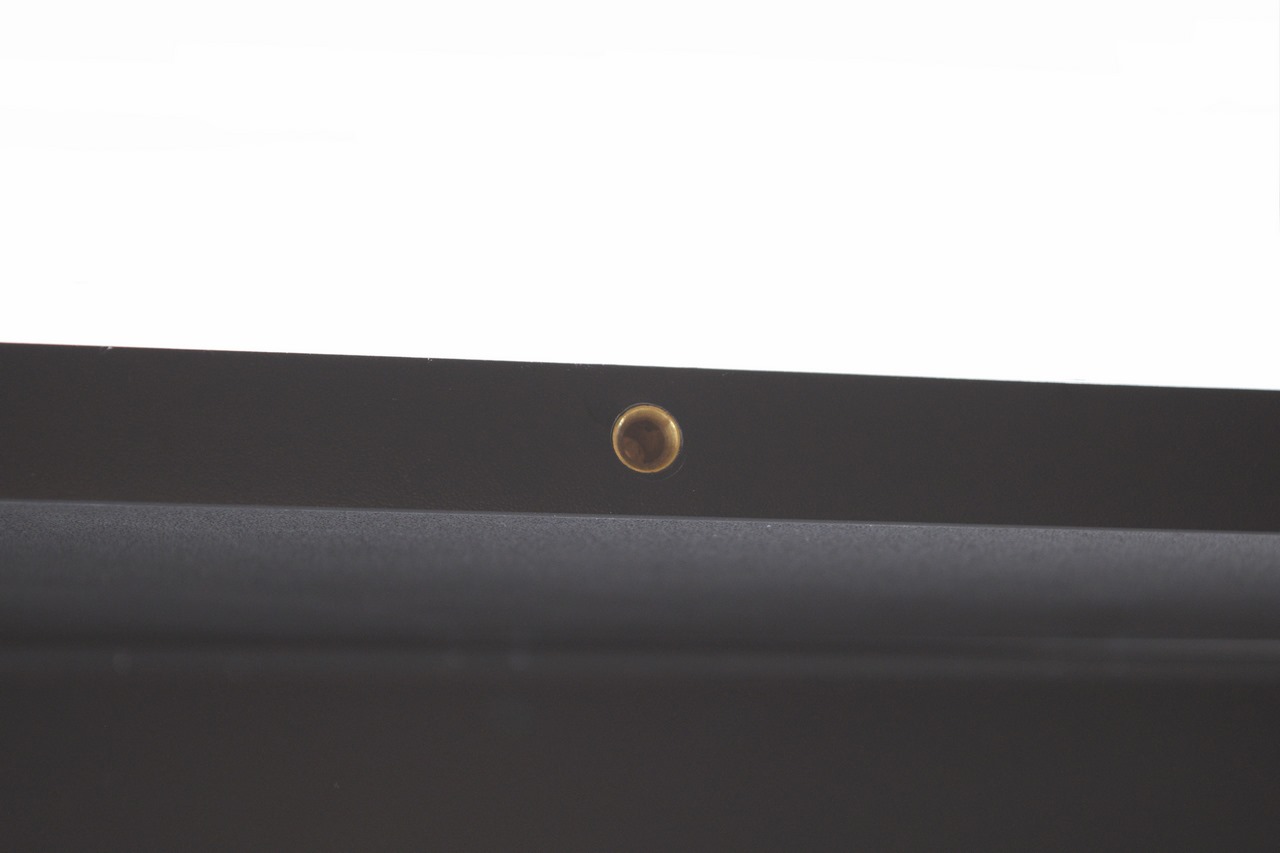
The steel feet attach to the legs via 4 Allen screws each and as you can see on their ends they have balance adjustment knobs (rubberized).
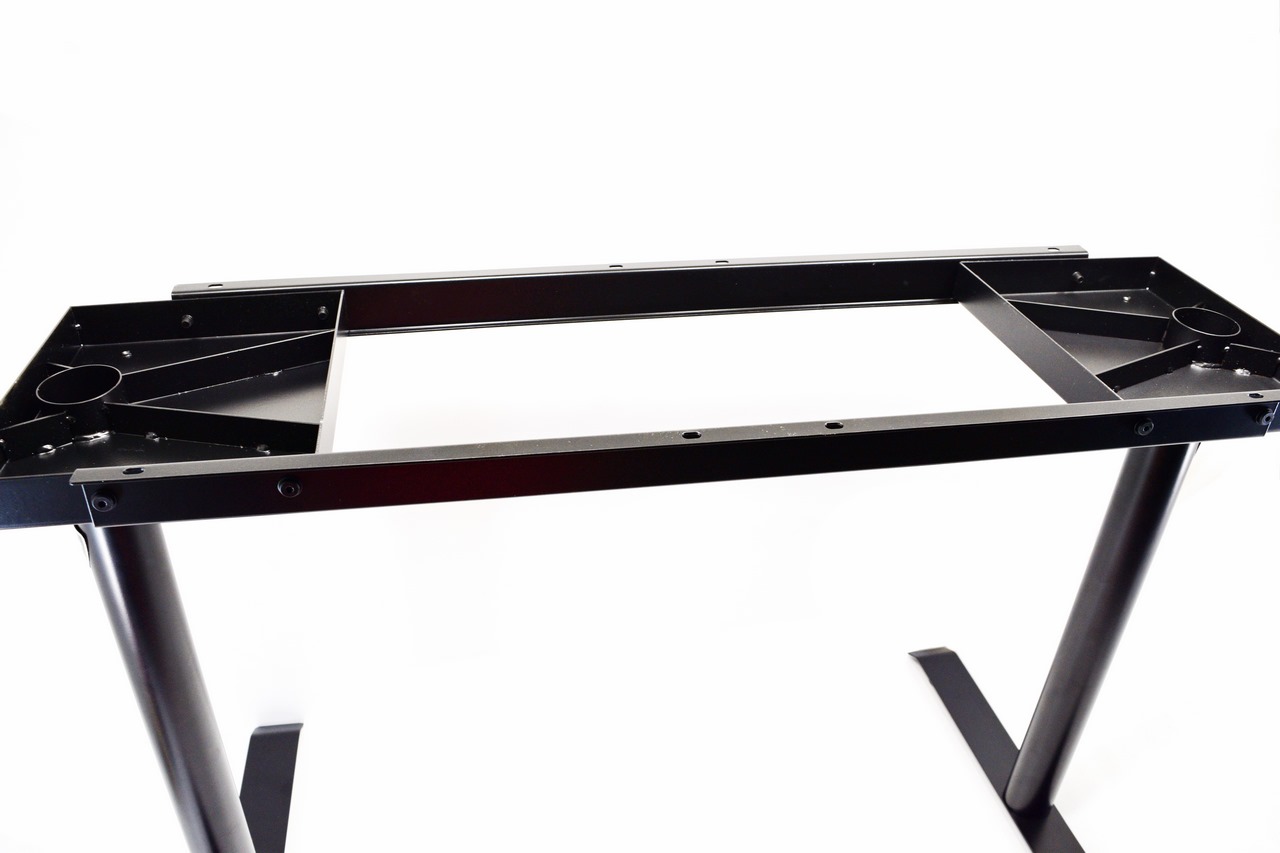
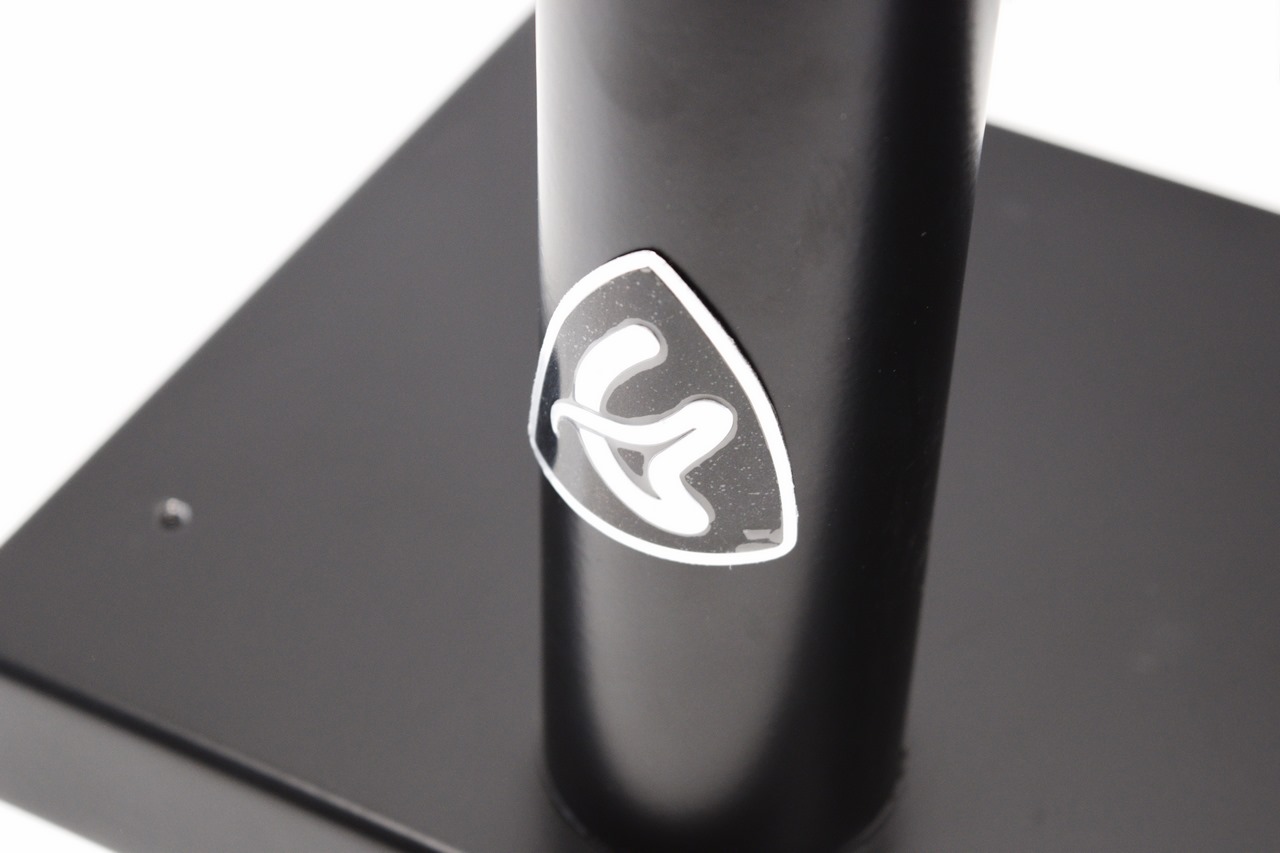
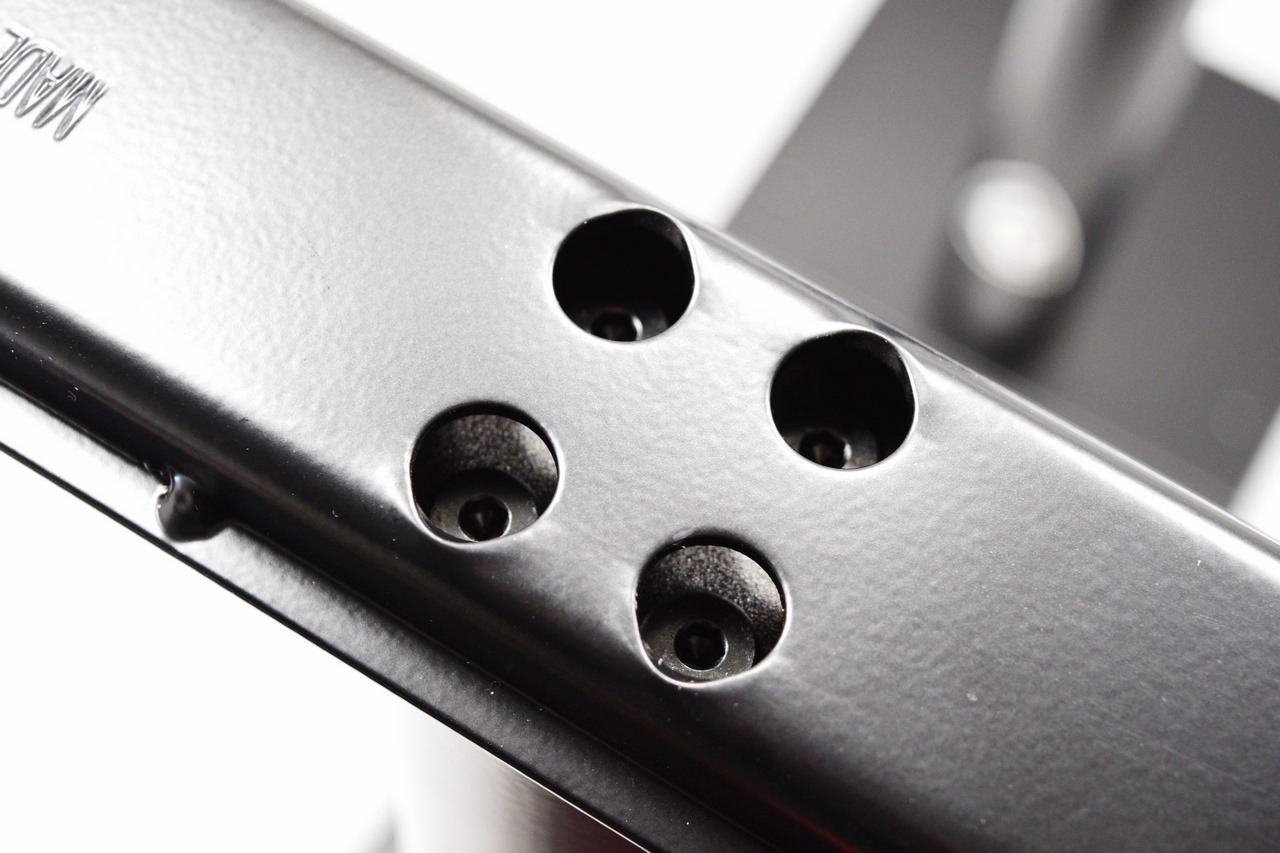
After that you will need to attach the two steel bars onto the top end of the legs (4 Allen screws each).
The two MDF boards come next and as you can see, they attach to each other.
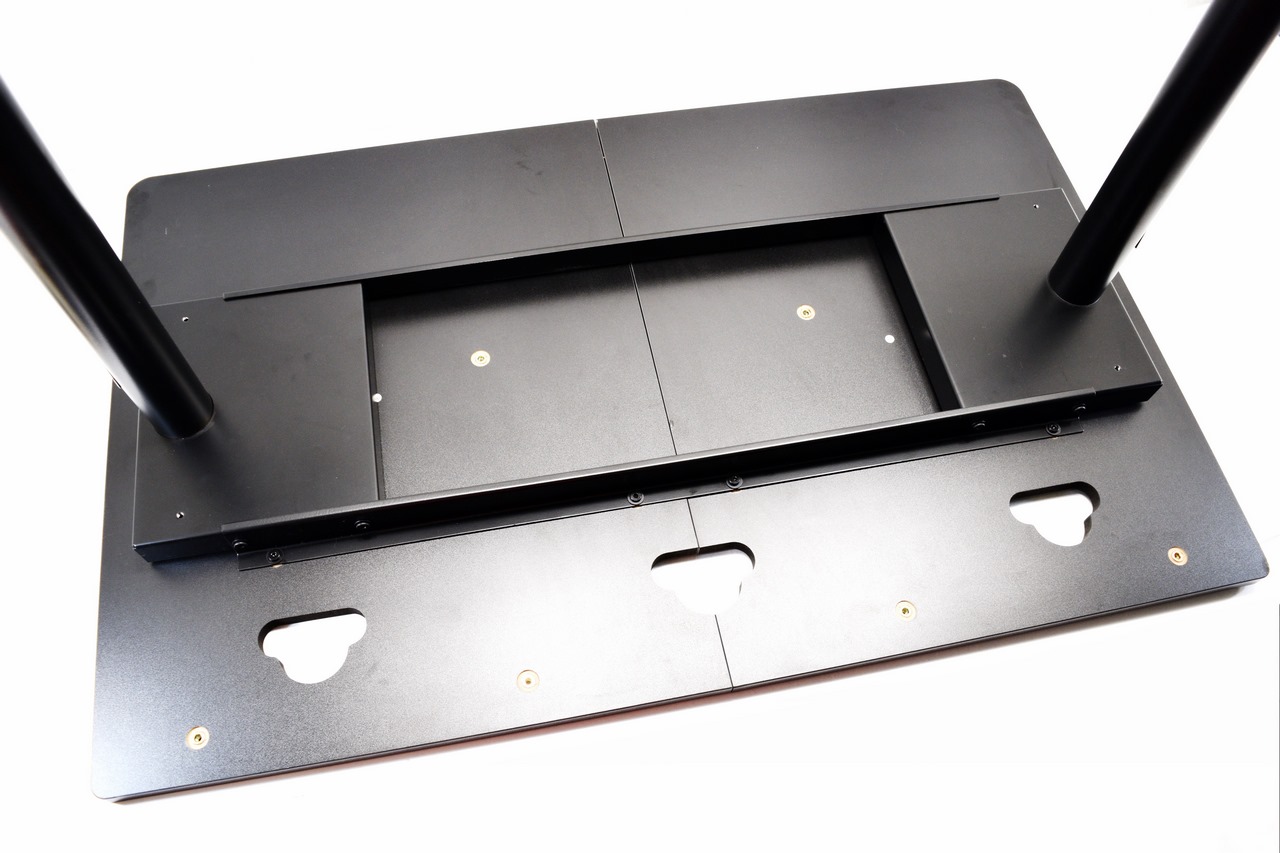
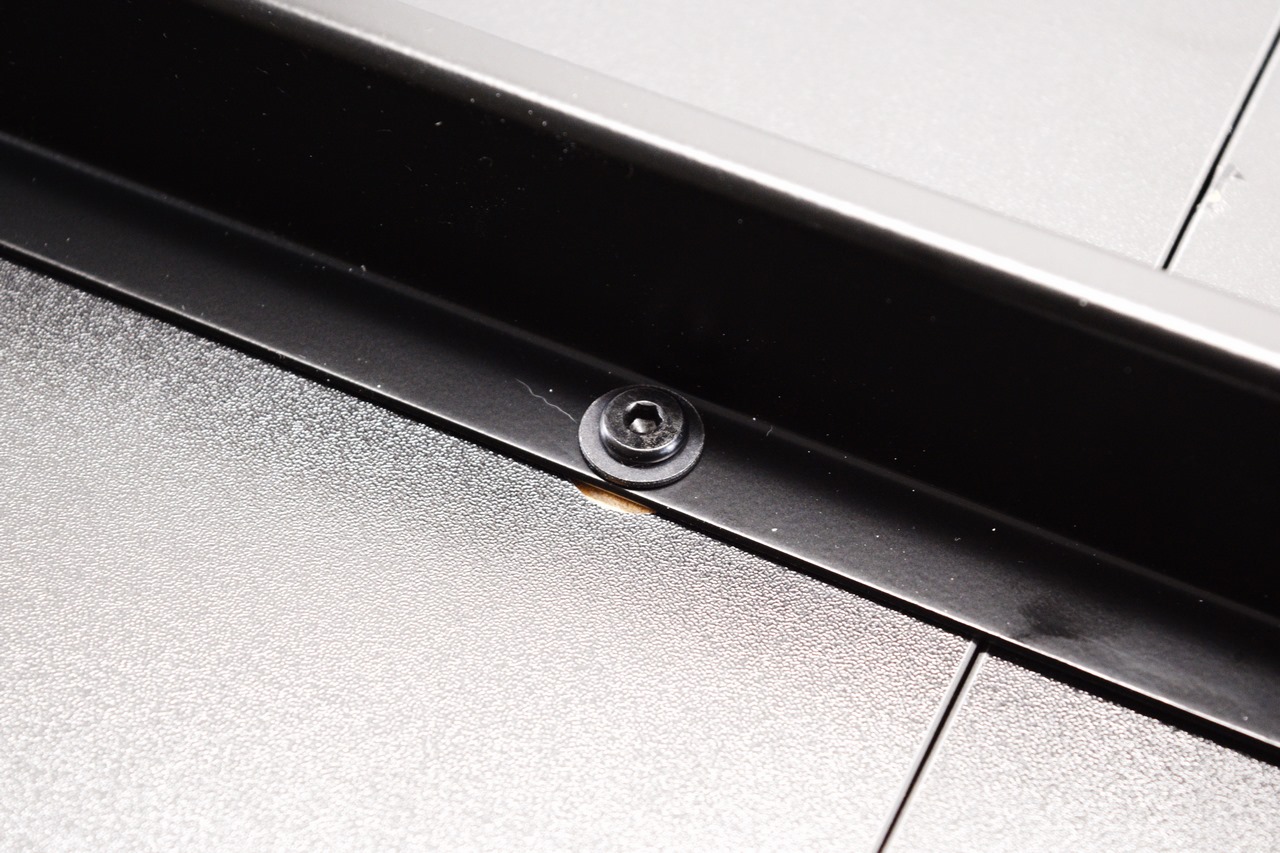
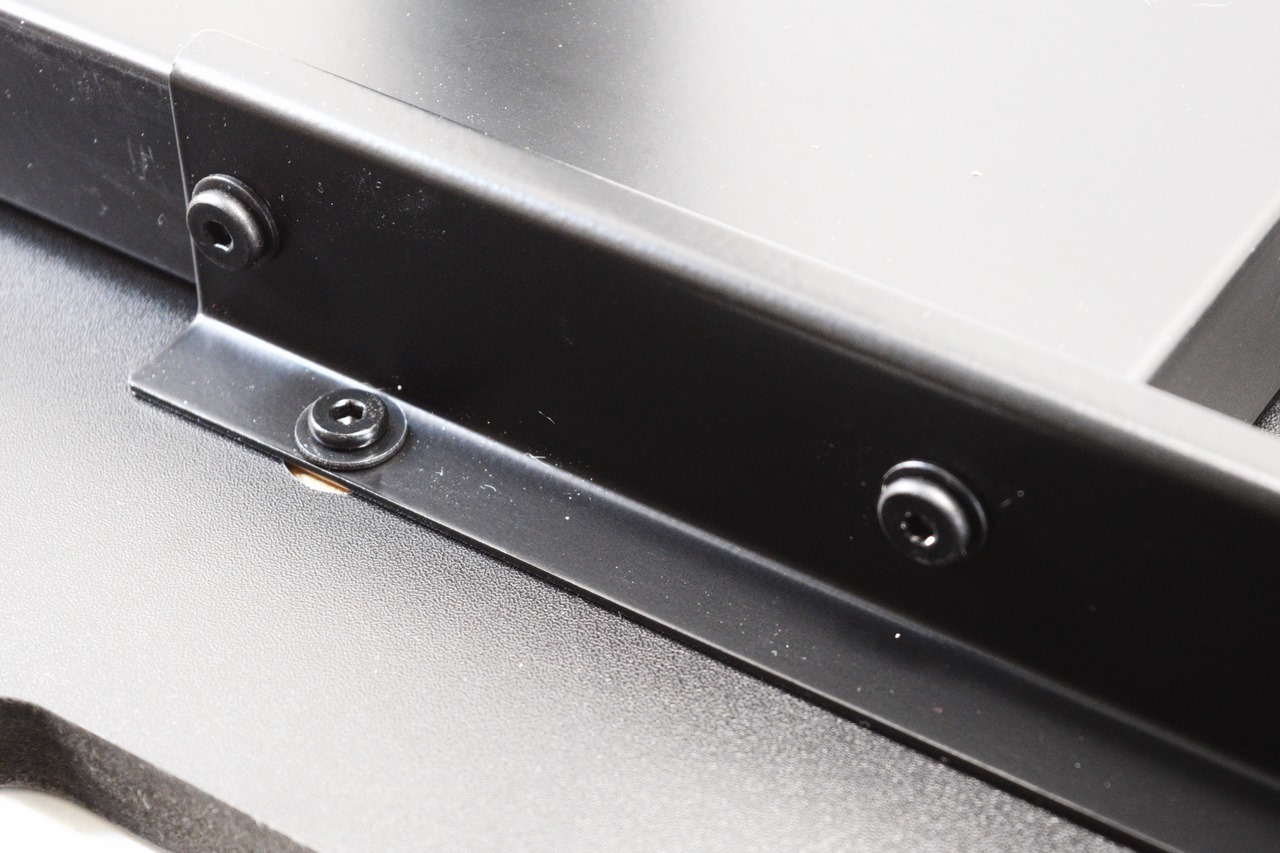
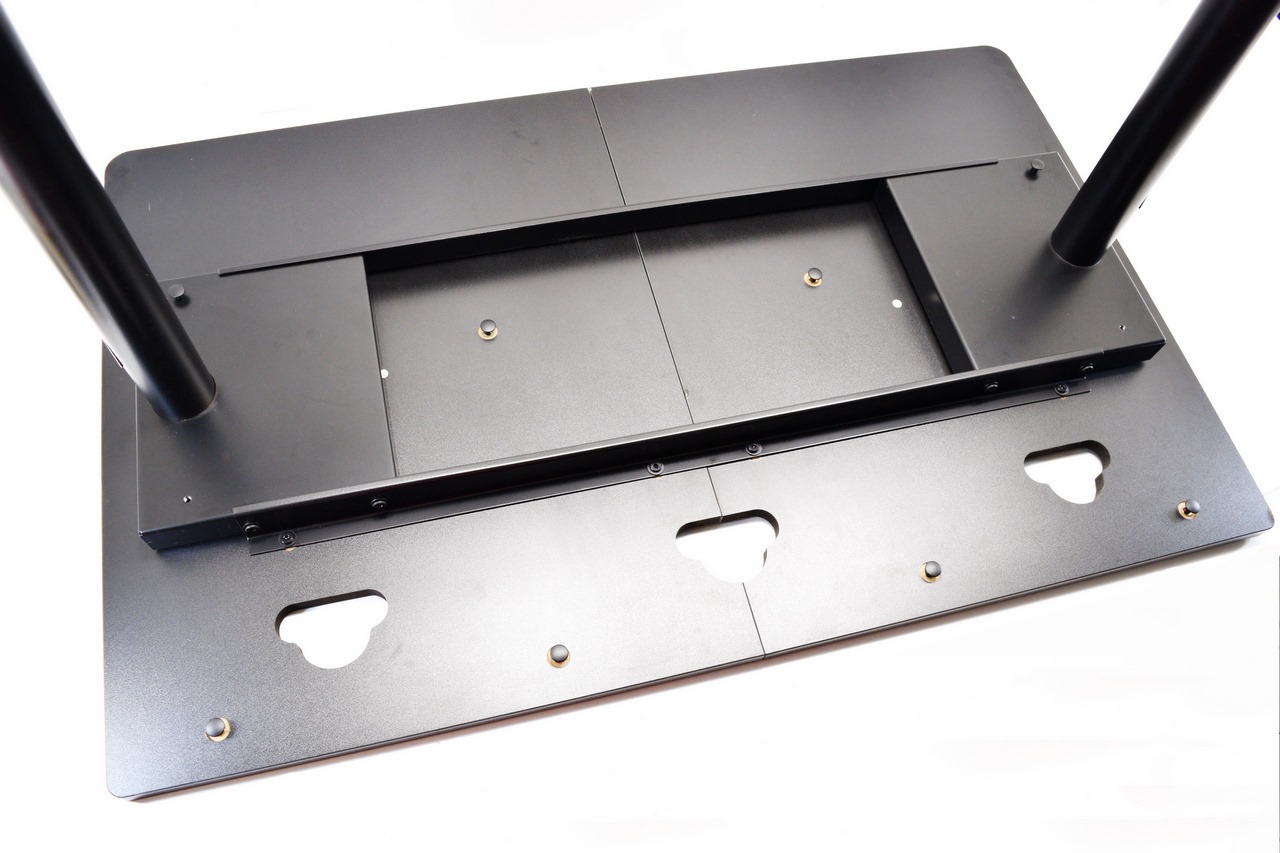
Of course, for this step we recommend placing the top on the ground so you can attach the steel frame to the MDF boards easier (8 Allen screws in total).
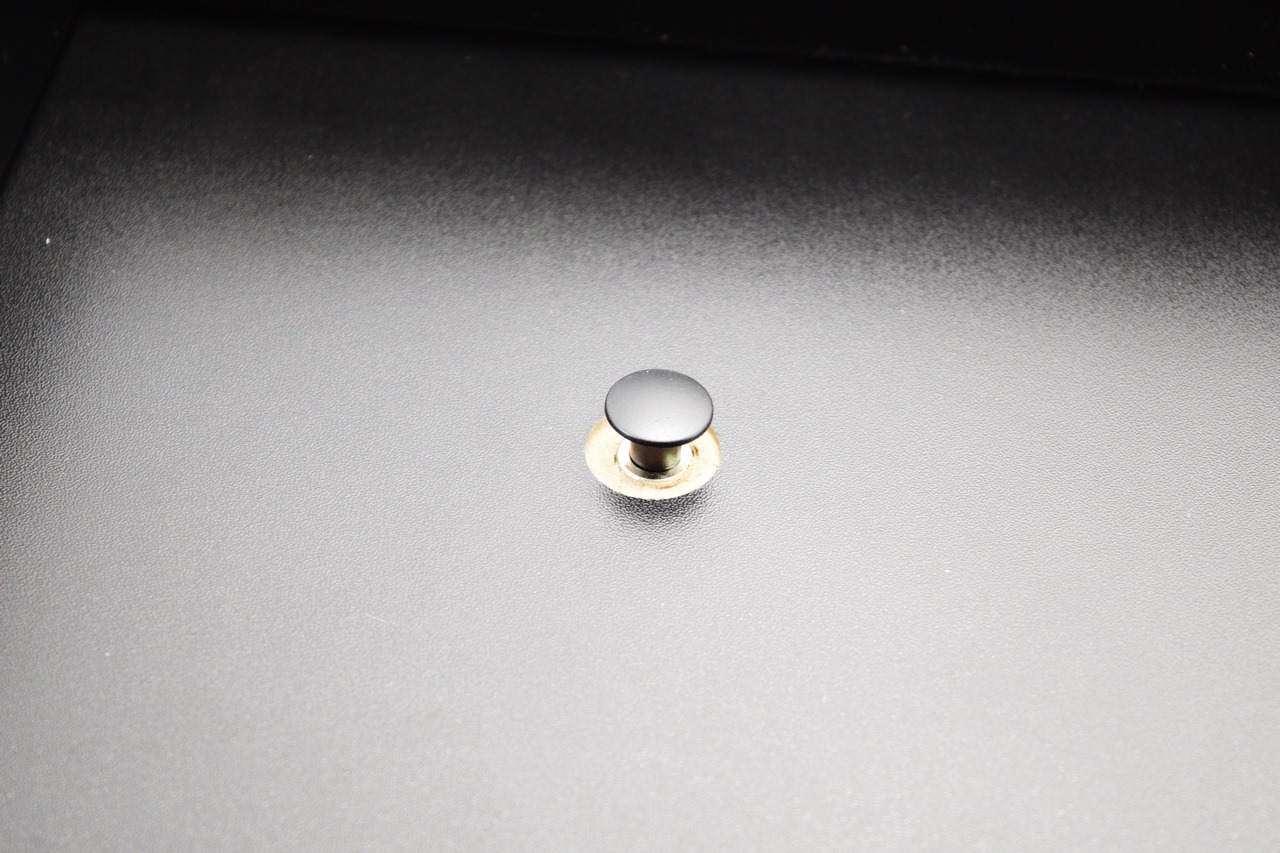
Next on the list is the mesh net which requires attaching 8 plastic screws/holders.
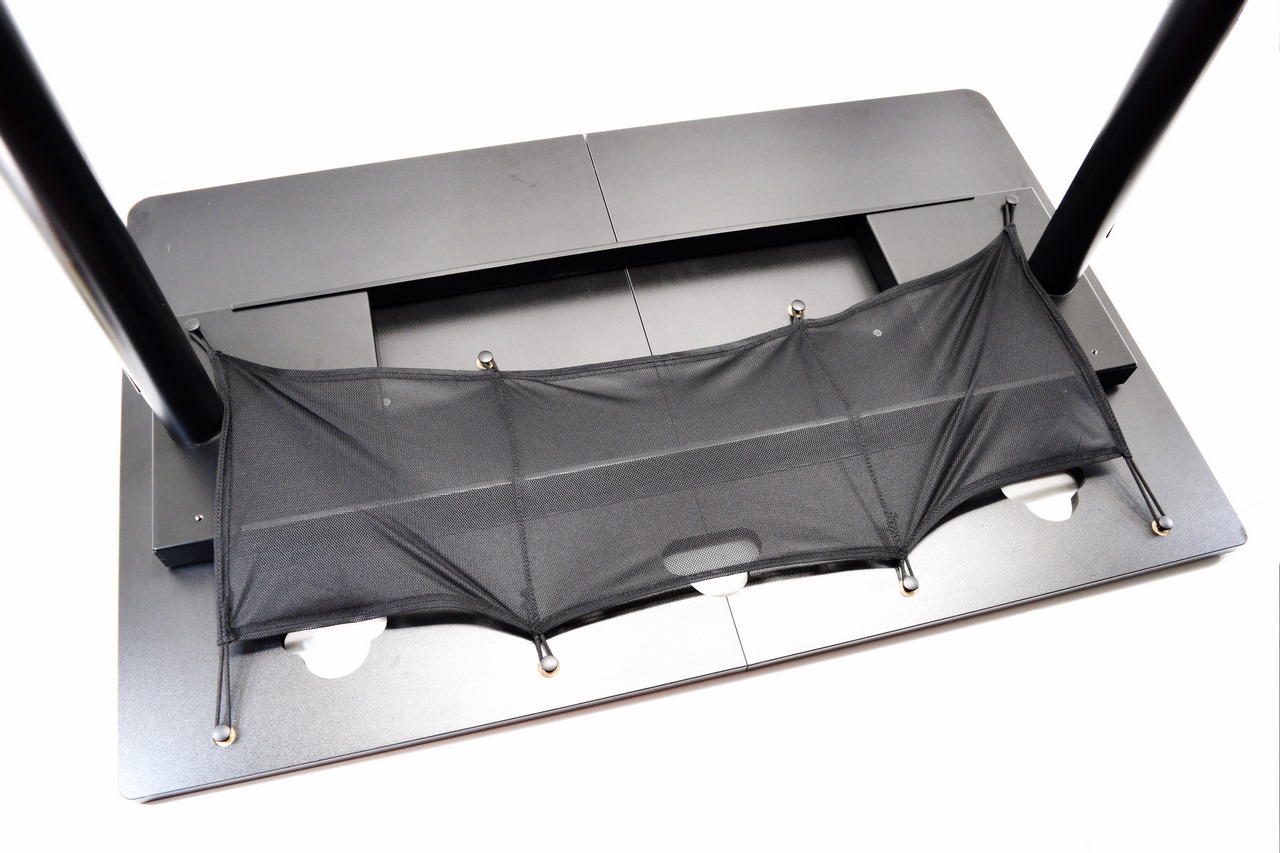

As you can see from the above picture attaching the mesh net is very easy.
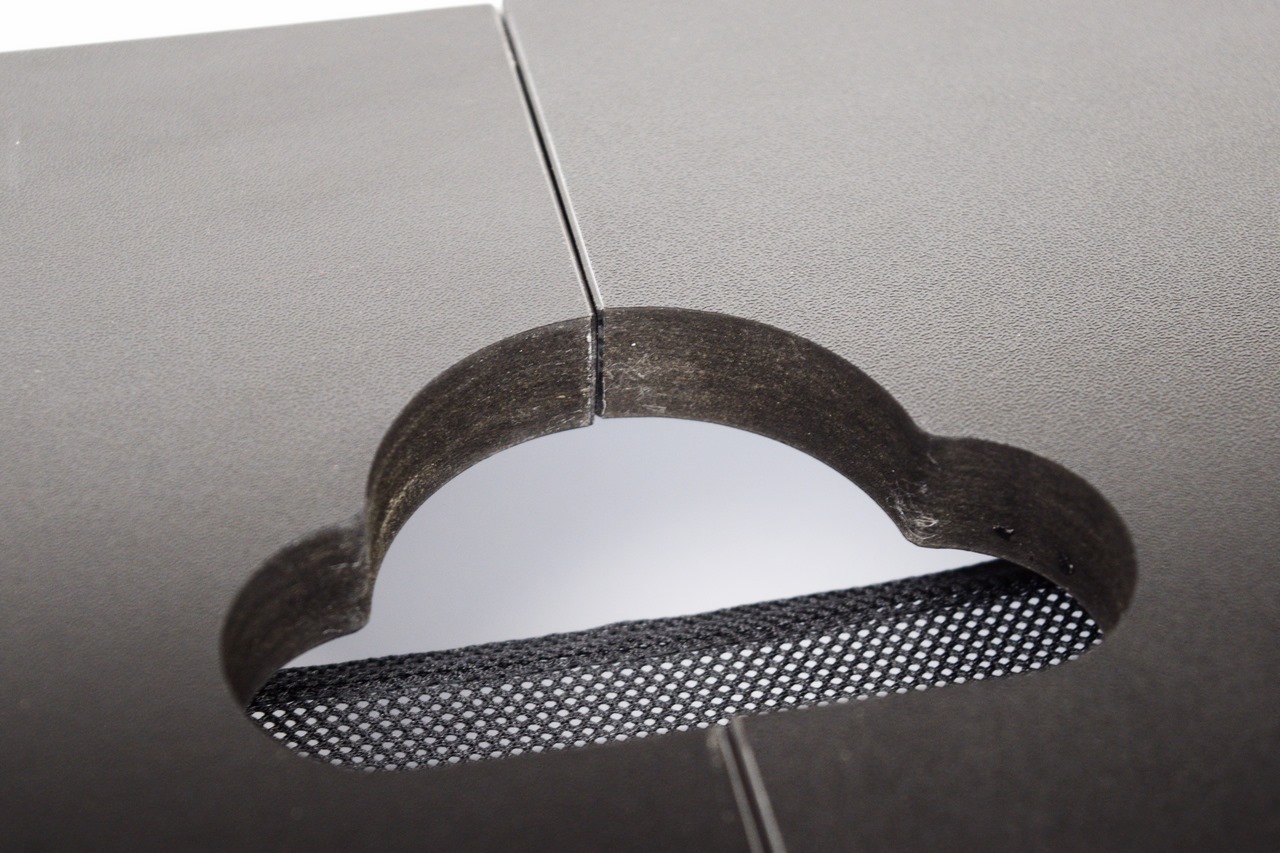
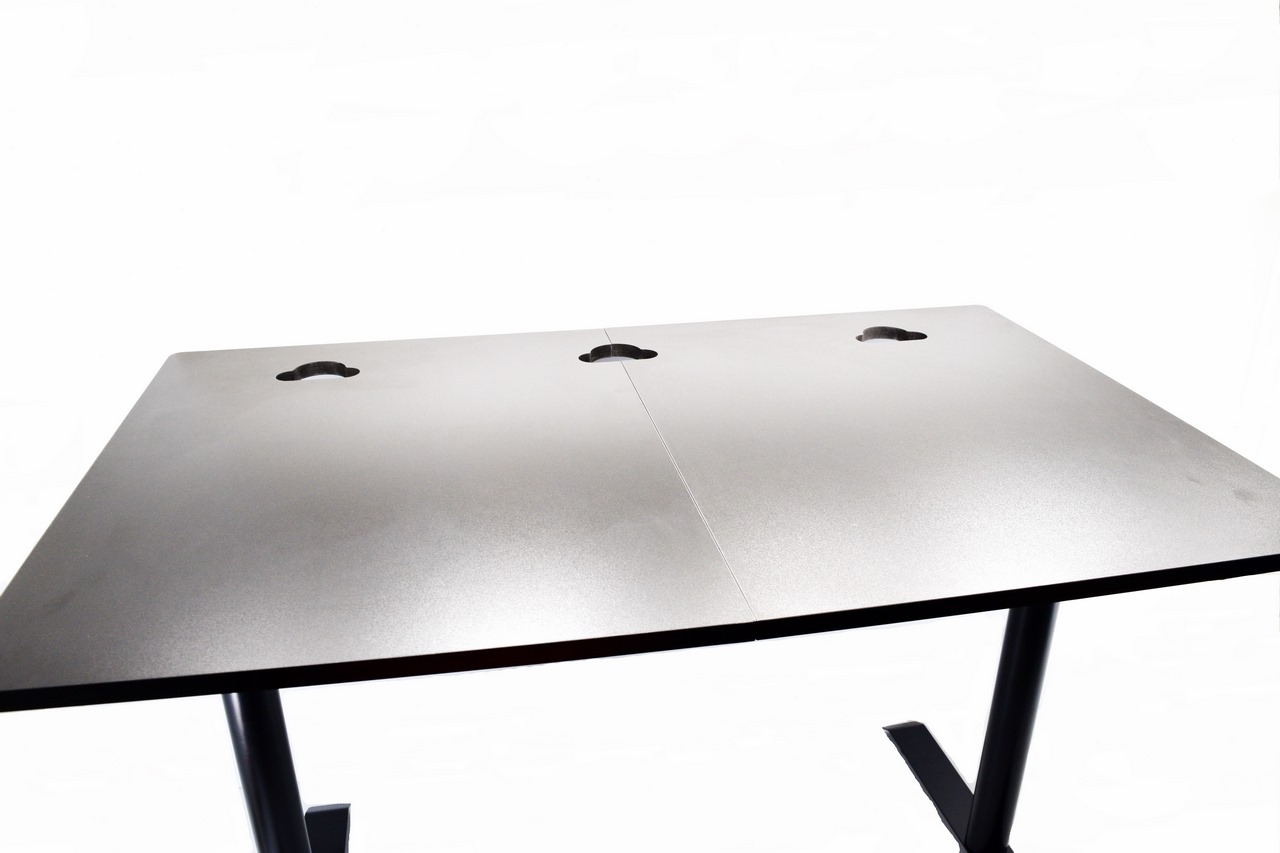
Attaching the two MDF boards results in a total of 3 cut-outs which can be used both for cable routing and attaching monitor arms.
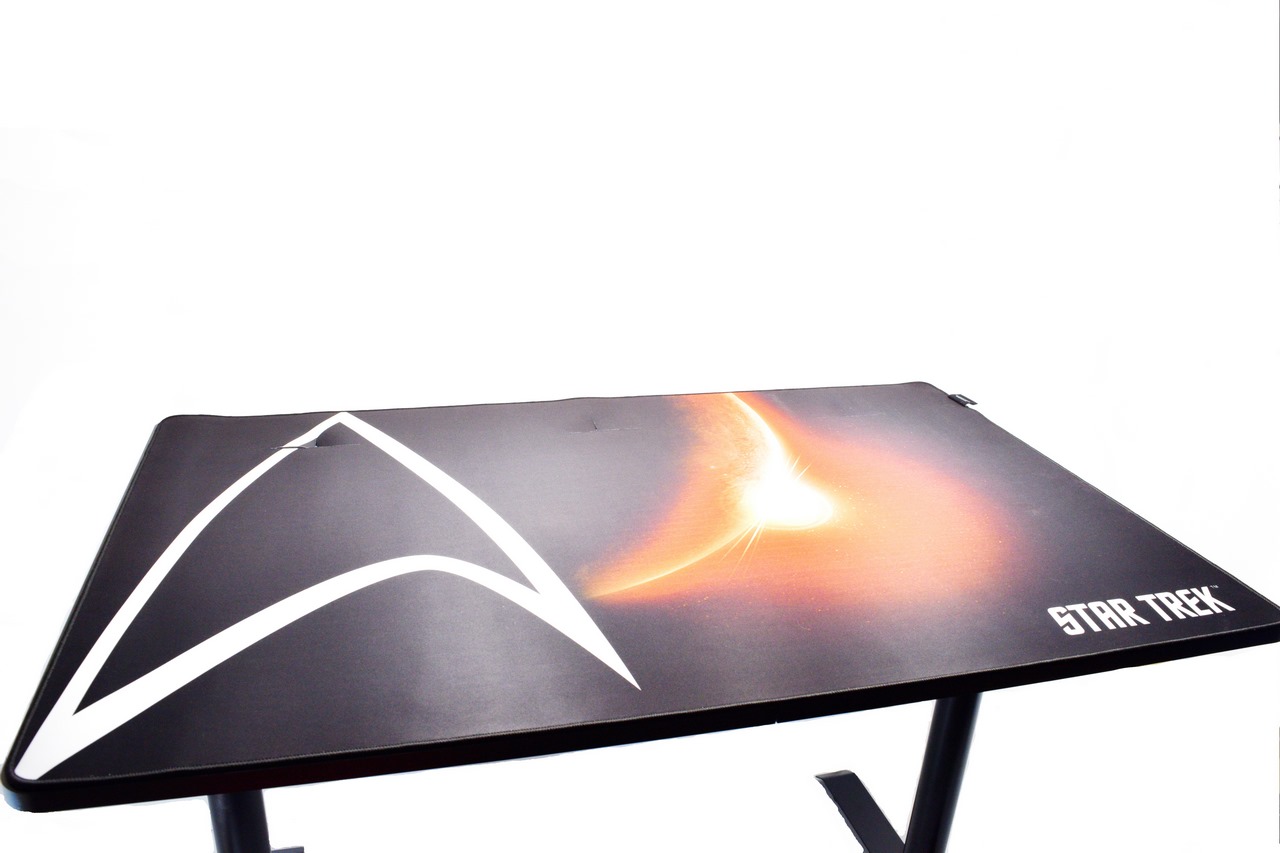
The full-surface mouse pad is naturally last on the list and although not what we were expecting to see it looks a lot better compared to that of the "regular" Arena Leggero version.
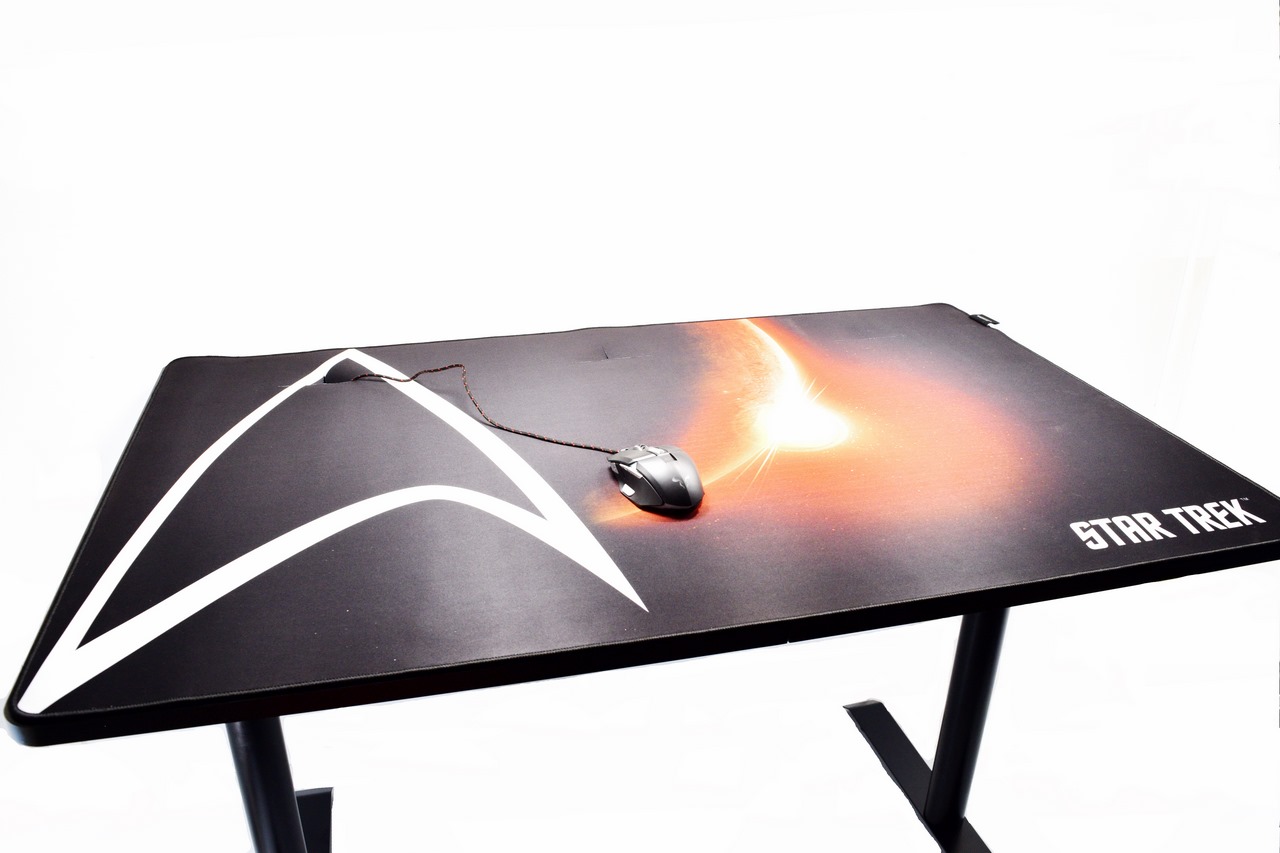
The Arena Leggero may not be nearly as large as the Arena model but you can still place two screens on it (up to two 27-inch ones slightly diagonally), two keyboards and two mice.