
 O-Sense

.jpg)


ASSEMBLY
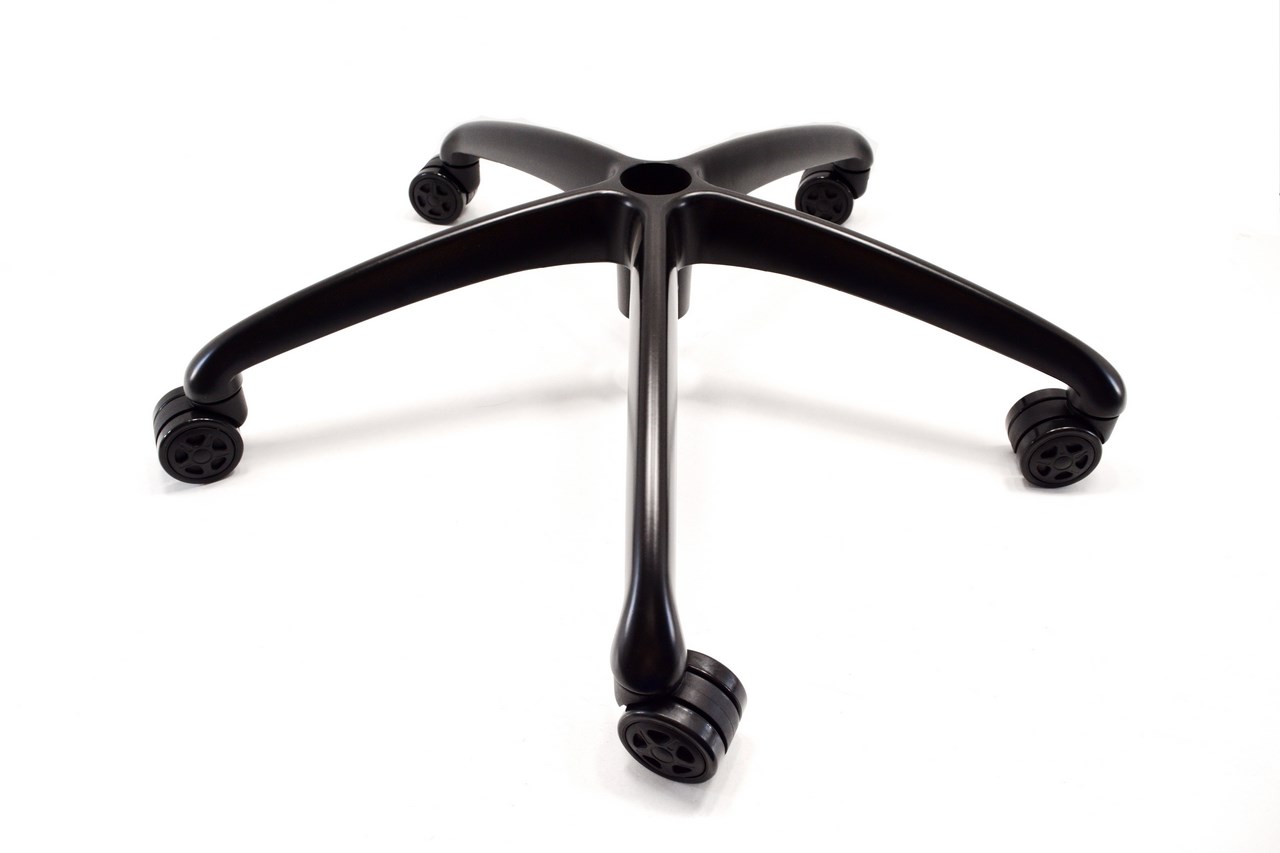 We always start assembling our chairs by mounting the wheels onto the base and this was no exception.
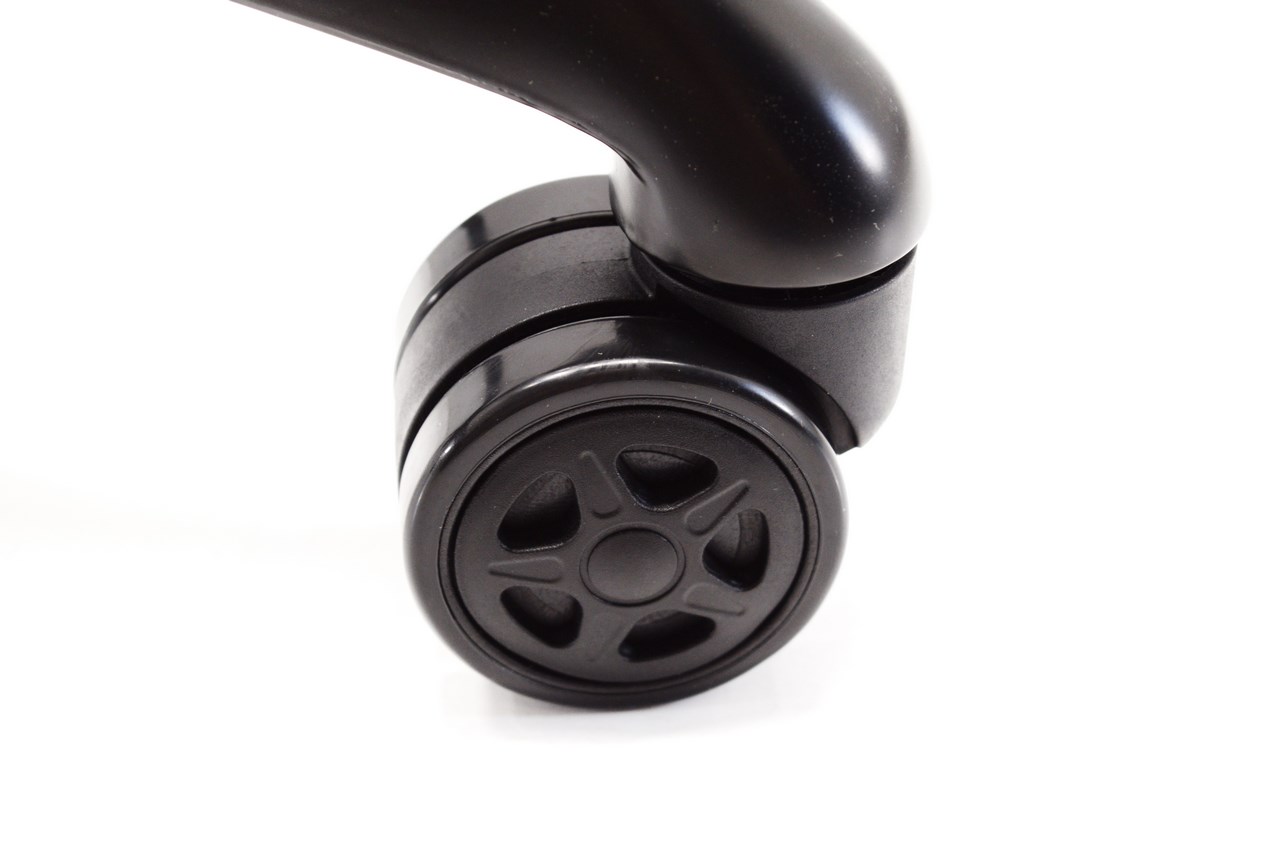
60mm large wheels are usually not as good looking as 75mm ones but these look ok with this particular base.
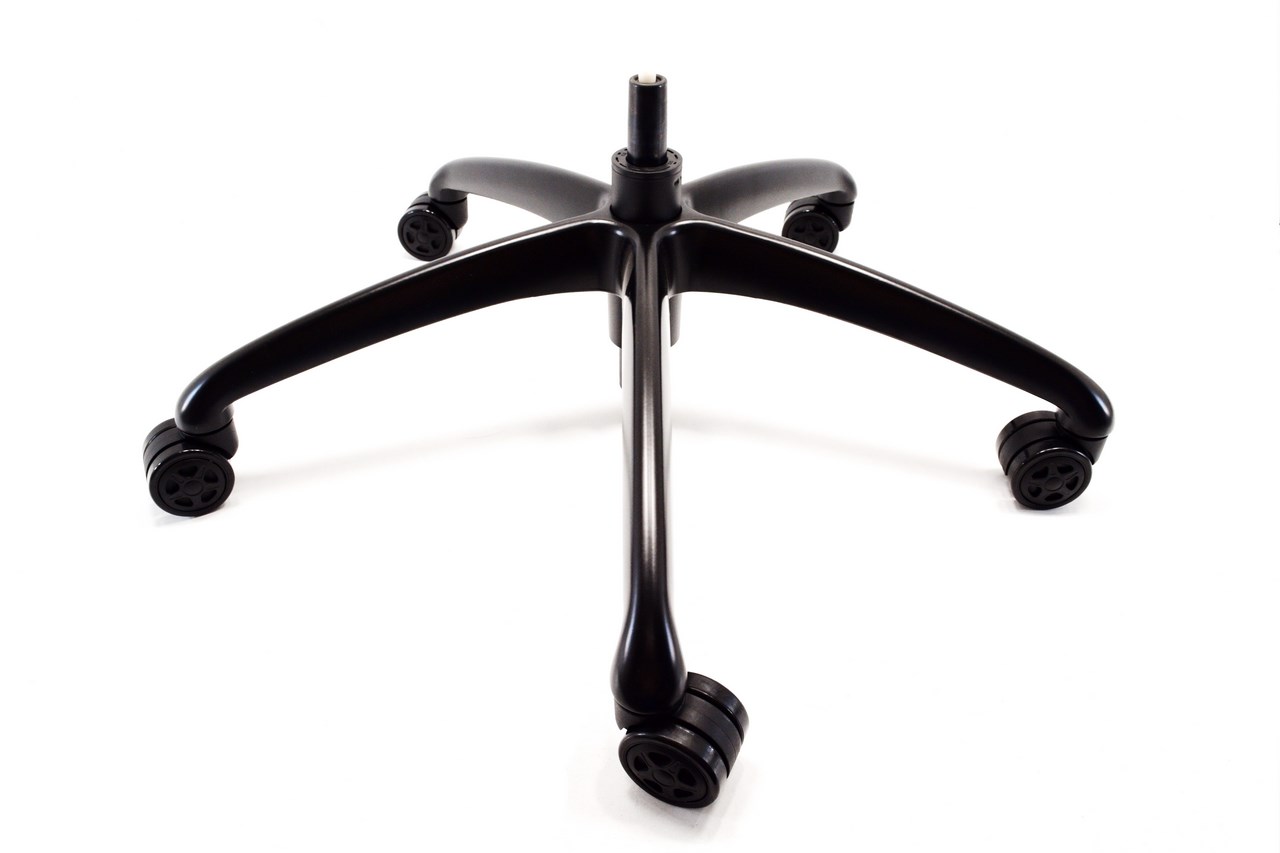
Next we placed the class-4 gaslift onto the base (since most of the gaslift gets in the base this model doesn't have a plastic cover).

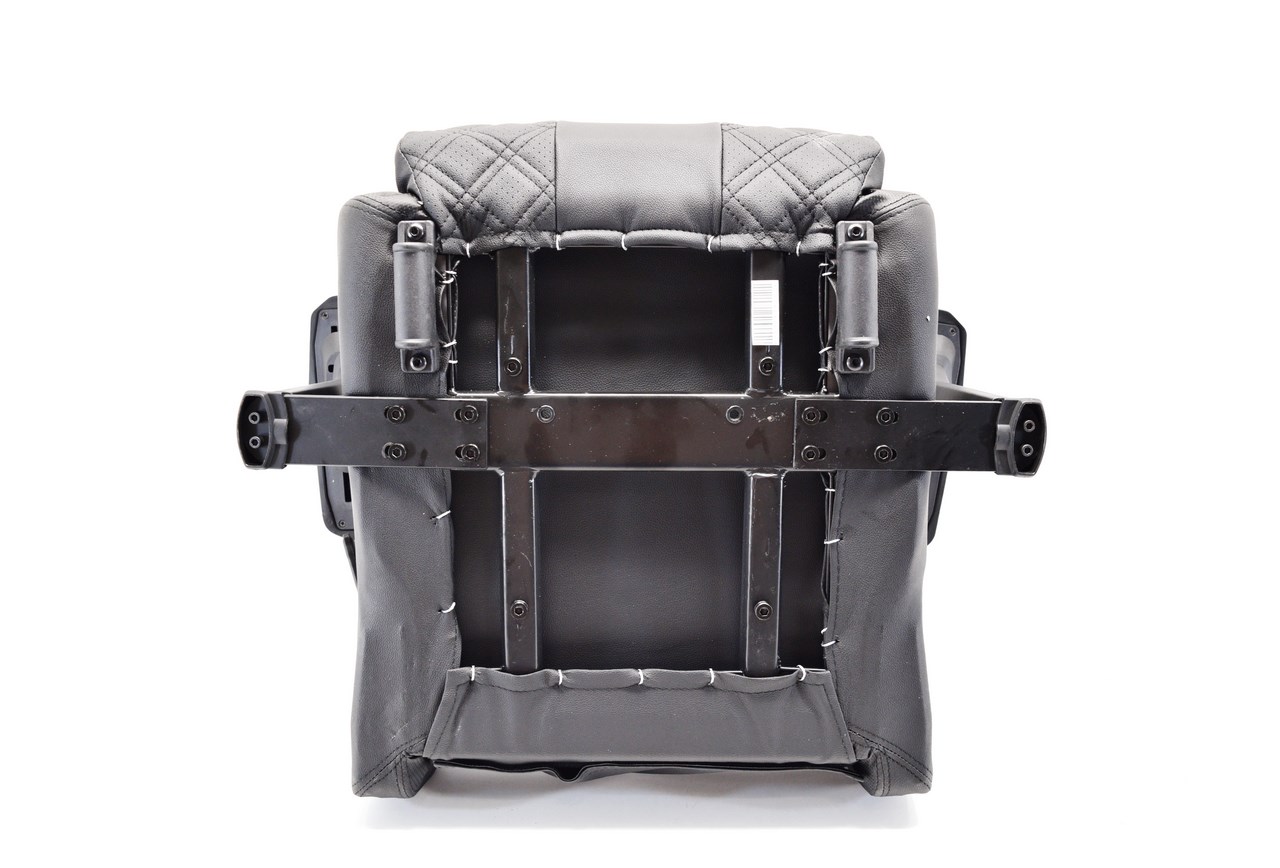
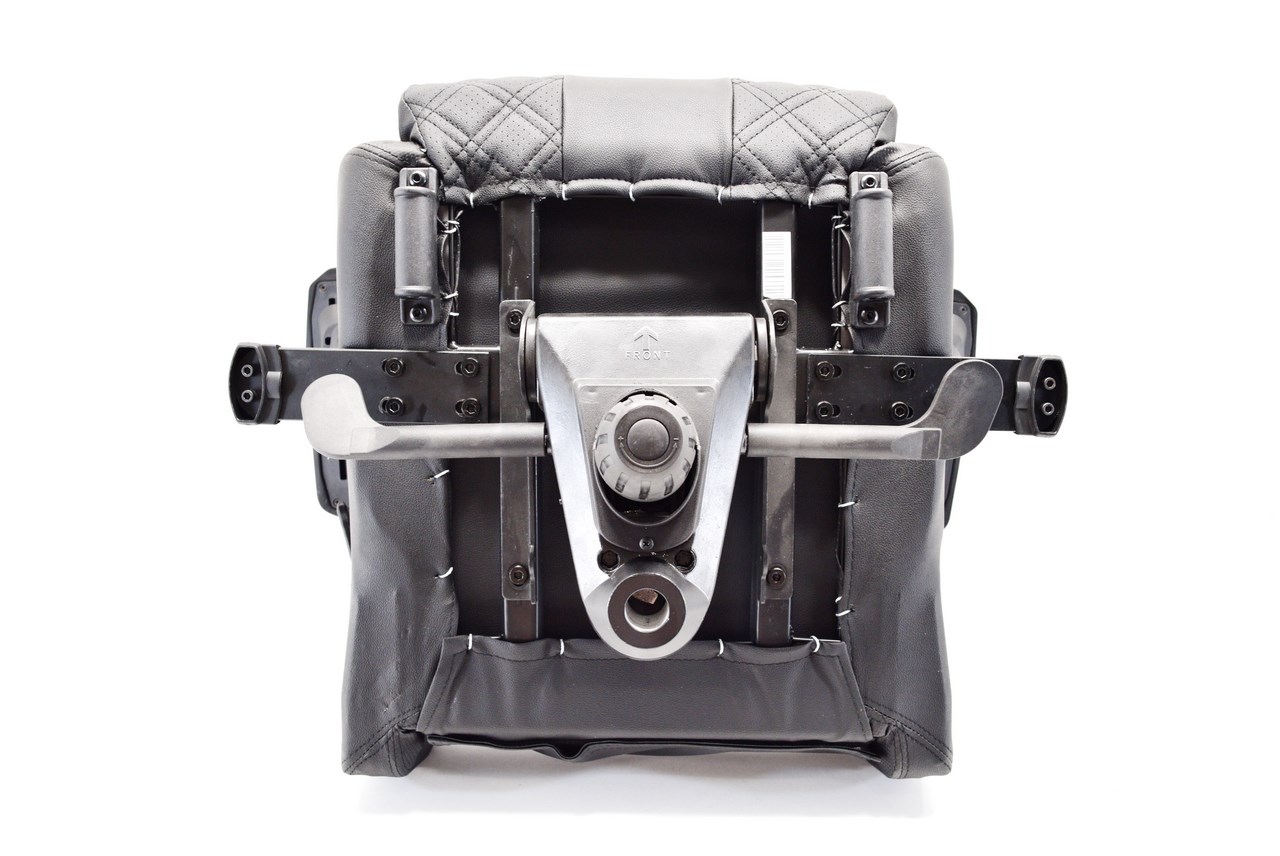
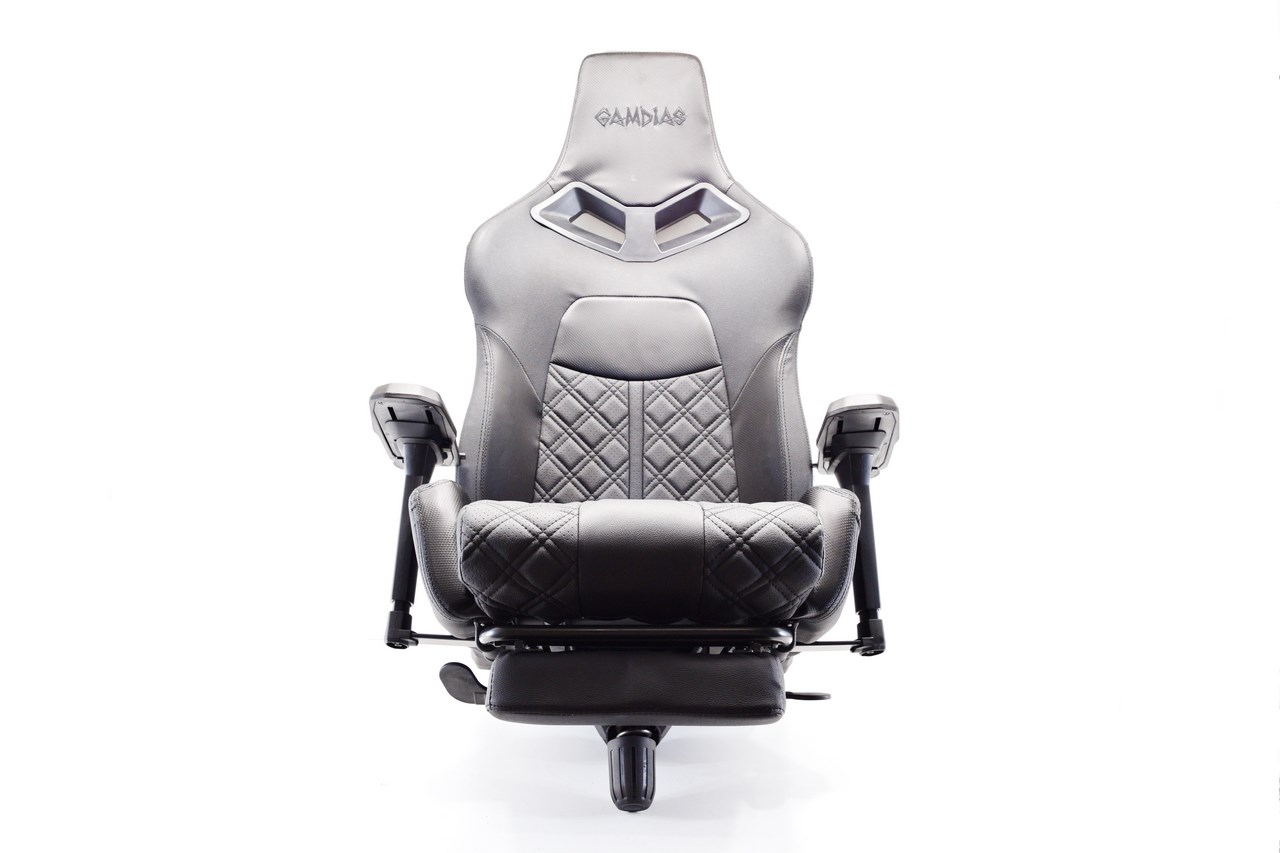
The seat of the ACHILLES P1 L features a single flat metal bar at the center (2 more on each end and 2 passing through all of them) and two plastic mounts for the adjustable footrest.
You will need to mount both 4D armrests by using the 4 Allen screws already mounted on each end of the chair (8 in total).
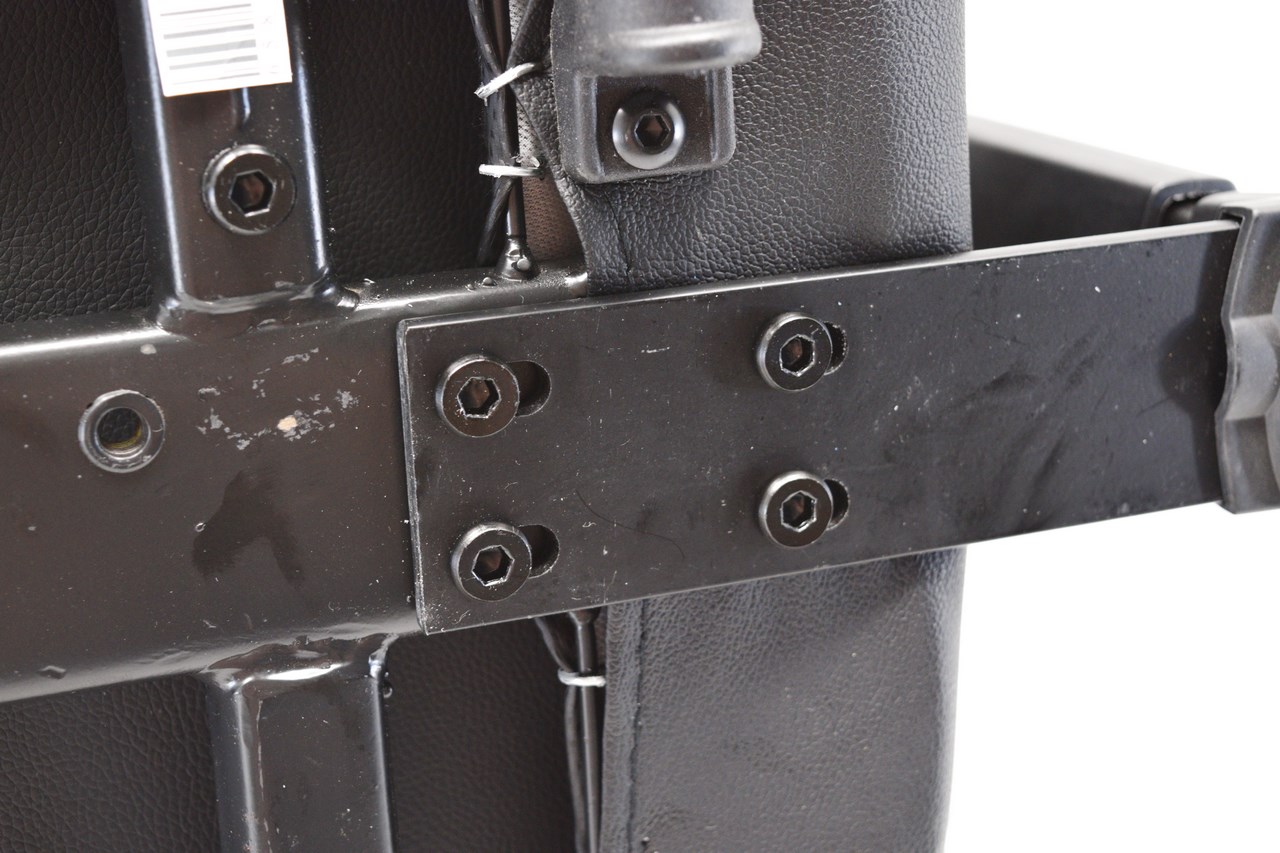
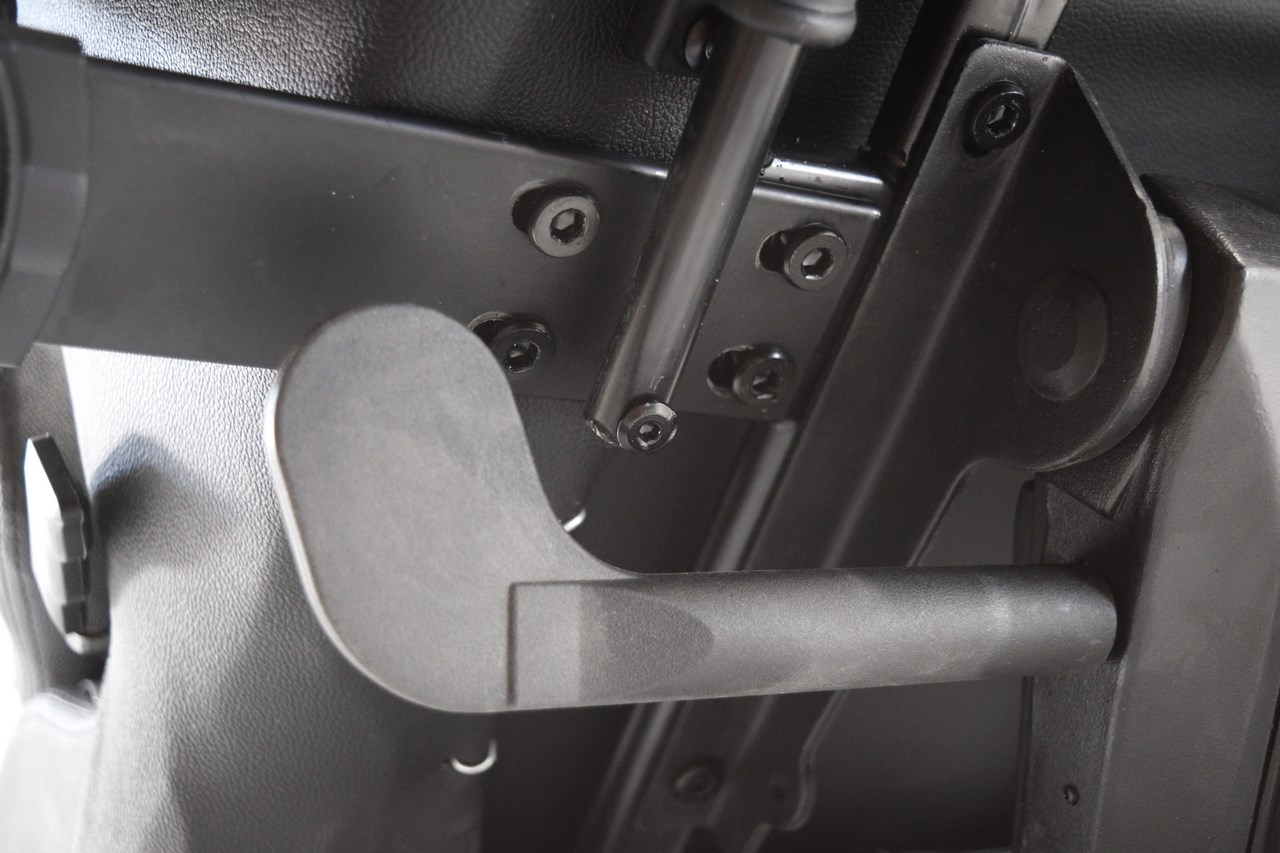
Another 4 Allen screws are required to secure the Z-support mechanism onto the seat (the plastic levers are already mounted so you don't need to worry about them coming off).
The backrest has two openings on each side but unlike every other we've seen to date this backrest also has two cuts on its base as seen above.
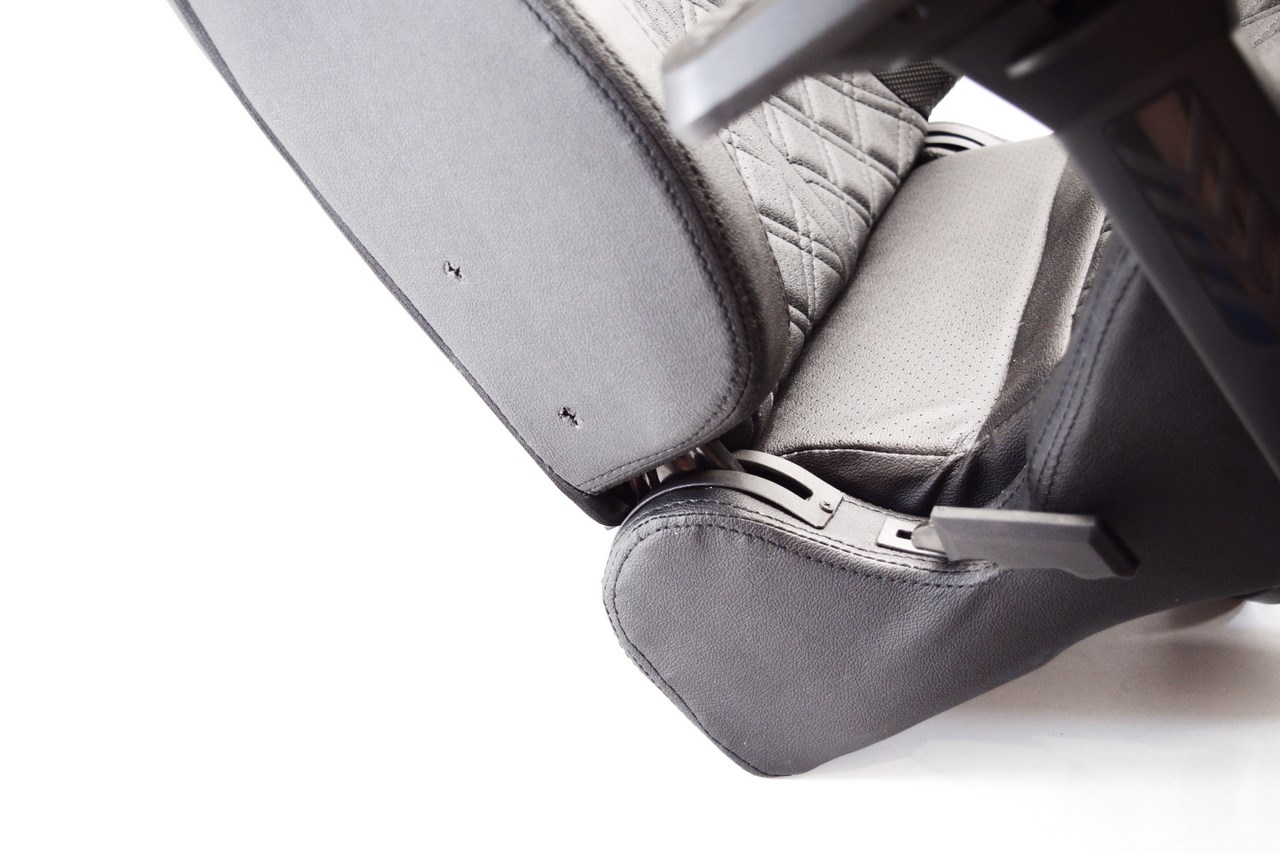
Unlike every other gaming chair to reach our lab to date the seat of the ACHILLES P1 L attaches to the backrest from the inside as seen above.
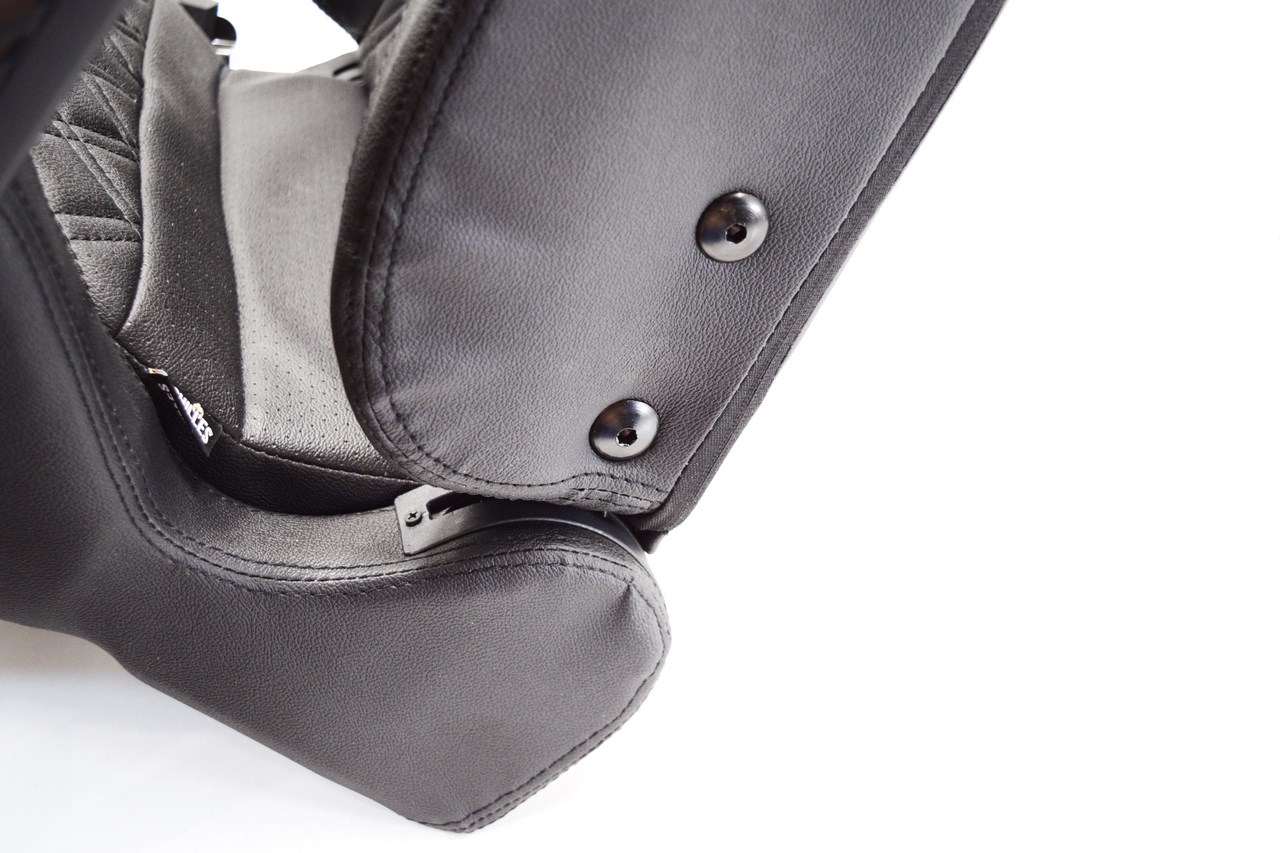
Since the ACHILLES P1 L has no plastic covers you need only use the 4 bundled screws (2 on each side).
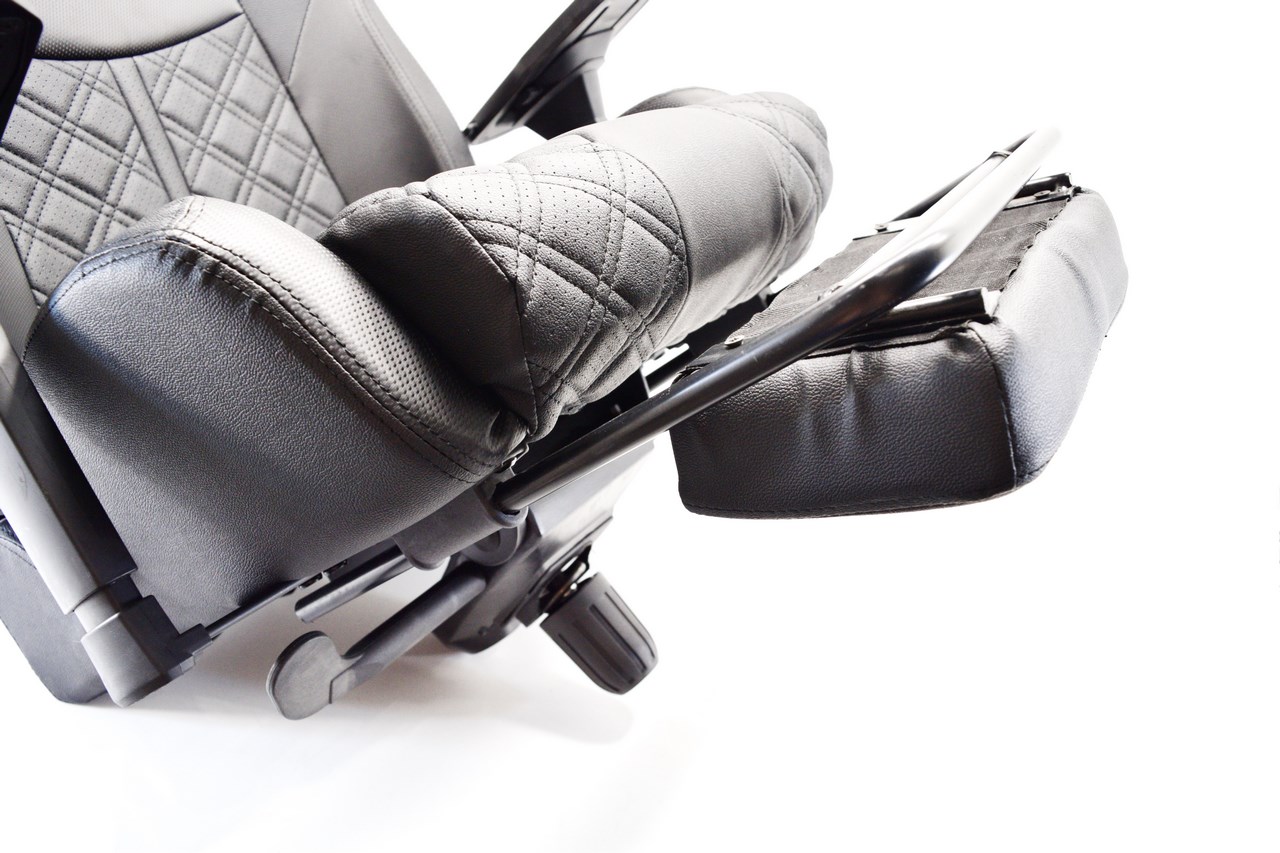
The adjustable/retractable footrest is the last piece of the "puzzle" and to attach it you just need to remove the two small Allen screws found on the two bars, mount it onto the chair and screw them back on as seen above.
The top end of the chair is now assembled so all that’s left is to place it onto the class-4 gaslift.


.png)

