


ASSEMBLY
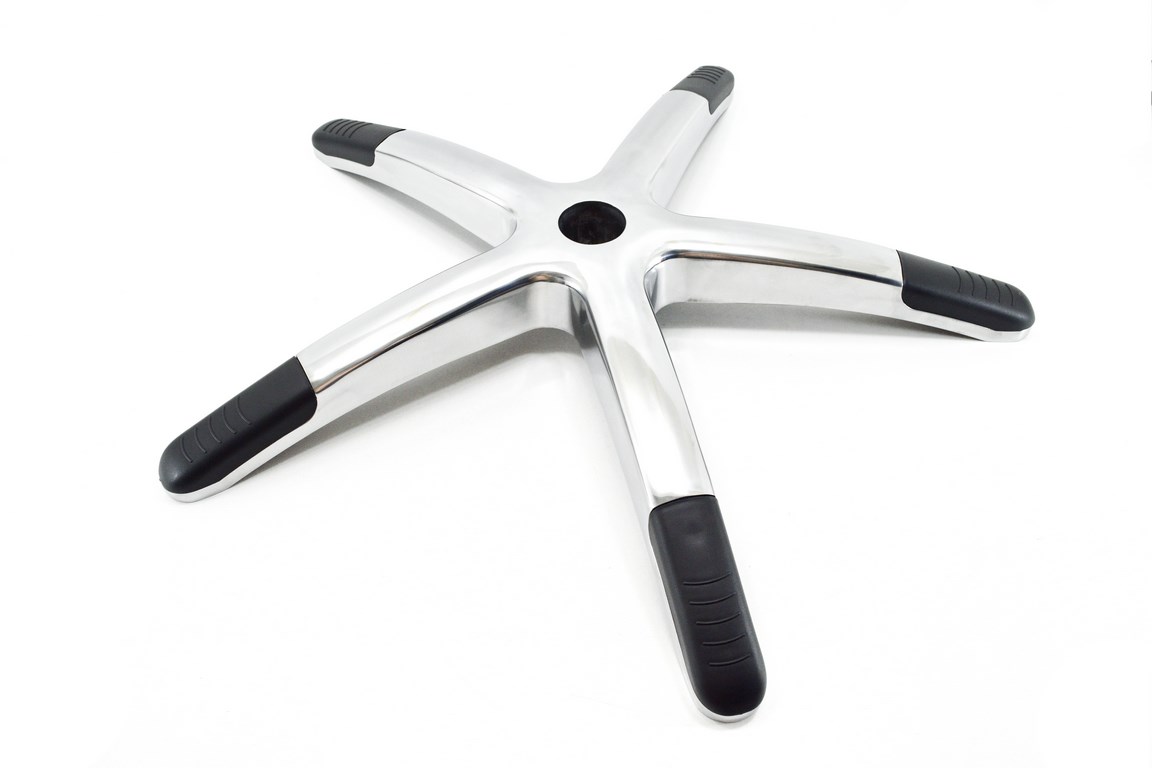
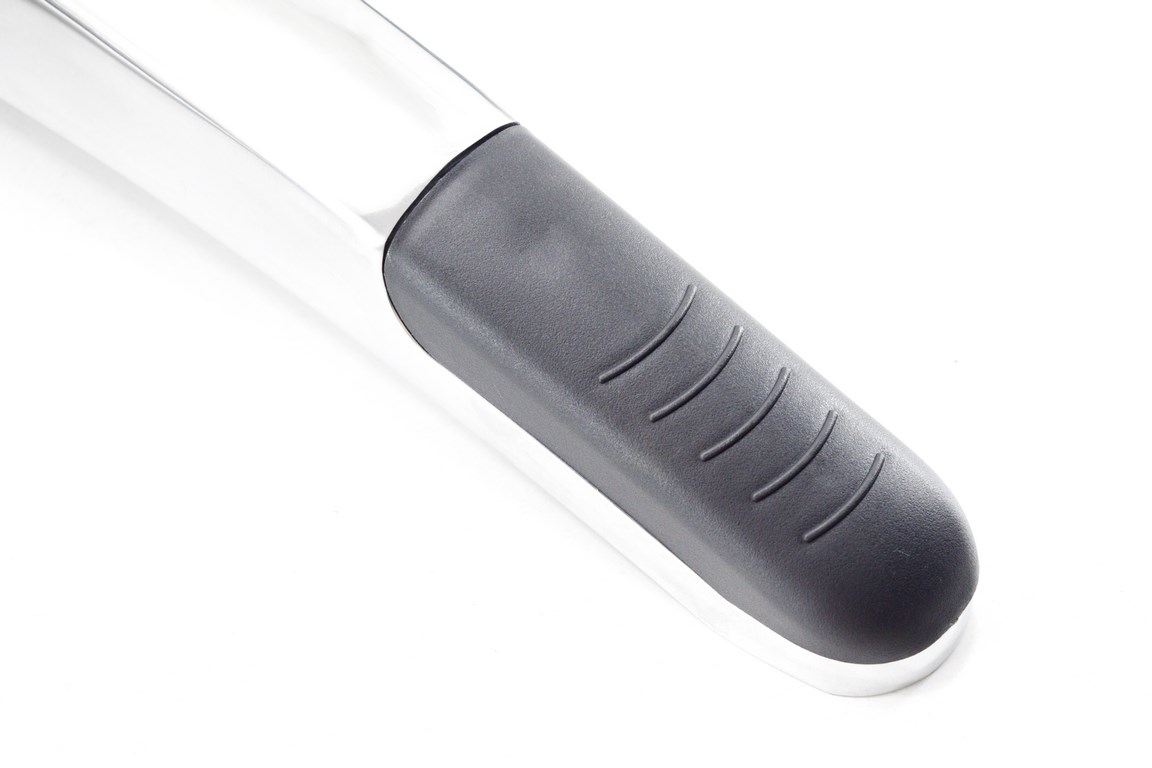 As usually we start with the base which as mentioned earlier has plastic ends so you don't have to worry about placing your feet on.
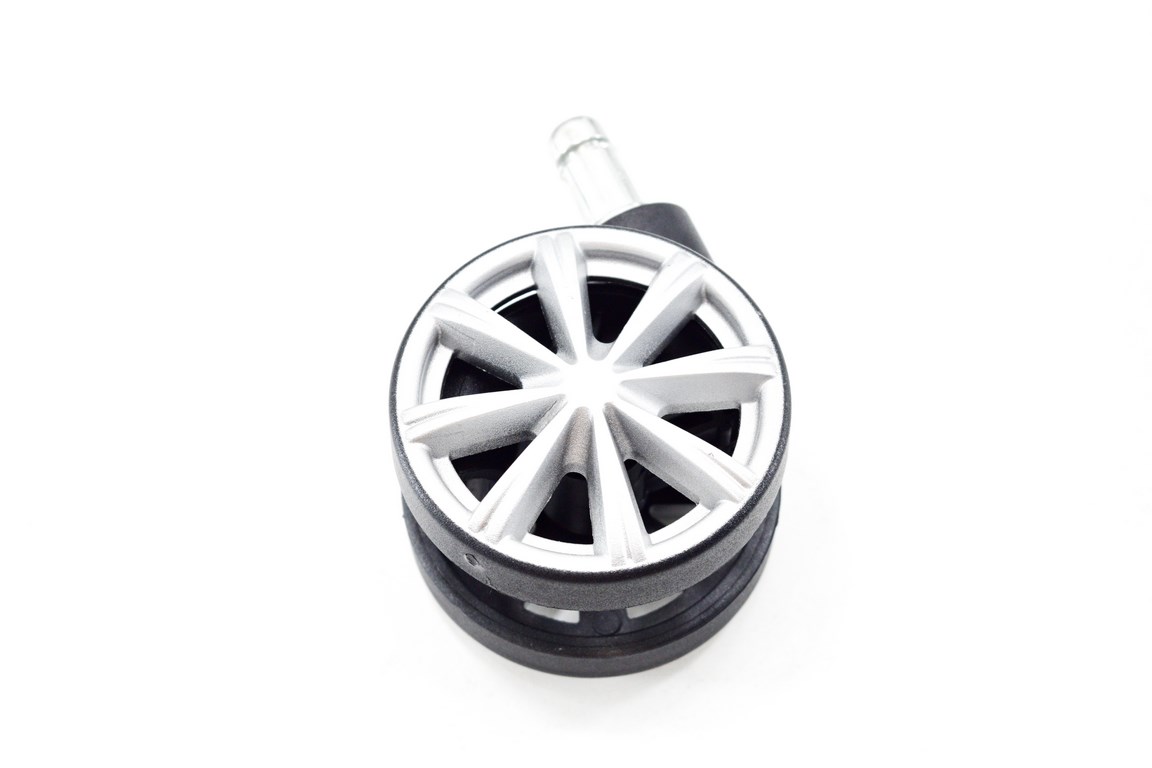
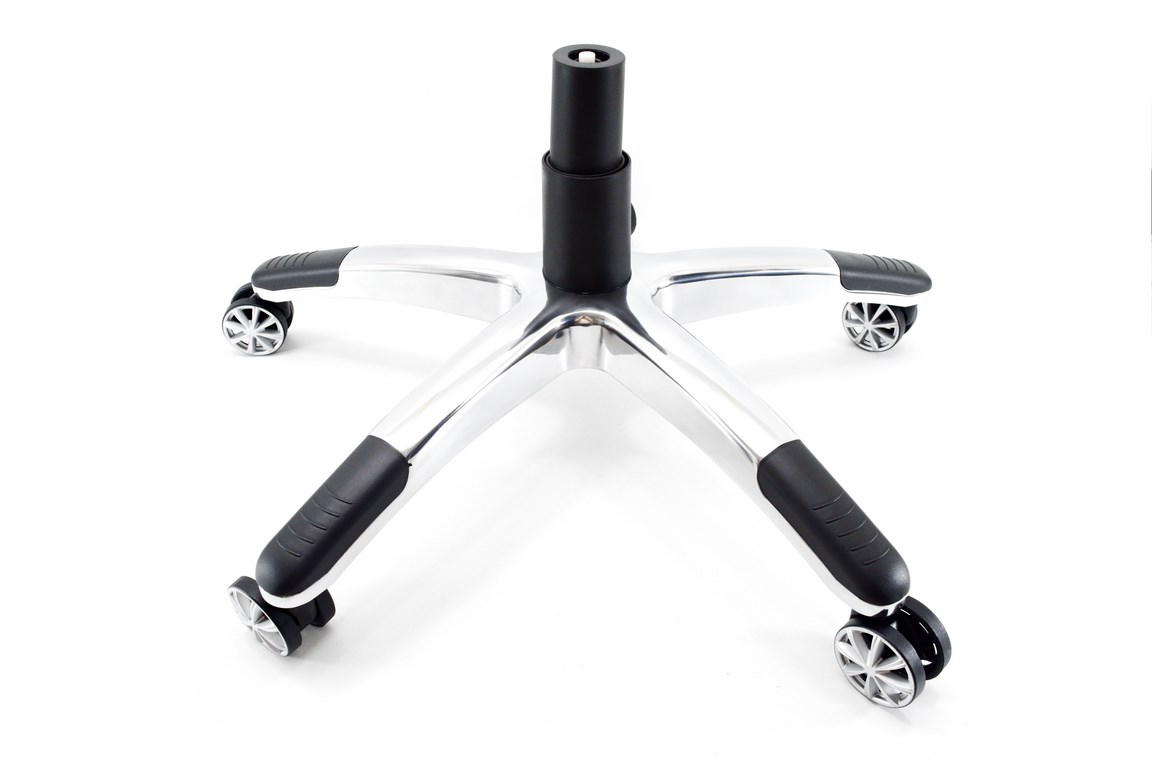 To install the wheels just place them in the holes found beneath each end and push them until you hear the locking sound. After that just place the class-4 gaslift in the center and then place the plastic cover over it as seen above.
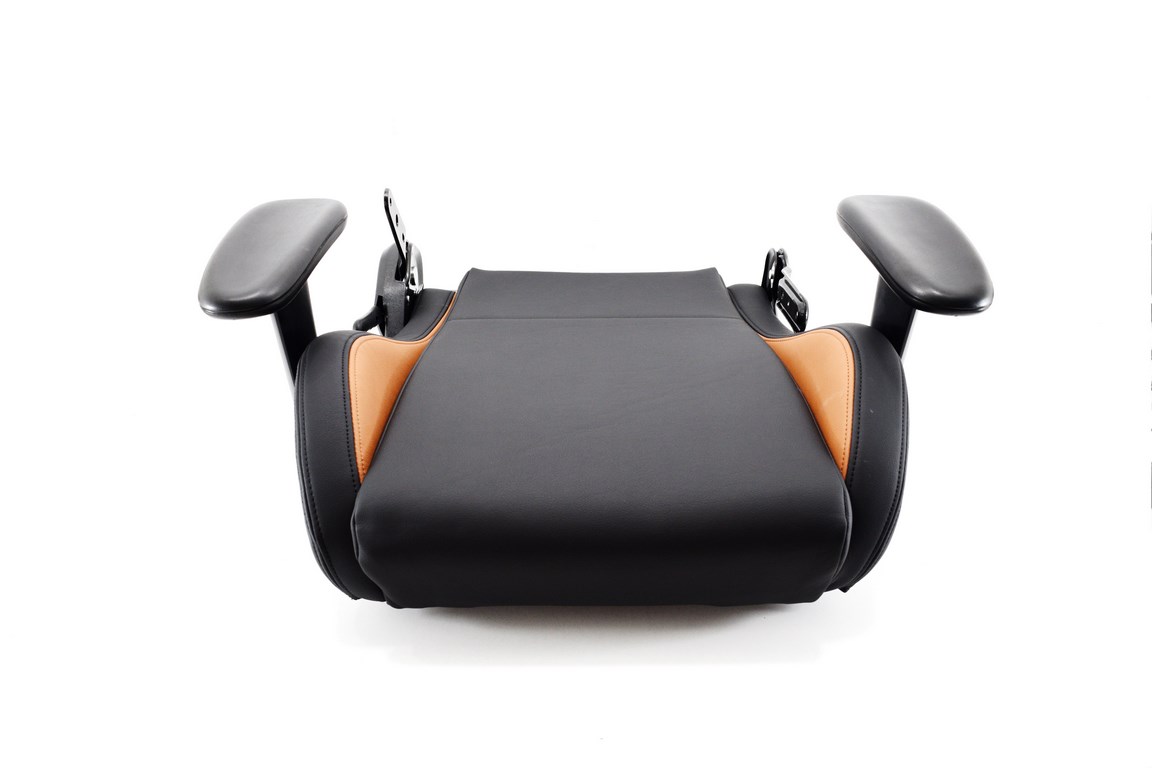
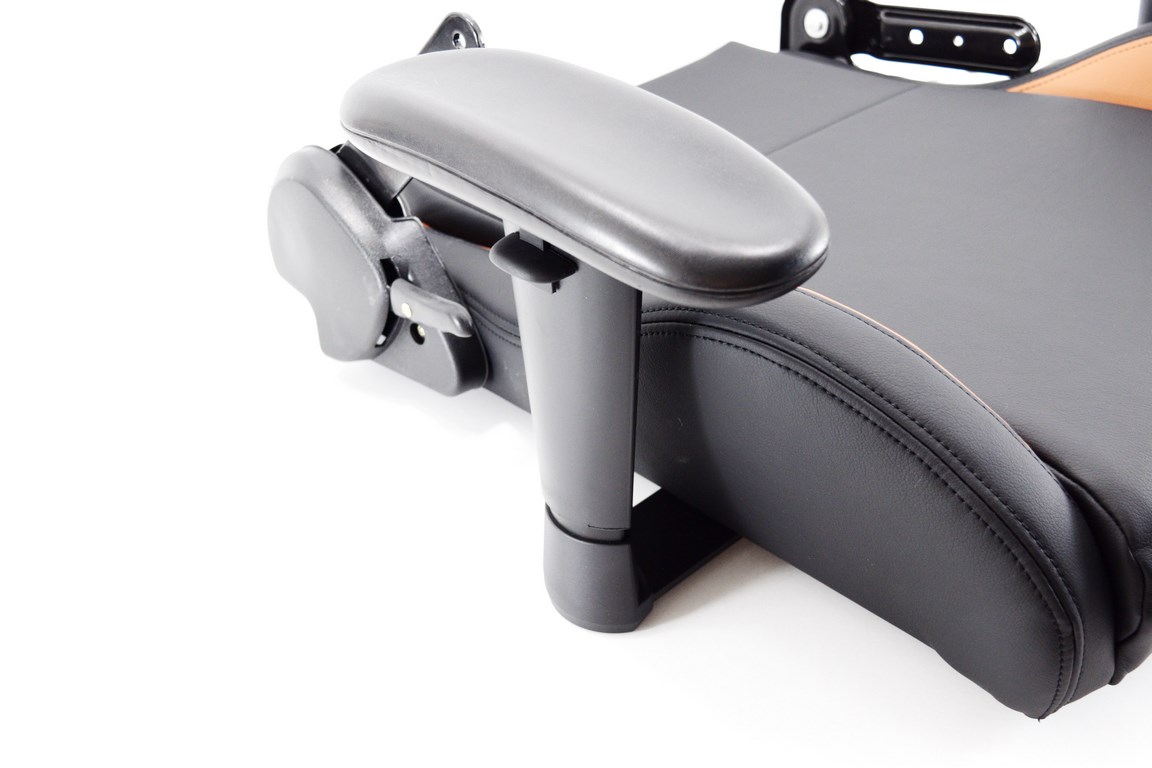 The seat base is pretty much assembled from the box since the two height adjustable arm rests are already mounted.
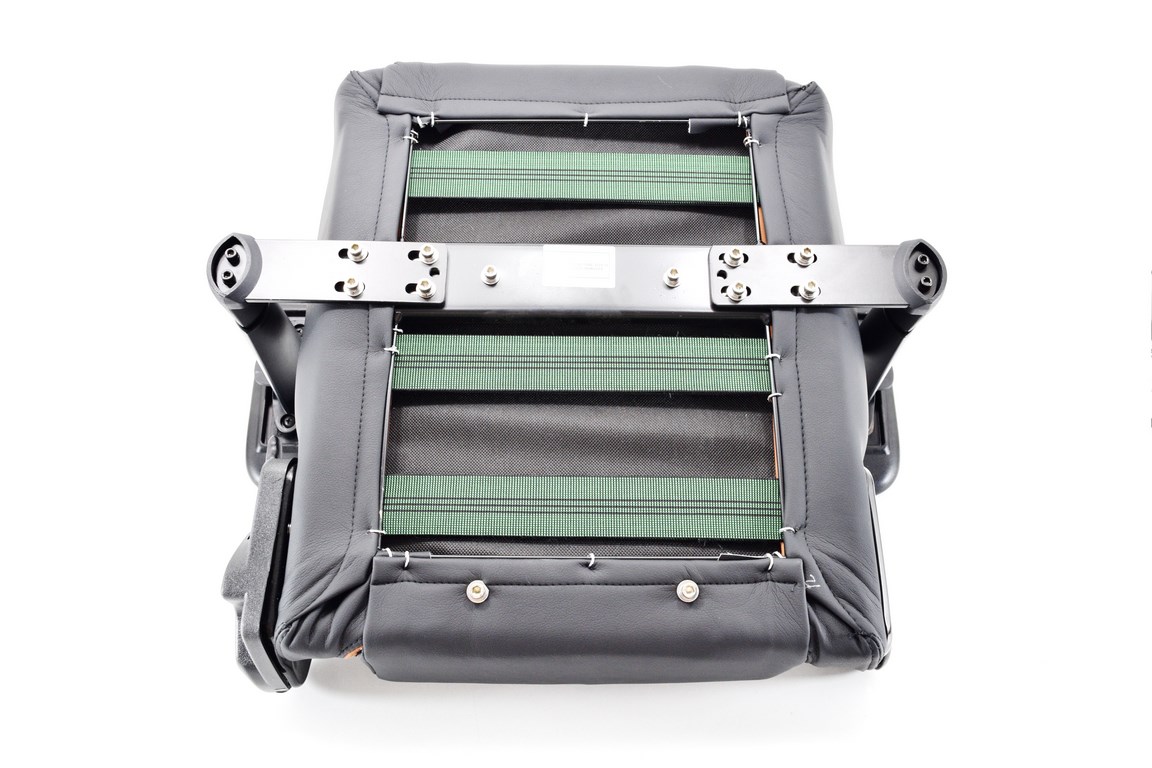
Turning the seat base over we see the same quality as the Nitro chair (only 3 screws were included in the box because all the others are in their place already).
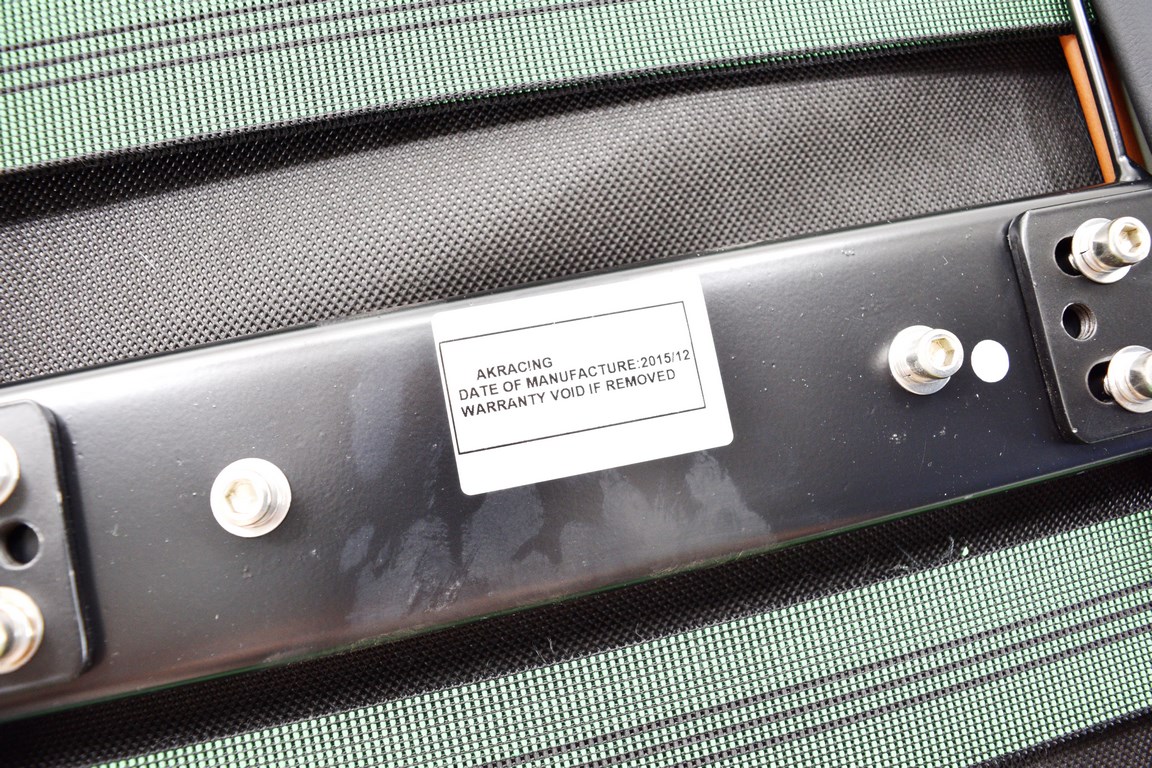
Our sample rolled out of the factory in December last year as revealed by this sticker.
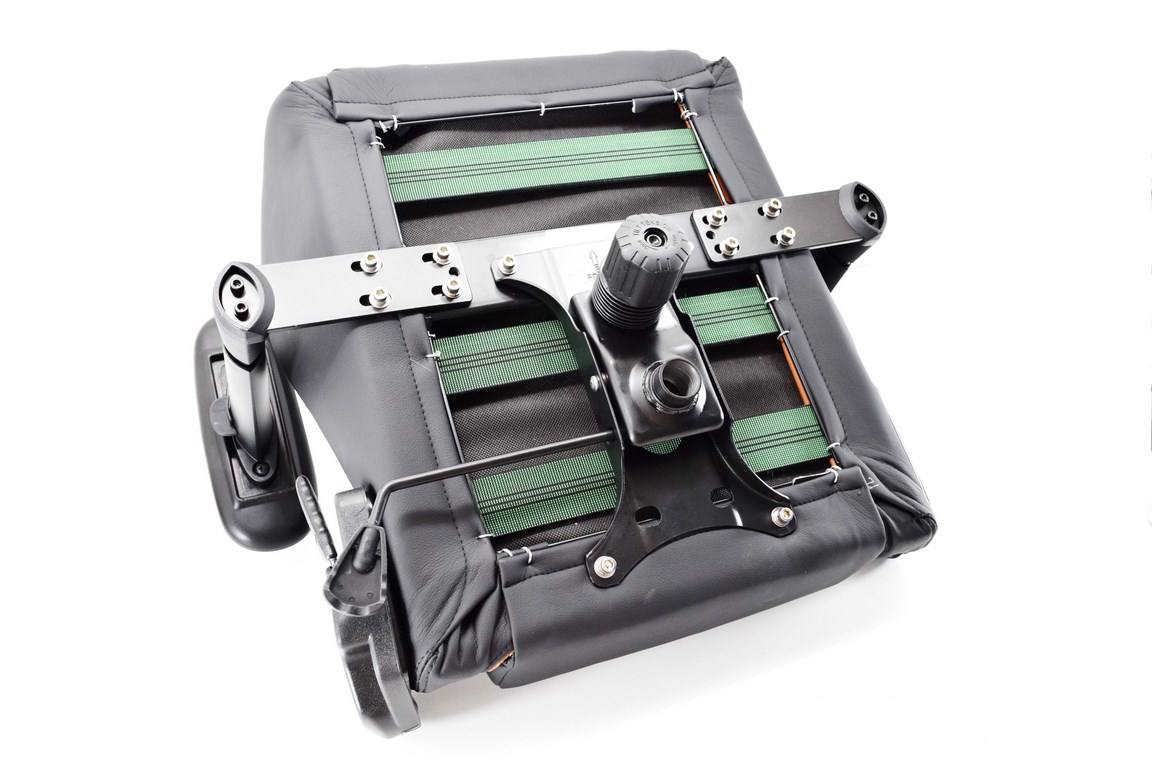
Next we mounted the height adjustment mechanism so we just had to remove the 4 Allen screws already in place to do that (the green elastic bands are there to increase support while the copper clips remind us the ones used in regular racing seats).
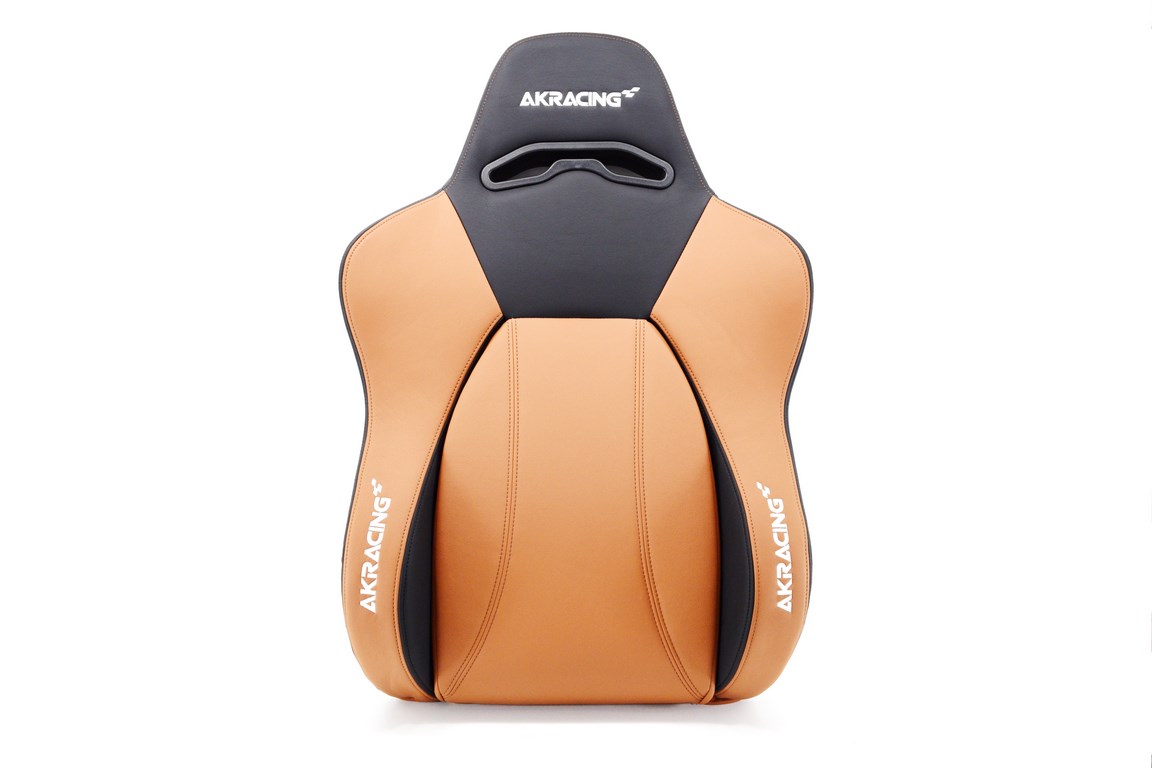
The back rest is a lot different compared to the one of the Nitro model and although it's also great looking i think it's ment for slightly more "mature" people looking for something more "elegant".
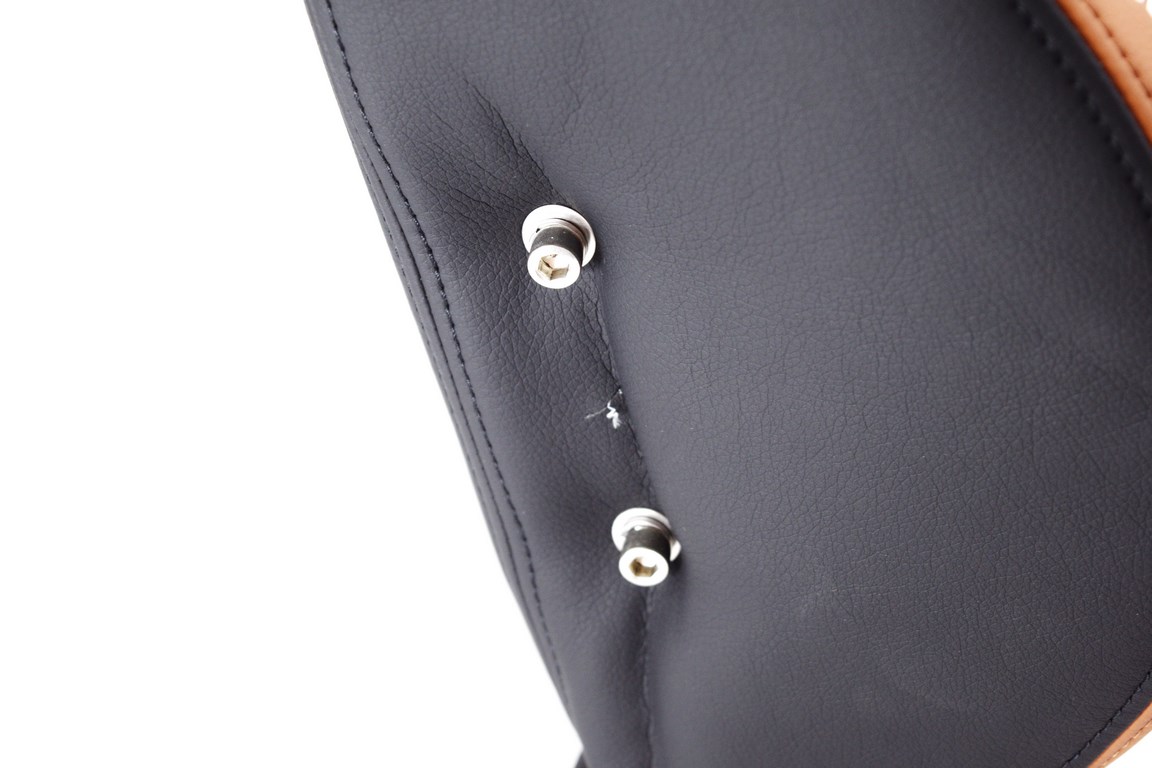
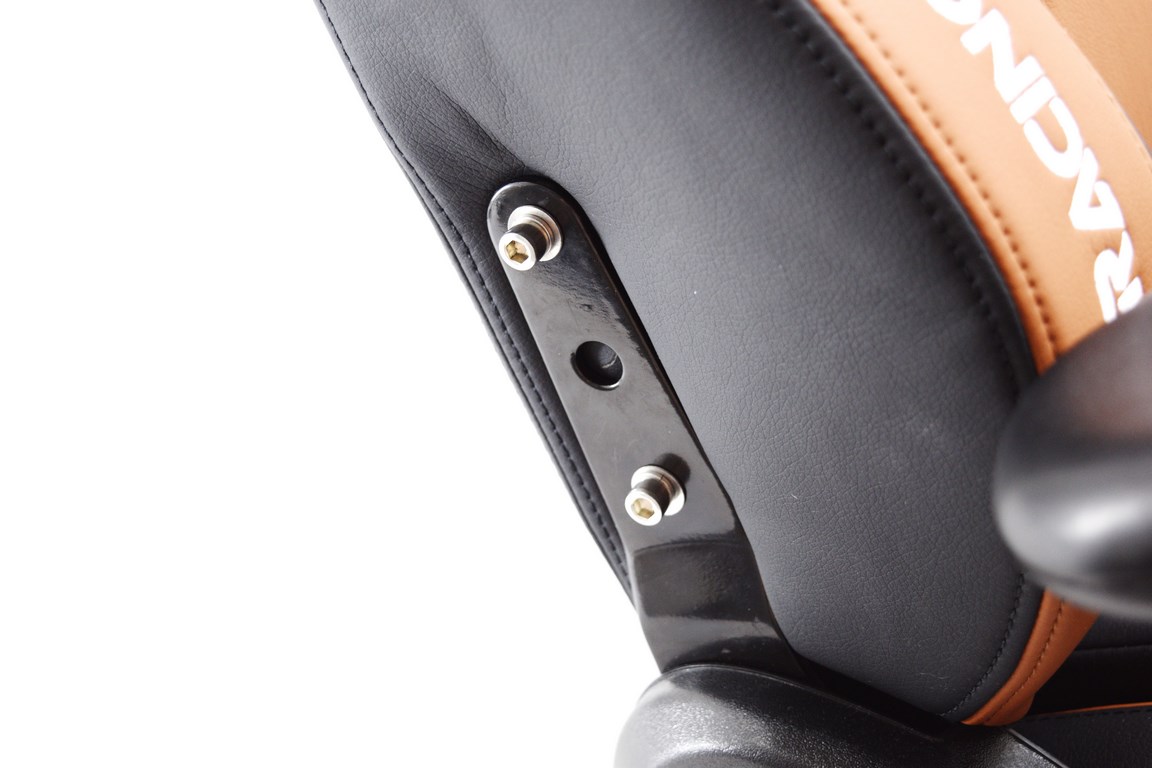
Each side has two Allen screws in place from the factory just like with the seat base.
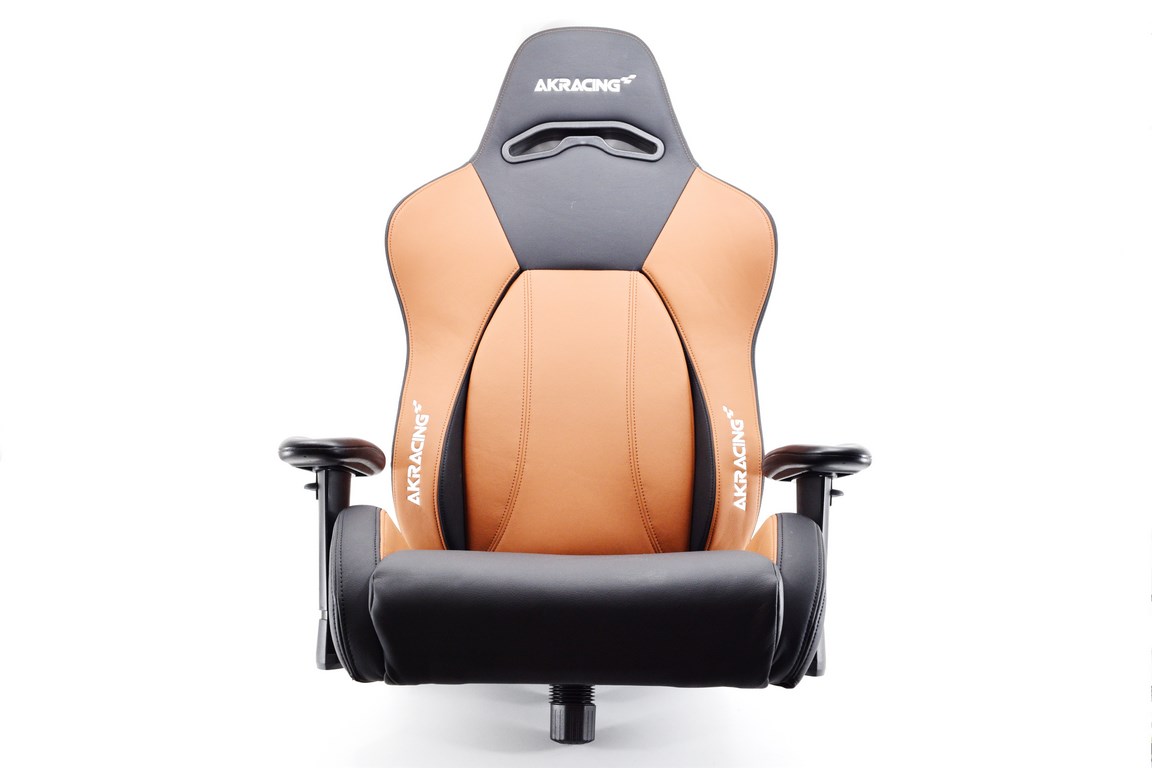
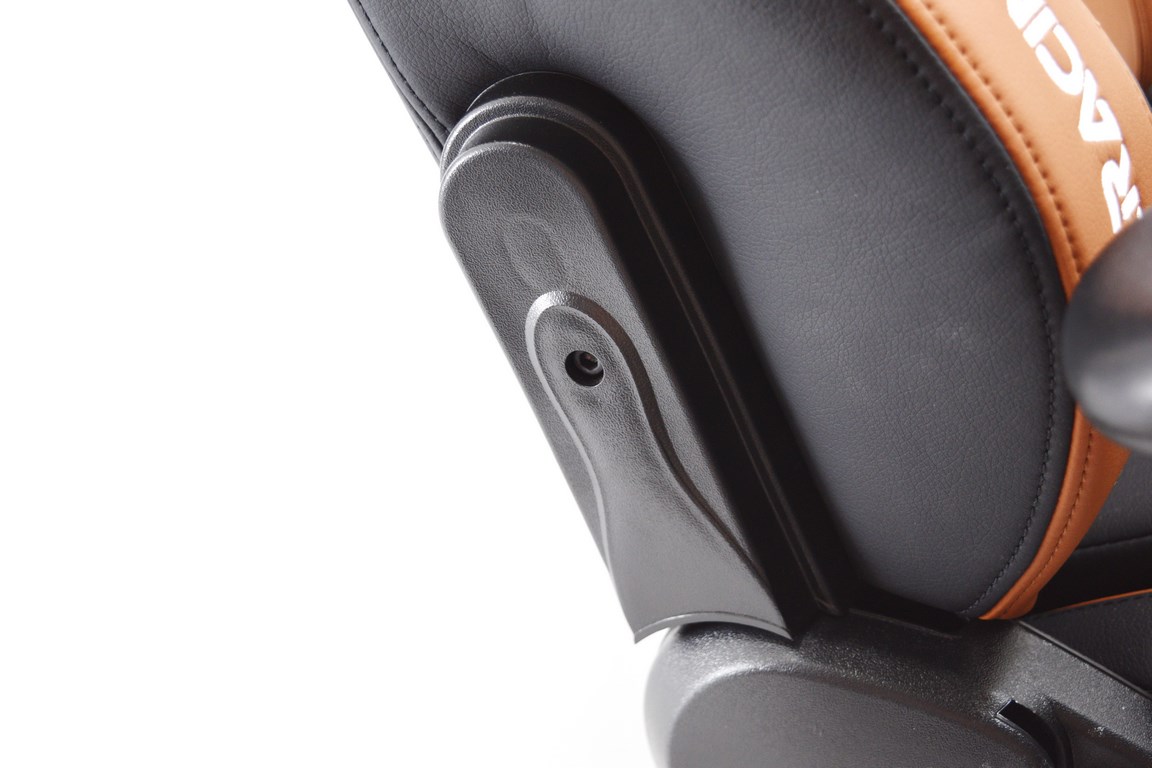
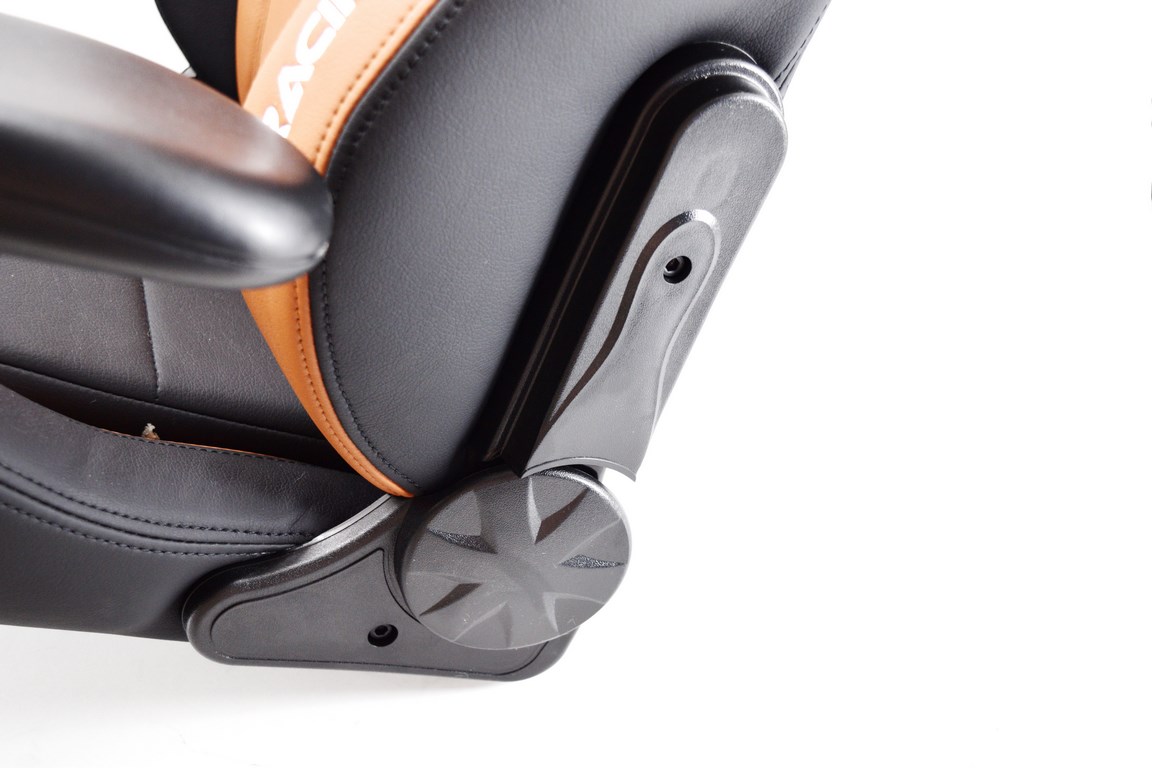 You will need to mount the back rest on the seat base using those 4 screws and then using the plastic side covers as seen above (for some strange reason the left top cover didn't fit very well).