


ASSEMBLY PART 1

As the manual states we should start by mounting the pedal angle plate with the pedal frame.

Next as expected is mounting the pedal plate on the angle plate as seen above (depending on the rudder pedals you end up using you may need to have this leveled).


Attaching the seat frames to the pedal frame requires using two bolts on each side.

The end plate is next and again requires two bolts on each side.


Mounting the side panels comes next and again, these require two bolts each as does the cross member (2 on each side) which was next.
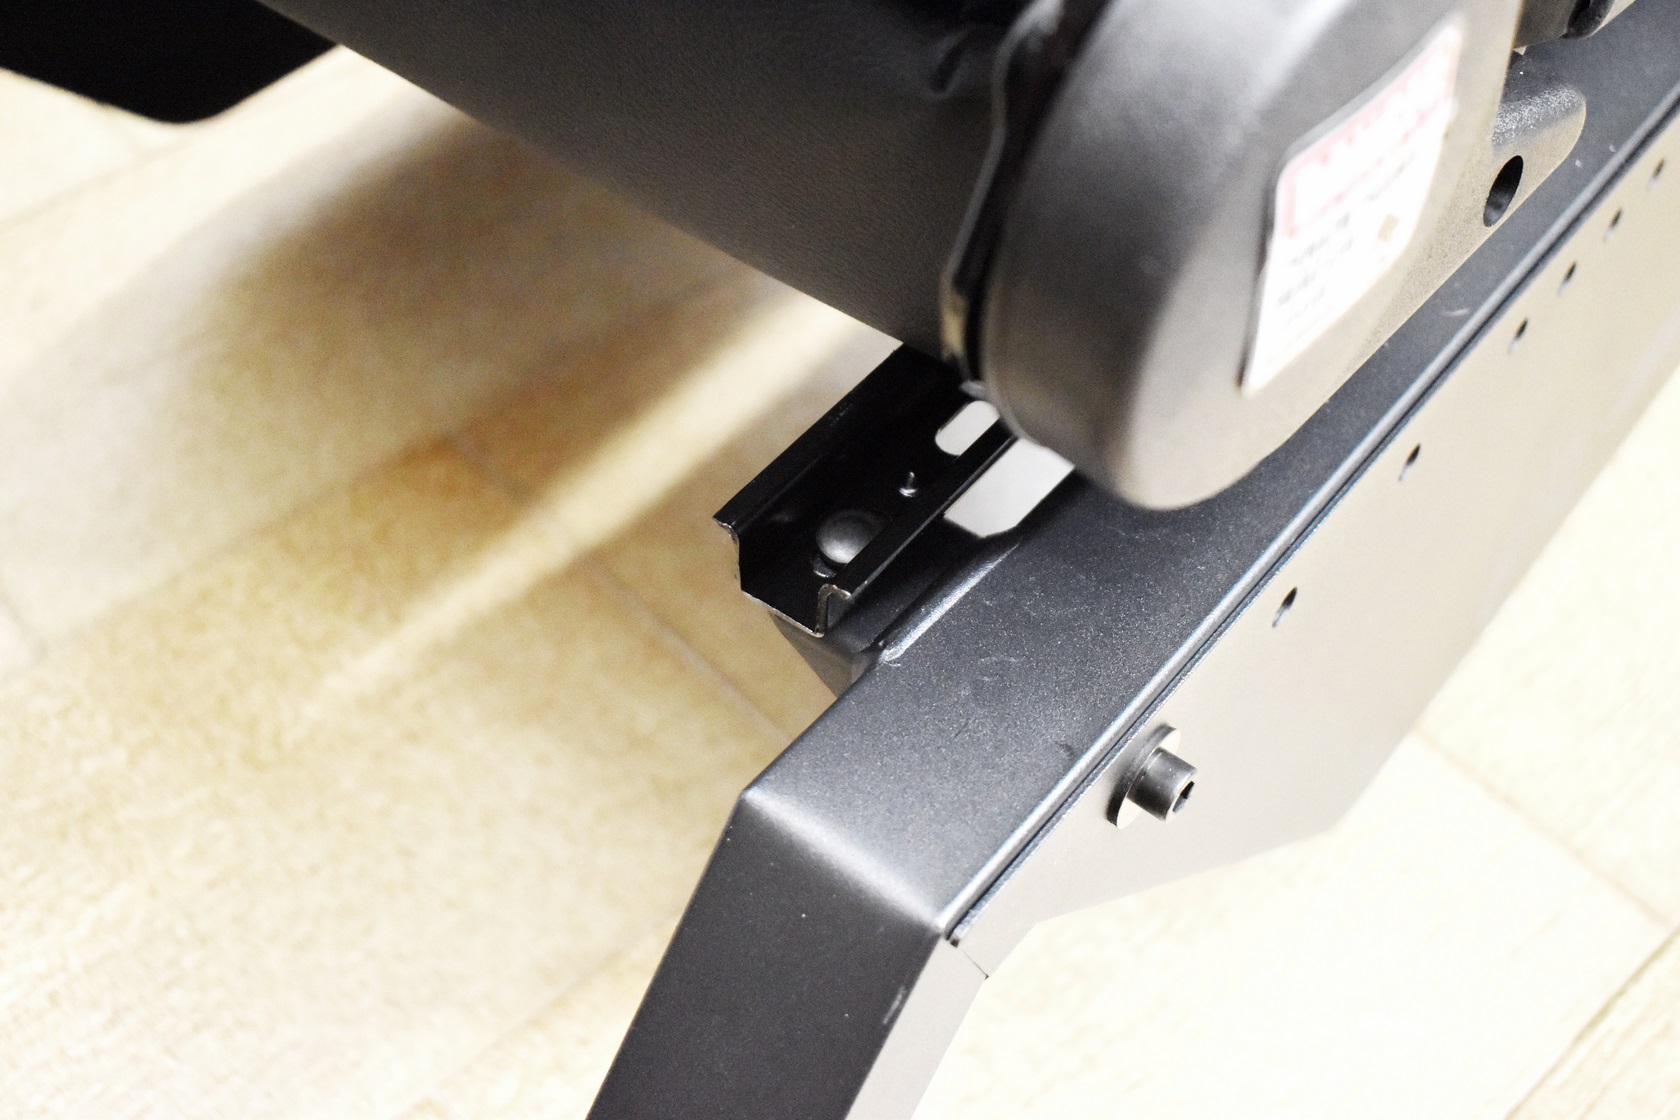
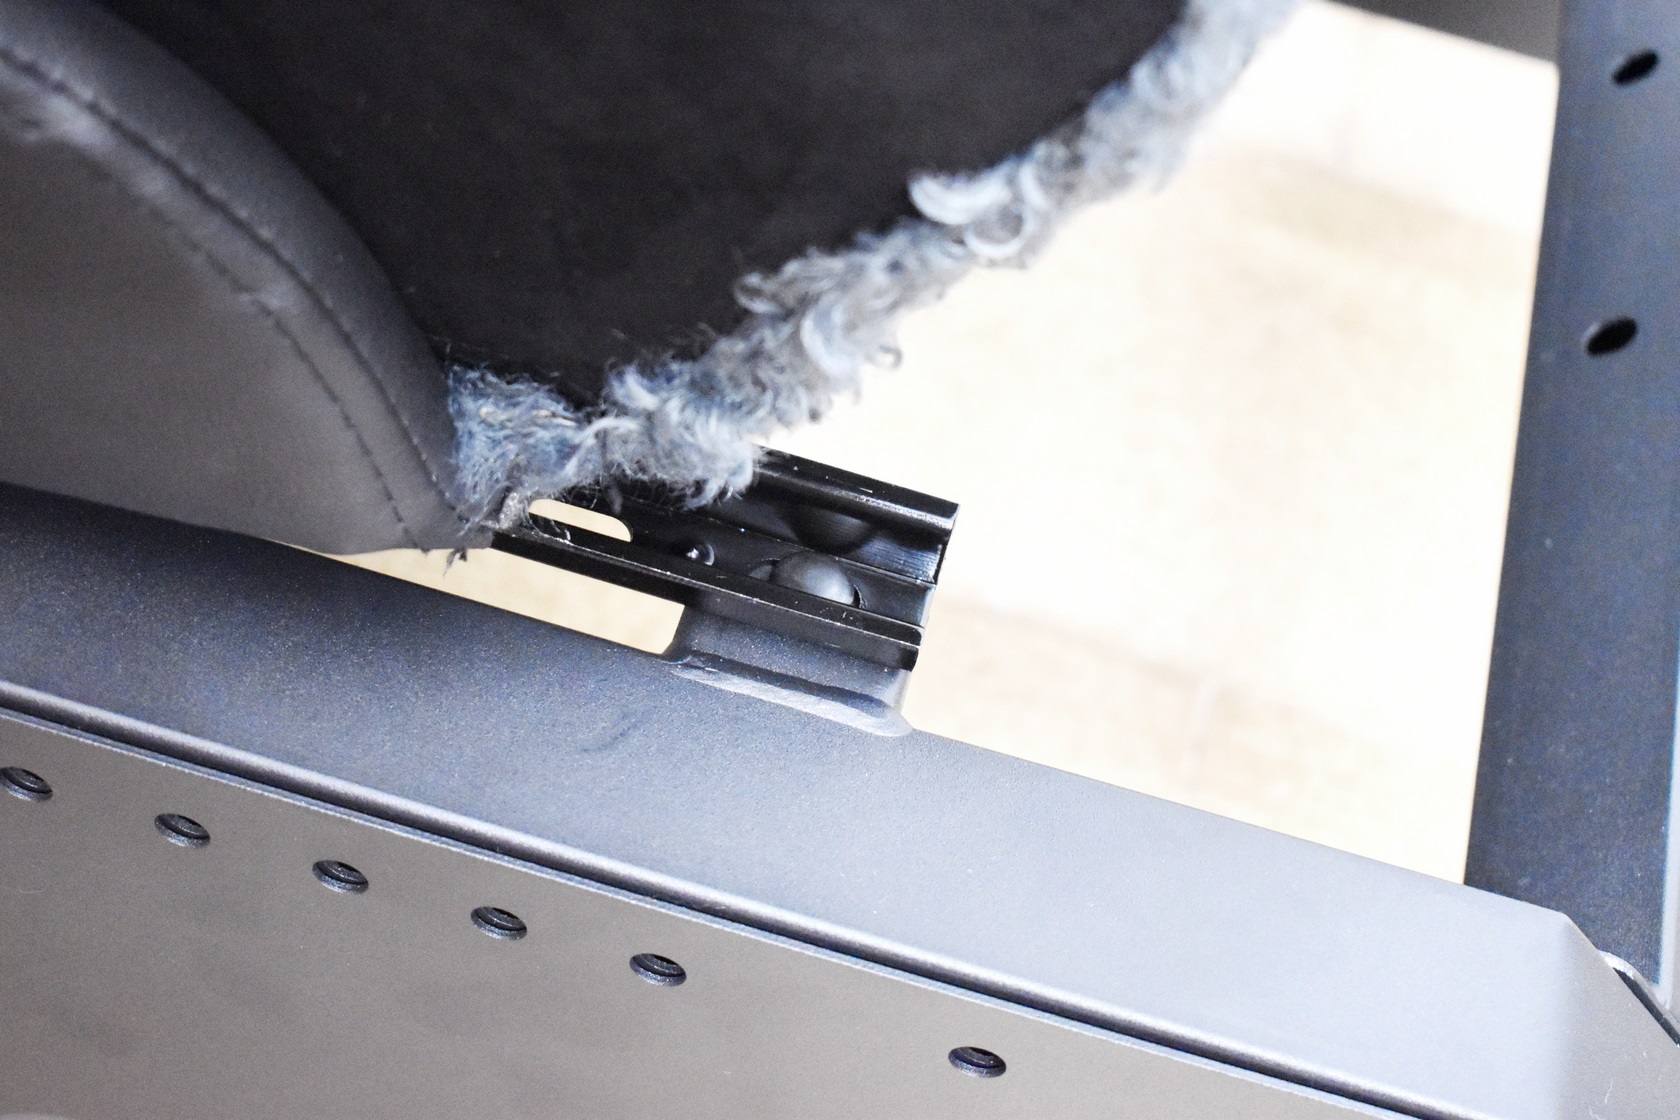
The seat attaches onto the seat frames by using four square neck bolts in total (2 on each side).
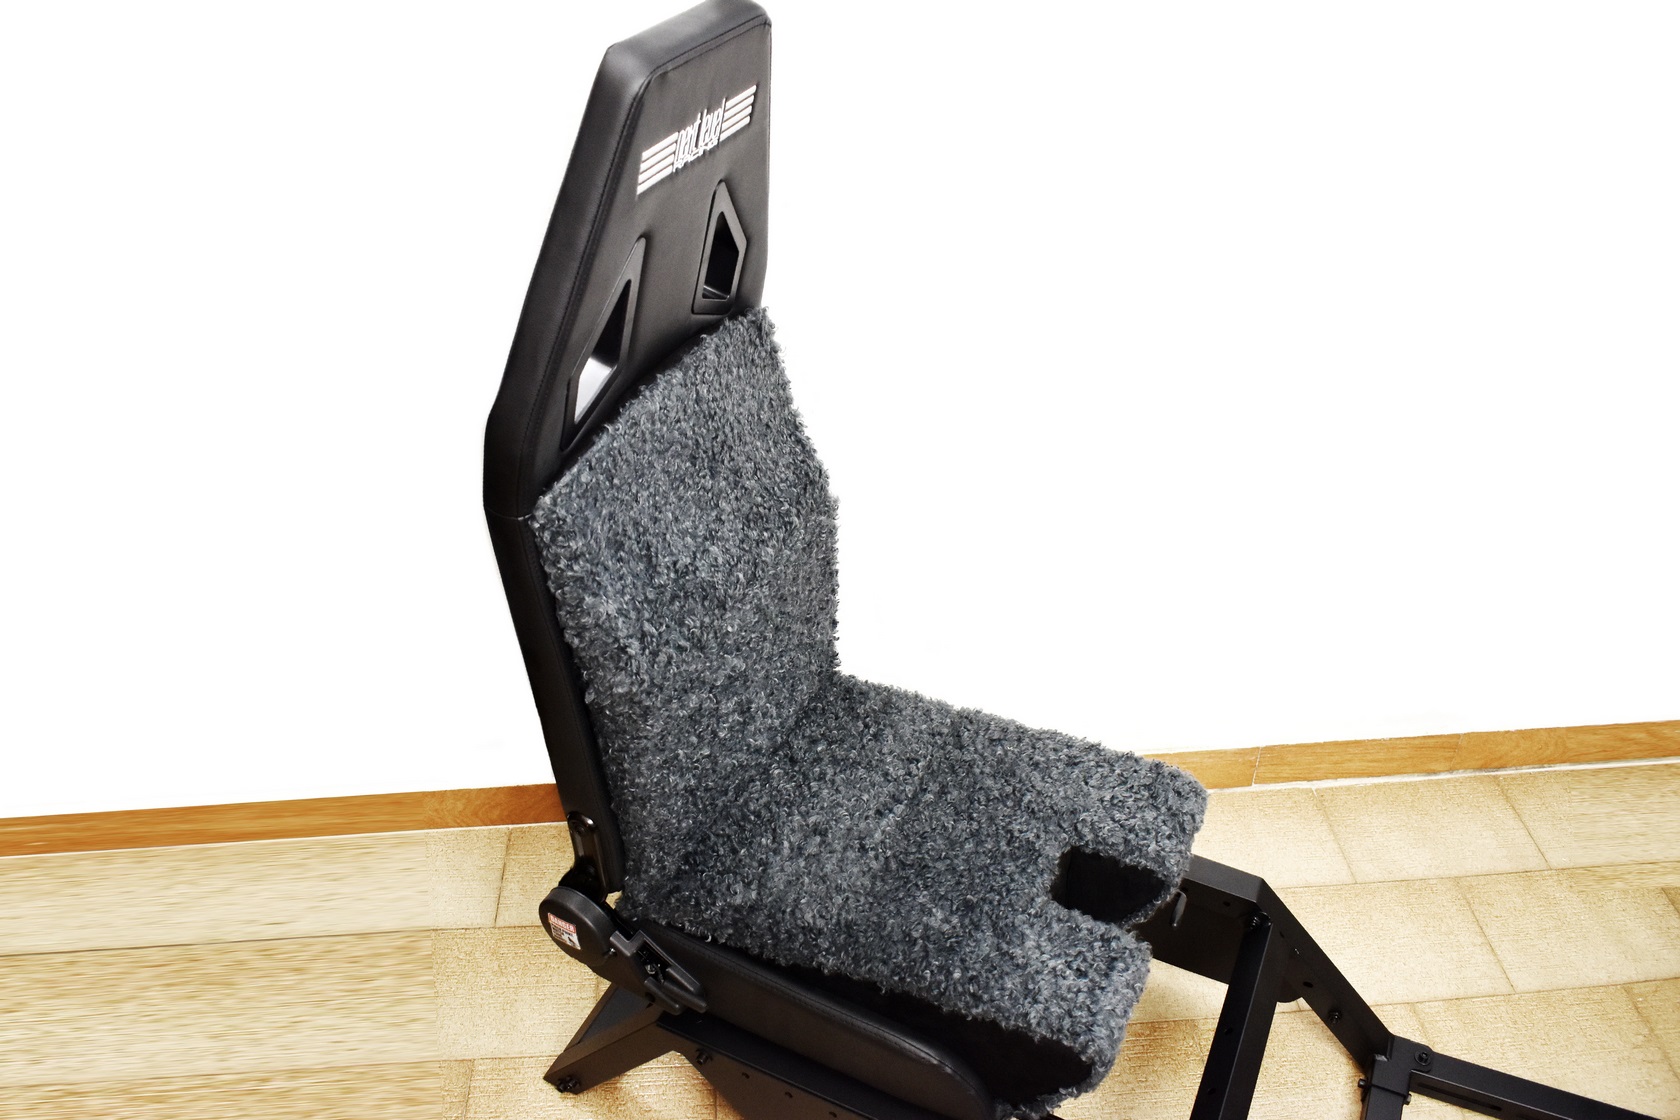
Just like with typical gaming chairs the backrest attaches onto the base/seat with 4 dome head bolts.

After that you will need to mount the arms on the sides (beware that there are two right arms, depending on where you want the mount to be).

The mounting plates are interchangeable so you can place them on either side.
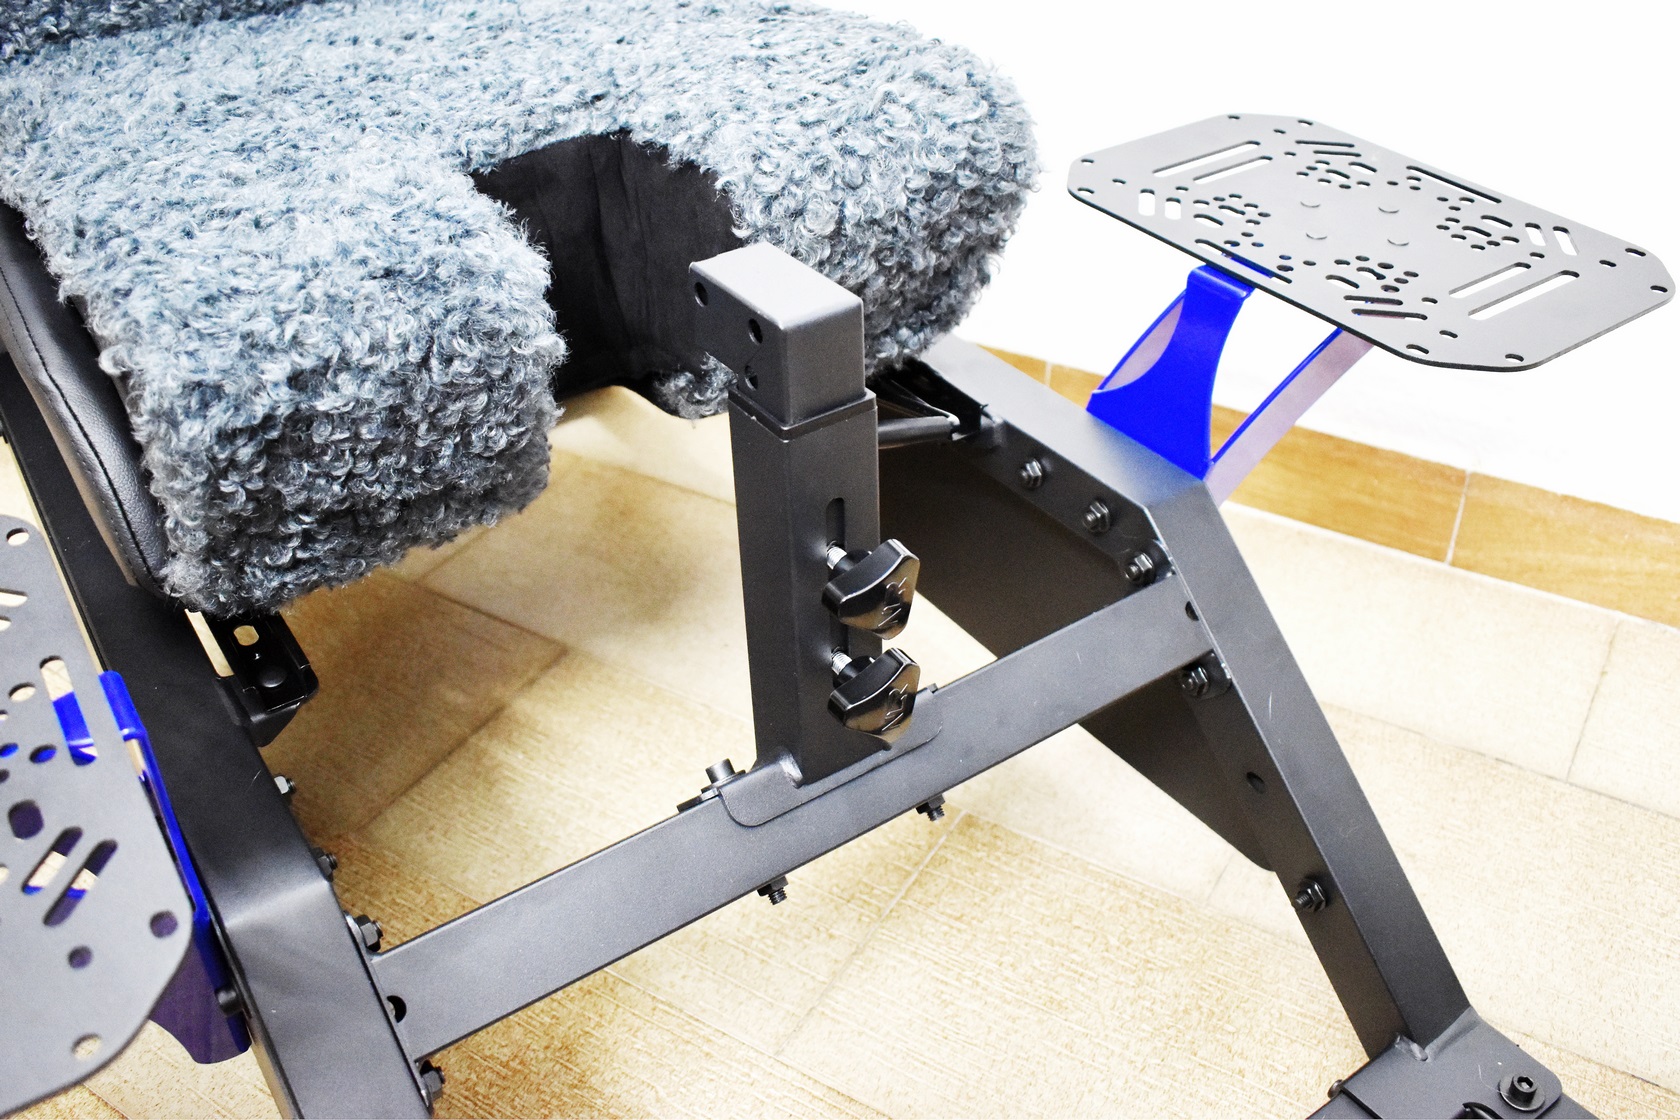
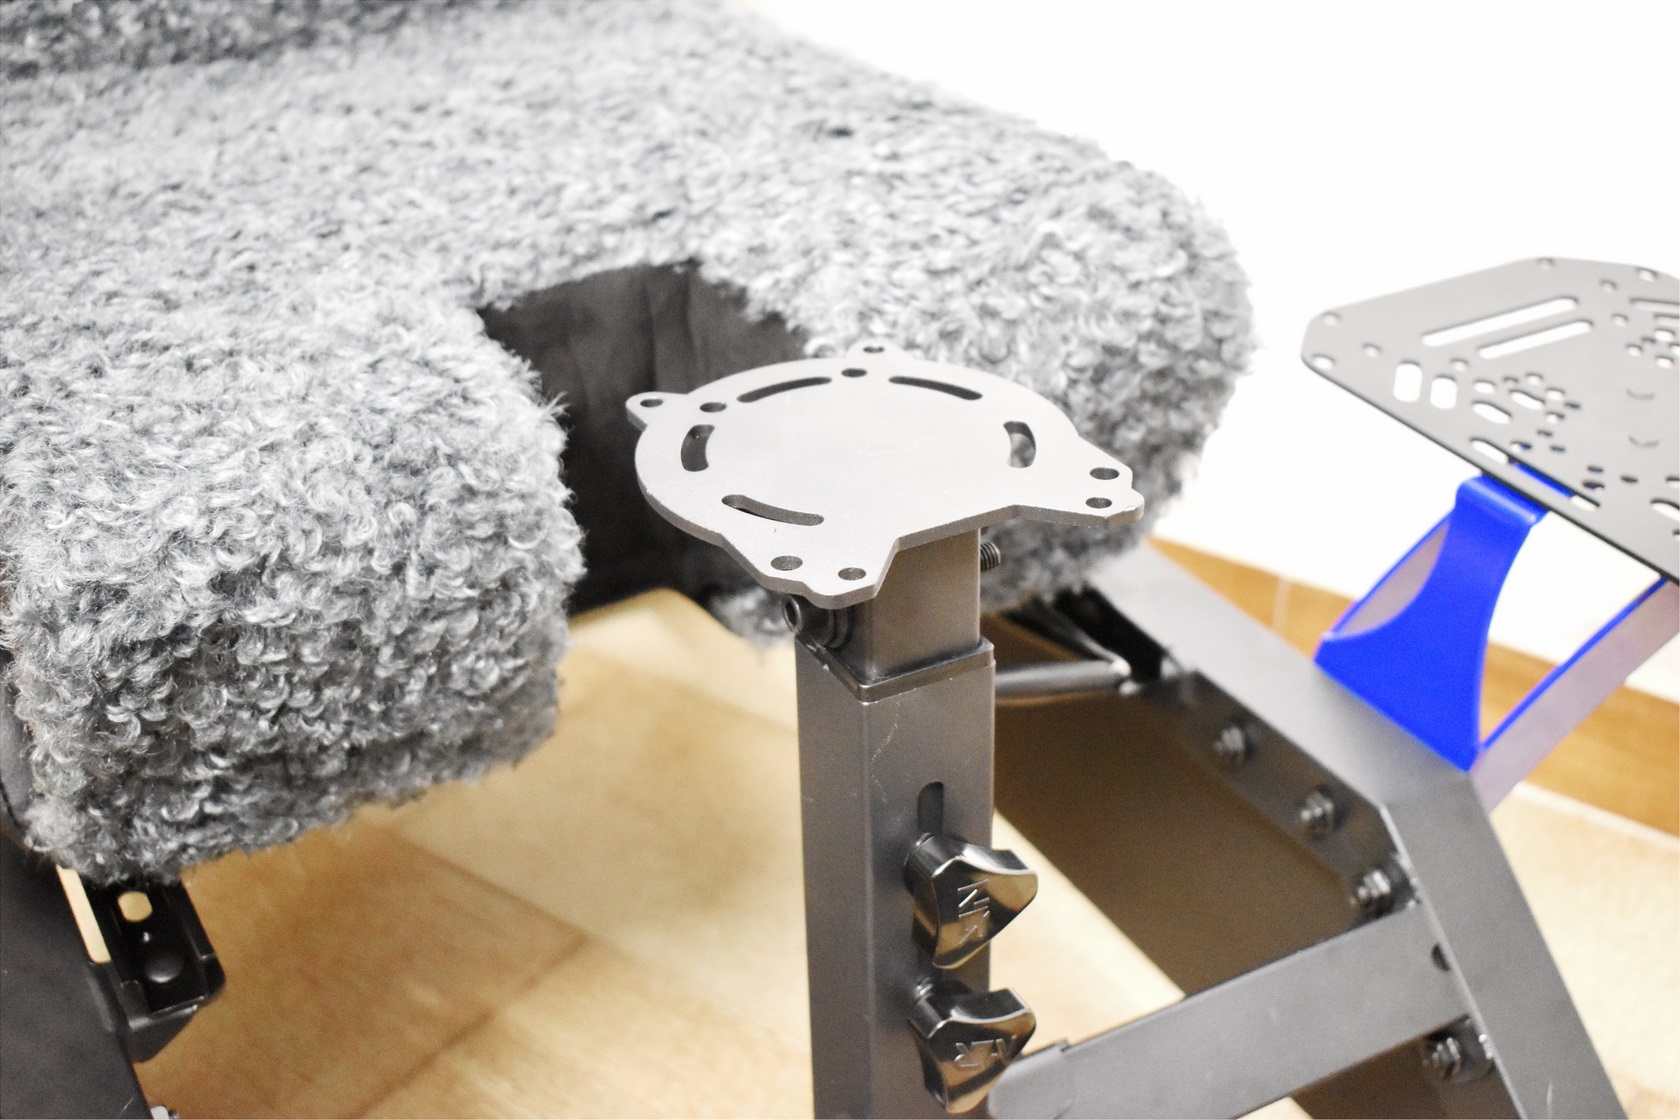
If you want to mount a stick like the HOTAS Warthog which I'll be using for this review you will need to attach the HOTAS poles and the mounting plate as seen above.

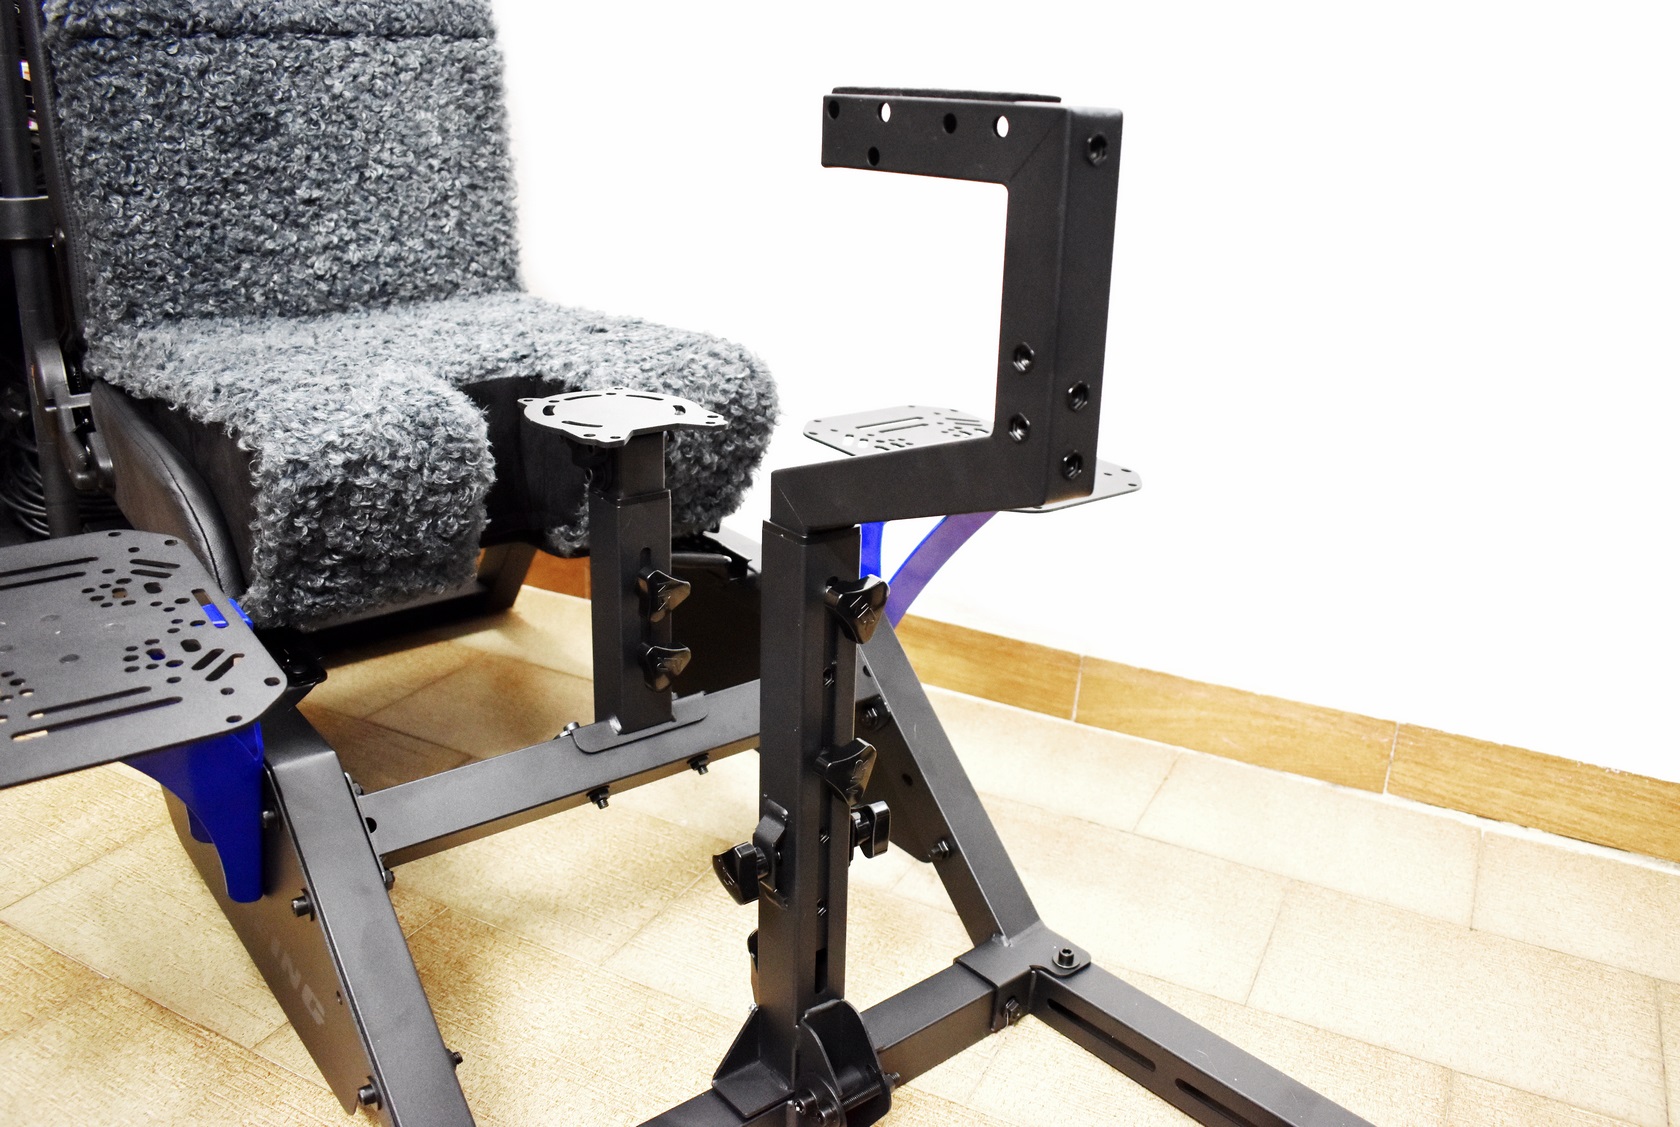
Depending on whether you'll install a yoke or the keyboard plate you will also need to attach the center outer and inner poles.
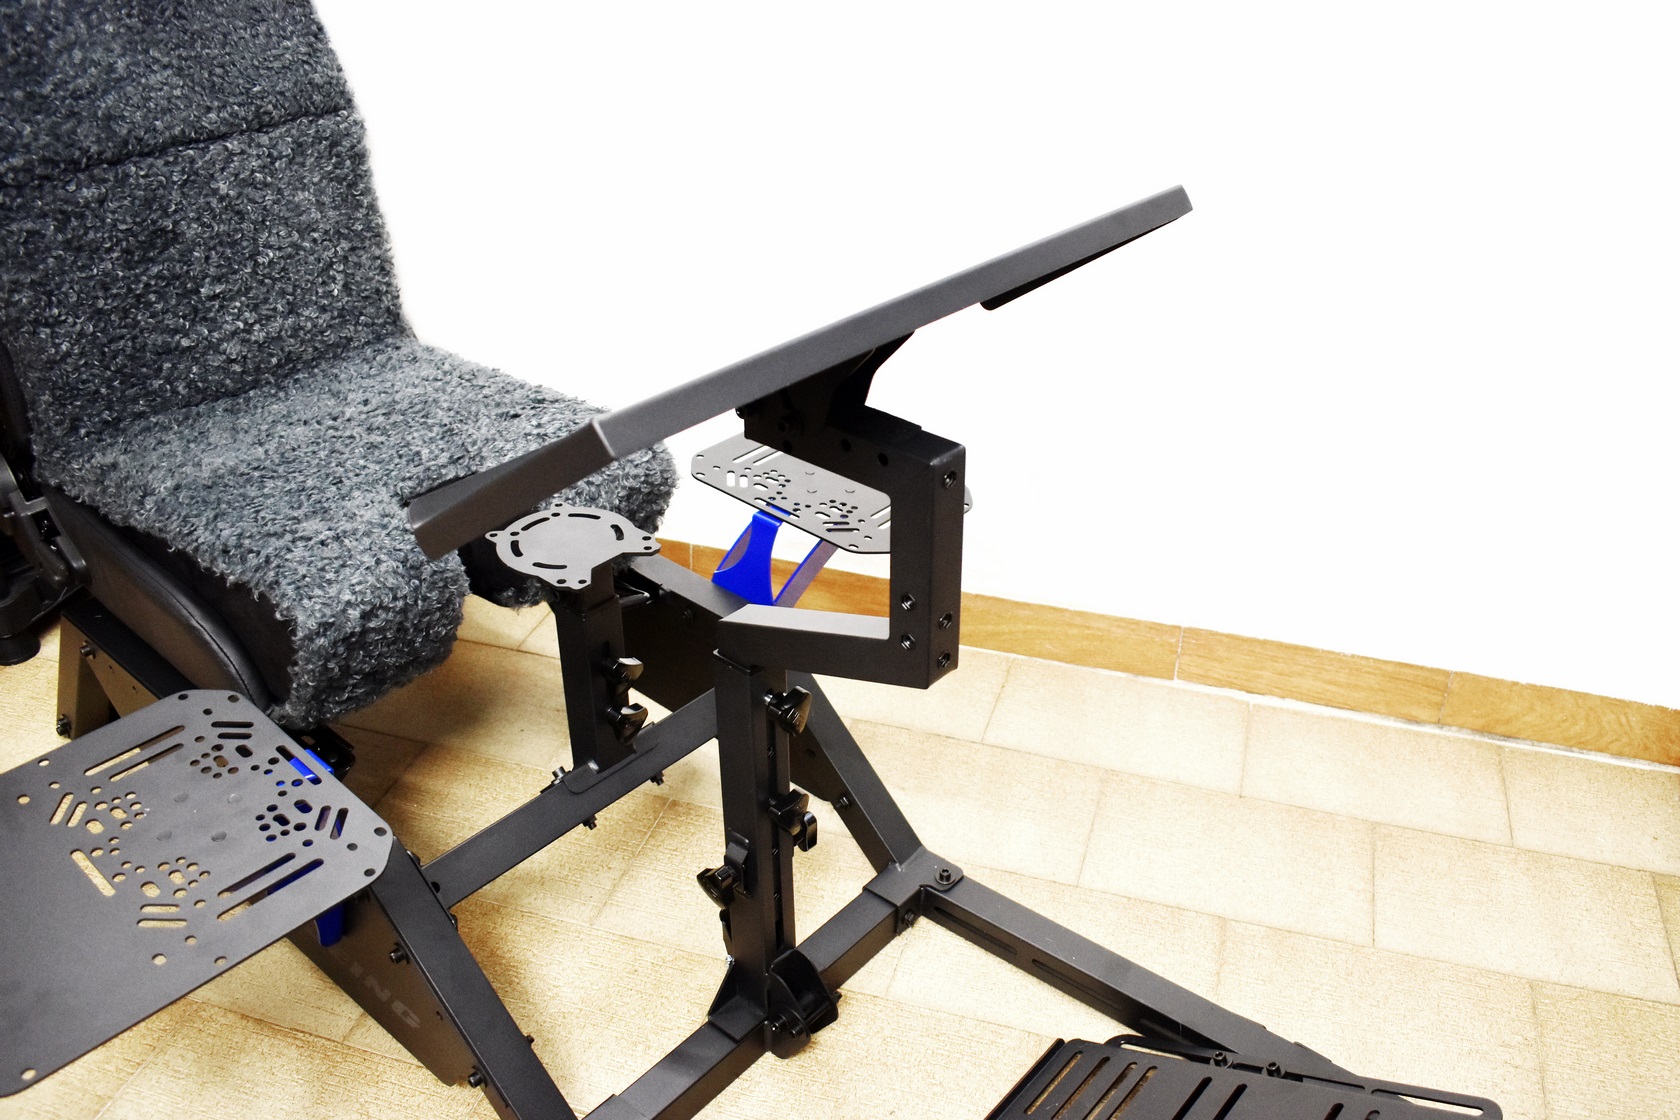
For my requirements it's better to mount the keyboard plate at the center.

Next Level Racing also bundles a support bracket which you can attach for better stability (this is more for use with a Yoke).
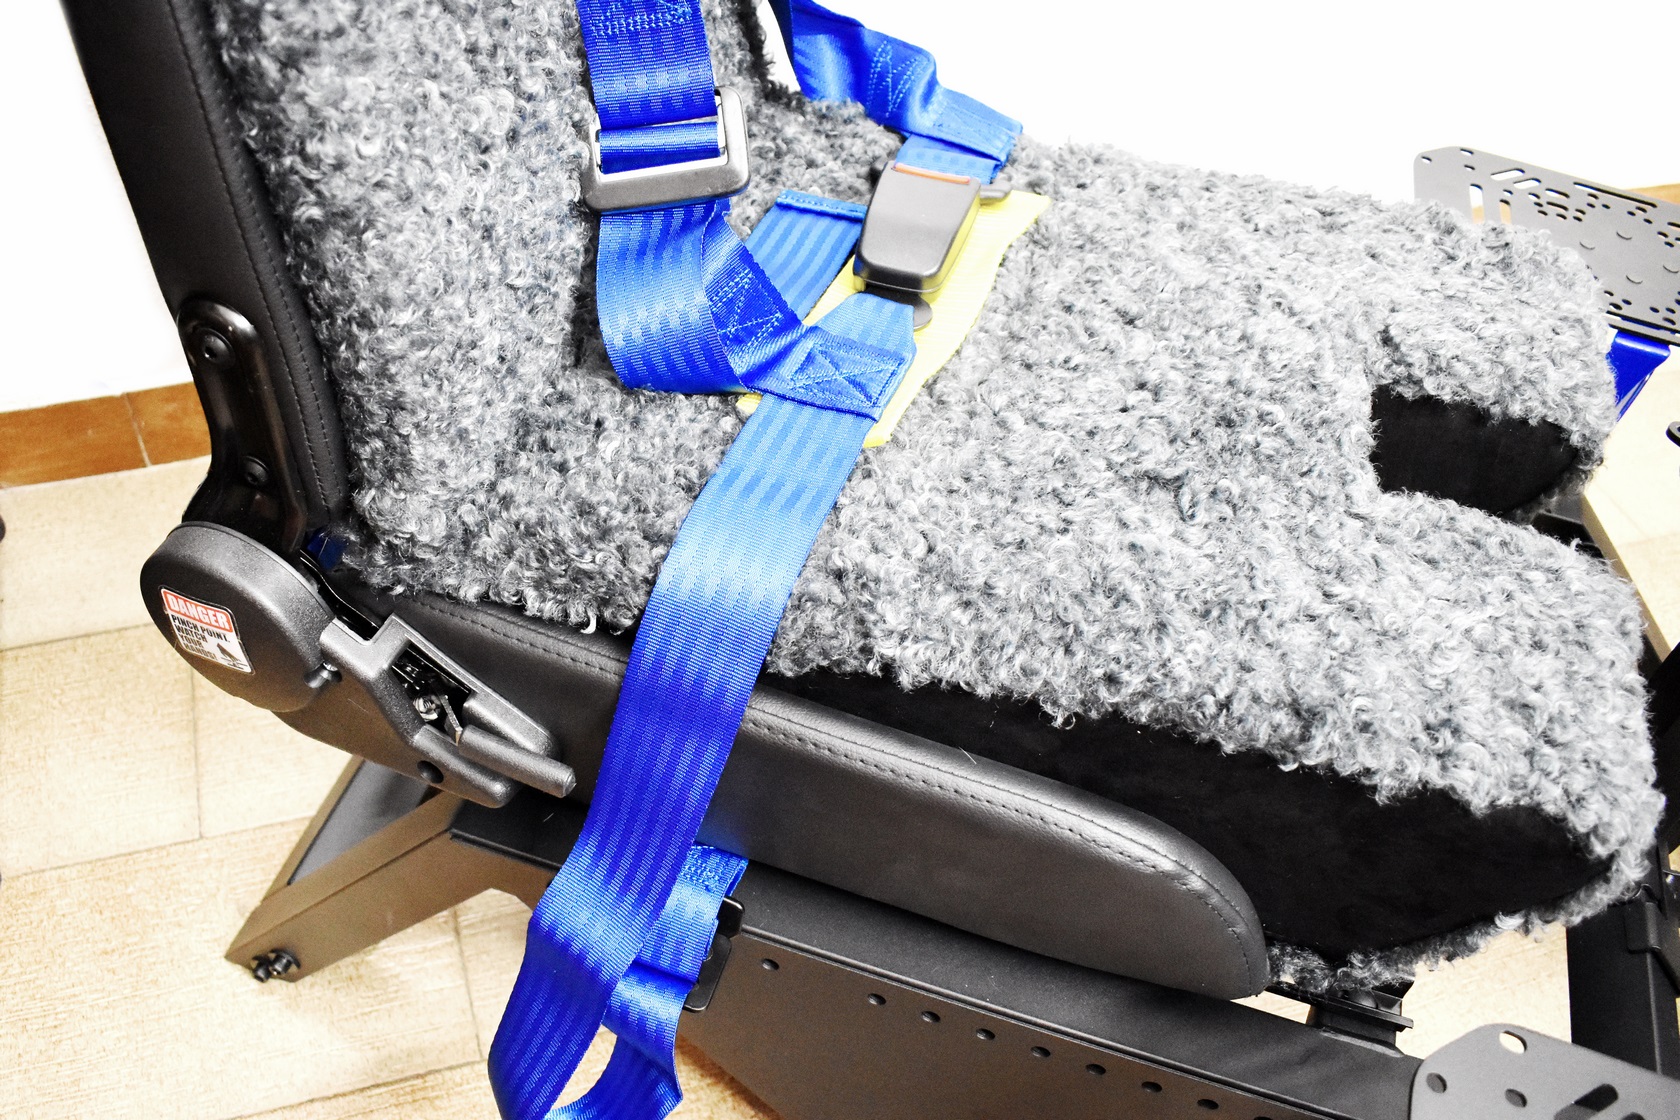
The harnesses are secured via bolts on the sides and beneath the base/seat.