
 O-Sense

.jpg)


ASSEMBLY PART 1

First step in assembling the F-GT simulator cockpit is to attach the base frame parts as seen above (here you see 6 of the included carbon steel pieces).
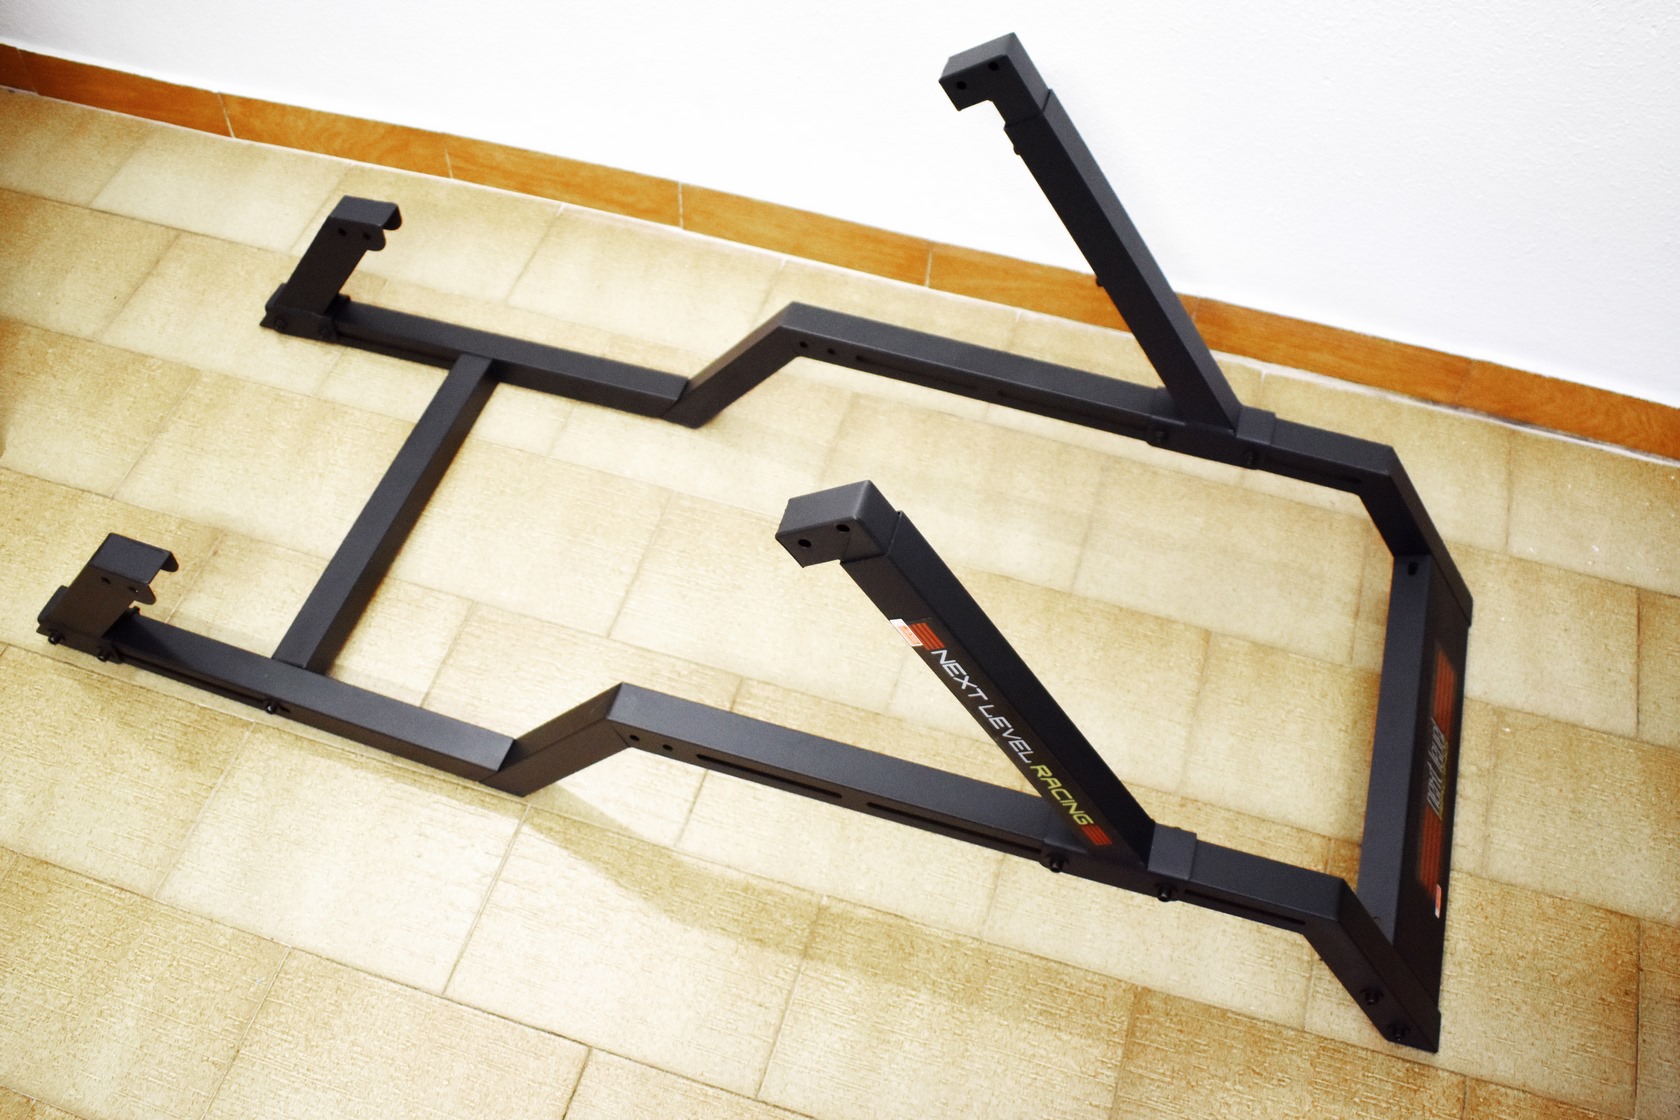
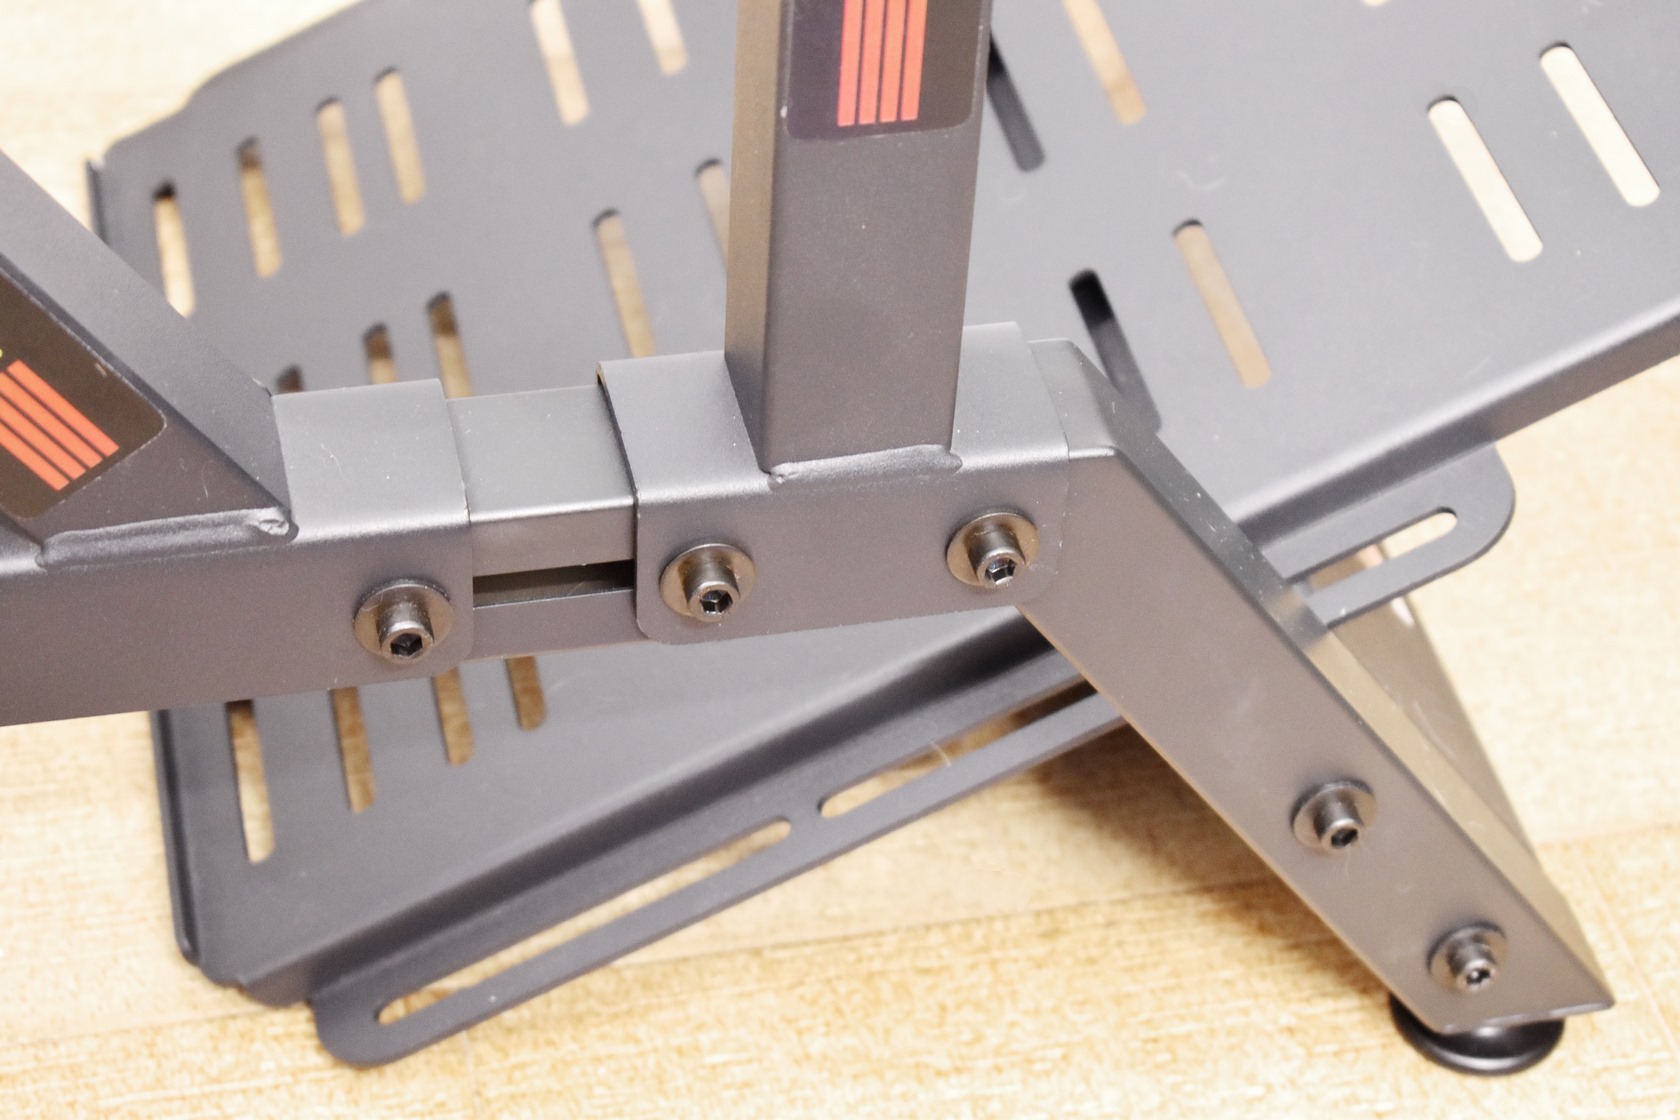
The two center mount pieces come after that (these are height adjustable - also notice the stickers on the sides, Next Level Racing has quite a few on the parts).
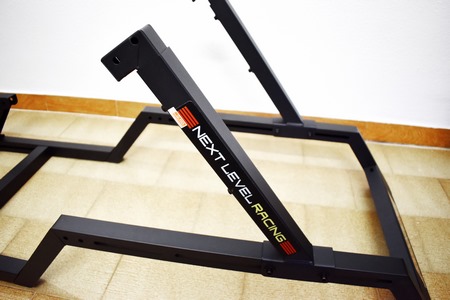
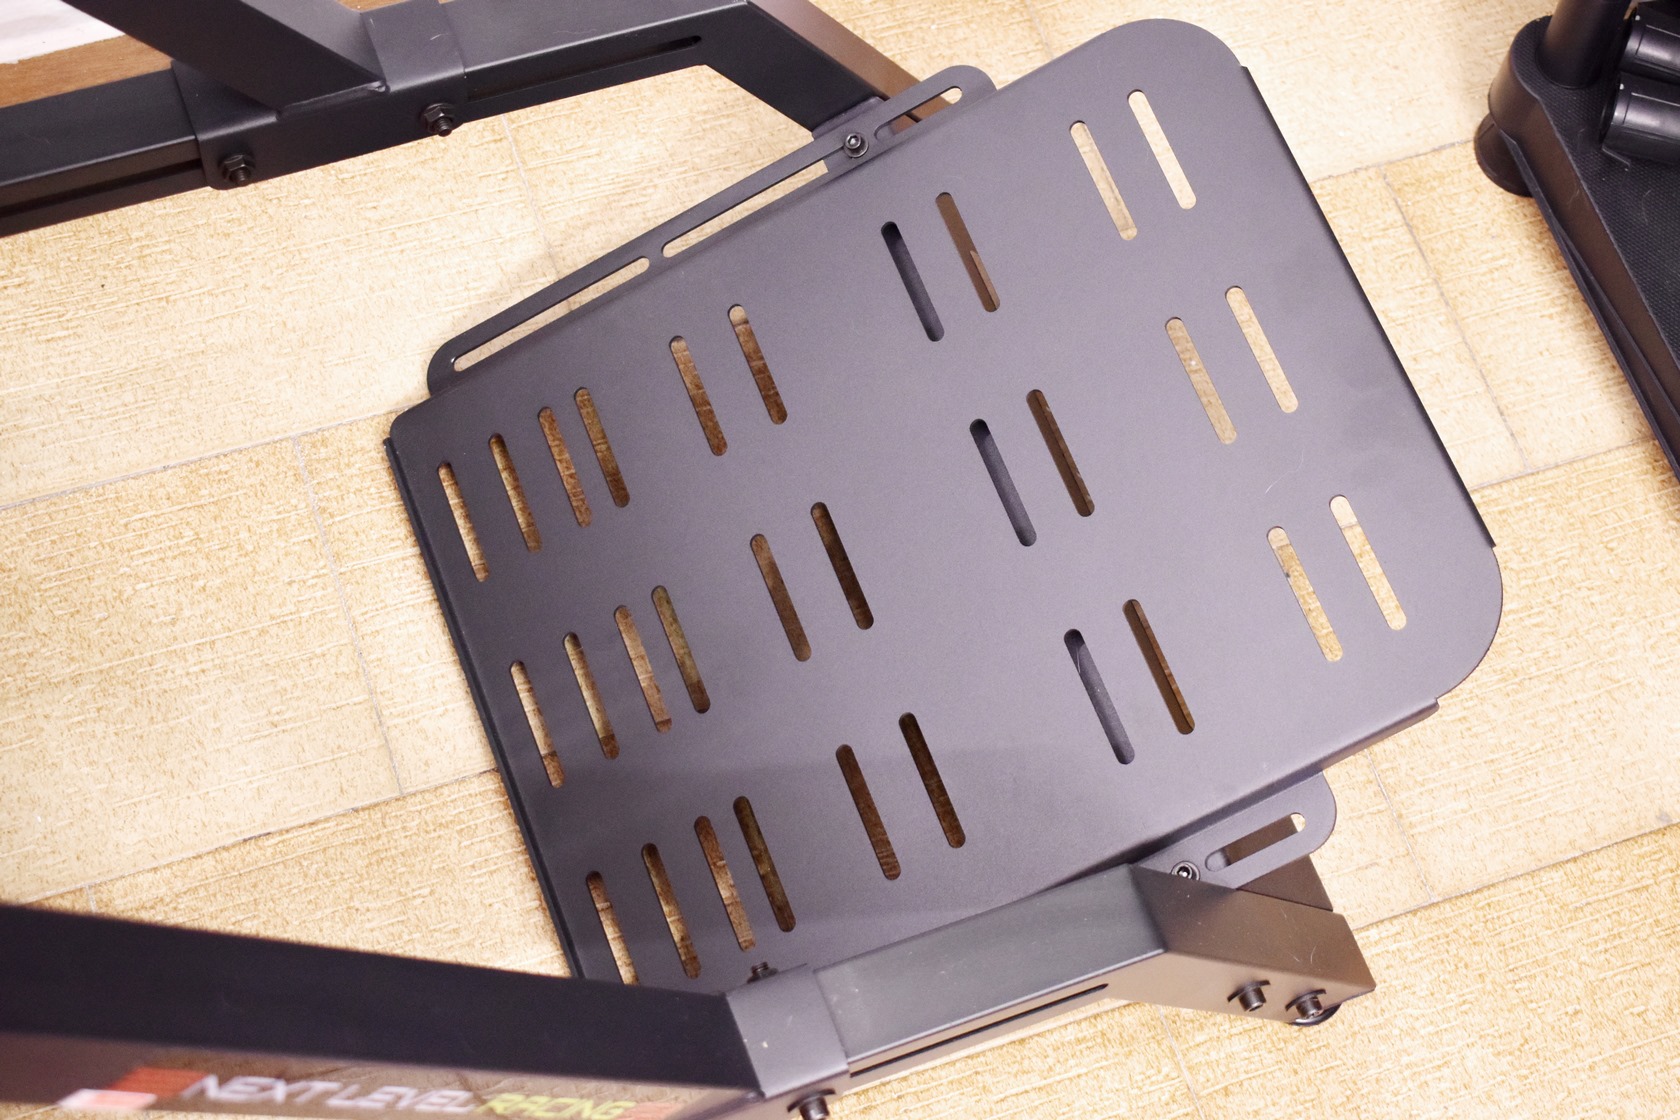
Next are the wheel a gear shifter mounts (the wheel mount is angle adjustable - 4 different positions).
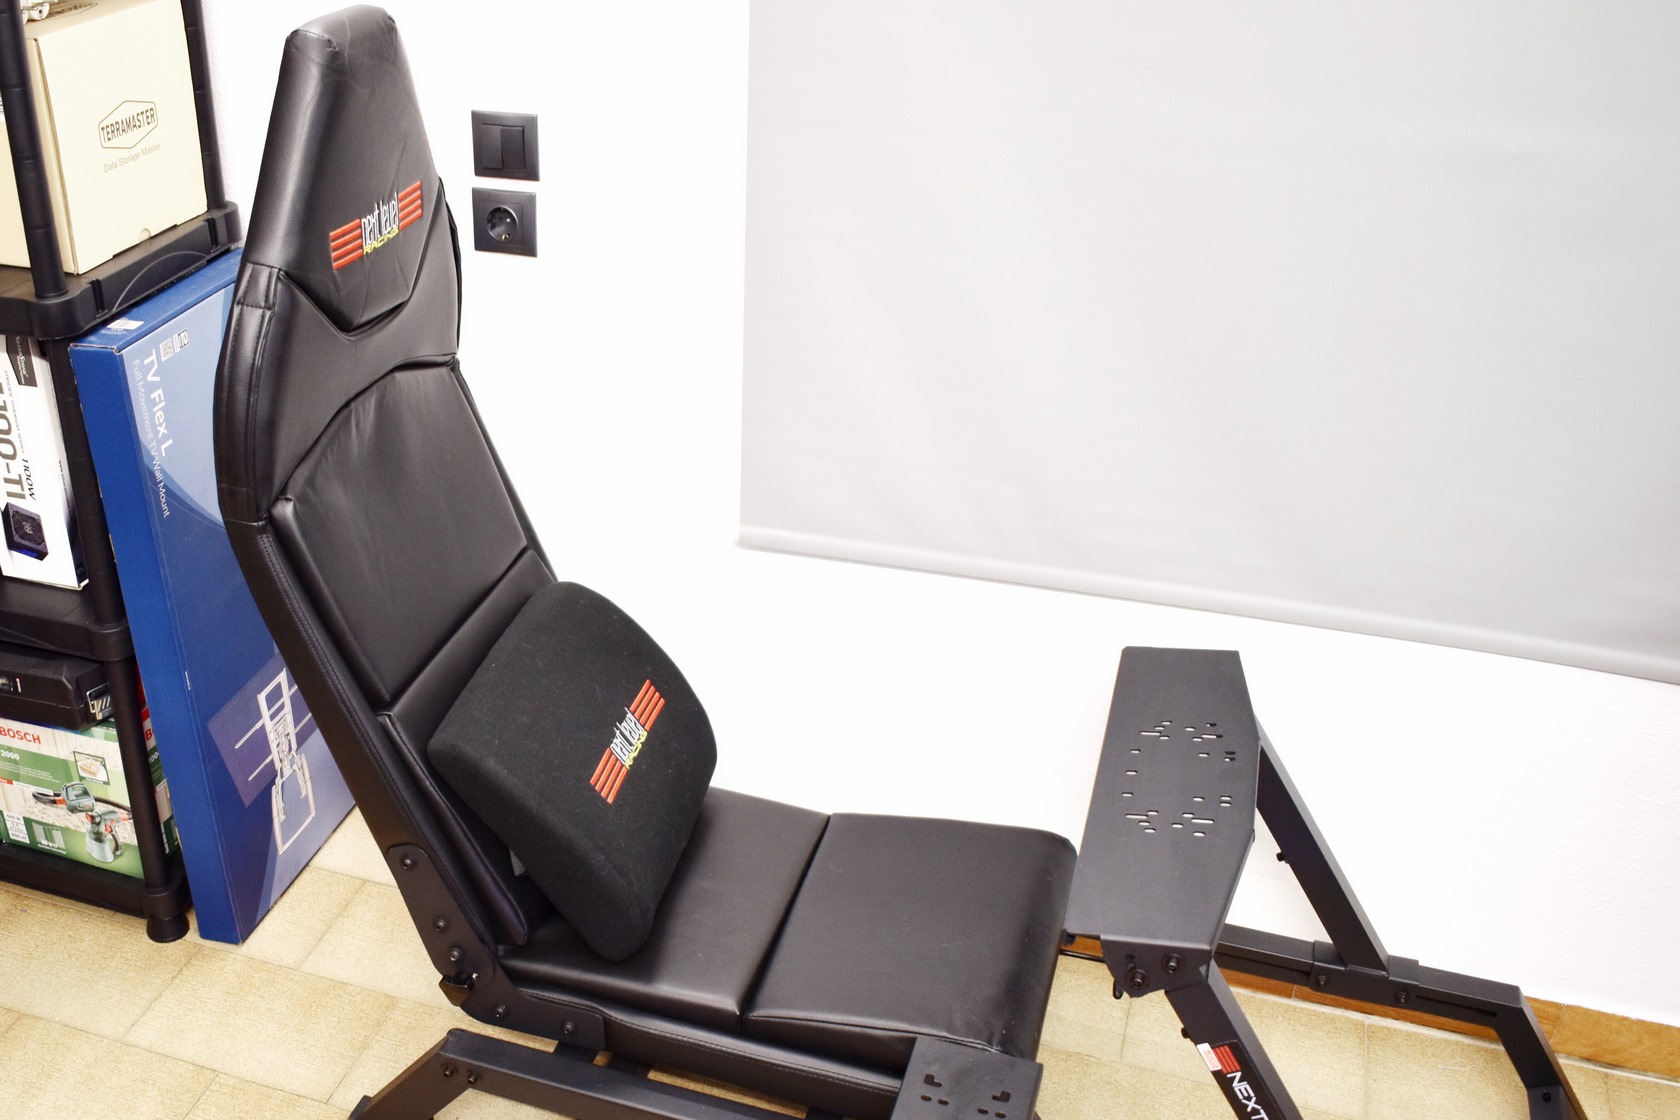
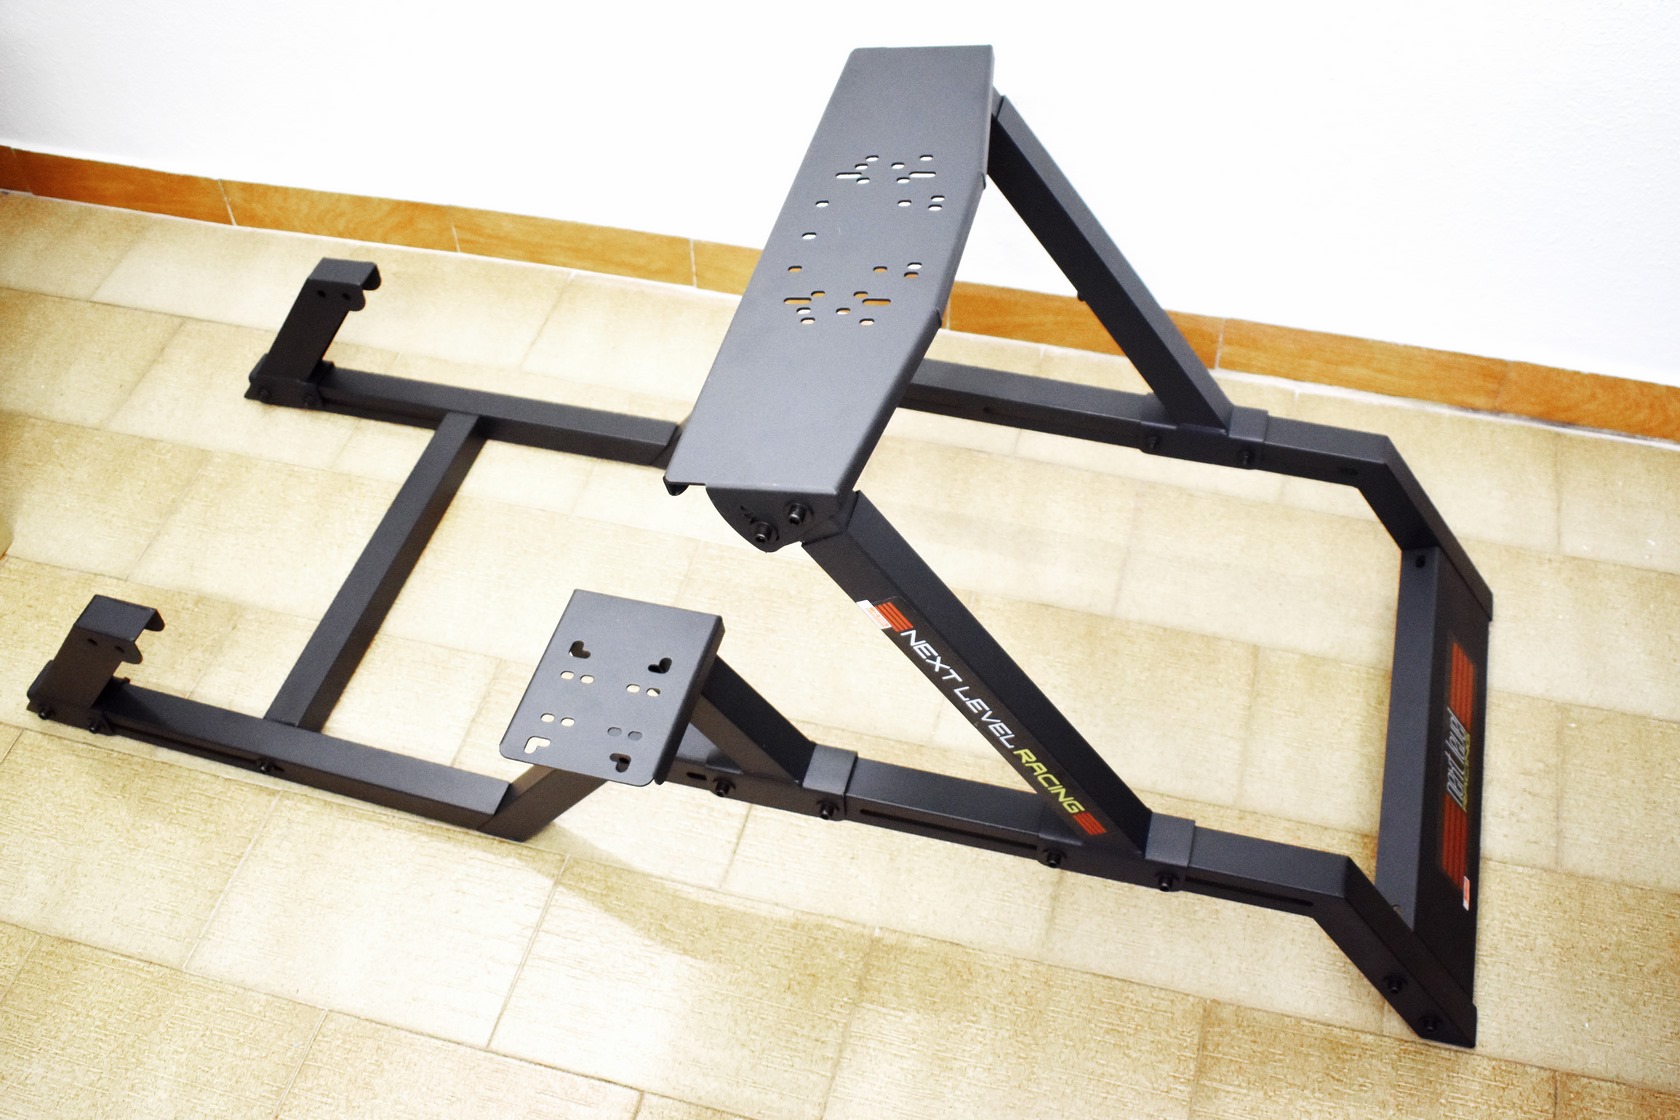
Mounting the seat is not really hard, just attach the base with the slider onto the cockpit and then attach the backrest onto the base.
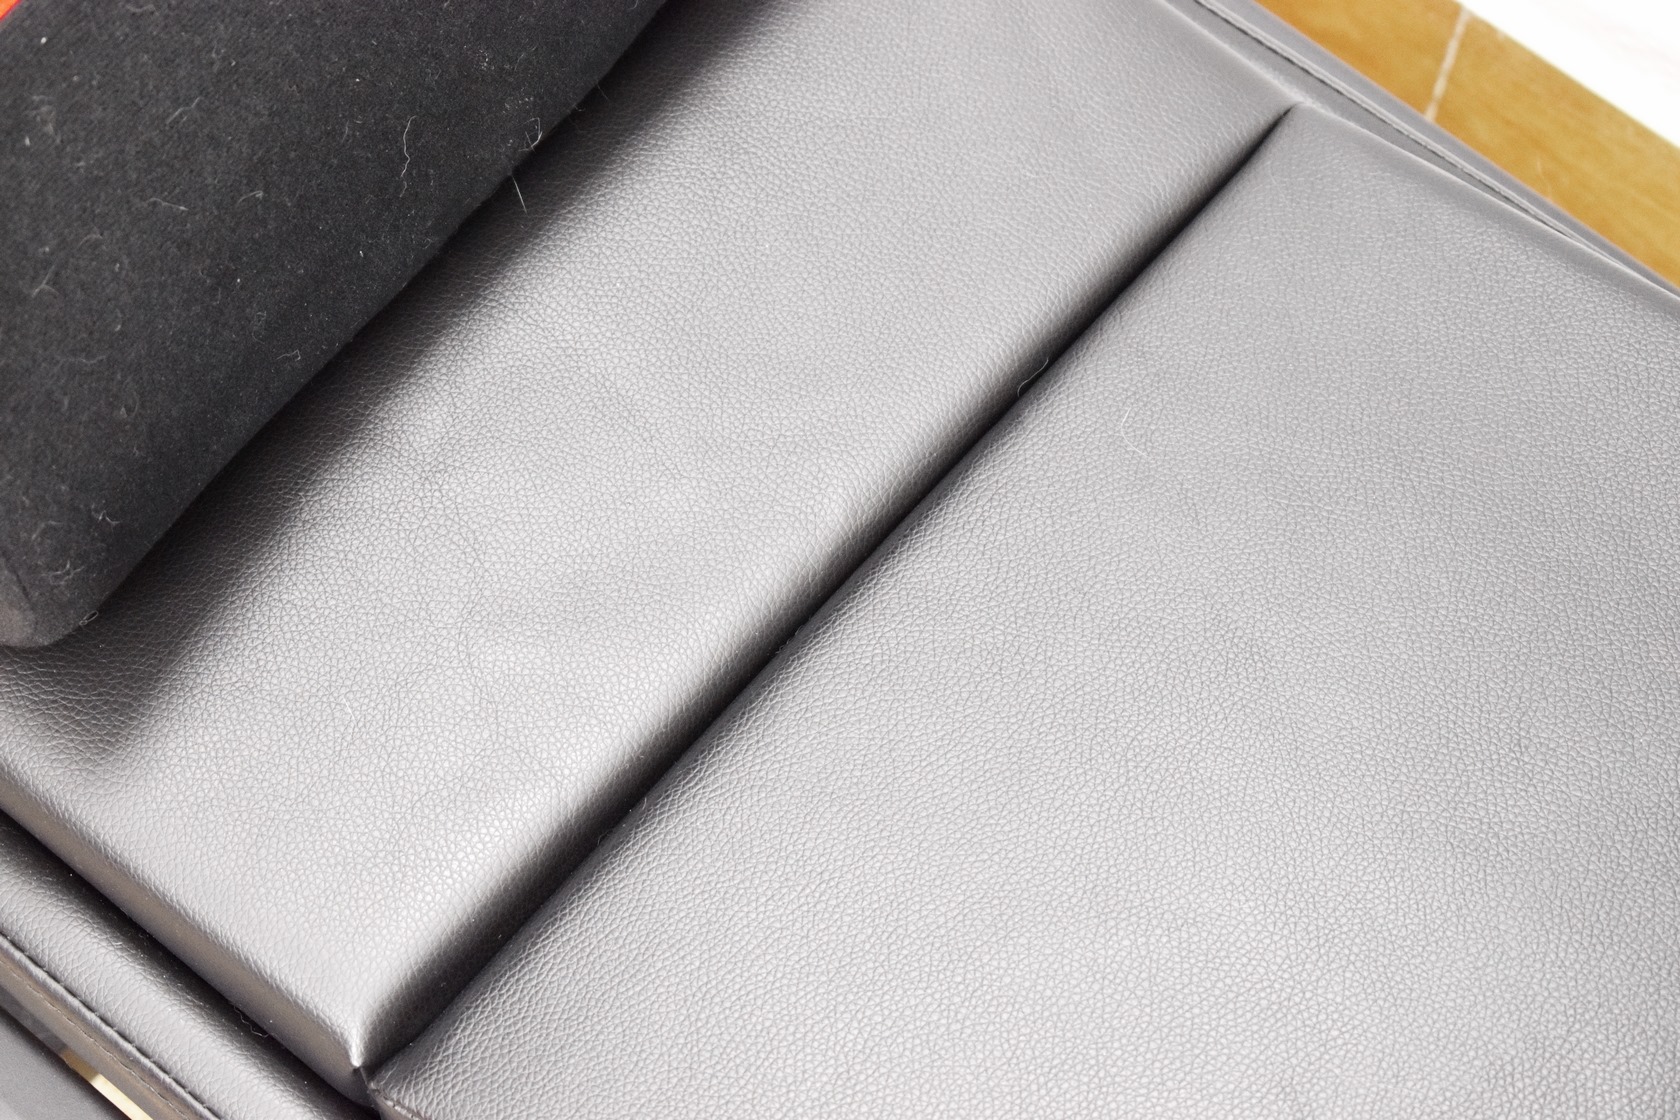
The material Next Level Racing has used for the seat seems to be genuine leather at first glance but it's probably faux leather of high quality.
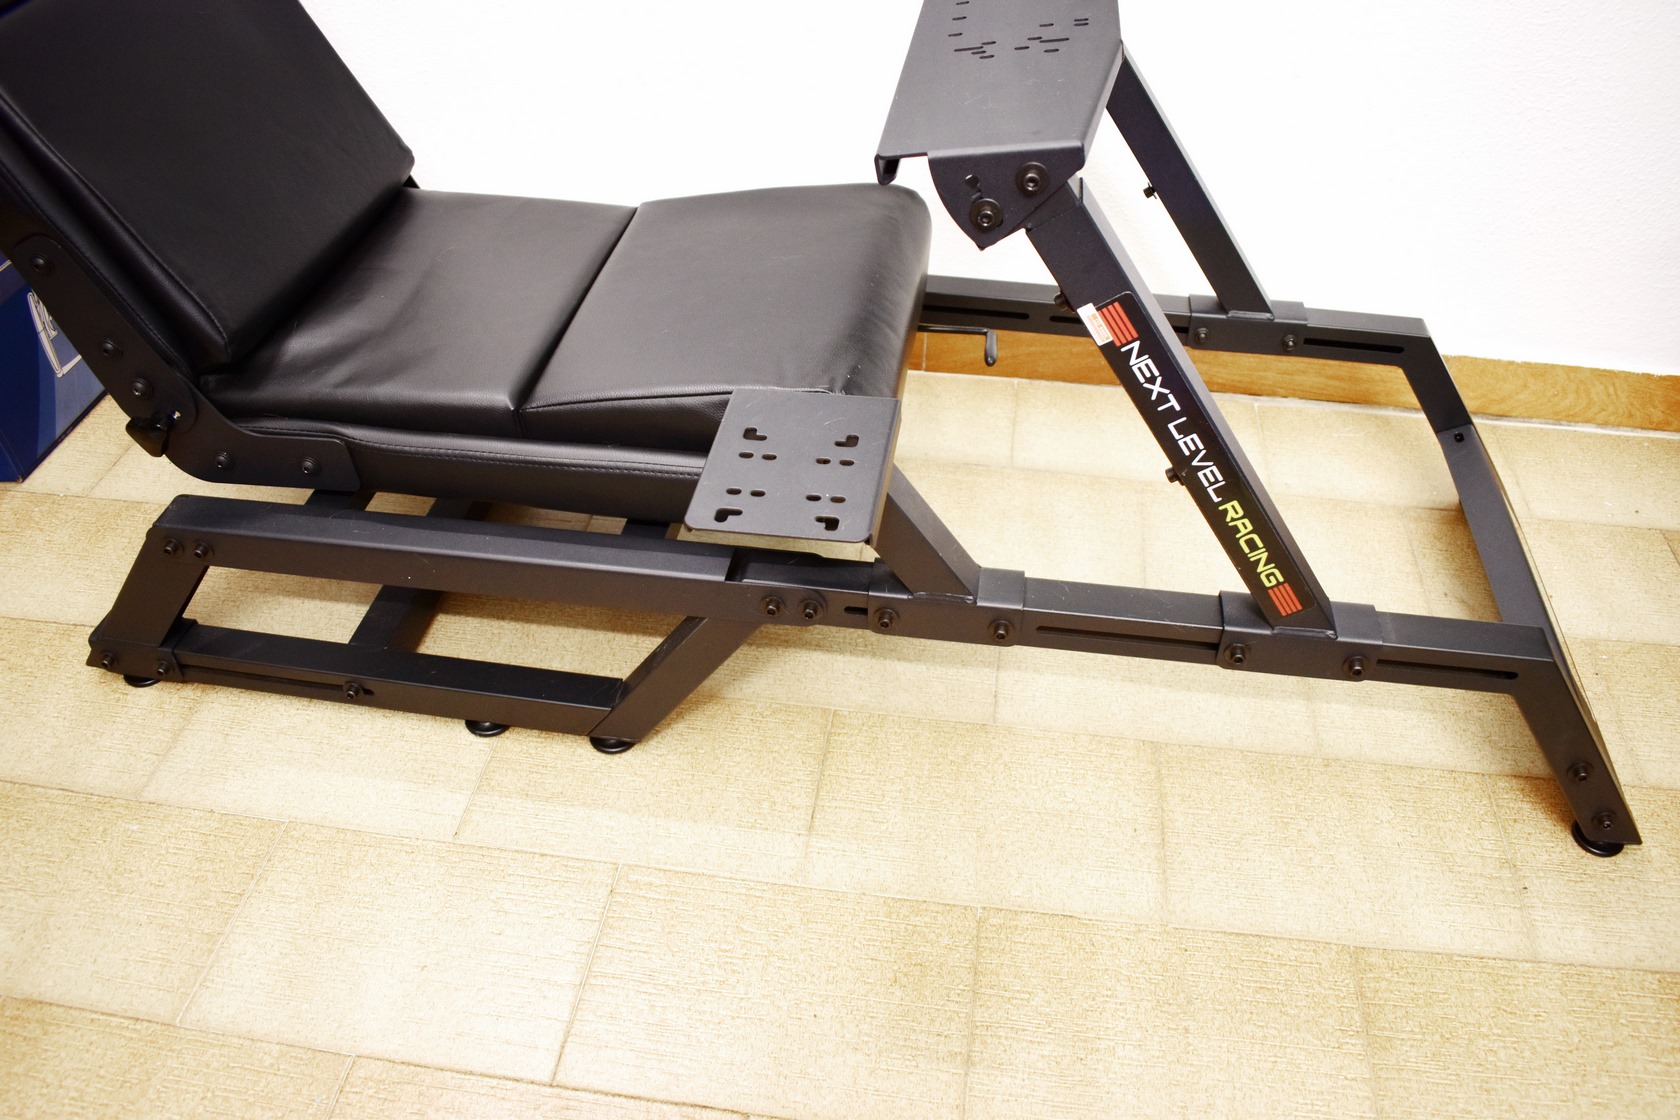
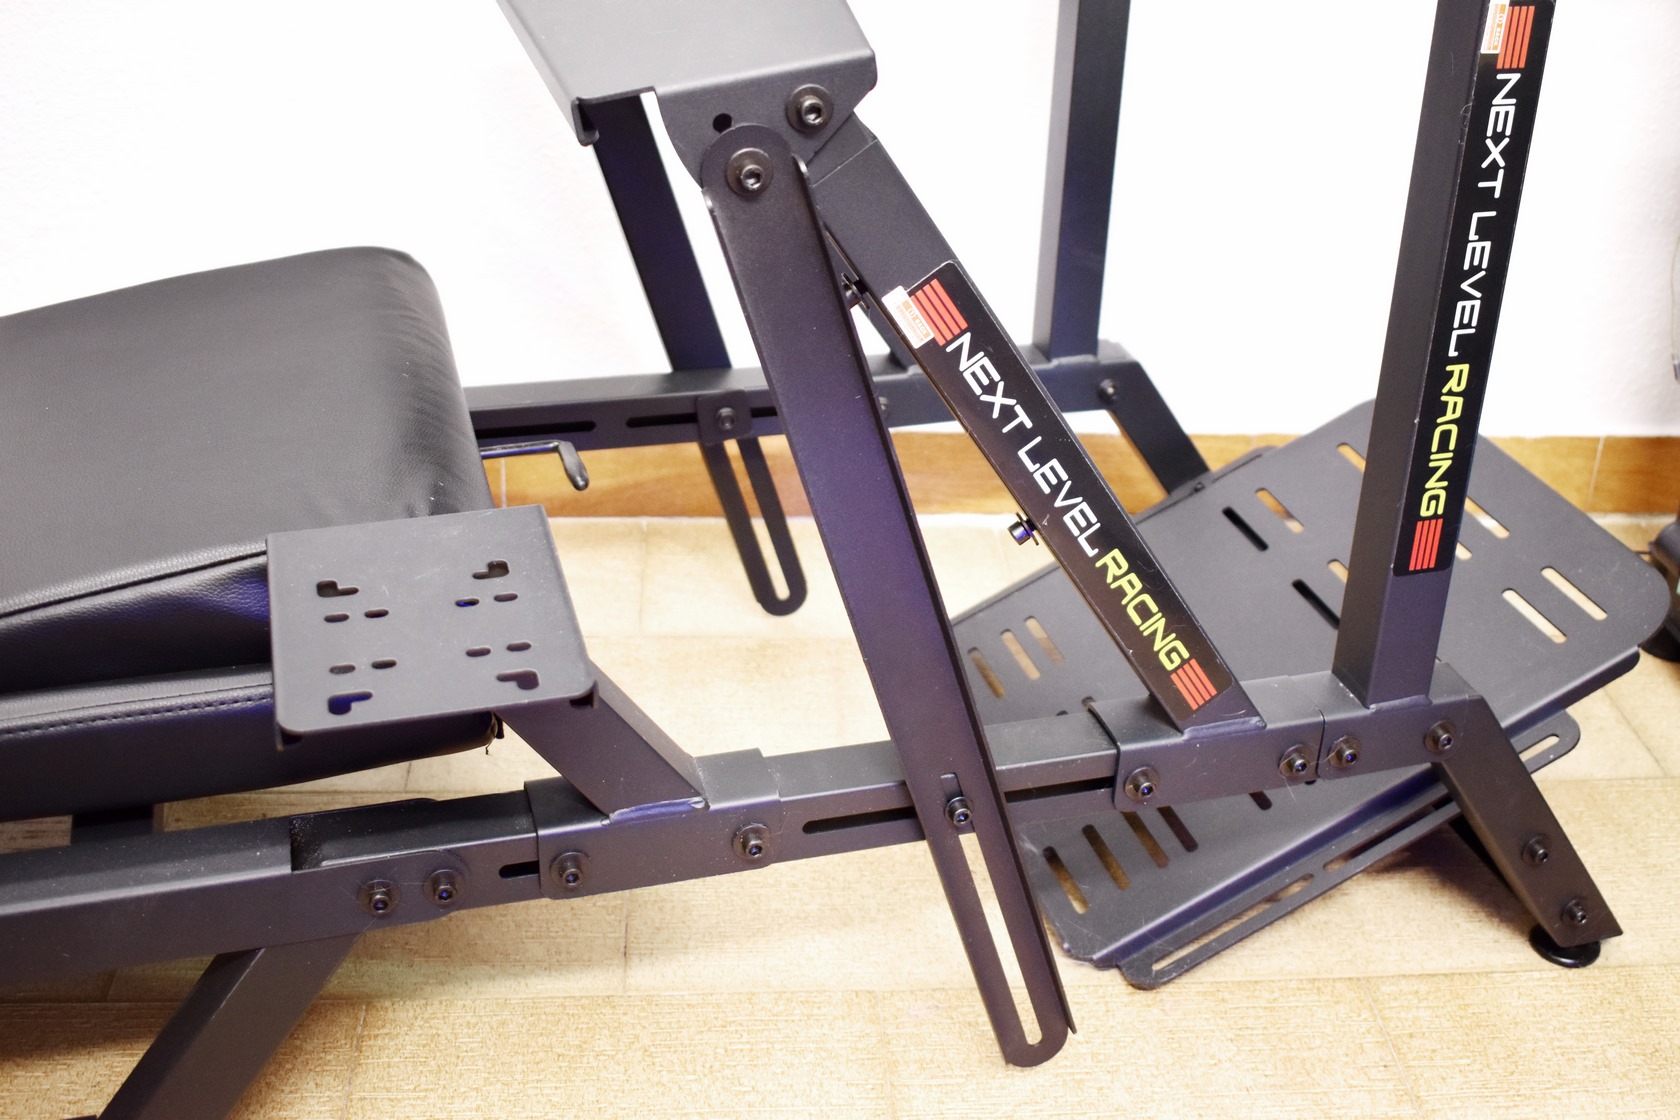
Before or after attaching the seat, you should attach the stands or wheels (doesn't make much difference, the cockpit is still not heavy at this point).
As mentioned earlier the mount for the pedals can be positioned in 3 different ways, two are on the same level/height as the seat and one is all the way down as seen above (if you plan on also playing flight simulators and you're a somewhat tall person this may work best for you - did for me).
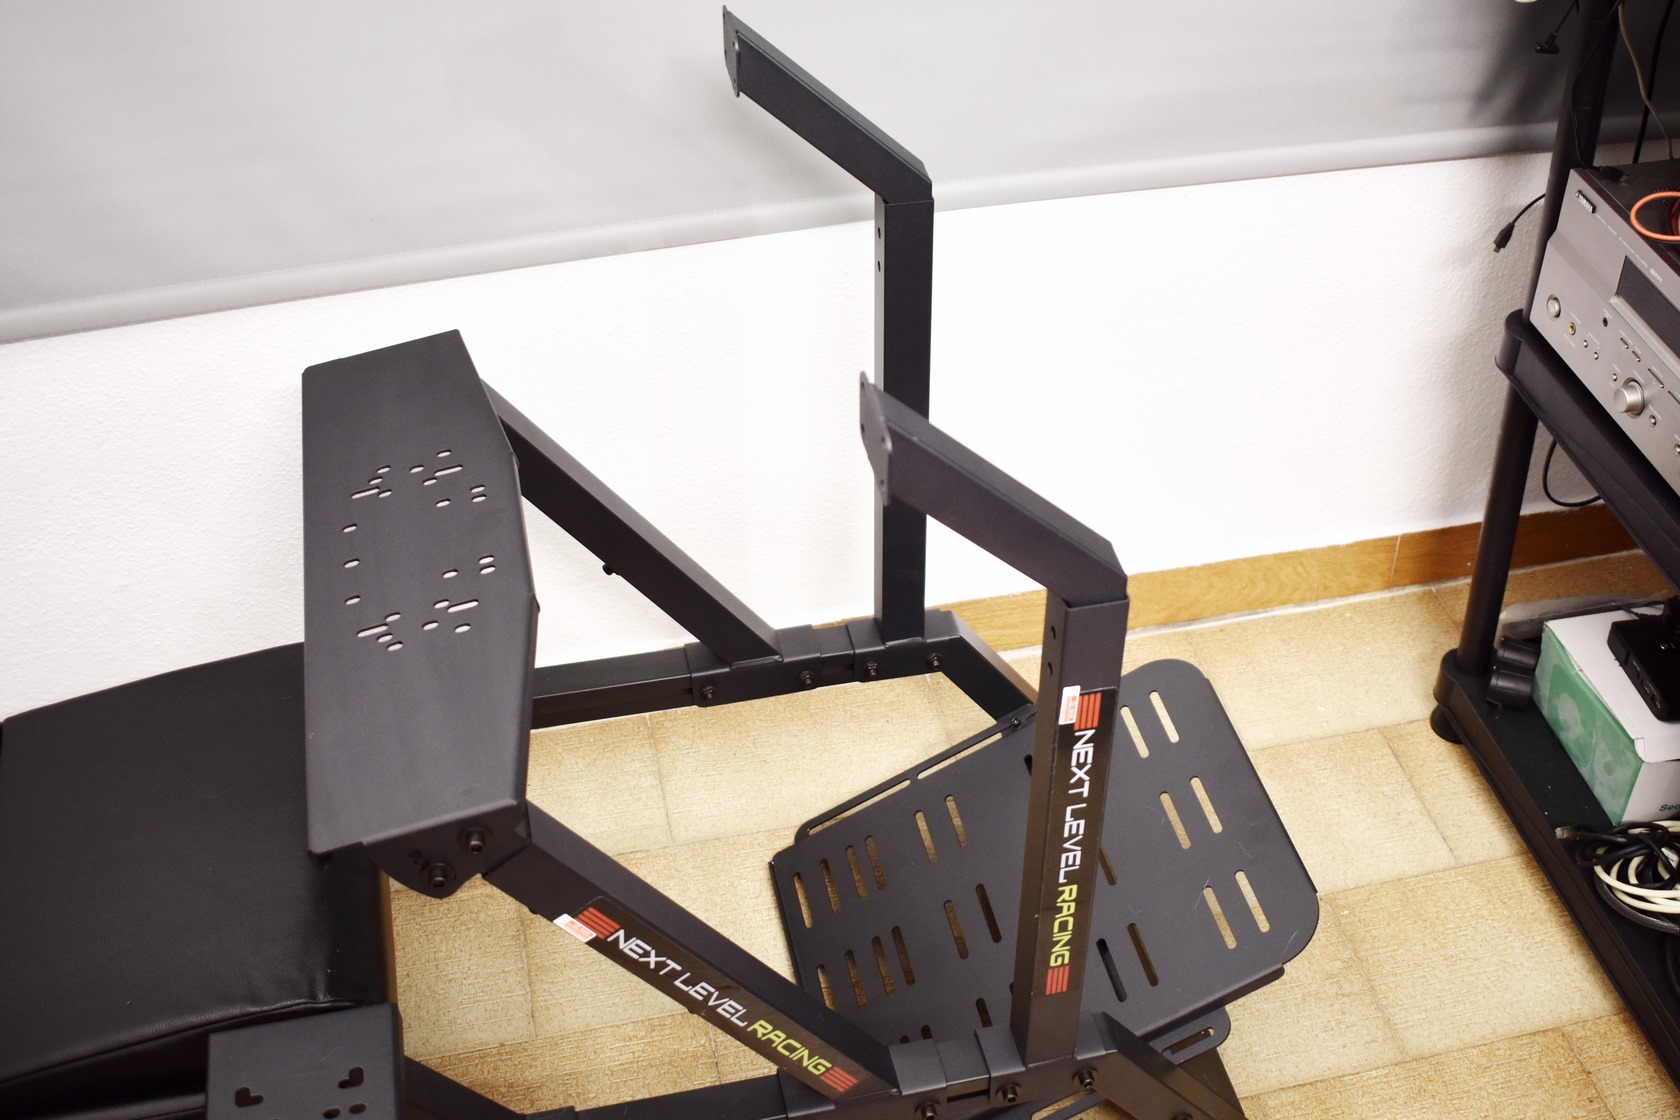
After that i started mounting the monitor stand by attaching the front legs.
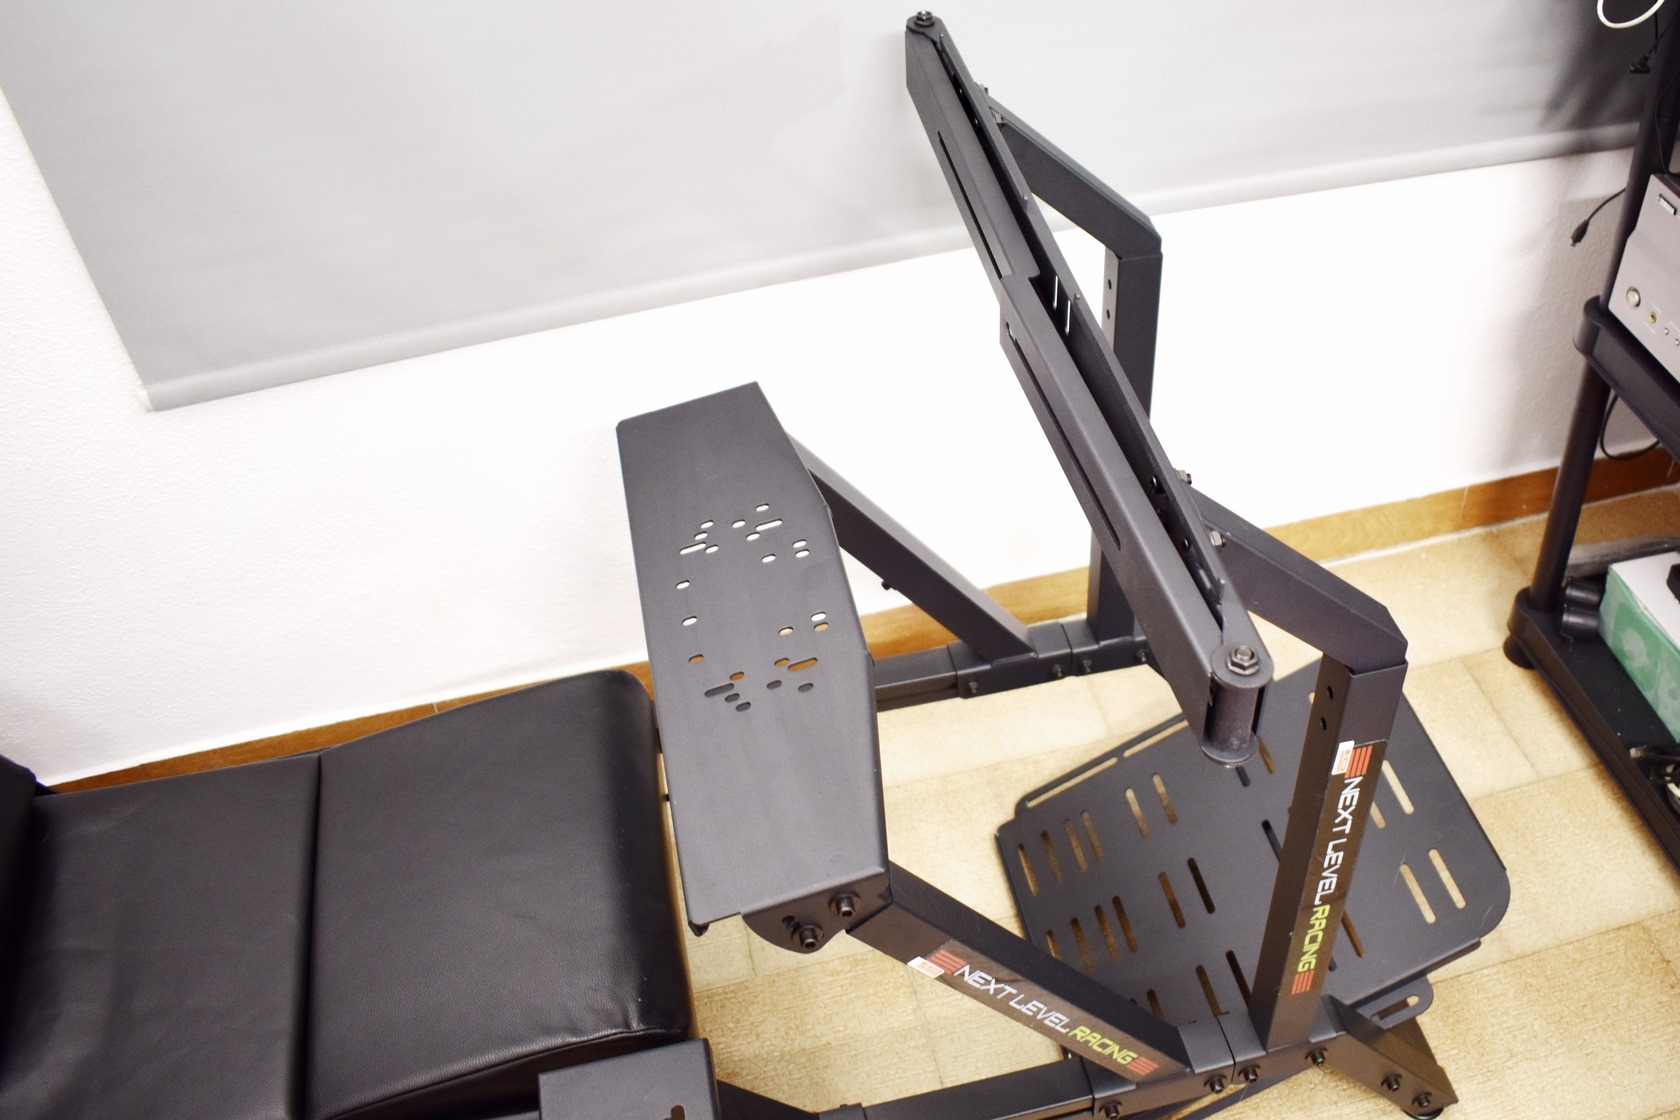
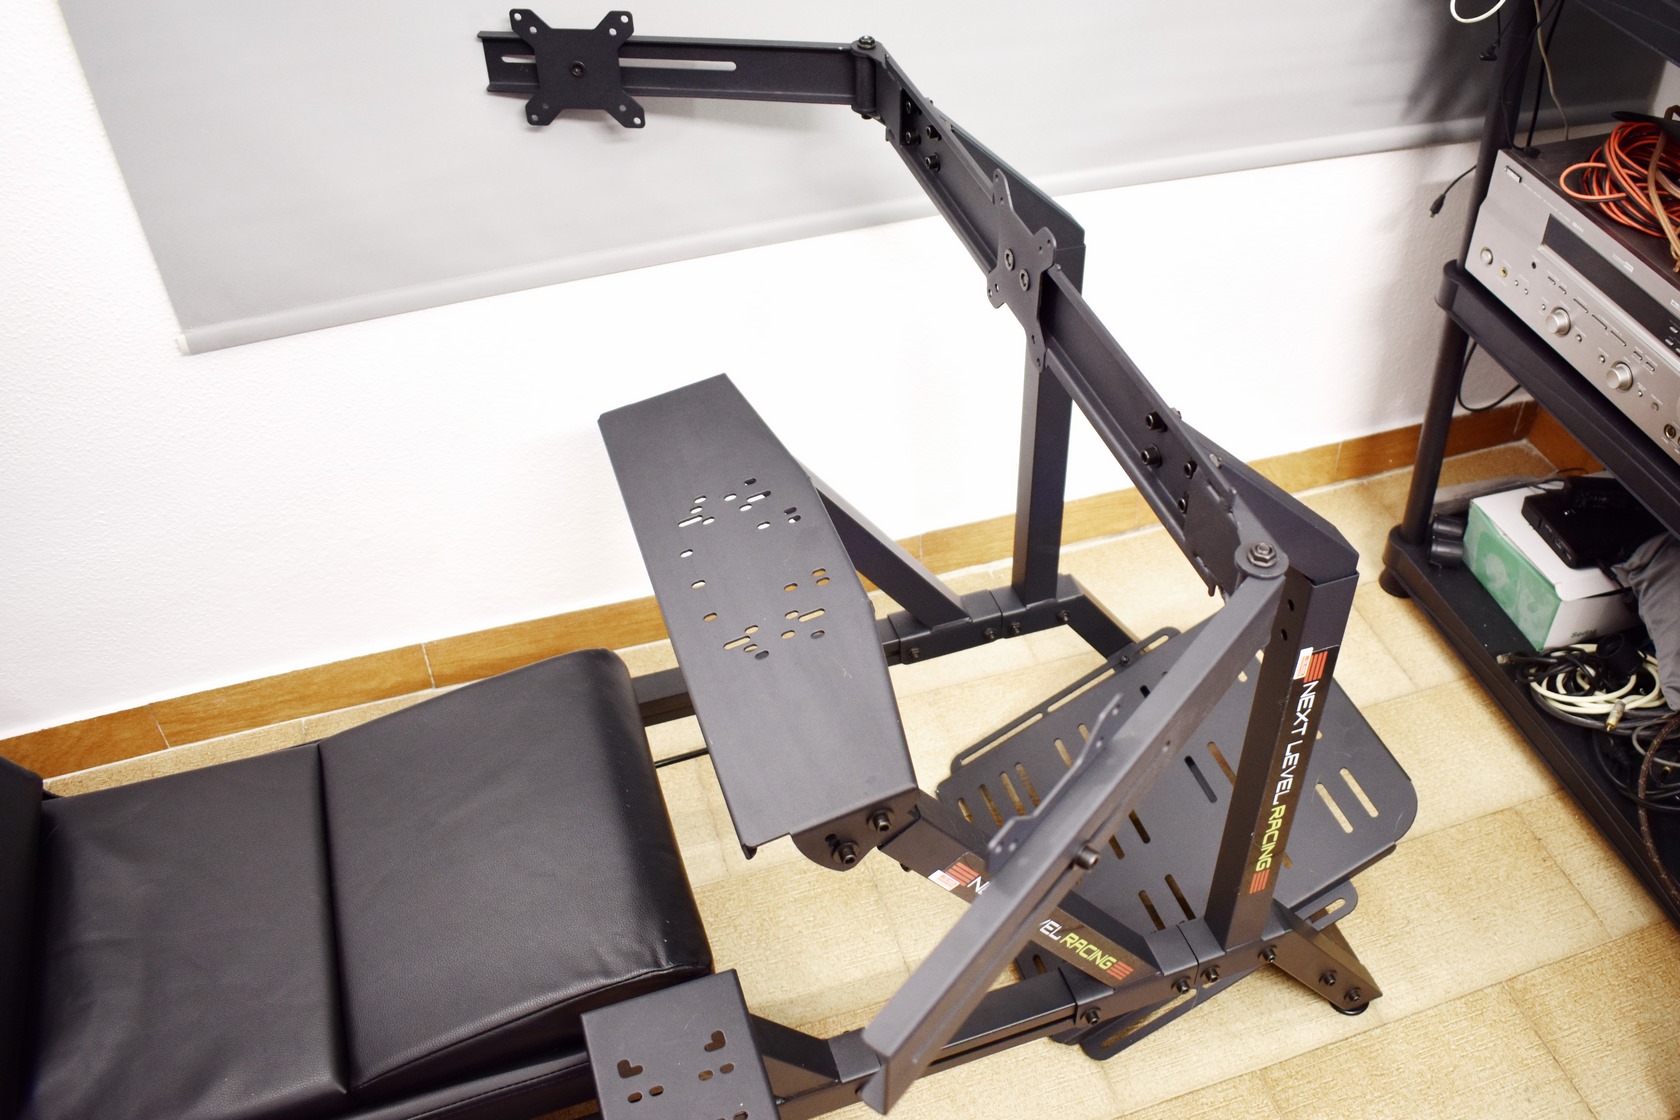
The tri-monitor mount looks nice but as expected if you plan on using 3 screens you should also use the bundled support legs.
Speaking of support, it may be necessary for you to attach the extra wheel mount supports seen above.
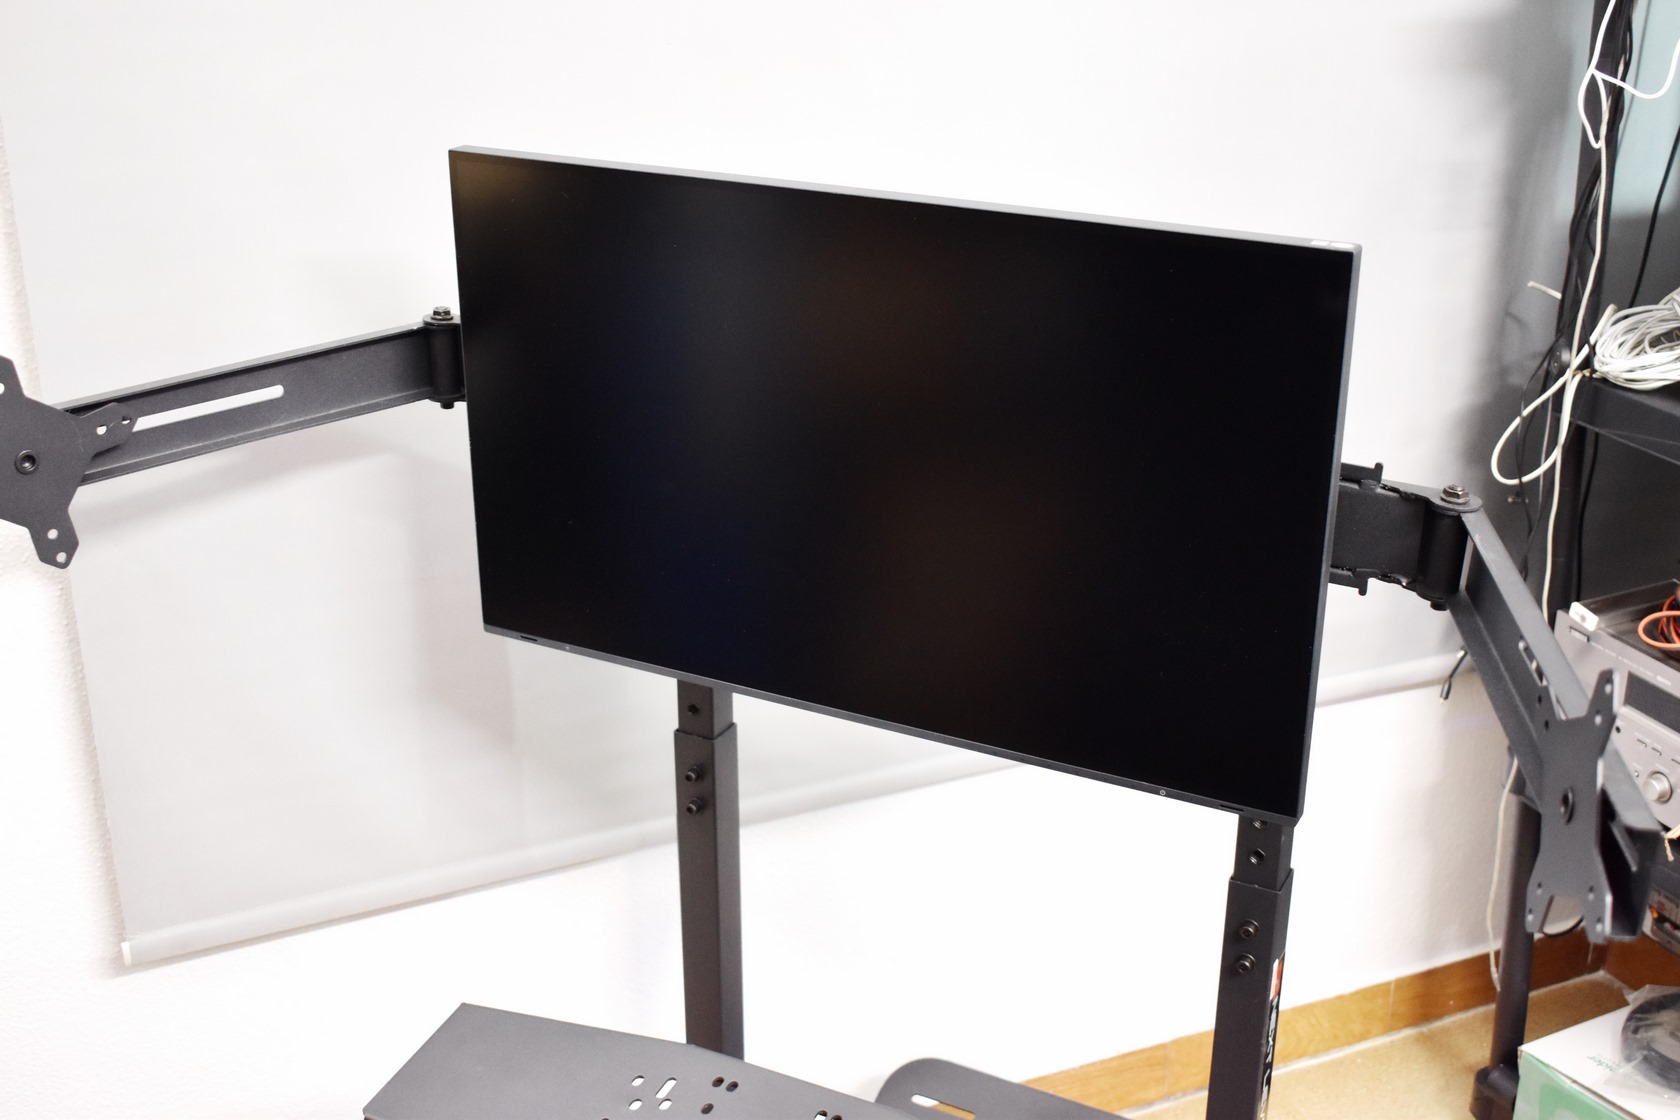
A single 27-inch screen may look small (and compared to a single 65-inch one it is) but a total of 3 add to almost 80-inches of 16:9 bliss.
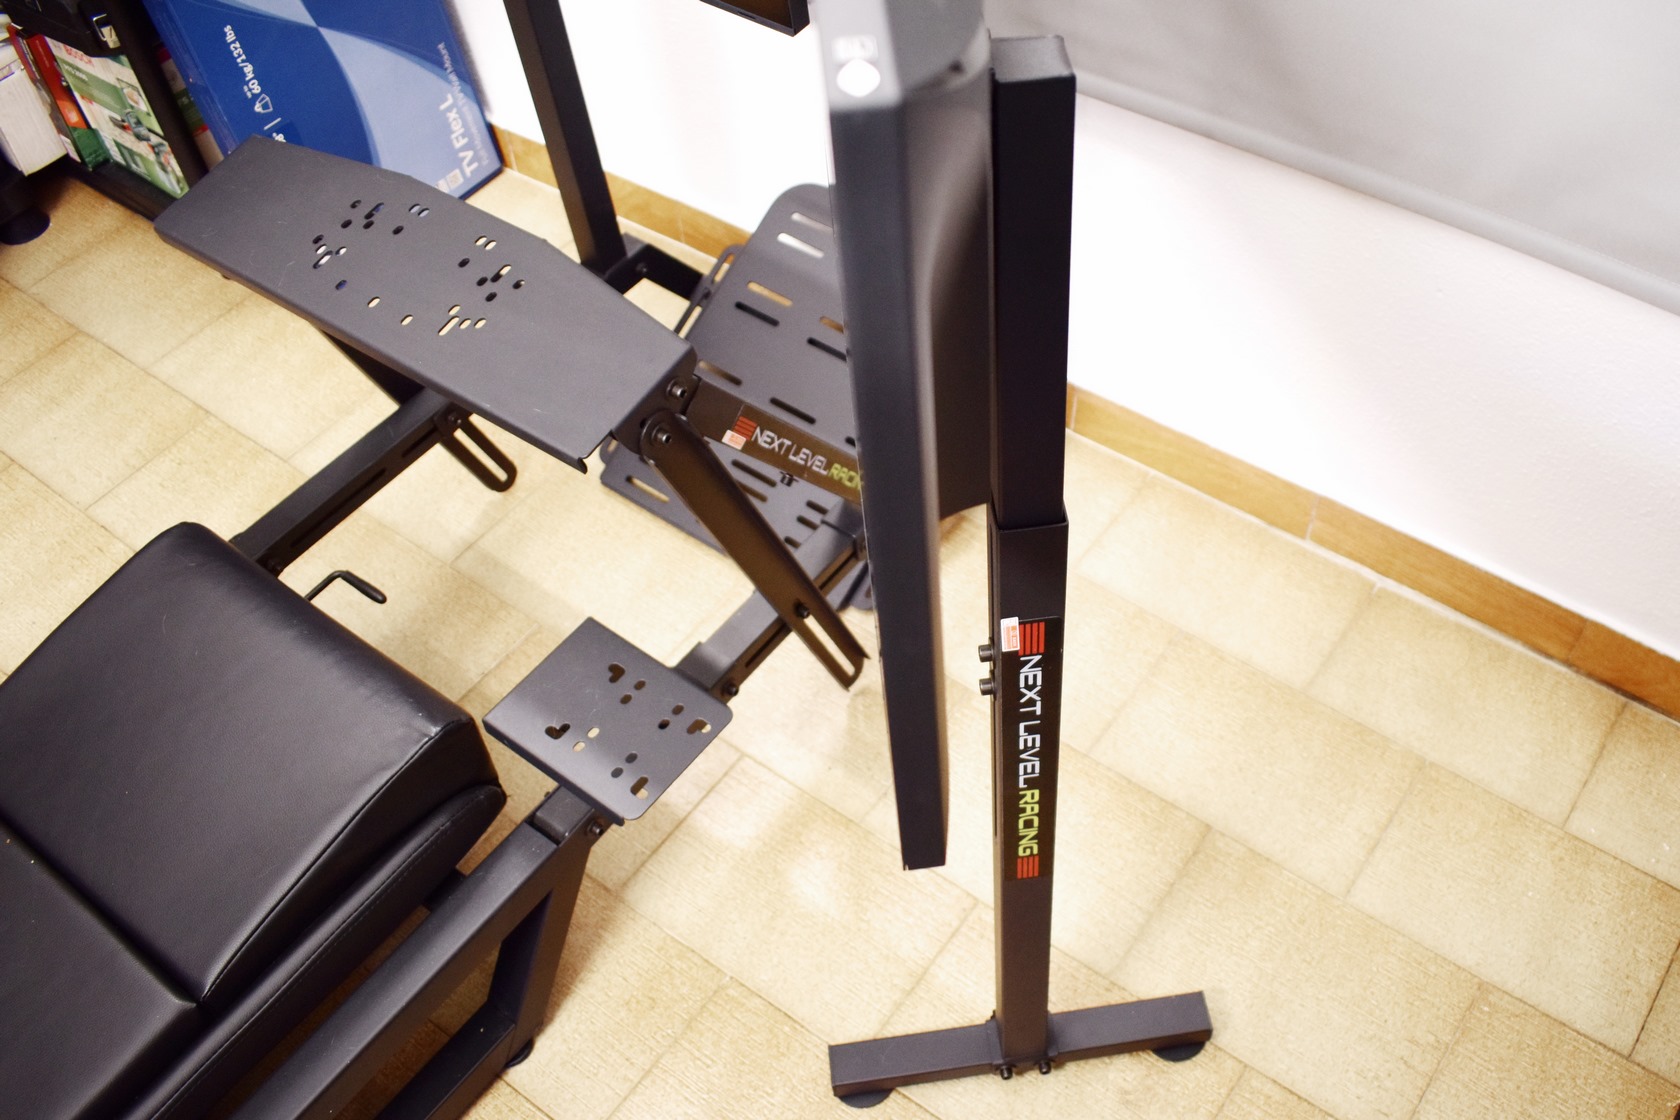
Of course, you will need to use the extra support legs as seen above.


.png)

