
 O-Sense

.jpg)


ASSEMBLY
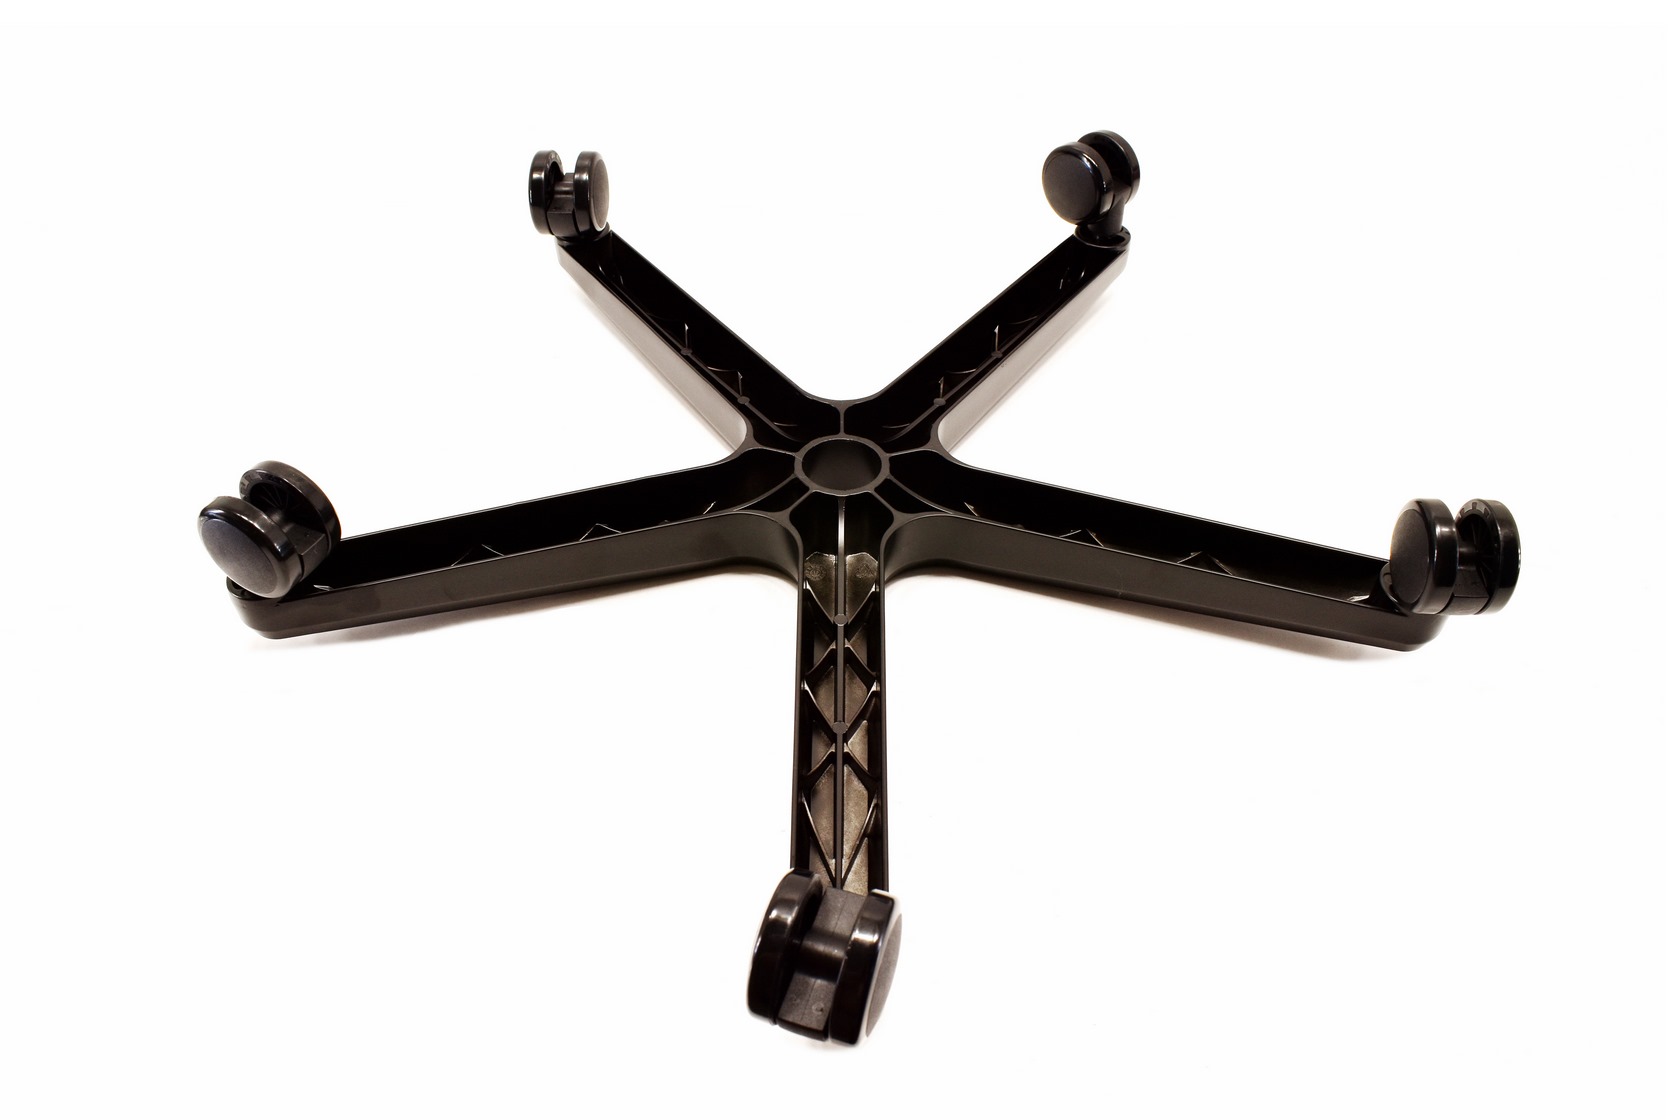
Instead of starting with the backrest as most installation instructions advice I always start by attaching the wheels onto the base as seen above.
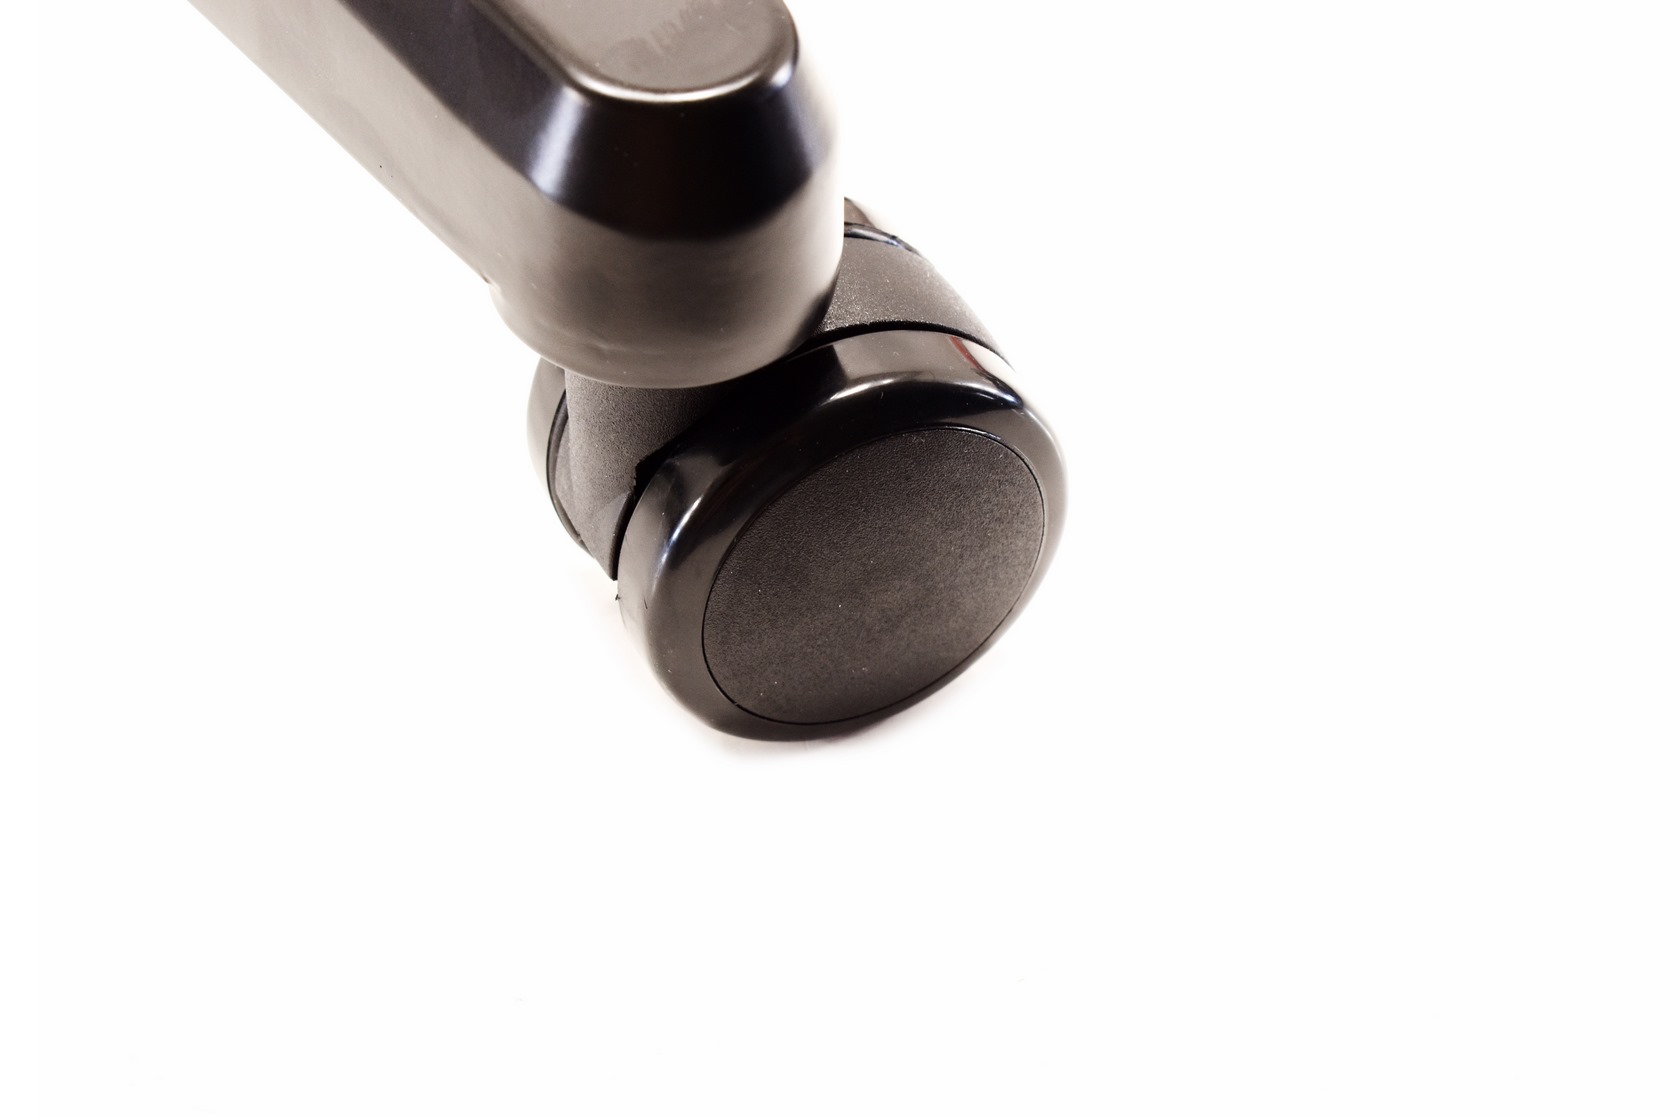
60mm caster wheels hit a good balance between looks and durability (yes, the same are used with the HERO TX model).
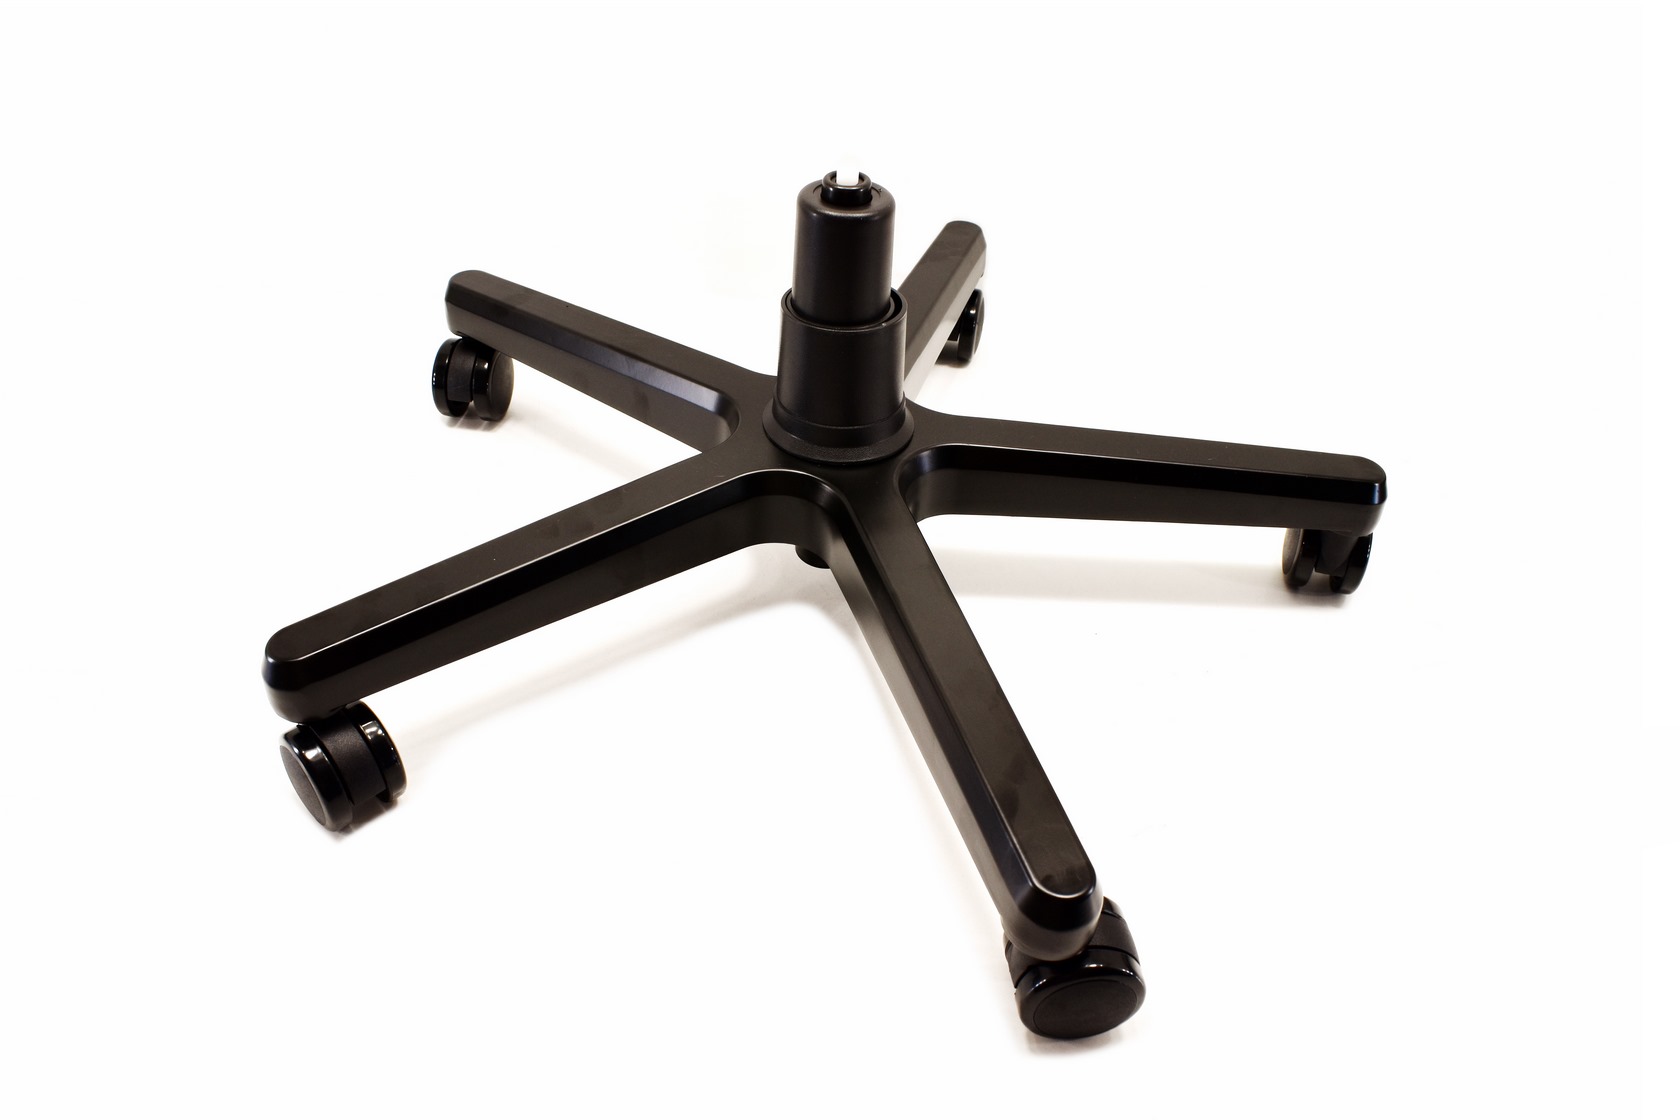
Attaching the class-4 gaslift with its plastic cover onto the 5-star steel base came next.
Again, just like with the HERO TX the steel base of the HERO Real Leather is more reinforced than most I’ve seen to date.
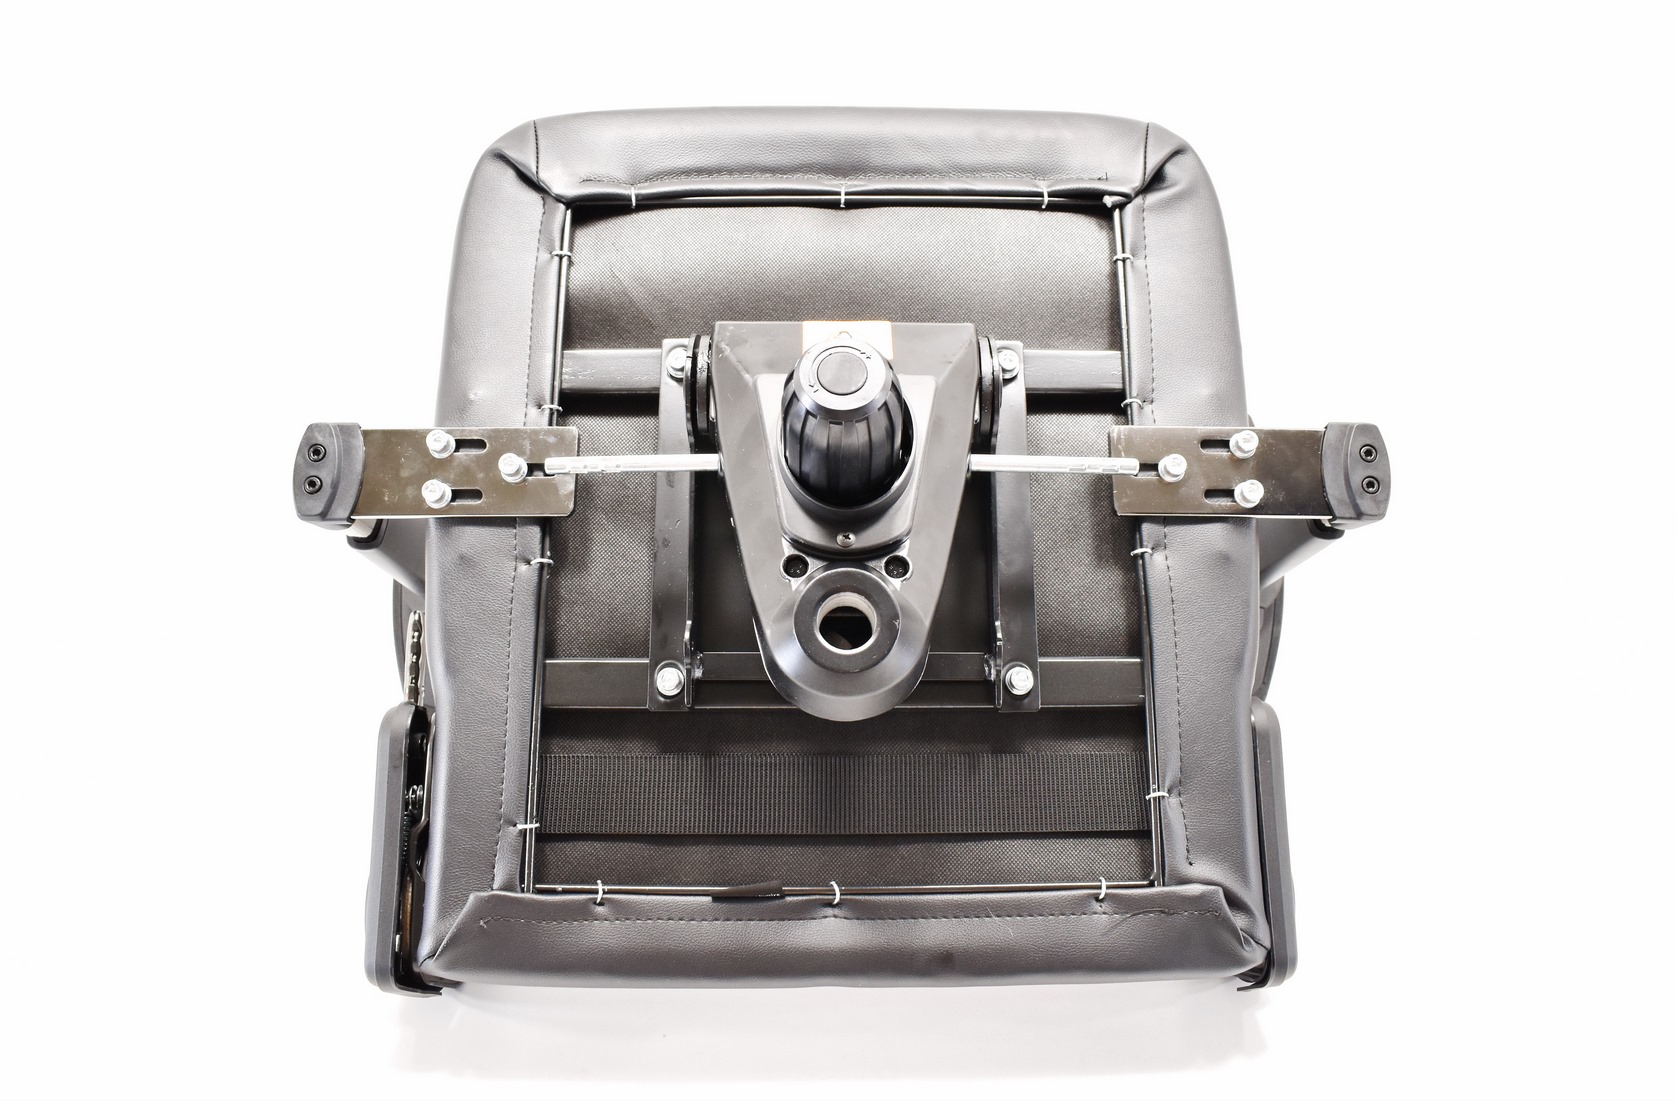
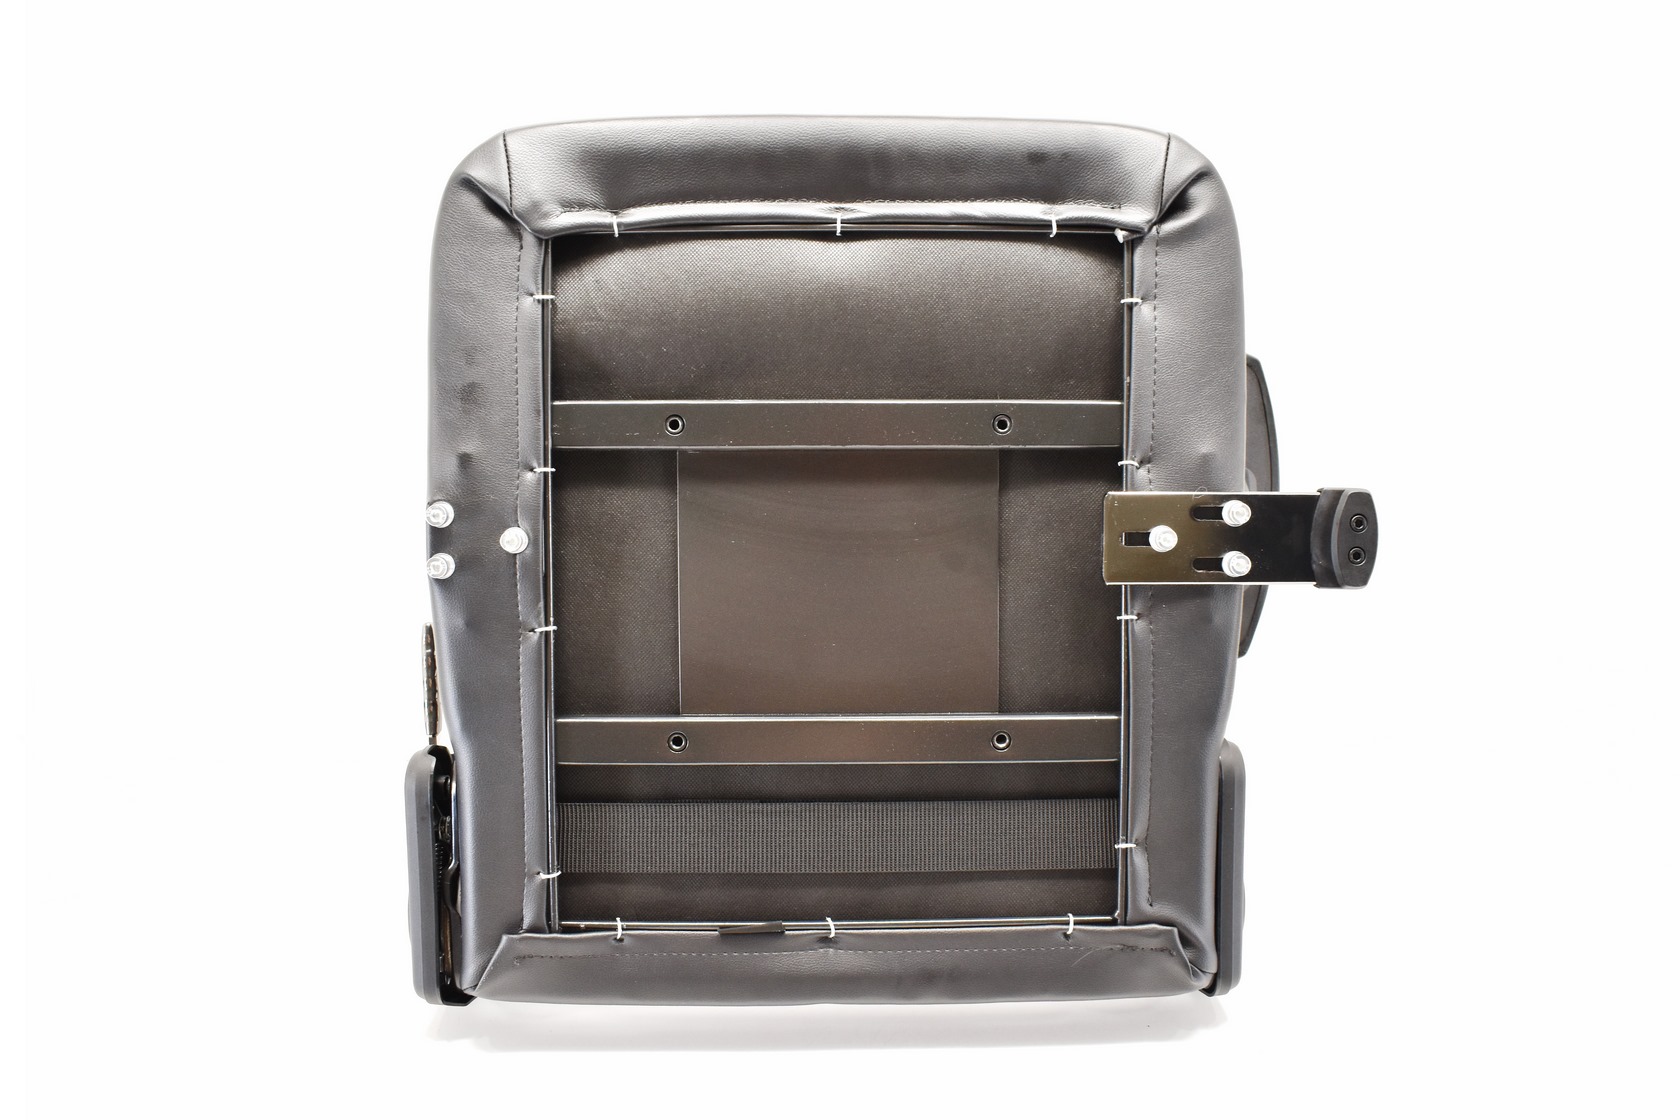
The 4D armrests require 3 Allen screws each whereas the Z-support mechanism requires 4.
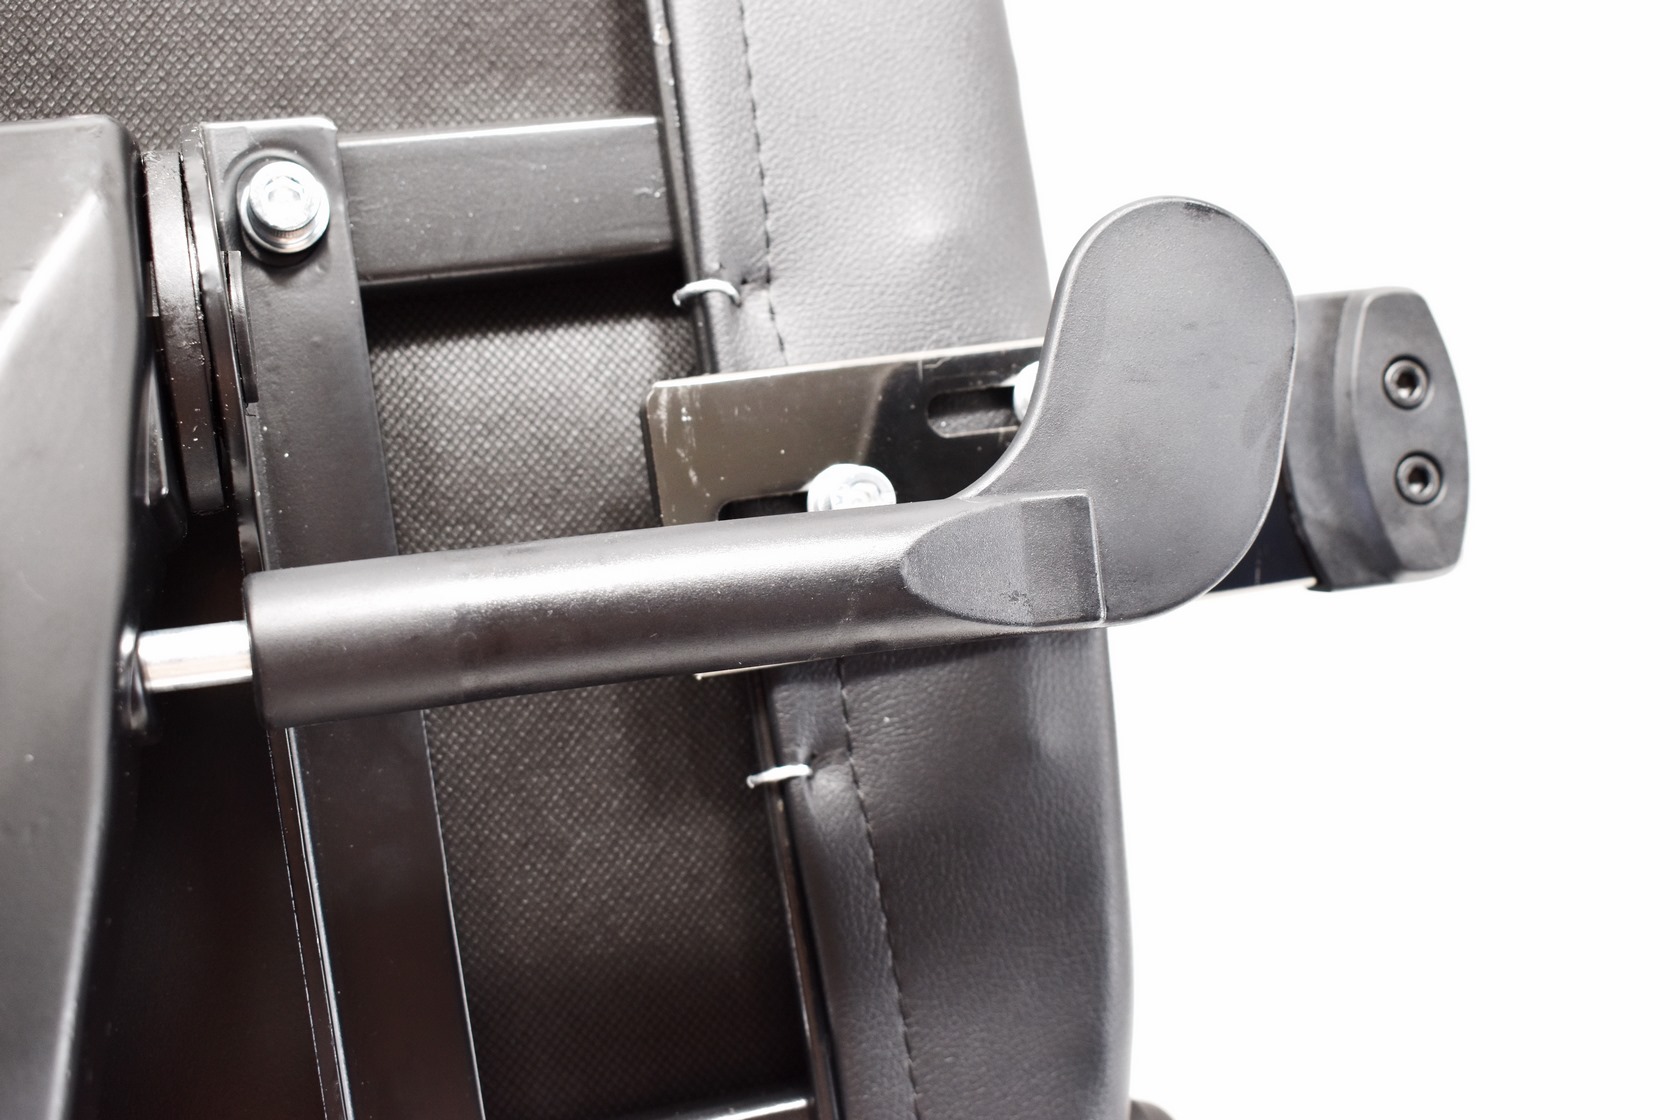
Don’t forget to also attach the plastic handles on the mechanism.
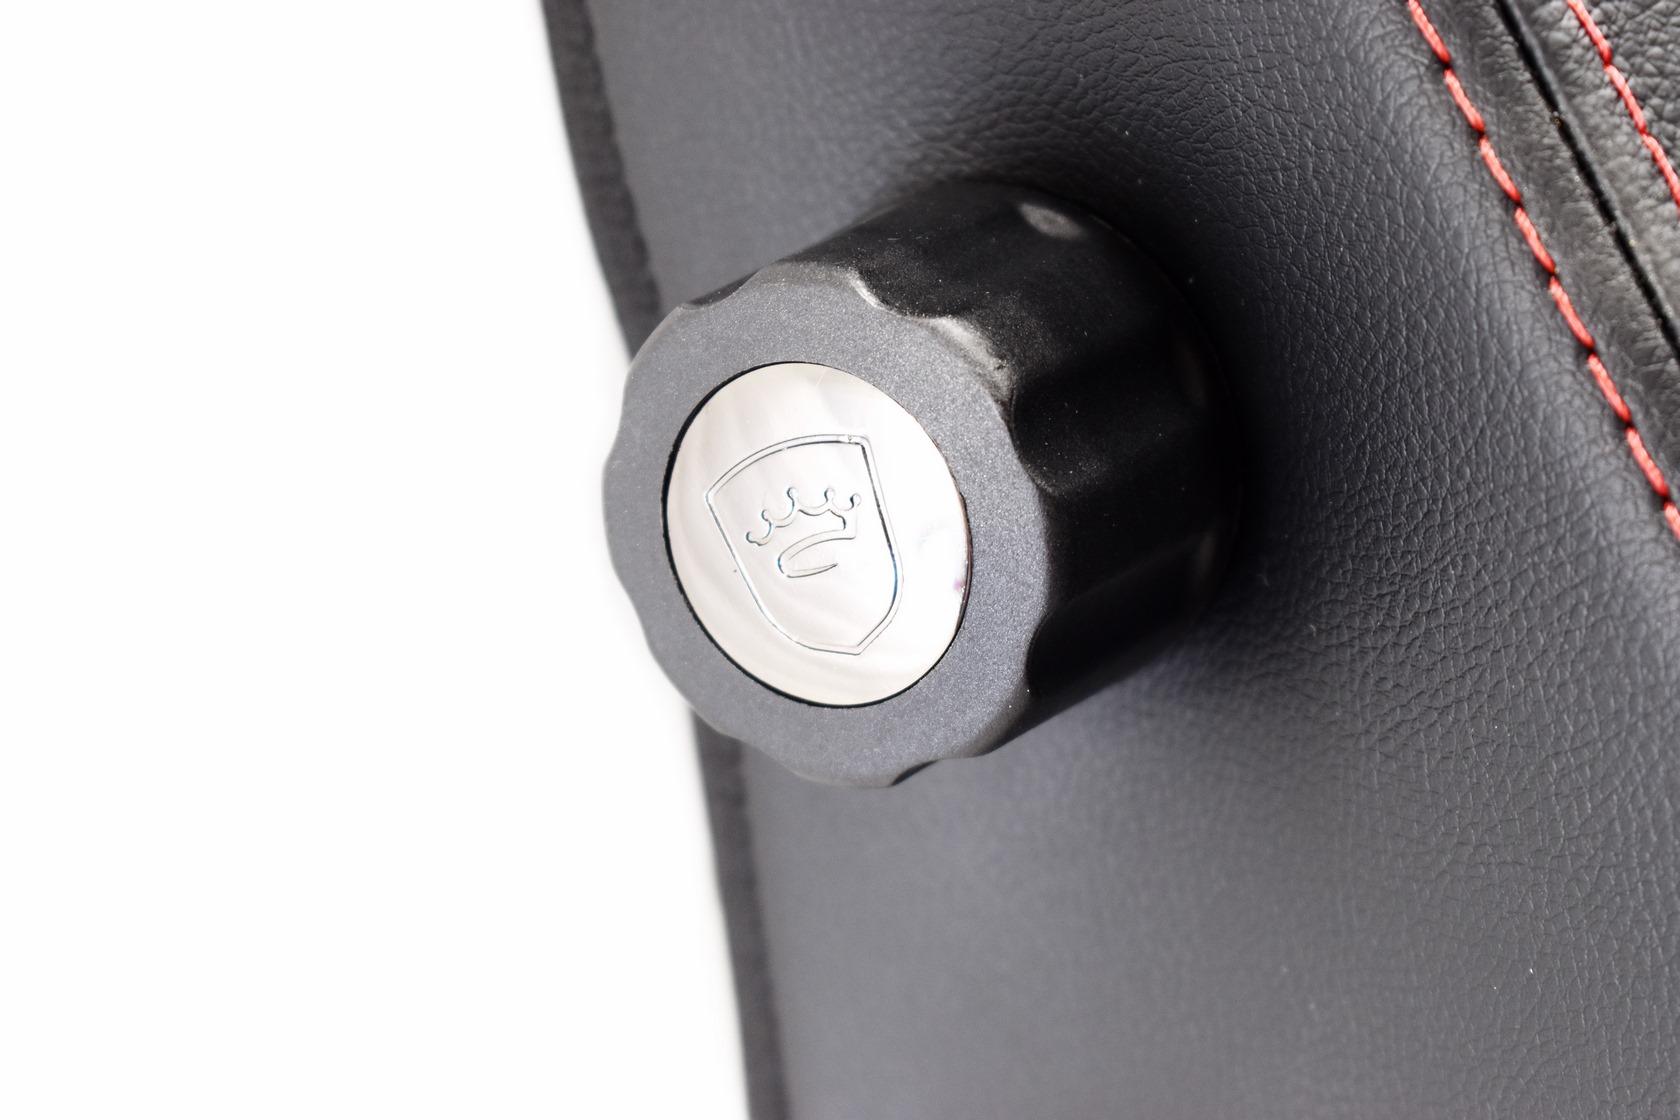
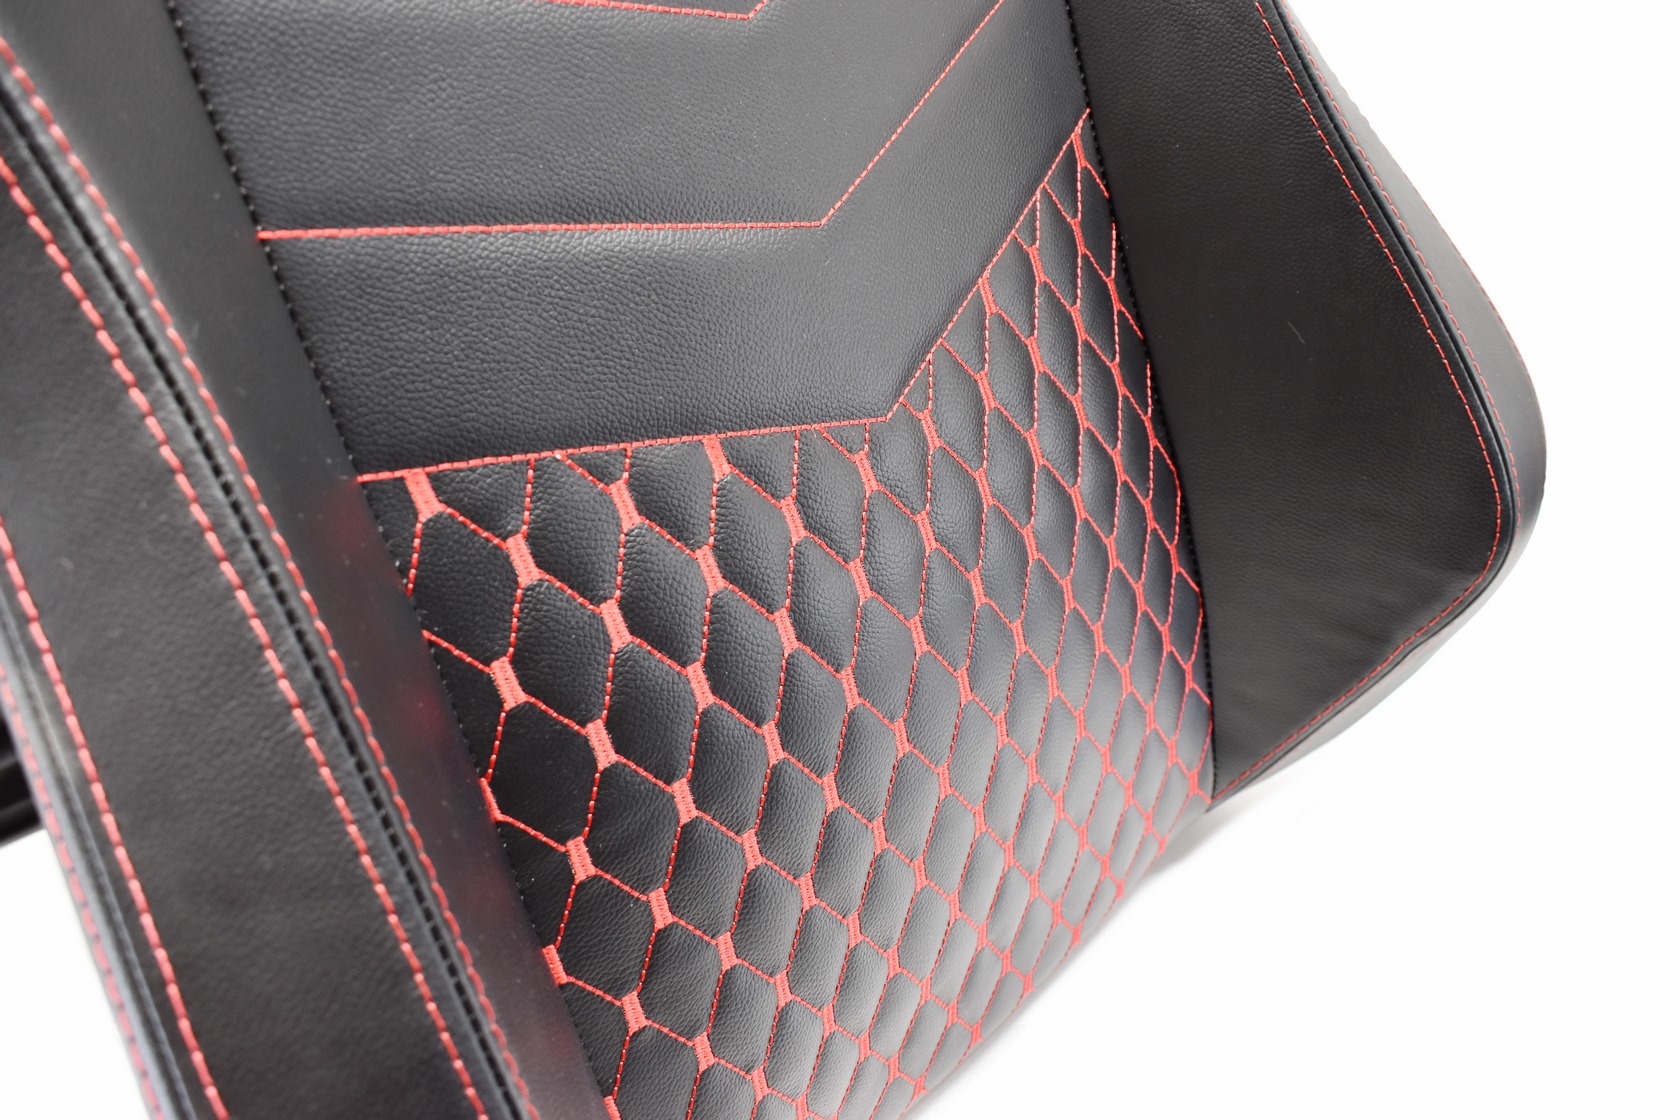
Since some of you have asked from me to showcase the built-in lumbar support some gaming chairs office I’ll be doing so from this review (however it’s not very easy to see – in car seats it comes out more). The polished aluminum piece of the lumbar support adjuster is also a good touch.
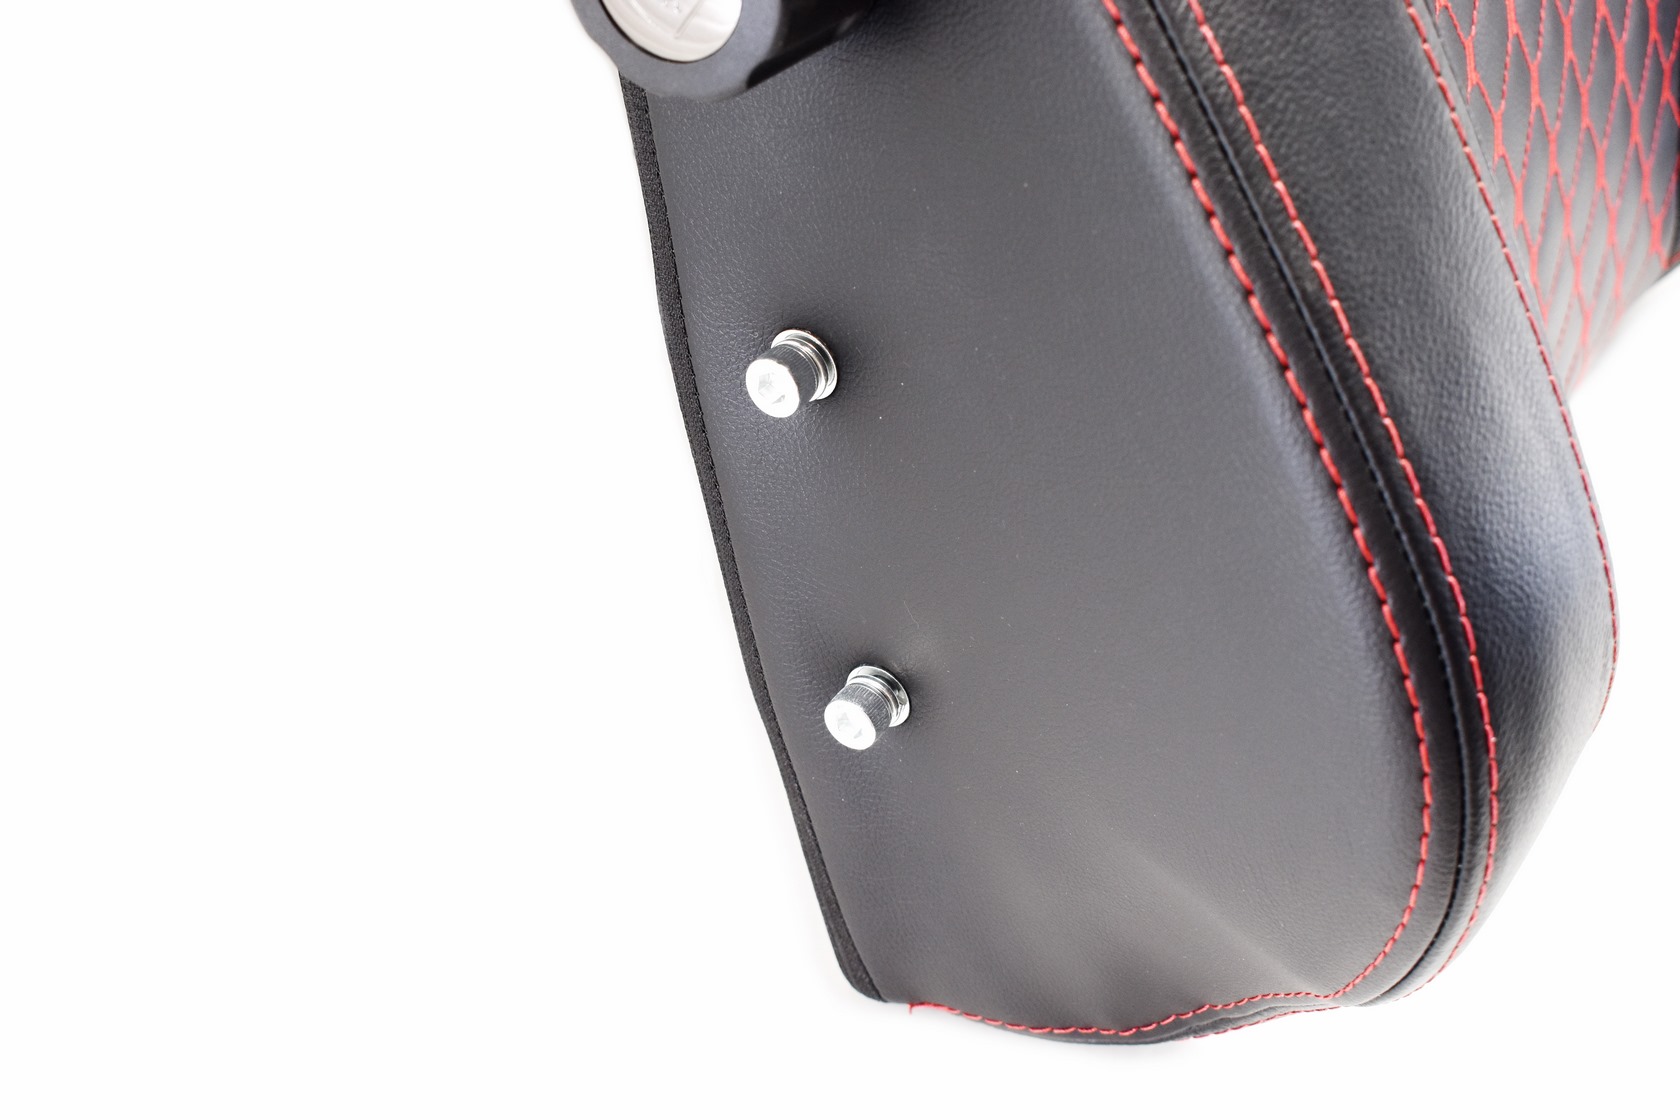
Two Allen screws are mounted on each side of the backrest.
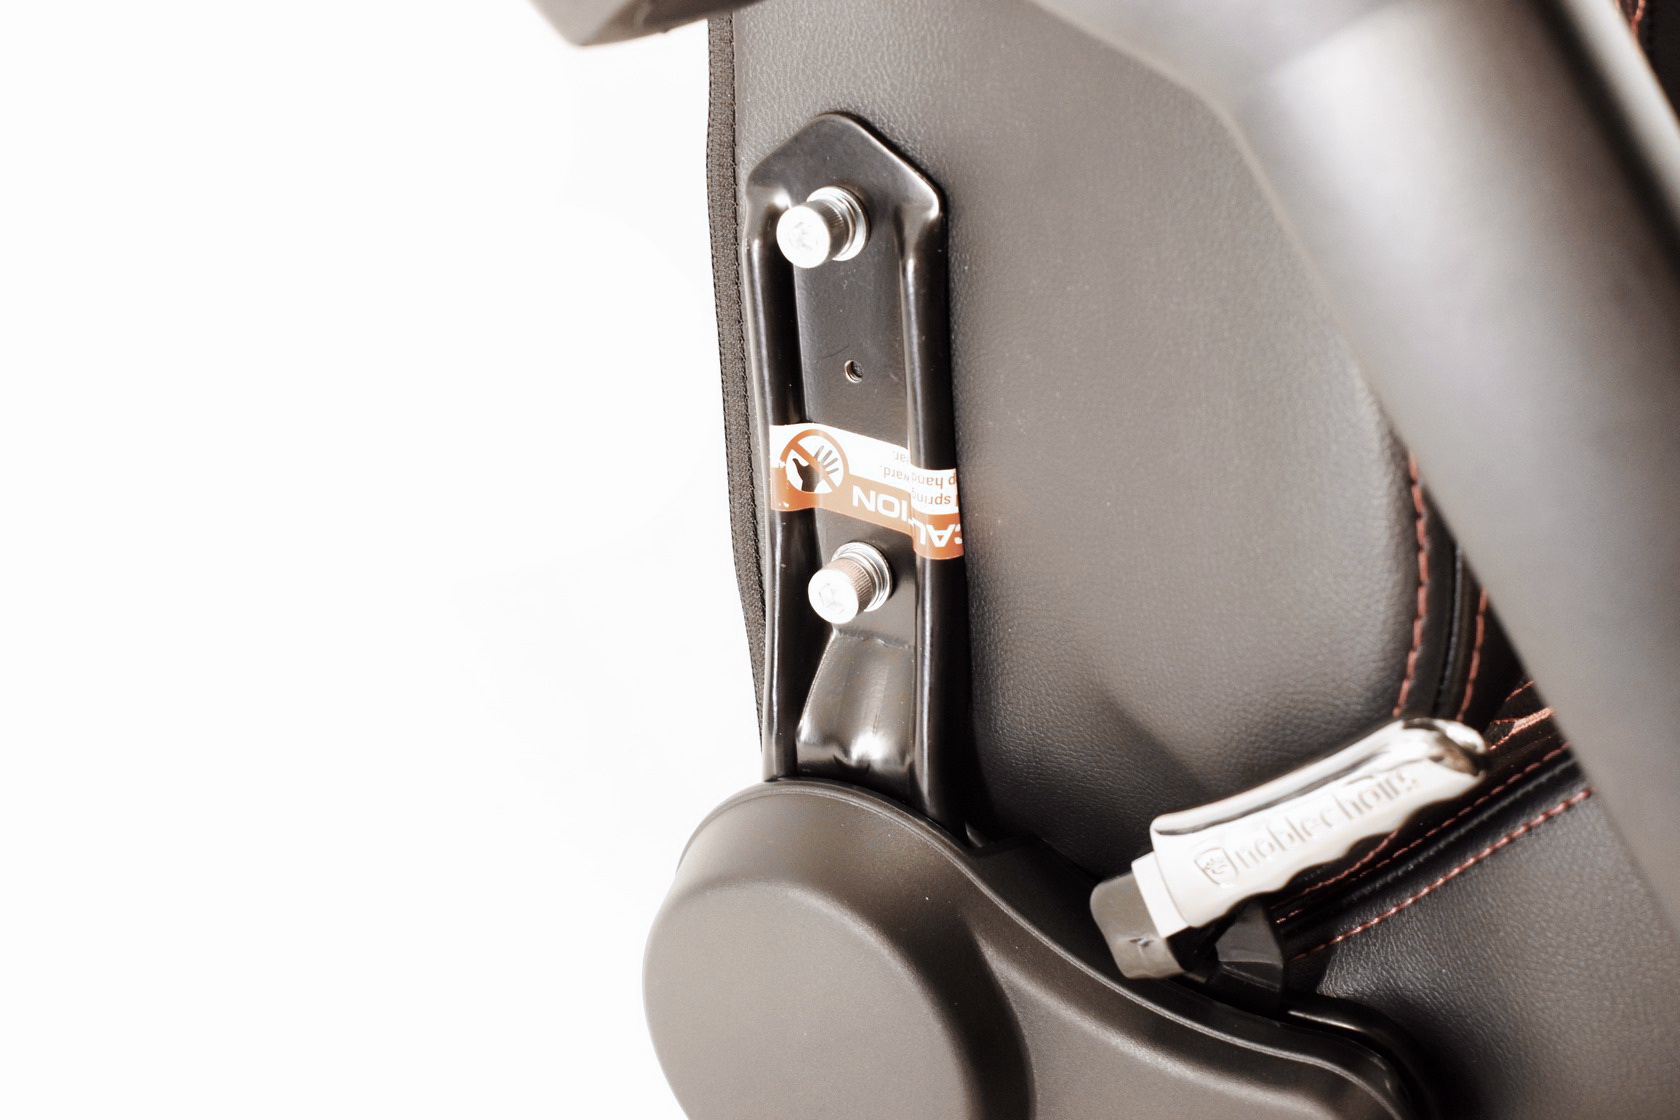
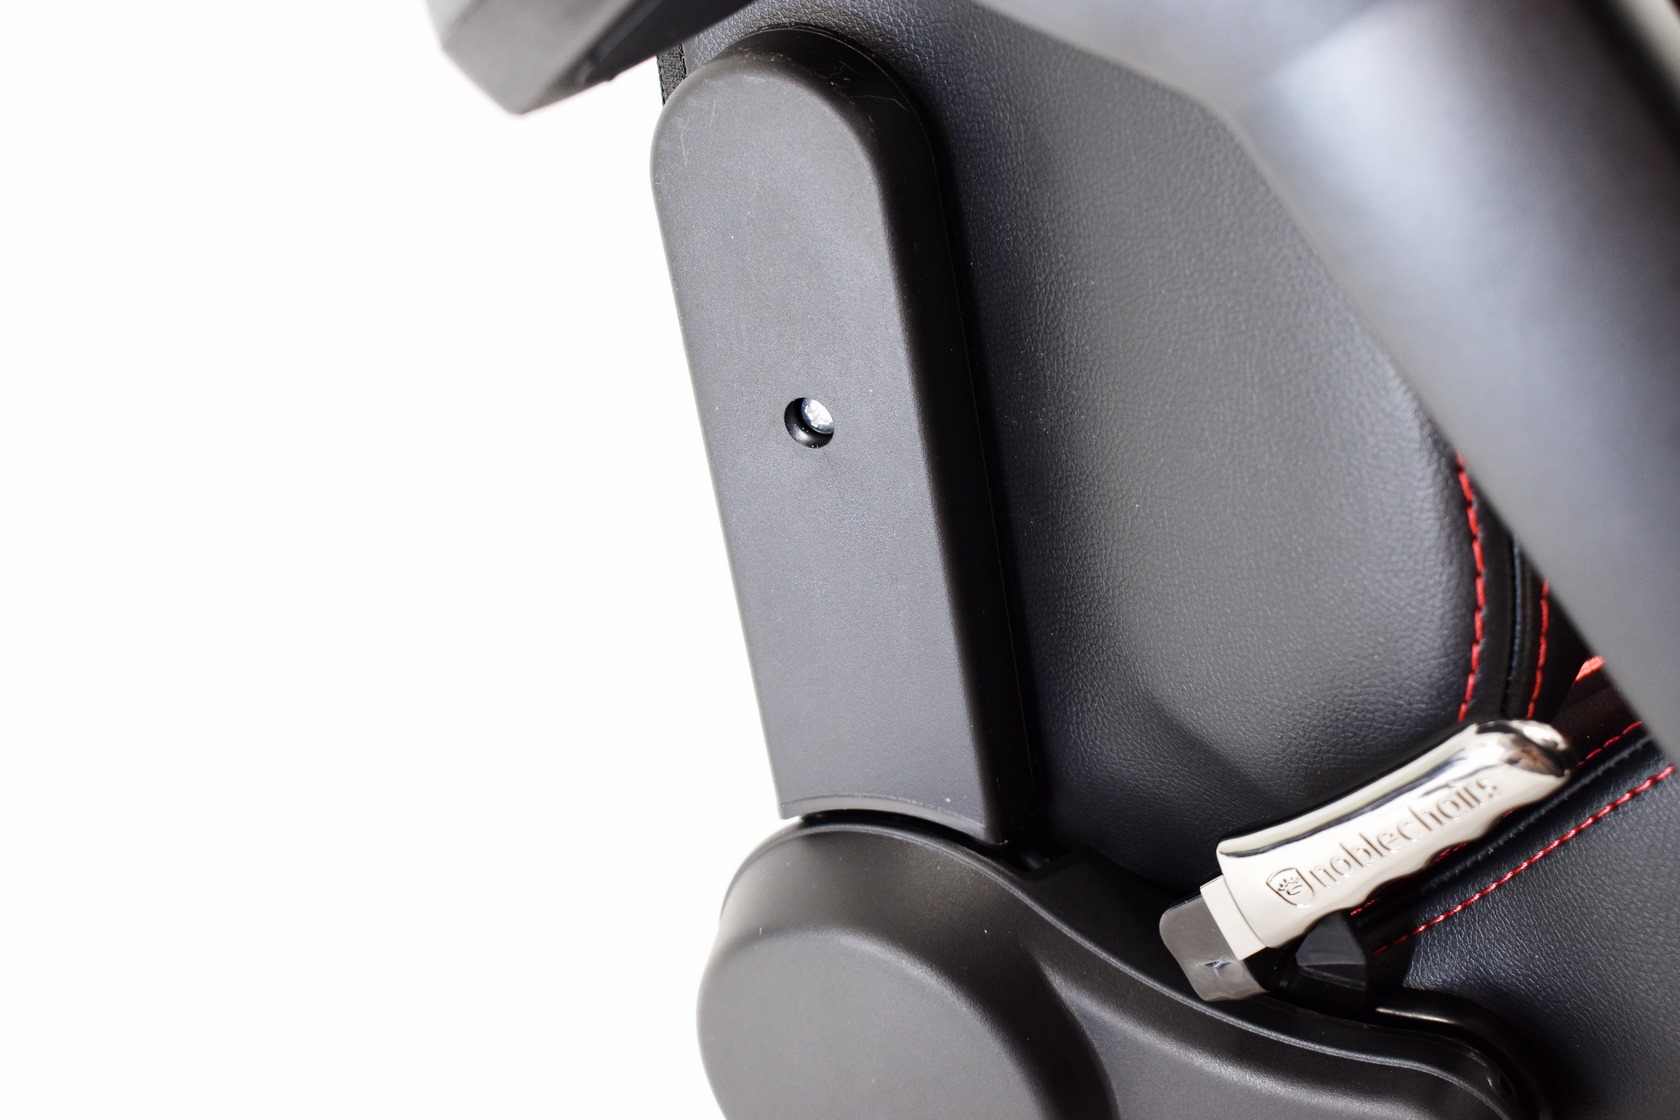
As with every other gaming chair out there you will need to use those two Allen screws, place the plastic cover on and secure it with one of the Philips screws (noblechairs however doesn’t provide plastic caps to cover the screws).

With the main body of HERO Real Leather assembled it's time to place it on the class-4 gaslift and the 5 star base.


.png)

