
 O-Sense

.jpg)


ASSEMBLY
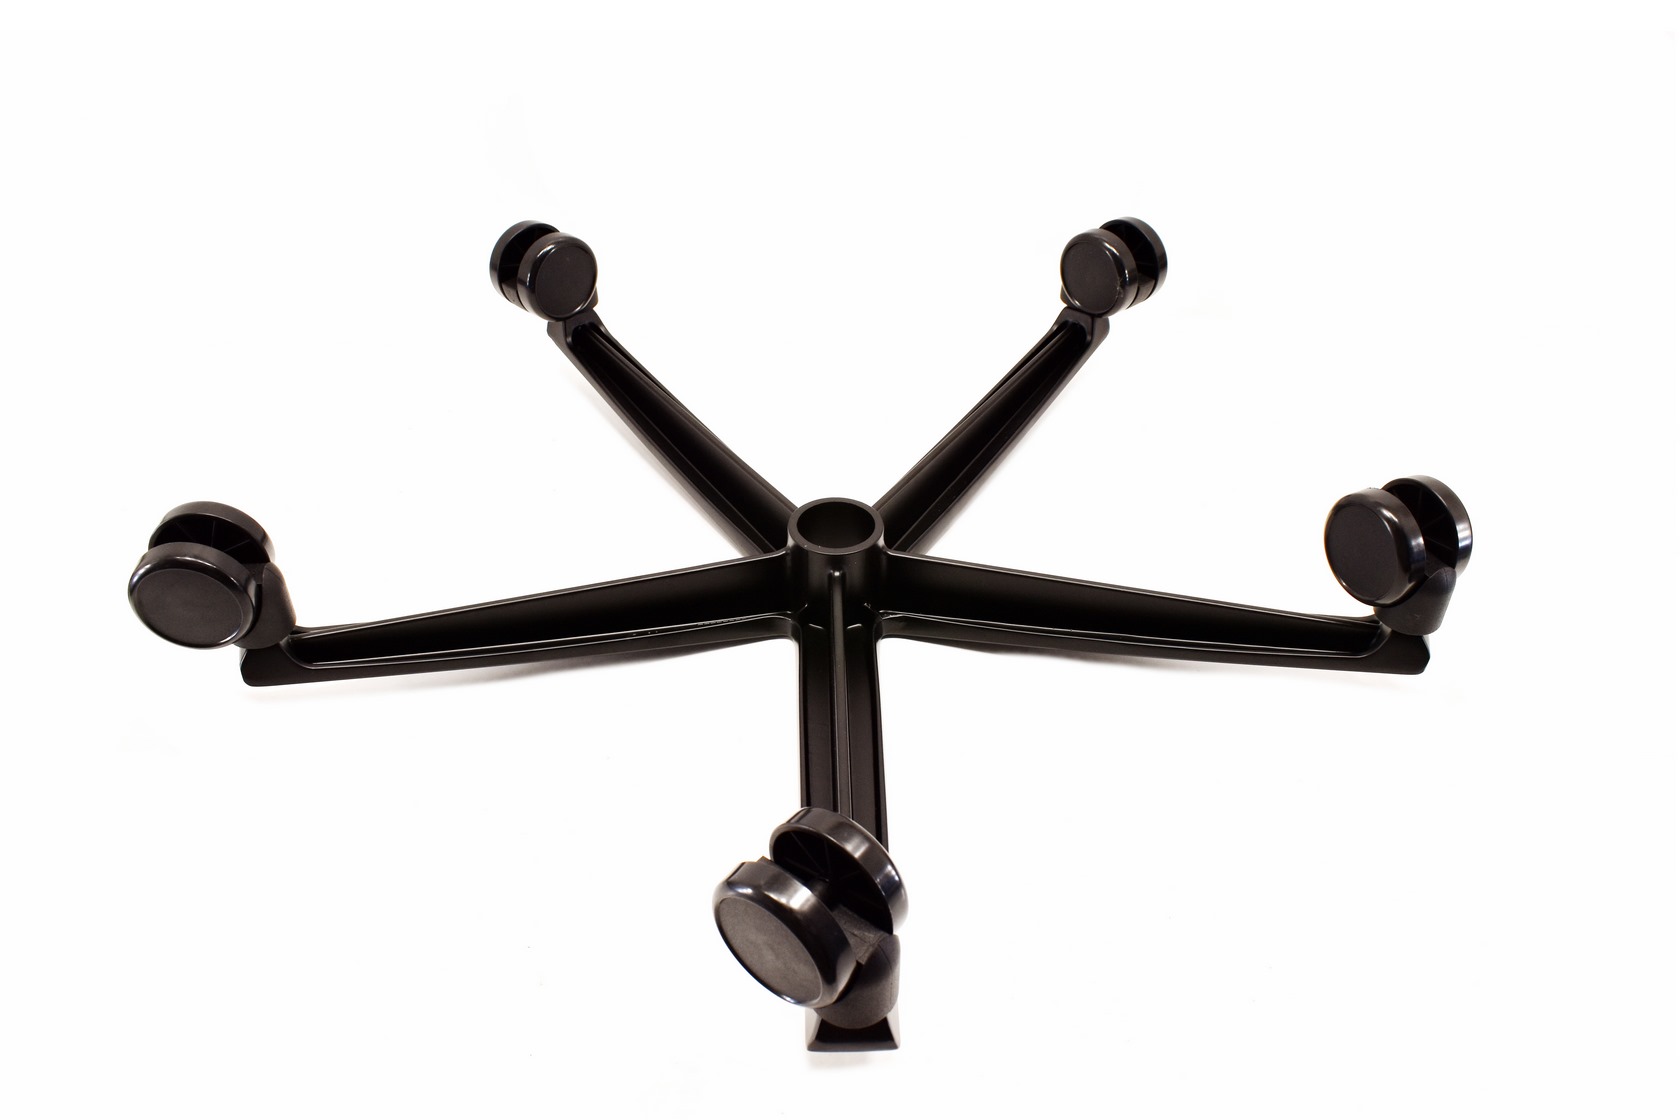
Instead of starting with the backrest as most installation instructions advice I prefer to start by attaching the wheels onto the base as seen above.
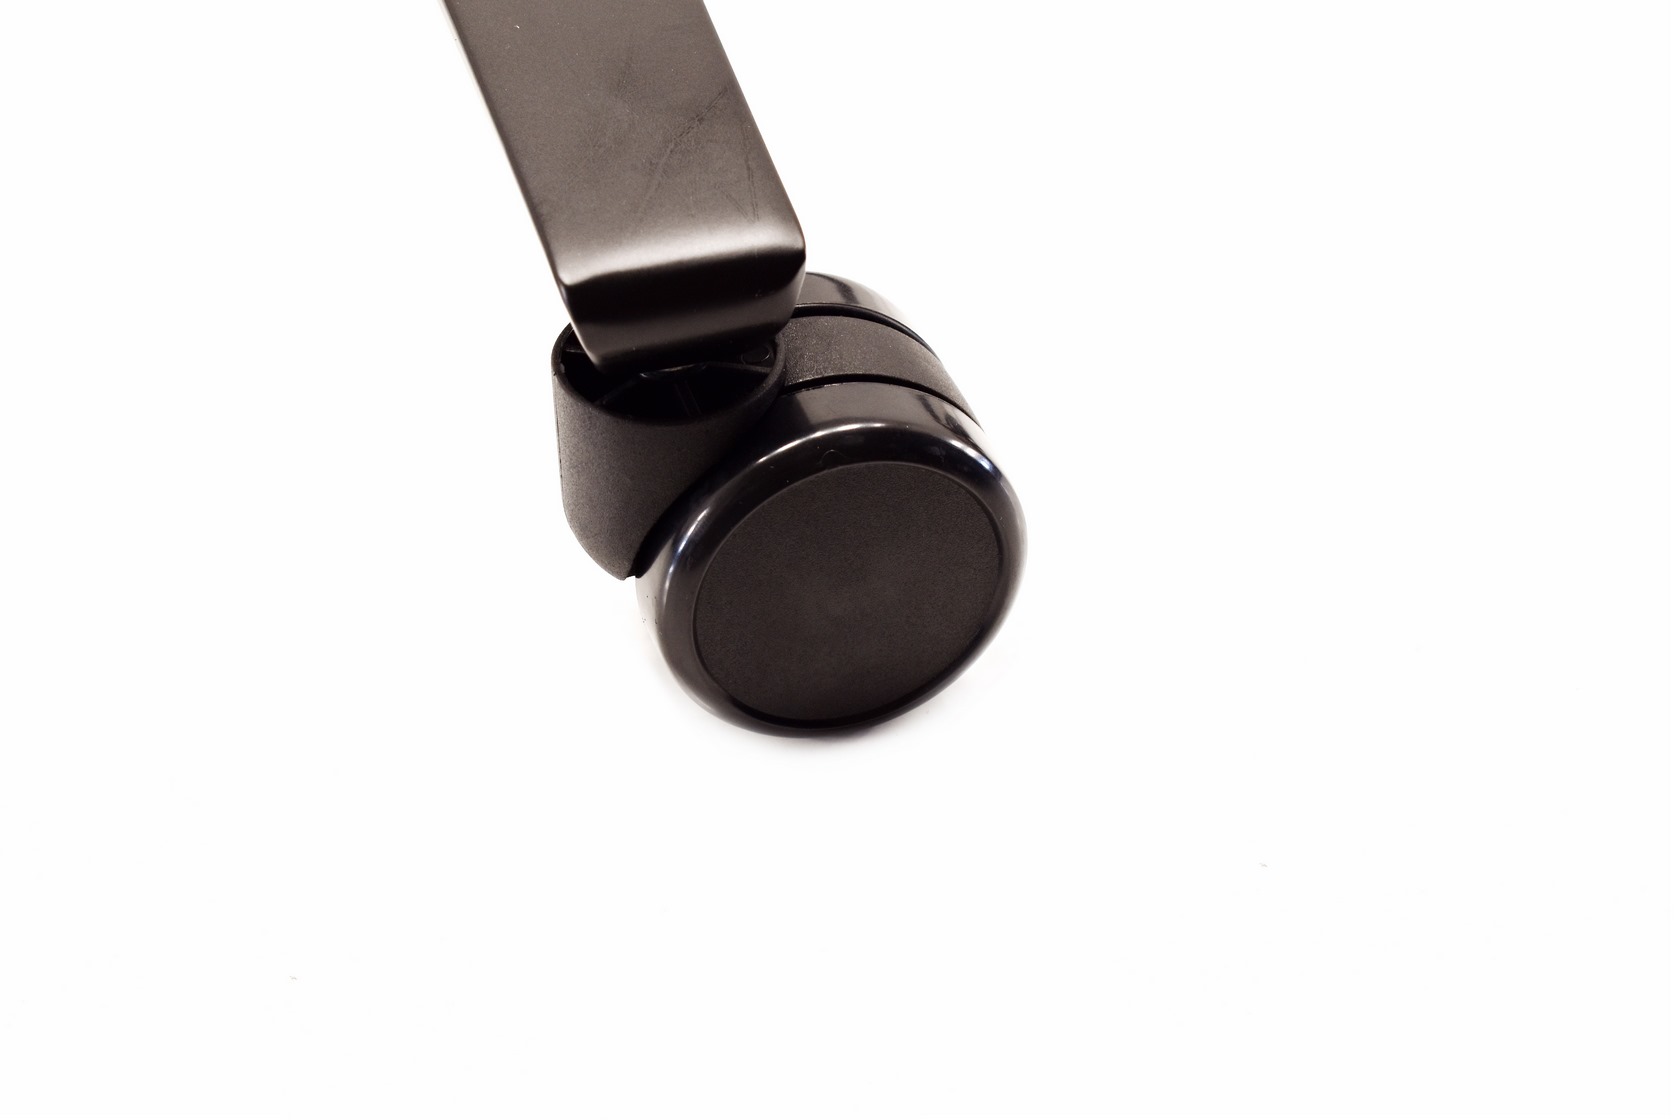
60mm caster wheels hit a good balance between looks and durability.
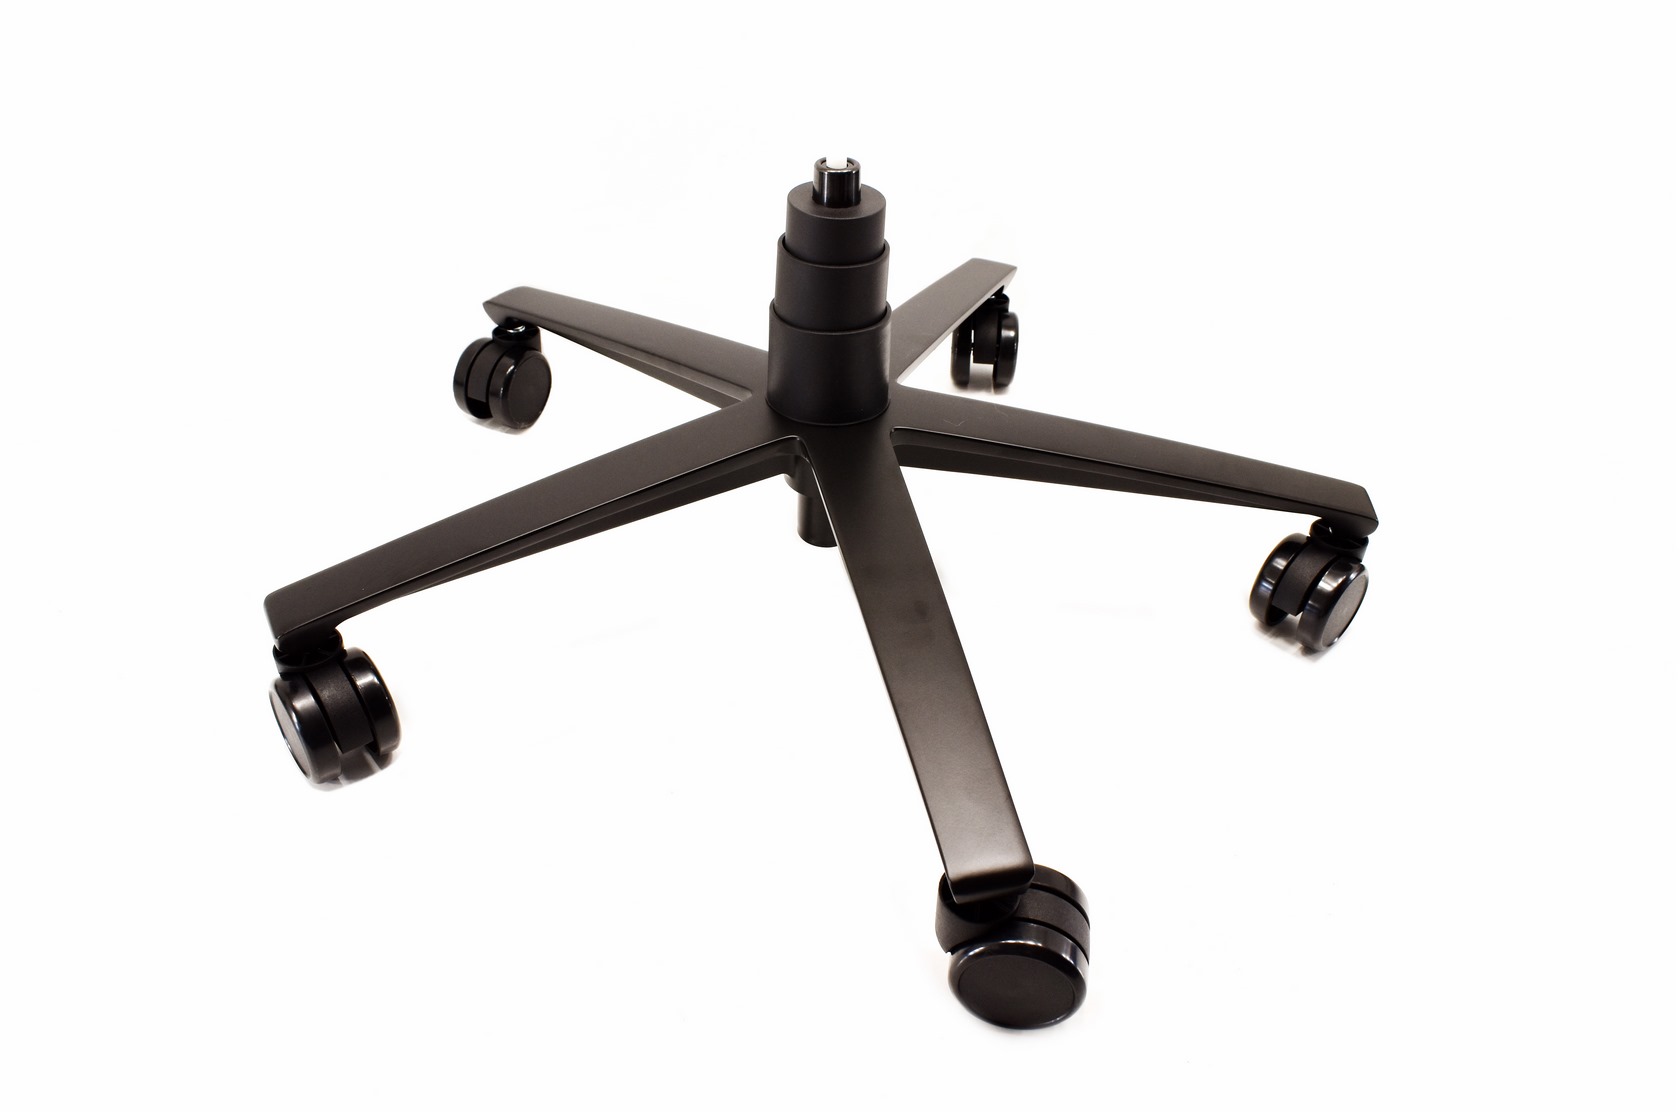
Attaching the class-4 gaslift with its plastic cover onto the 5-star steel base comes next.

Arozzi has yet to disappoint me with one of their seats (in terms of durability anyways) and the one used with the Primo PU is no exception.
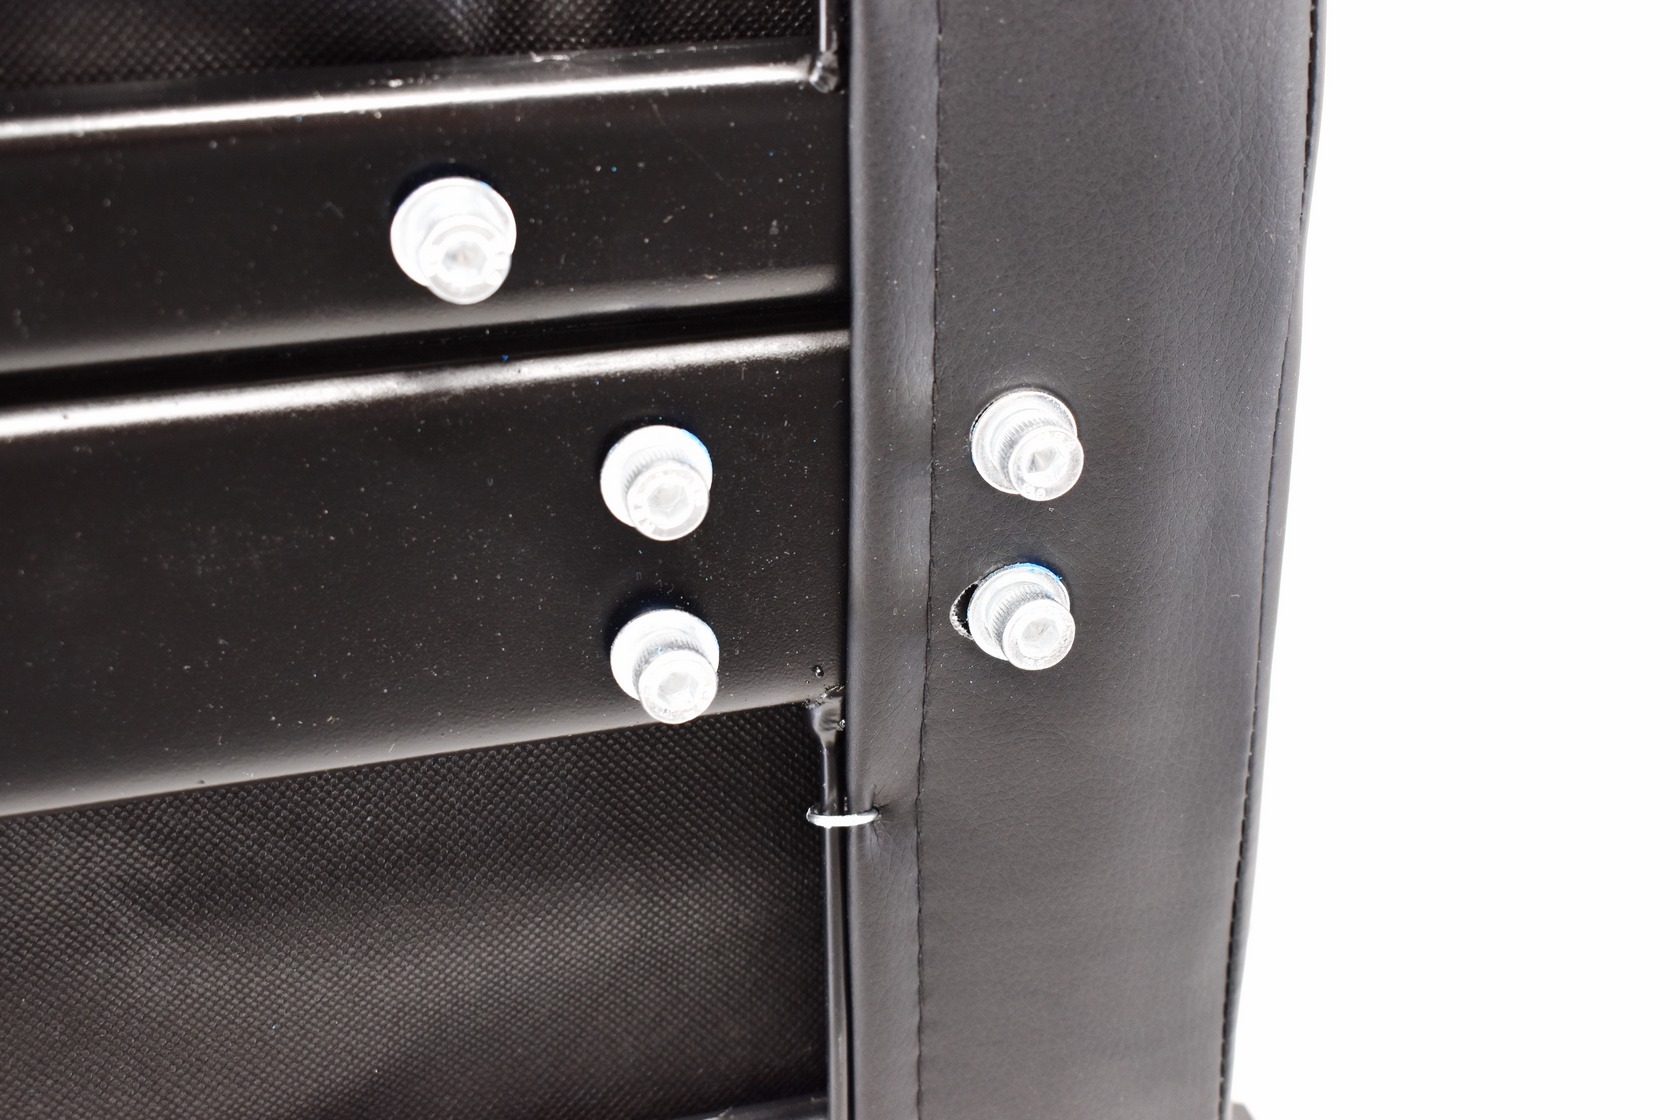
All of the Allen screws are attached onto the seat and even though this makes sense (that way you are certain to have all of them – sometimes some end up missing from boxes) it also requires more installation/mounting time.

 Each of the two 4D armrests requires 4 Allen screws in total, as does the Z-support mechanism.
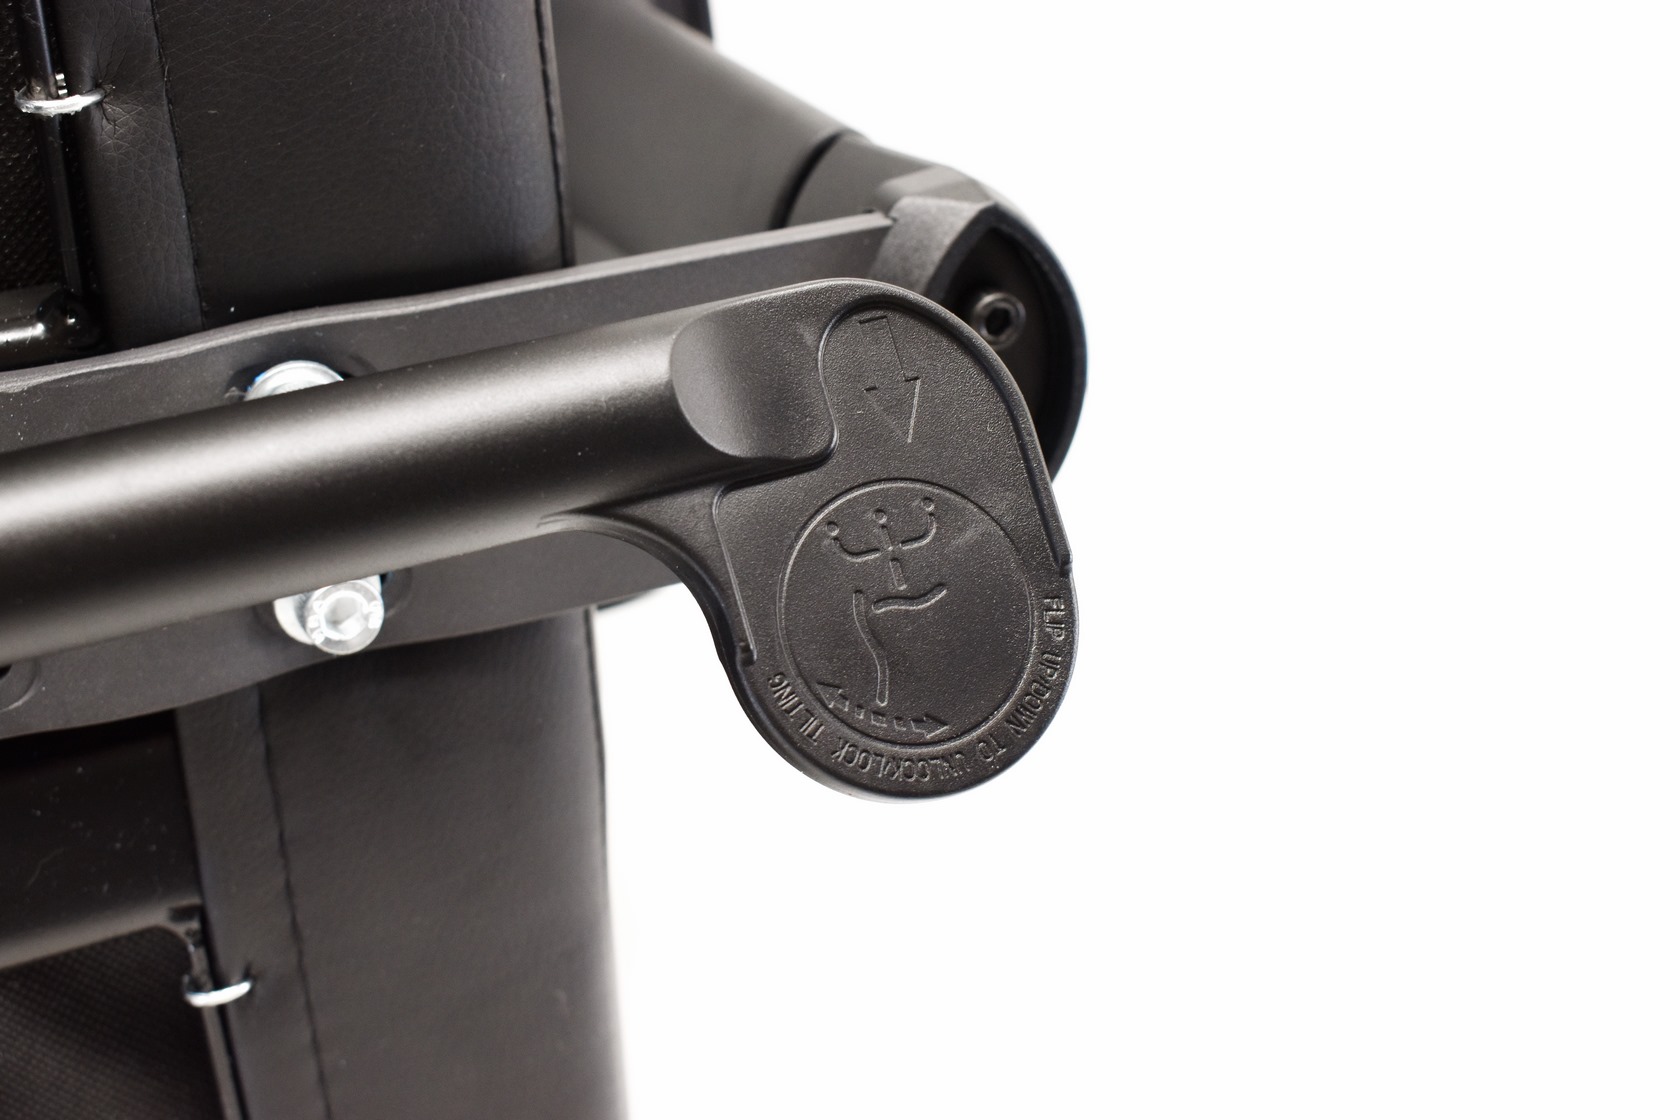
Also don’t forget to attach the plastic handles on the mechanism.
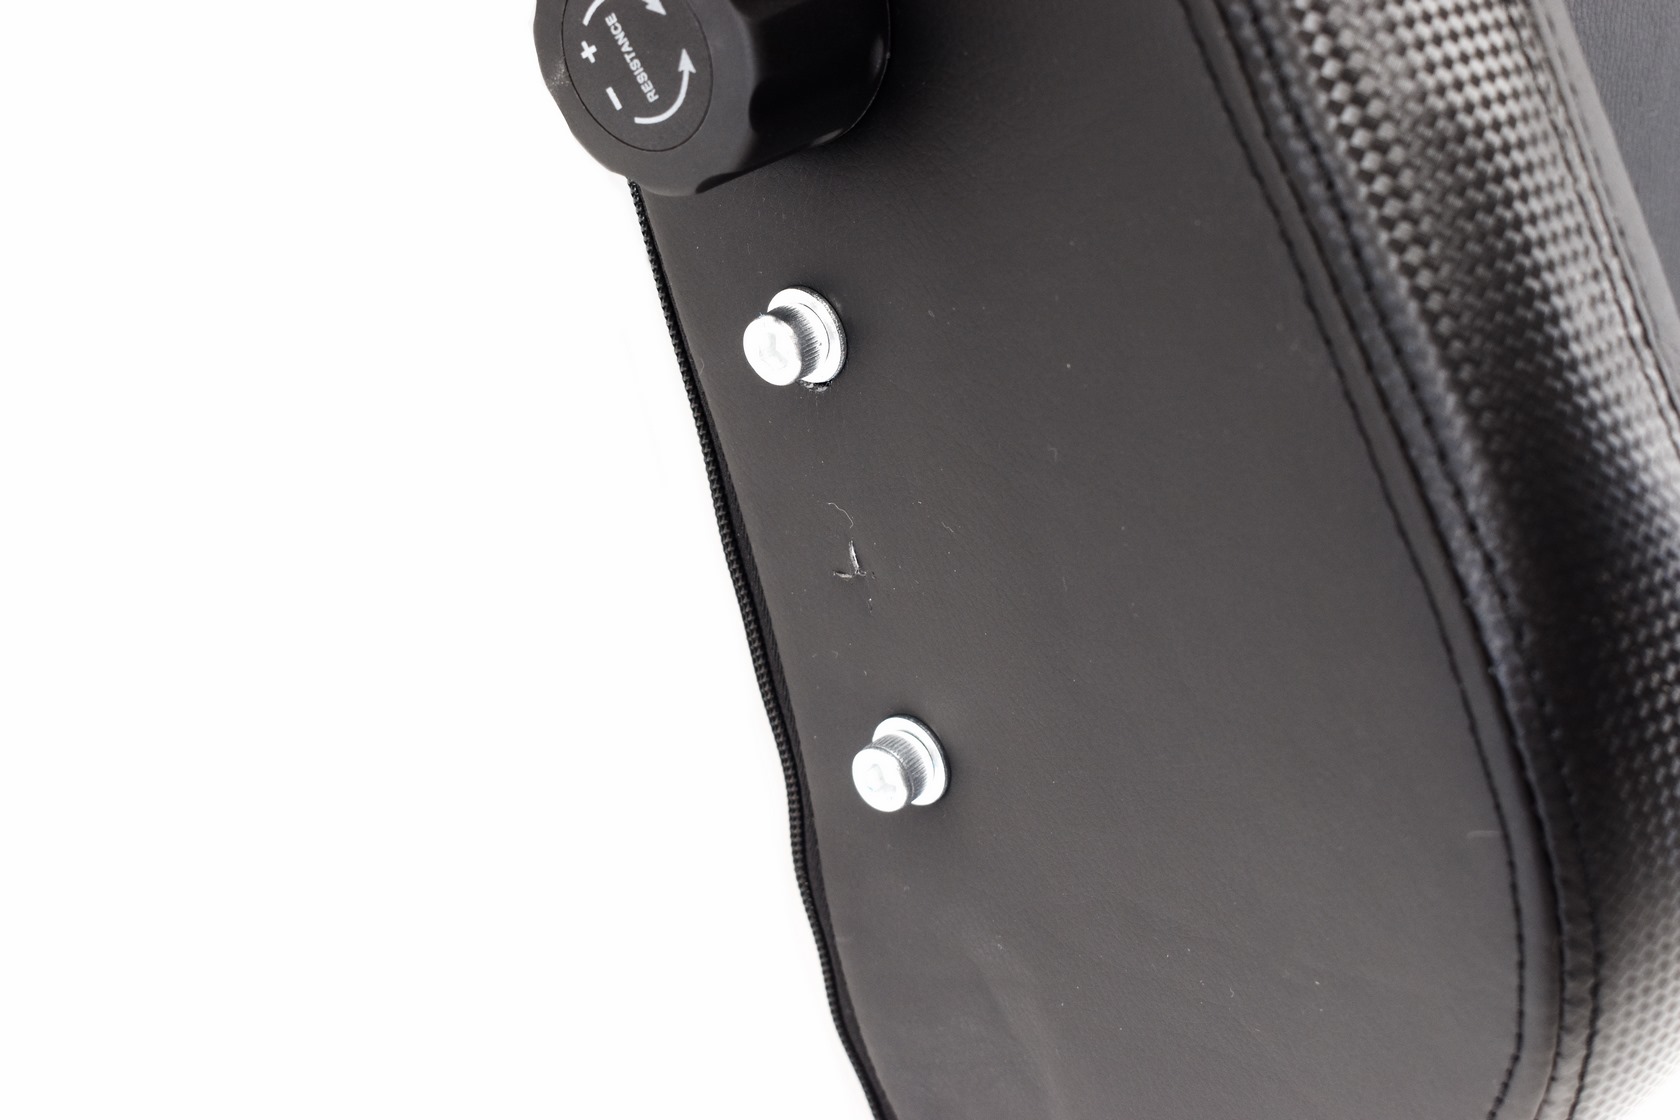
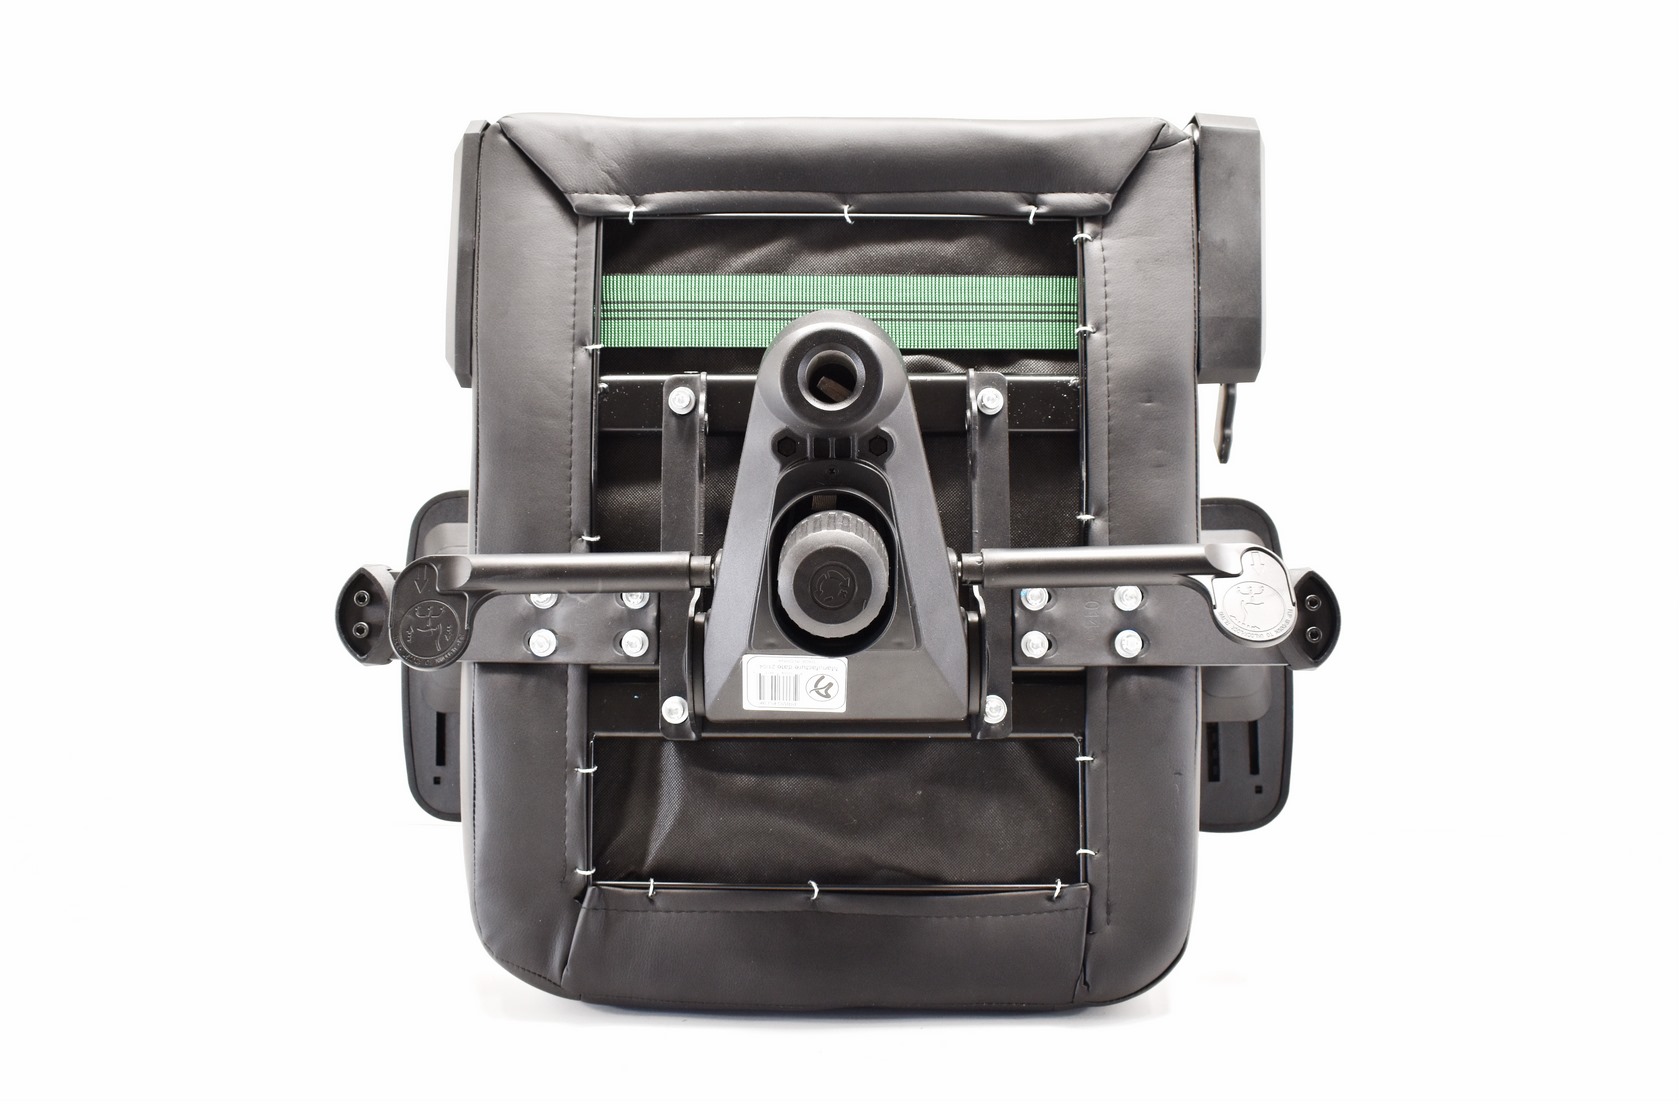
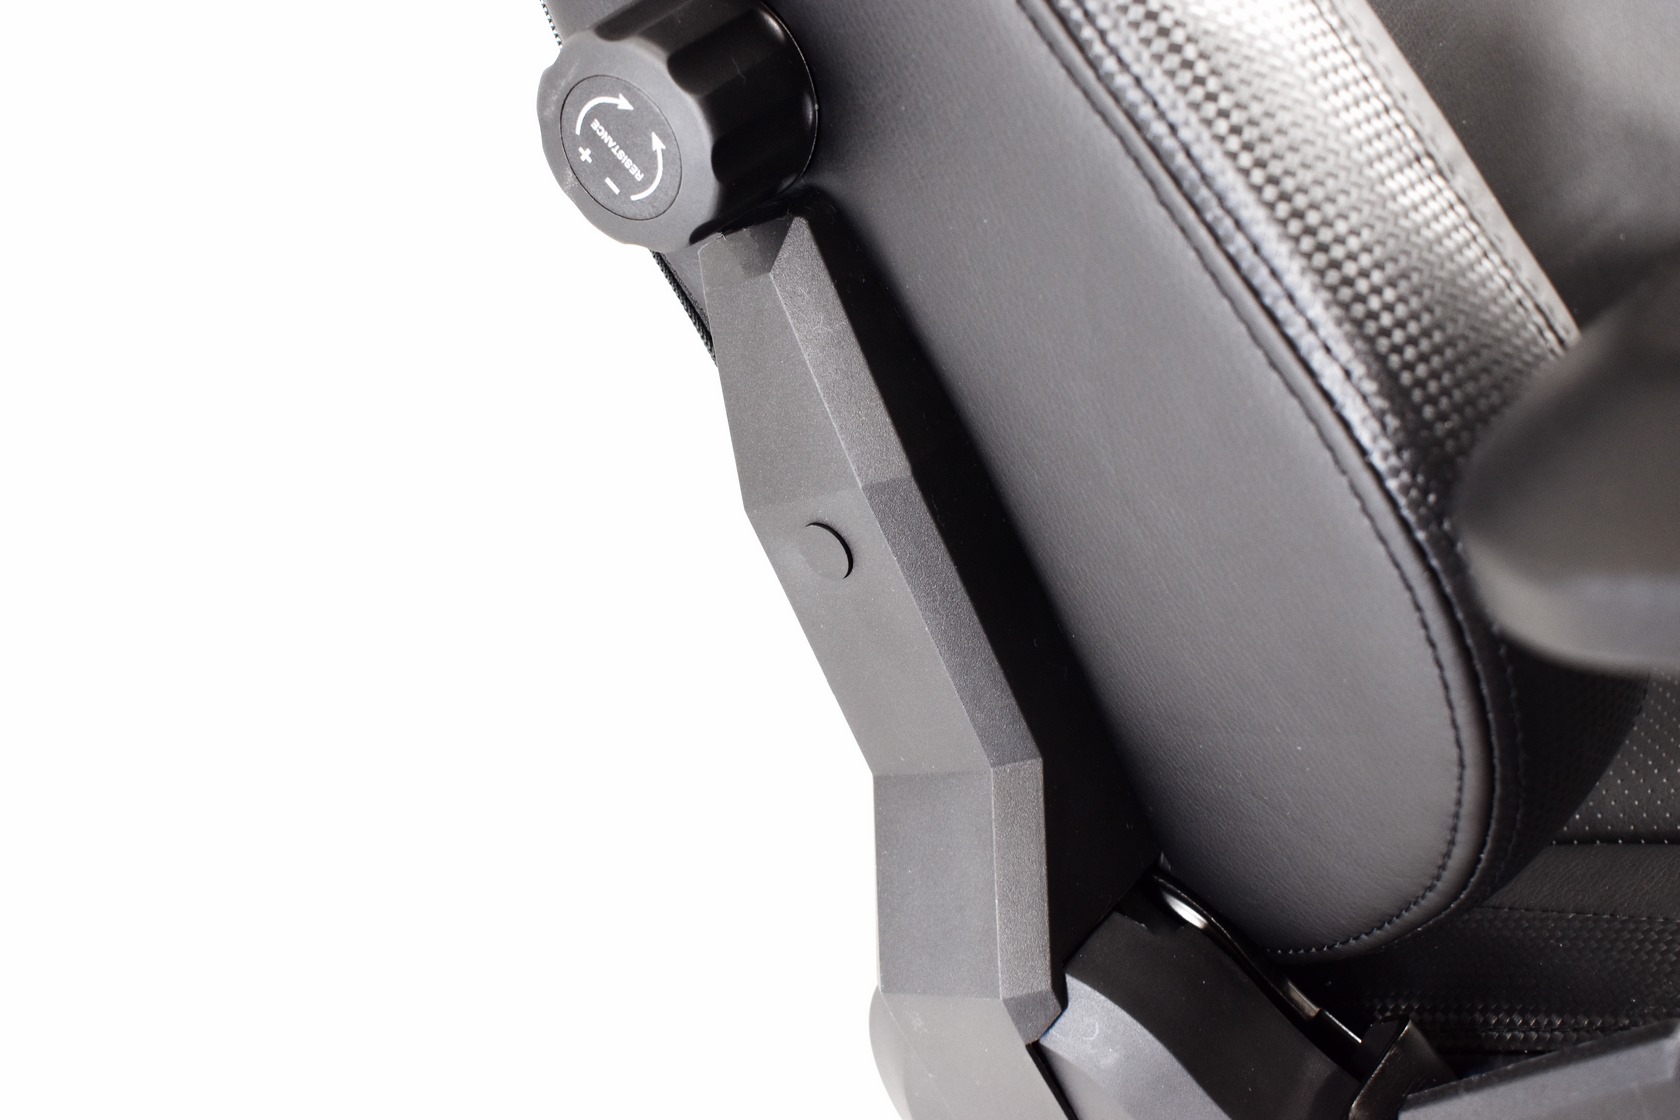
Each side of the backrest has two round holes in the PU faux leather and just like with the seat the Allen screws are also mounted here (above you can see the build-in lumbar support controller).
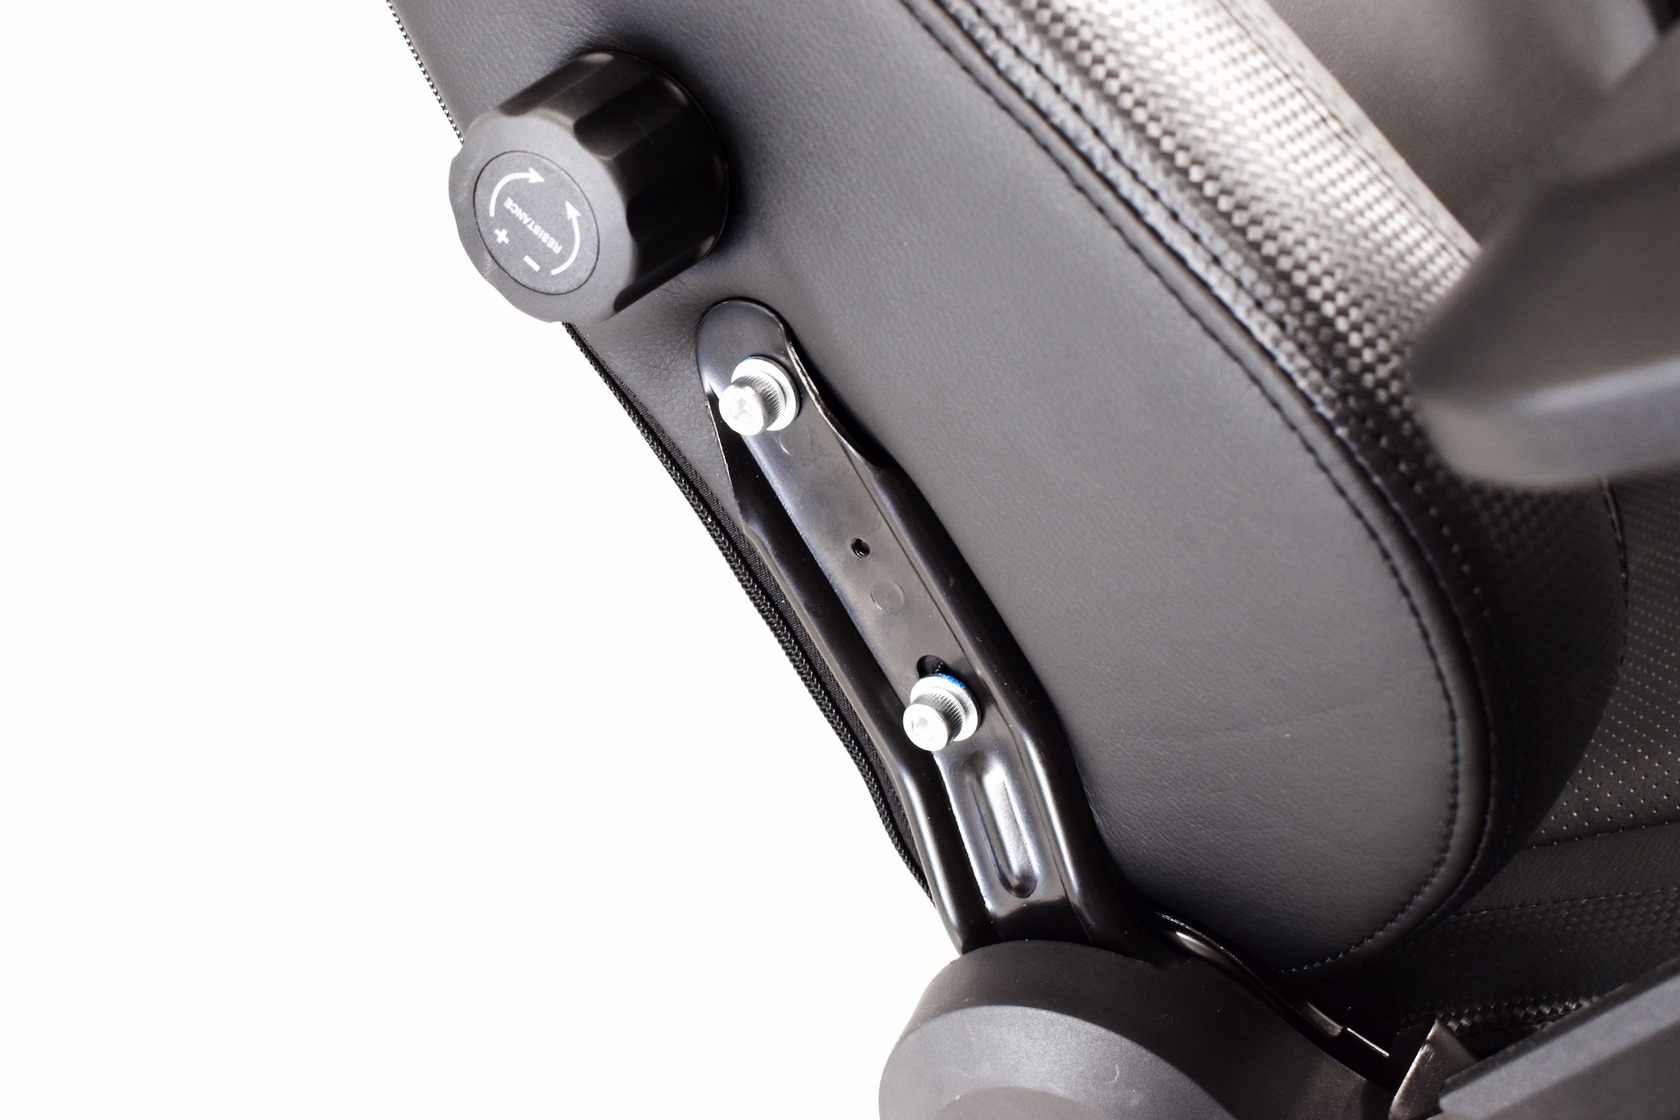
As with every other gaming chair out there you will need to use those two Allen screws, place the plastic cover on, secure it with one of the Philips screws and place the plastic cap over the hole.
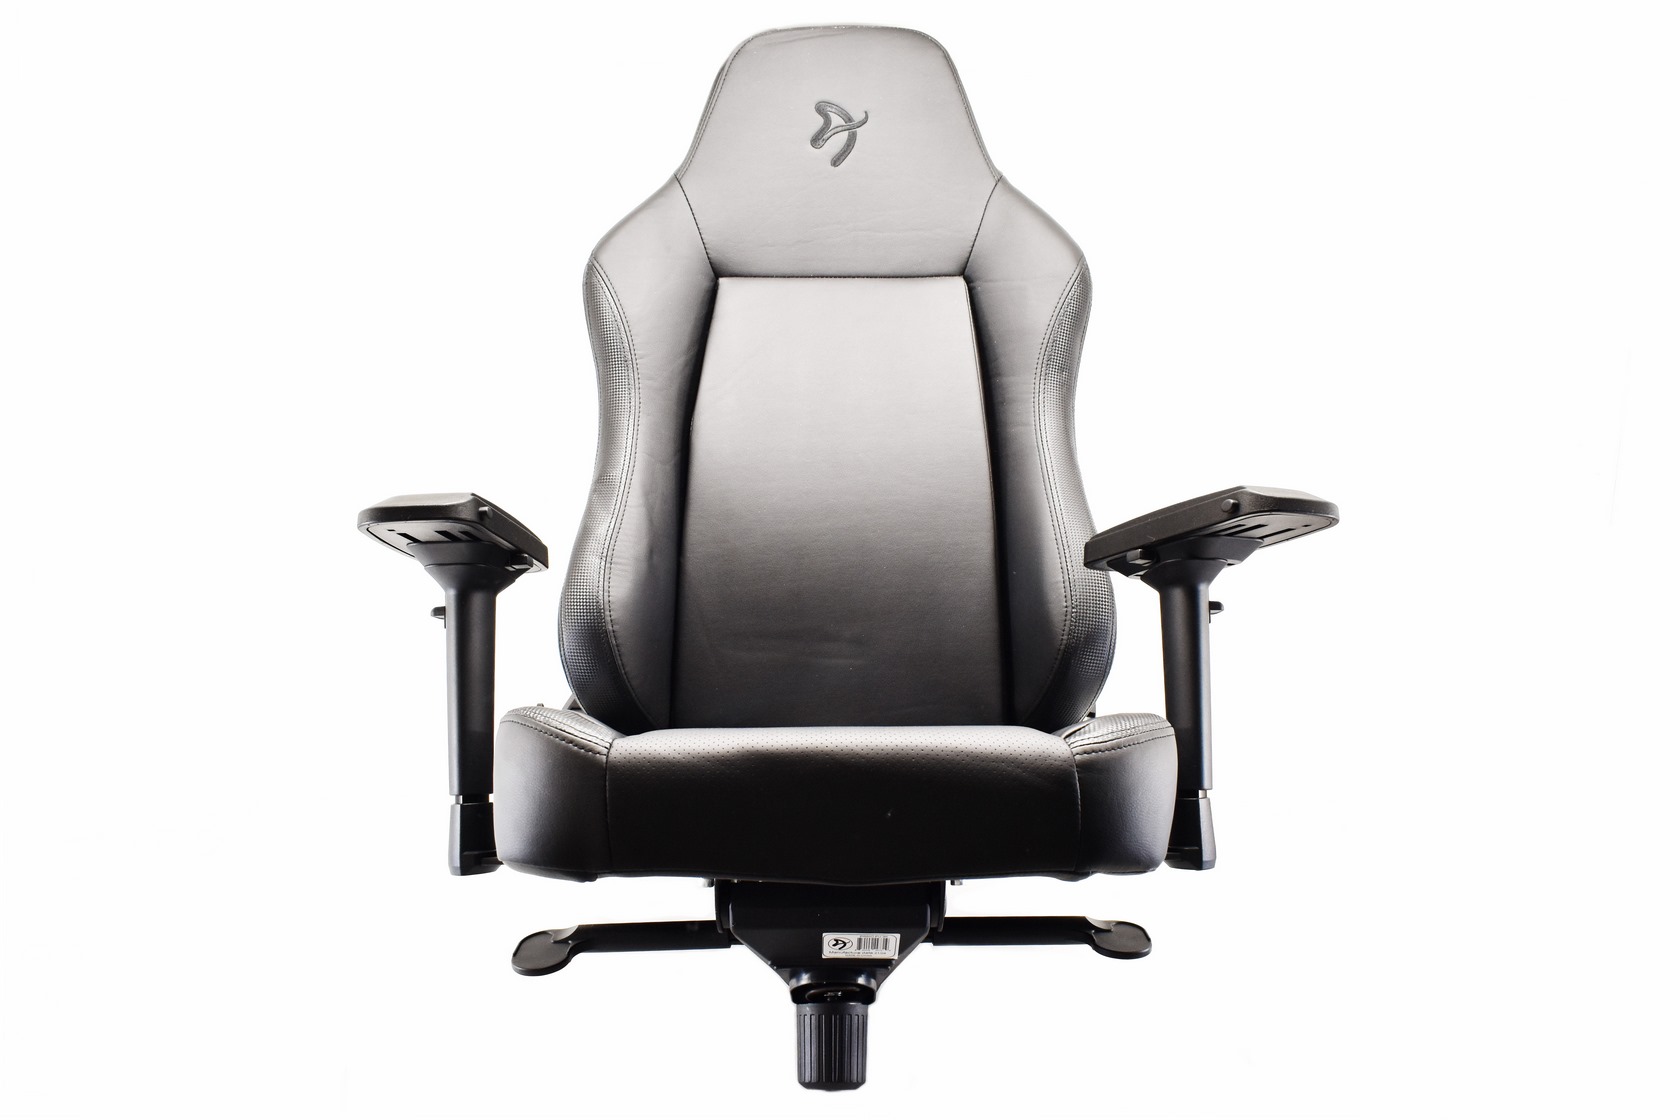
With the main body of the Primo PU assembled it's time to place it on the class-4 gaslift.


.png)

