
 O-Sense

.jpg)


ASSEMBLY

There are two ways for someone to start assembling a chair so you can either attach the seat onto the backrest and then the base or you can choose to start from the base by attaching the wheels like we always do.
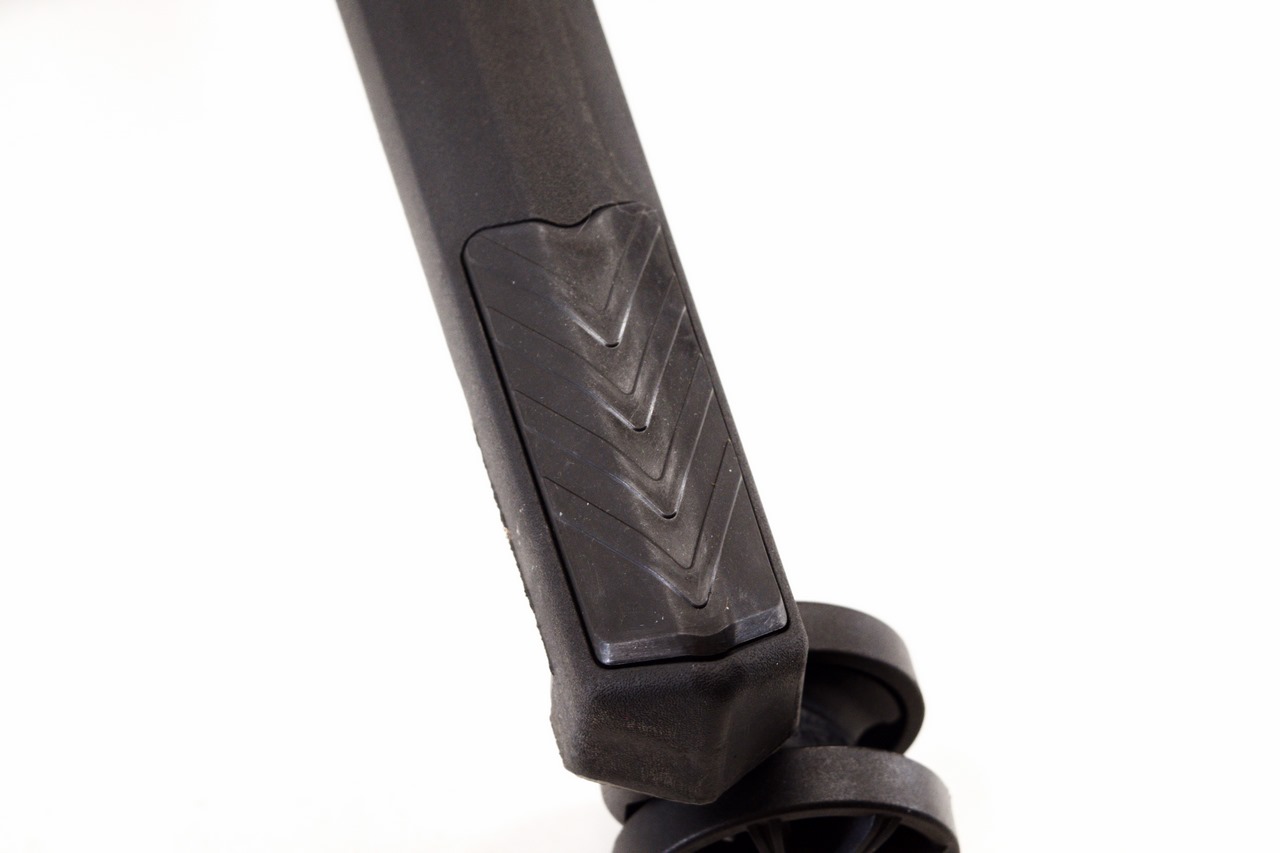
All ends of the 5-star nylon base feature special support areas.
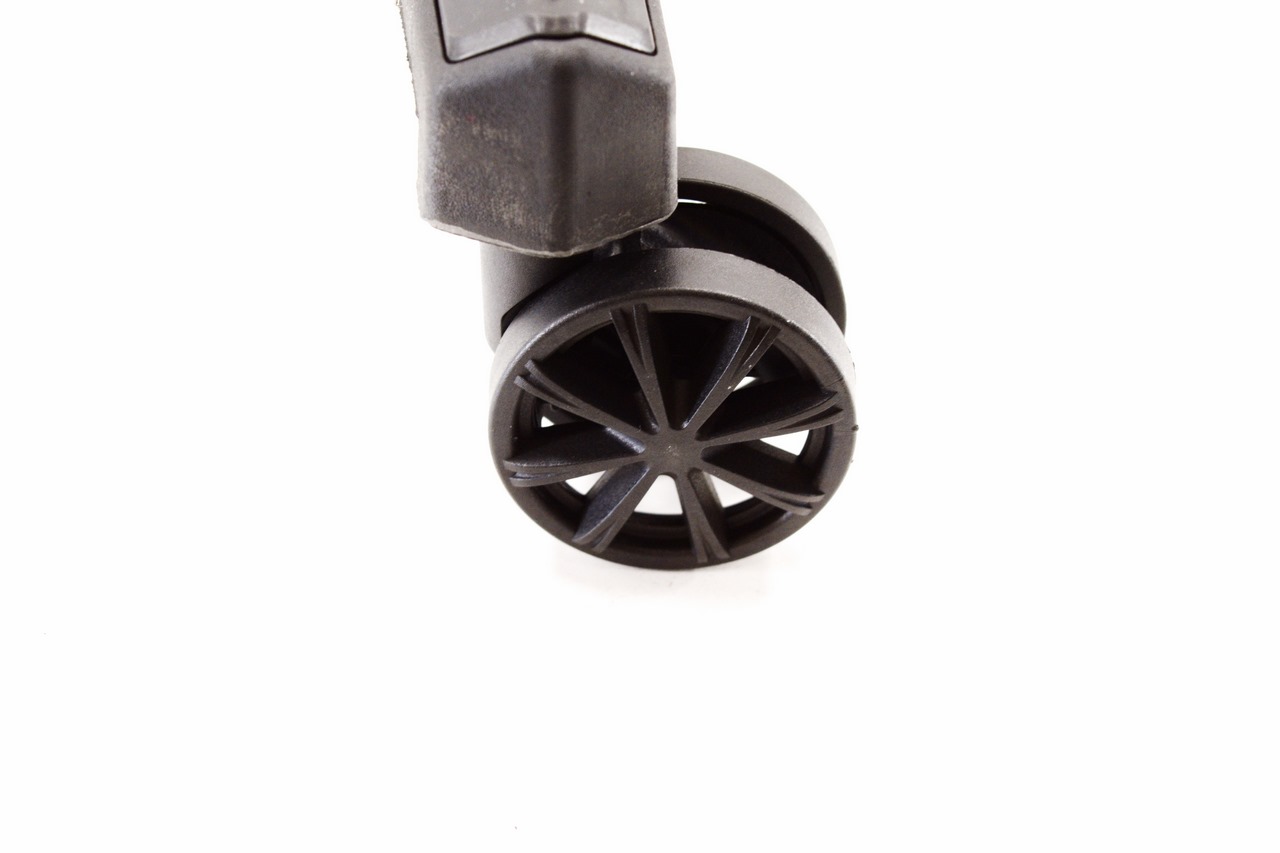
65mm wheels may not be the largest we've ever seen but they are ideal for the AC220 AIR RGB.

Mounting the class-4 gaslift onto the base comes next (as always remember to check for a plastic cap and if the gaslift has one you need to remove it) followed by placing the plastic covers.
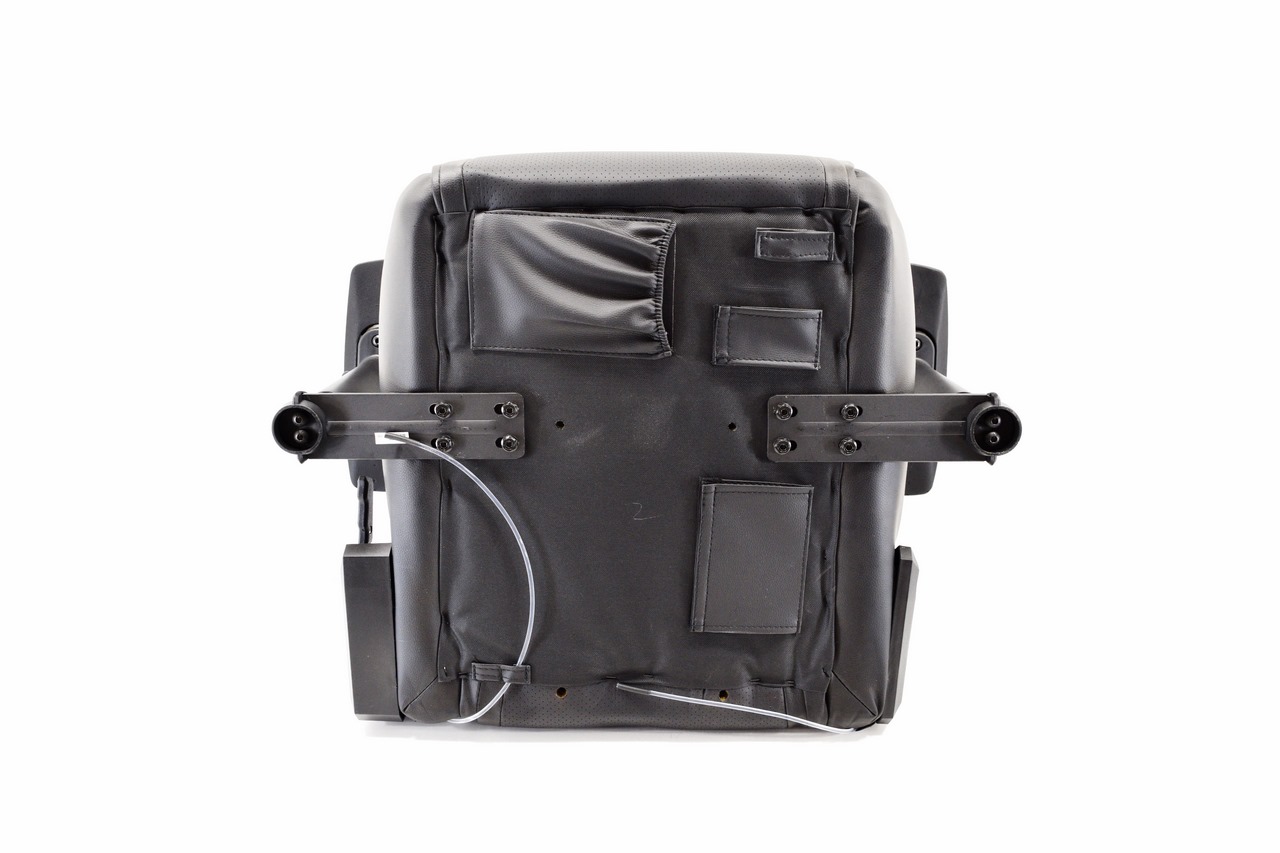
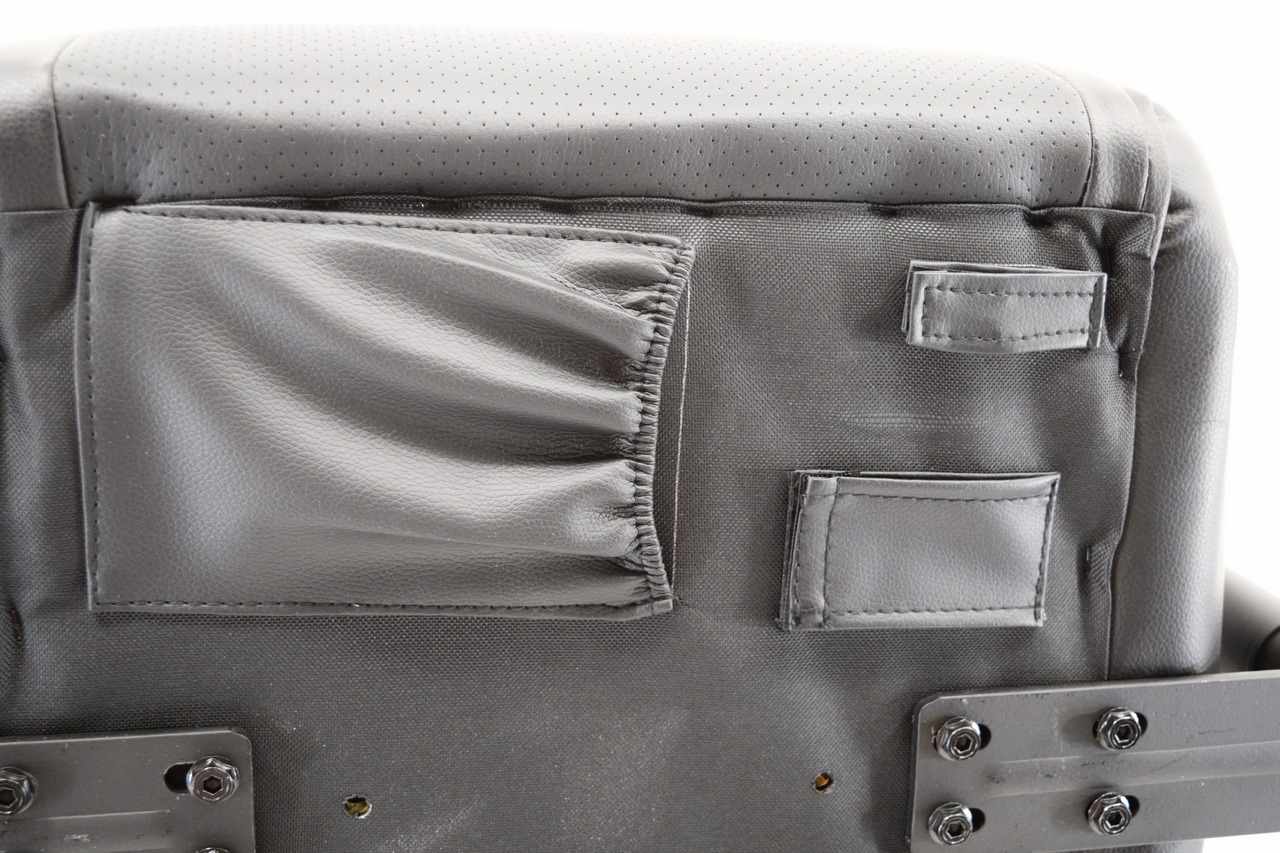
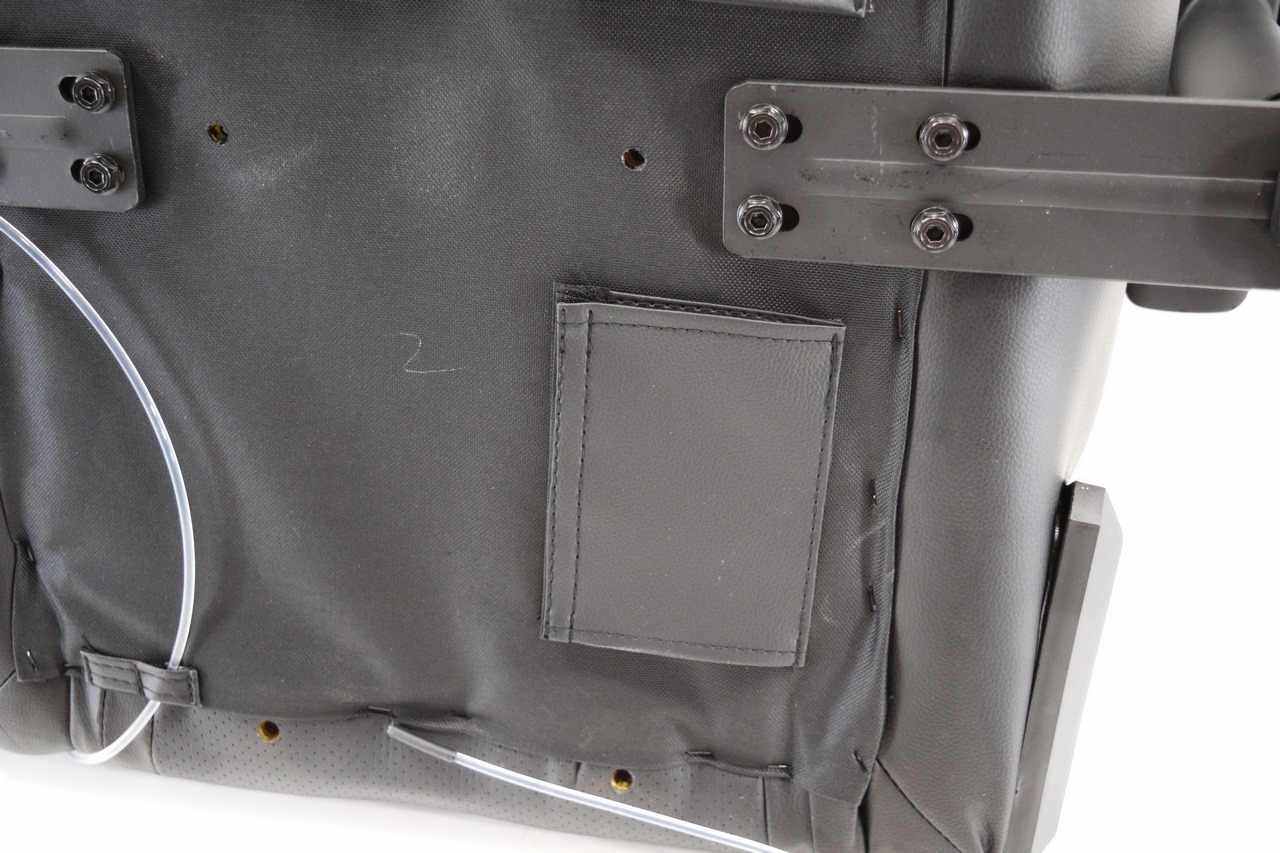
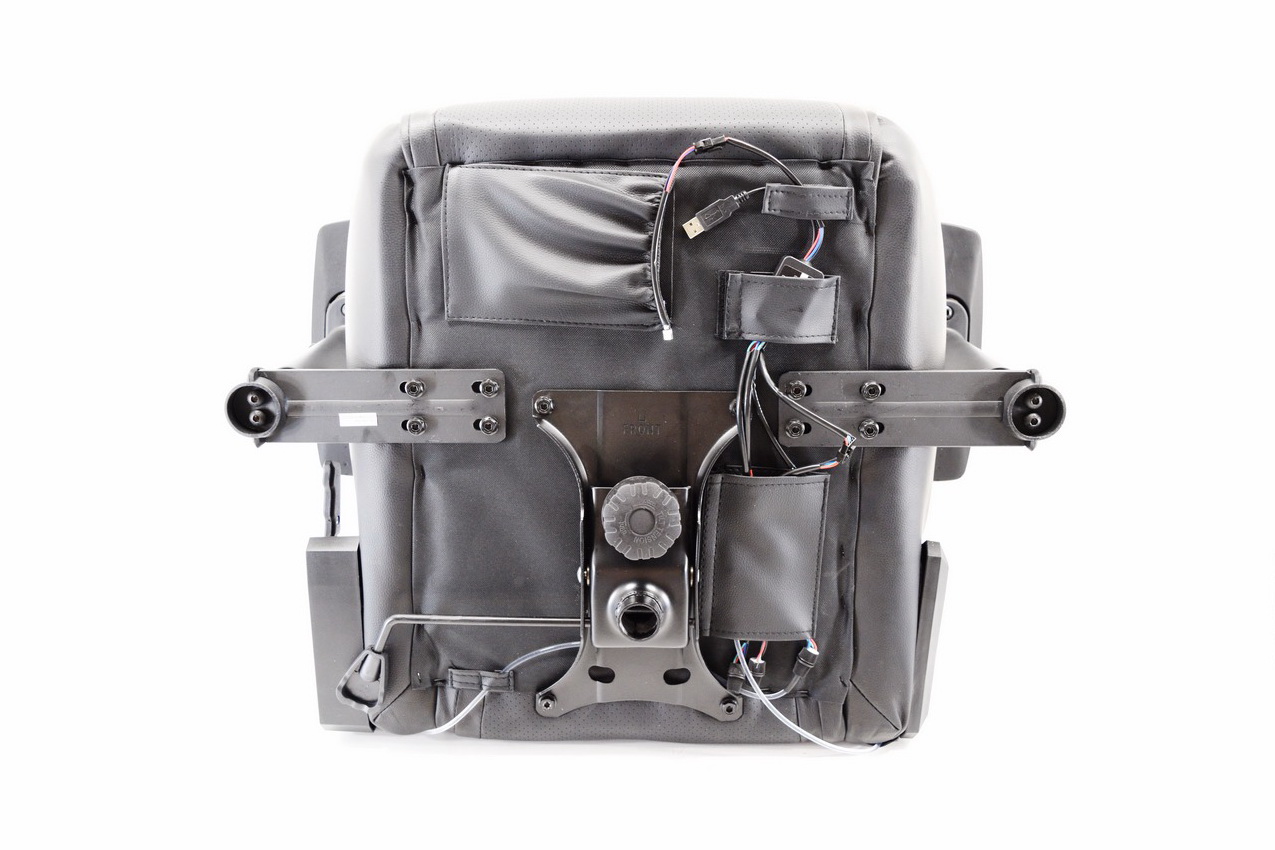
We may not be able to see the metal bars and the elastic bands of the base but we do see the many pockets Aerocool has placed for you to route the RGB components of the chair.
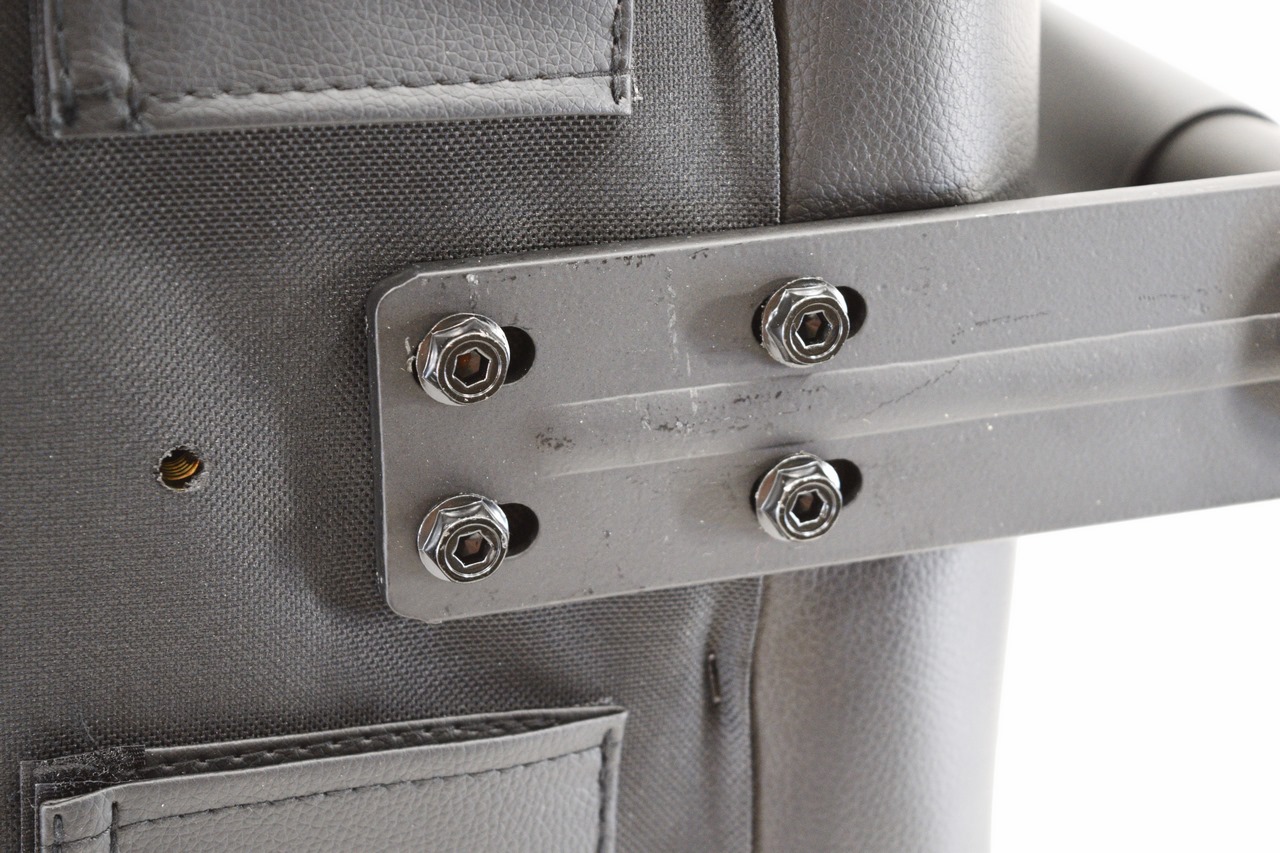
Each height adjustable armrest is held in place by a total of 4 Allen screws (8 in total).
Another 4 Allen screws are required to secure the butterfly mechanism onto the seat as you can all see from the above picture.
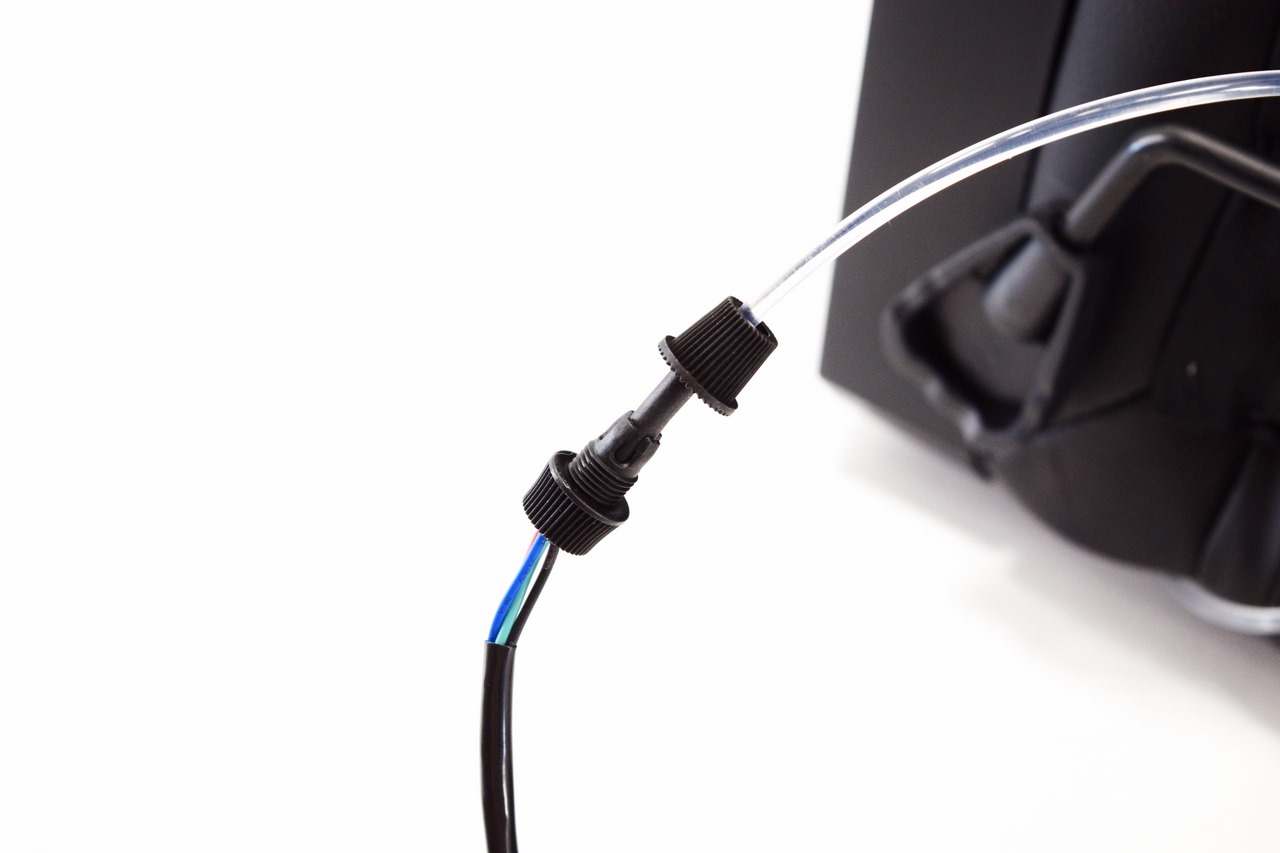
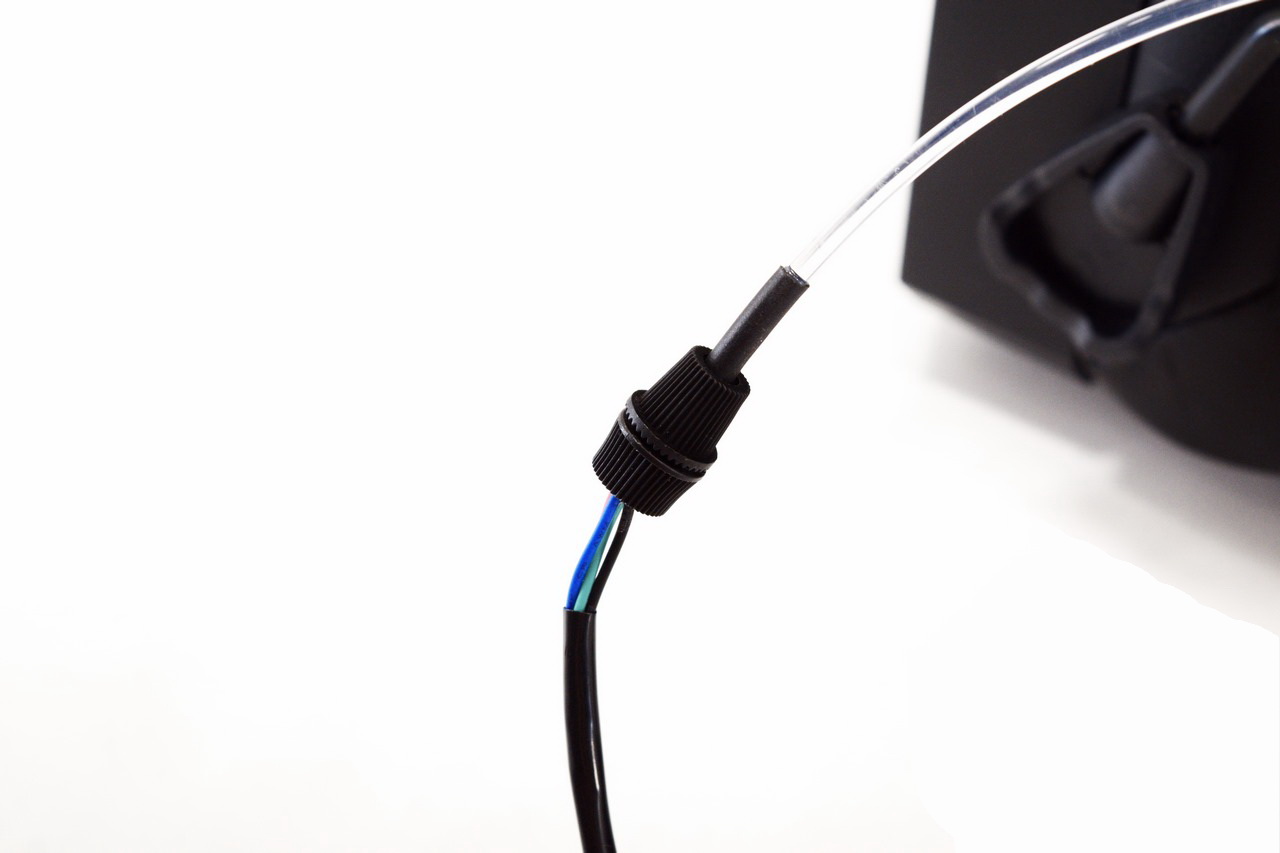
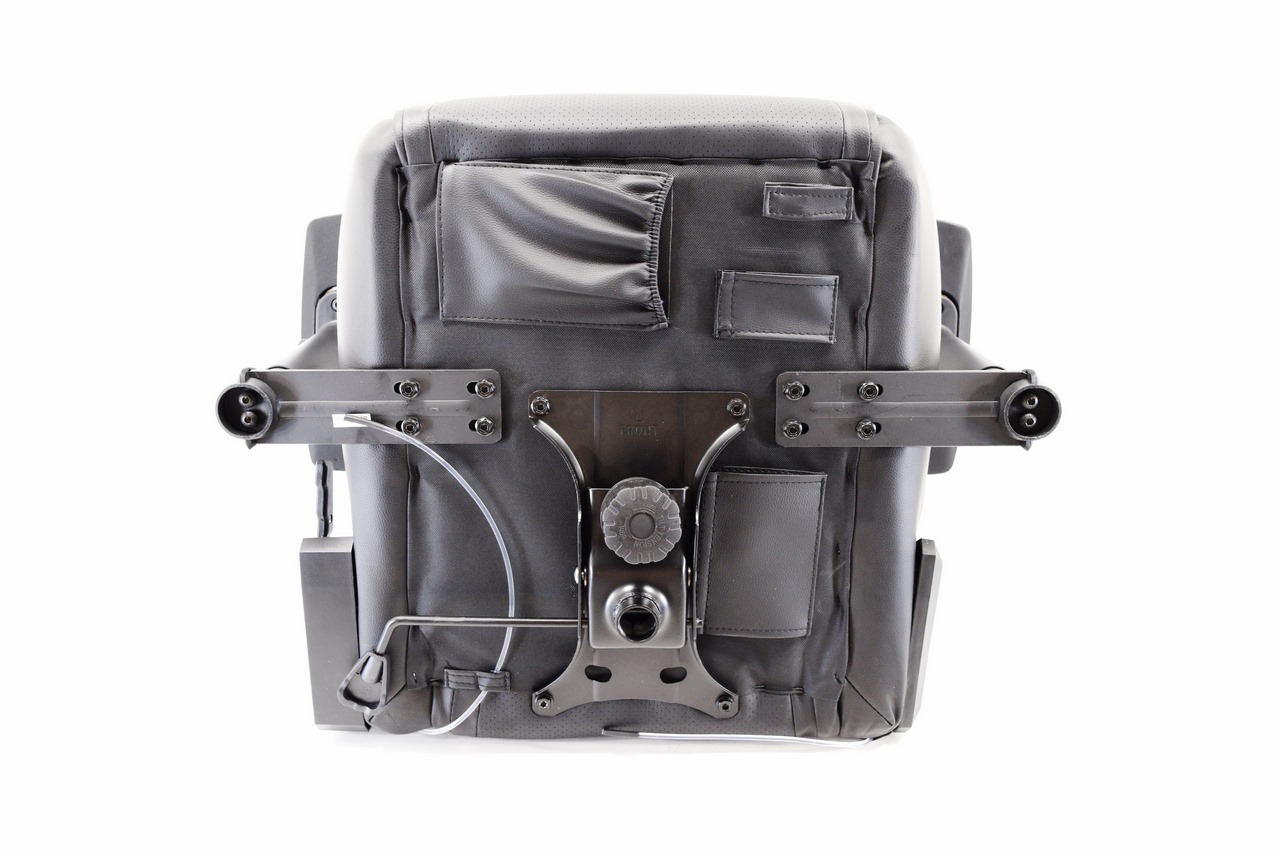
We strongly recommend attaching the RGB controller to the optic strips as seen above now before you continue.
Here you can see how we routed the various optic strips and cables but you can always choose a different path.
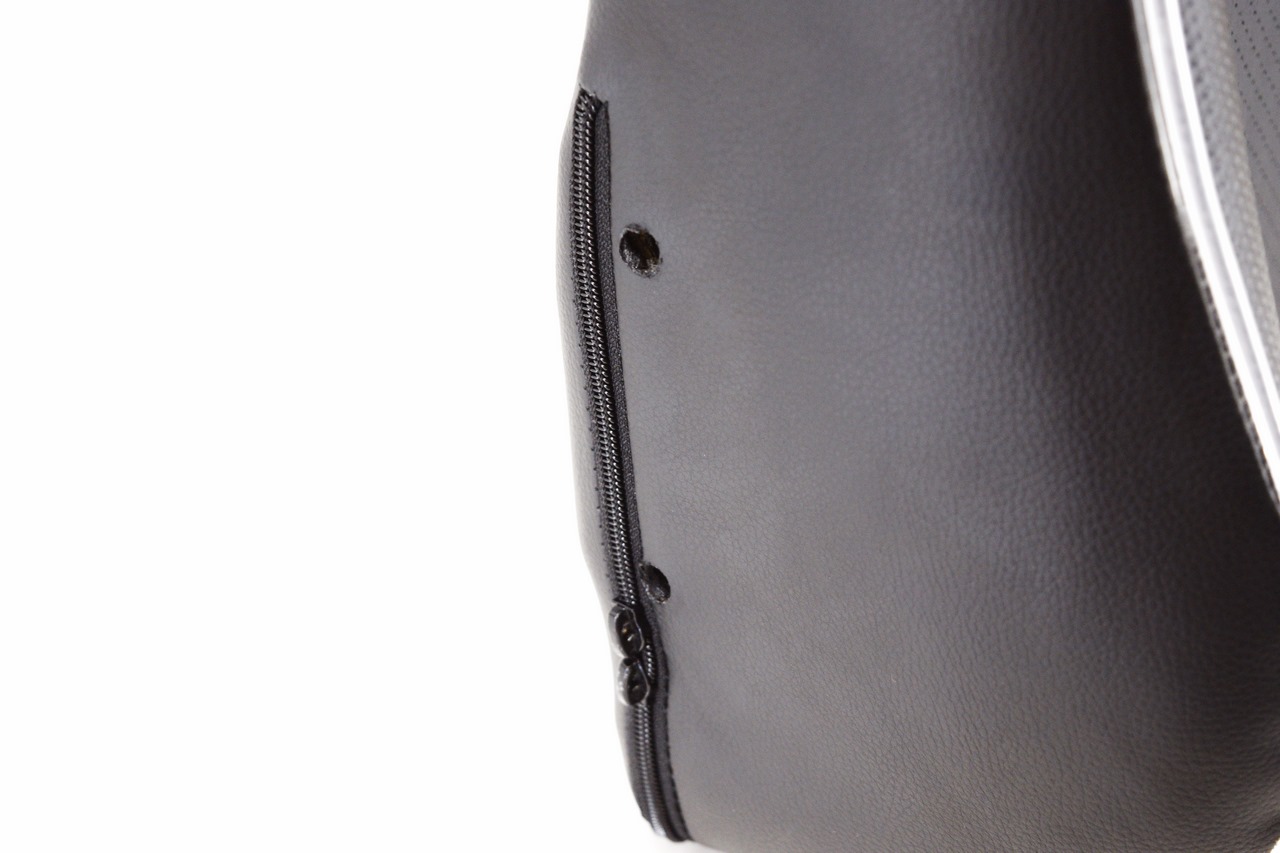
The backrest has two round openings on each side.
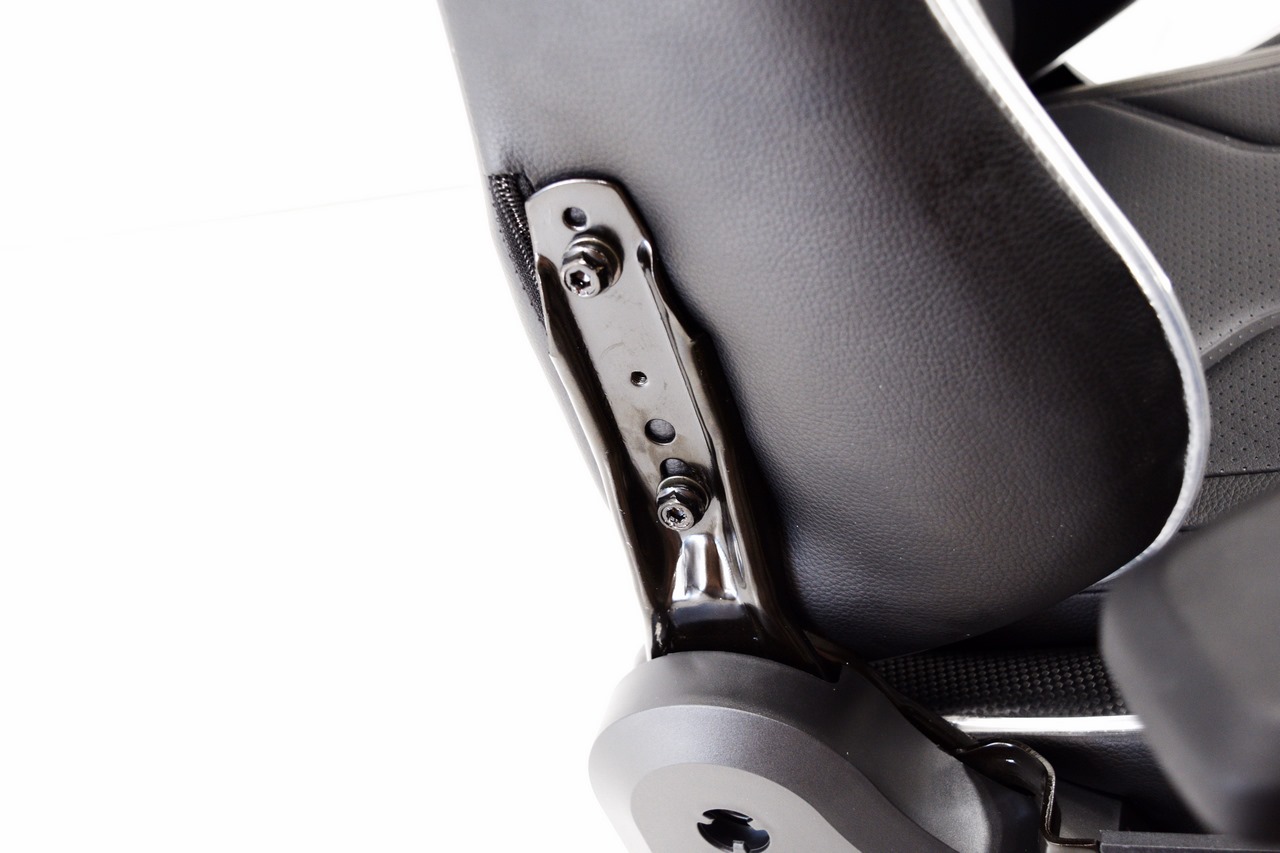
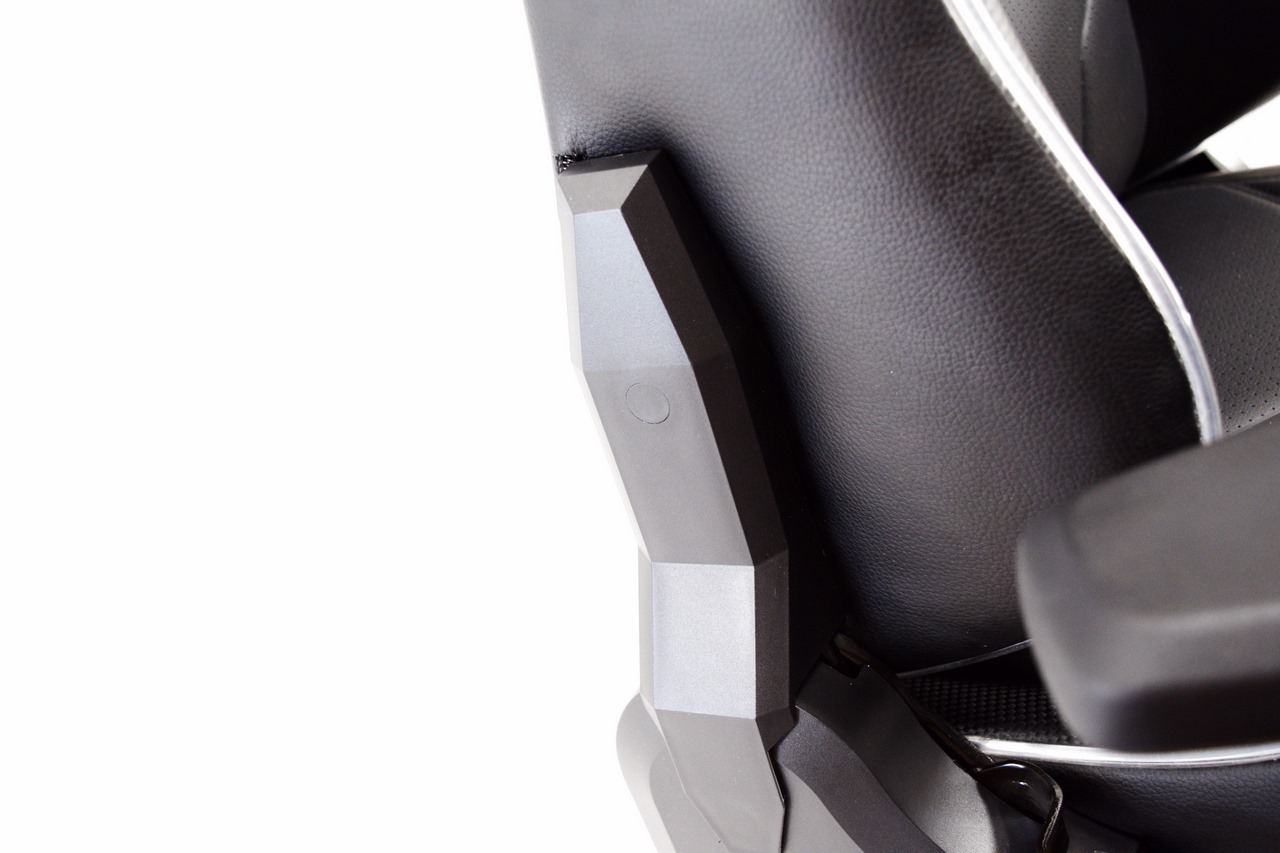
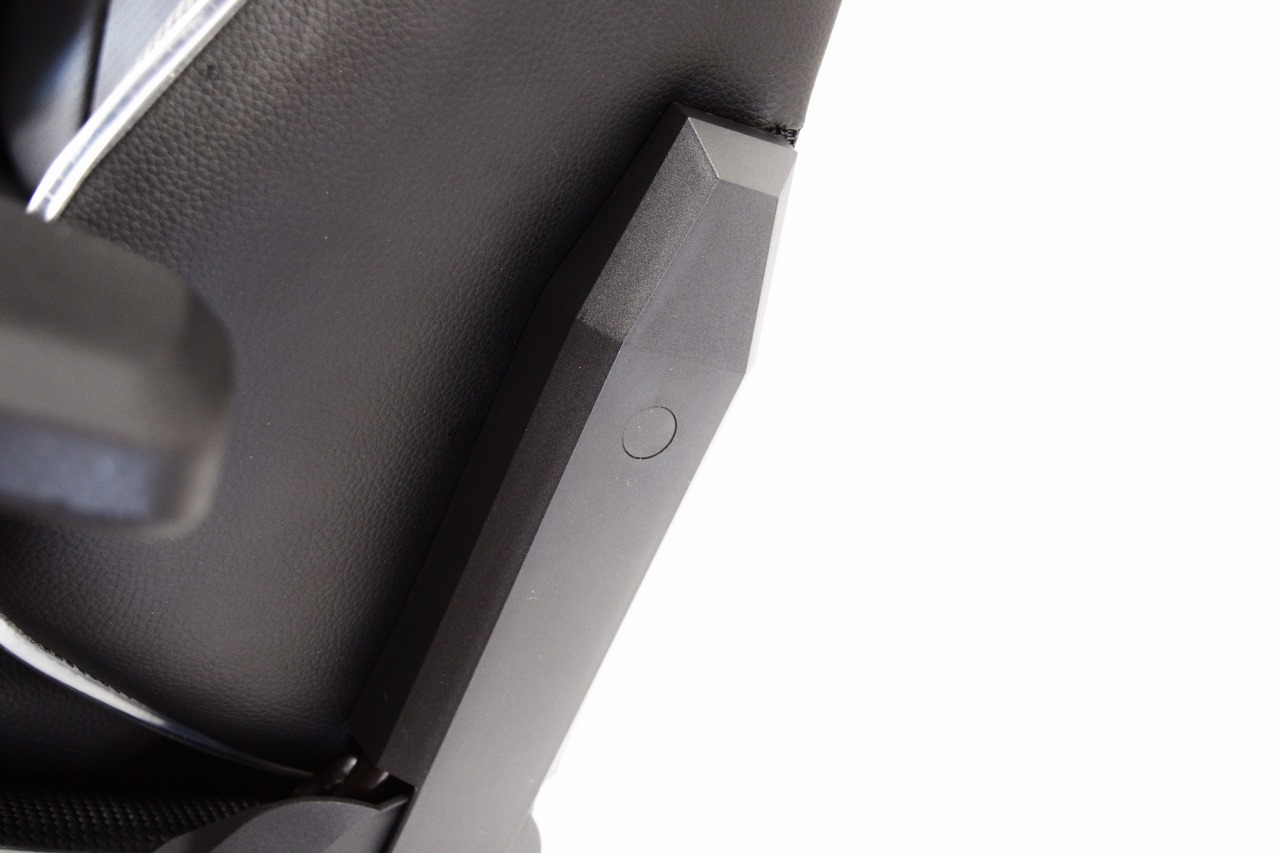
To secure the seat you will need to use two Allen screws on each side and then place the plastic covers over them.
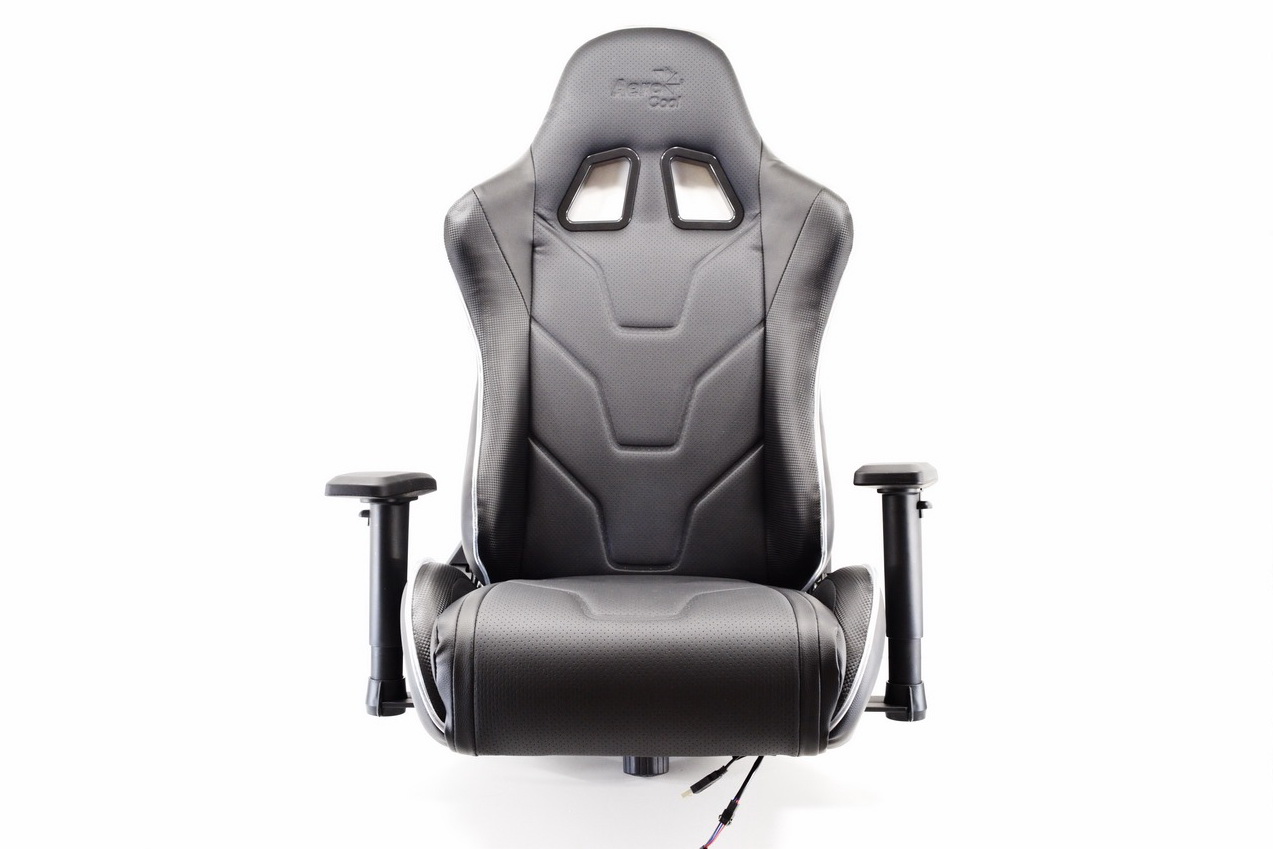
Having successfully assembled the top end of the chair all that’s left is for us to place it onto the class-4 gaslift.


.png)

