
 O-Sense

.jpg)


BUILDING THE SYSTEM
As always, the purpose of this section is not to build a functional system but rather to showcase what you can expect from the case at hand in terms of interior space.
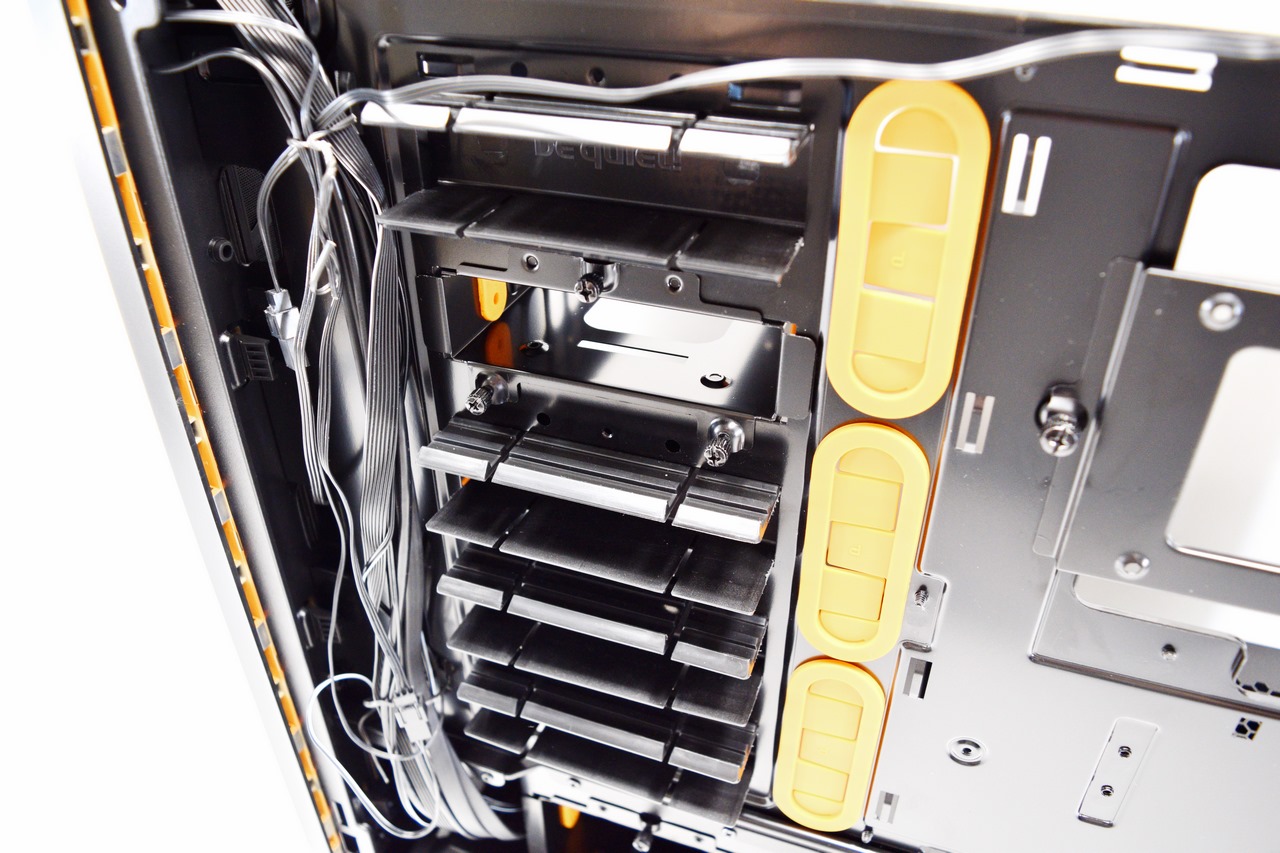
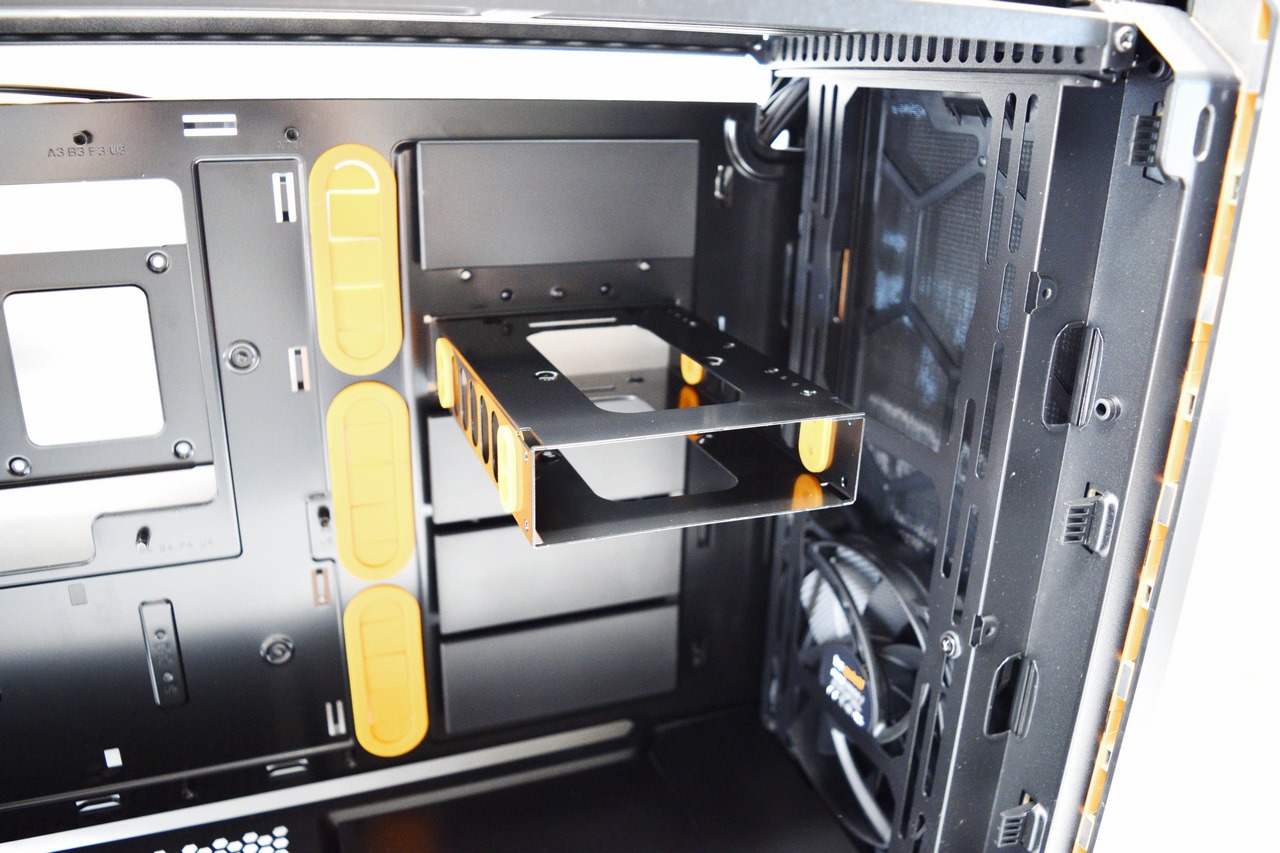
We started placing components by removing one of the covers and mounting the bundled drive tray.

Next, we mounted our PSU from the rear of the case (can't mount regular sized models from the side).
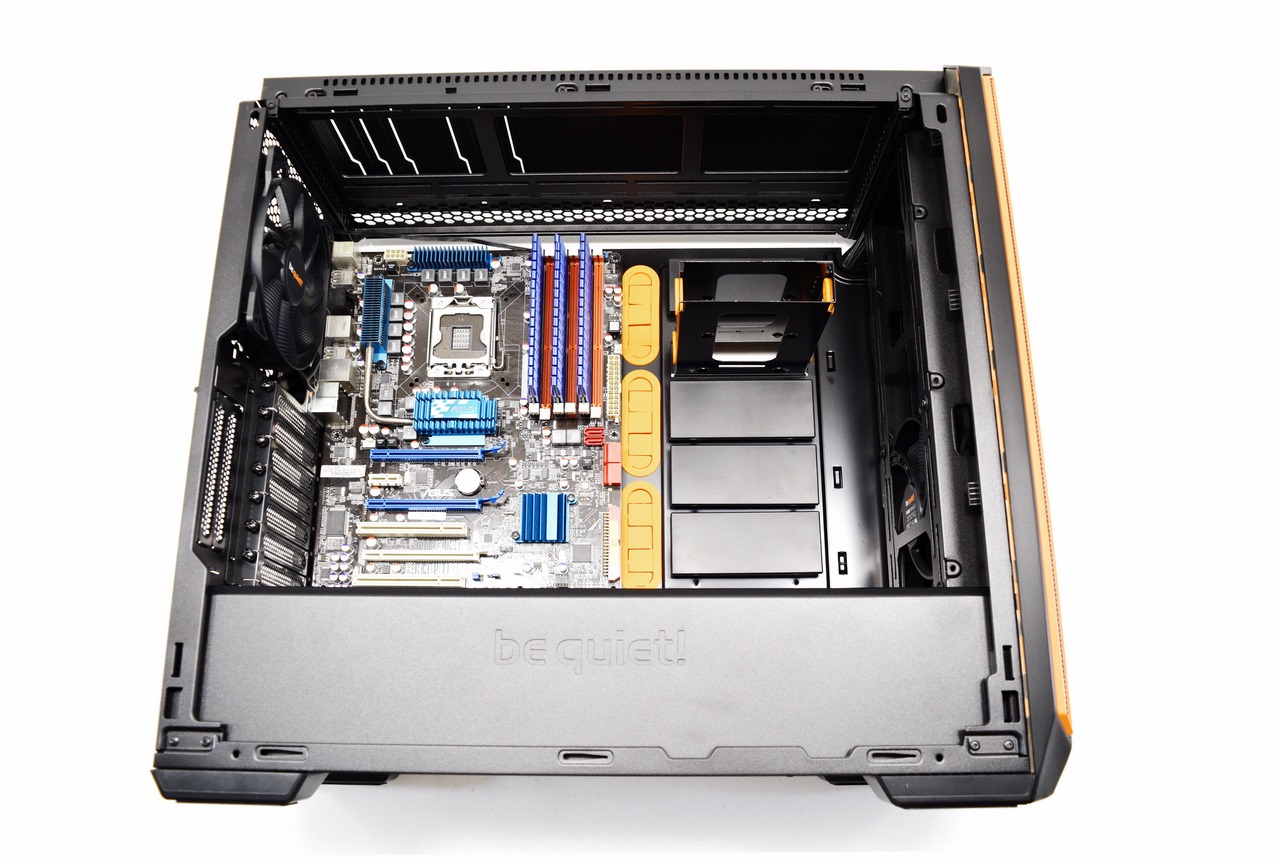
Once that was done, we continued by placing our ATX sized mainboard.
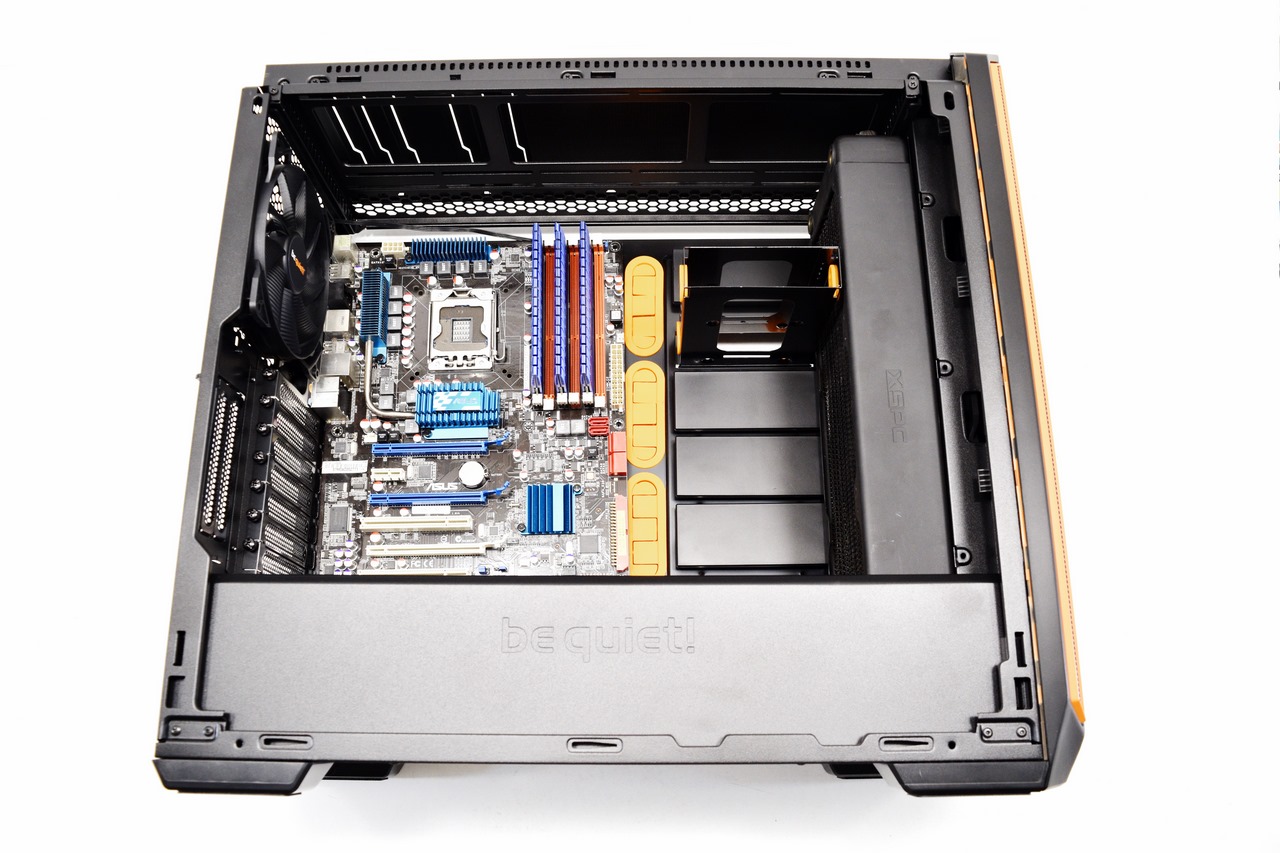
At the front you can mount up to 360mm long and 57mm thick radiators so there's really no limit here.
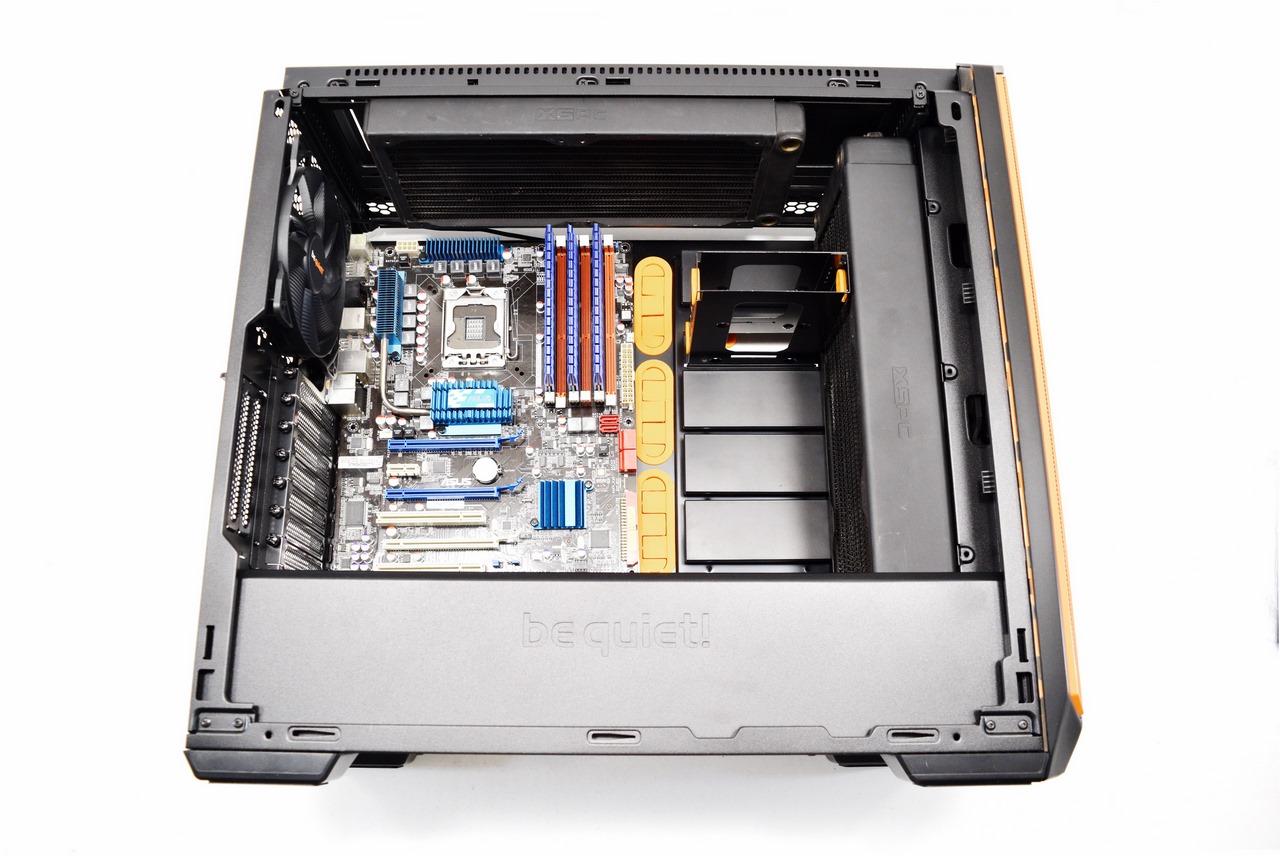
You may not be able to use a very thick radiator at the top but you can also use up to 360mm long ones here as well (we used a 280mm one for this review).
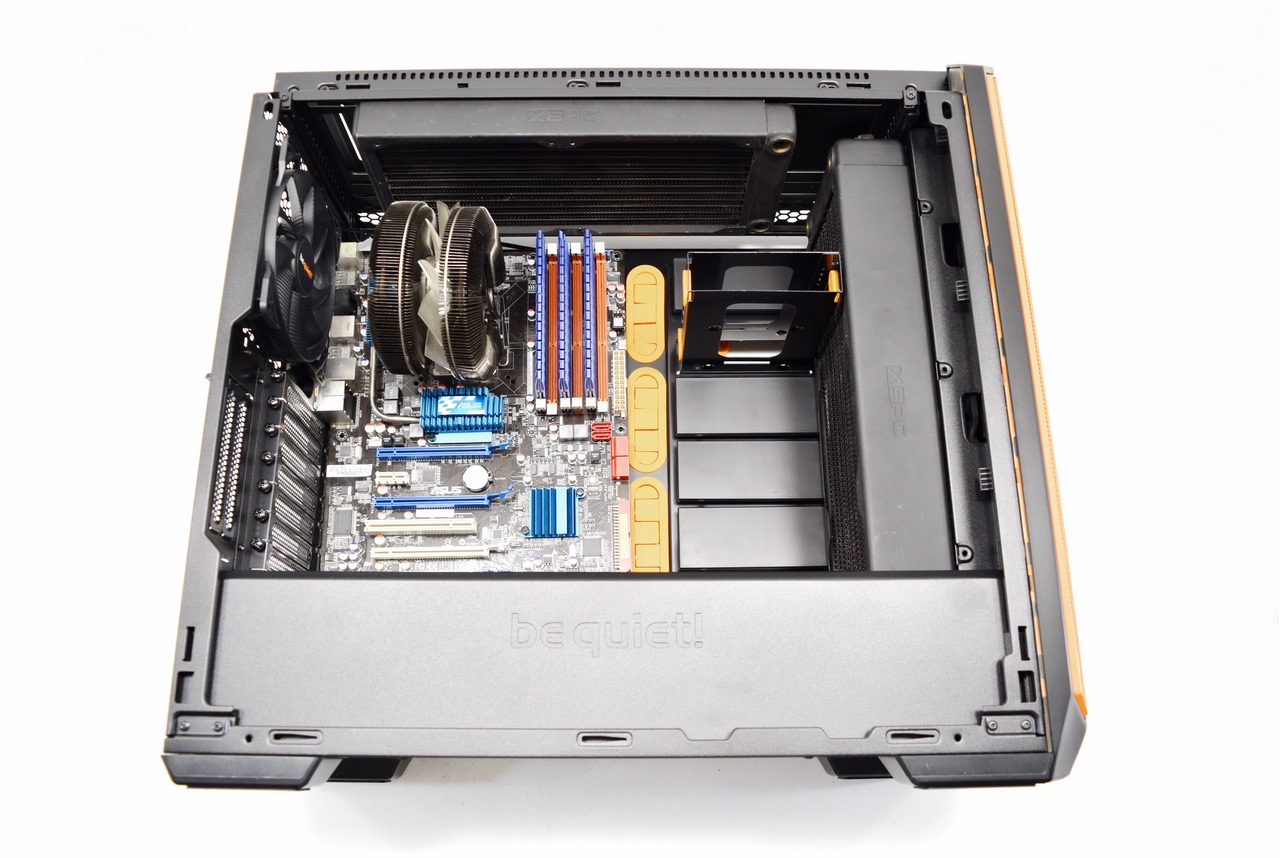
Let's also not forget that with enough clearance for up to 185mm tall CPU air coolers there's really no limit here either (at least not from the case).
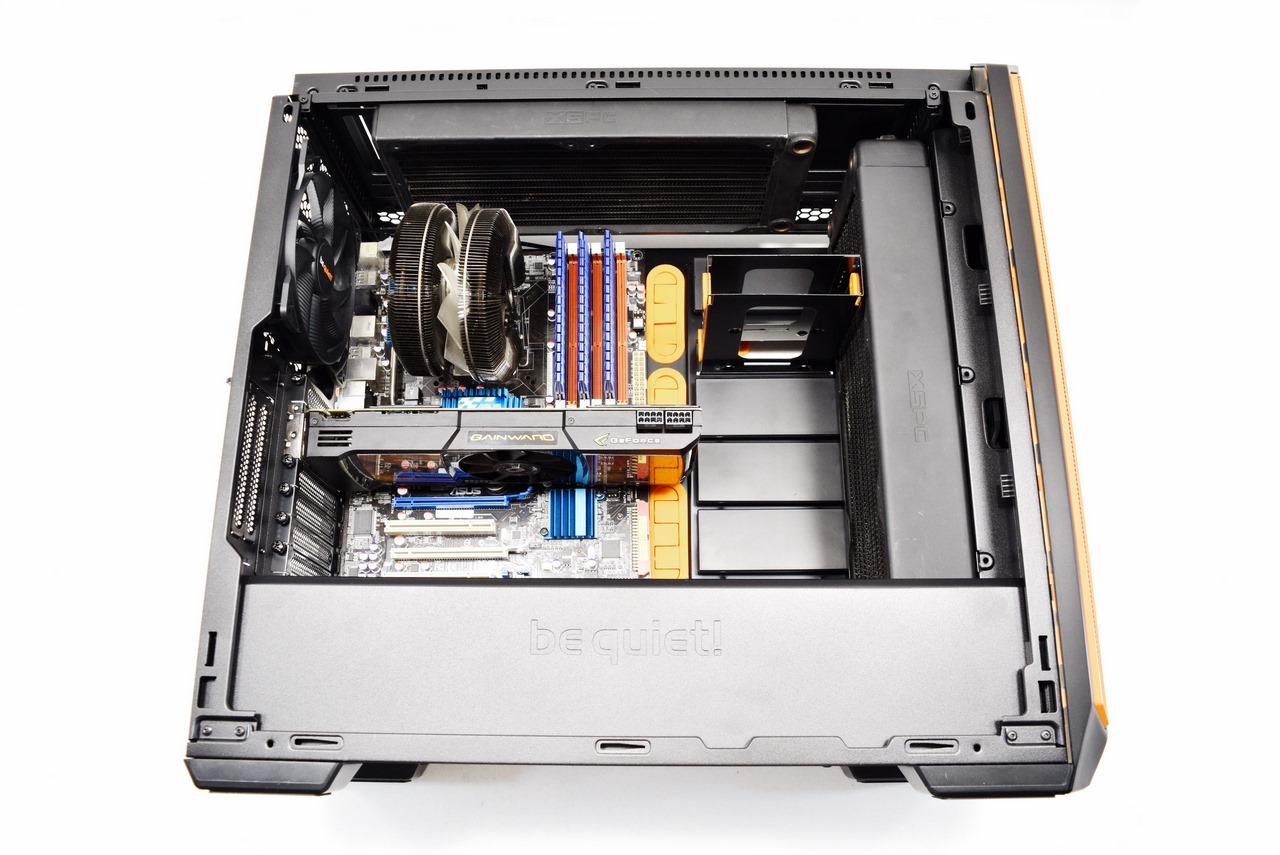
Even though the drive trays do take some space you can use up to three without them interfering with your graphics cards (if you decide to use all 5 however you will have room for 287mm long cards).


.png)

