


THE LEVEL 20 GT RGB PLUS INTERIOR
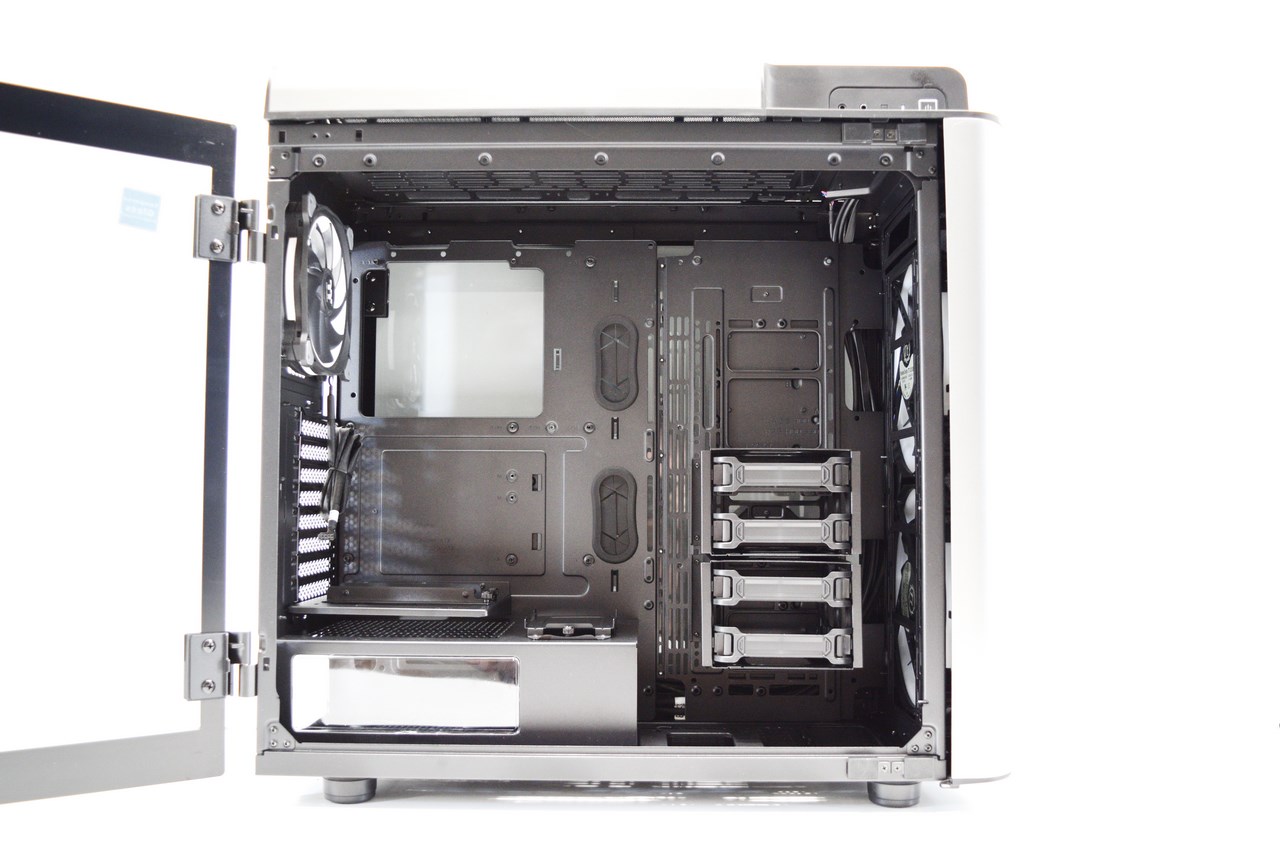
The Level 20 GT RGB Plus may not be the most spacious full tower we've ever seen but you shouldn't have a problem mounting pretty much anything you'd ever want inside.
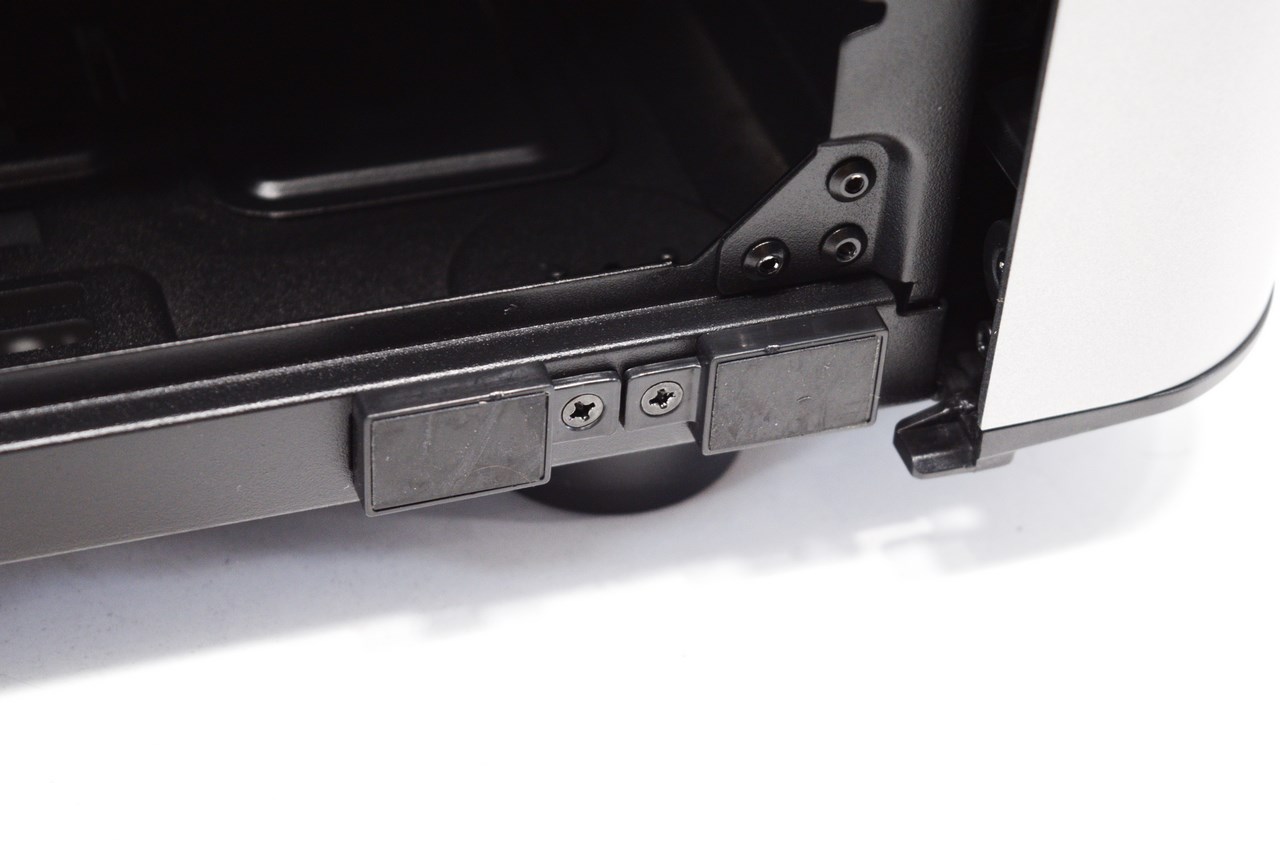
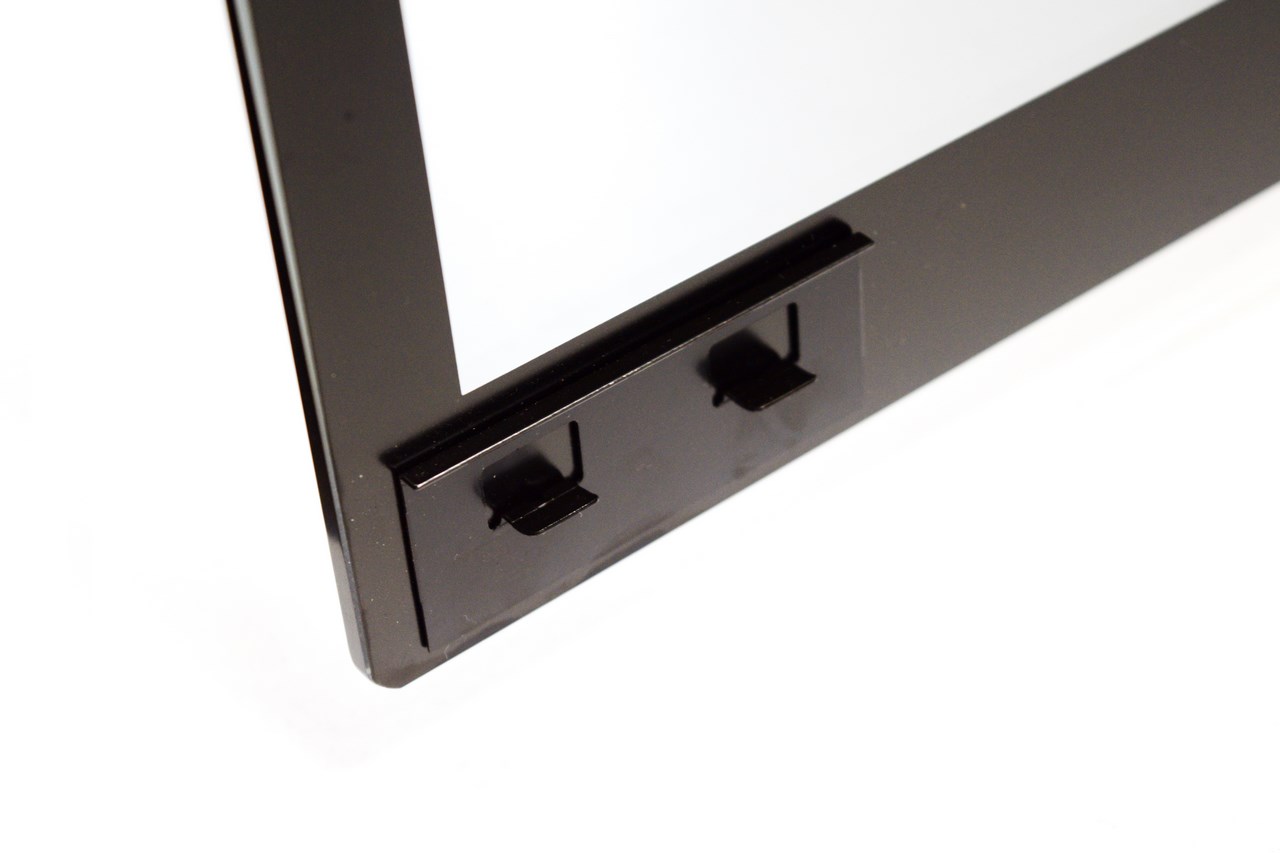 Worth pointing out is that both the left and right side panels are also held in place via magnets as seen above (so don't pull them just from the keys).
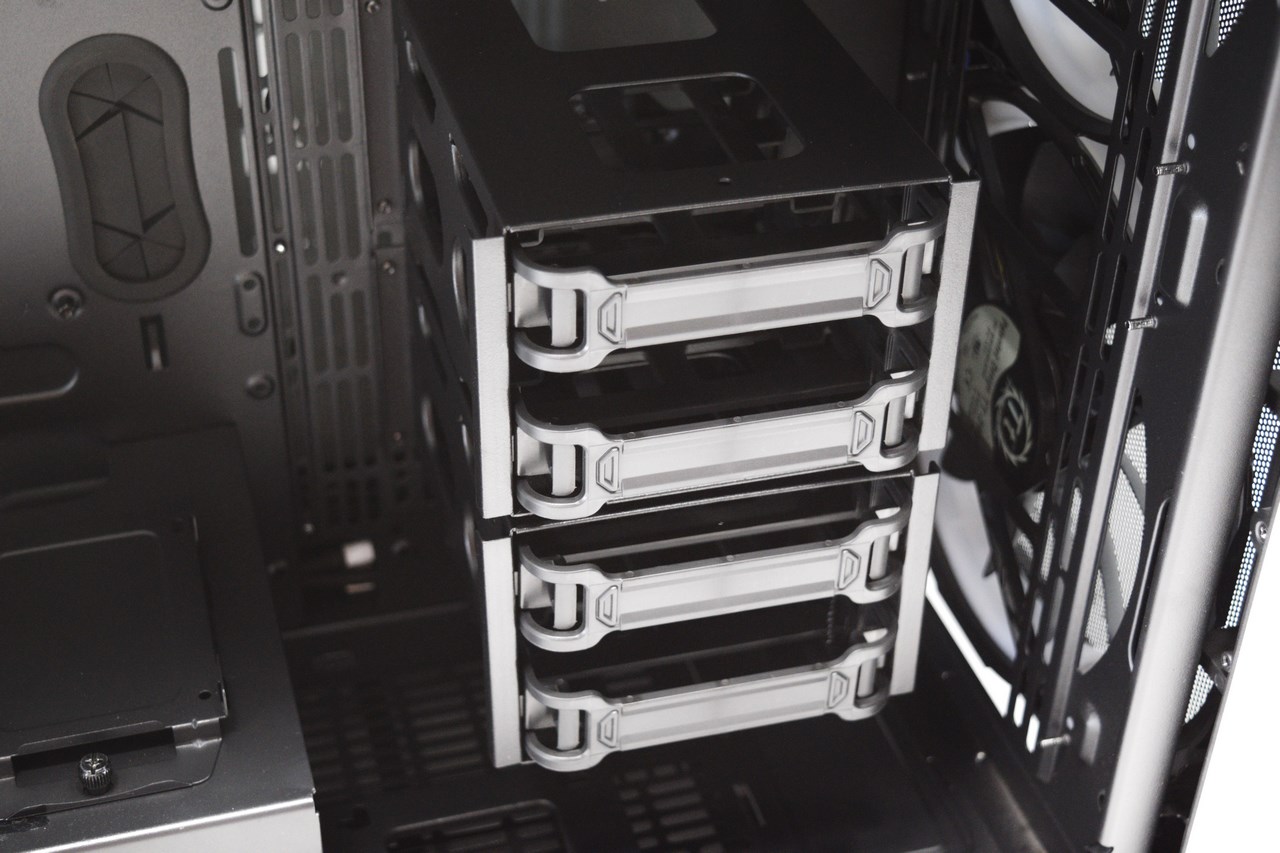
Both drive cages can hold up to two 3.5/2.5" drives each and can either be removed or placed further up the rail.
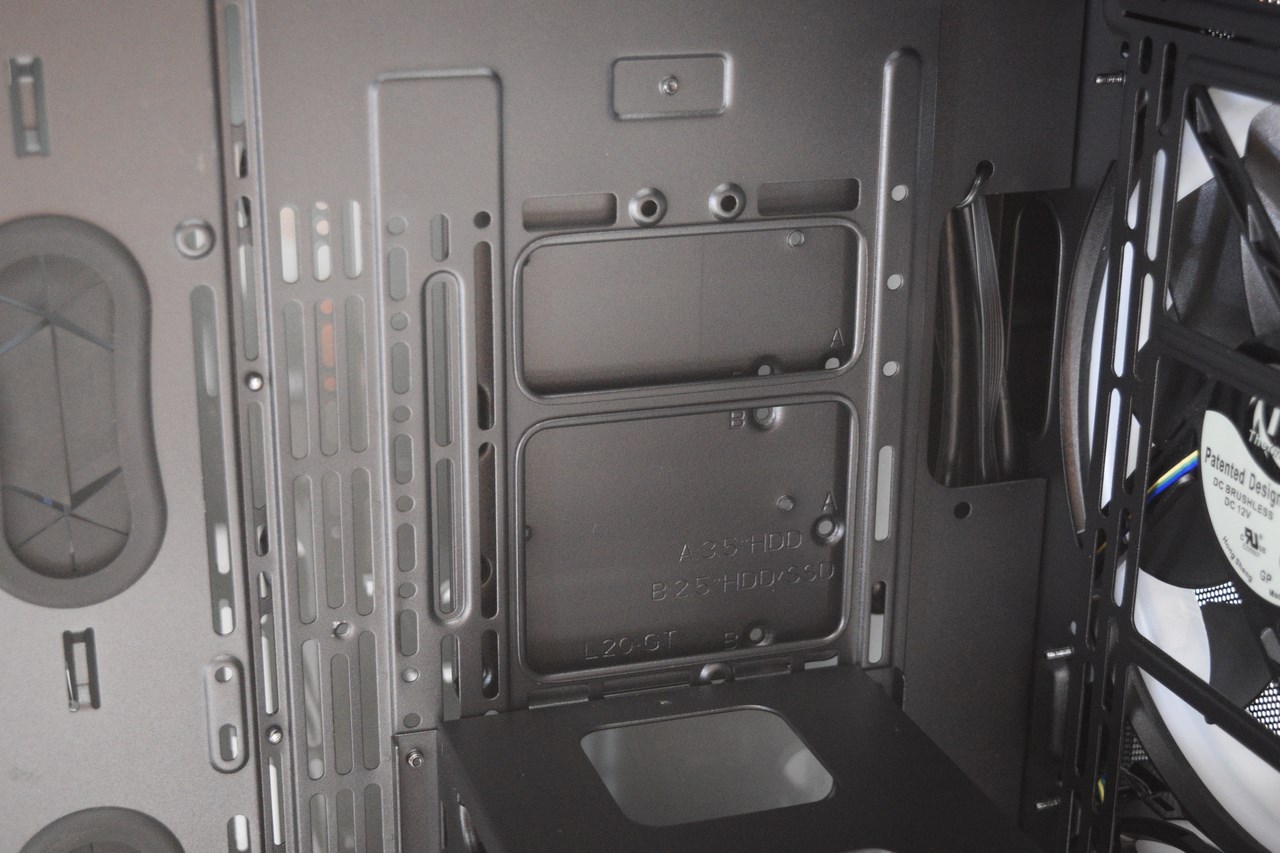
If you decide to remove both cages you can mount an 240/280/360/420mm radiator here (still although it may look nice if you use RGB fans we do recommend mounting one either at the front or top of the case for optimal performance).
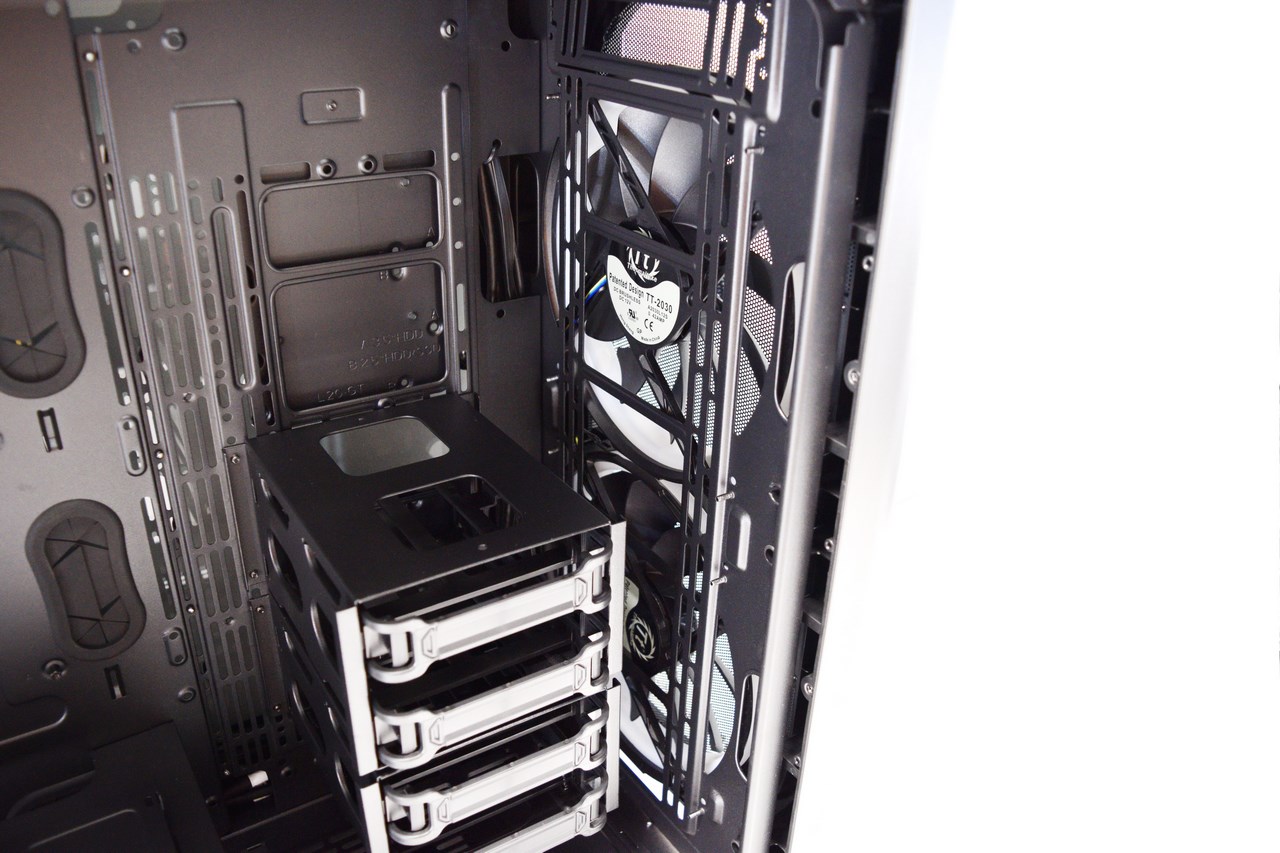
Behind the two 200mm Riing RGB Plus fans placed at the front you can mount an 40mm thick and 240/280/360/420mm long radiator.
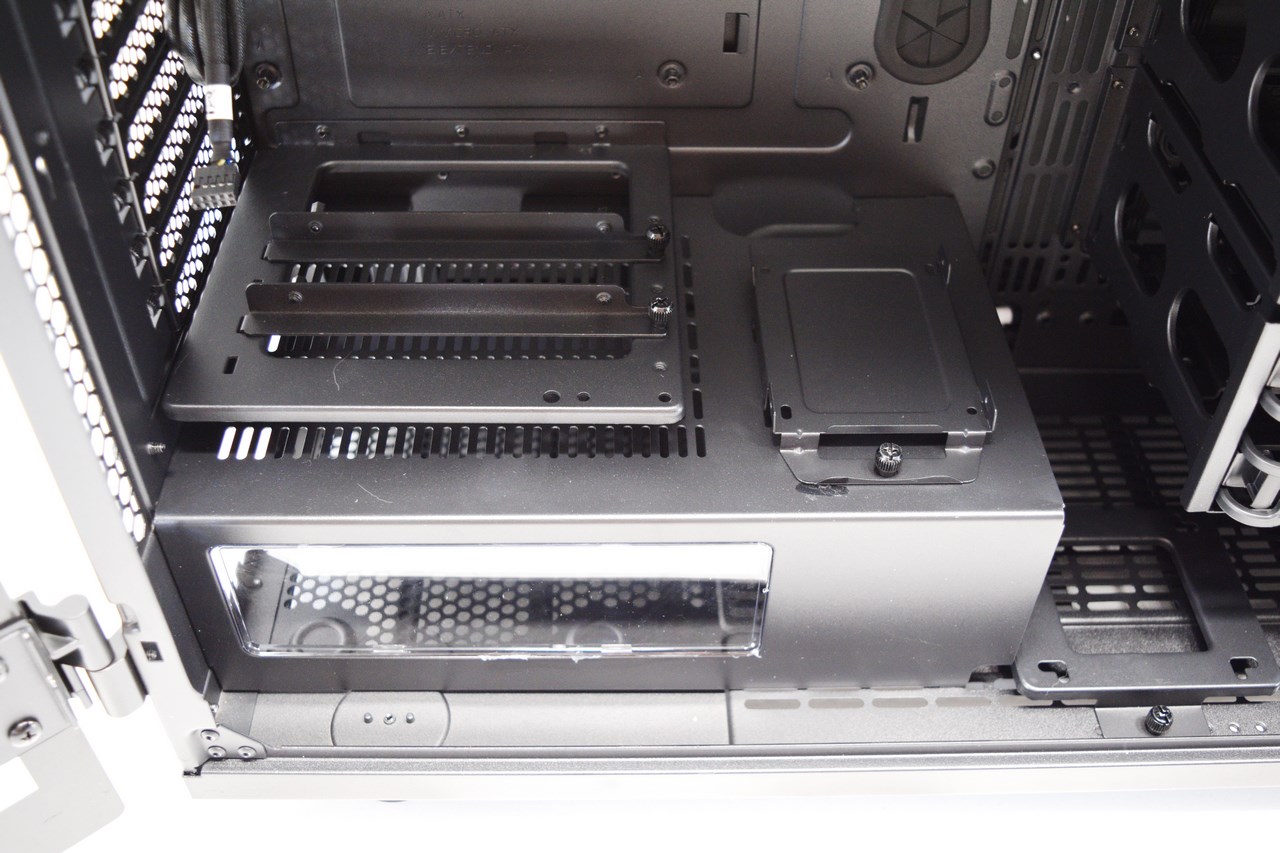
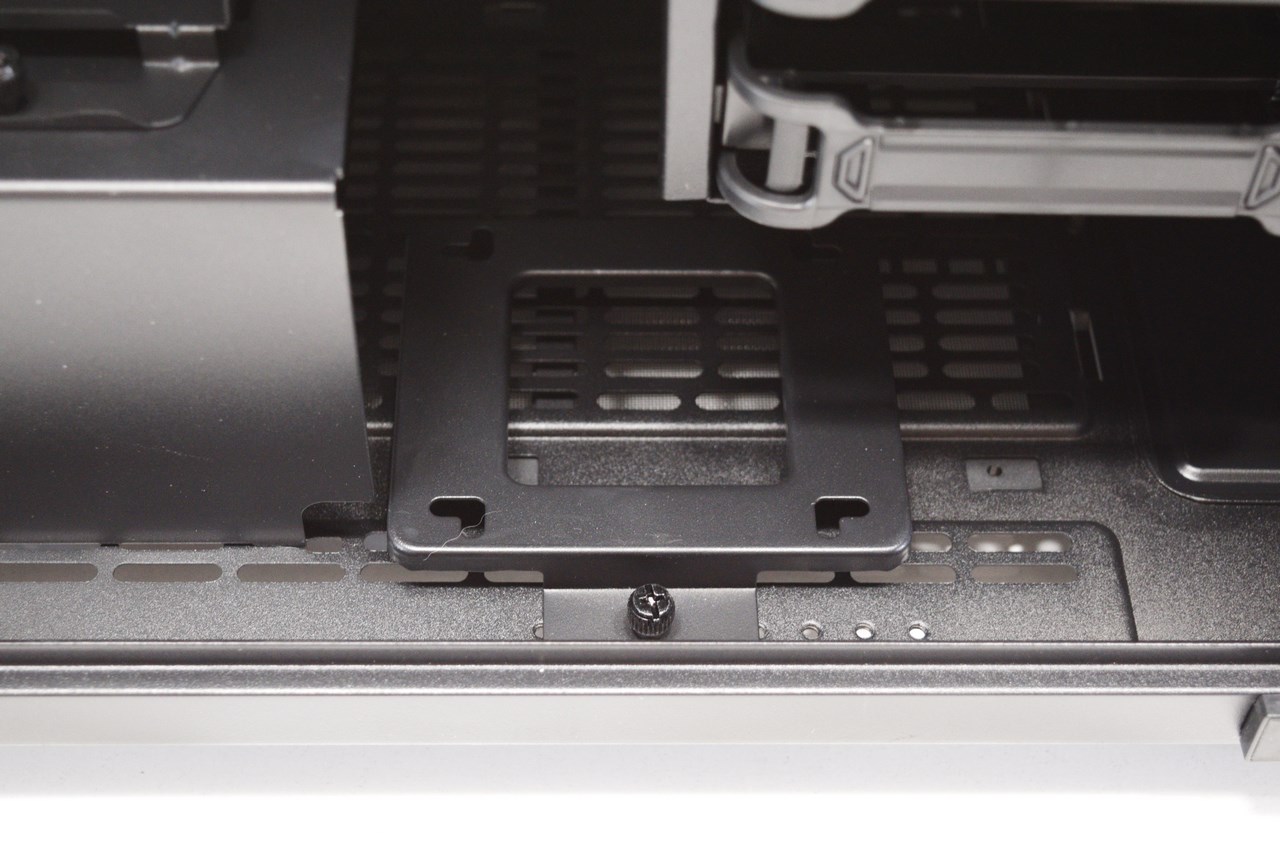
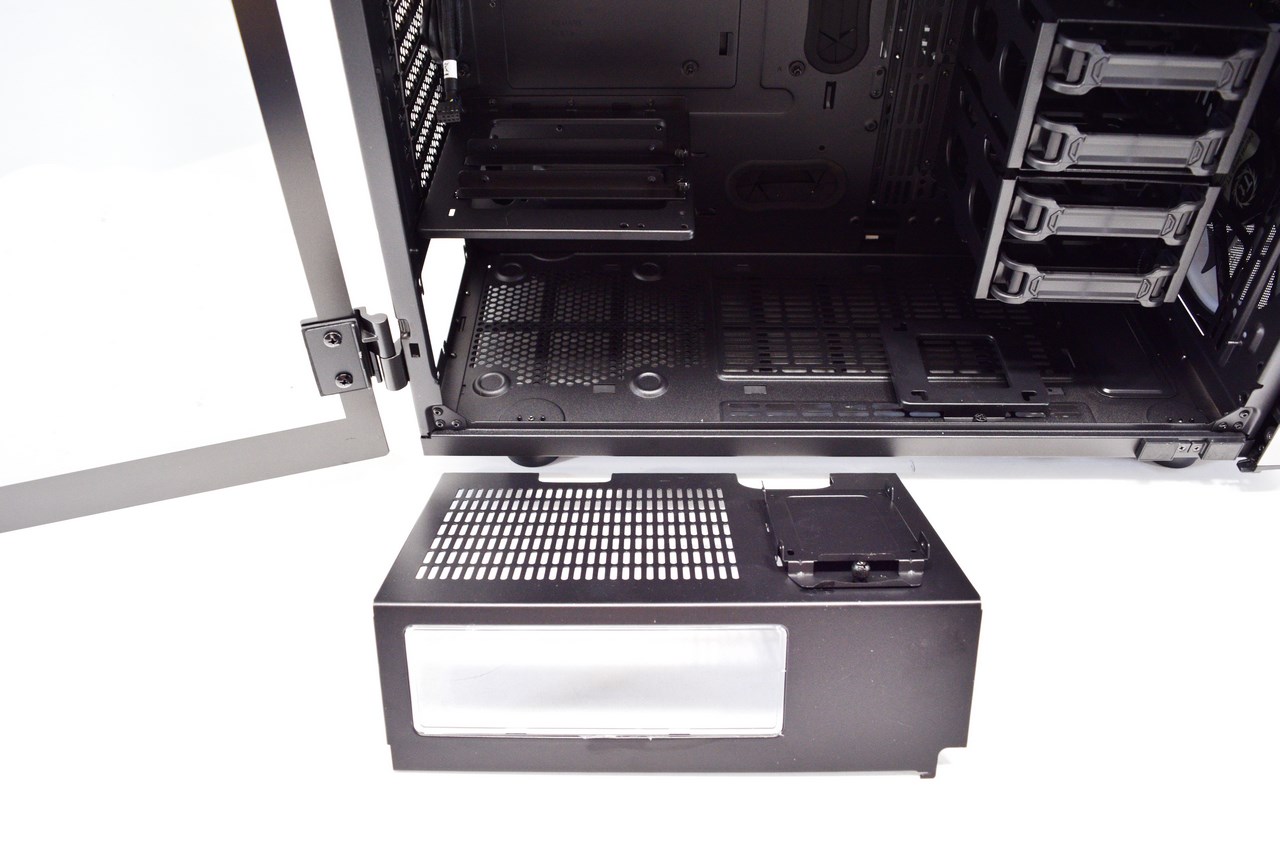
The PSU area cover has a clear plexi section and a 2.5" drive tray at the top (here you can also see the vertical PCI-E bracket which can be used with two cards).
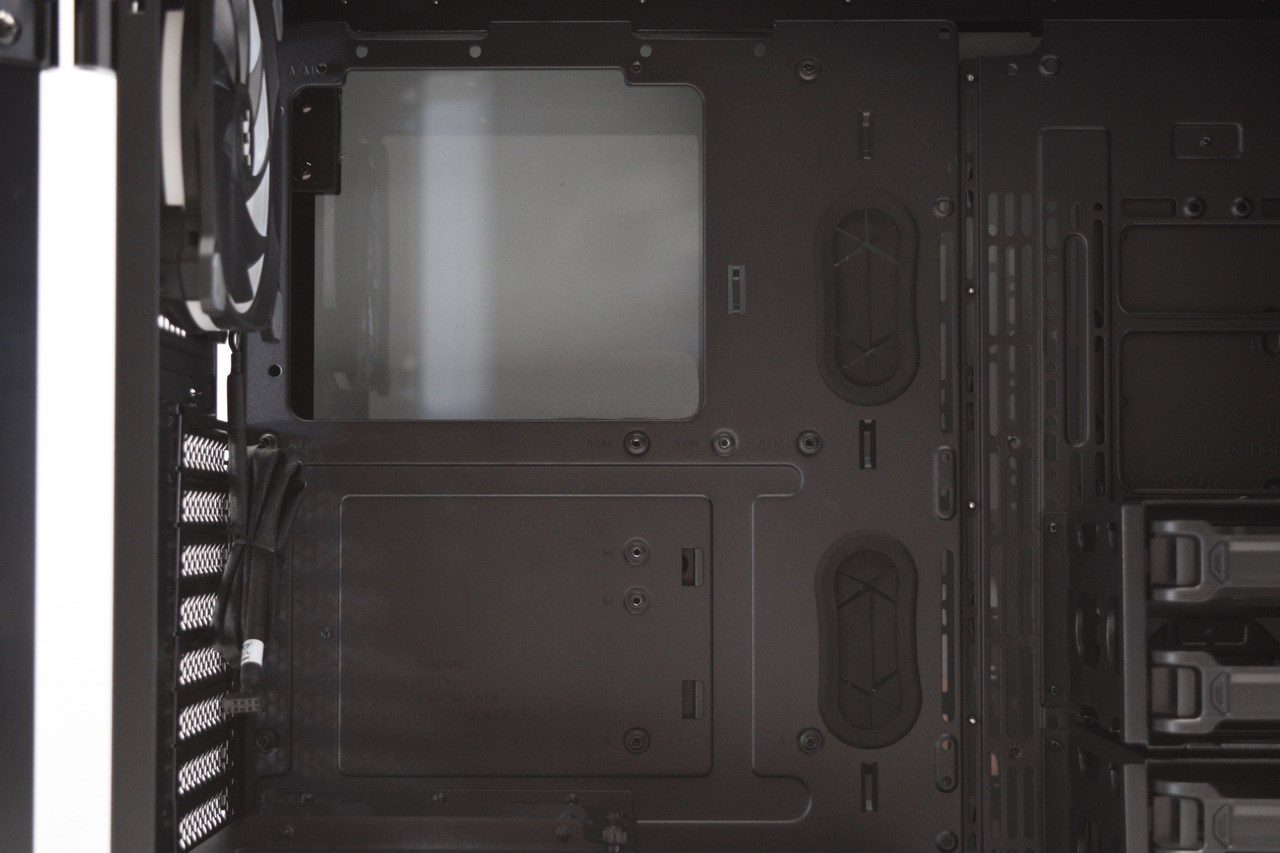
Thermaltake has placed three rubber grommets on the mainboard tray (one is in the PSU area) along with a very large opening beneath the CPU area.
If you plan on fitting the Level 20 GT RGB Plus with a custom water cooling kit there's also a tube reservoir bracket at the base.
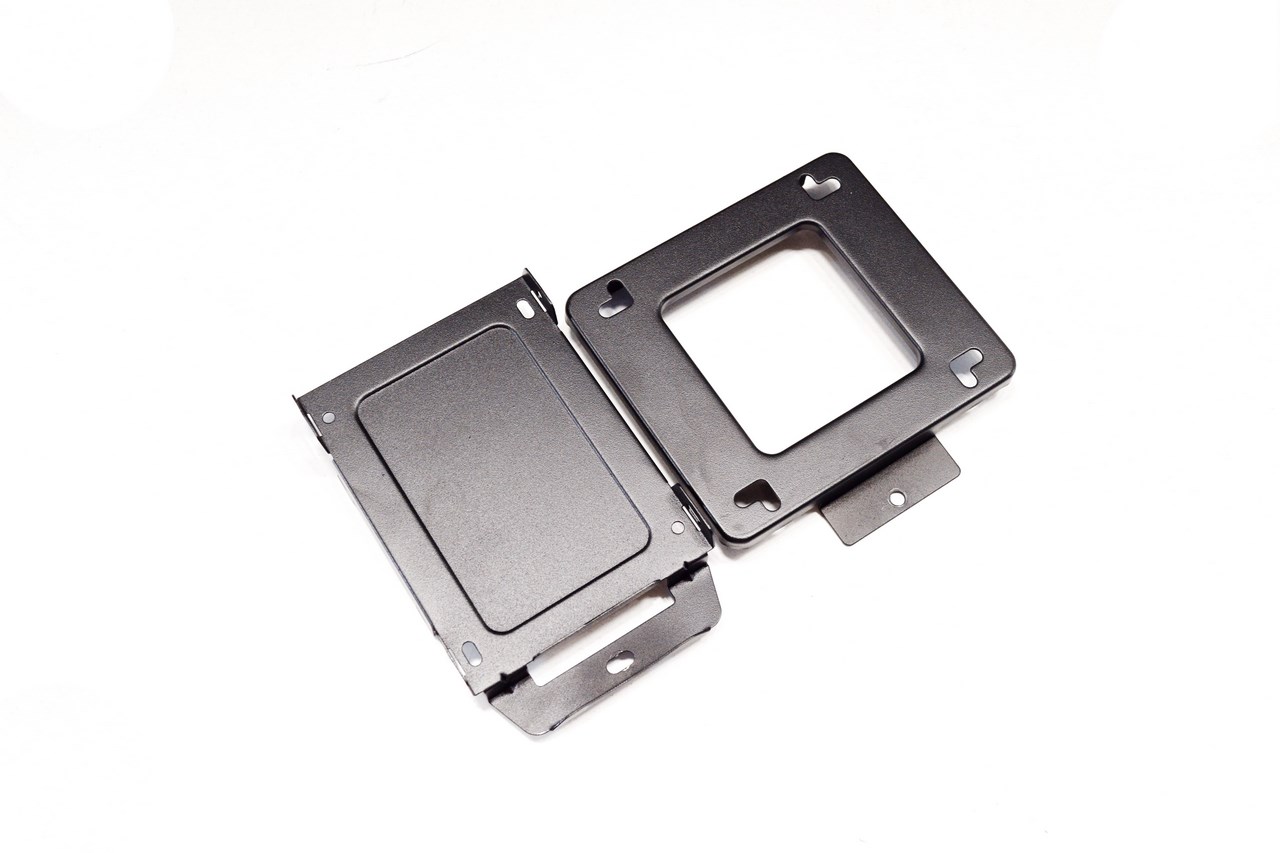
Both the 2.5" drive tray and the tube reservoir bracket are made out of aluminum.
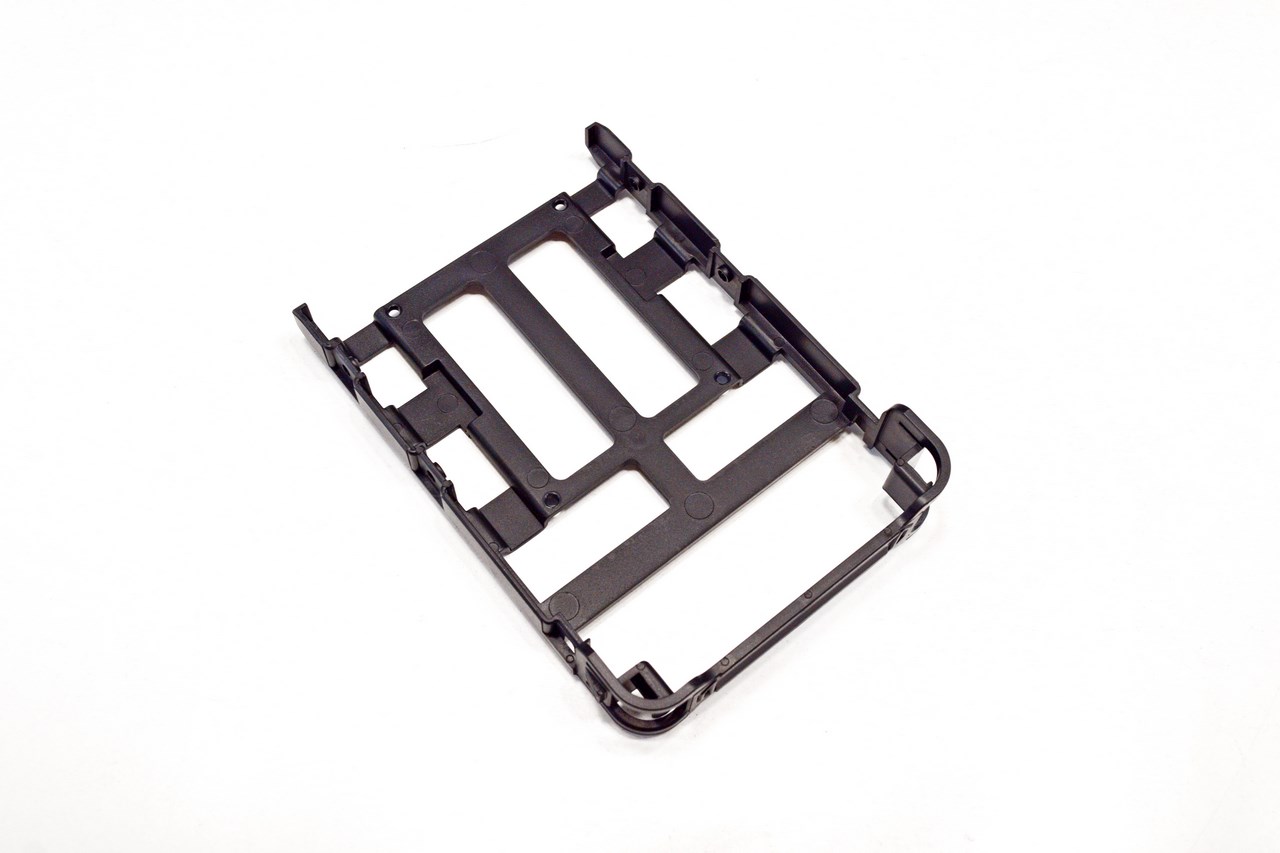
The drive cage trays on the other hand may be quite sturdy but they are made out of plastic.

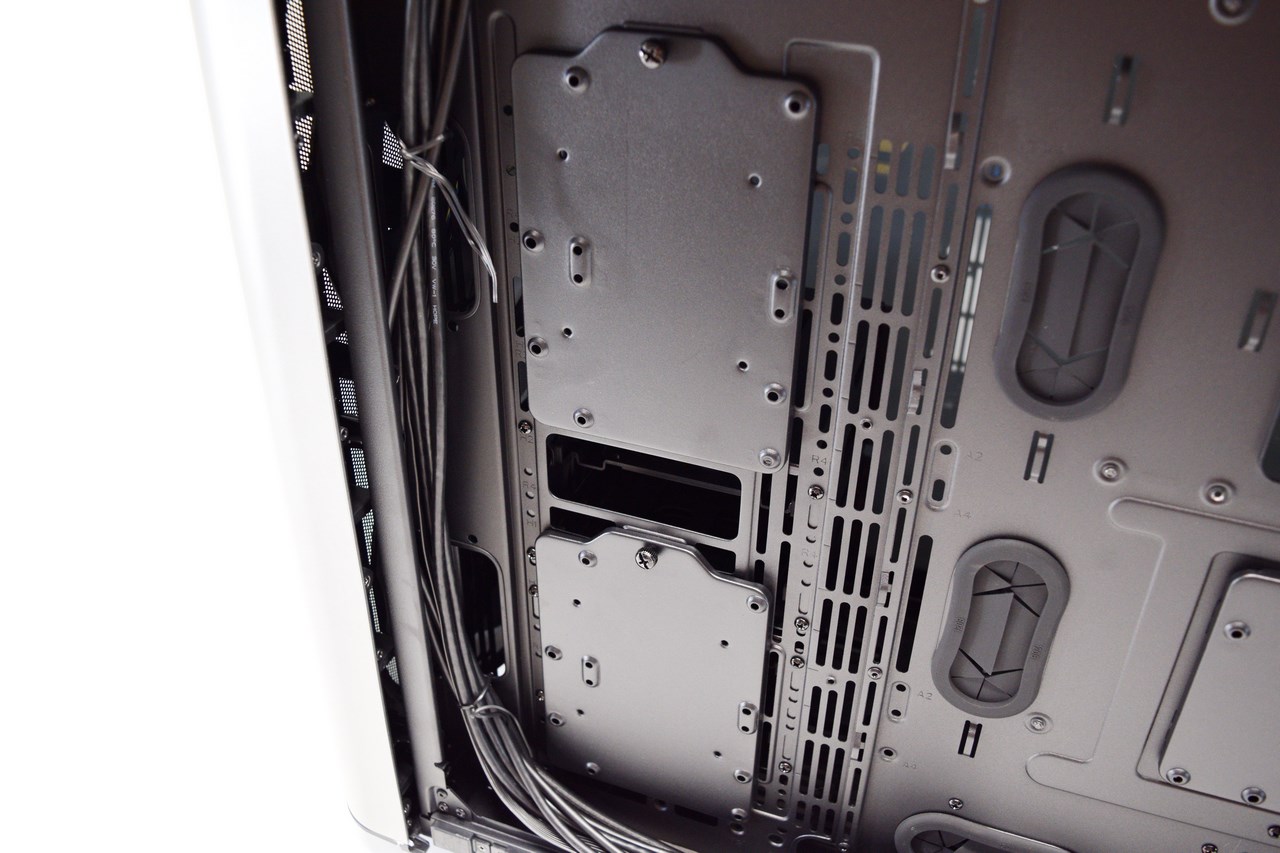
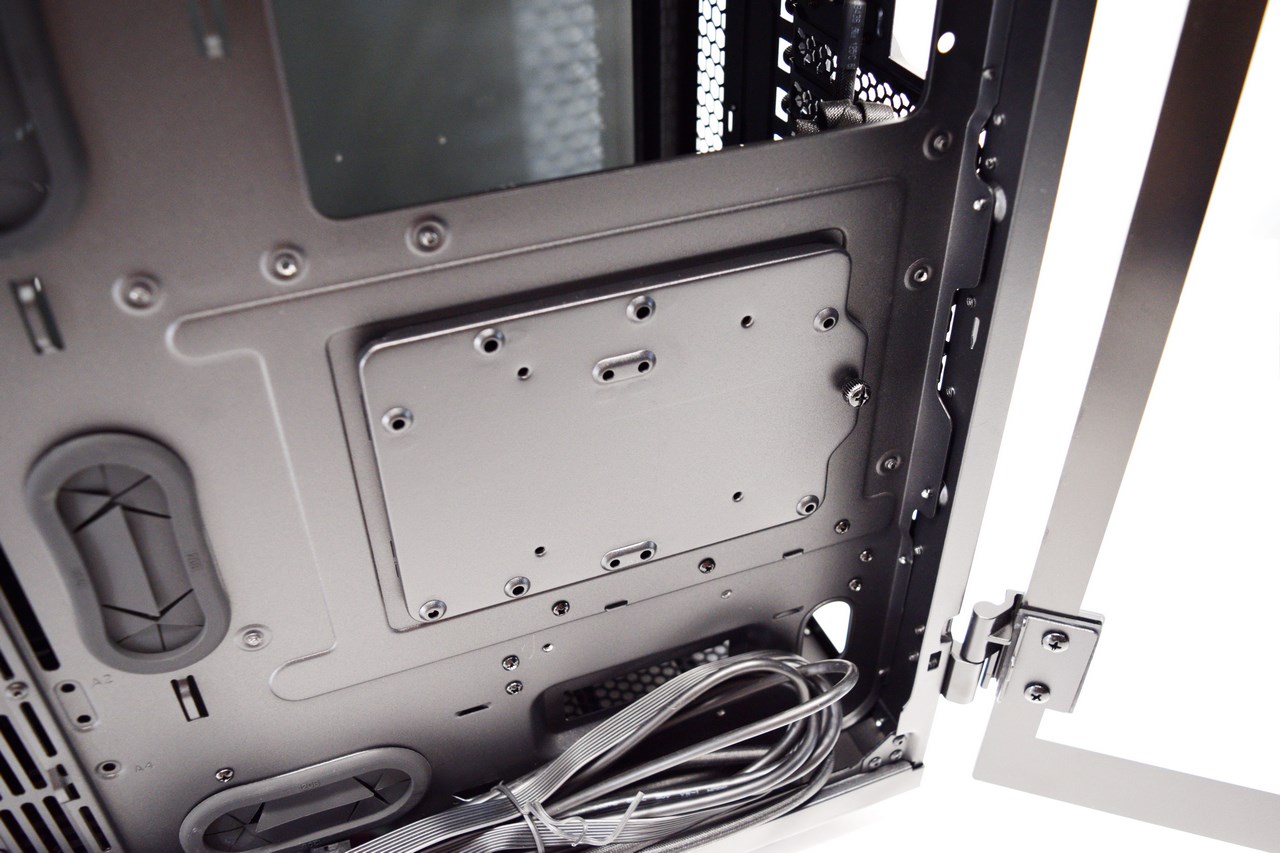
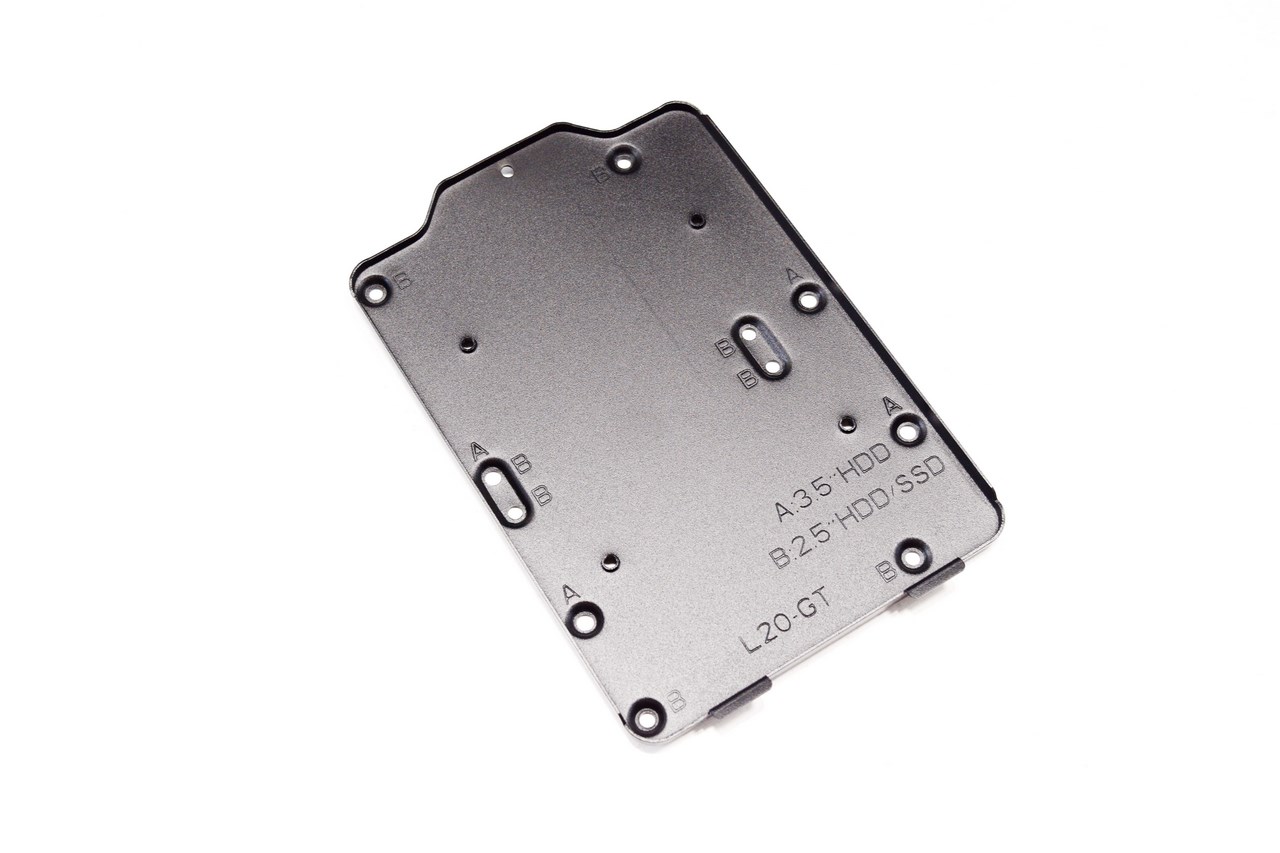 Taking a look on the other side of the mainboard tray we find three vertical drive trays made out of aluminum (each can hold either 2x2.5" or a single 3.5" drive).
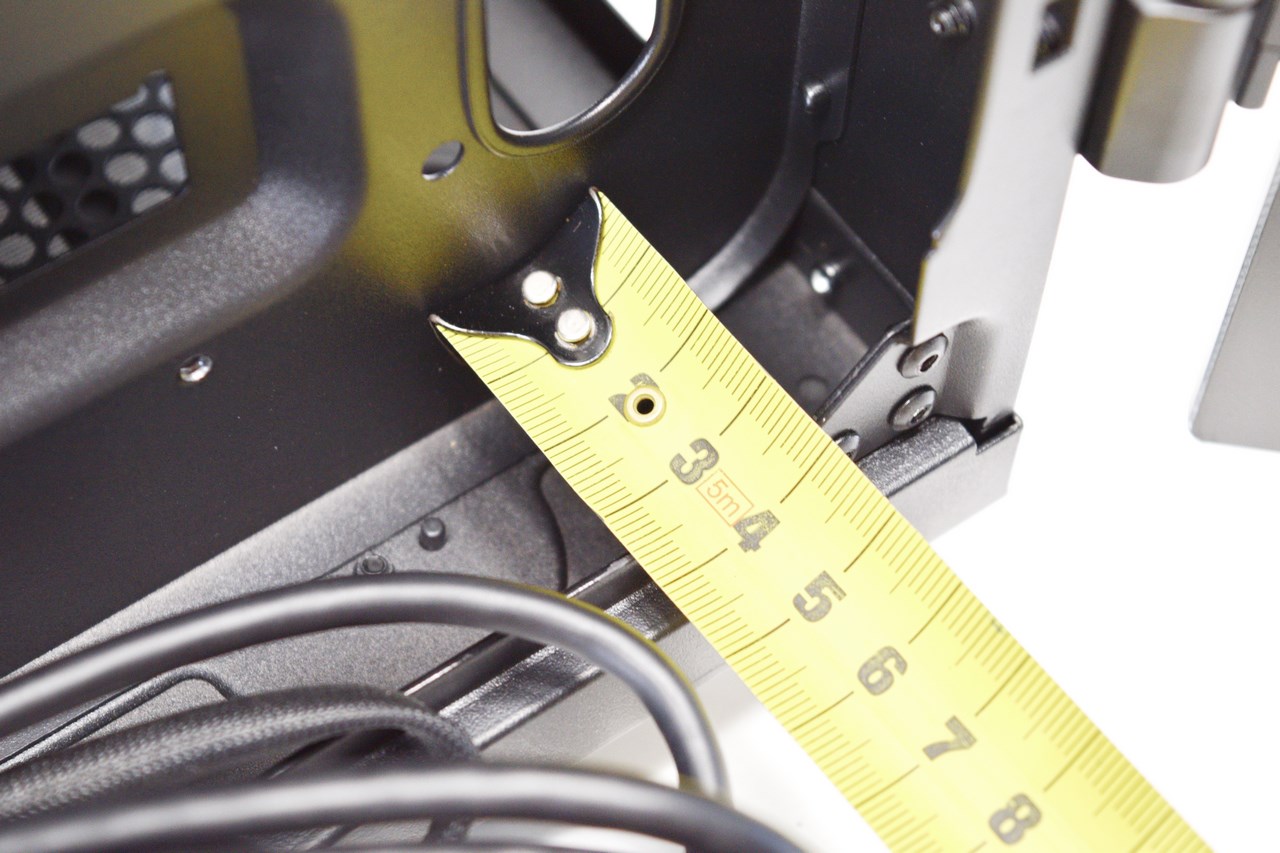
There's a total of 35mm of space between the mainboard tray and the right tempered glass panel for cable routing.
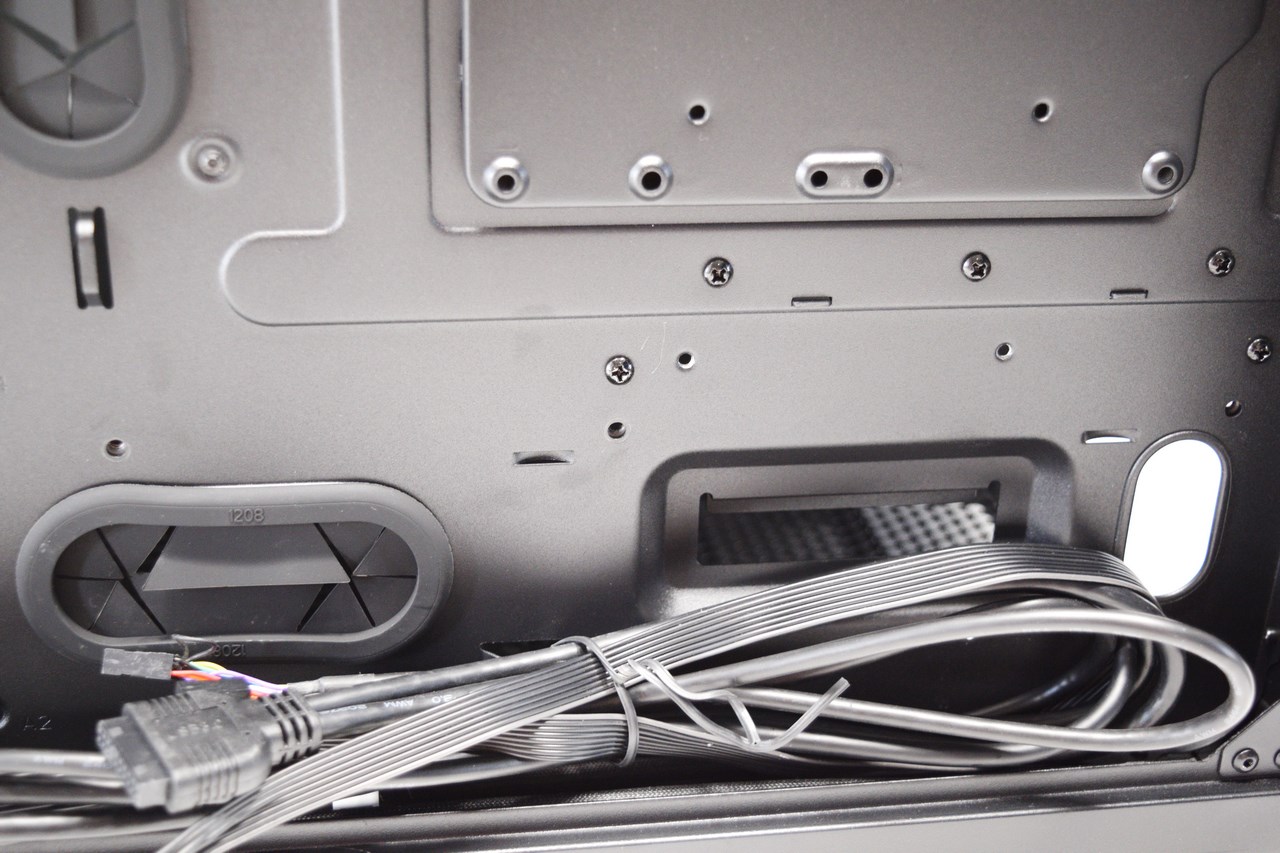
To install a PSU you will need to first remove the cover which is held in place via three screws placed on the other side of the tray as seen above and a single one at the rear of the case (PSU area).
With the cover out of the way you can now start building your system.


