
 O-Sense

.jpg)


THE MONSTER II INTERIOR
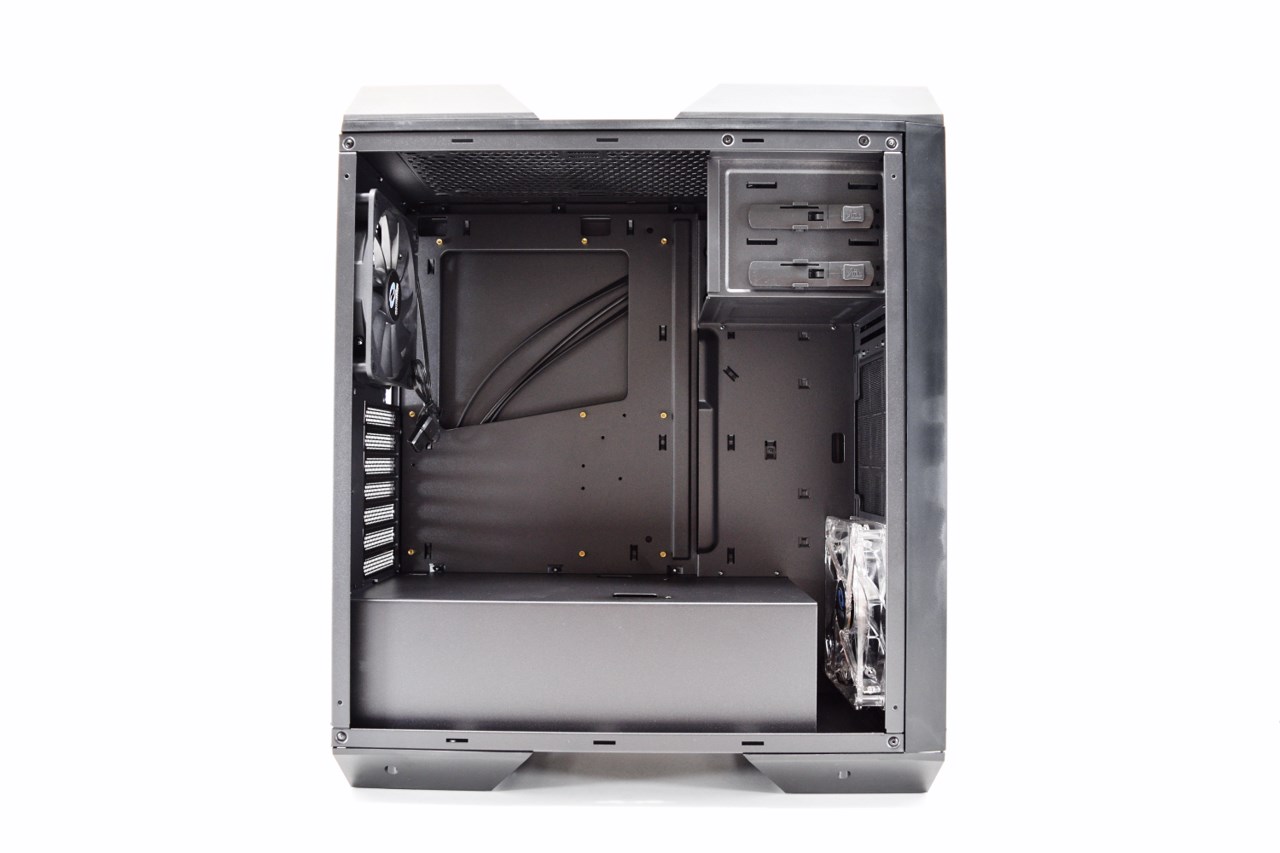
Raidmax has used a PSU area cover to create a dual-chamber design so at first glance there's not much interior space available.
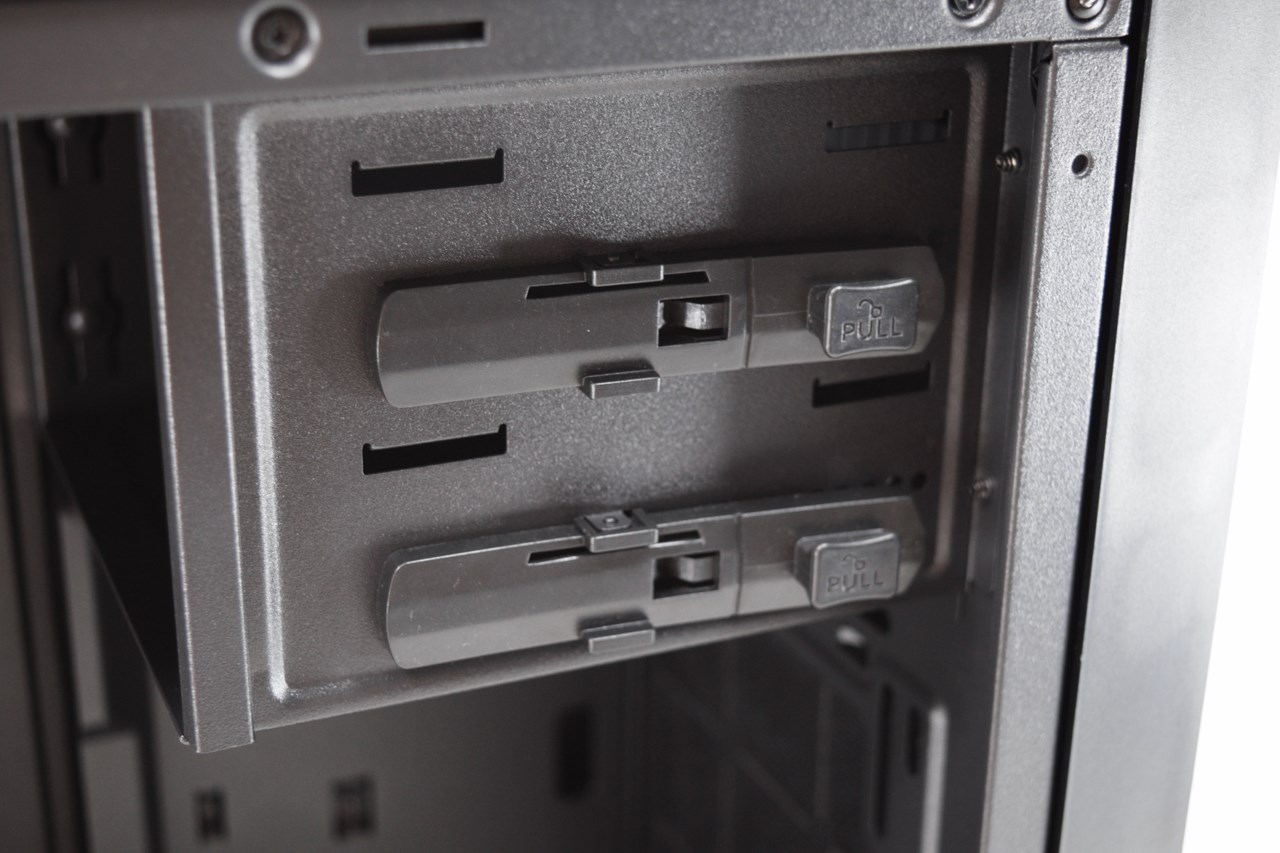
At the top front we see the two 5.25" bays that feature tool-free/less brackets.
You can install a 240/280mm radiator at the front or a 360mm one by removing the 5.25" bays.
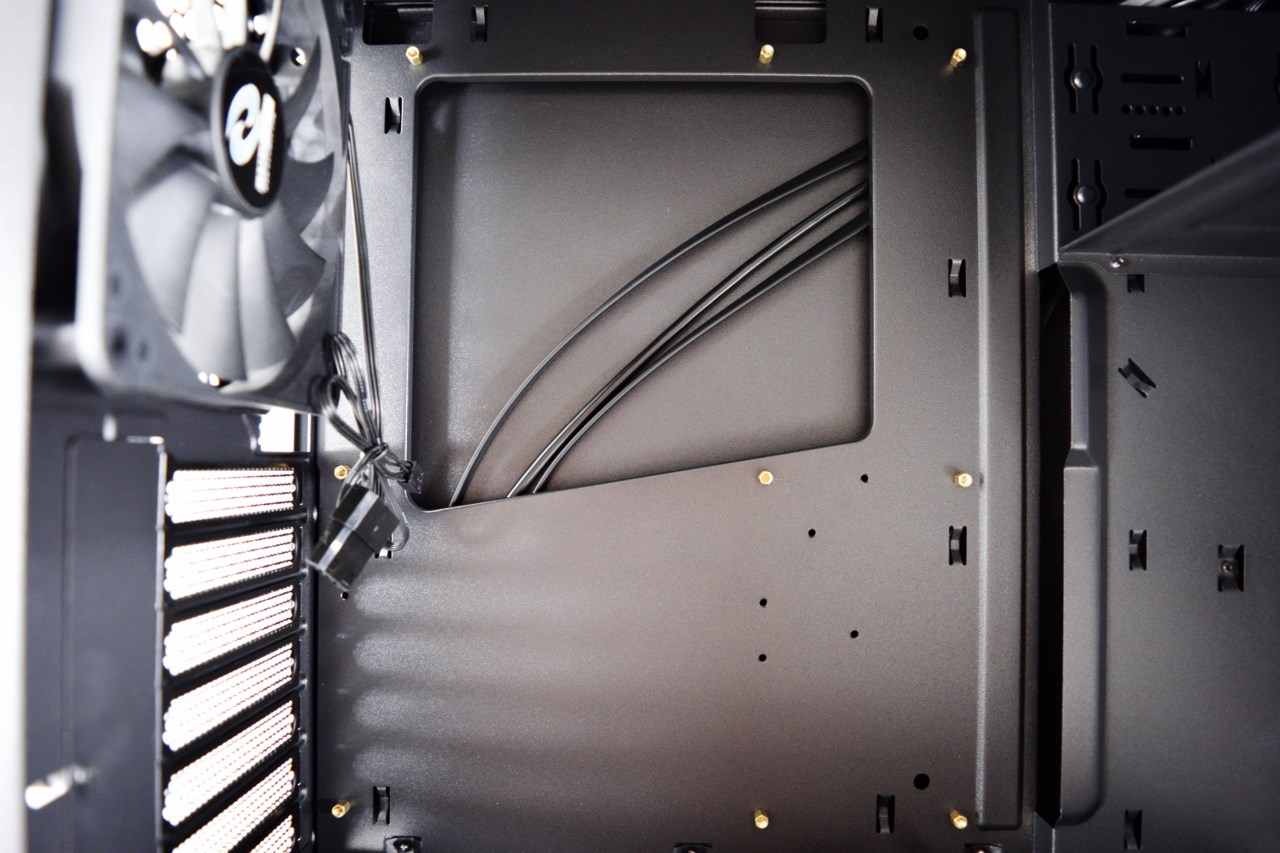
The mainboard tray has no holes for cable management but it does have a vertical opening on the right side which works just as well.
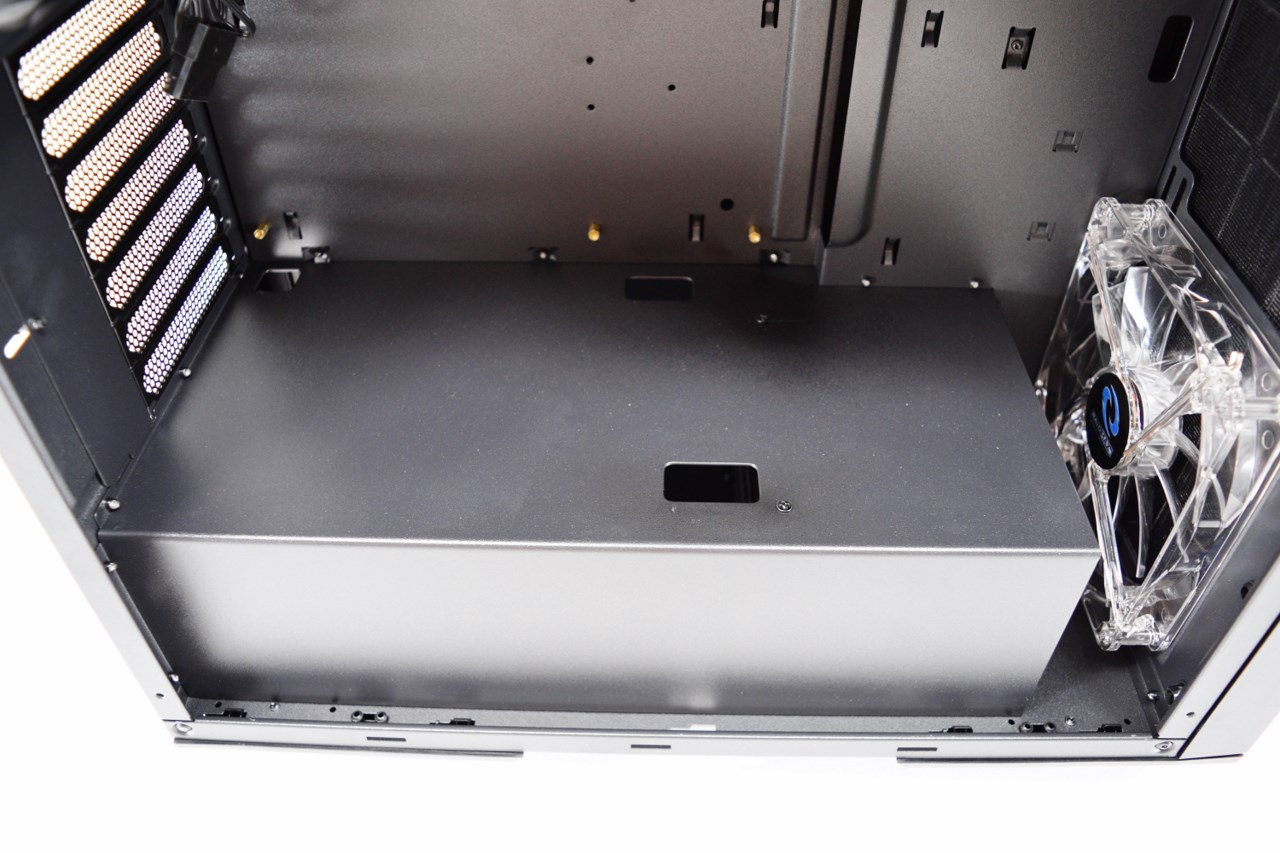
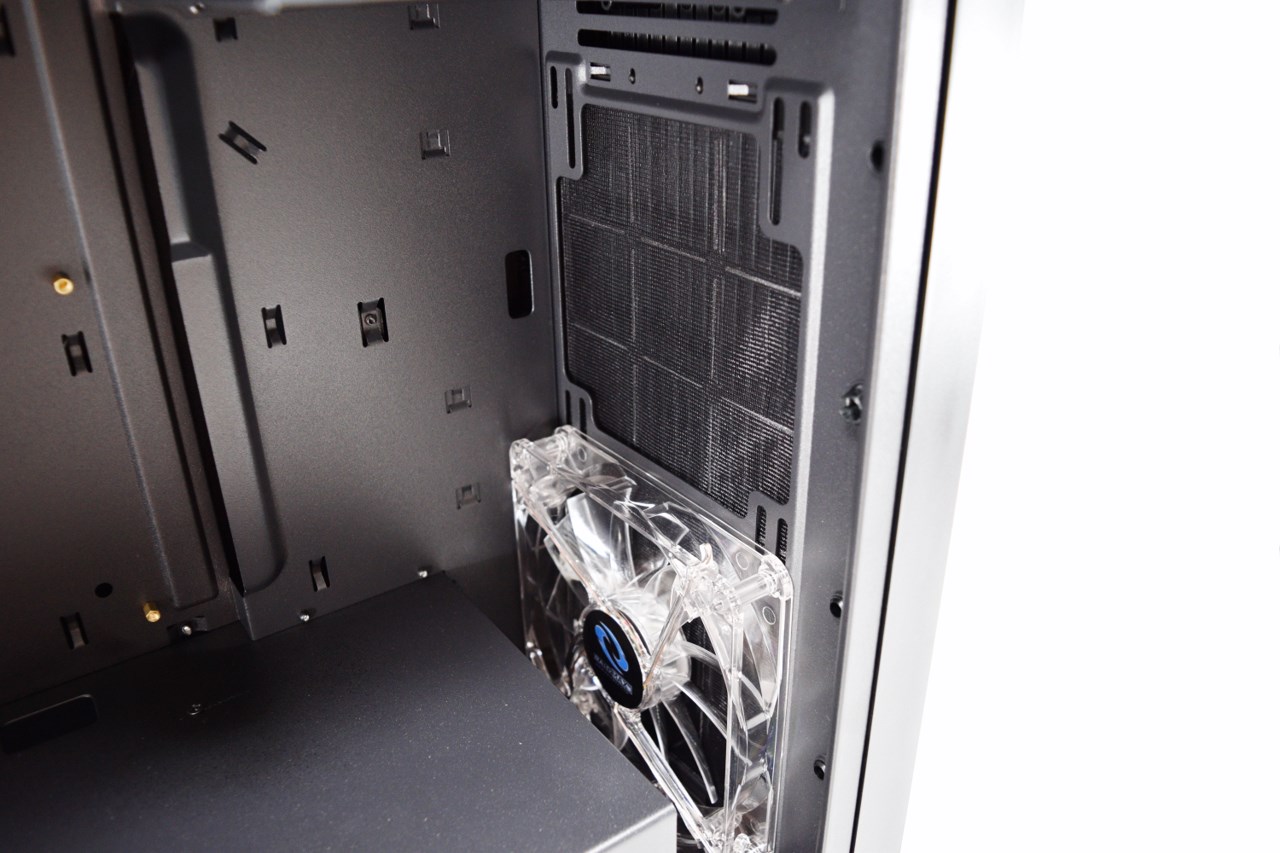
Here we see the PSU area cover which doesn't actually extend all the way forward so the 140mm intake fan is also used to cool its interior.
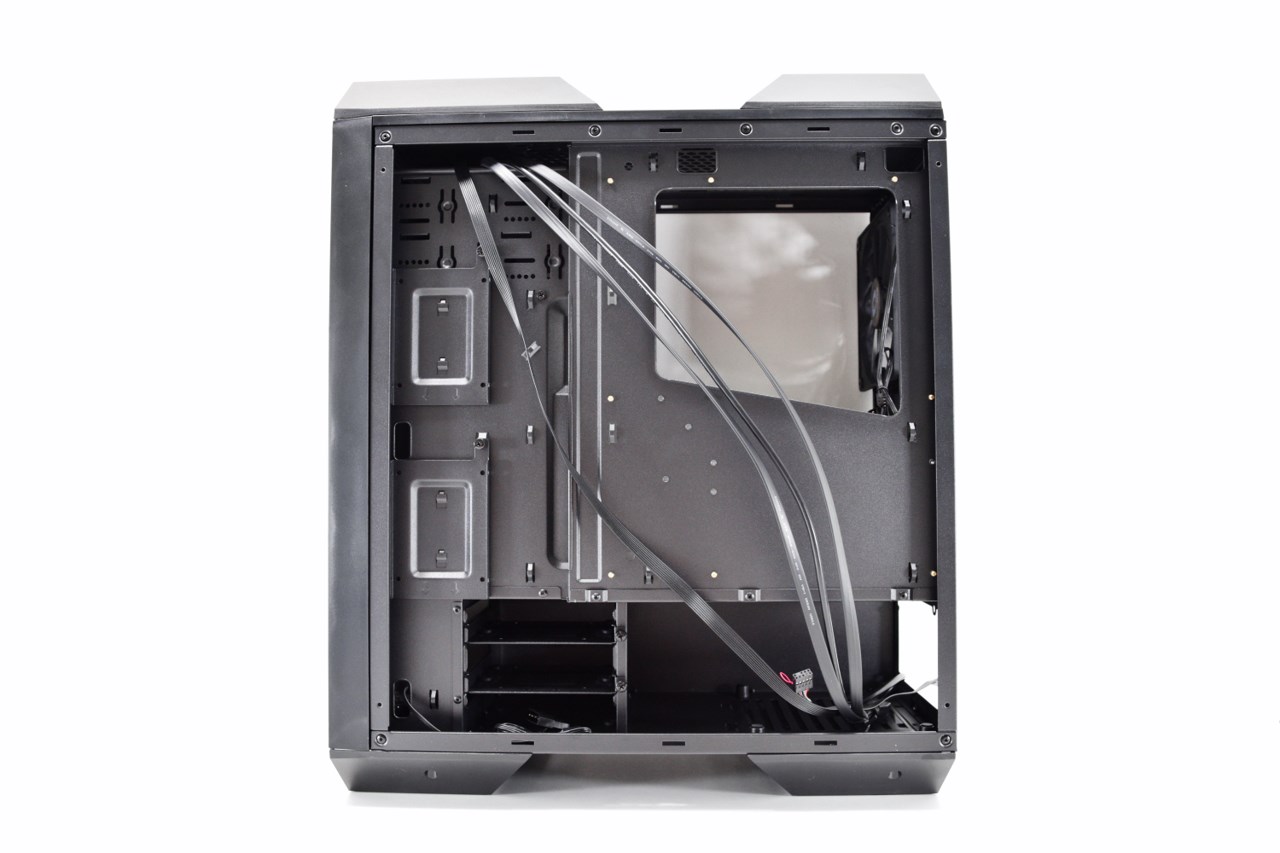
This is how the interior of the case looks from the other side.
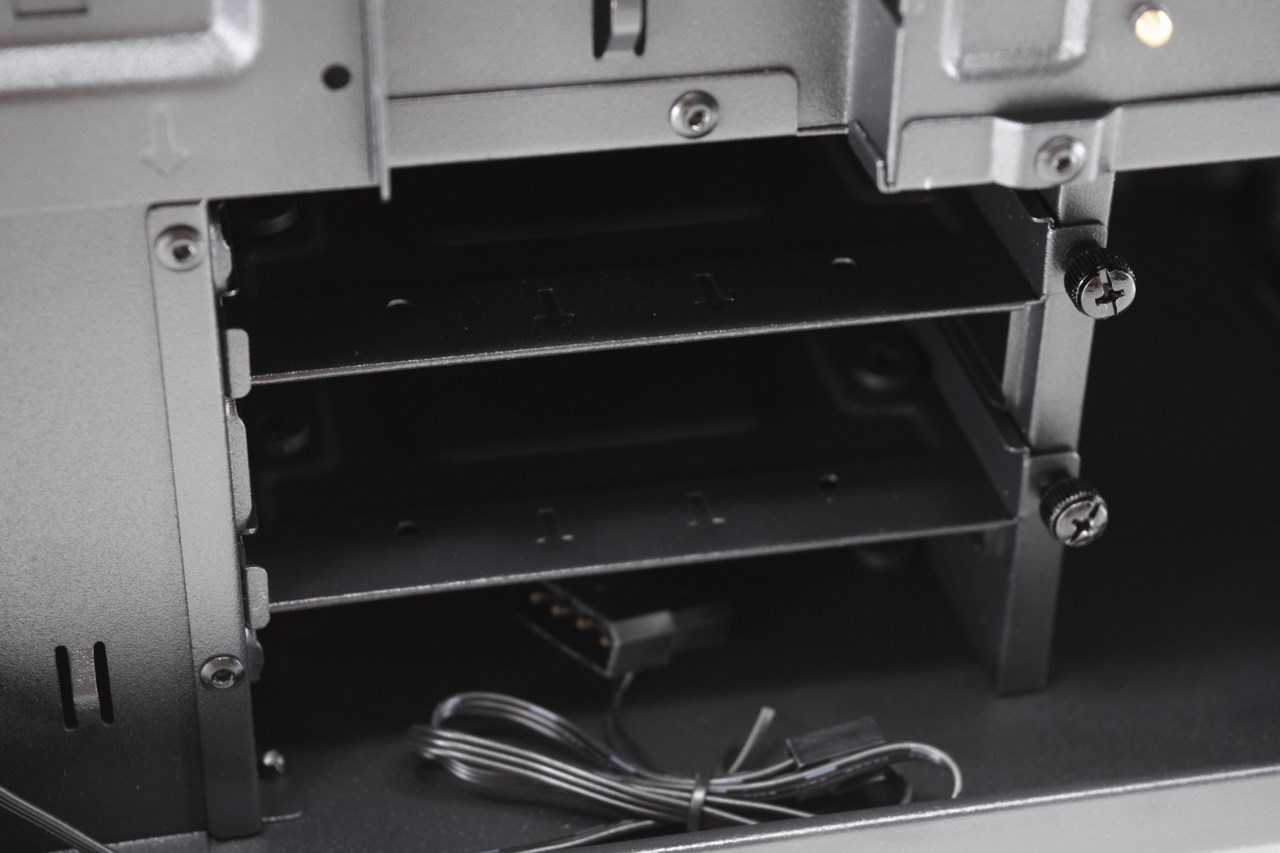
The bottom drive cage has two 3.5/2.5" drive trays and one extra spot at the base for yet another 3.5" drive (that's the purpose of the holes at the base of the tower).

The drive trays are made out of aluminum so they are very sturdy.
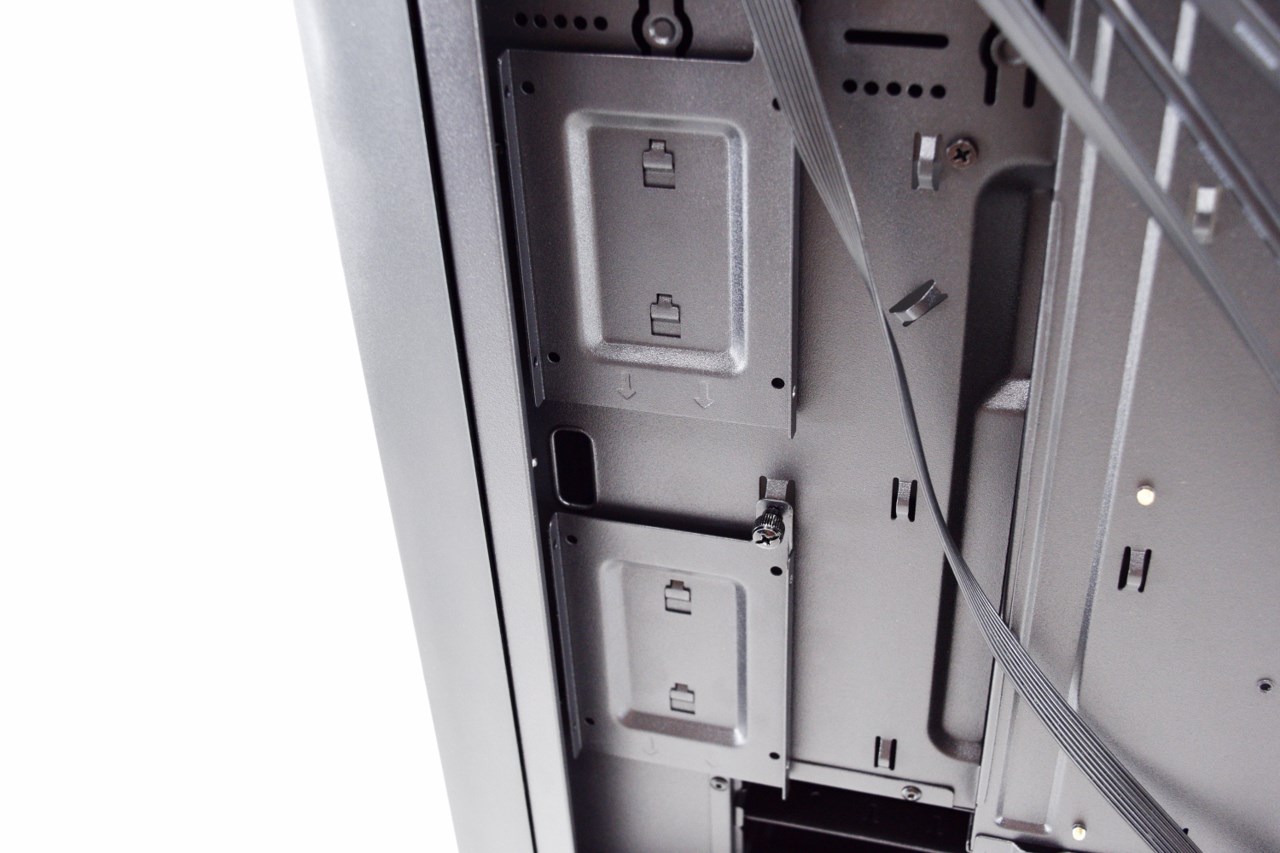
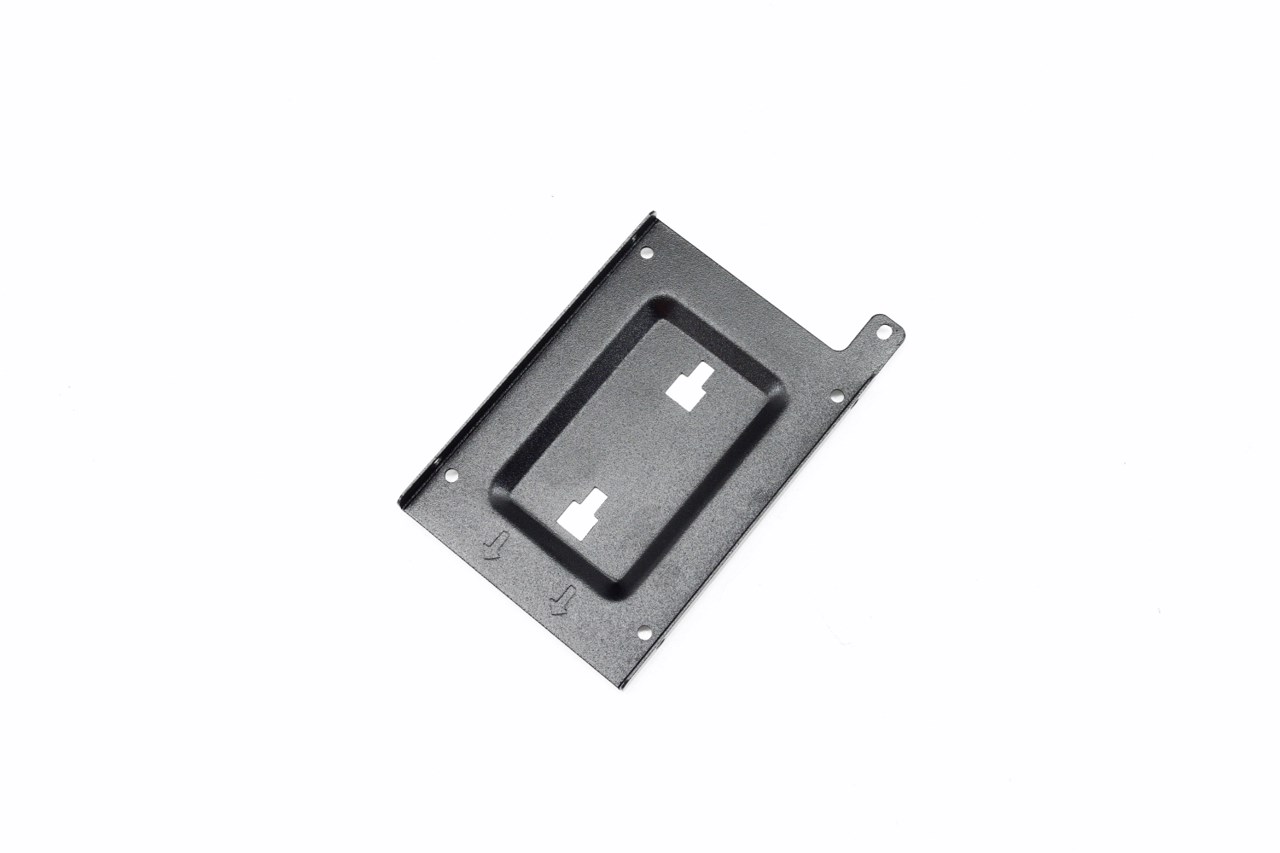 Raidmax has also placed two vertical 2.5" trays also made out of aluminum.
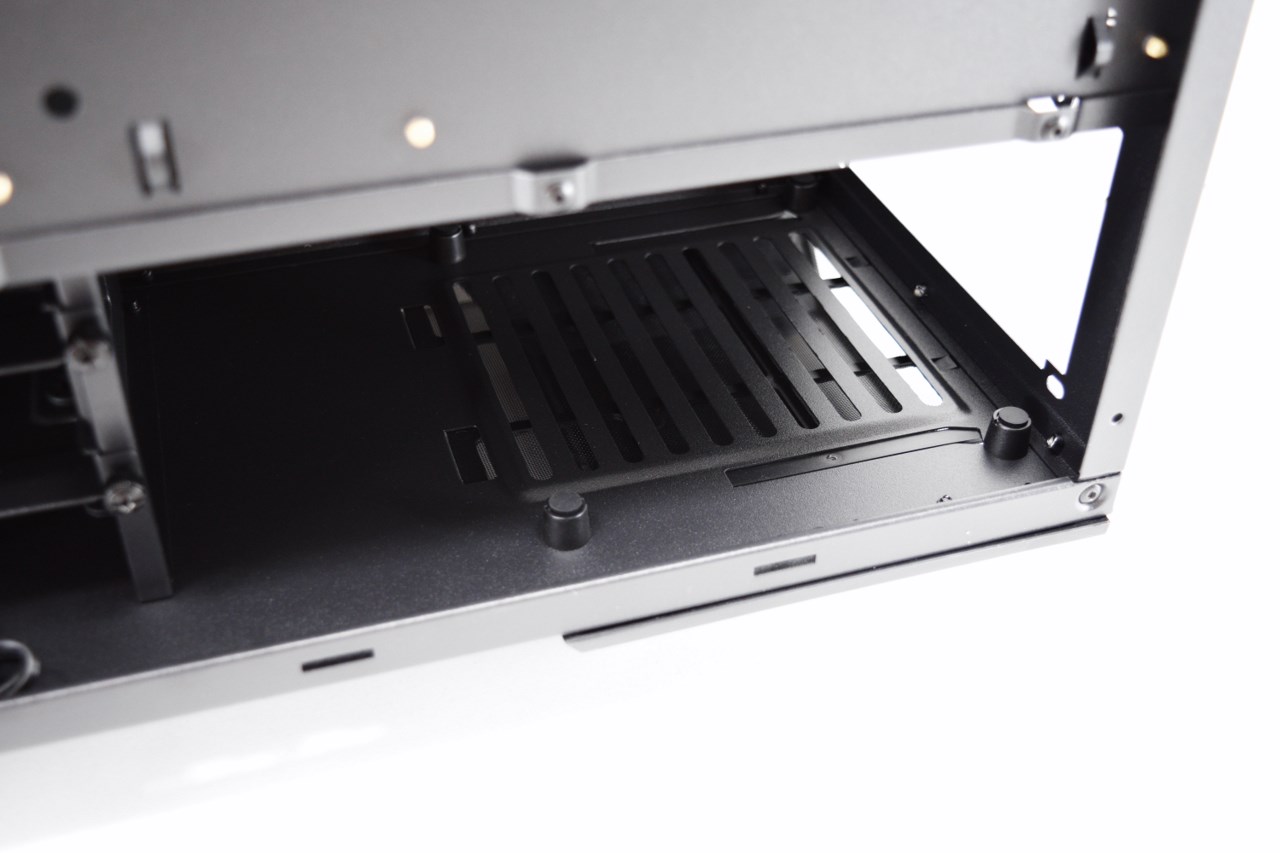
The PSU area has 4 feet on which you can place the PSU and by default it can be used with 180mm long models (260mm if you remove the drive cage).
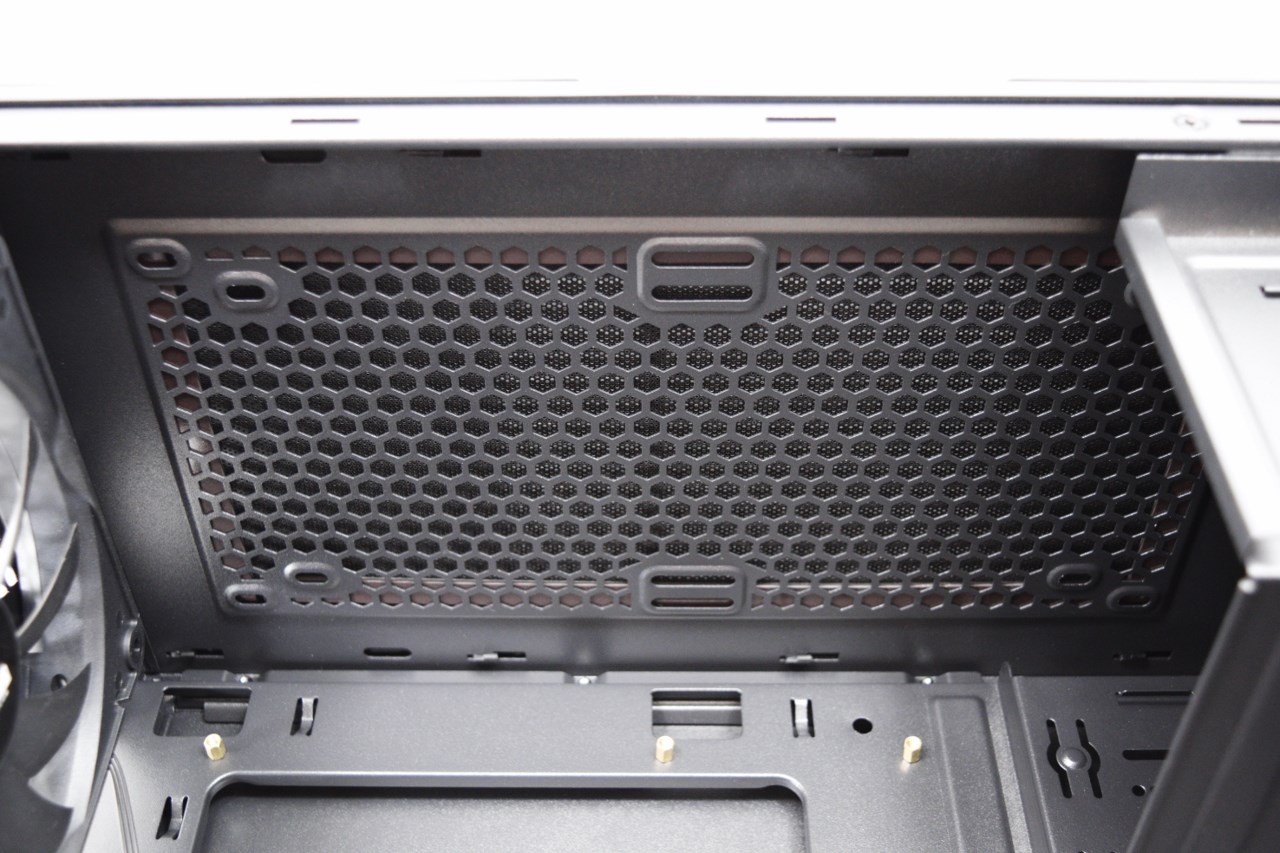
As you can all see unless you remove the 5.25” drive bays at the top there’s only room for a low-profile 120/140mm exhaust fan or radiator (remove the 5.25” drive bays and you should be able to install a thin 240/280mm radiator). Above the fan/radiator area Raidmax has placed a magnetic air-filter (unfortunately the top cover in our sample was stuck and since we didn’t feel like breaking it free we skipped taking that picture).


.png)

