


BUILDING THE SYSTEM
As always, the purpose of this section is not to build a functional system but rather to showcase what you can expect from the case at hand in terms of interior space (overall space in the case of the P90).
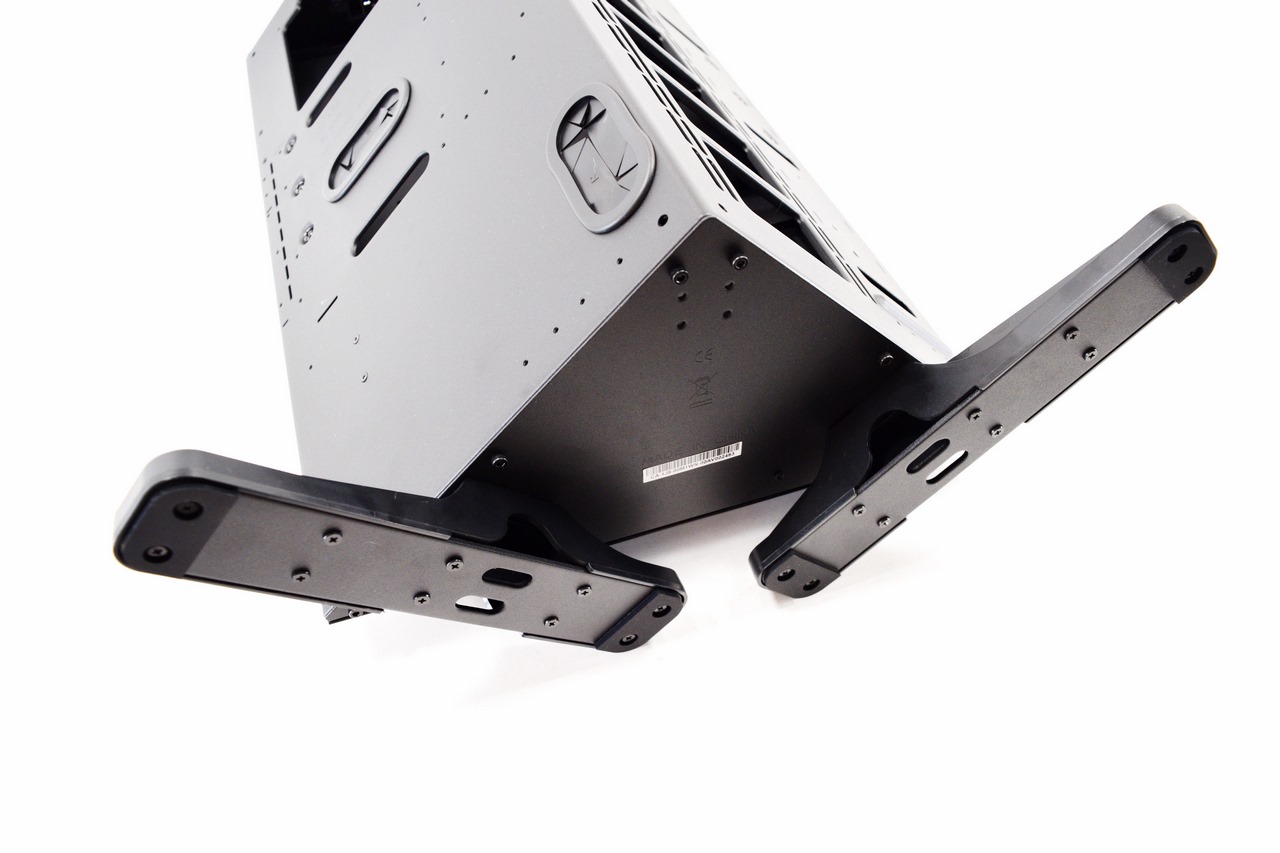
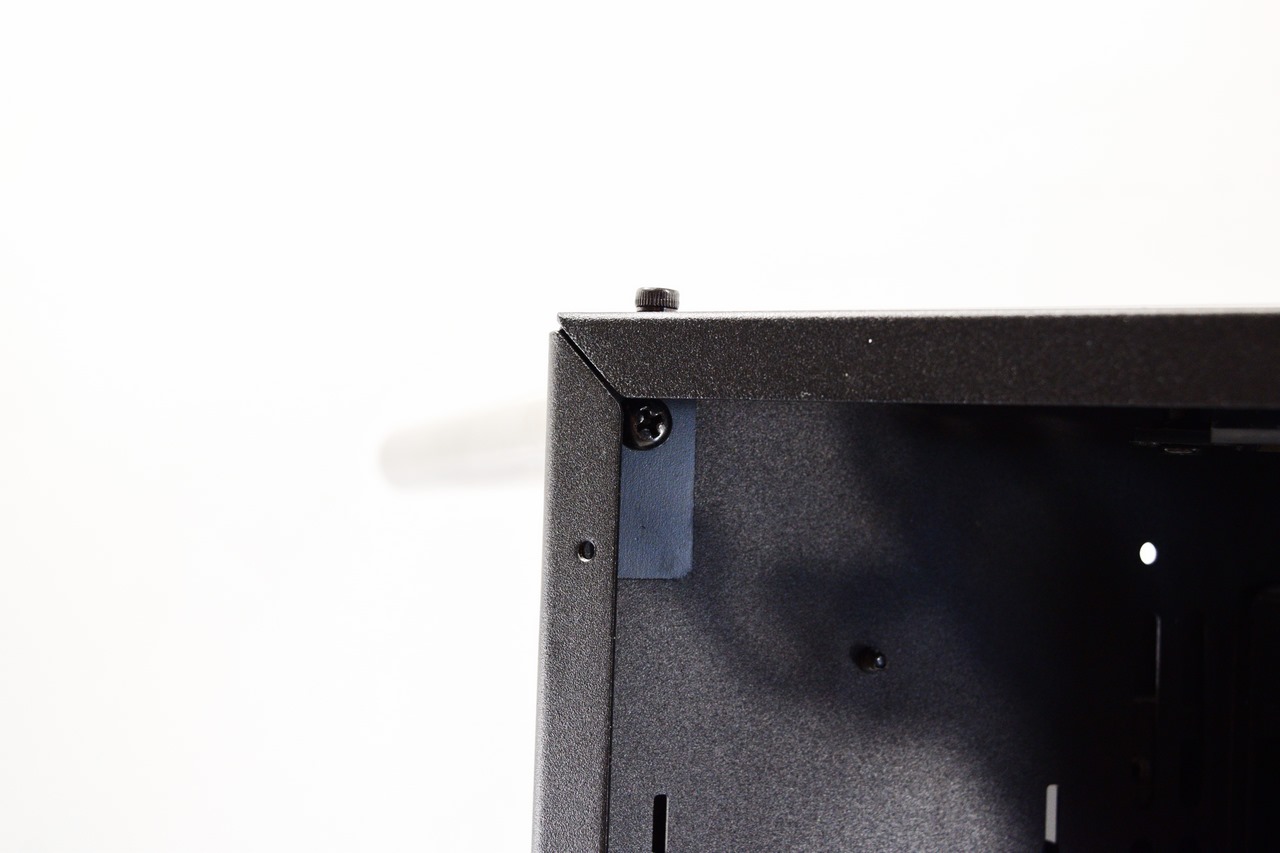
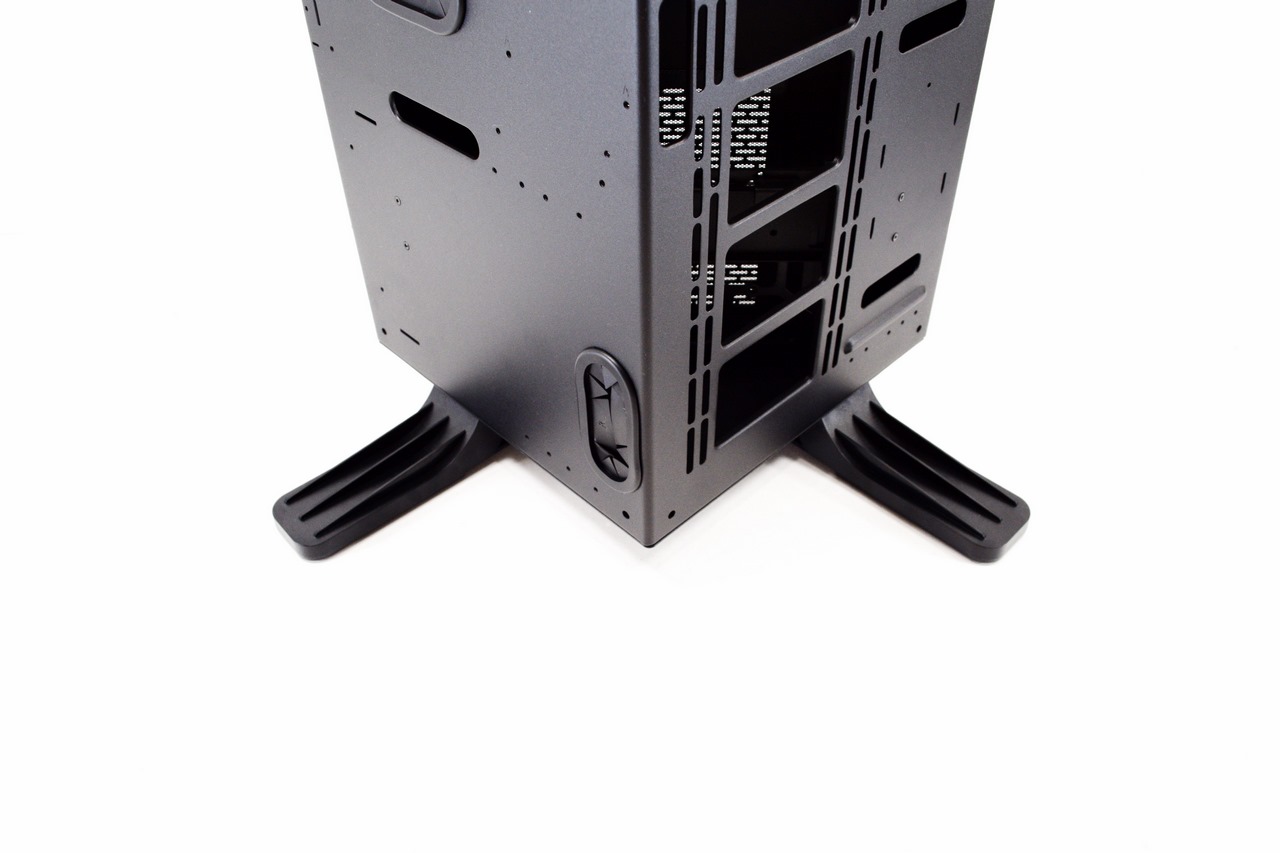 We start by attaching the two long plastic feet onto the main body of the Core P90 (you will need a long screwdriver to do this).
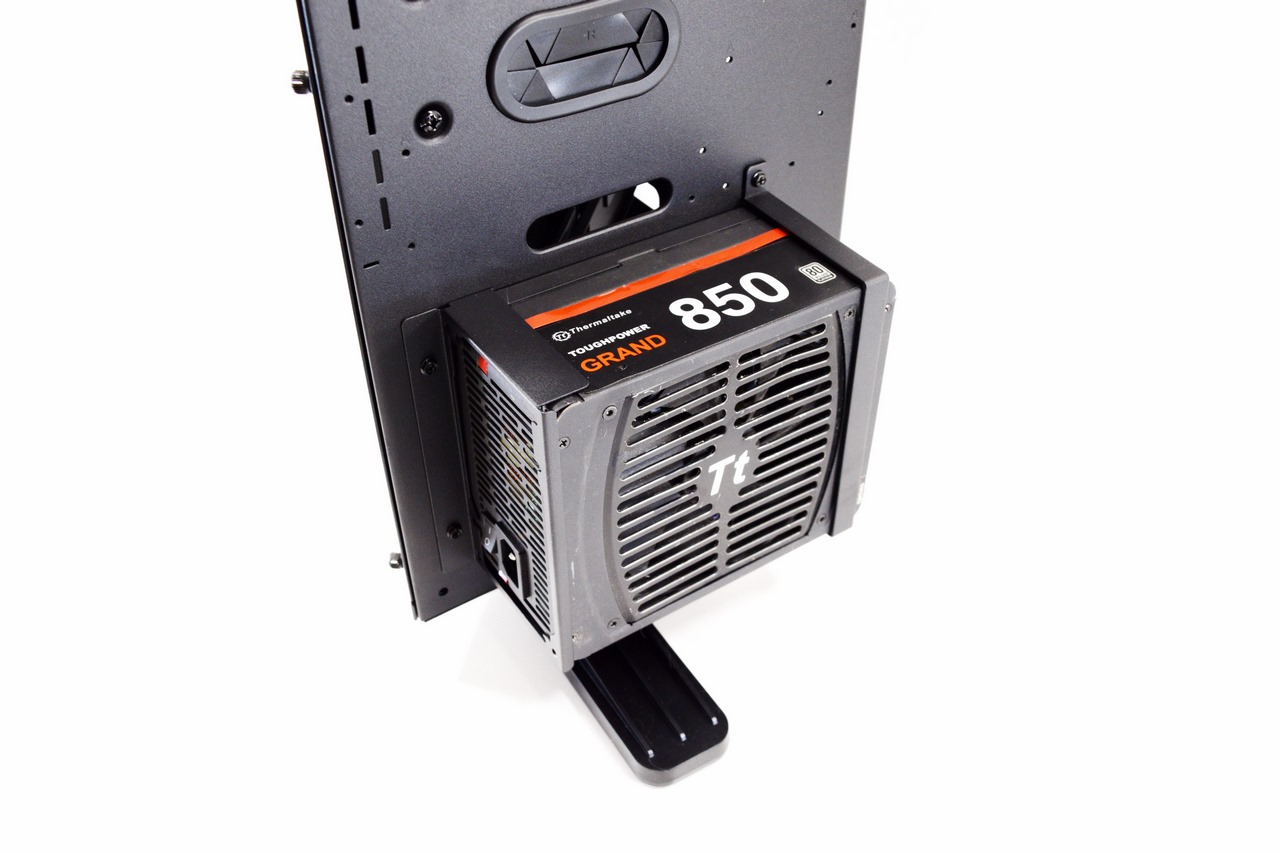
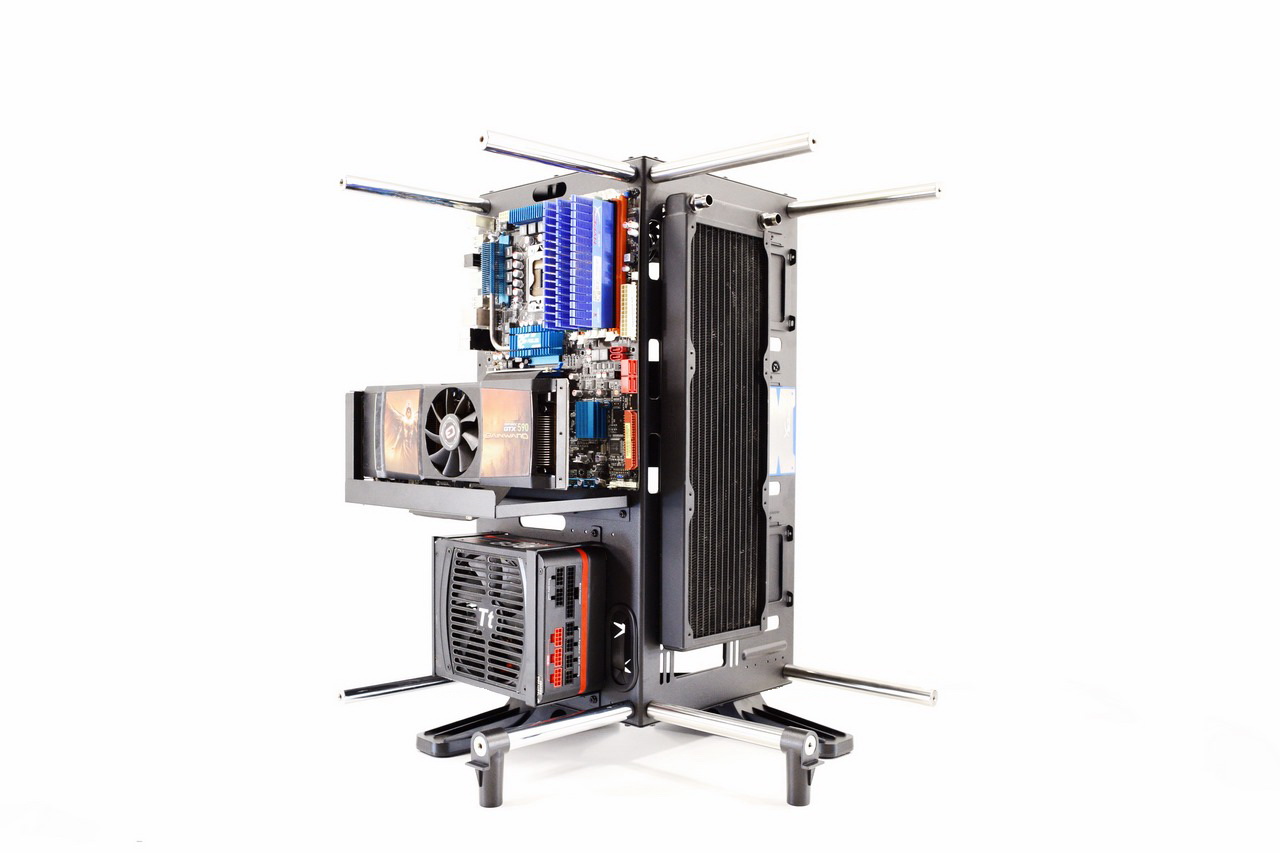
We continue by installing the PSU (there are four positions where you can mount the front bracket depending on the length of the PSU).
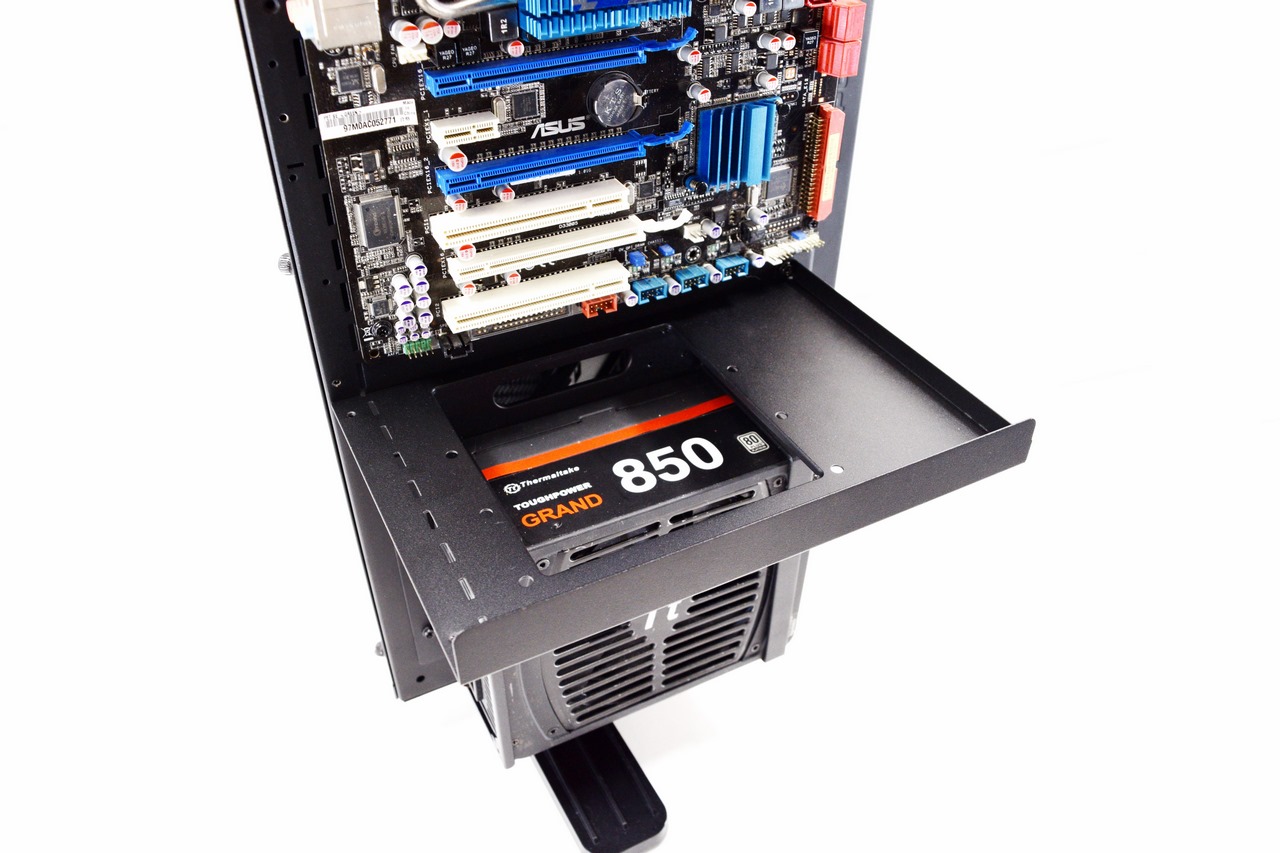
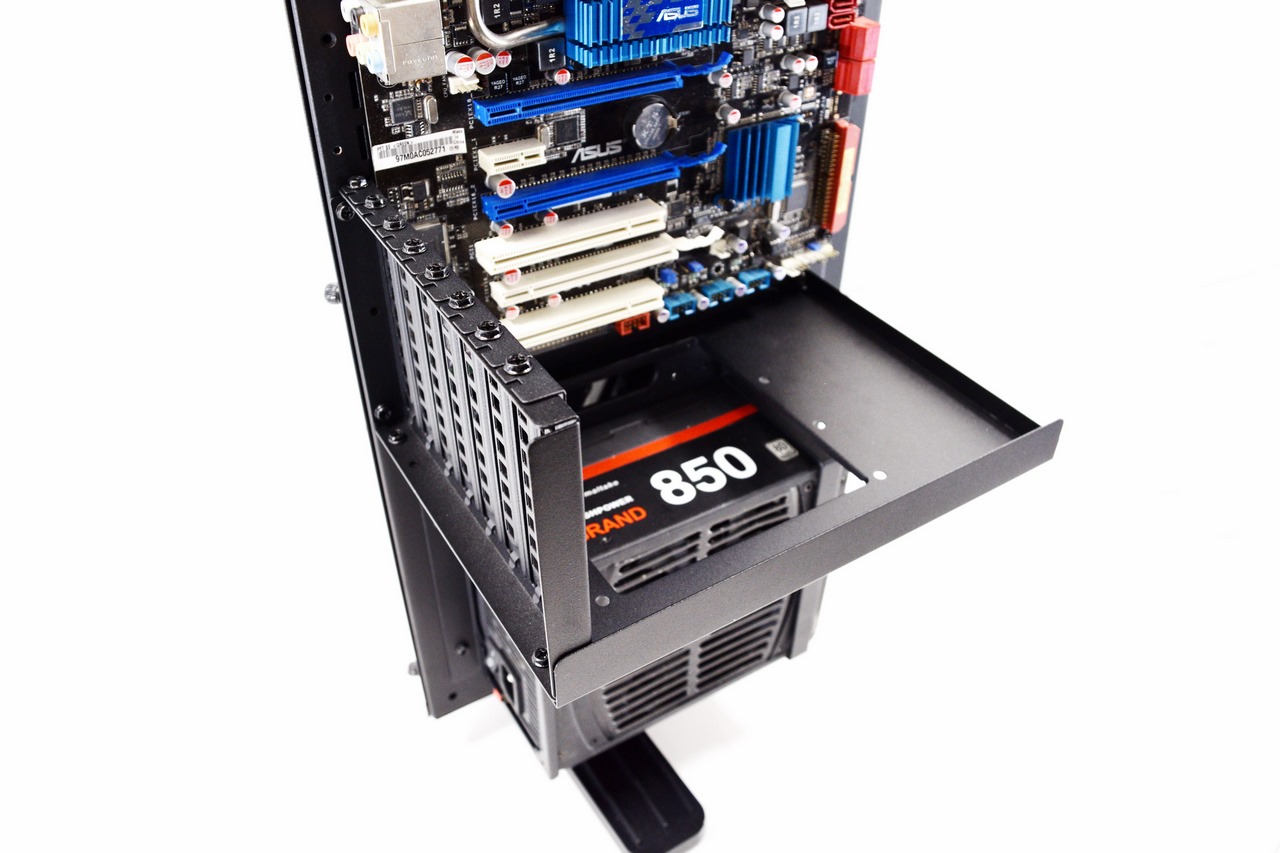
If you don't care about placing your PCIe cards vertically you can always mount the PCI expansion slots as seen above.
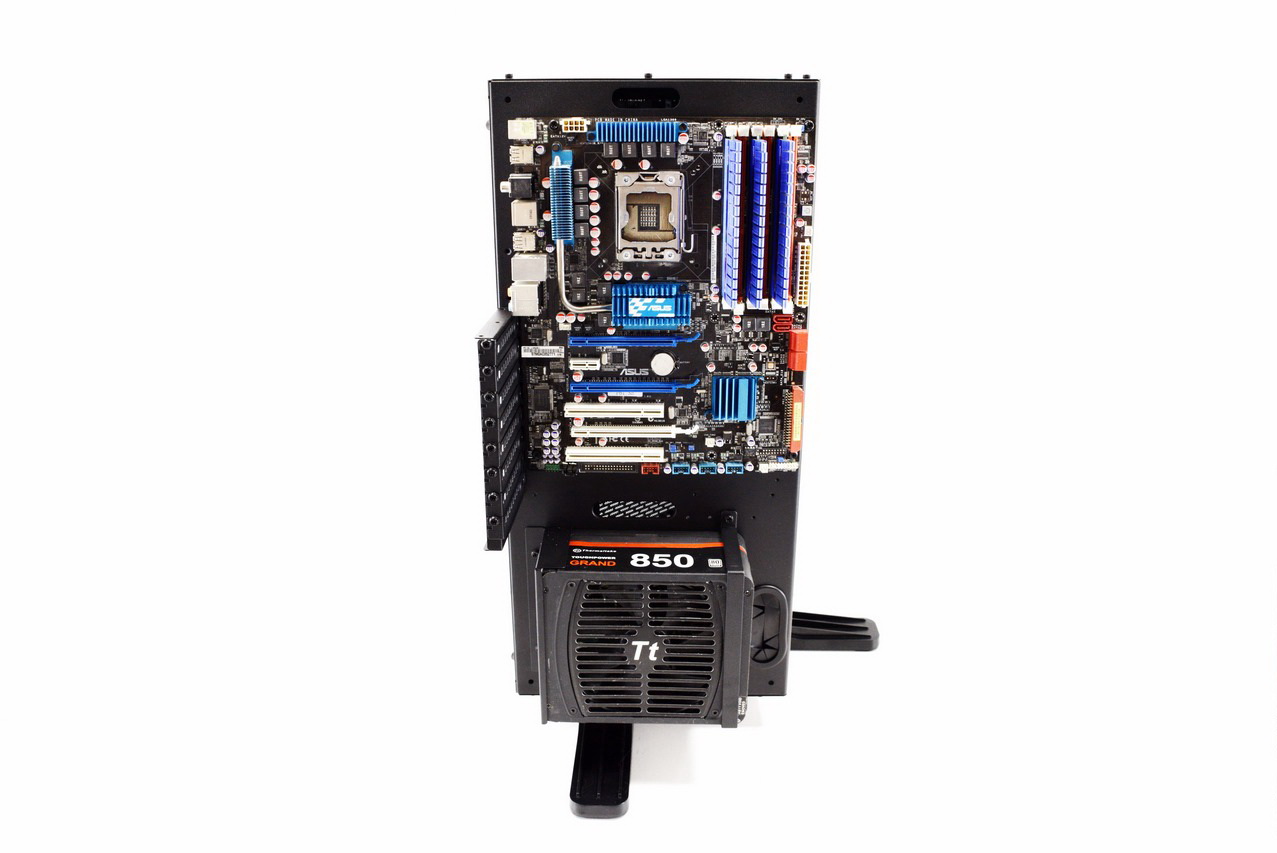
After that just mount your mainboard and you're good to go.
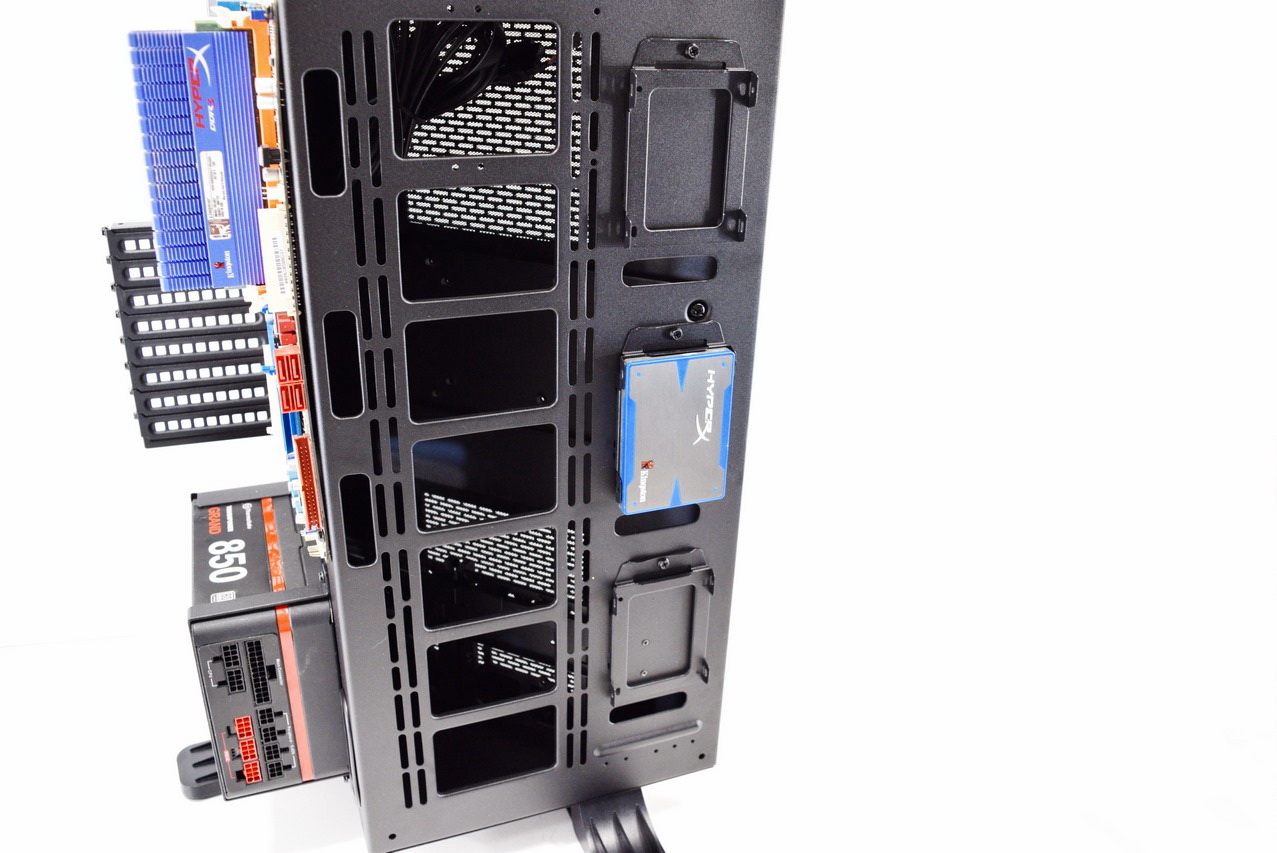

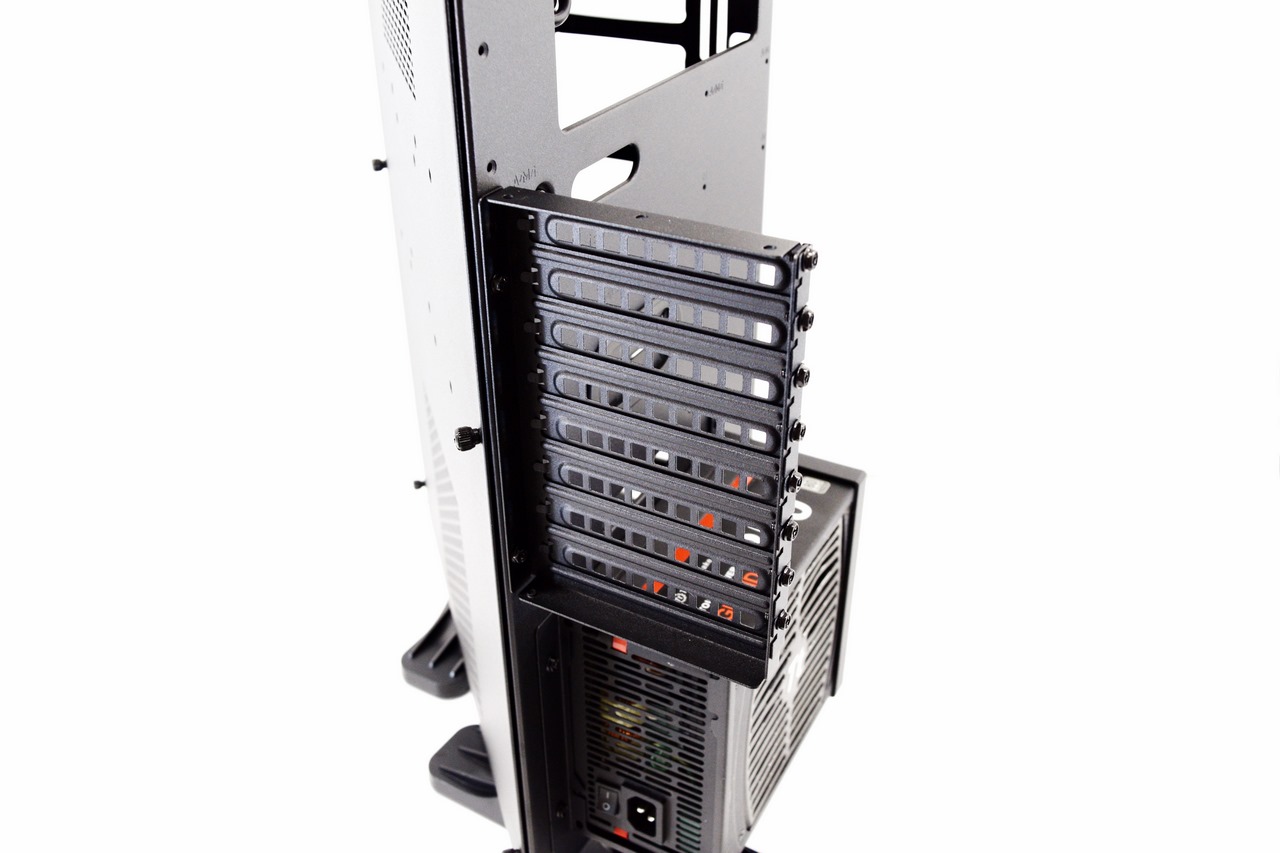
As mentioned earlier on the other side you can mount up to three 2.5" drives and an 240/280/360/420/480mm radiator (we used an 420mm one).

Even with your cards horizontally the Core P90 looks great but what about a vertical build?
To do that you need to mount the expansion slot tray and then the PCI expansion slots as seen above.
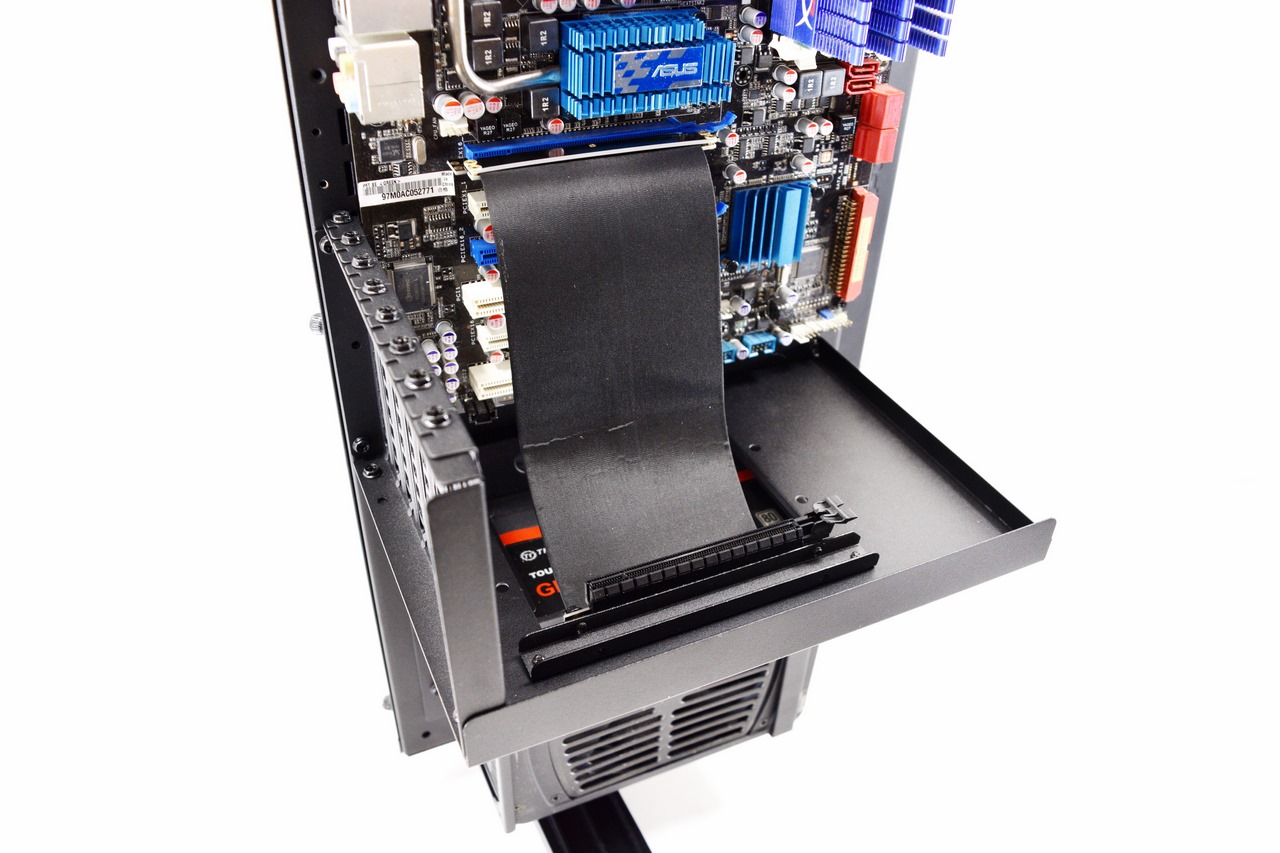
After you do that you just need to use the Riser cable with its mount (if you want to install more than 1 card you will need extra cables).
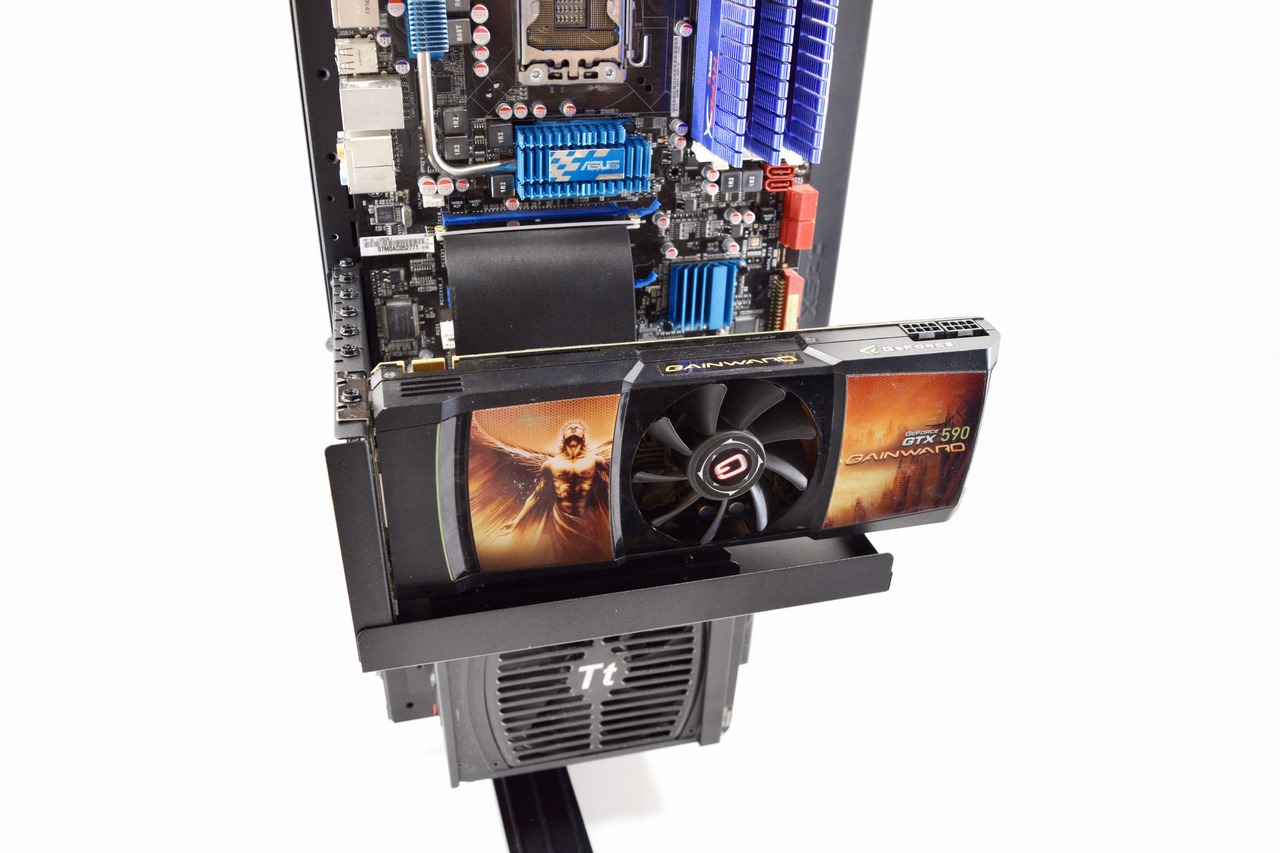
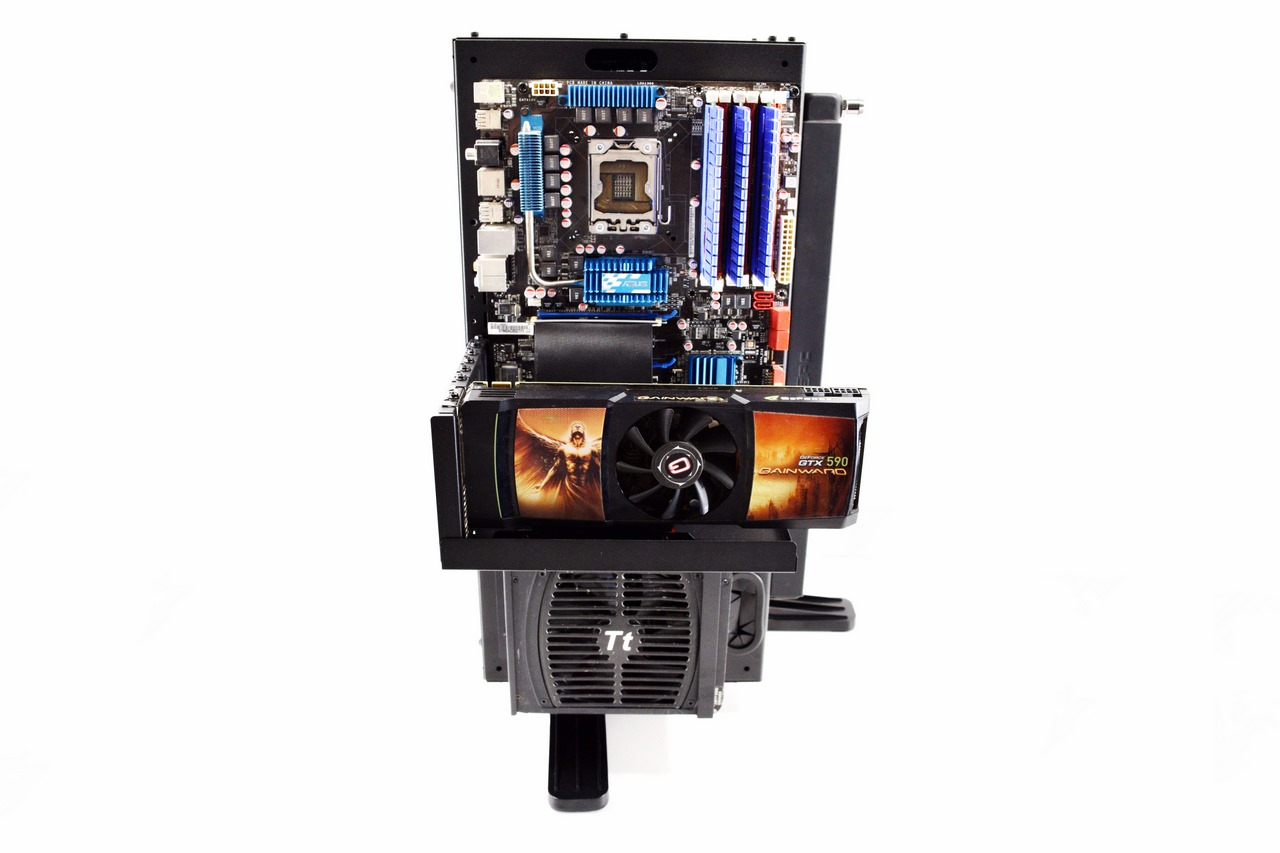 We do think that a vertical build looks much better but for people who want to install multiple cards the extra cost for the riser cables alone might be too much.
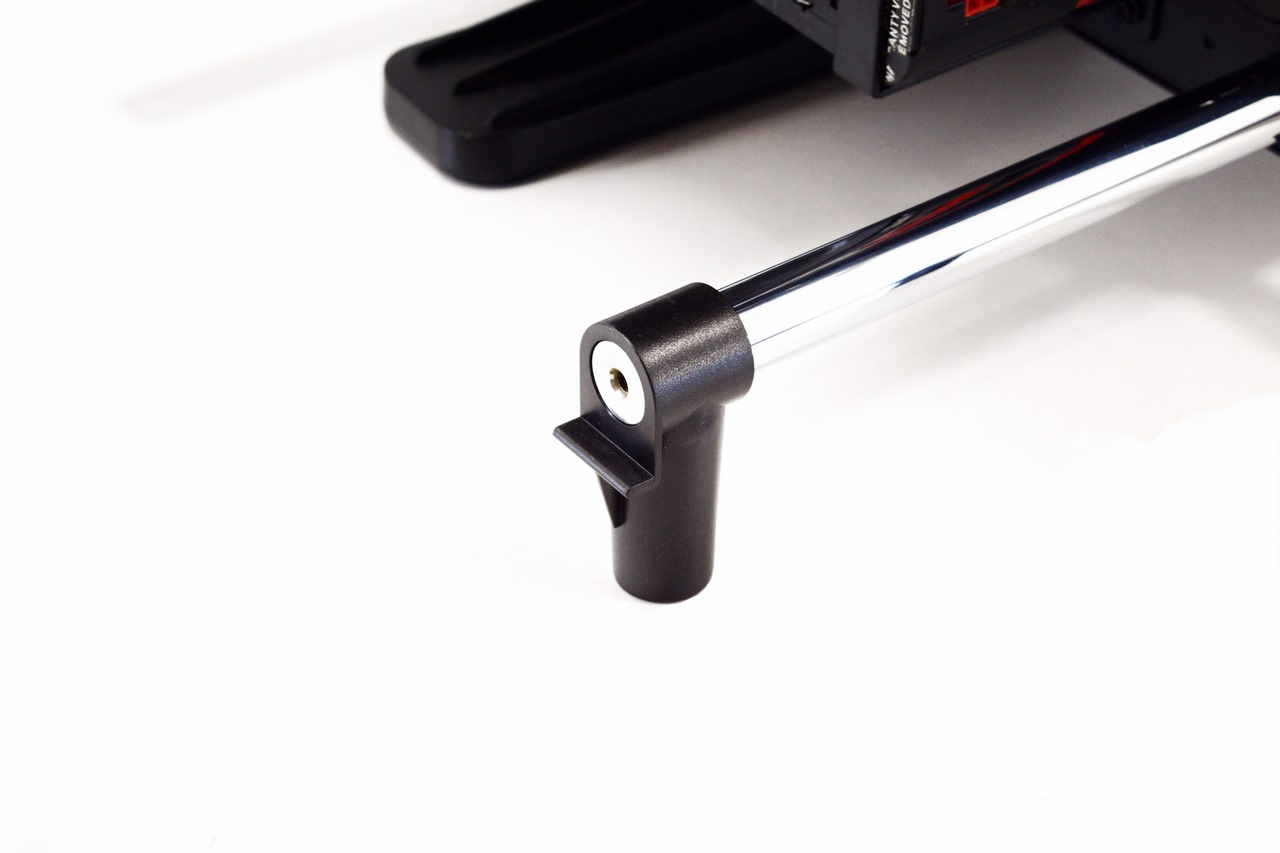
 To complete the build, you need to mount all 8 chrome bars (remember to place the two tall plastic feet on the bottom bars as seen above) by screwing them on the chassis.
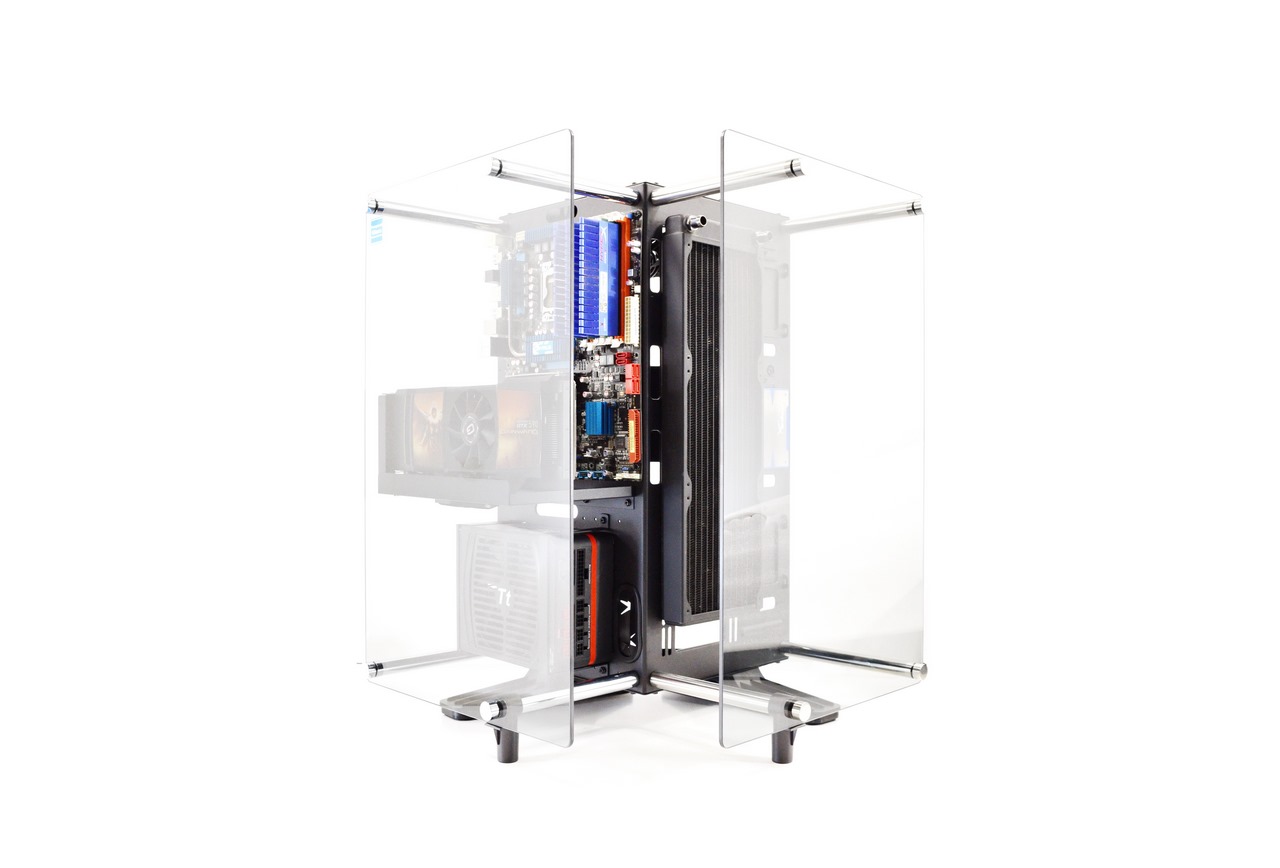
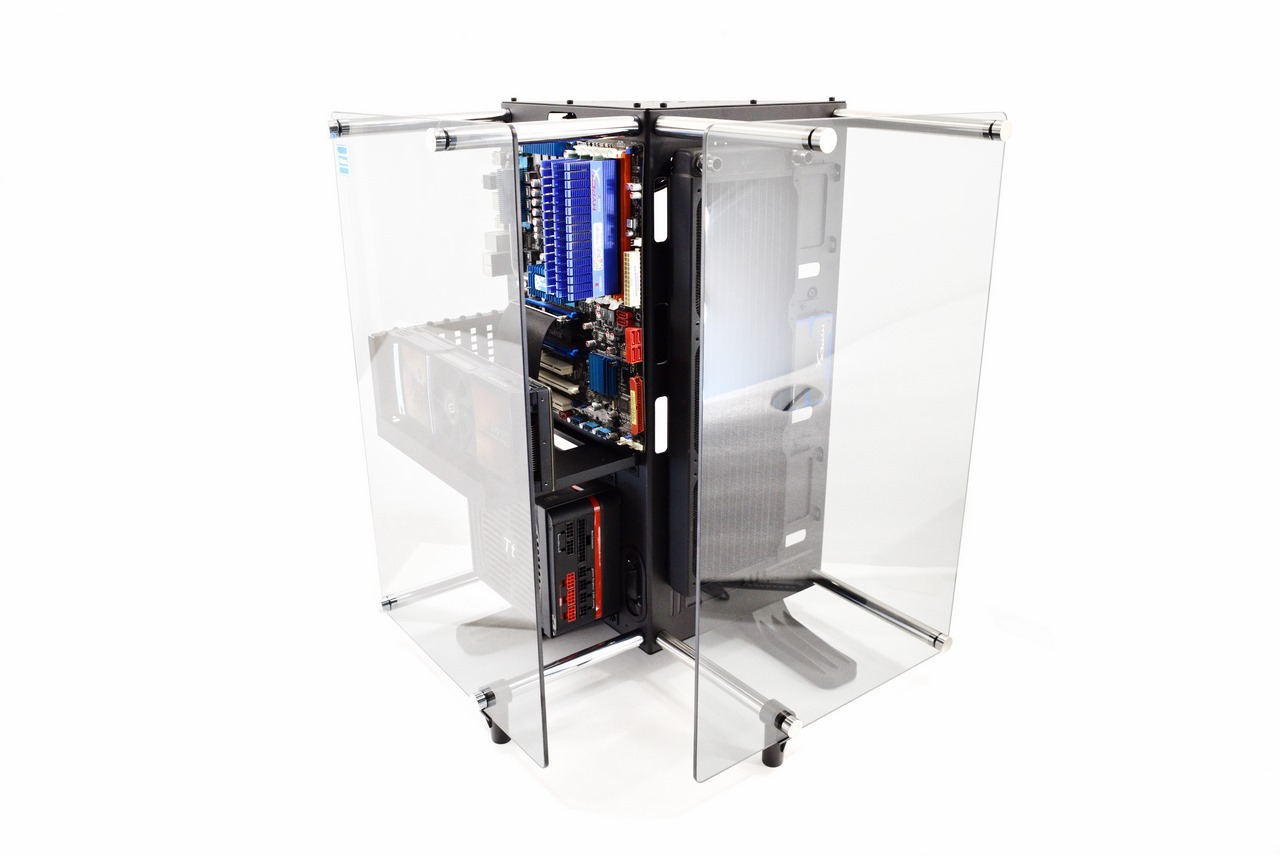 After that just attach the two tempered glass panels onto the bars and you're set.