
 O-Sense

.jpg)


THE Z590 VISION G
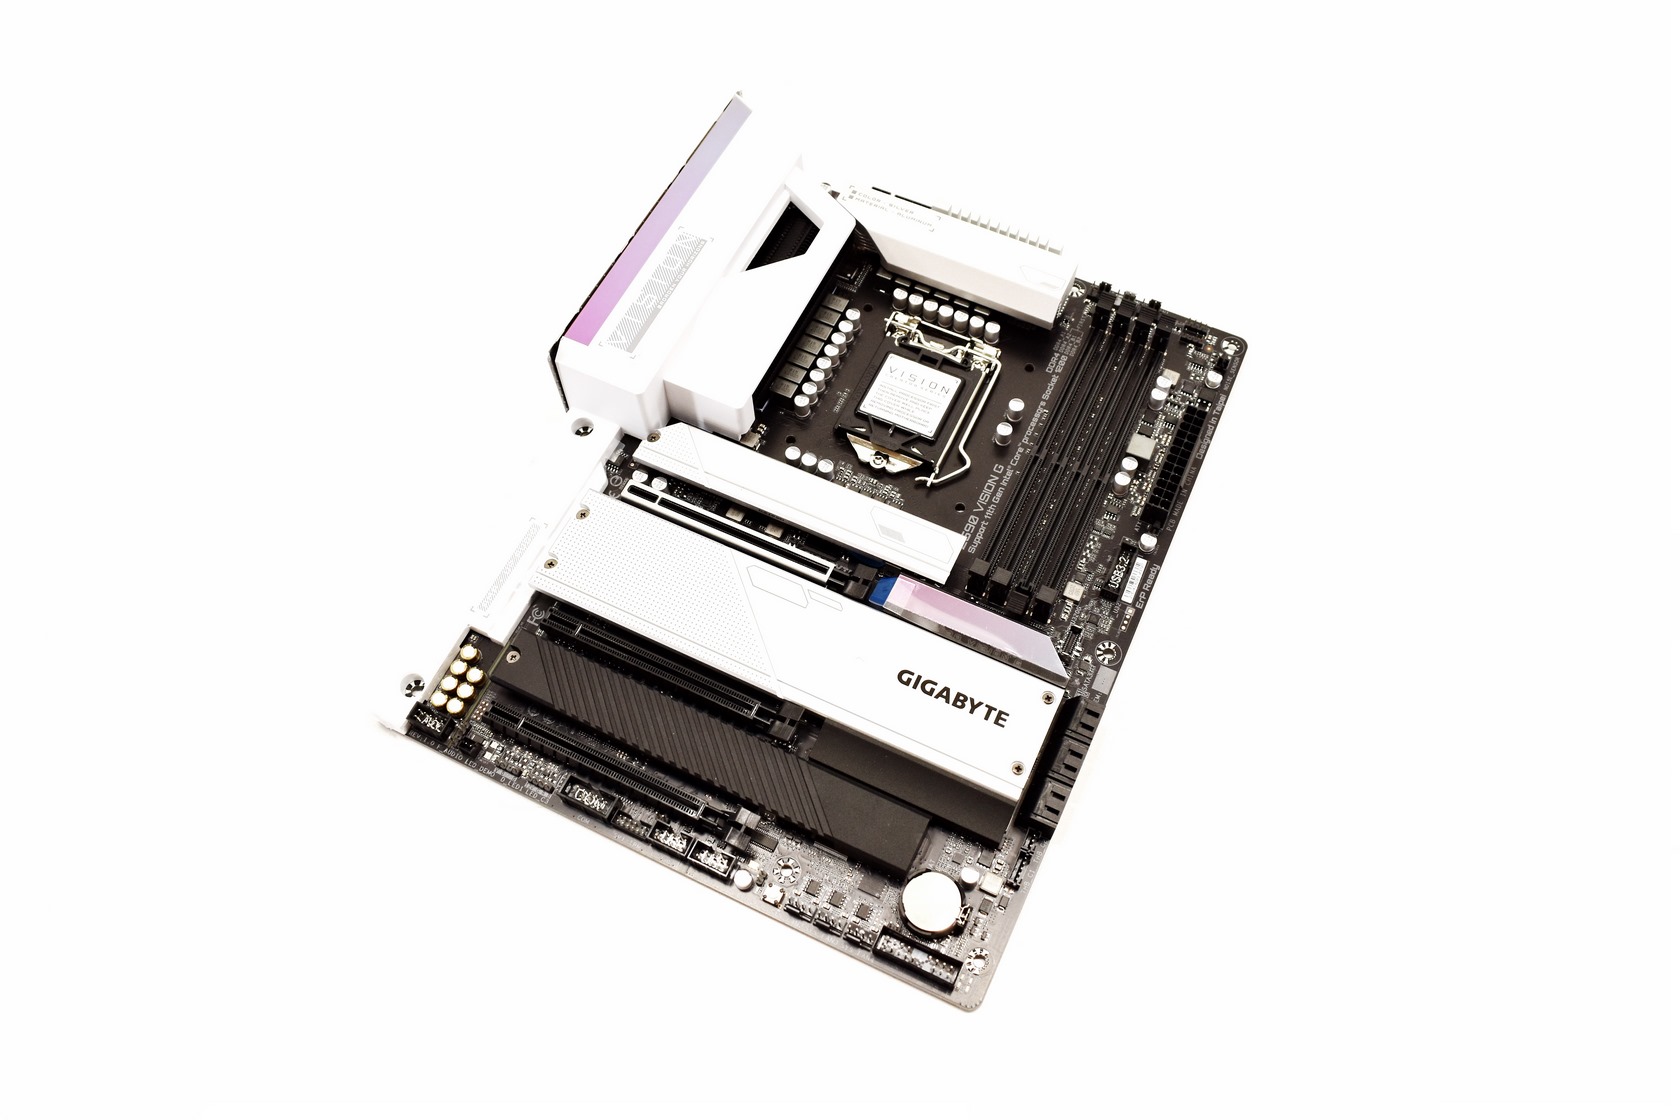
The board follows the typical ATX size and thanks to its black and white color theme it does look nice.
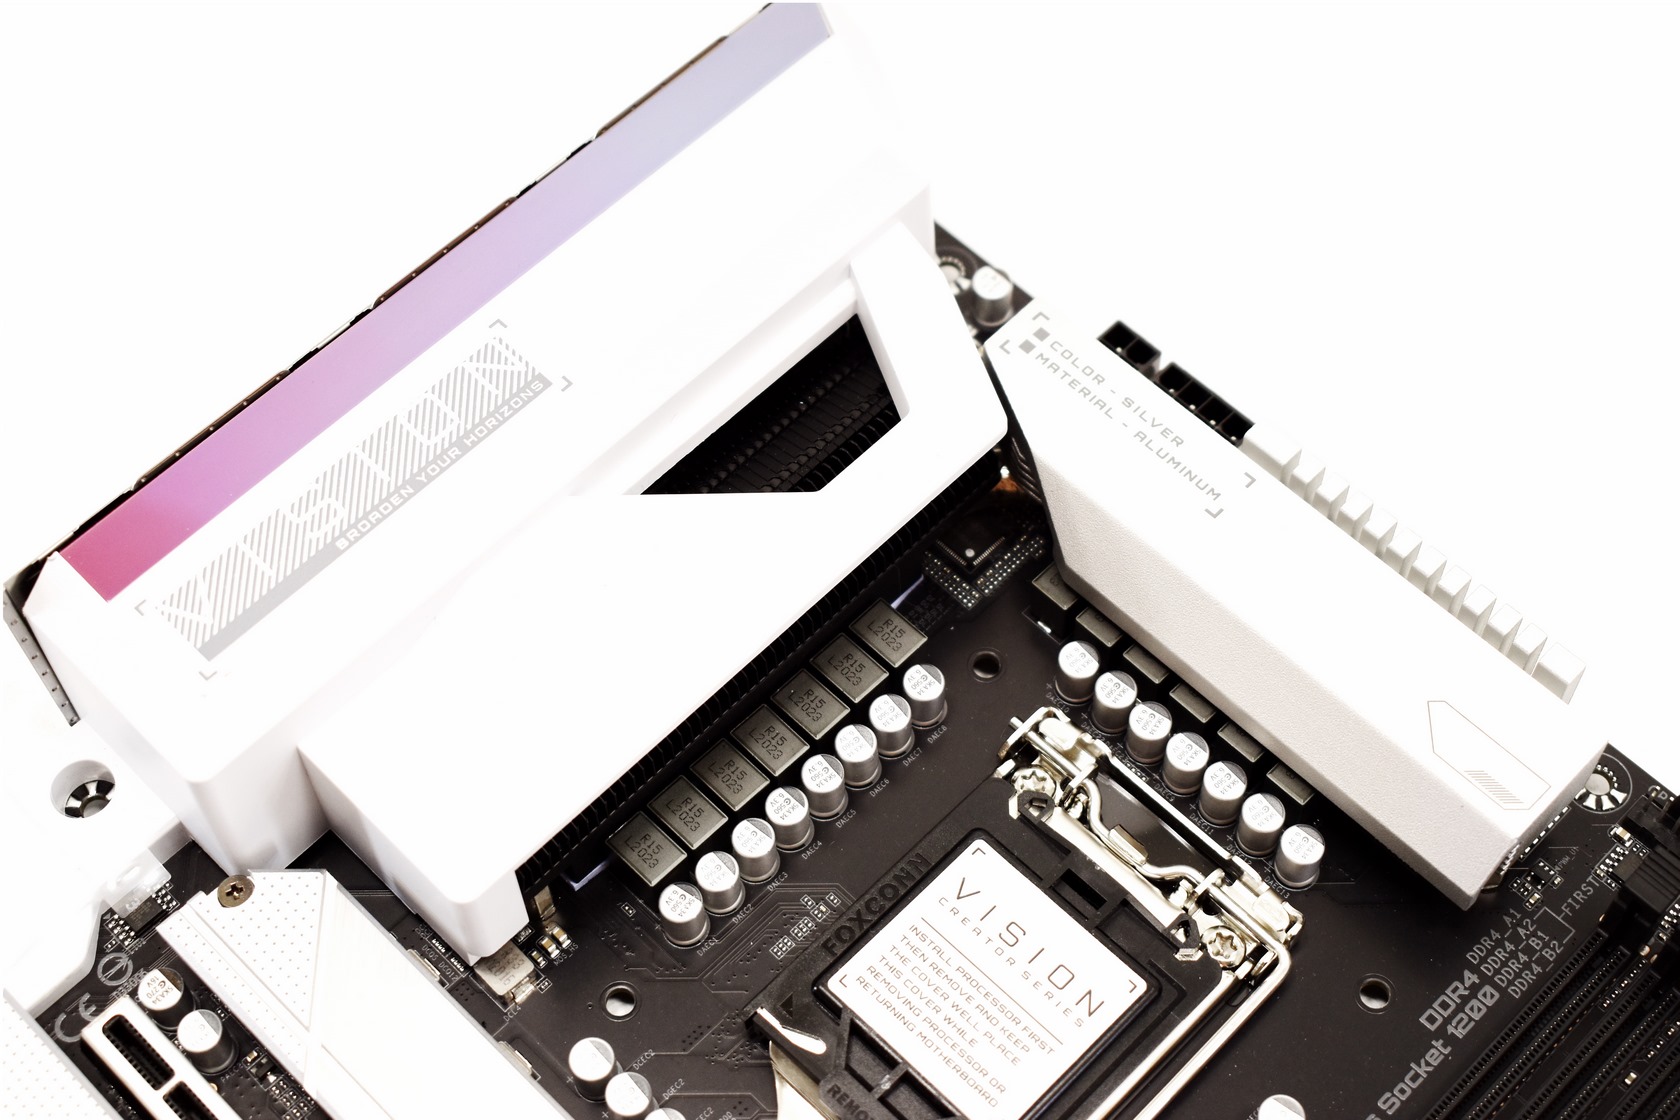
Both the 13-phase VRM design and the cooling solution used make it clear that this shouldn't be your 1st choice when it comes to serious overclocking.
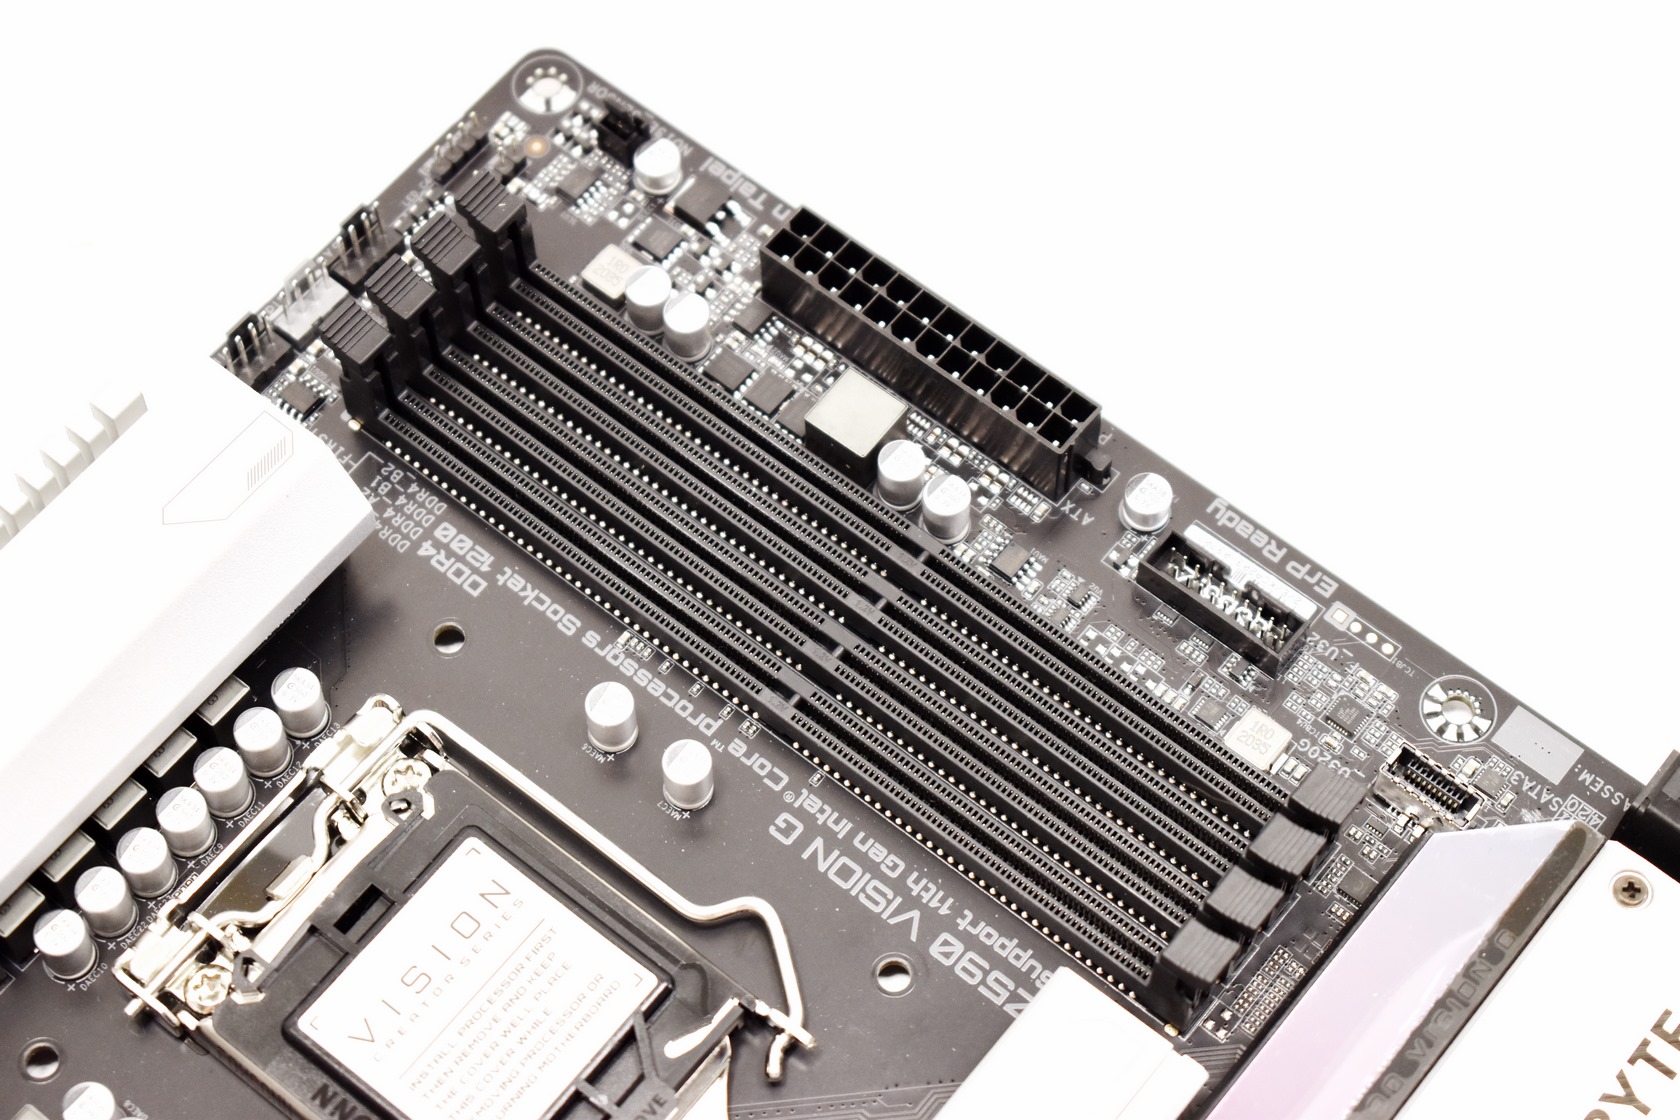
All 4 DDR4 DIMM slots may not be reinforced but they can accommodate up to 128GB of RAM.
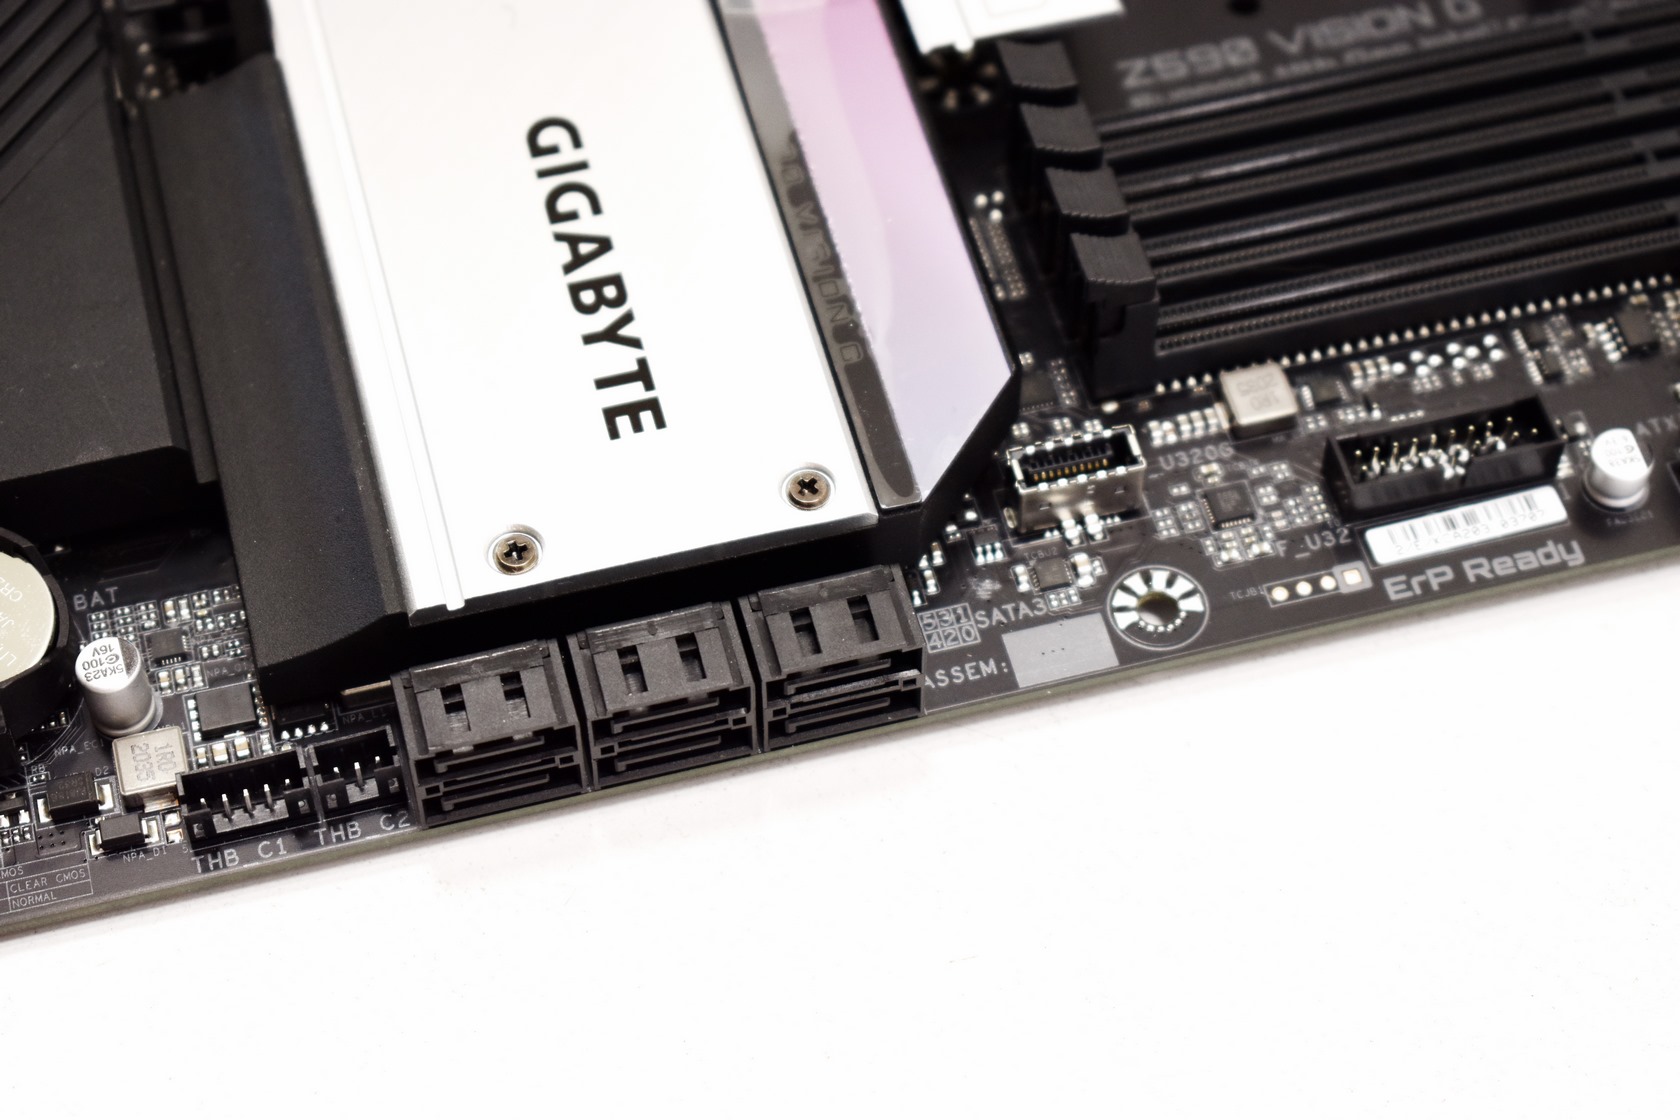
GIGABYTE is using 6 native SATA 6Gb/s ports with the Z590 Vision G.
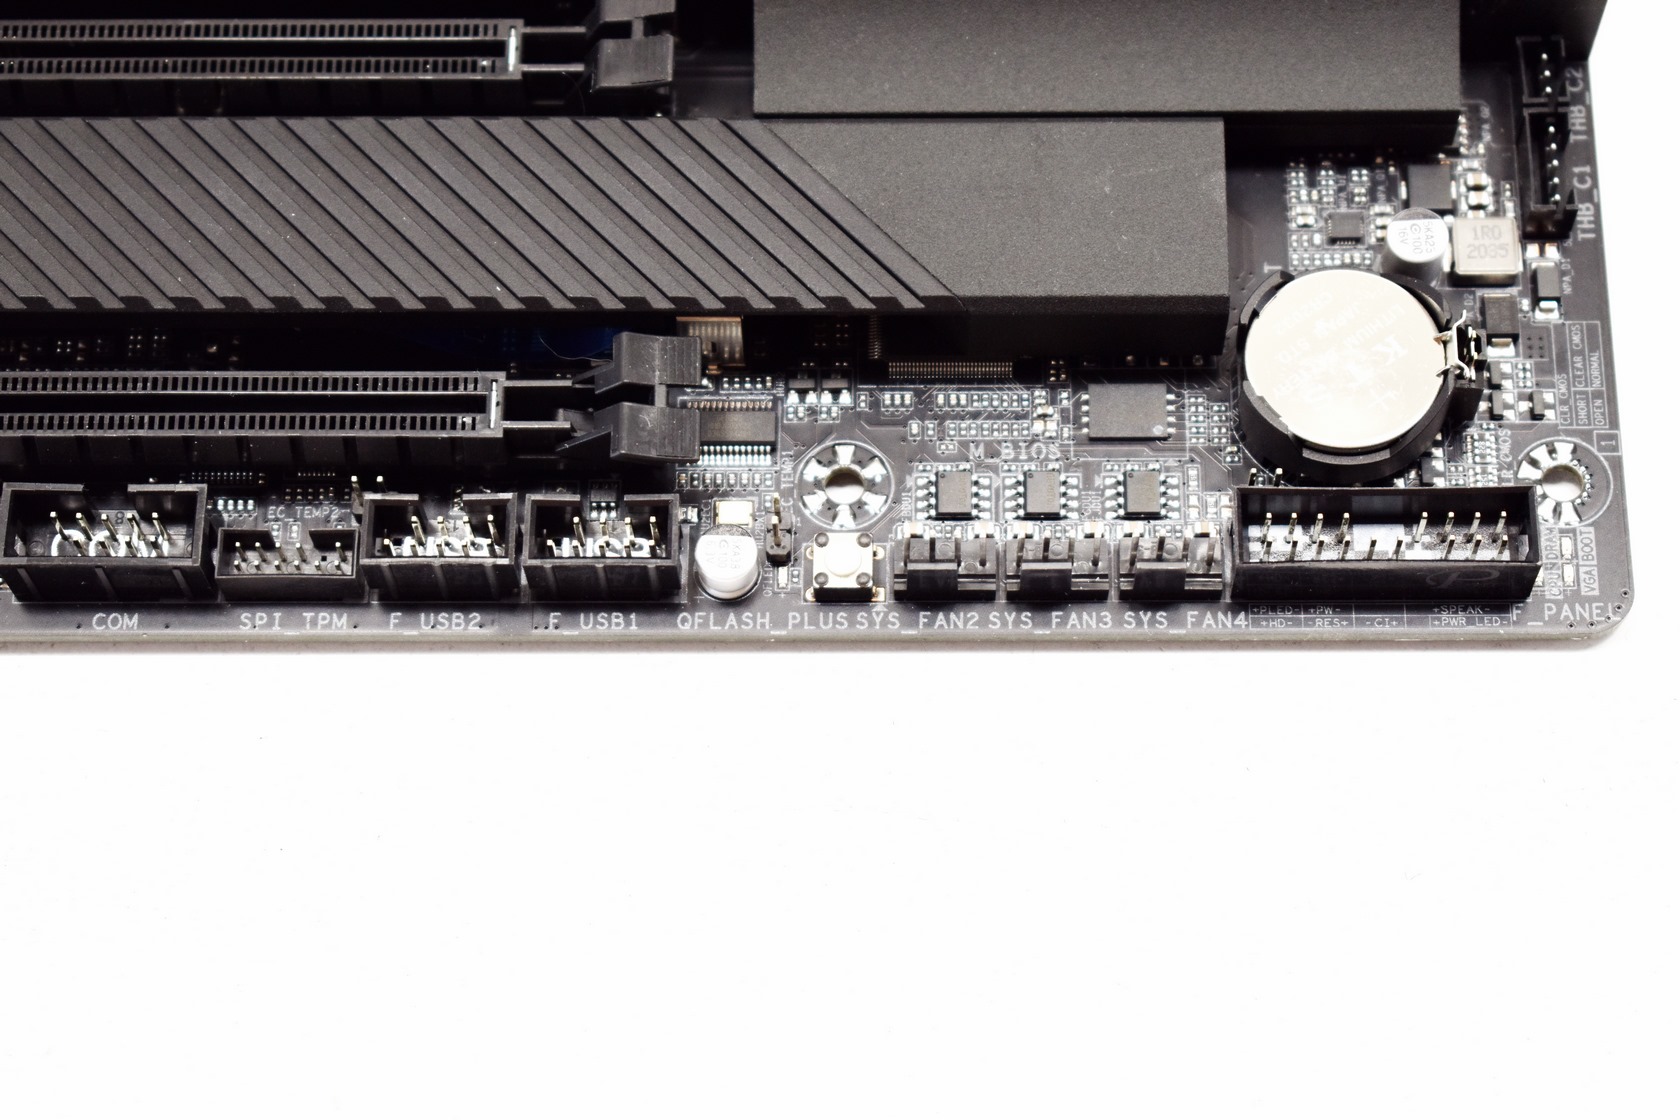
At the lower end of the motherboard, we find the Qflash Plus button which basically allows you to update the BIOS when your system is off (just put the latest BIOS on a USB drive, plug it into the dedicated USB port and just press the button).

On the lower left corner of the Z590 Vision G we find 7 Chemicon Audio Capacitors (used by the Realtek audio codec).
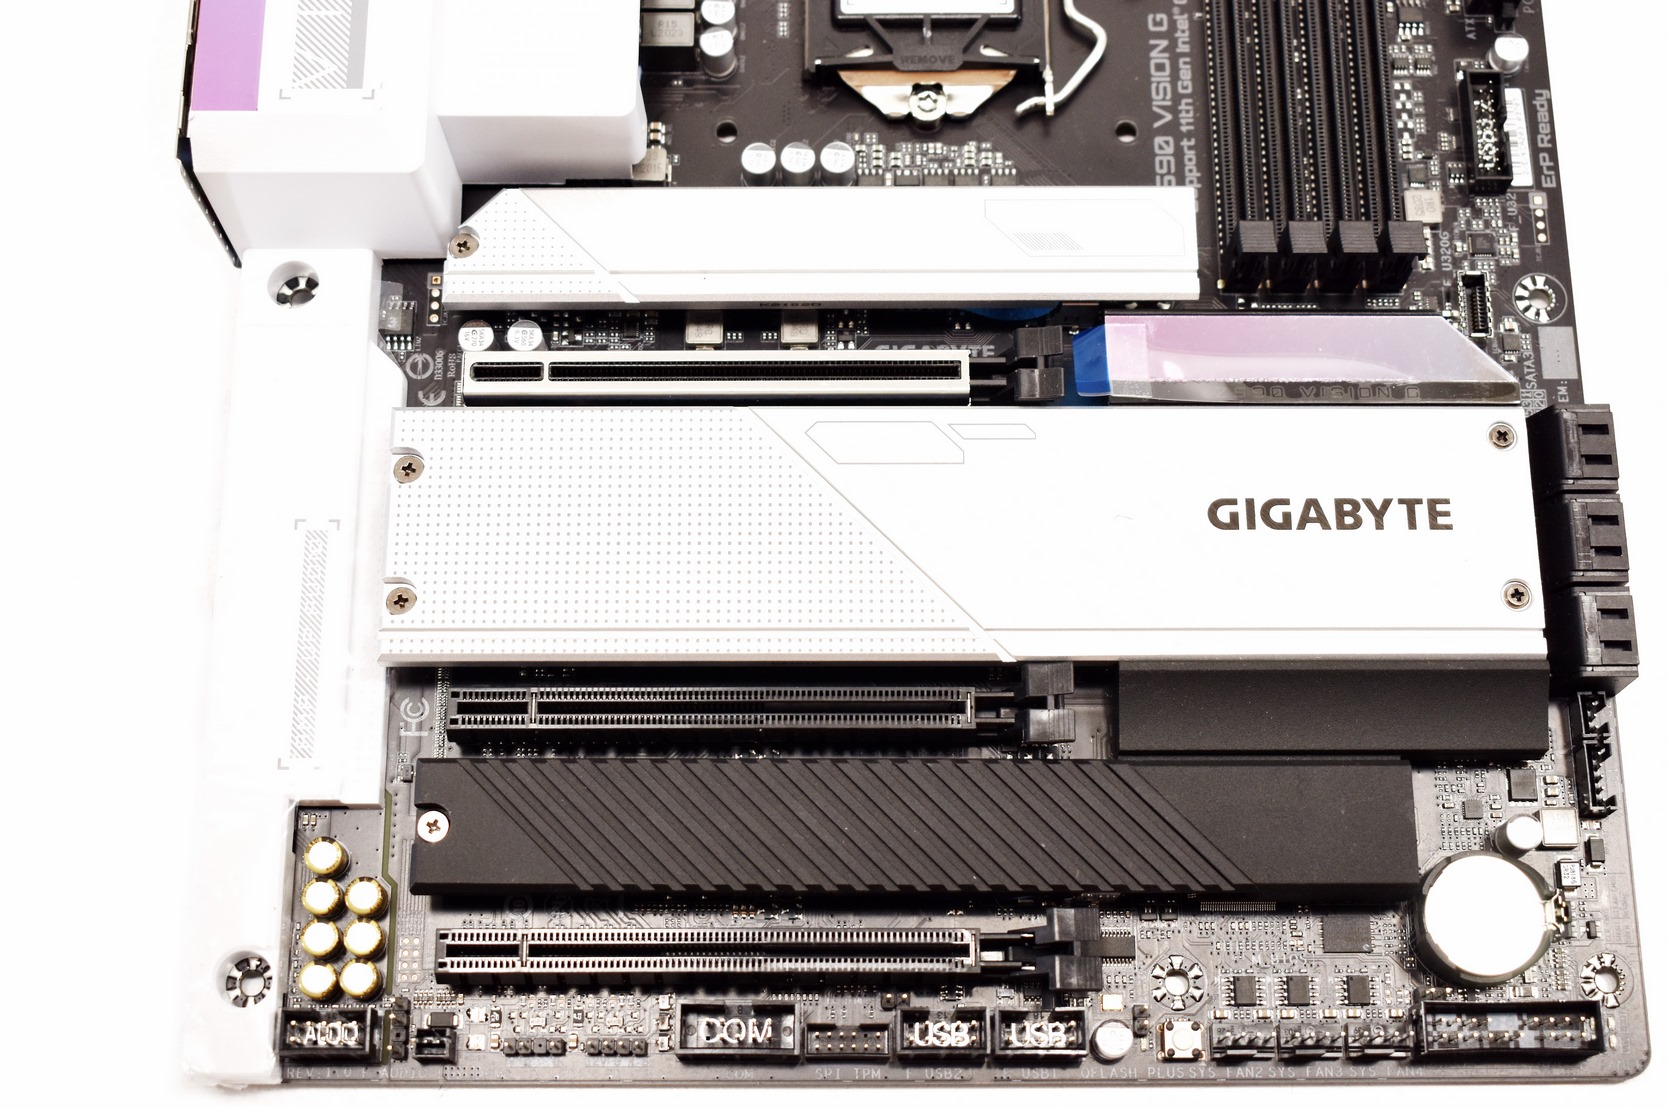
Underneath these 3 heatsinks GIGABYTE has placed a grand total of 4 M.2 slots (3xGen4/1xGen3).
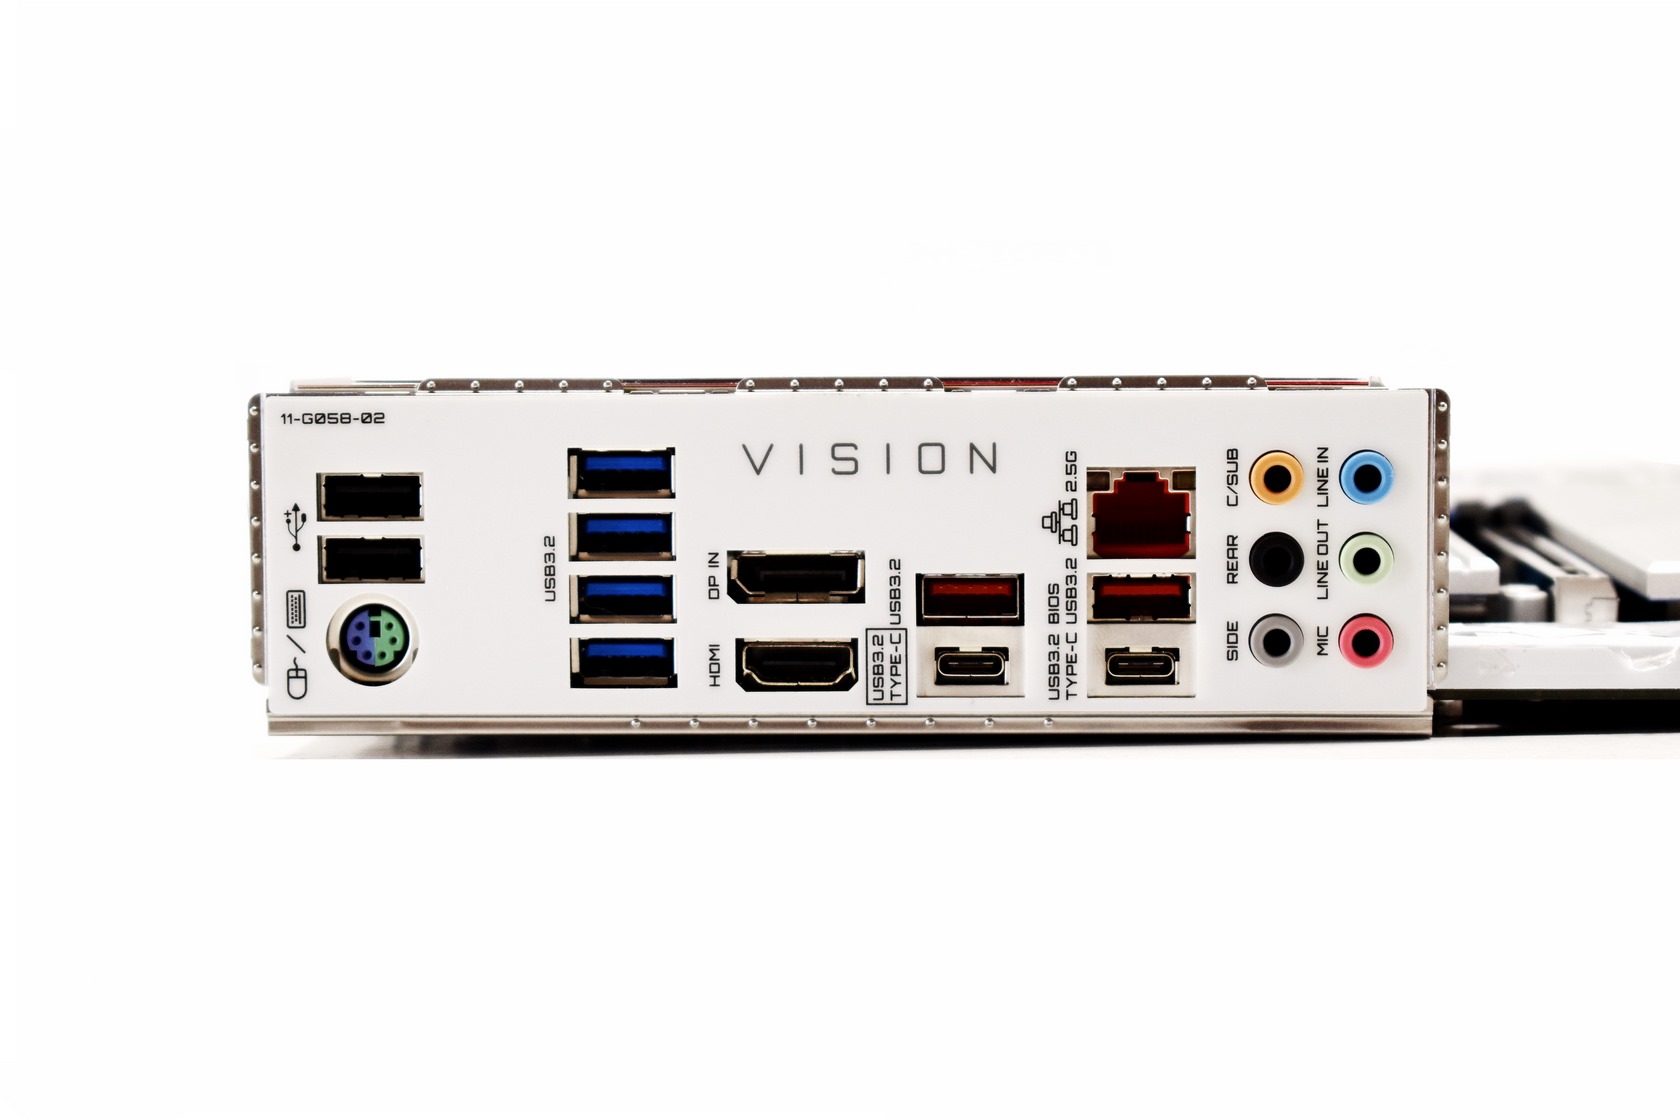
The rear I/O has its shield fixed and here we find the PS2 port, 2 USB 2.0 ports, 4 USB 3.2 Gen 1 ports, DisplayPort v1.2, HDMI v1.4, 2 USB 3.2 Gen 2 ports, two Type-C USB 3.2 ports (Gen2x2/Gen 1), Intel 2.5GbE RJ45 LAN port and 6 3.5mm ports.
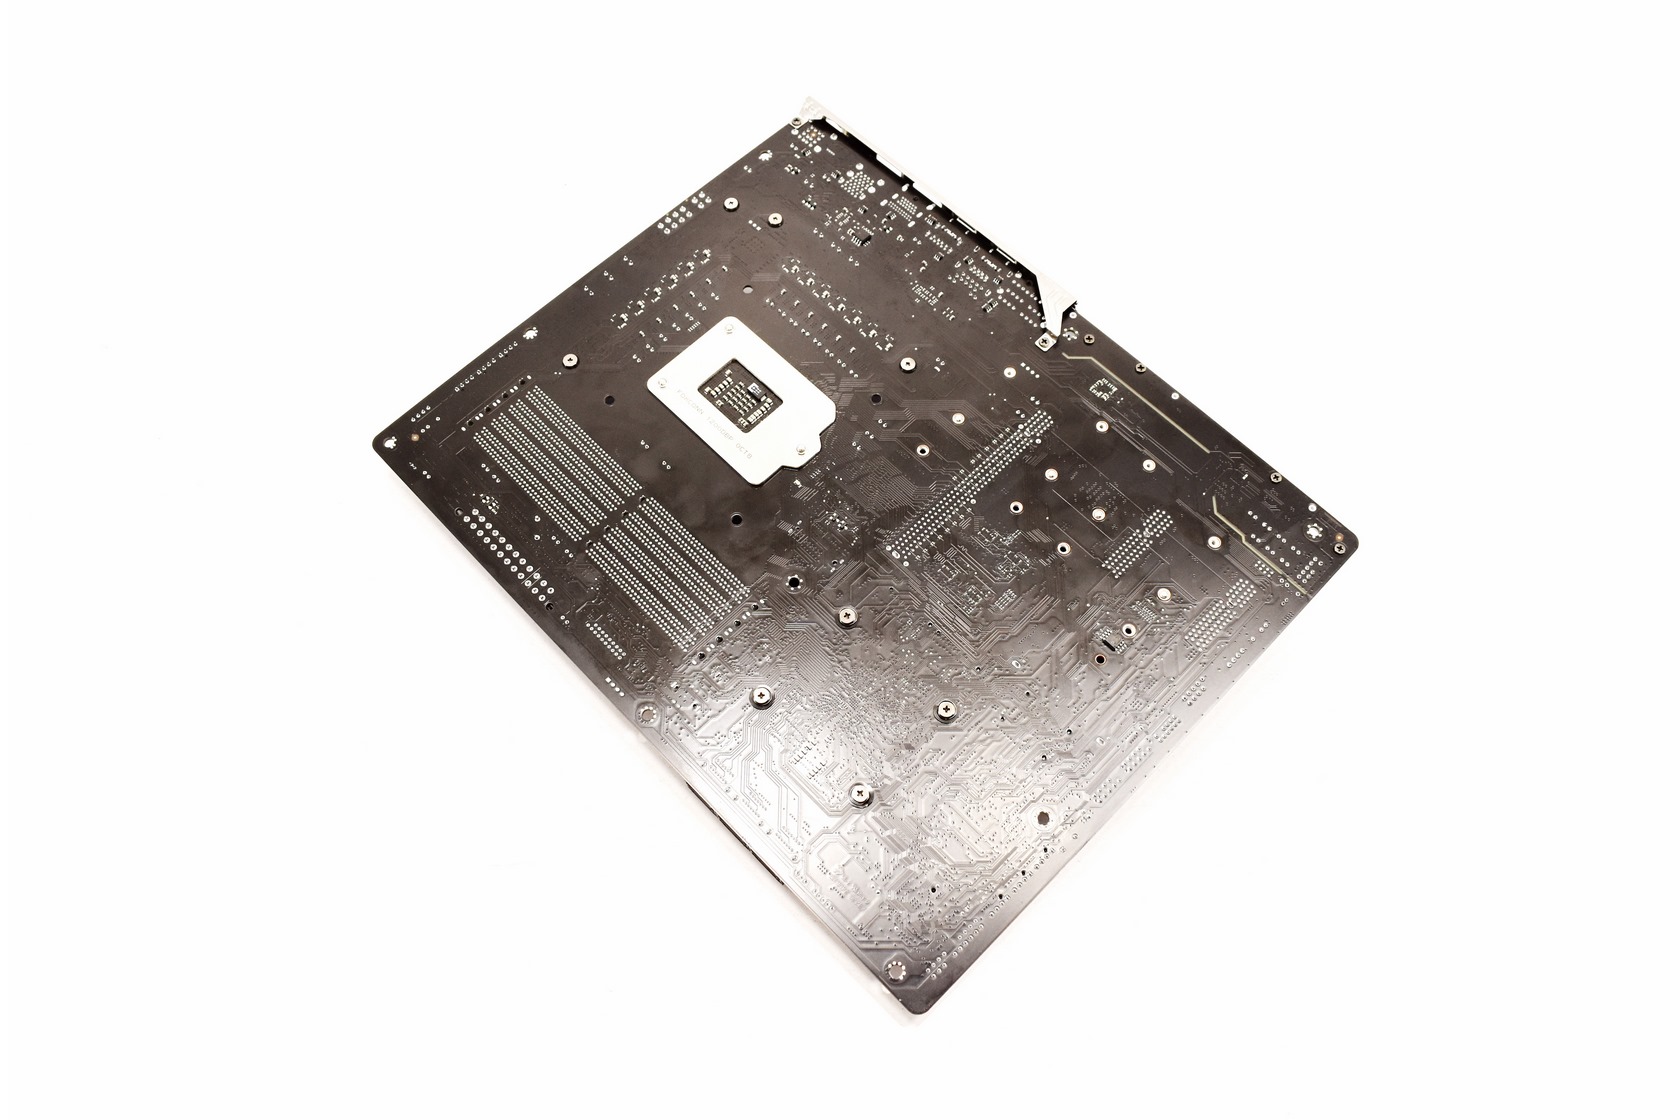
Unfortunately, as expected there's no metal plate on the other side of the PCB.
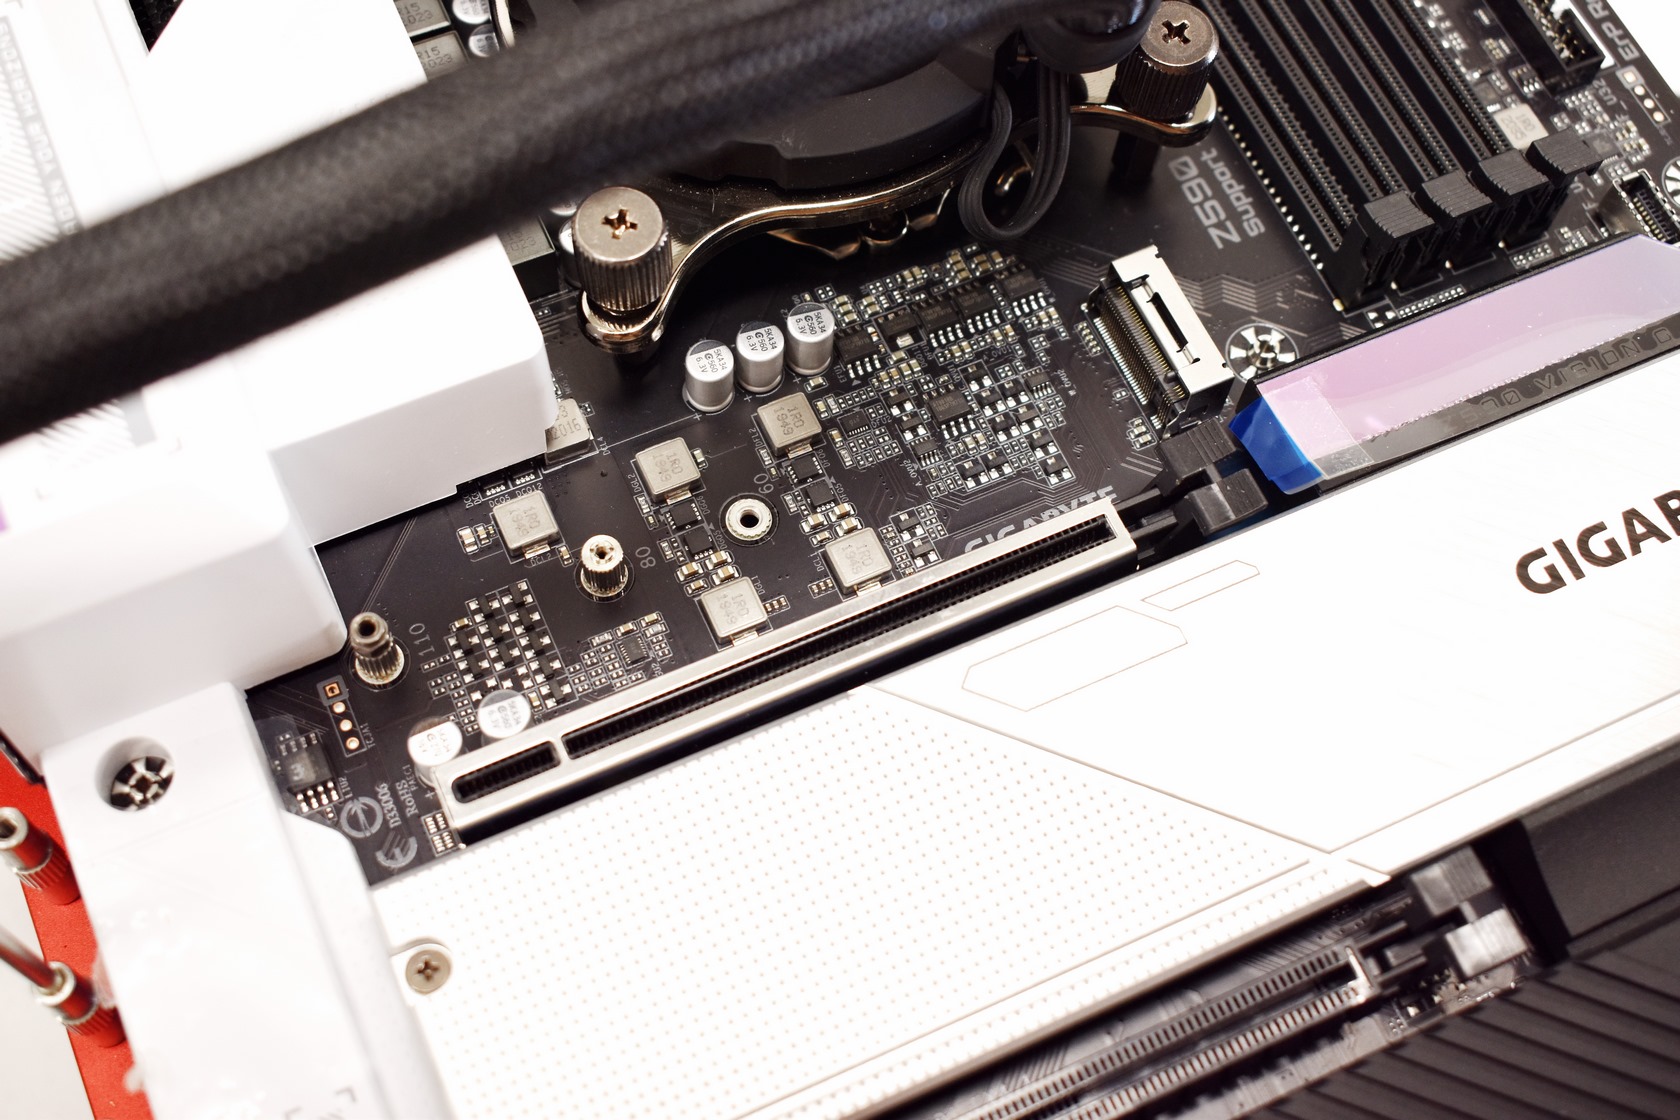
As always for this test I’ll be using the top M.2 slot.

With the Intel Core i9-11900k and the Acer Predator Apollo 32GB 4GHz RAM installed (among other things) the time has come to start working on the GIGABYTE Z590 Vision G.


.png)

