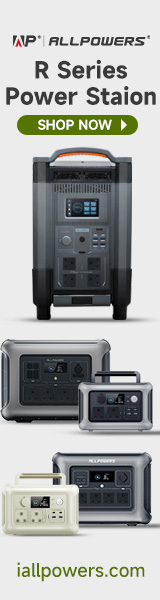


THE DEEBOT N8 PRO+
Measuring 353mm in diameter and 93mm in height the DEEBOT N8 PRO+ is almost identical to most LDS models out there.

As with most models the laser mapping sensor is located in the highest level of the robot vacuum.

The secondary on/off button is located just next to the sensor.


Opening the top reveals the dust bin, primary on/off slider, reset button and the WiFi activity LED.

The dust bin opens from the front, has a HEPA like filter and can be filled with up to 420ml of dirt.

More sensors are located right past the fascia of the DEEBOT N8 PRO+.

The water tank is located at the rear of the robot vacuum and as you can see ECOVACS recommends just using water (i like to use cleaning solutions with models that don't feature electric volume control).

Unfortunately, the water tank can only accommodate up to 240ml of water and even though that's fine when compared to other robot vacuums i would had liked a larger one.

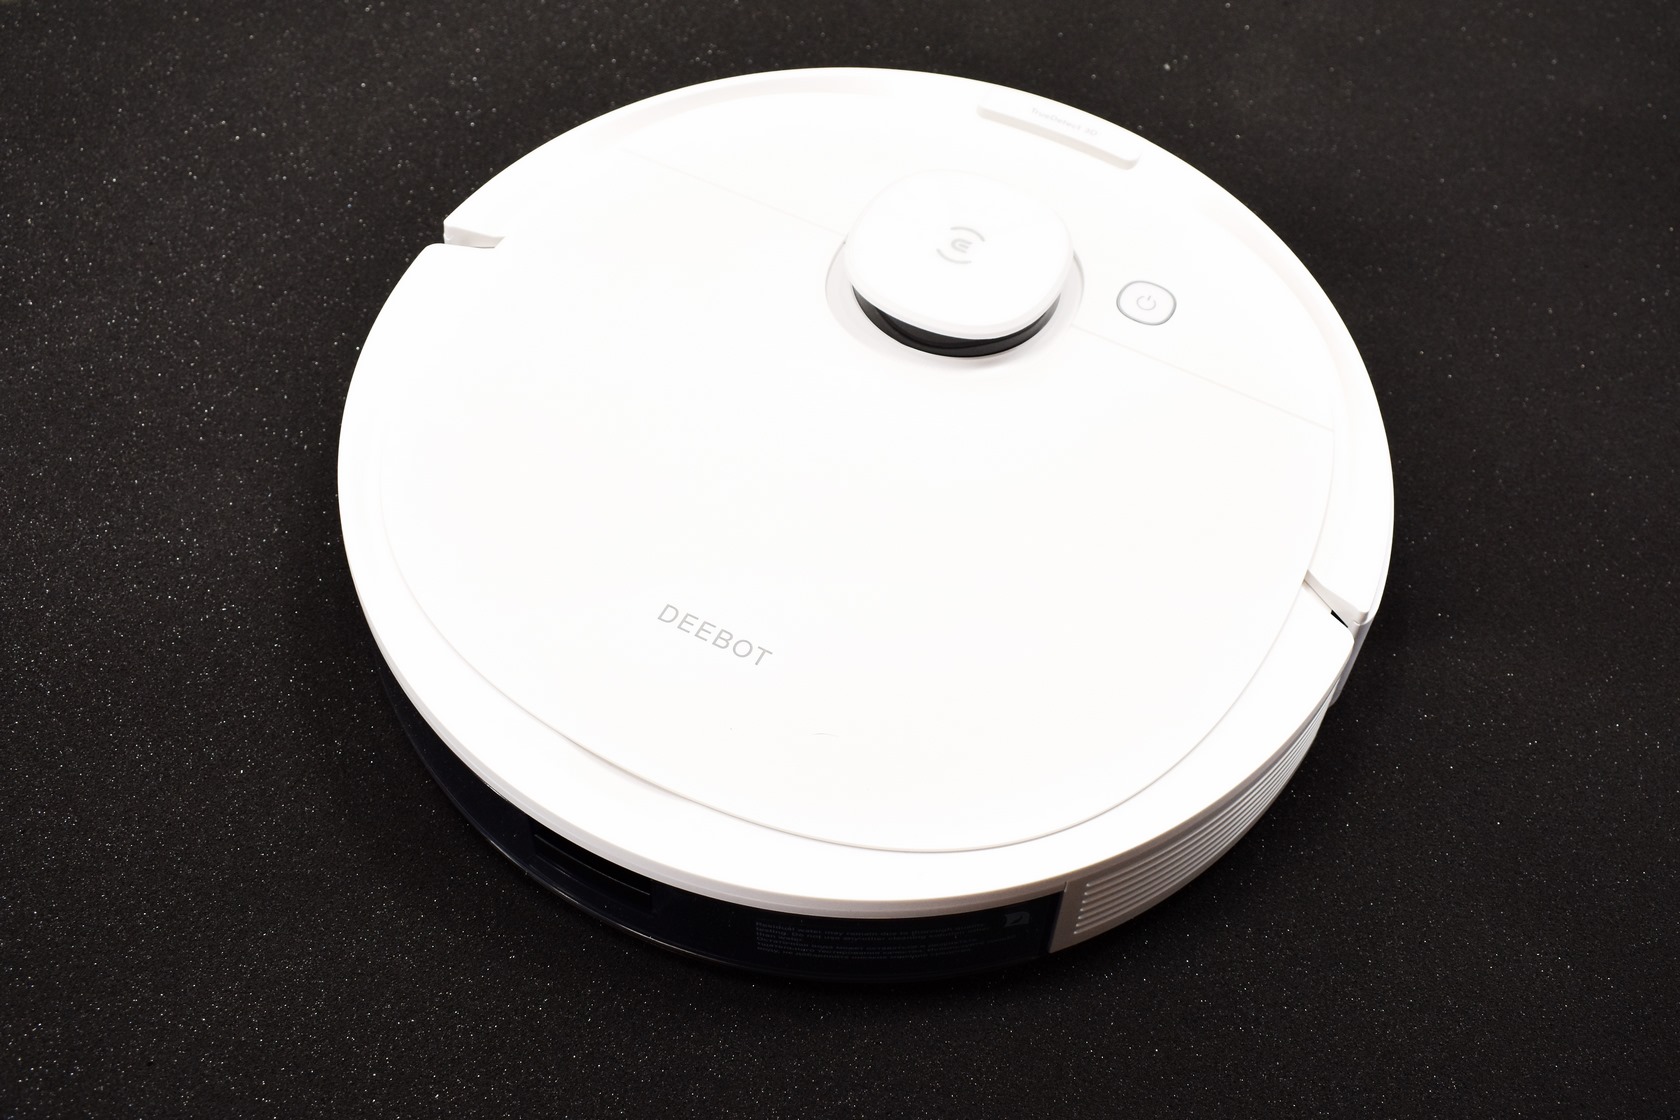
Turning the DEEBOT N8 PRO+ you can see that ECOVACS has learned over the years so this robot vacuum looks like a tank (in terms of quality).
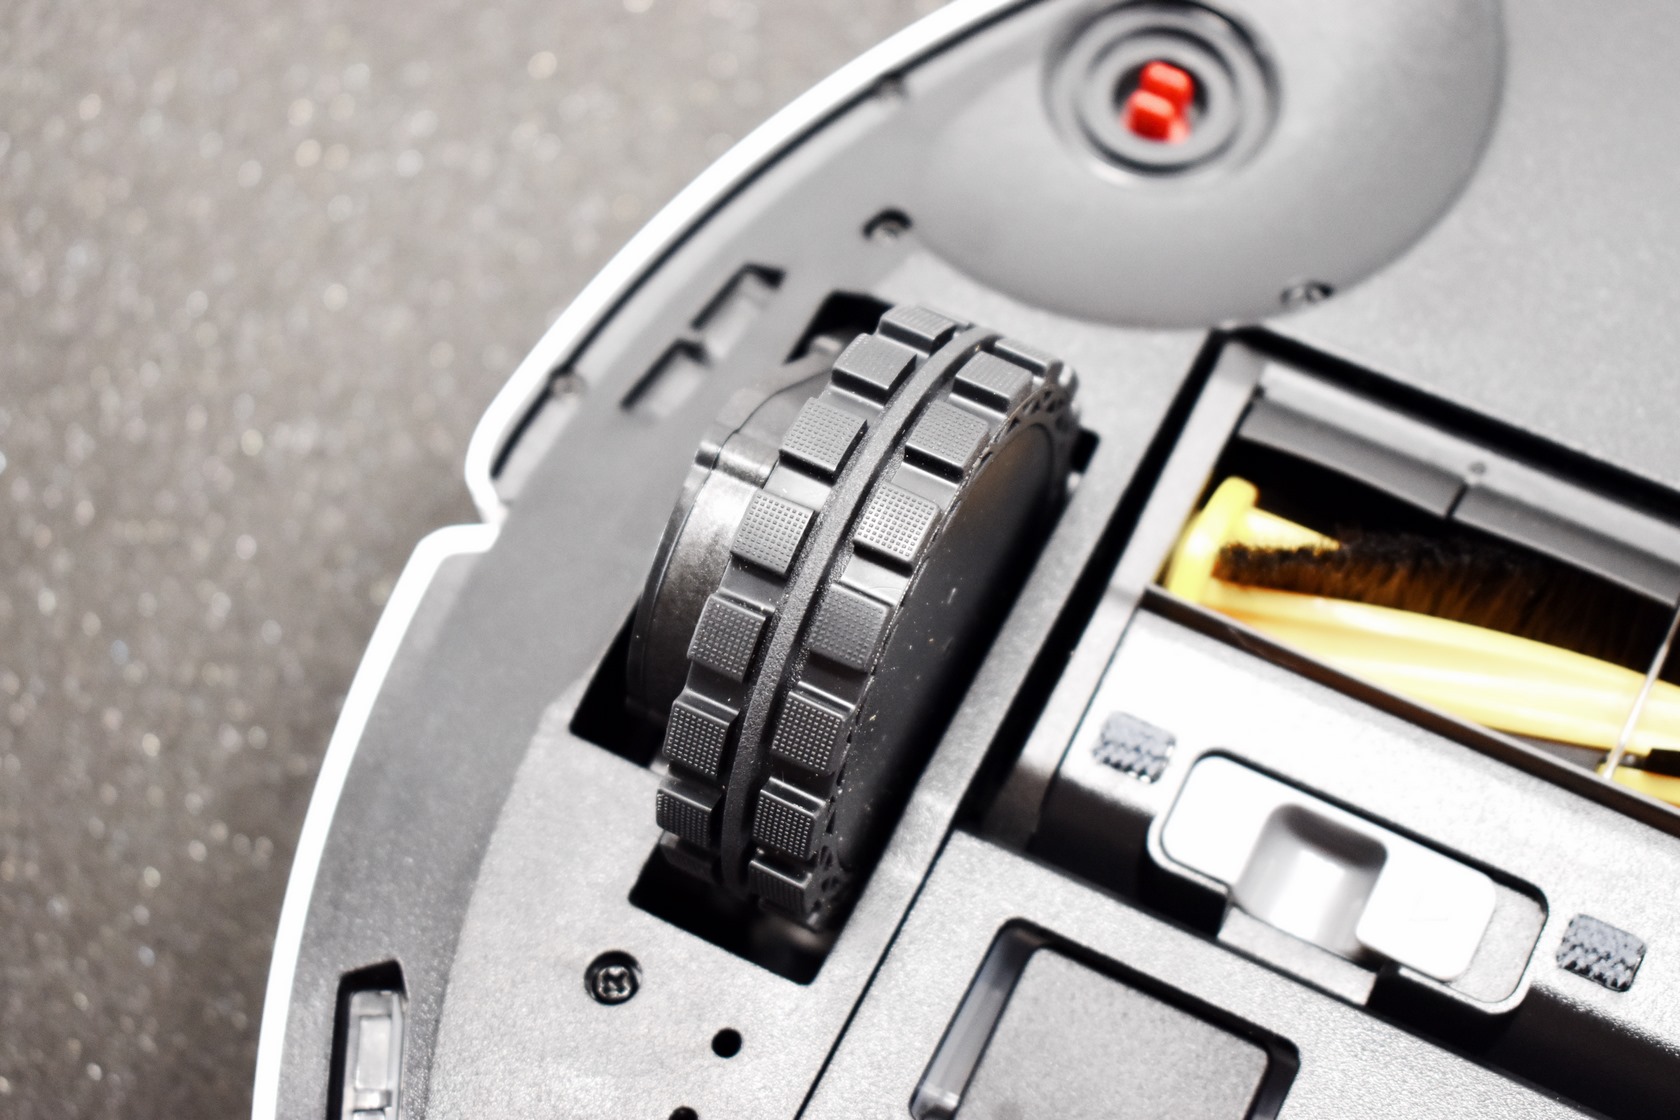


Here we see the two large side wheels (not rubberized but i had no issue with them during tests), main wheel, main roller brush, two openings used by the auto-empty station, charging contacts and the side brushes.


The quality of the brush is very good and aside micro fibres it also has pieces of rubber which help with dirt collection.
Here you can see the DEEBOT N8 PRO+ with the mop addon installed.

The auto-empty station measures roughly 45cm in height, 31cm in width and 44cm in depth.

At the front we find an activity LED, two charging contacts and two large holes which connect to the top (this is where the robot vacuum unloads all dirt from the dust bin).

Turning the auto-empty station around we see the power cord port and two plastic holders which can be used to route it.

The top opens by just pushing at the front and as you can see removing and installing the bag is very easy.