
 O-Sense

.jpg)


LCD MENUS
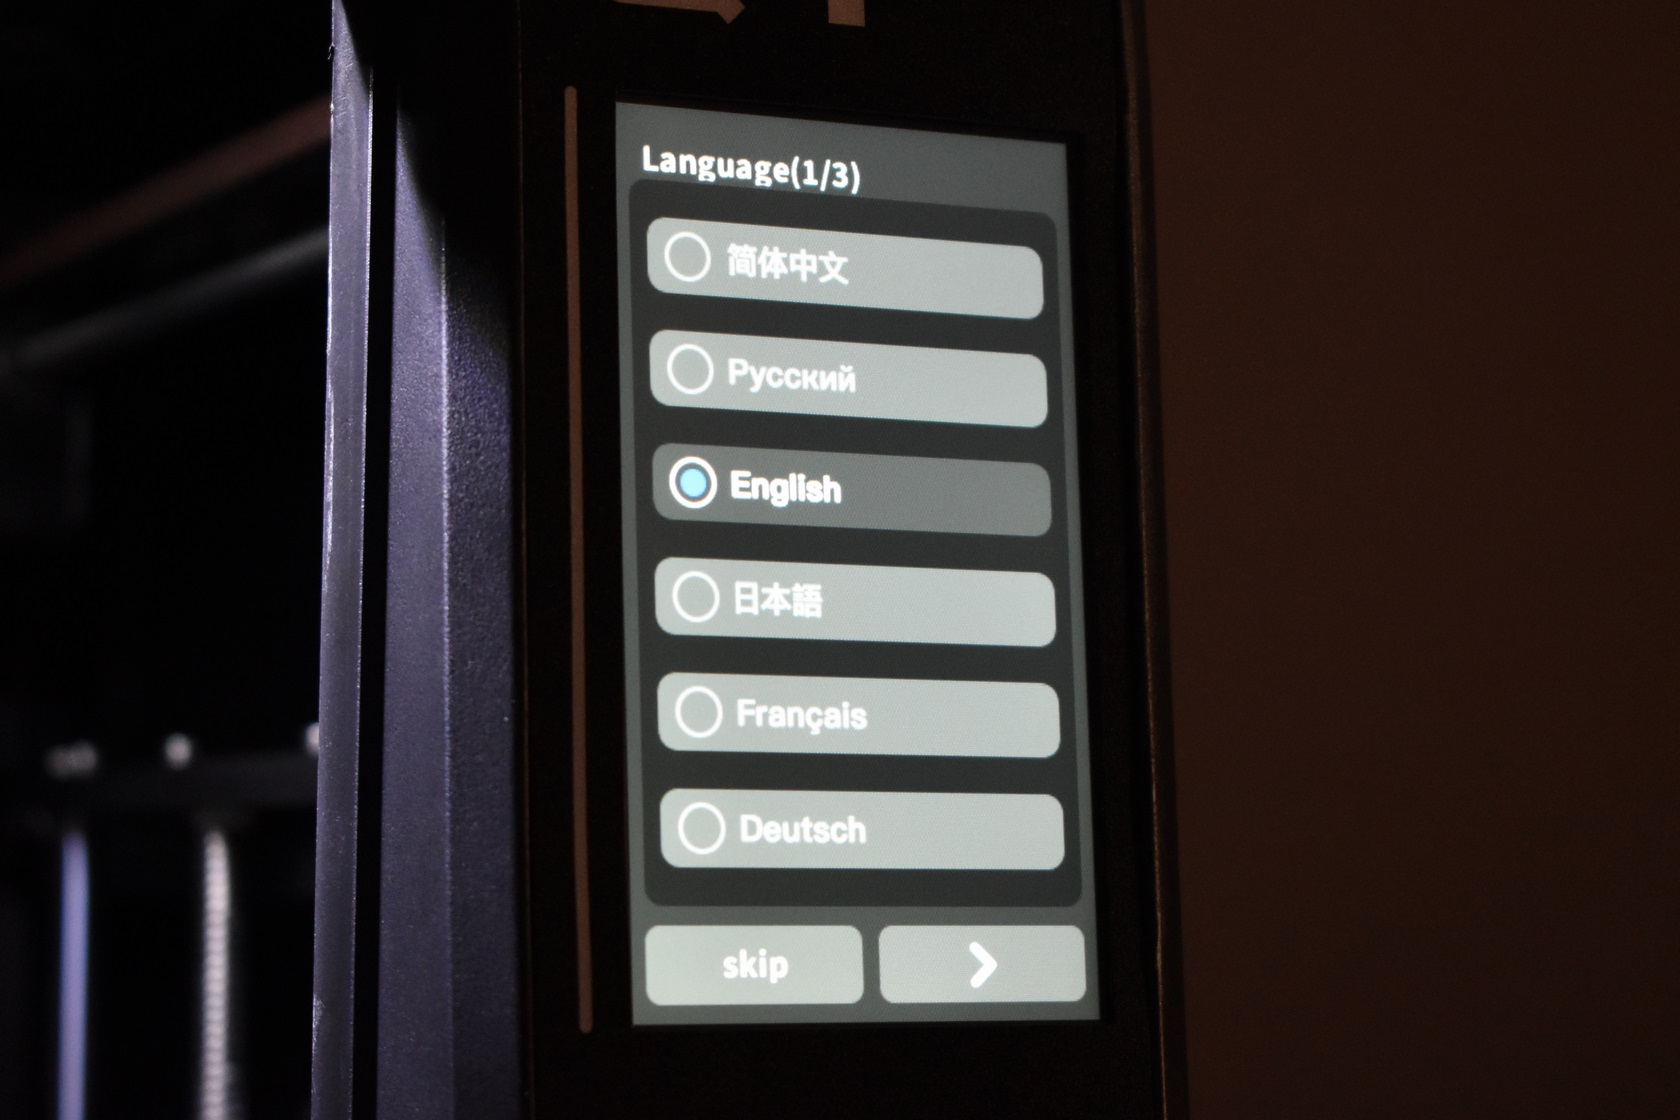
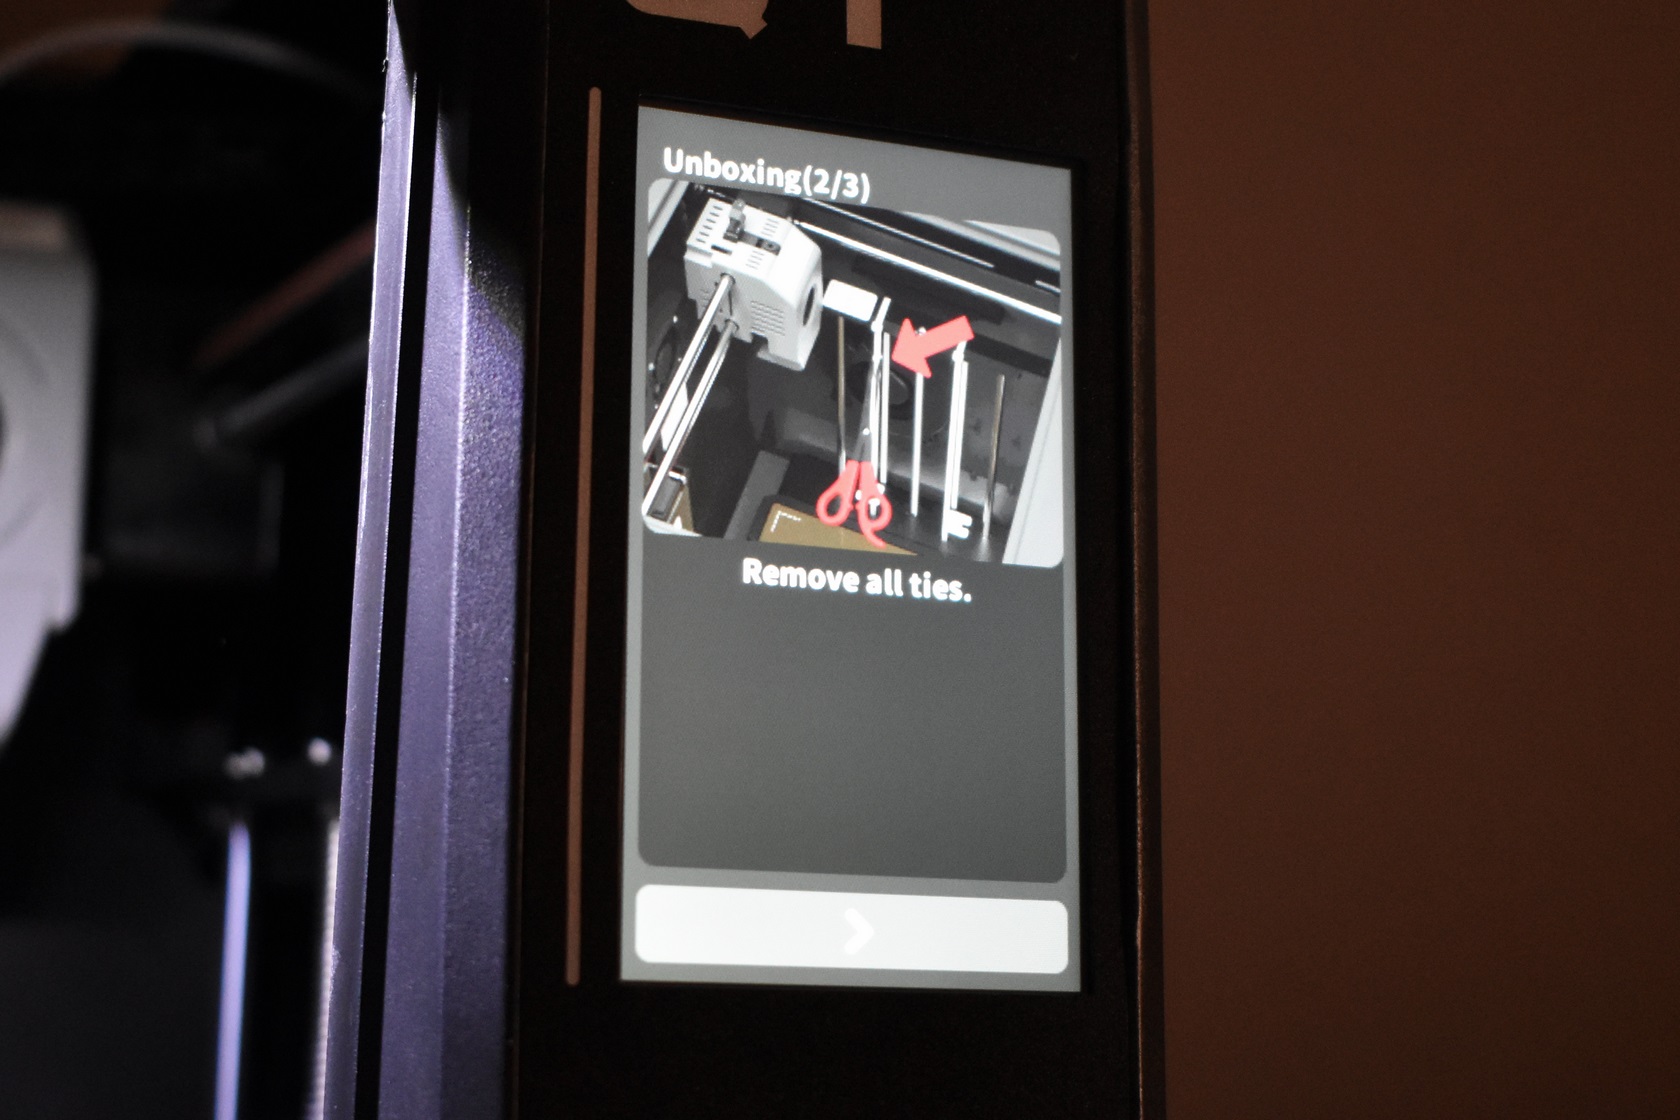
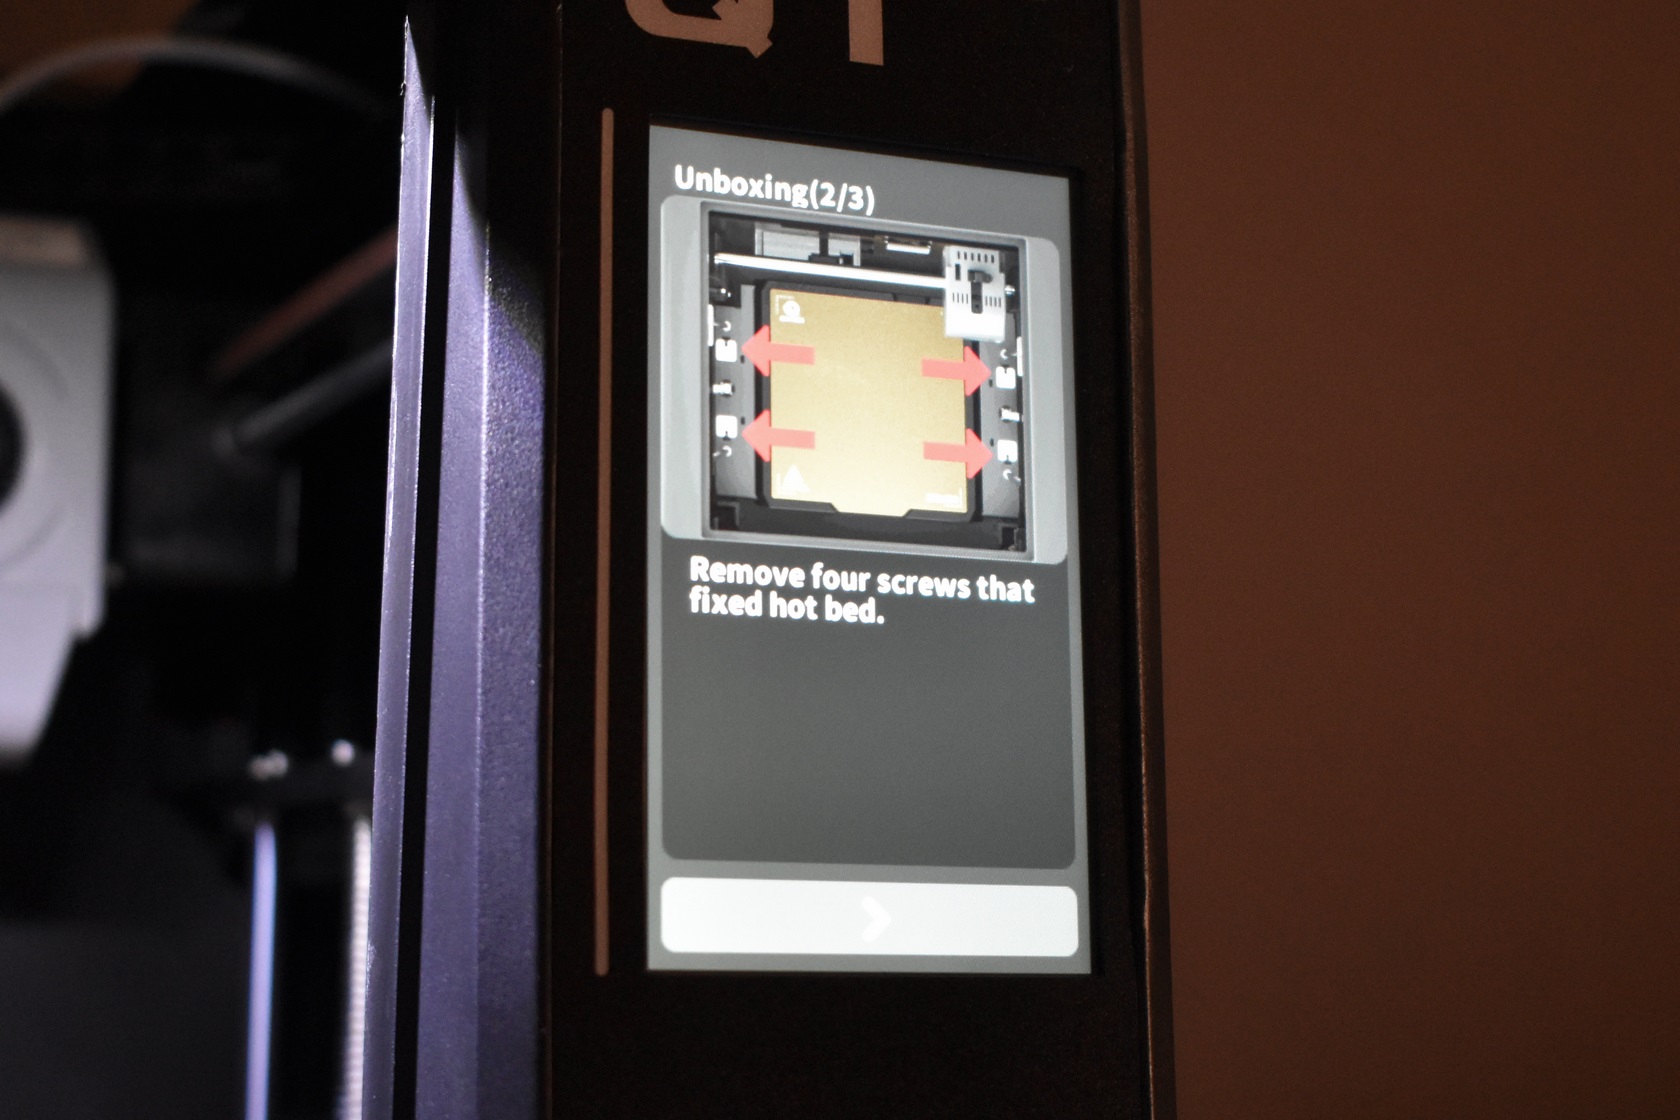
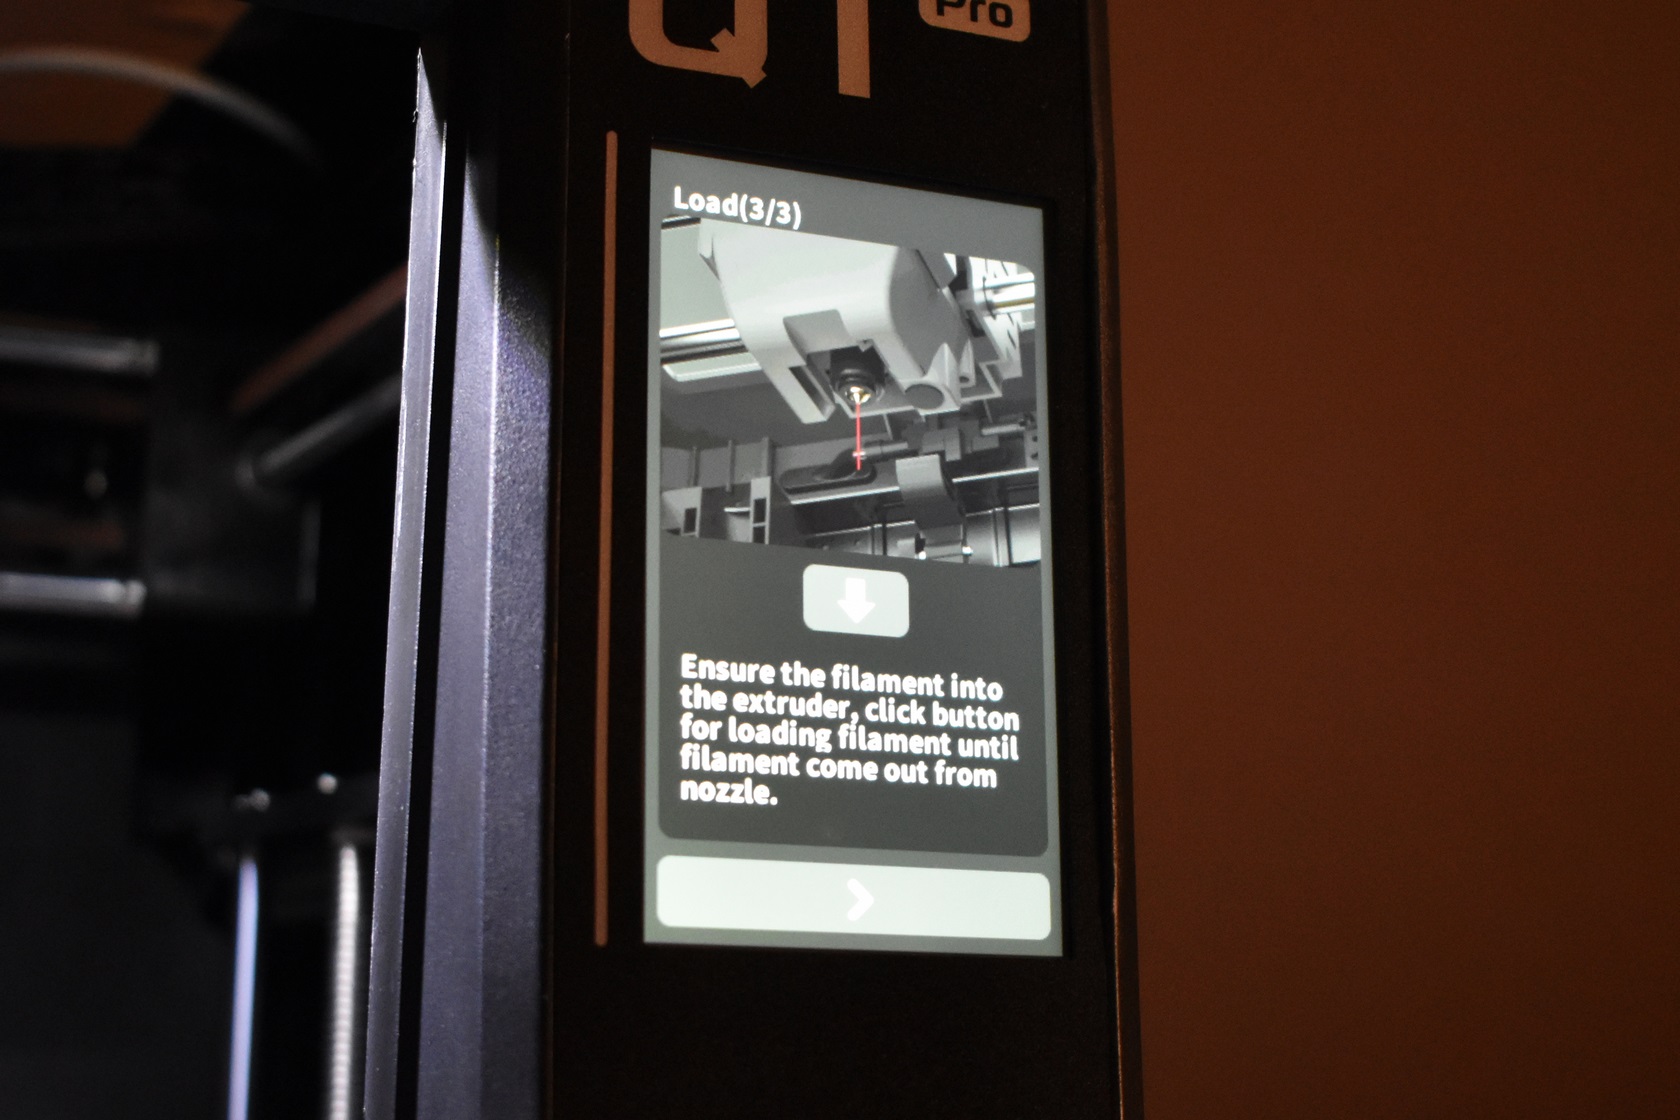
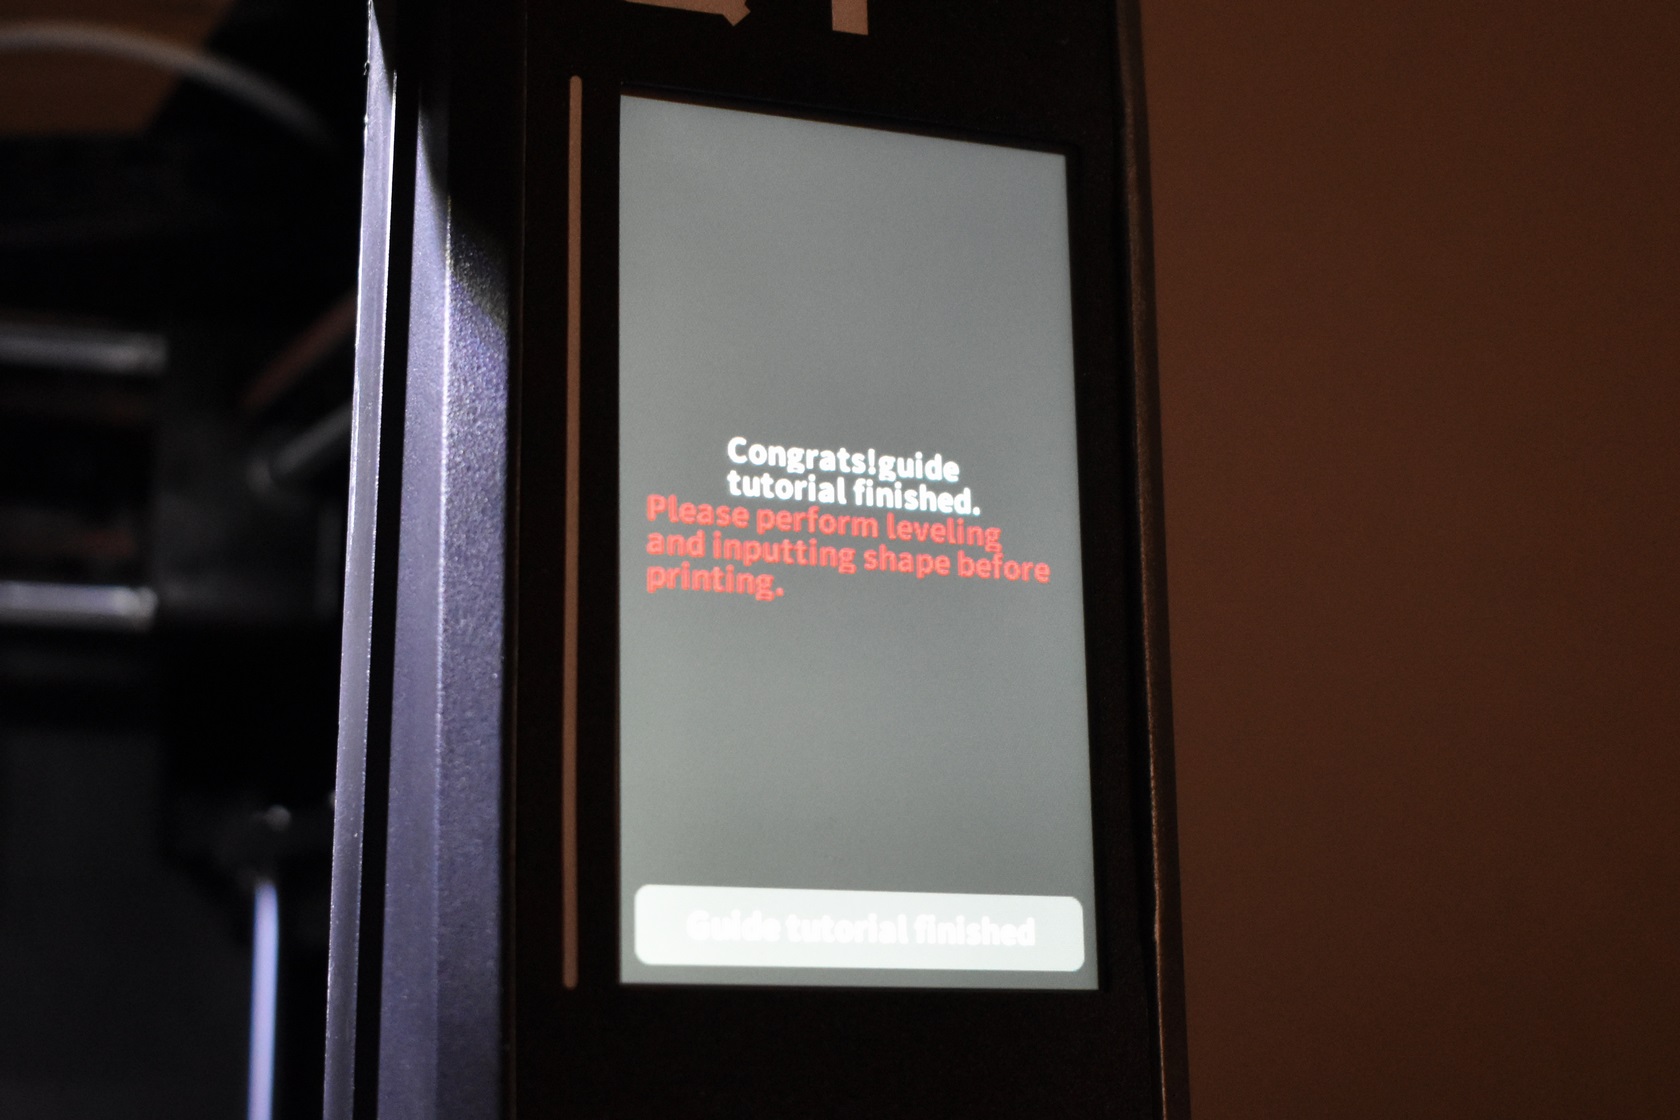
Just like with their X-Plus 3 model the first steps required for the Q1 Pro are choosing the language, removing all cable ties and the 4 screws holding the print plate onto the base of the printer and pass the filament all the way to the direct drive extruder.
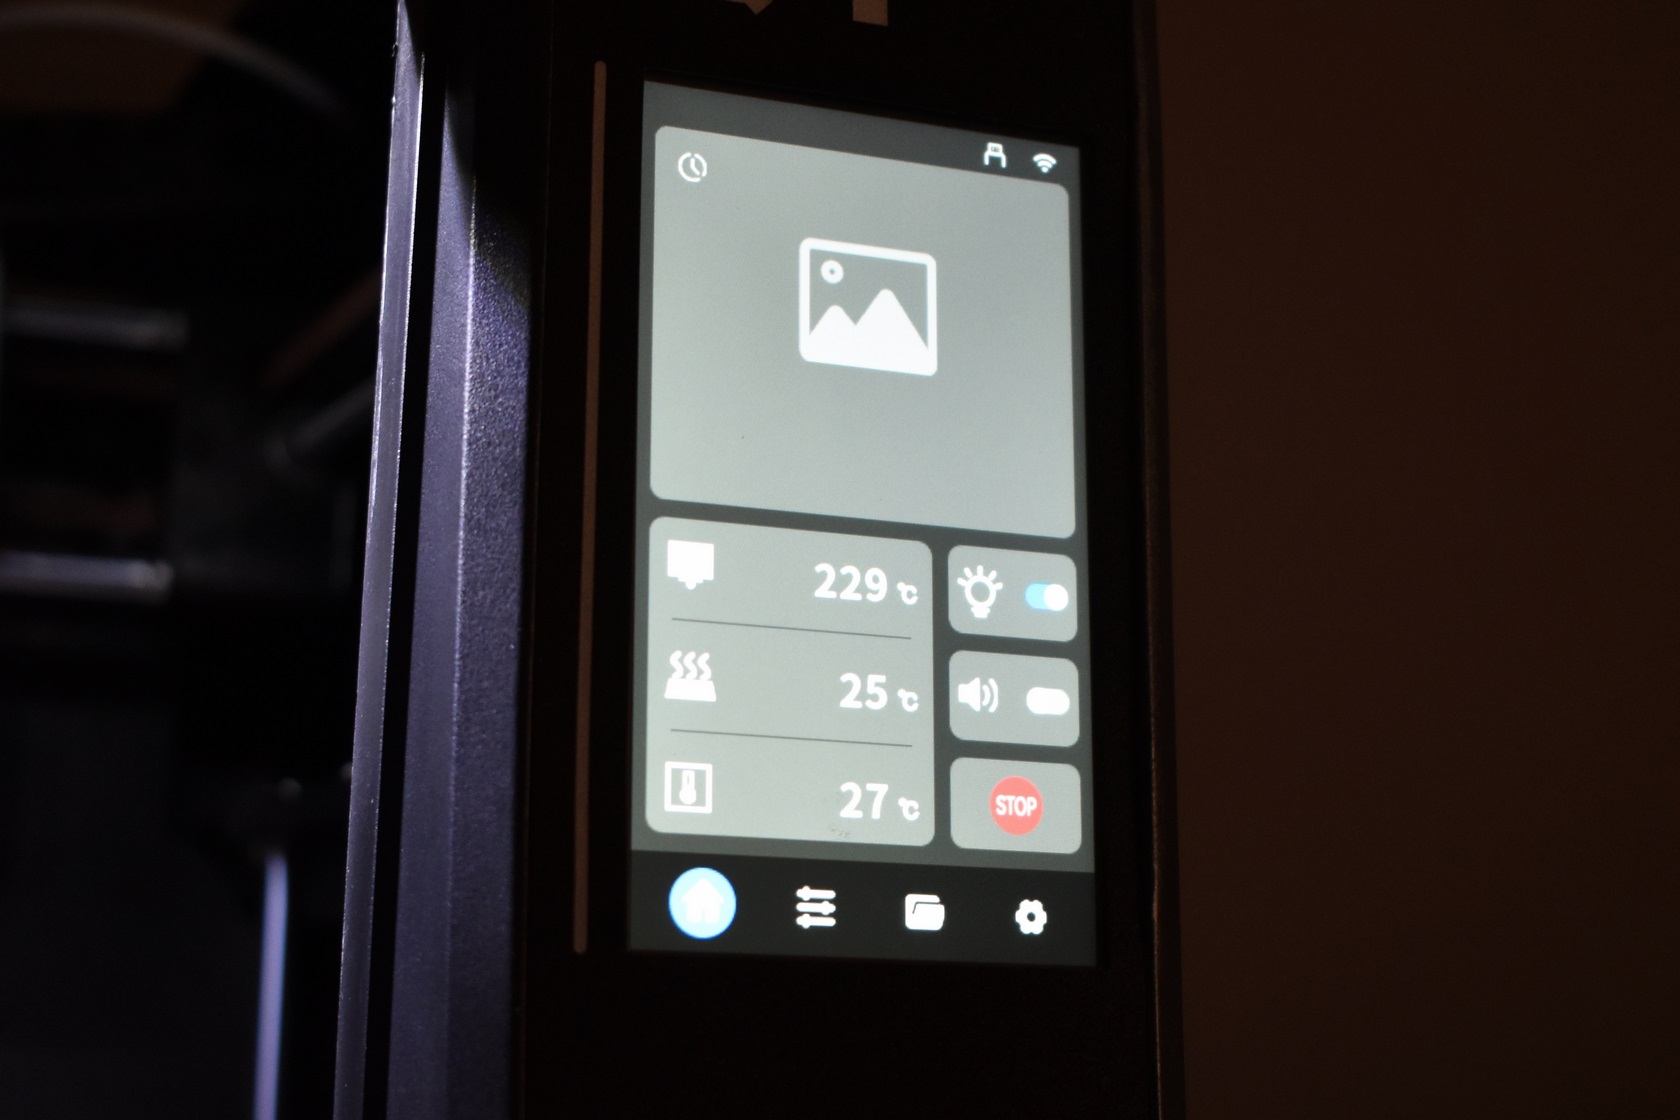
The main screen has a picture of your last print, current temperatures and buttons for the LEDs, enable audio feedback and stop all jobs.

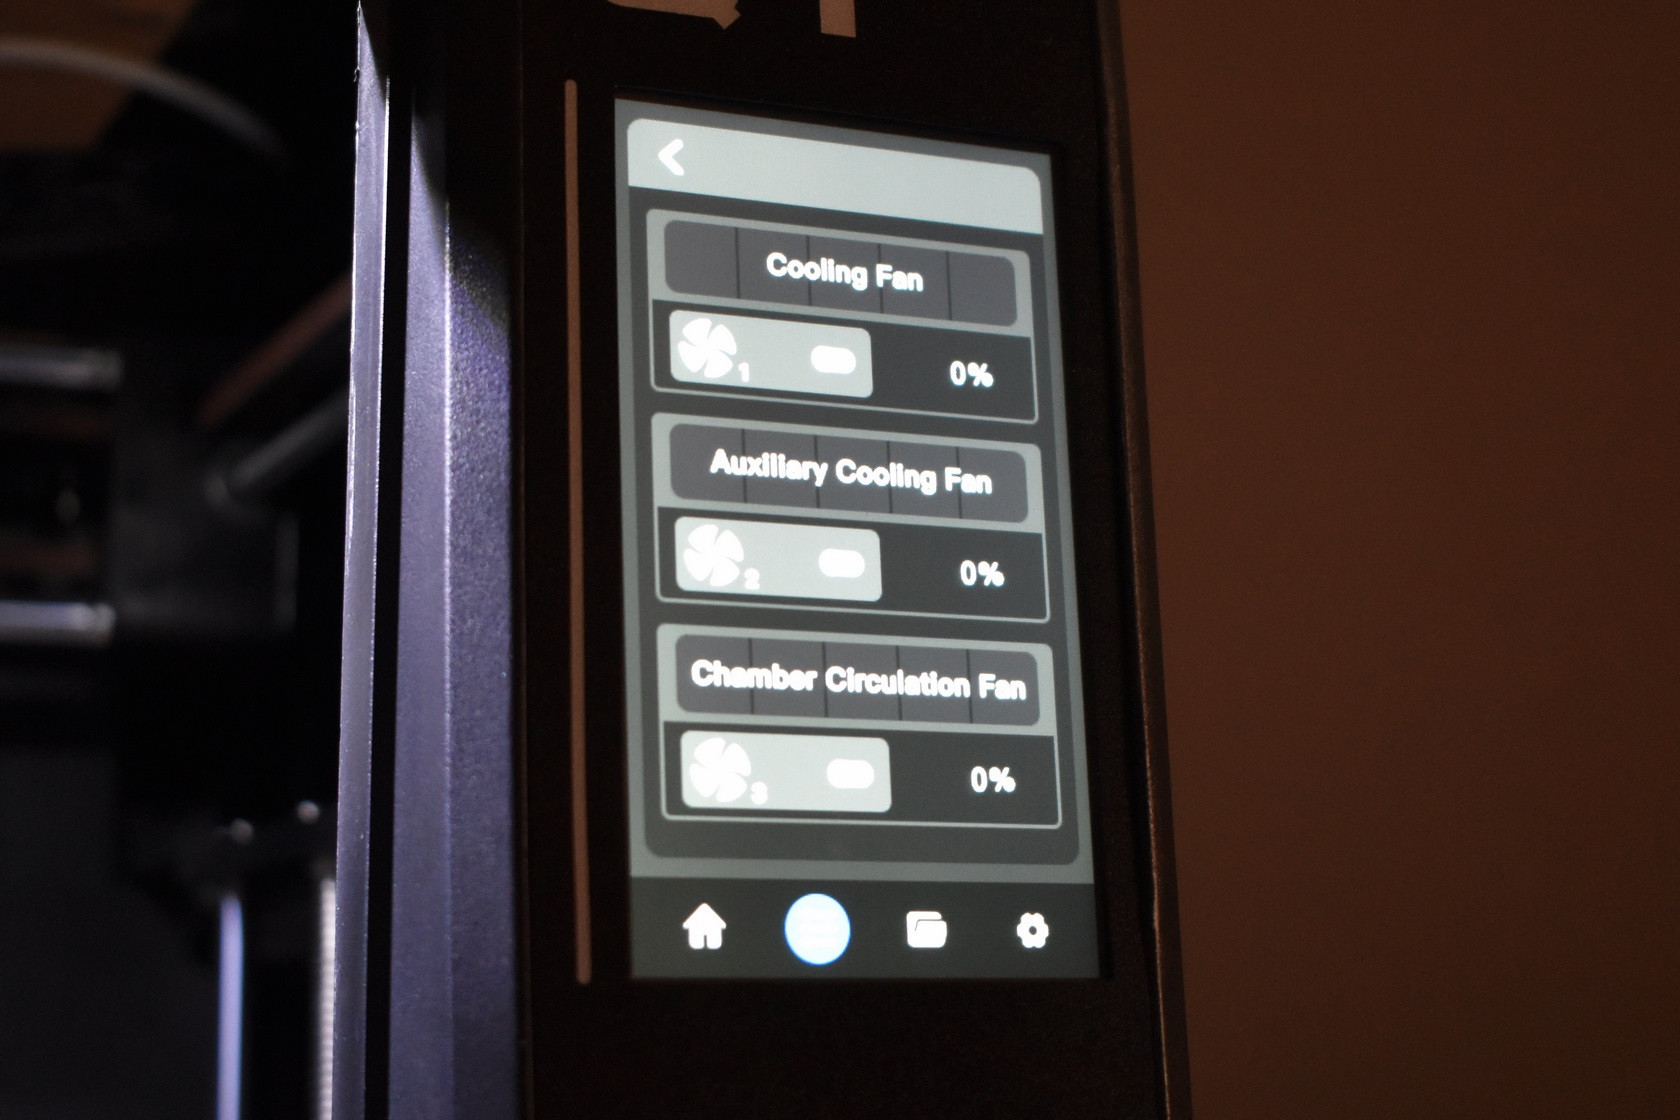
You can set temperatures, set fan speed, move the print plate, change the filament and control the filament (load/remove).
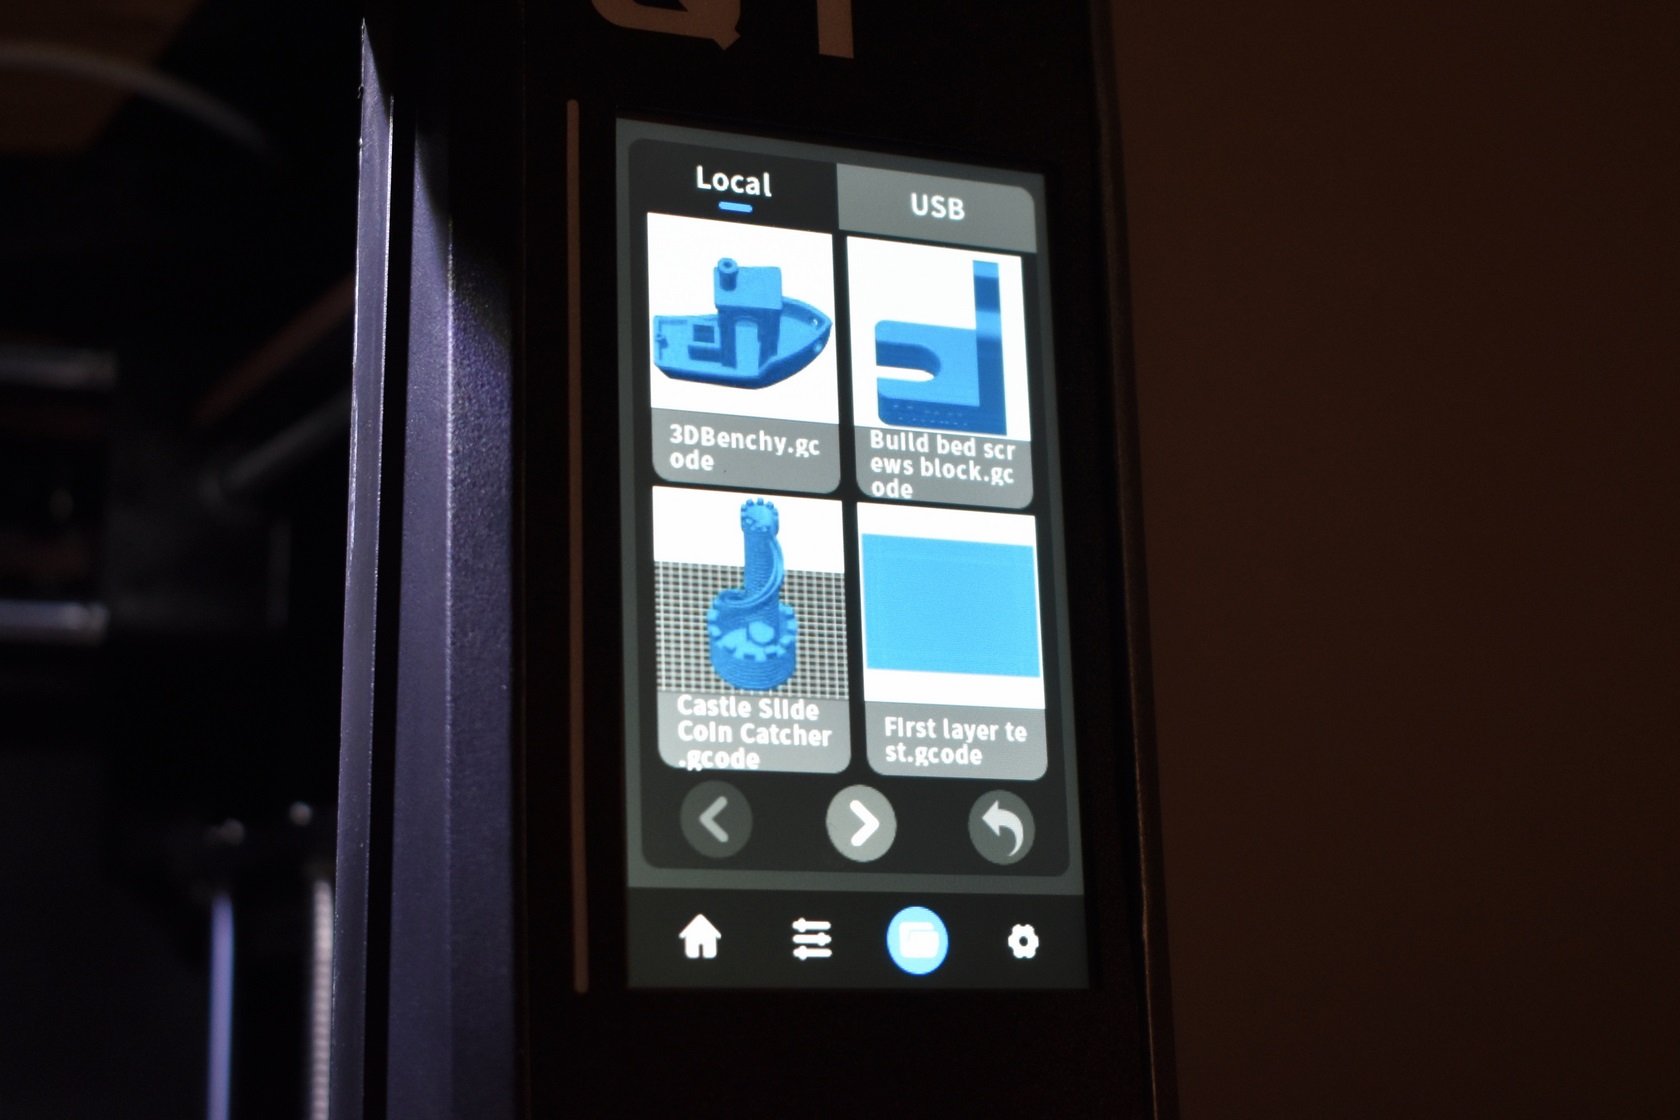
From the file browser you can check for models both in the build-in flash memory and the USB 2.0 flash drive (if mounted).
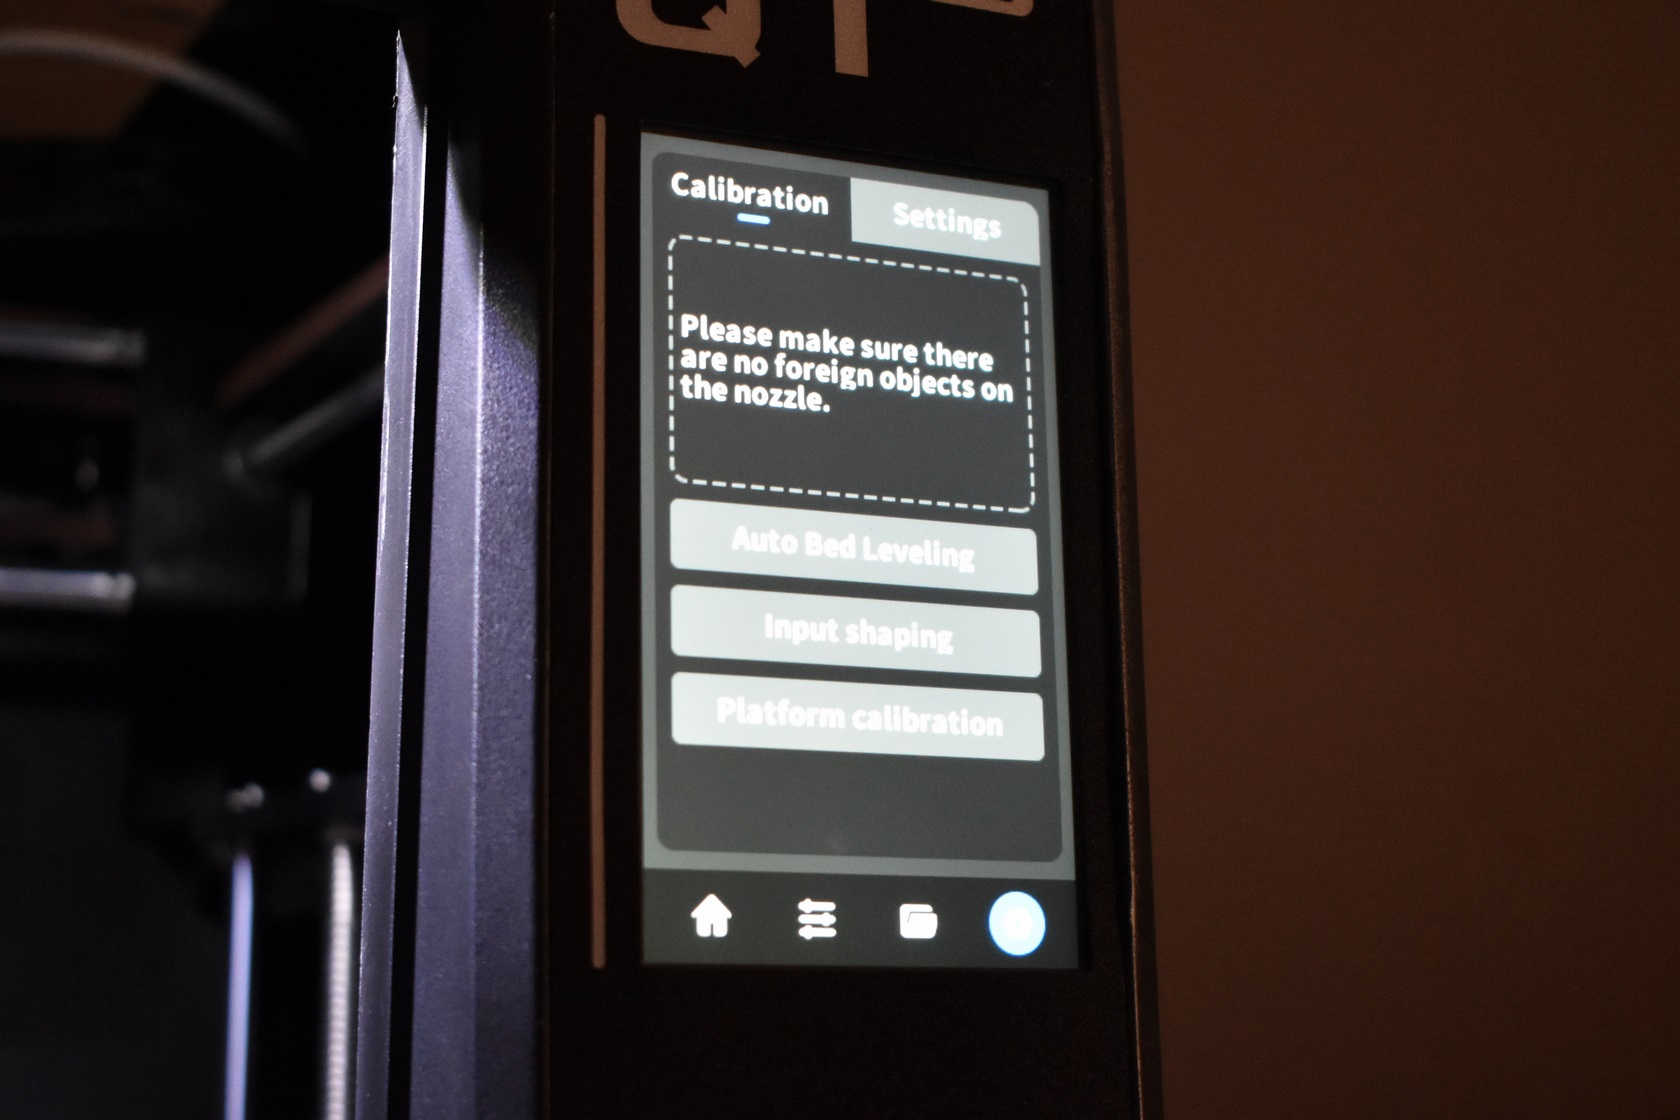
Inside the calibration sub tab of the settings menu QIDI has placed the auto bed leveling, input shaping and platform options.
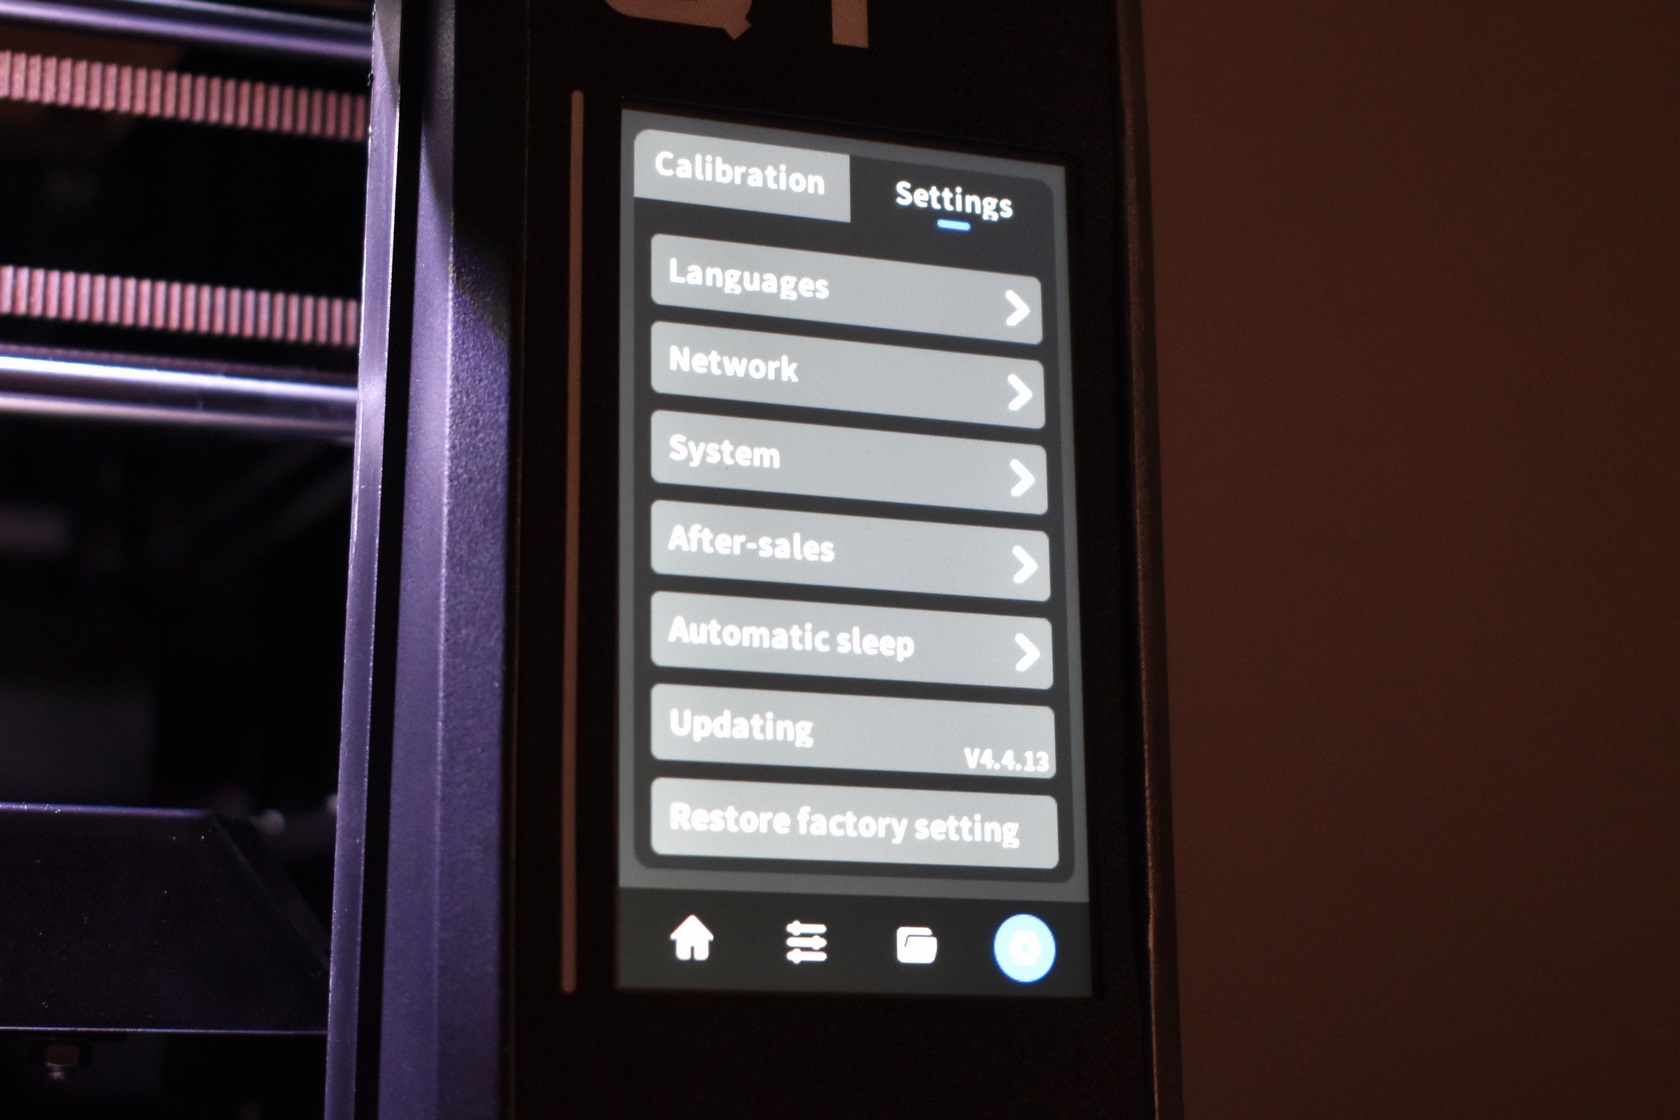
The settings sub tab allows the end user to change the language, setup network, check system status, access after sales support, set automatic sleep, update the firmware and restore factory settings.
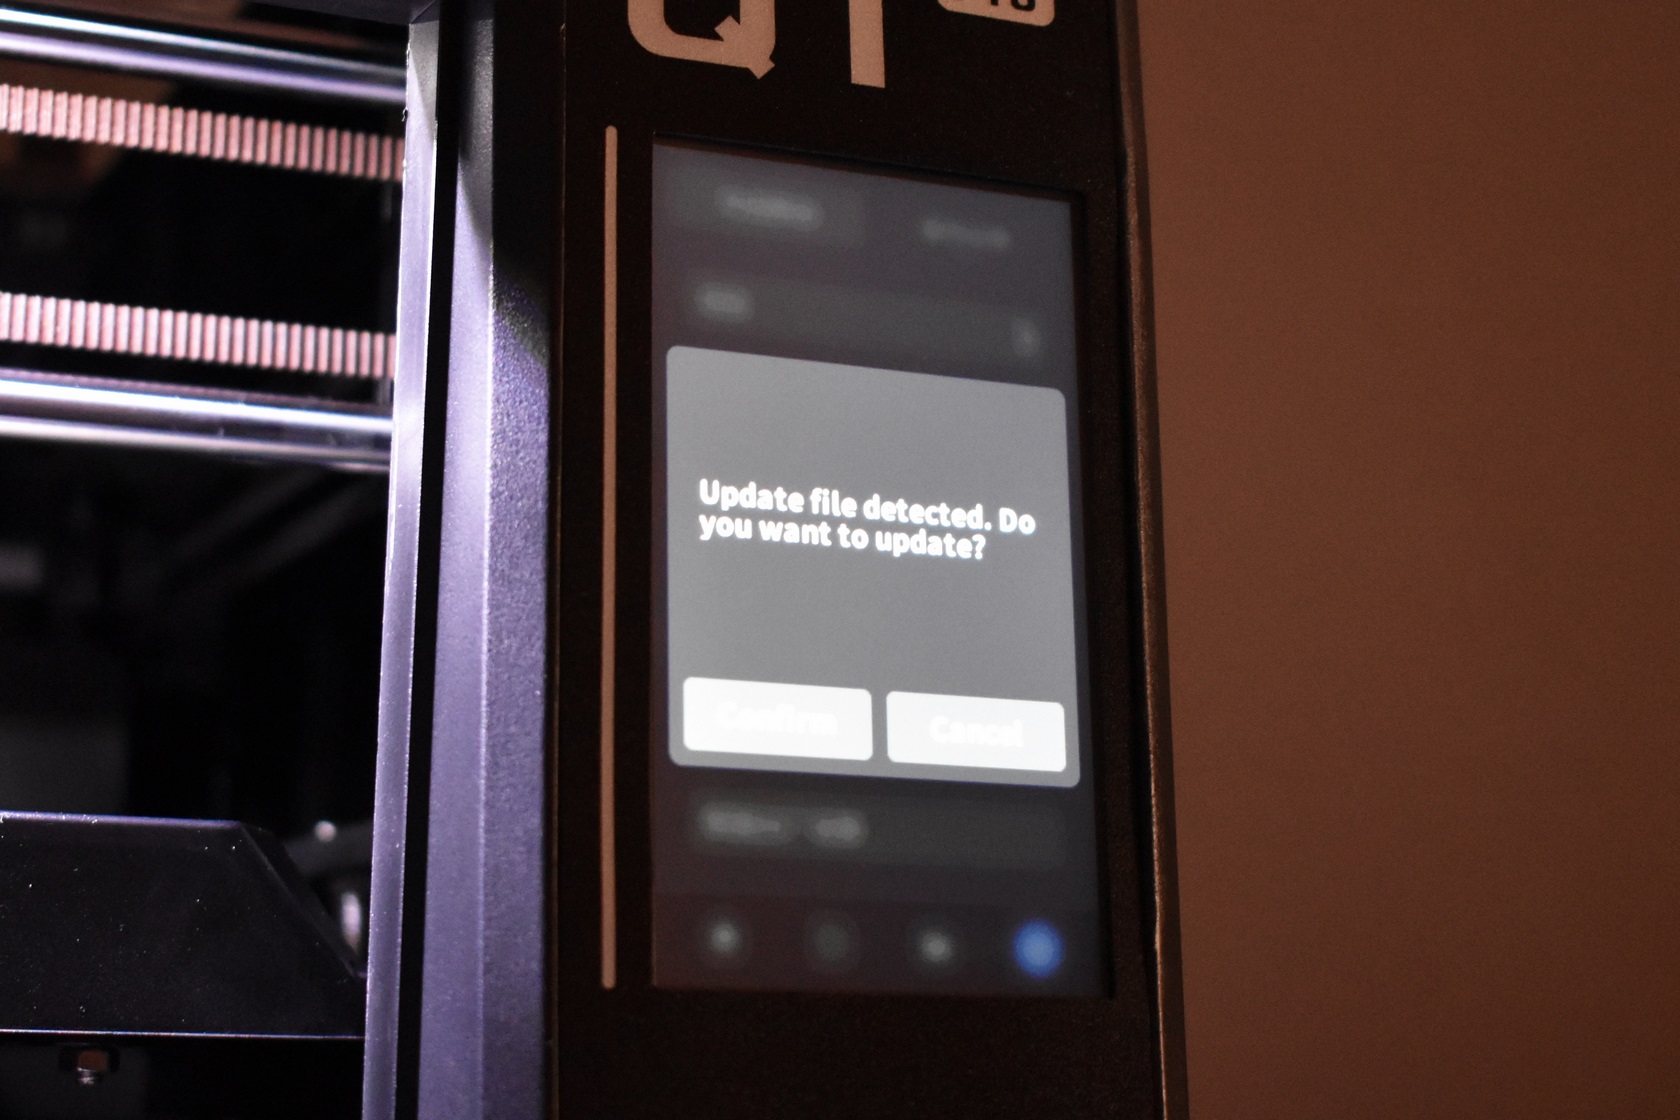
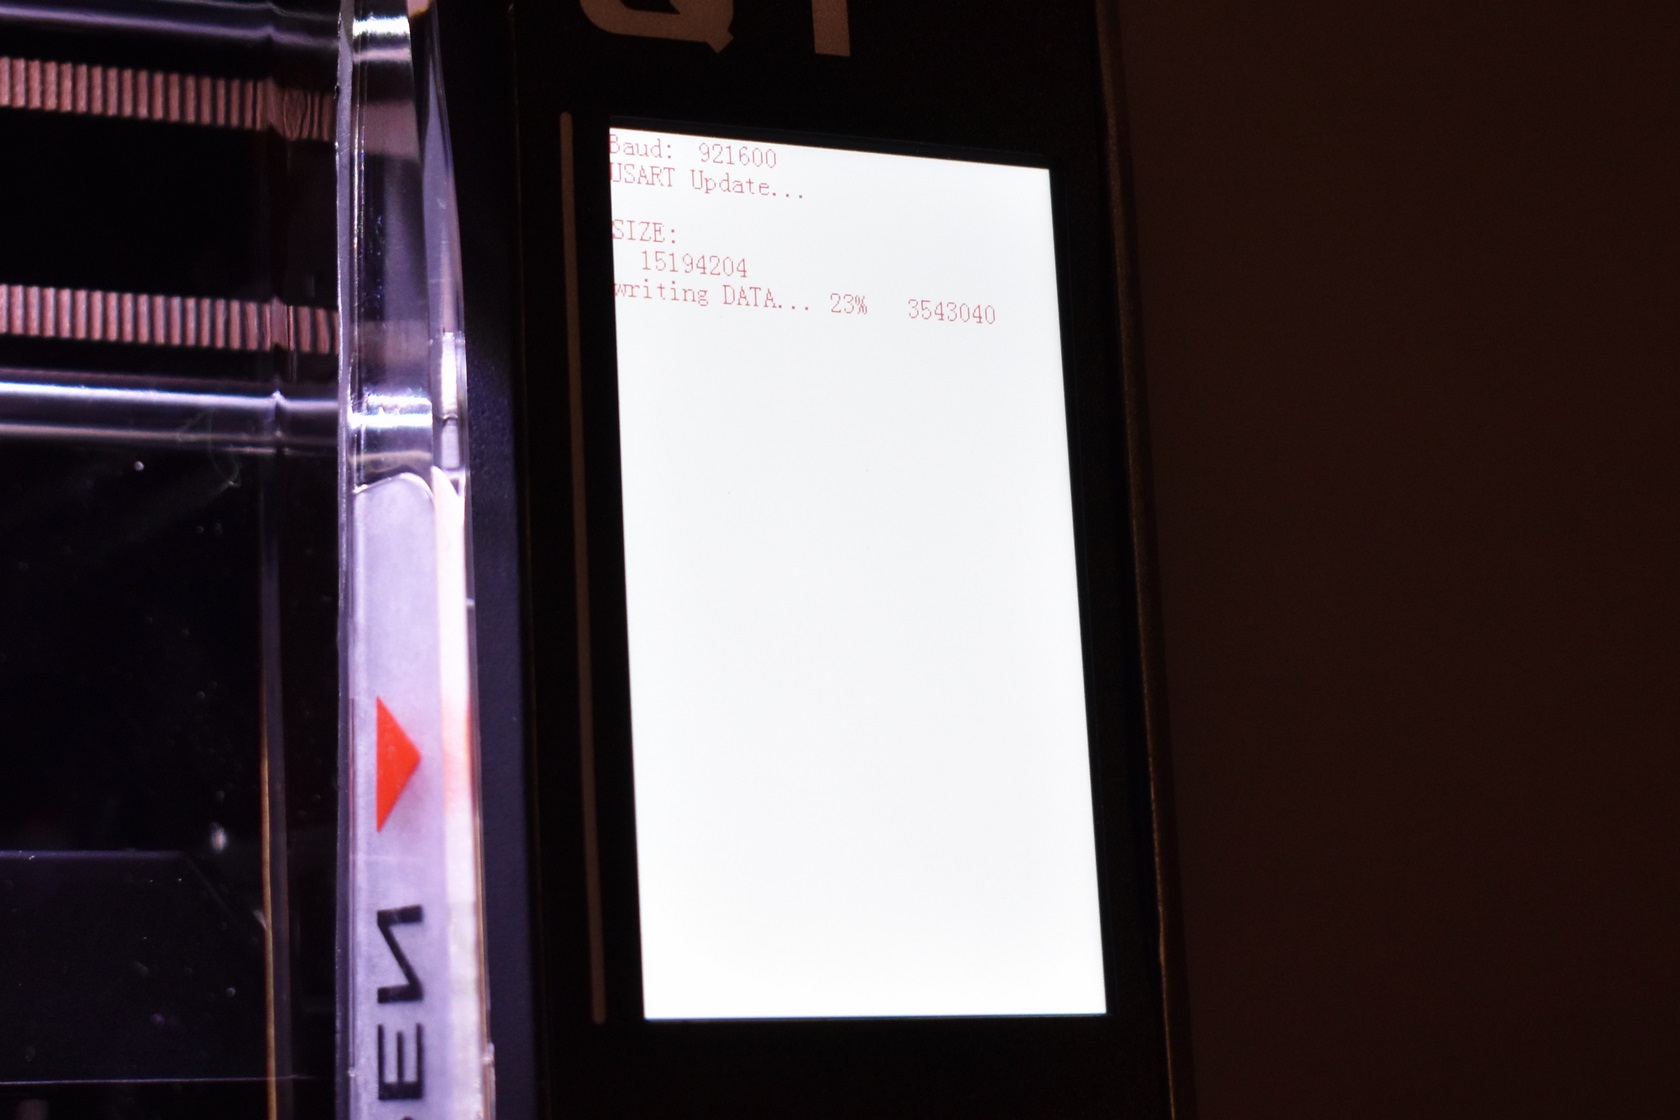
Updating the firmware takes a while so don't turn off the printer until you see the above screen.


.png)

