


THE SIDEWINDER X2
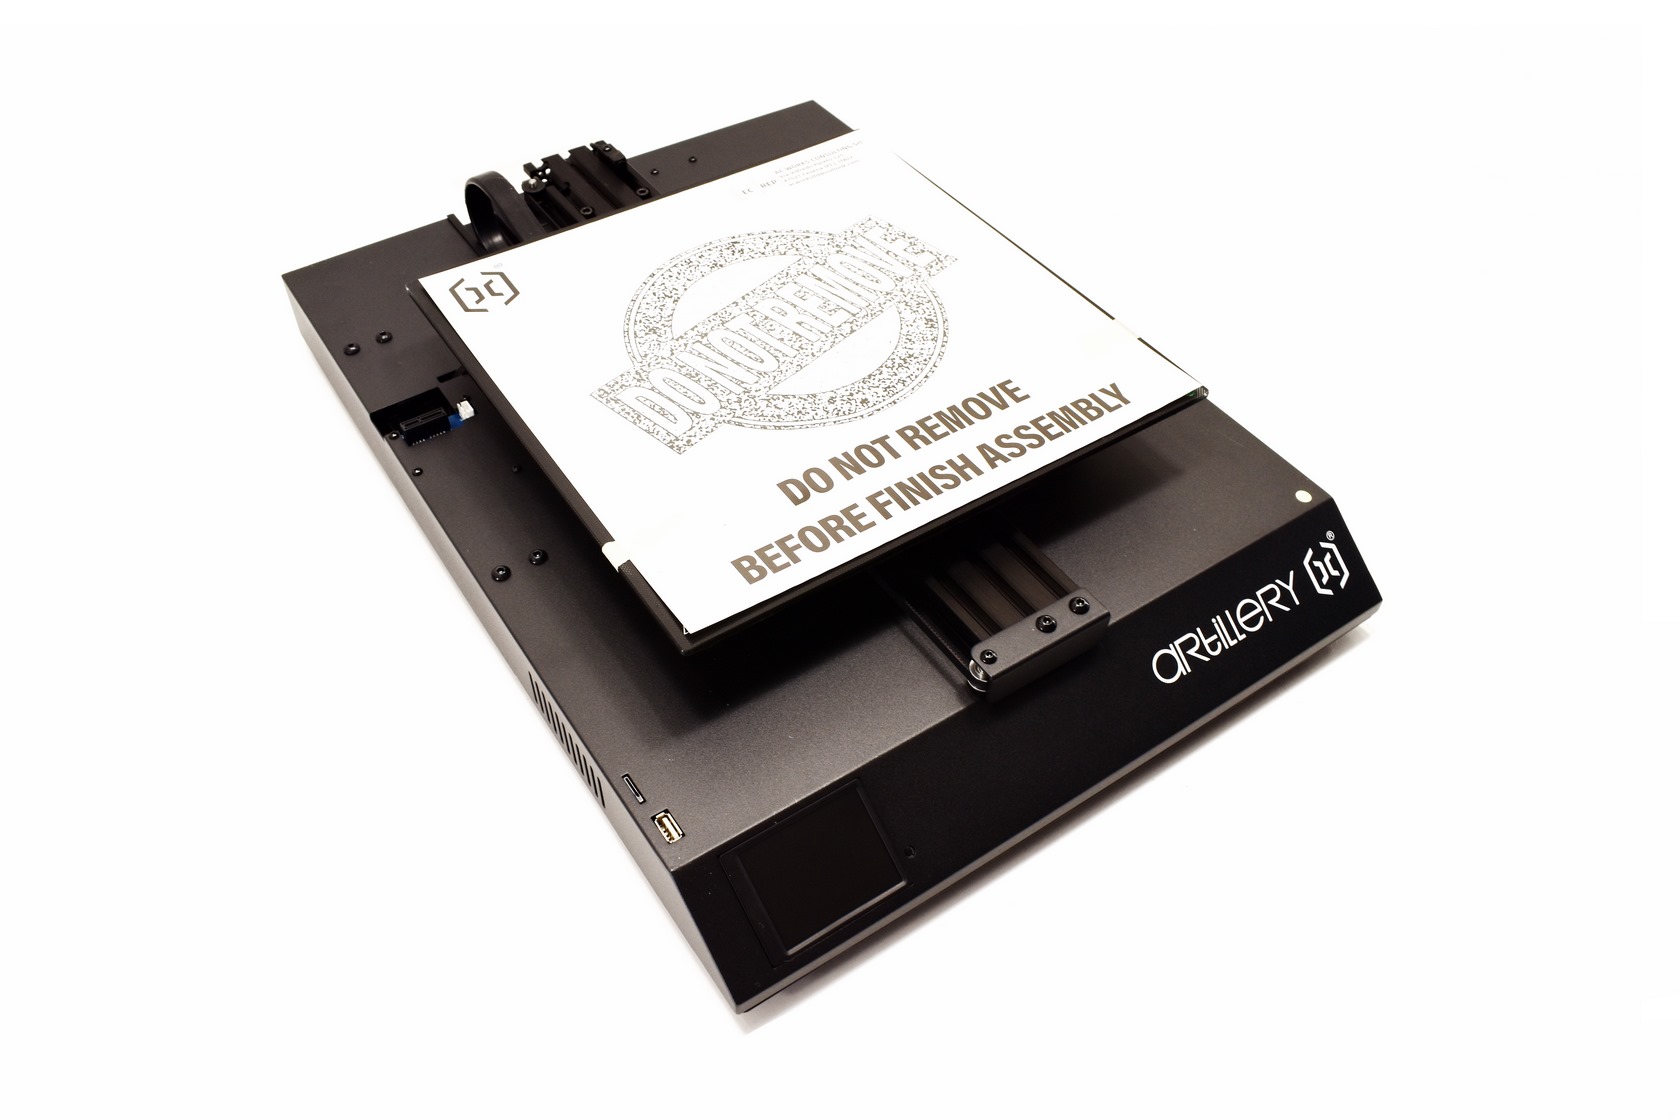
The base of the Sidewinder X2 measures 405mm in width, 550mm in depth and roughly 30mm in height.
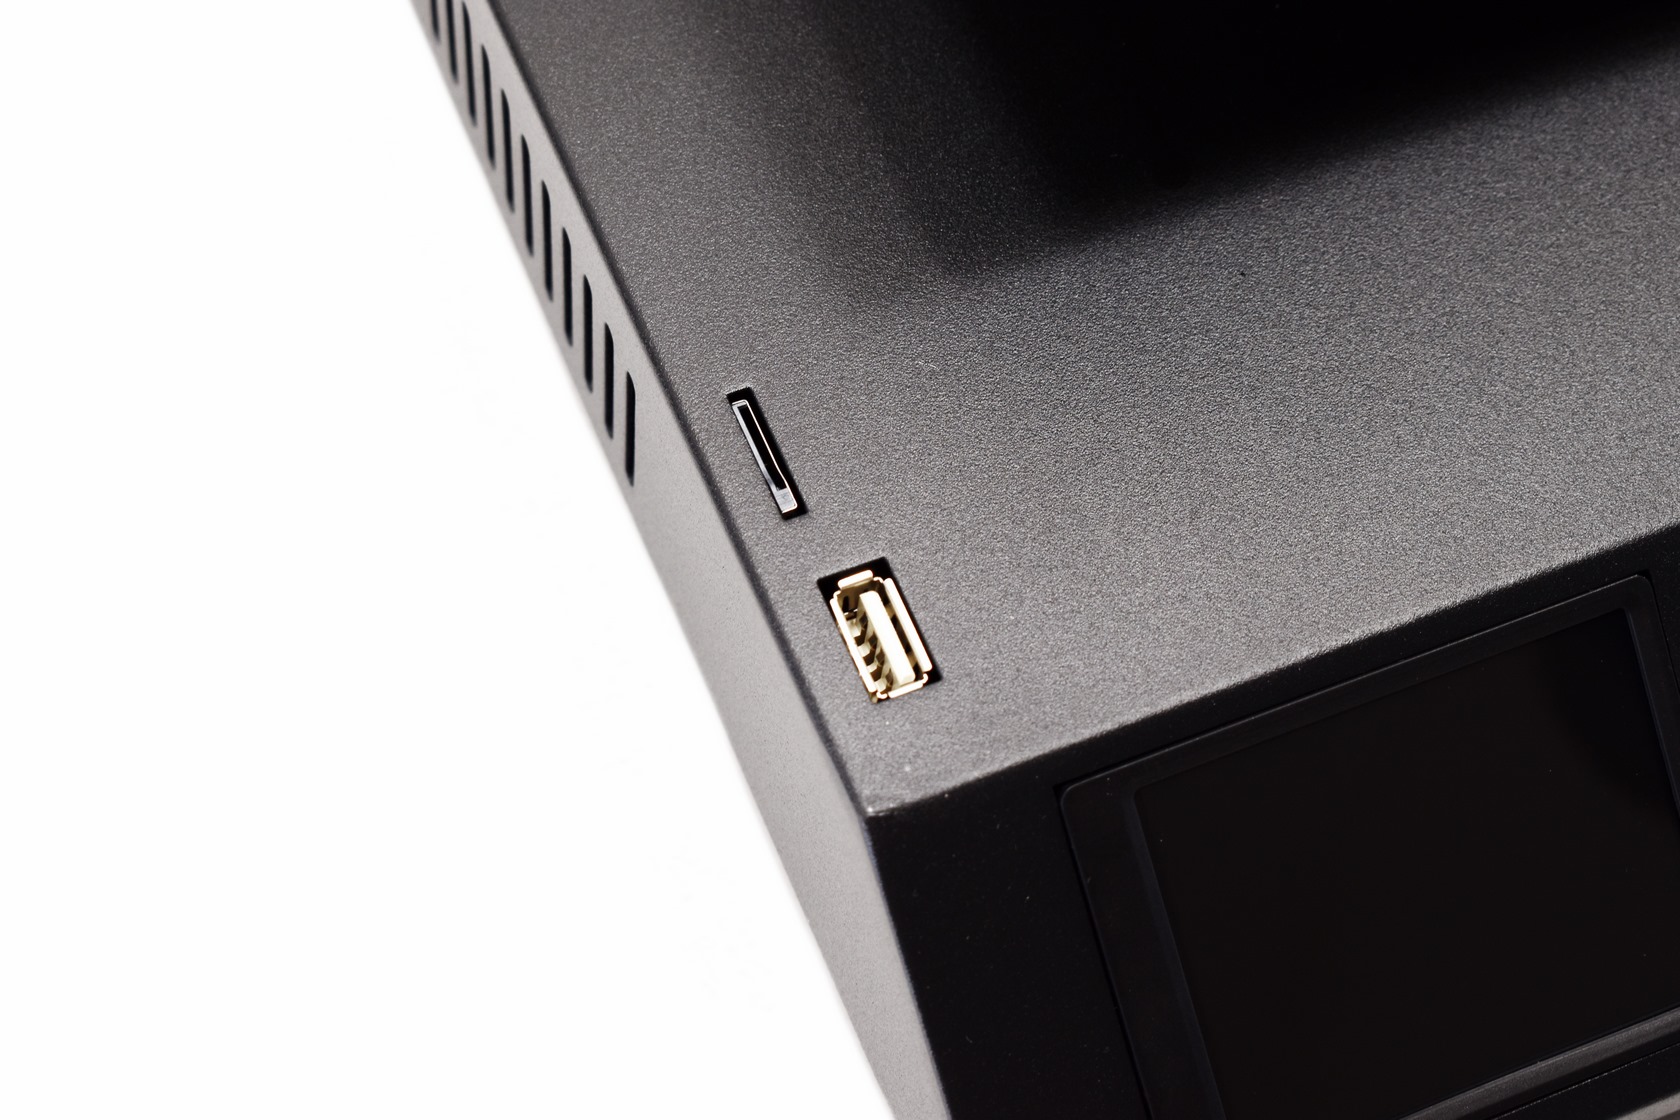
You can use the USB port and microSD card slot on the left side to load and print models.
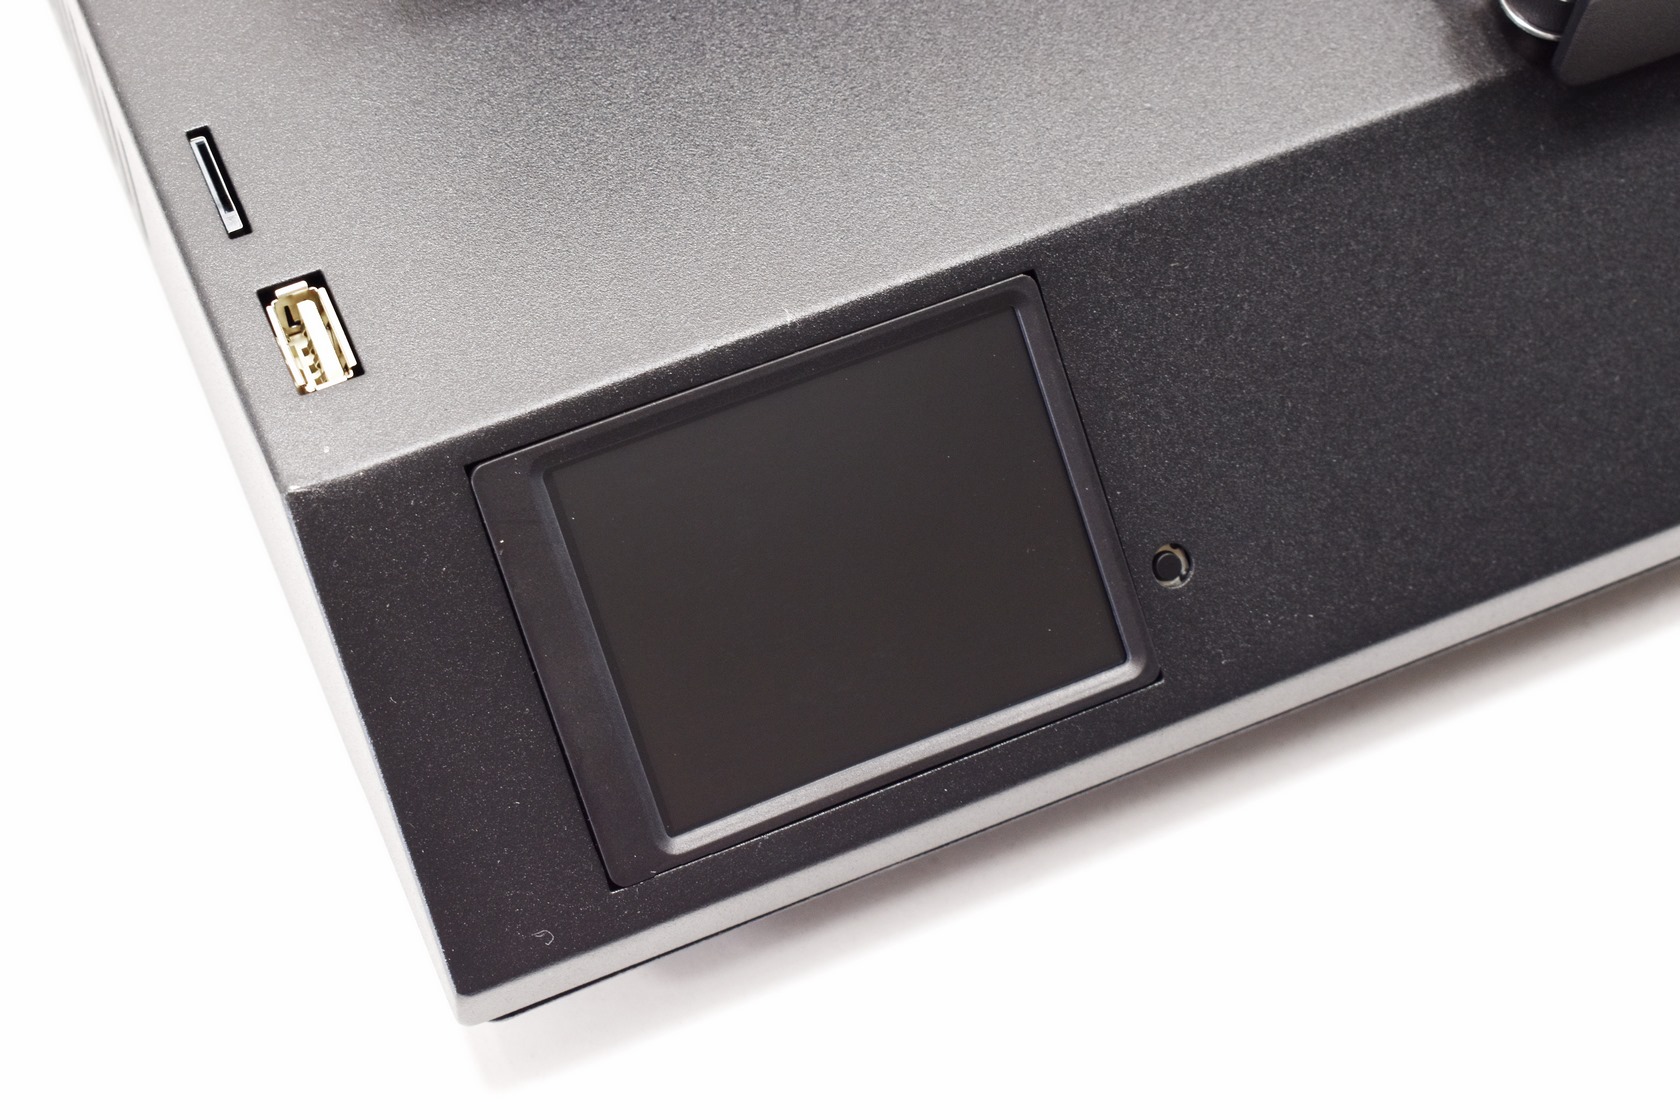
The 2.7inch color display is at the left front of the base right next to the reset button.
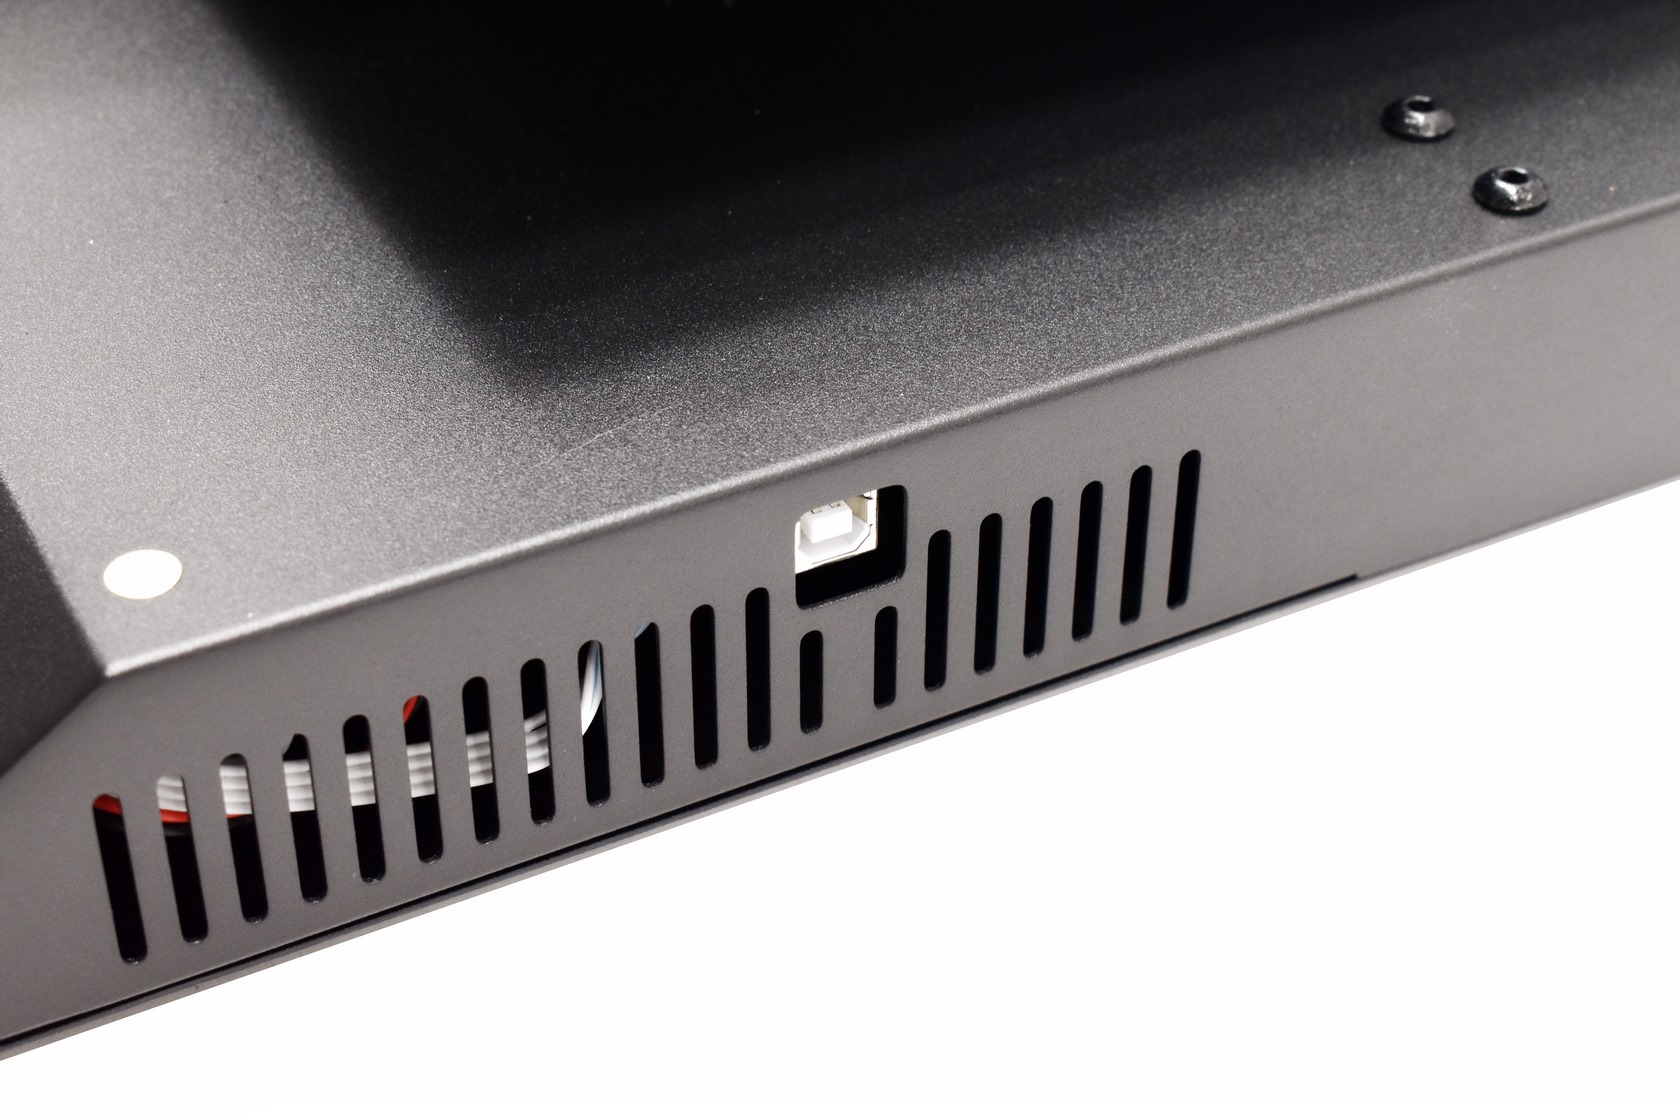
A USB host port is located on the right side via which you can 3D print models directly from your computer (for my tests however i used the bundled USB drive to print models).
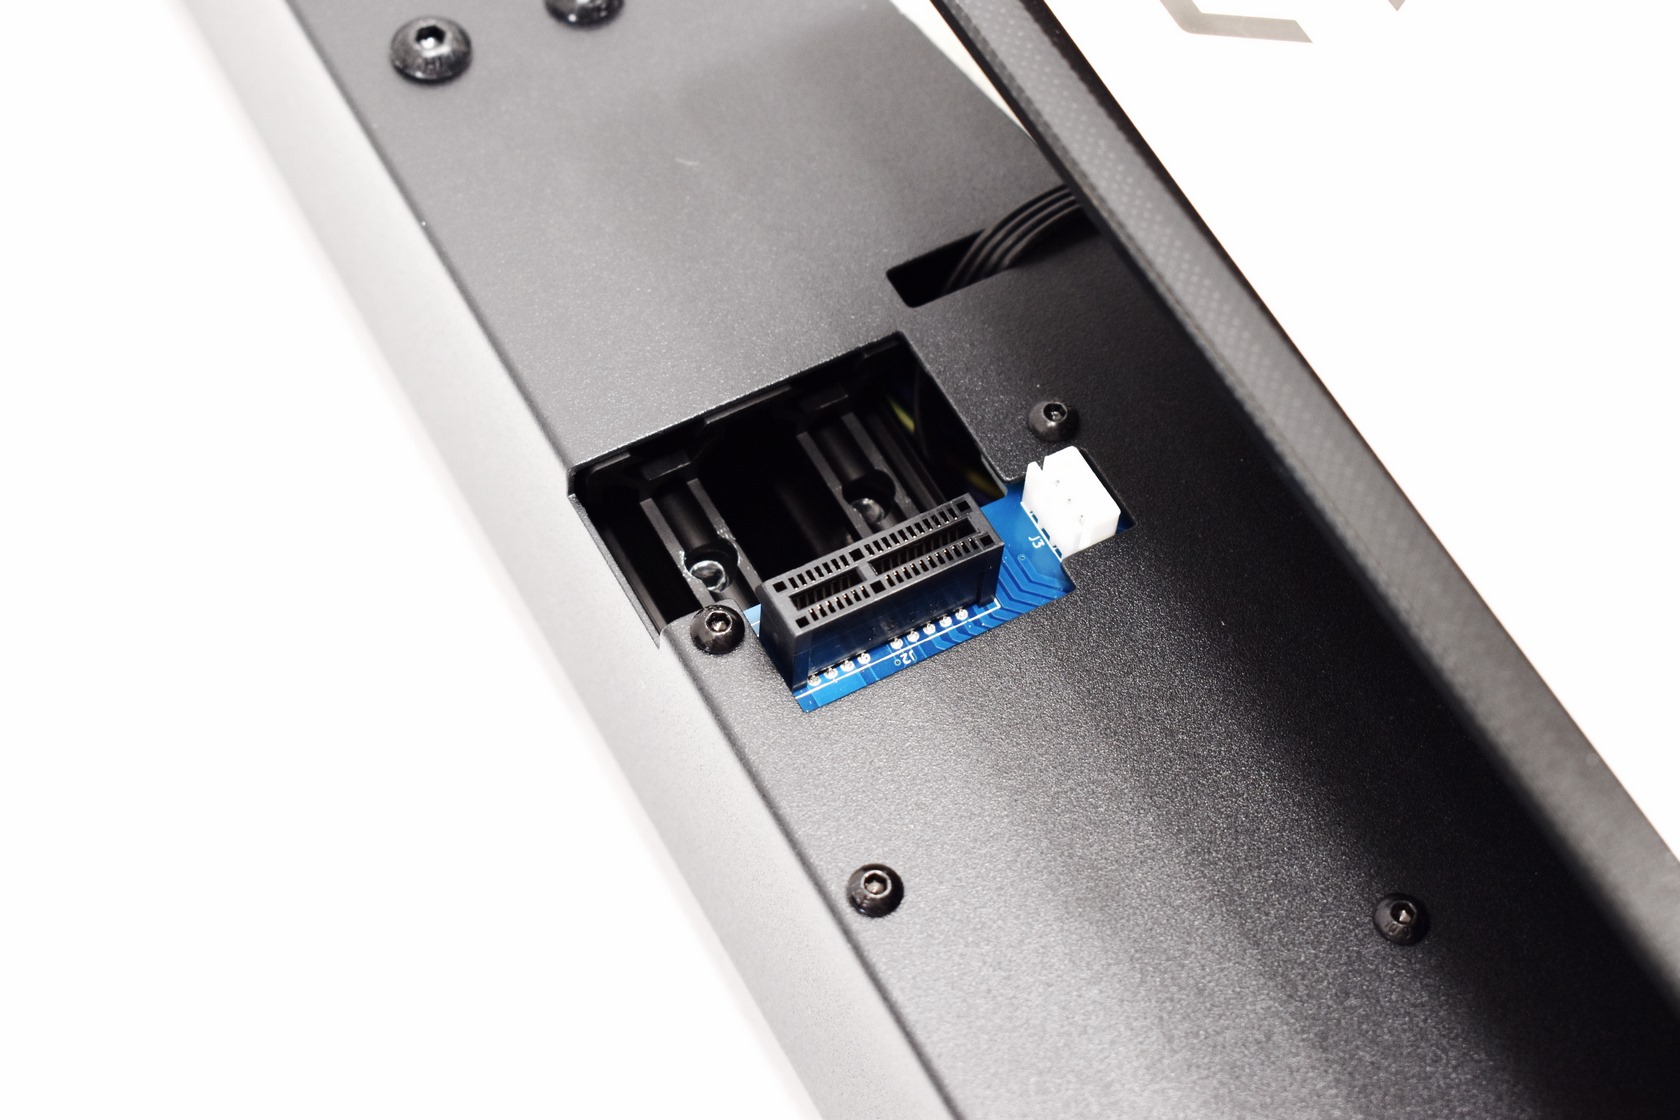
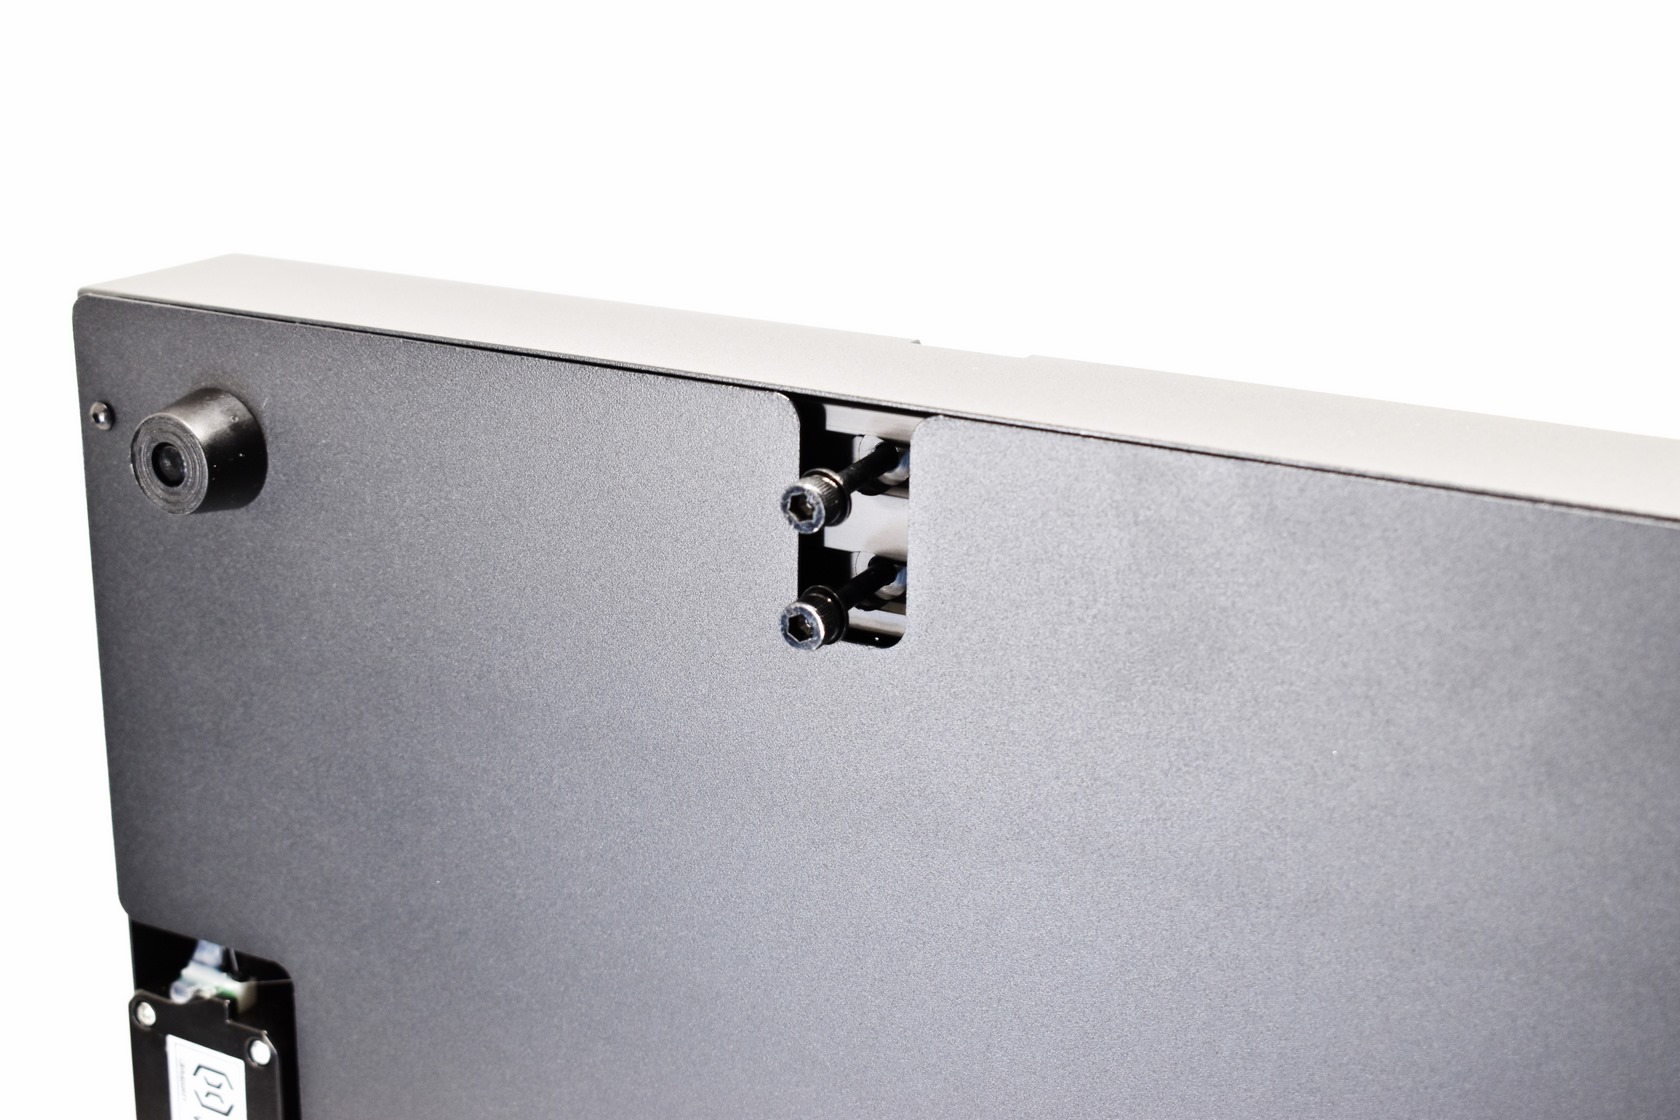
The mainboard connects to the top part of the Sidewinder X2 via a PCIe slot on the left top of the base.
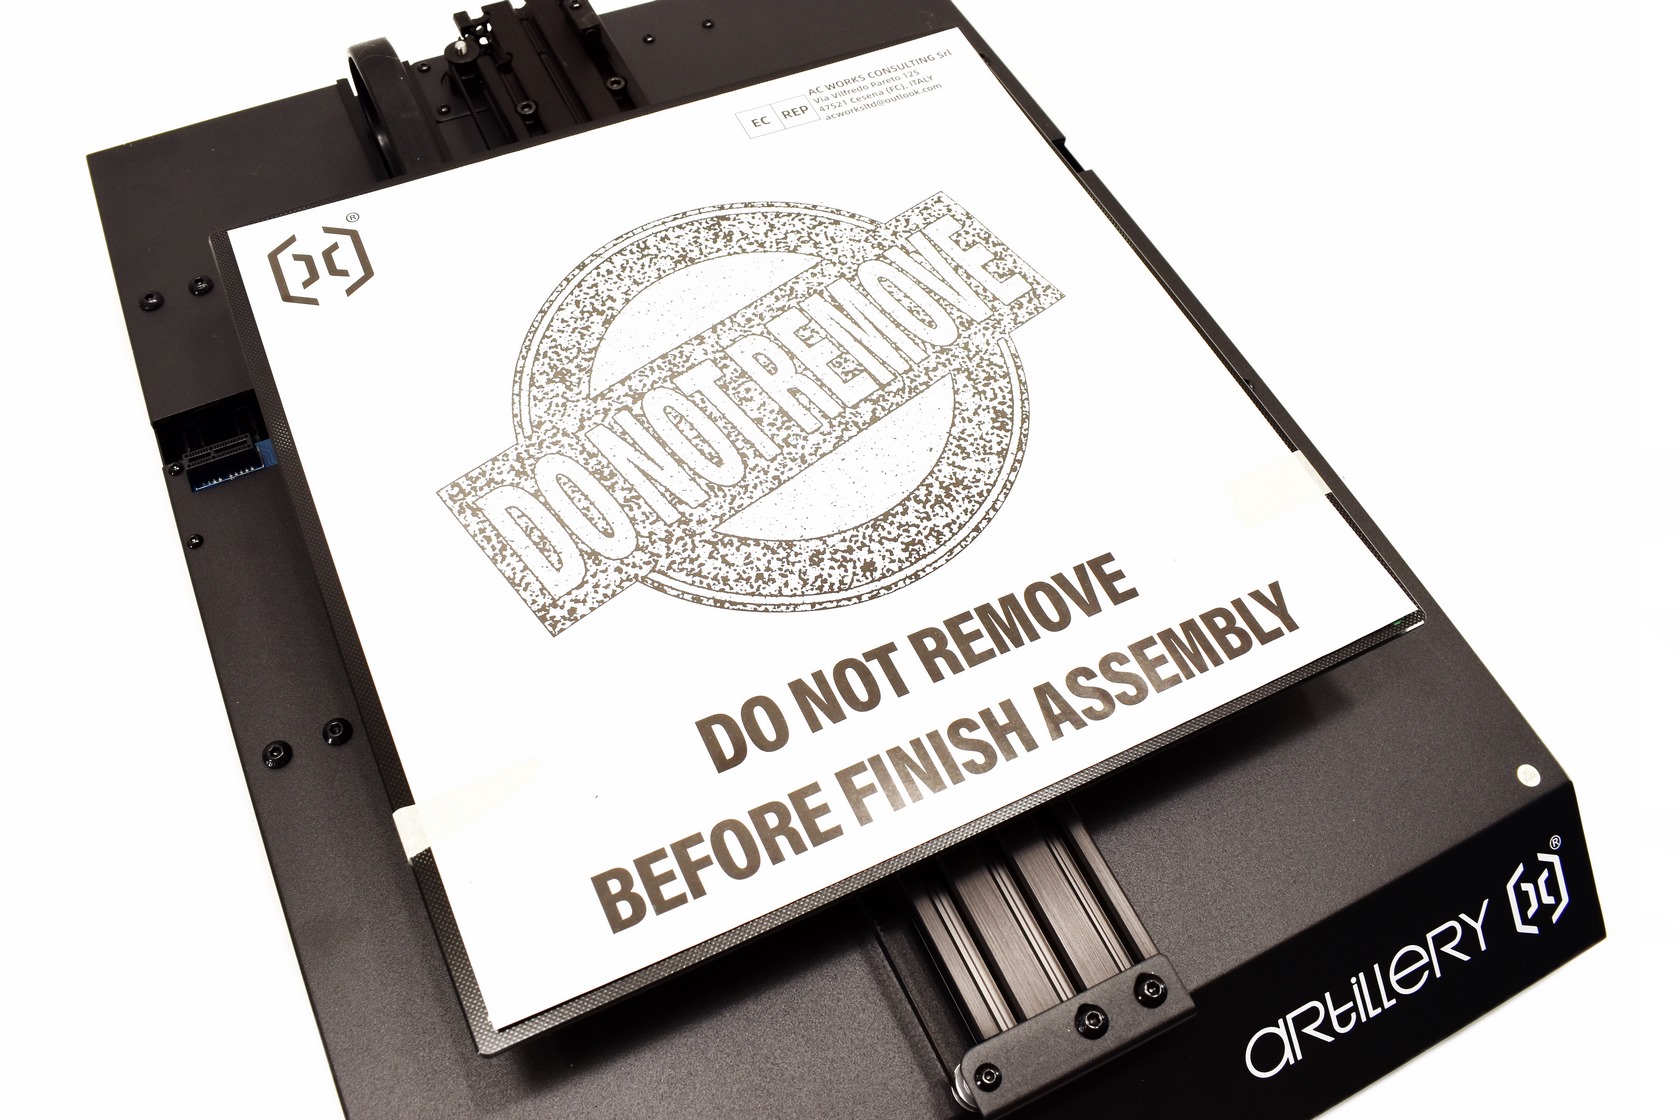
Artillery 3D offers one of the largest print beds (and a AC heated tempered glass one at that) found in a home 3D printer model (300x300x400mm) and that's clearly one of its strongest selling points.
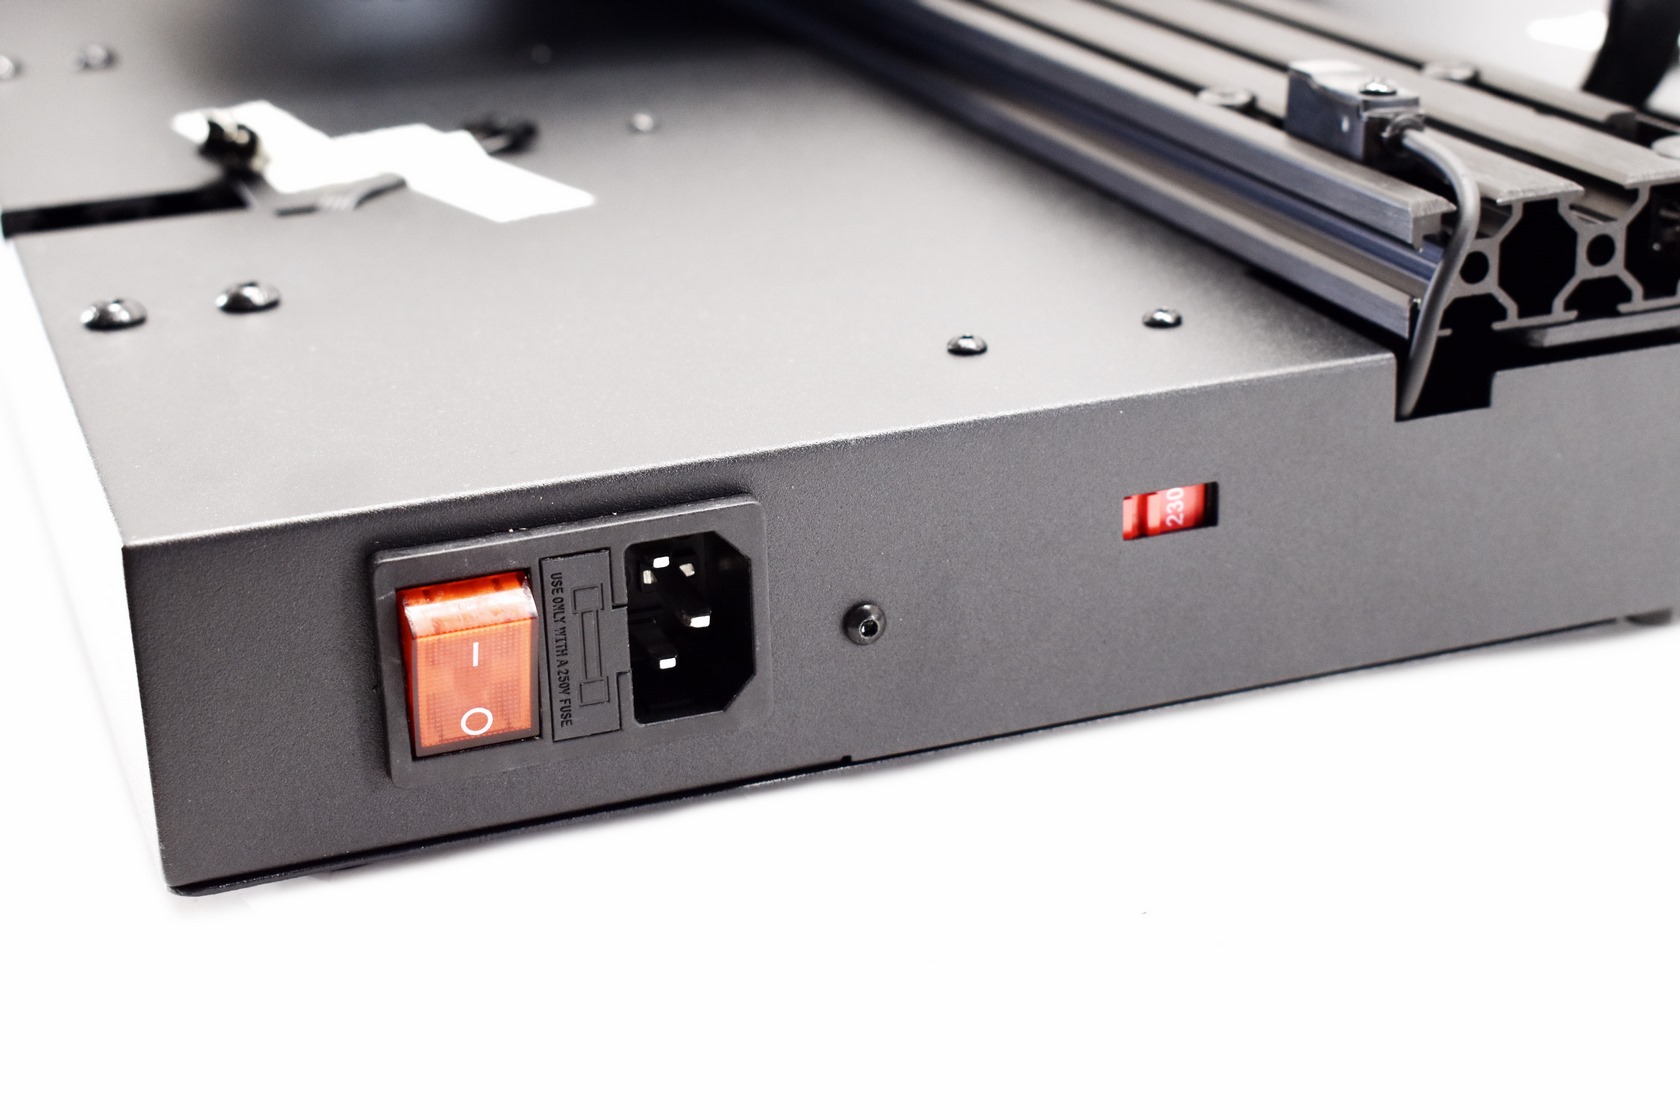
At the rear we find the power port, power switch and a fuse box.
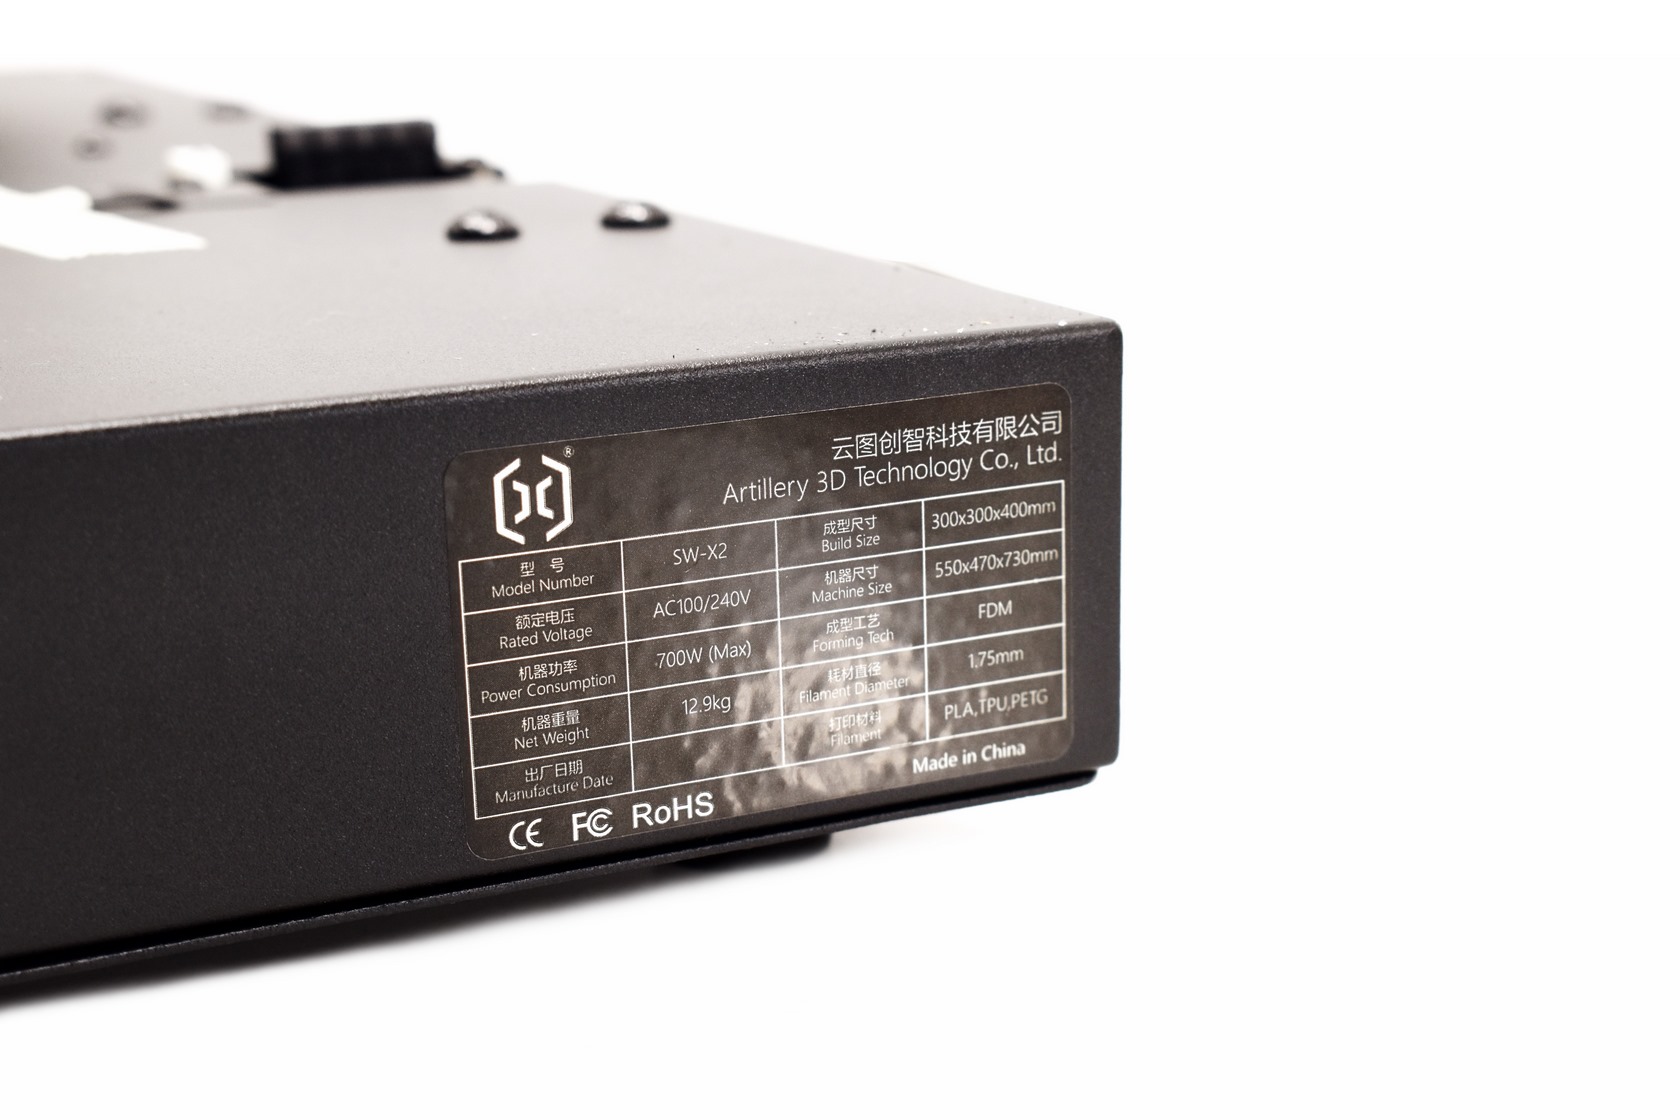
The main product specifications can also be found on a sticker located at the rear right of the base.
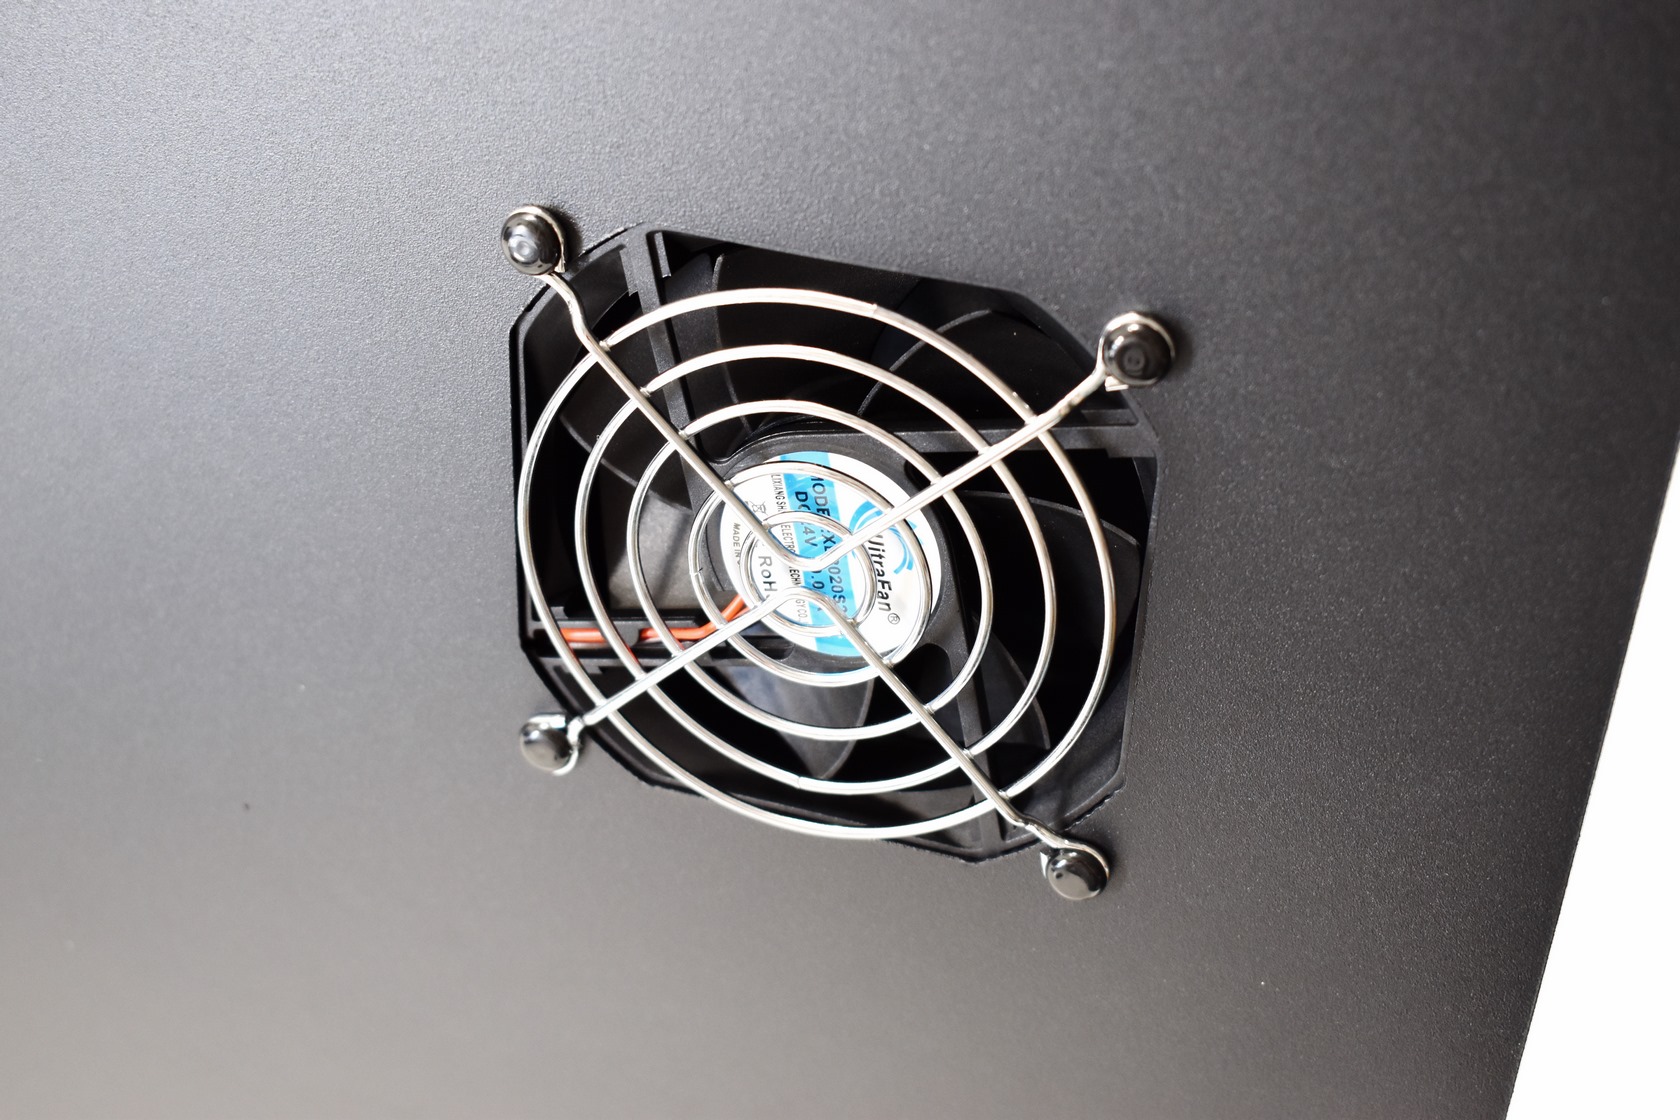
Turning the base over we find 4 round feet, 4 screws (for the top end) and an 80mm cooling fan.
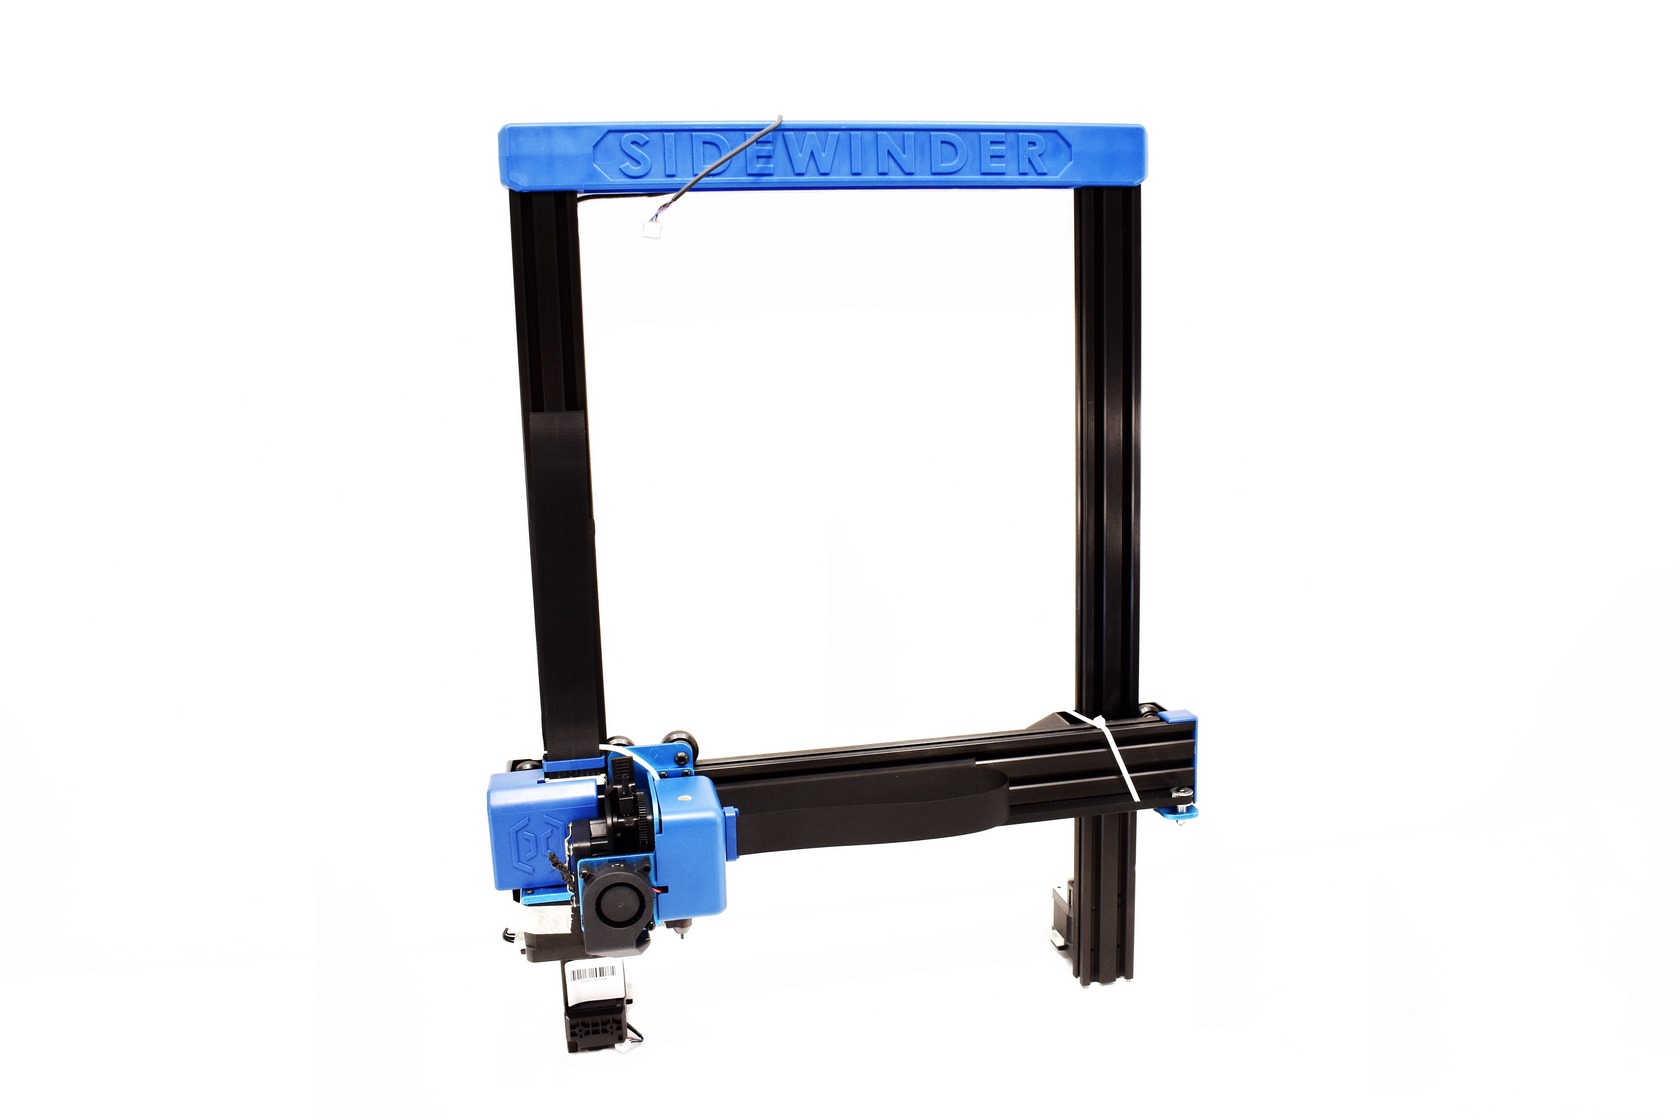
The top end of the Sidewinder X2 measures roughly 610mm in height and 400mm in width.
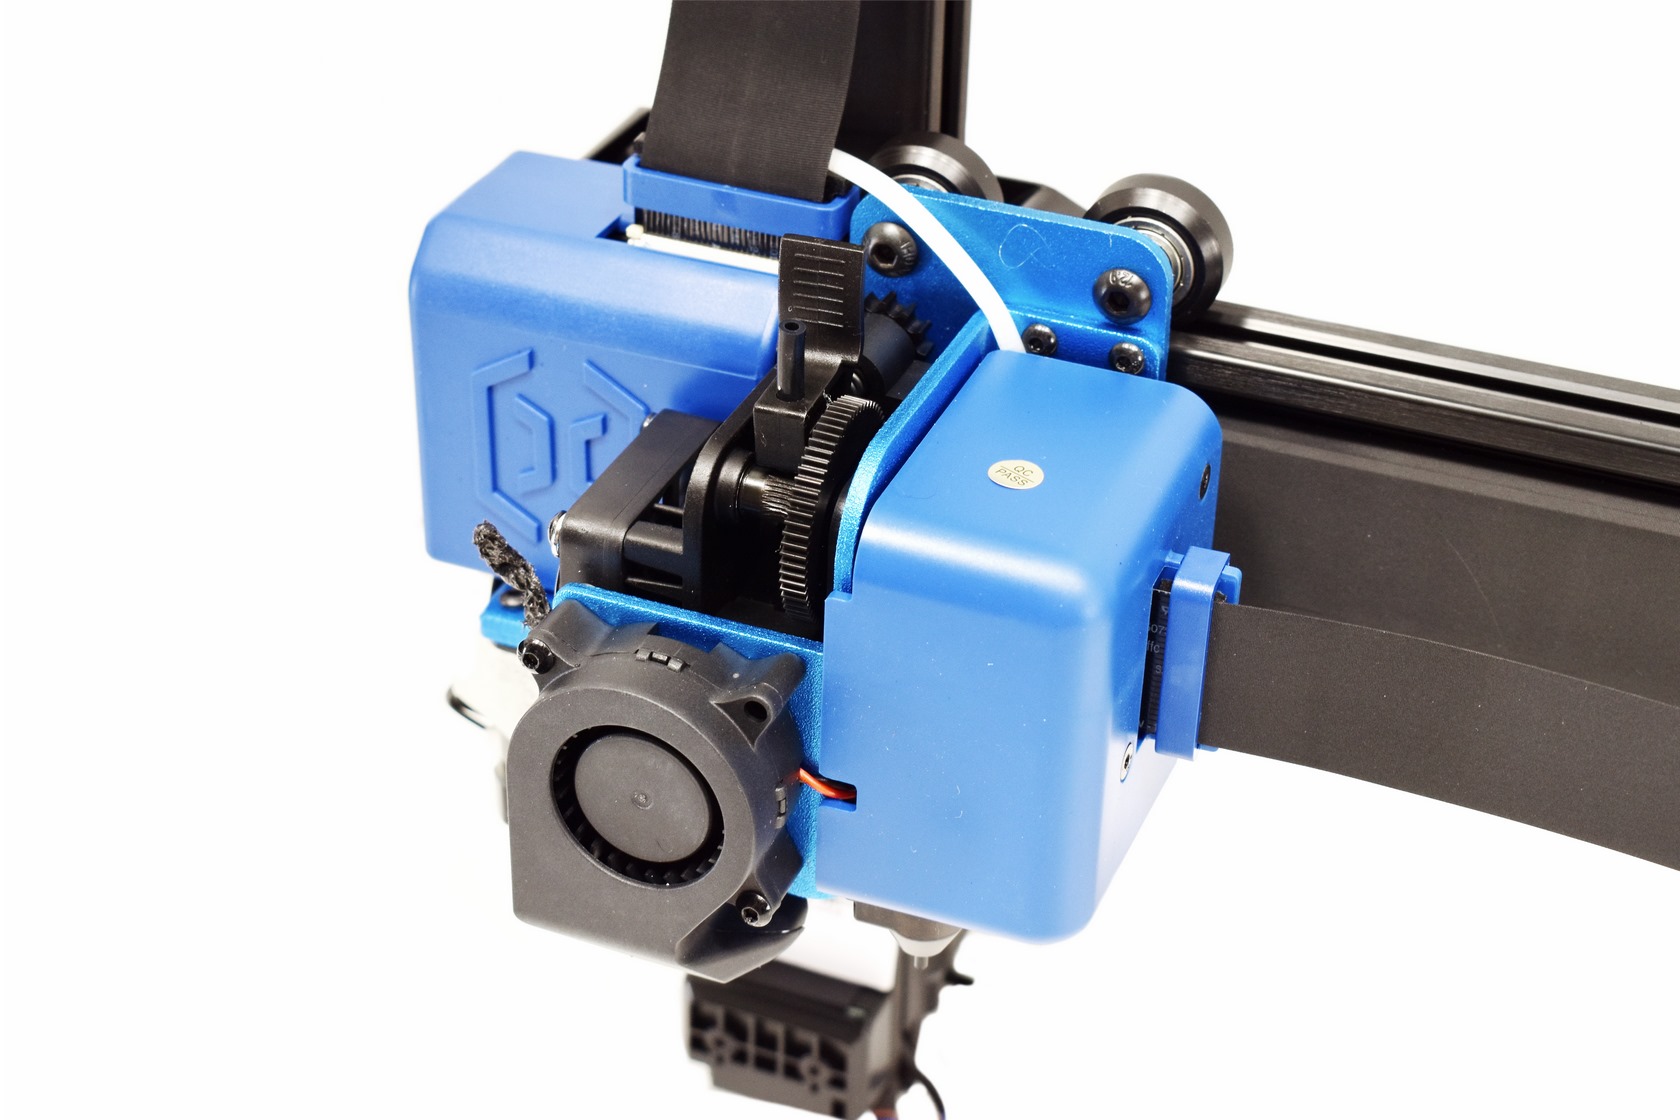
Artillery 3D has used thick pieces of aluminum for the frame along with their Titan direct drive aluminum extruder with intelligent automatic bed leveling.
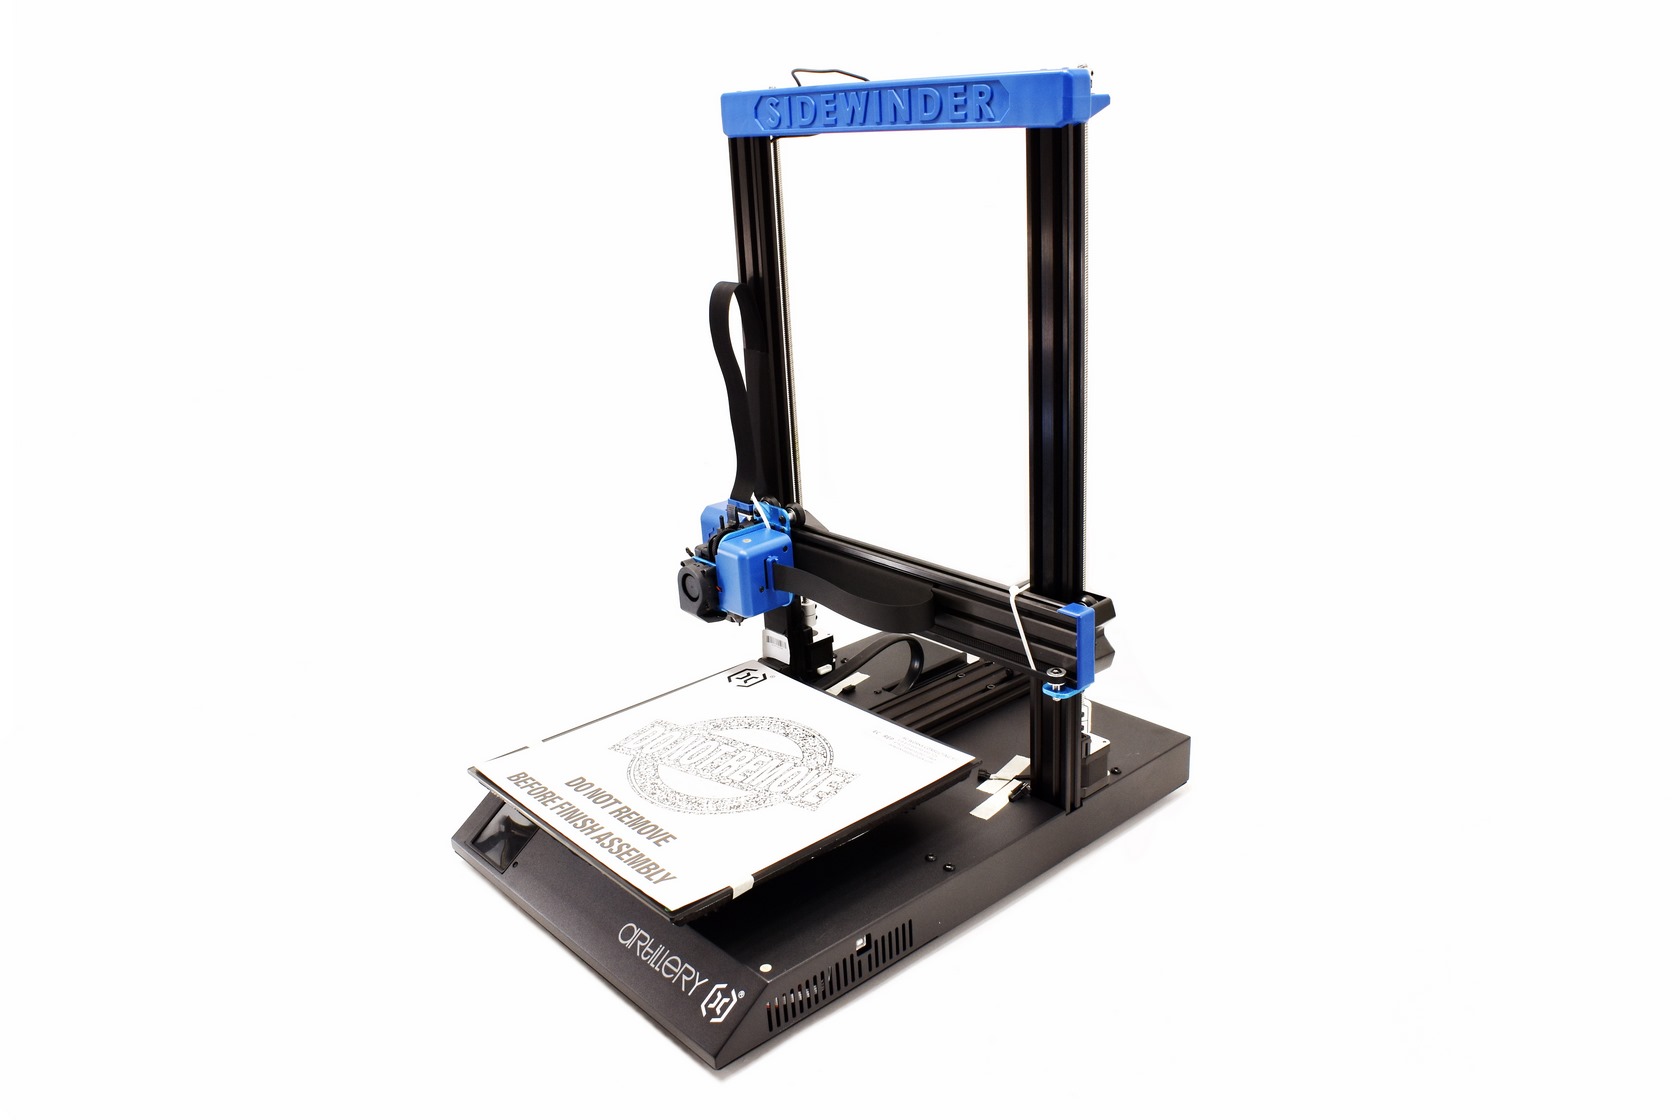
With both parts of the Sidewinder X2 attached the printer now measures 405mm in width, 550mm in depth and 640mm in height.
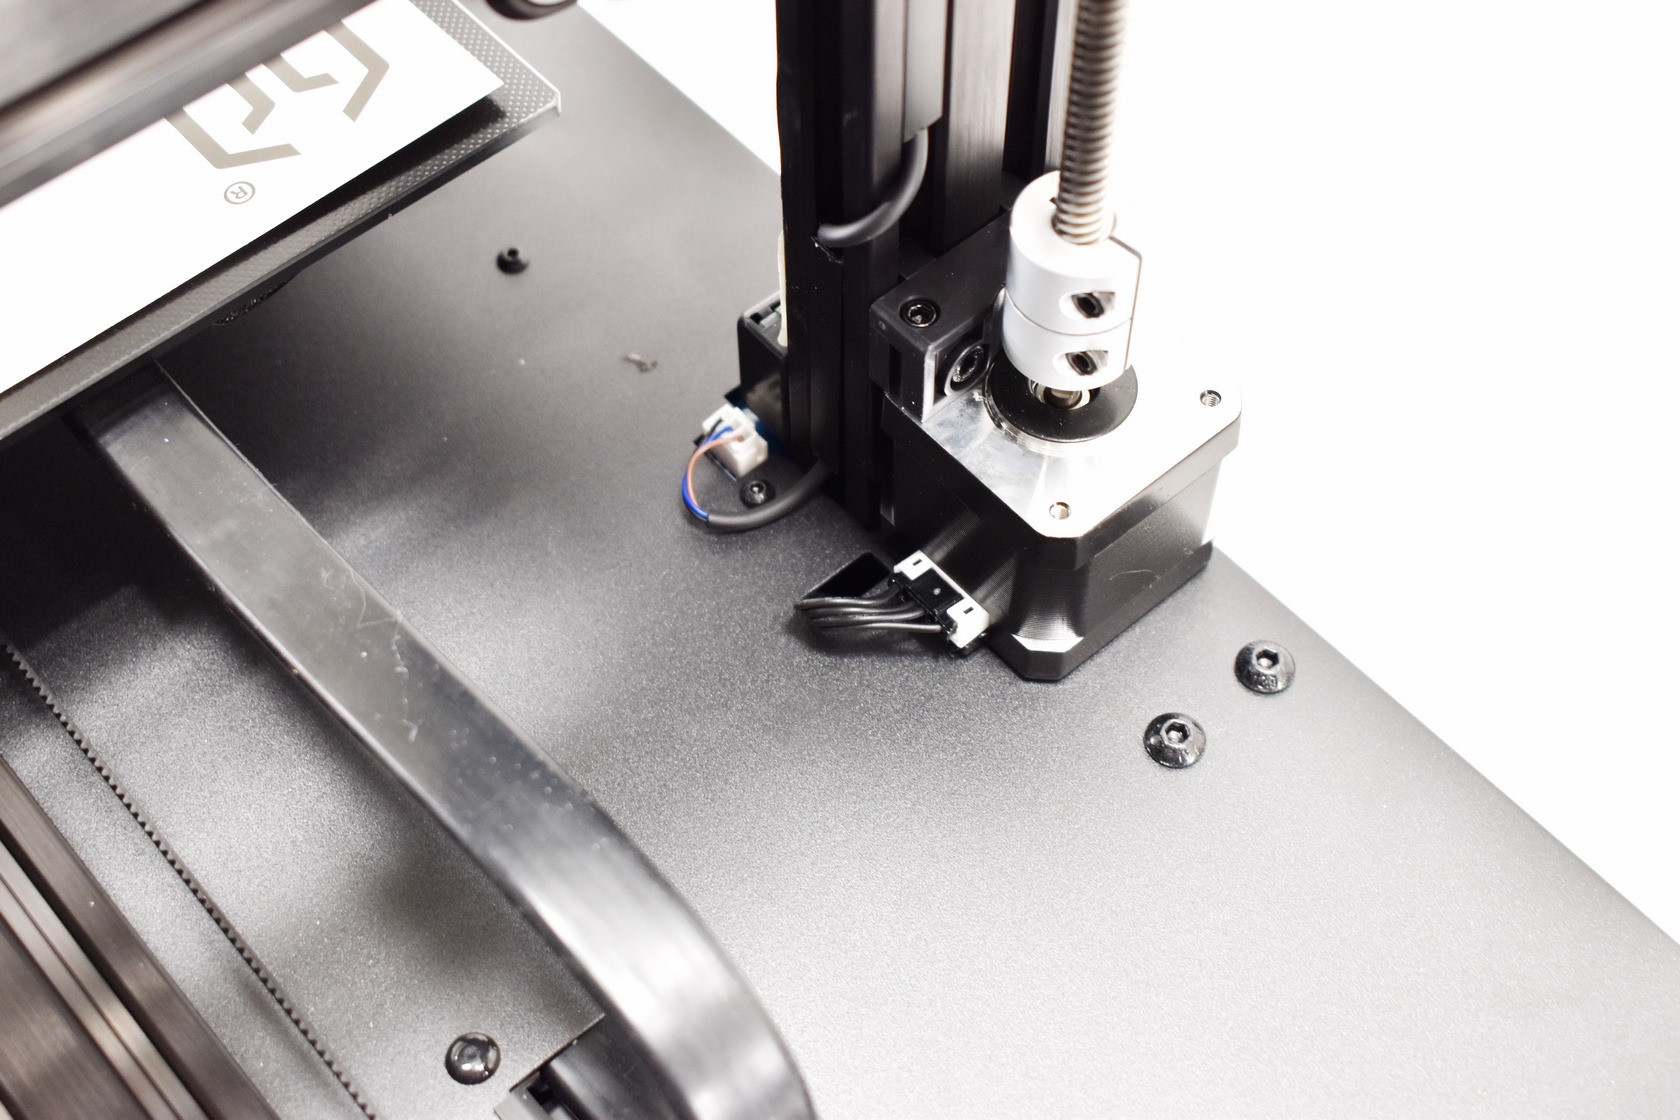
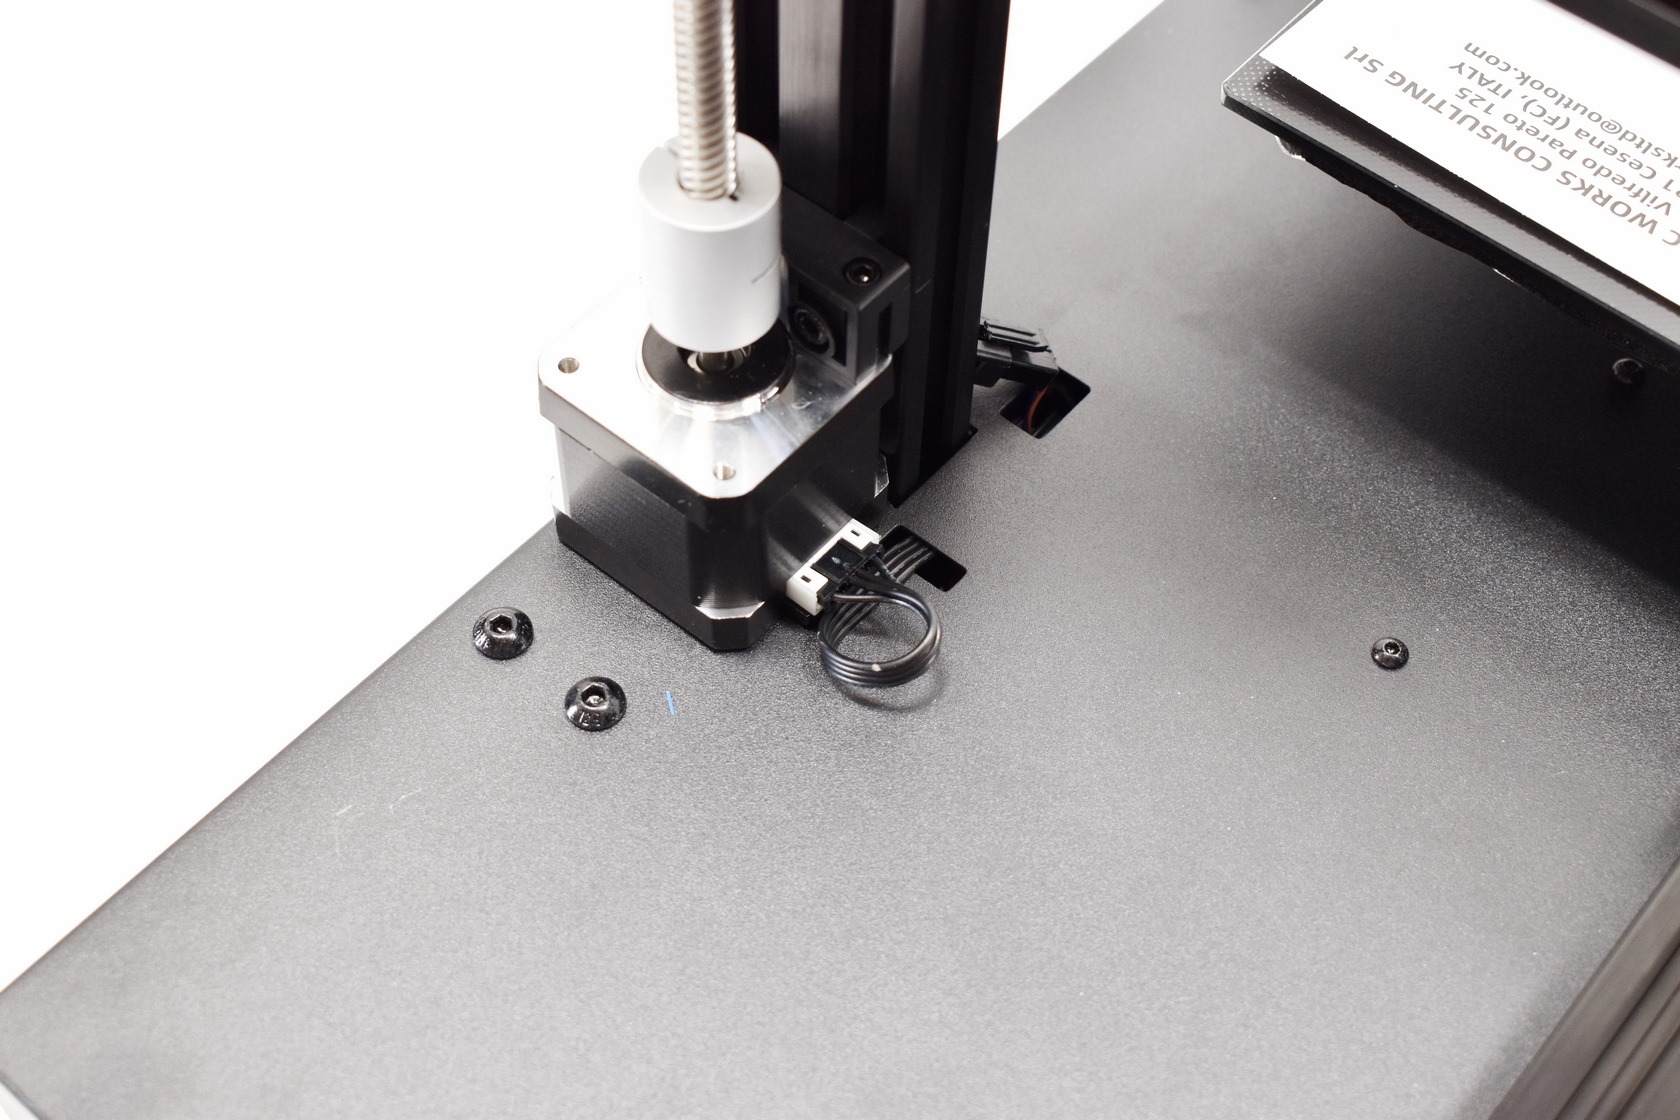
Once you attach both parts don't forget to connect the 3 cables seen above (there's 1 more cable coming from the mainboard which doesn't seem to attach to anything).
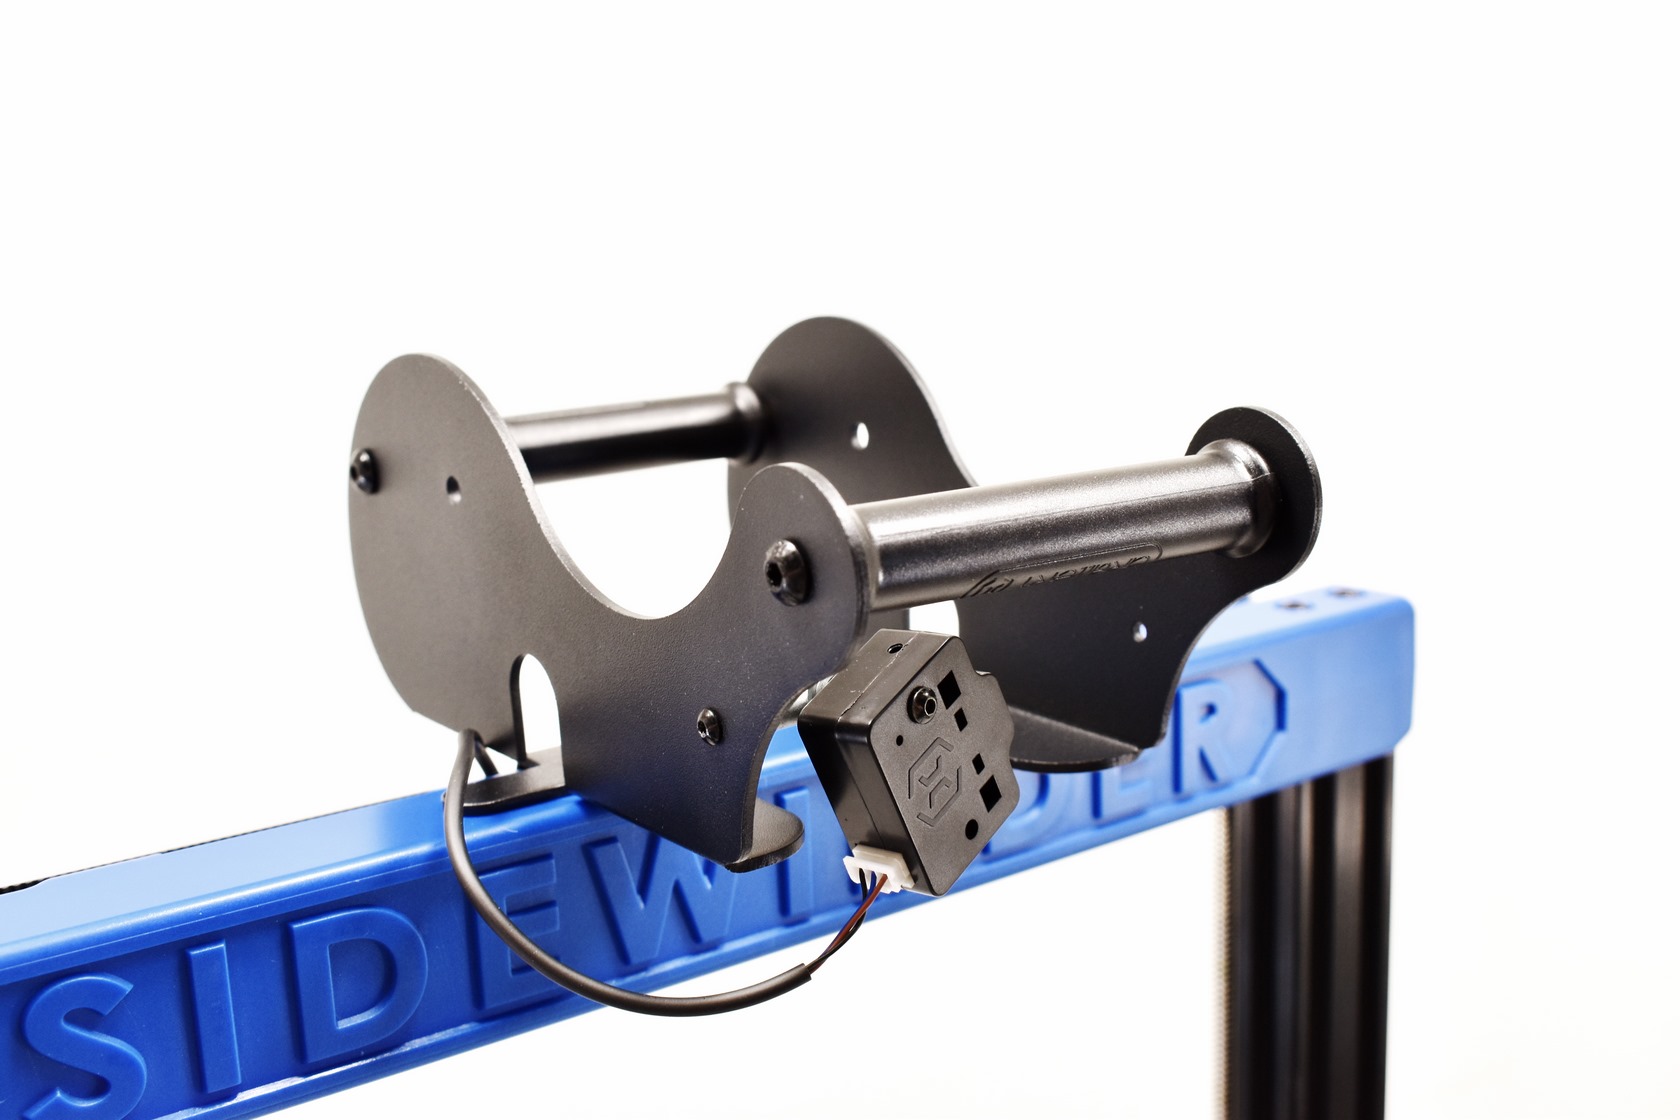
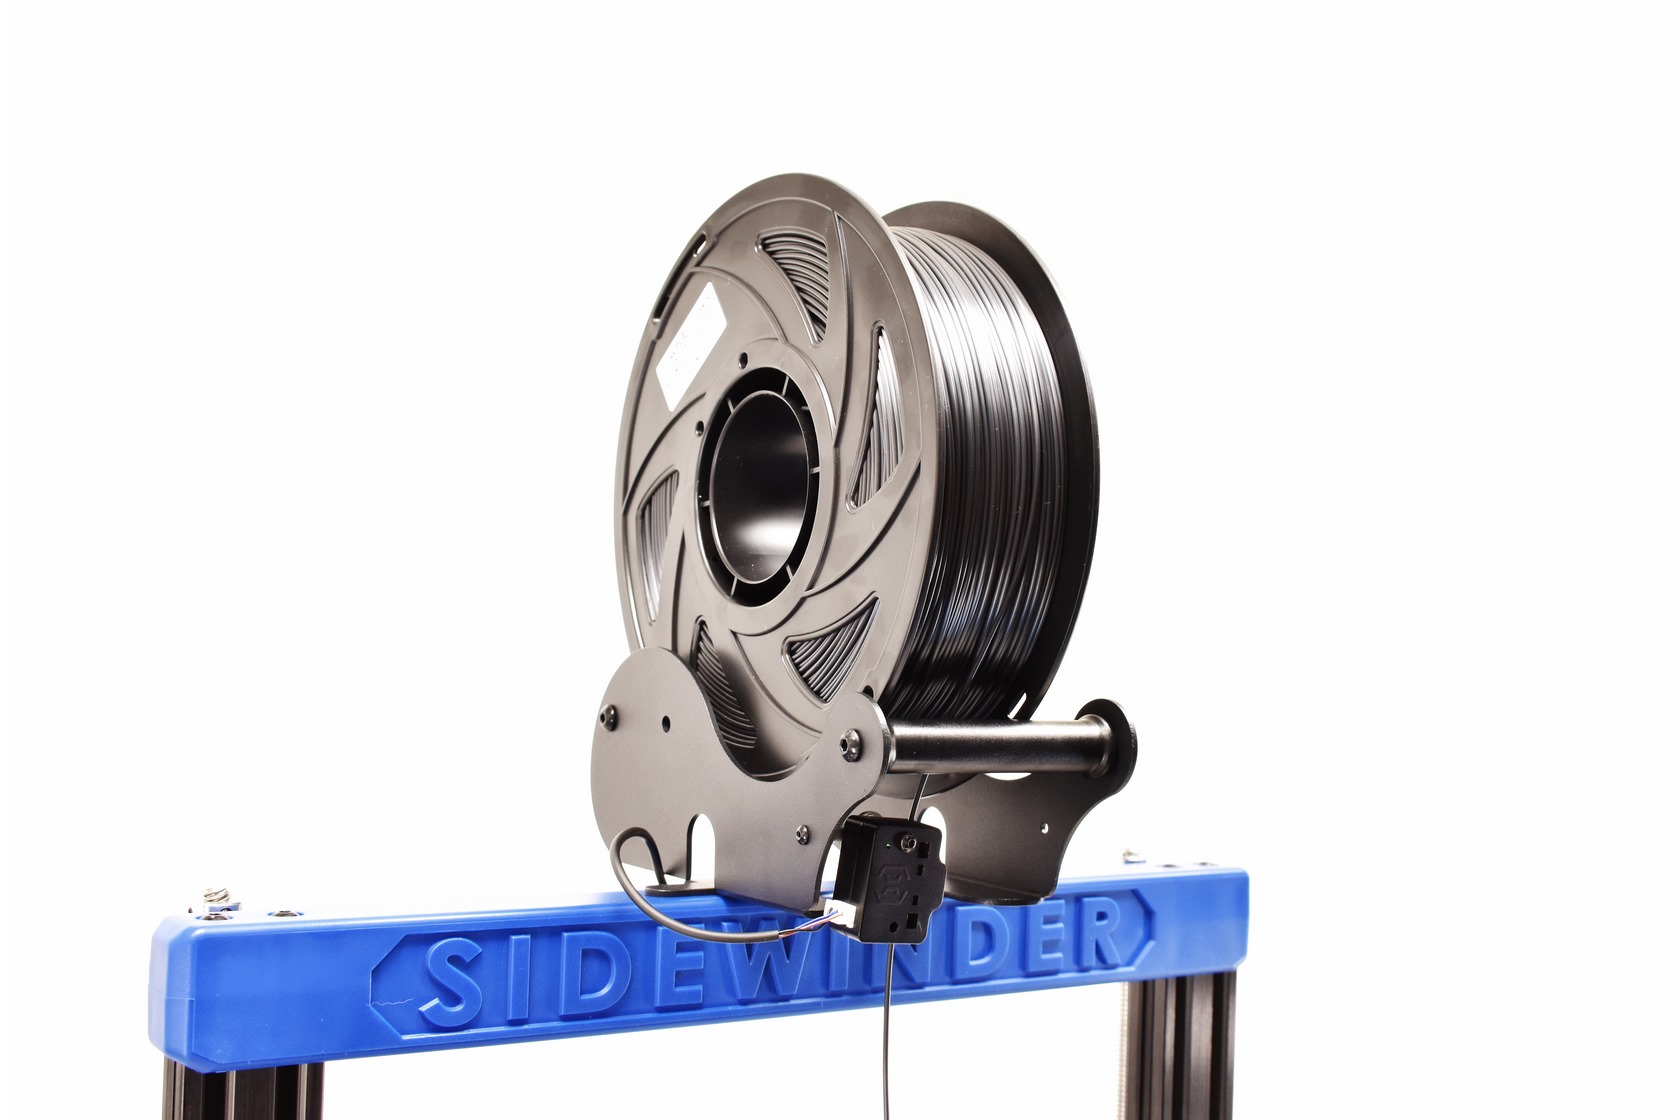
Last piece is the spool holder (new version) which is very easy to attach and use.
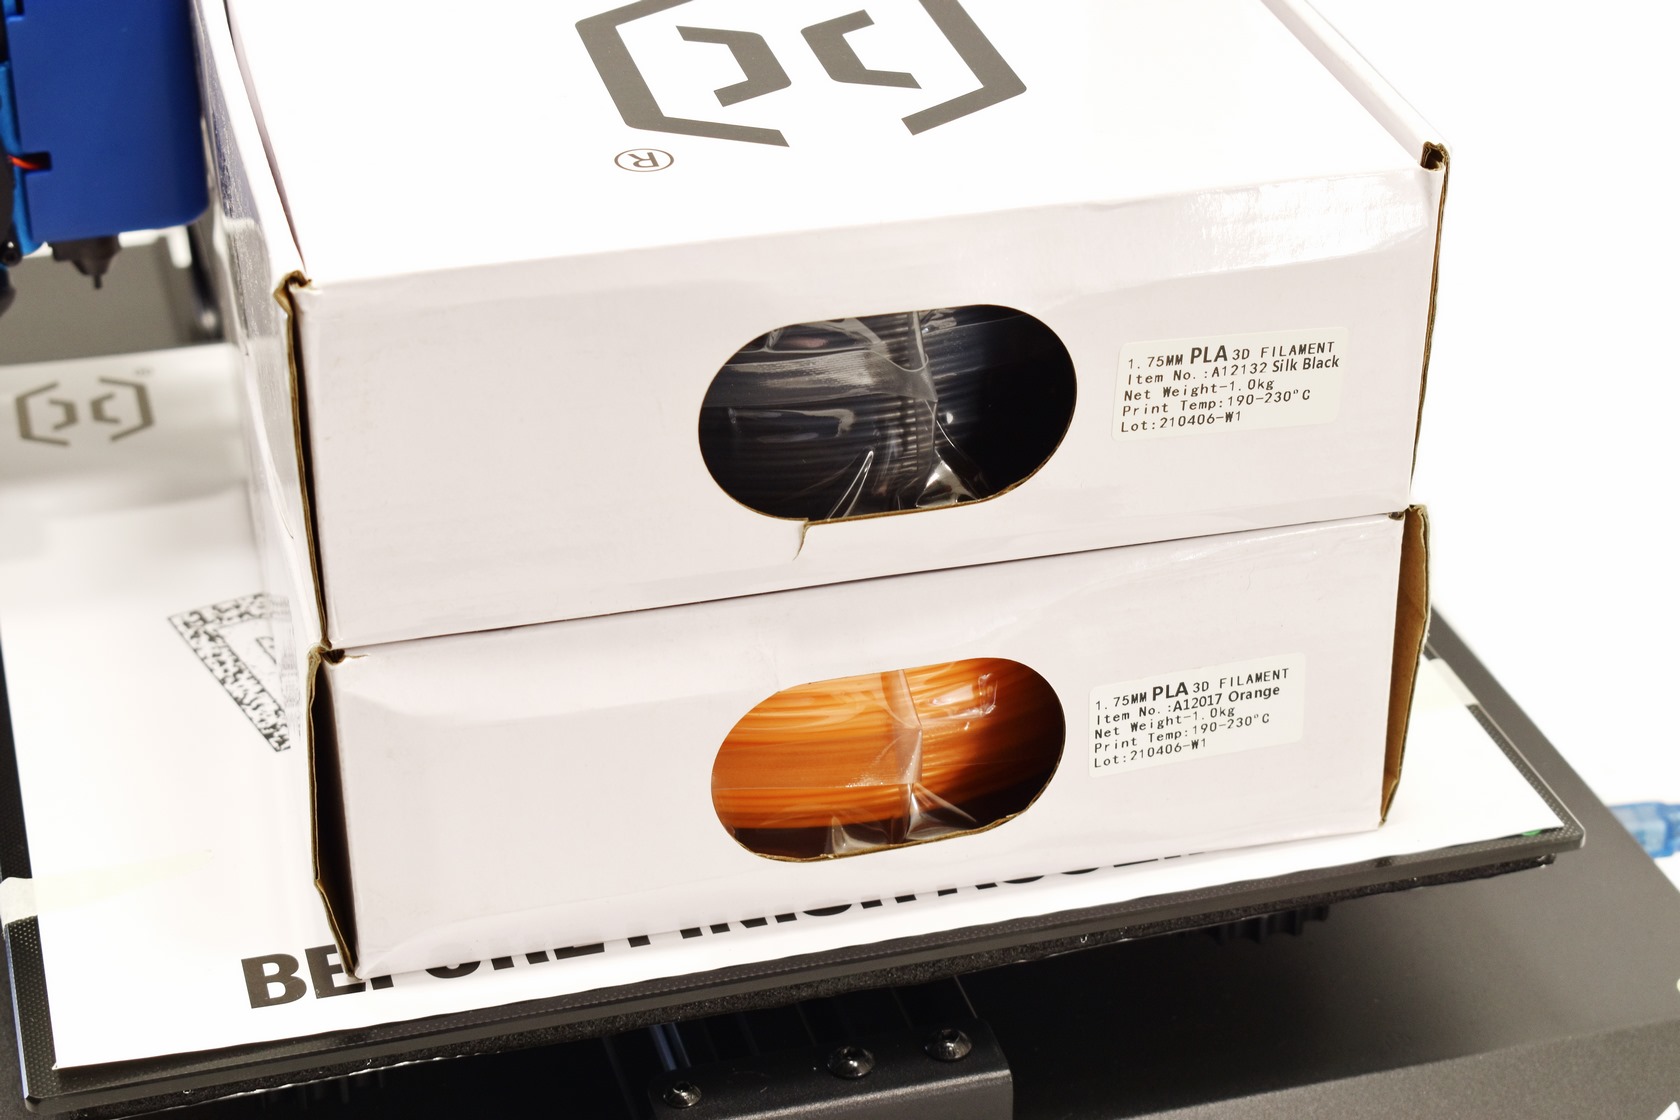
For this review i used 1.75mm PLA filament by Artillery 3D.
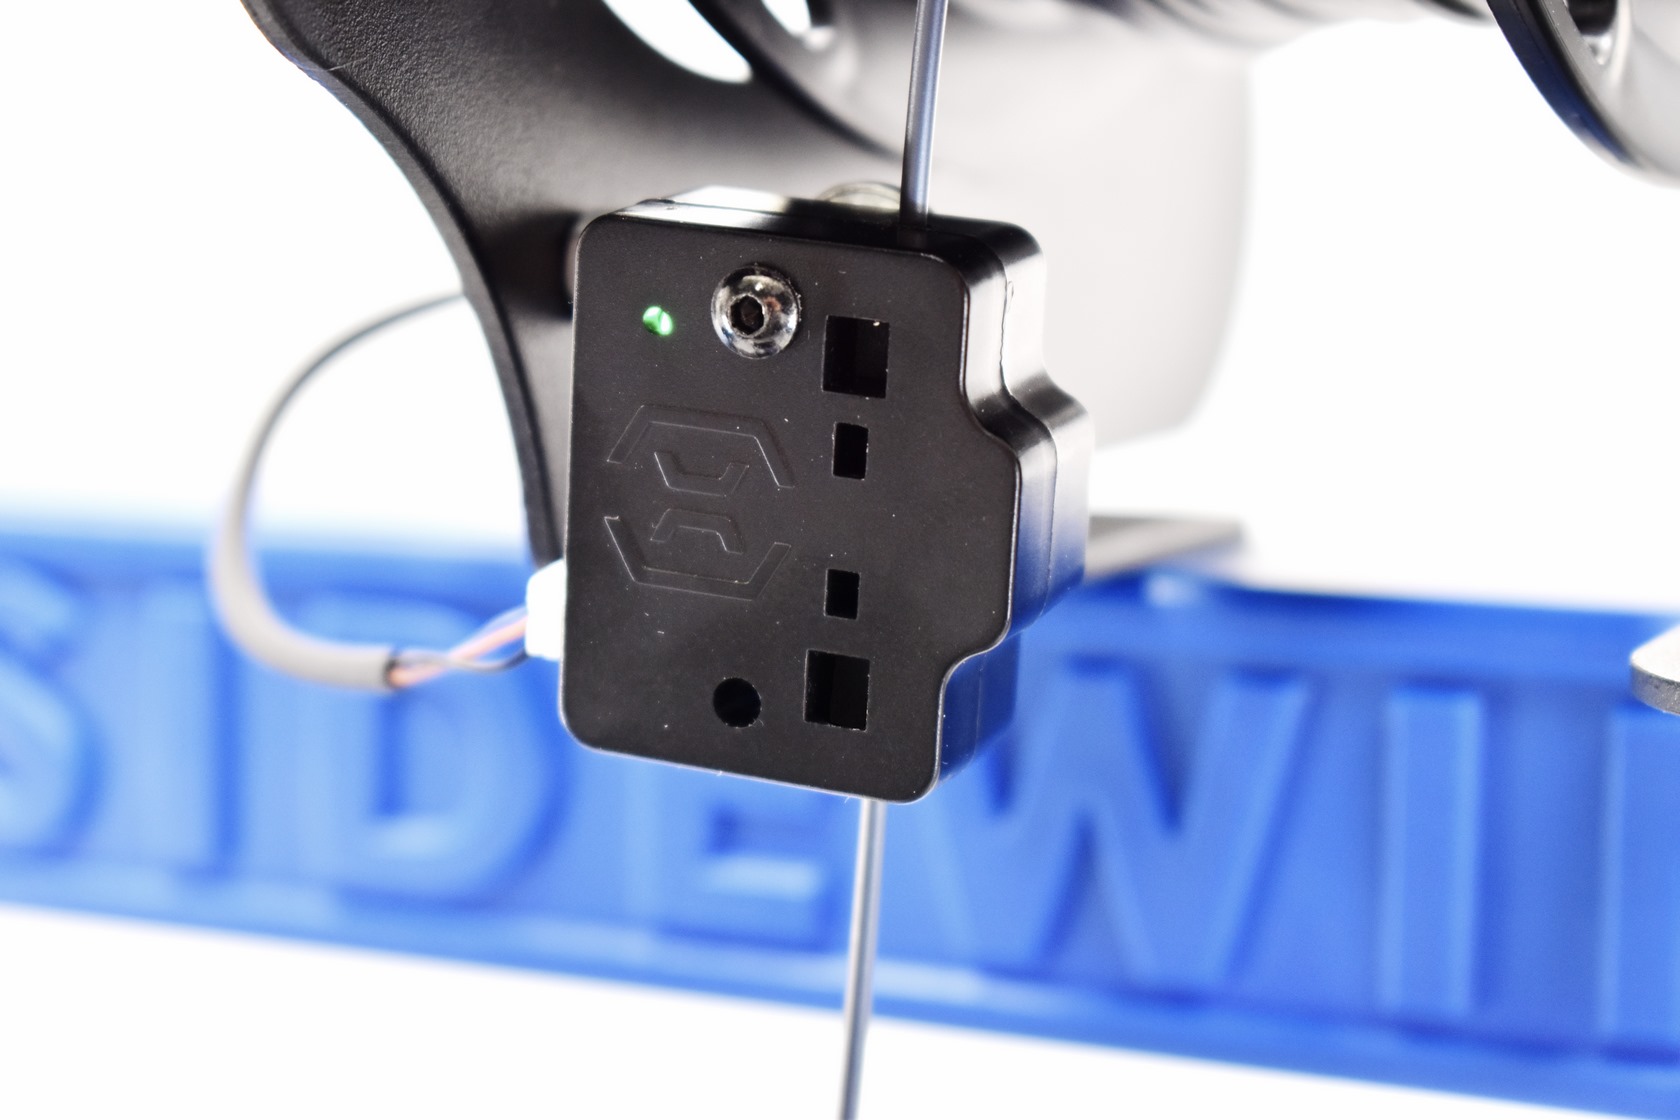
Last but not least the filament runout sensor is a welcome addition.


