O-Sense


WEB INTERFACE PART 1
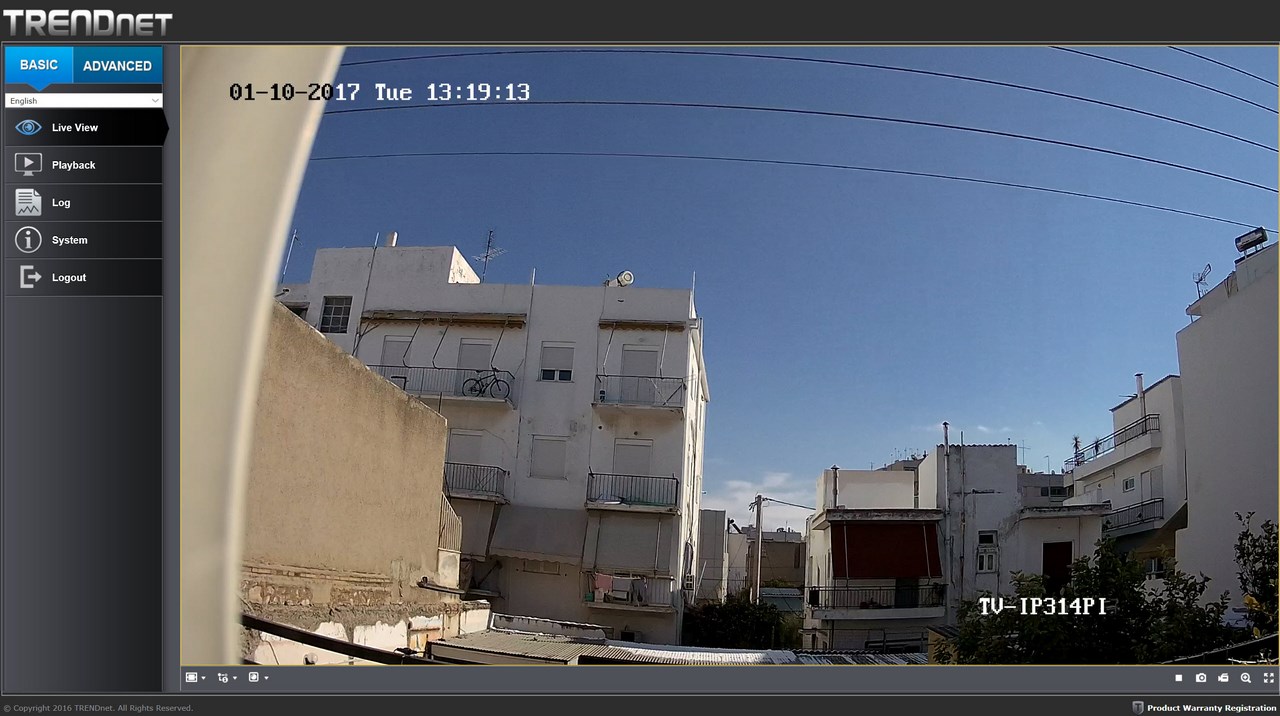
Exactly like with most IP cameras a live view window takes most of the first page (you can maximize the window by double clicking on it).
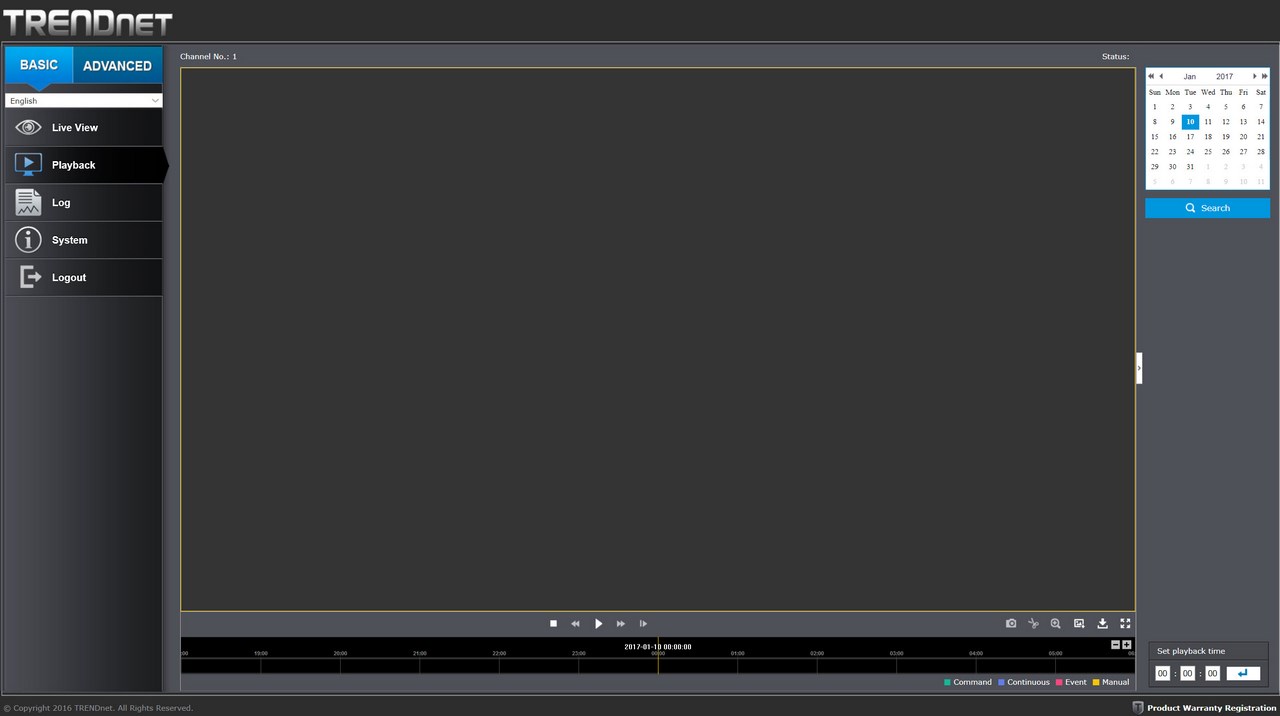
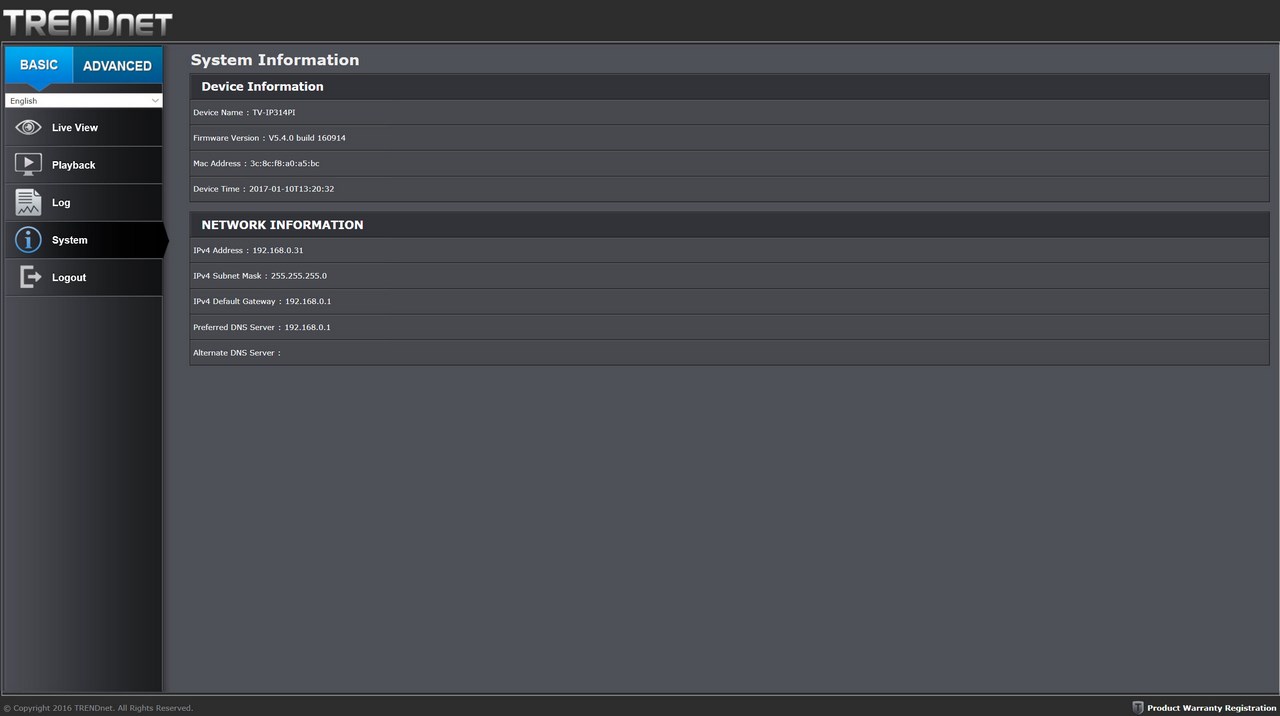
From the first page you can also choose to playback recorded files (if you have configured the camera to write on the local drive), check the logs, see the main system information and logout.
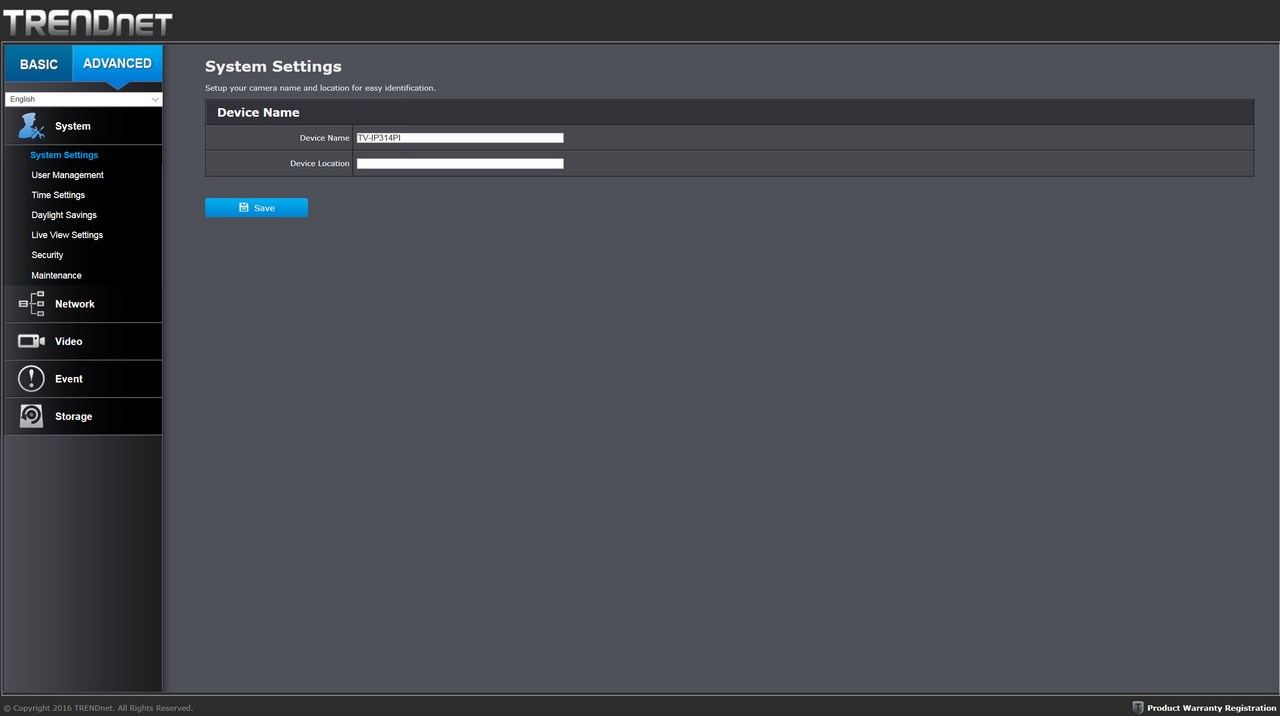
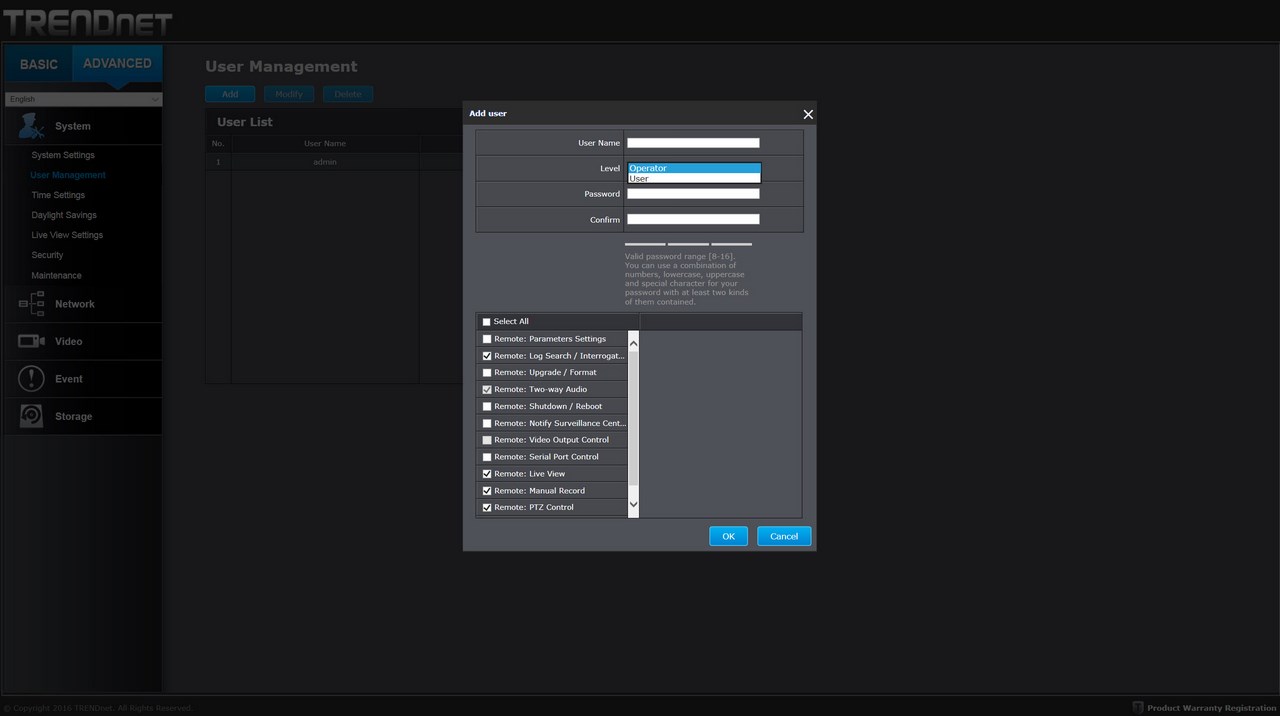
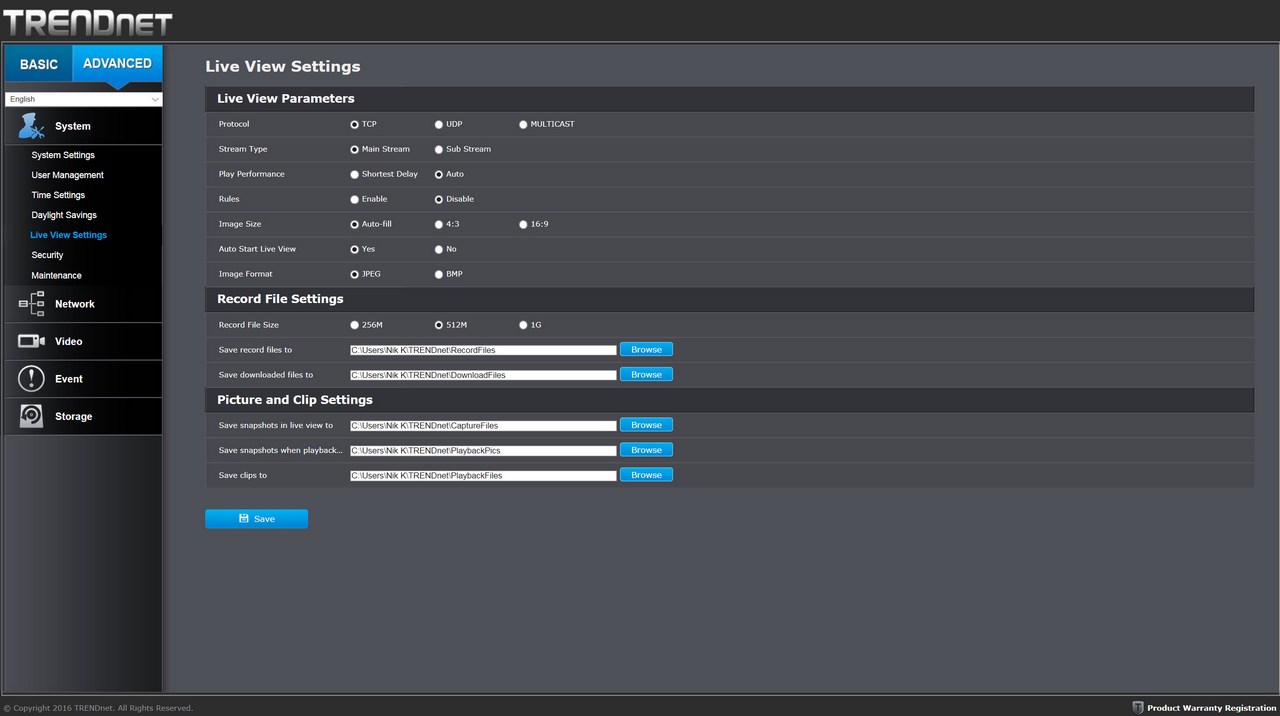
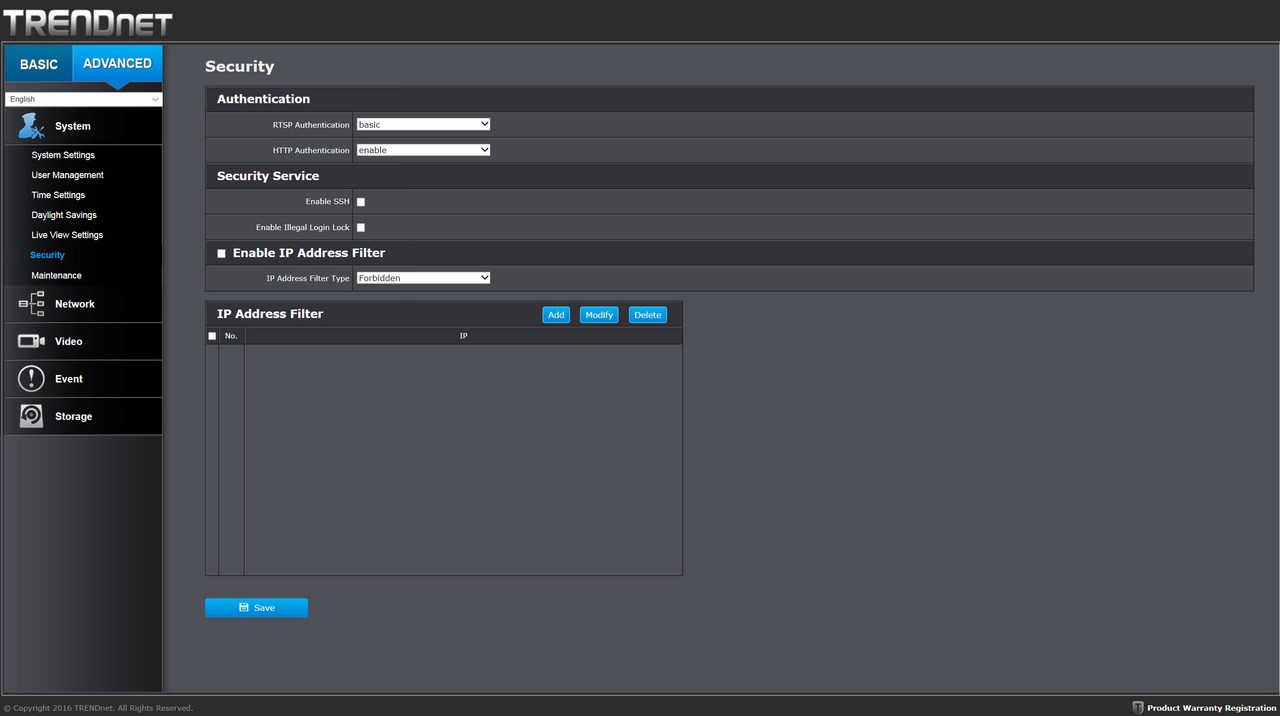
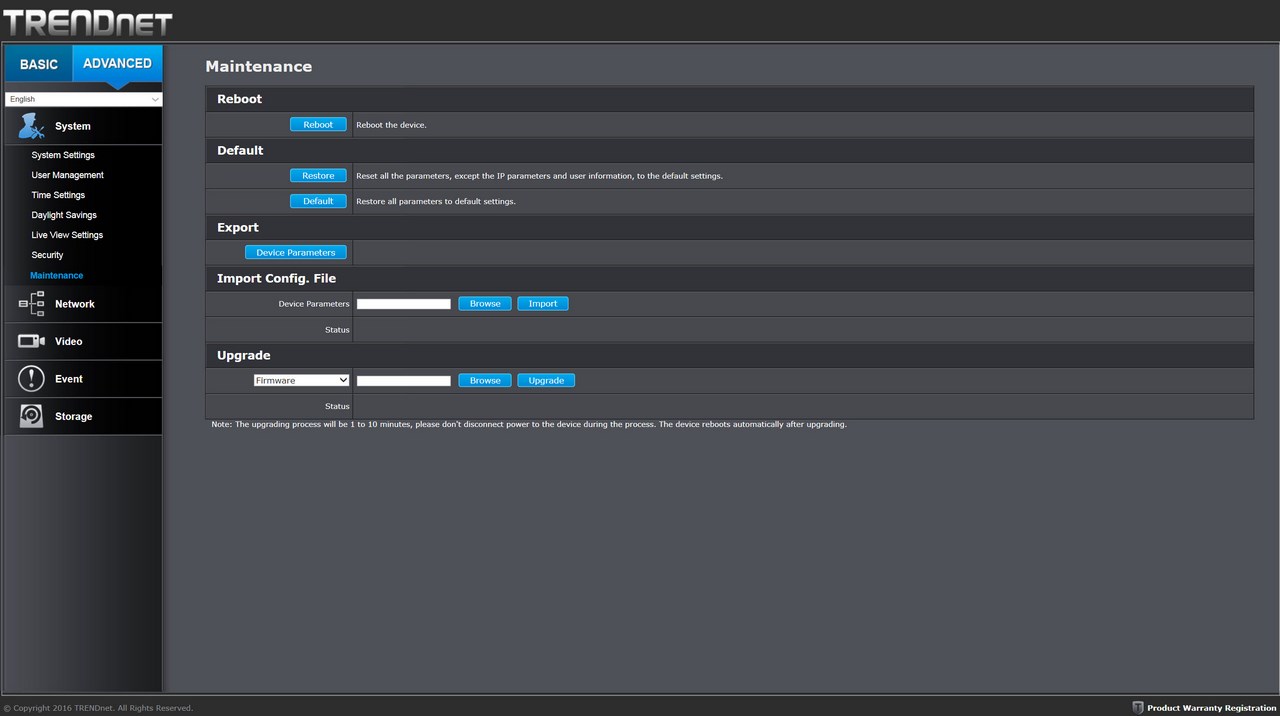
The second page includes advanced options/settings and the first tab is the system tab from where you can name the camera and location placed, add/remove users, adjust the time, set the live view and recording parameters, enable/disable extra authentication settings and perform maintenance tasks such as firmware updates.
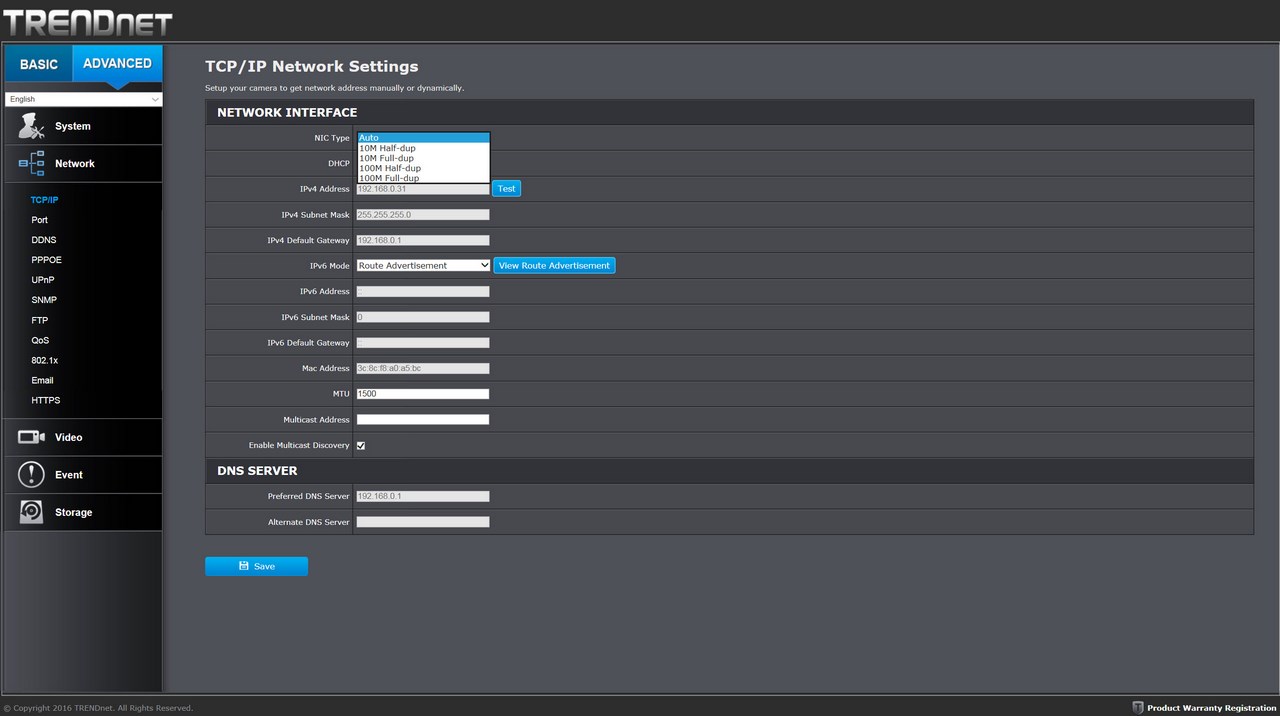
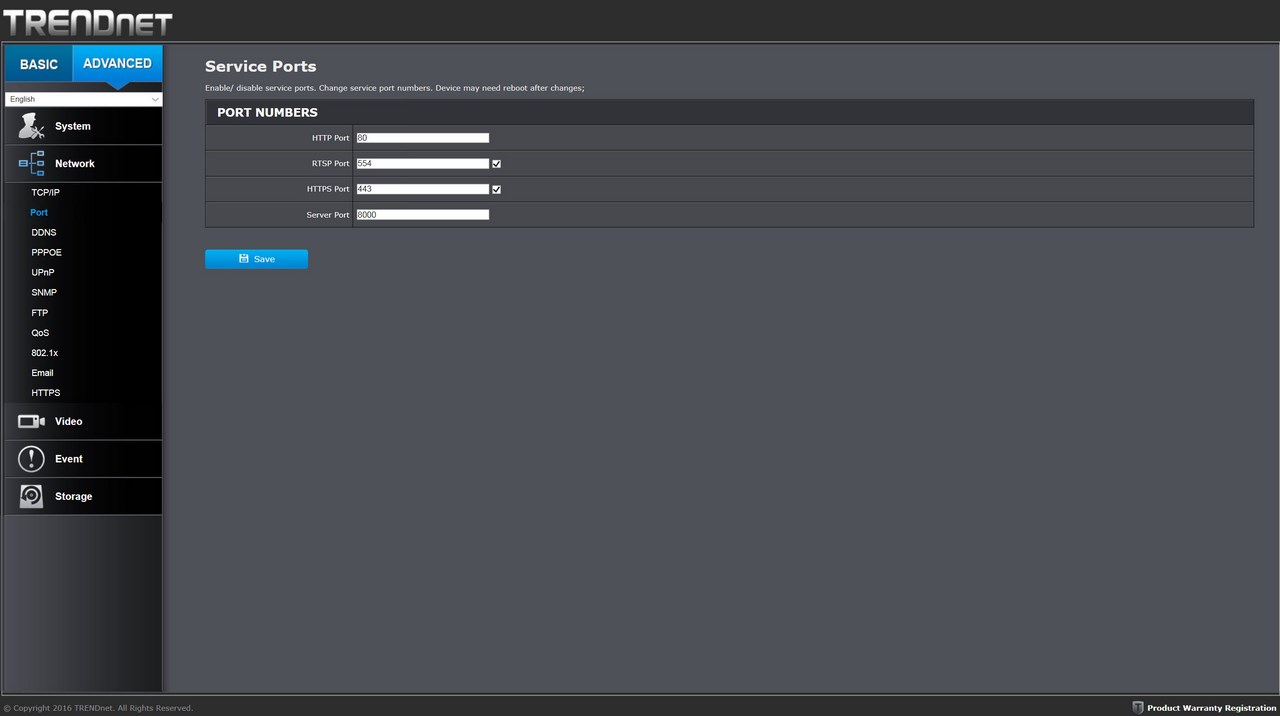
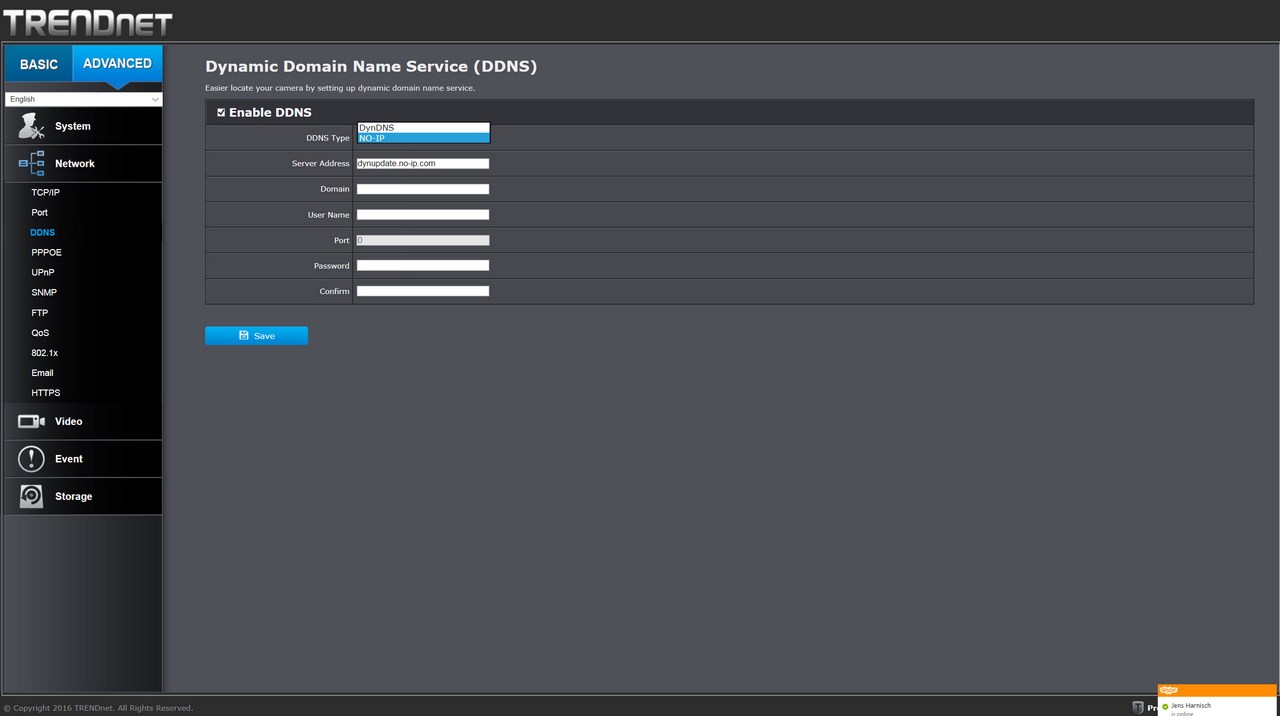
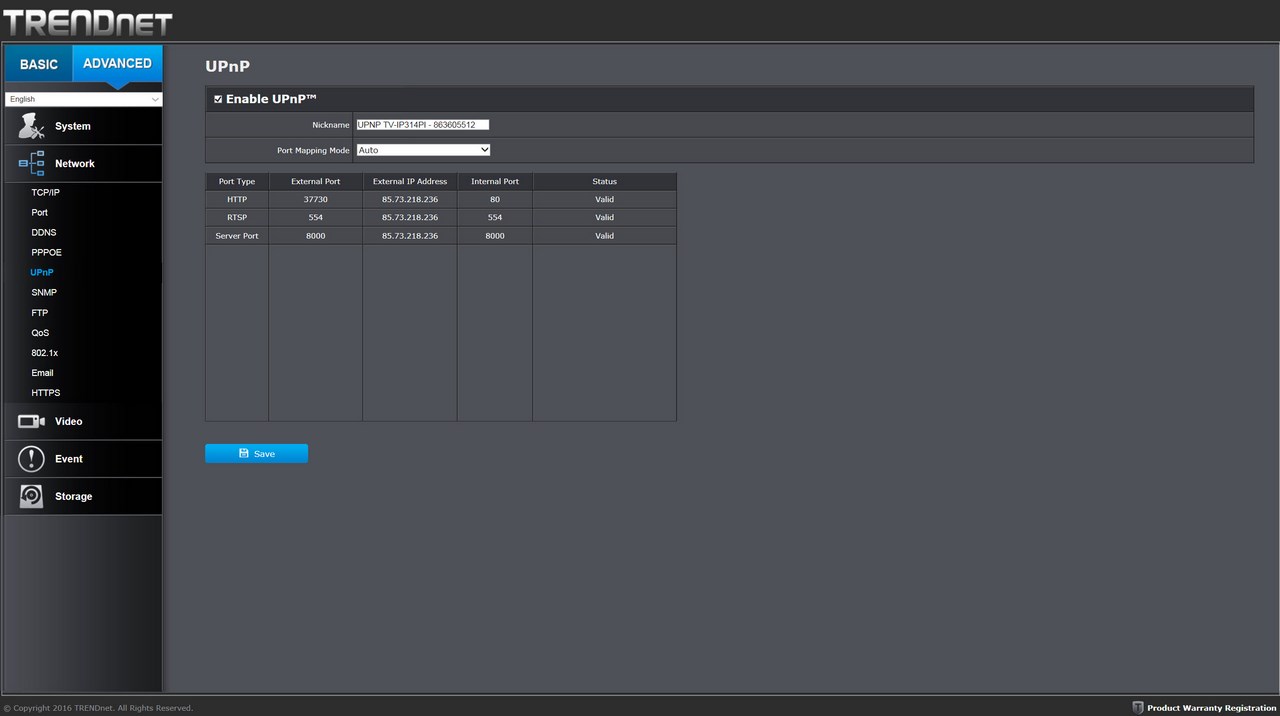
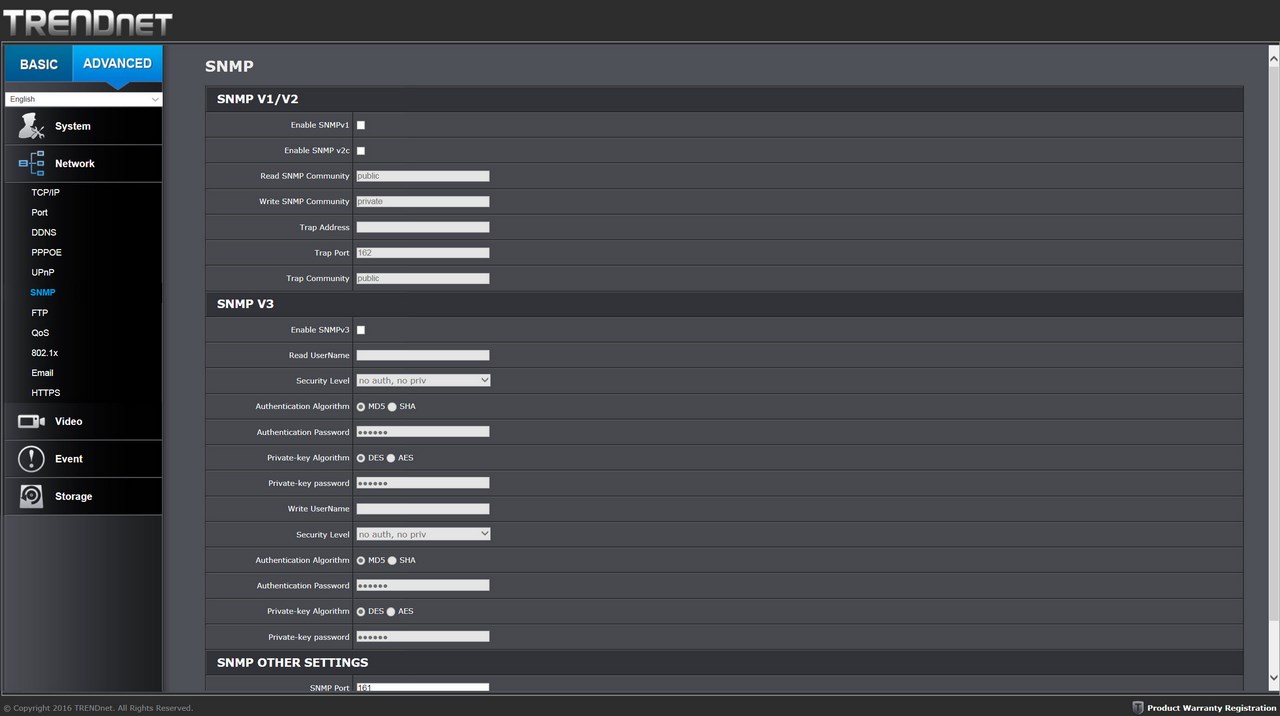
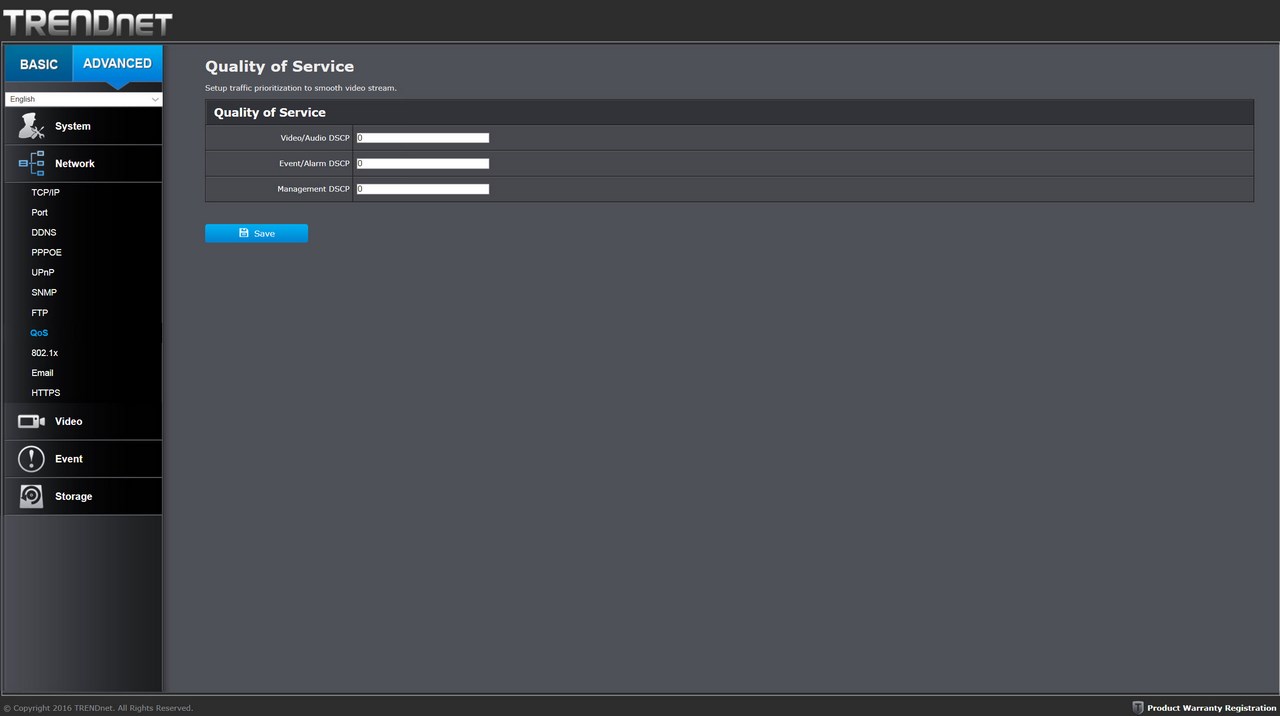
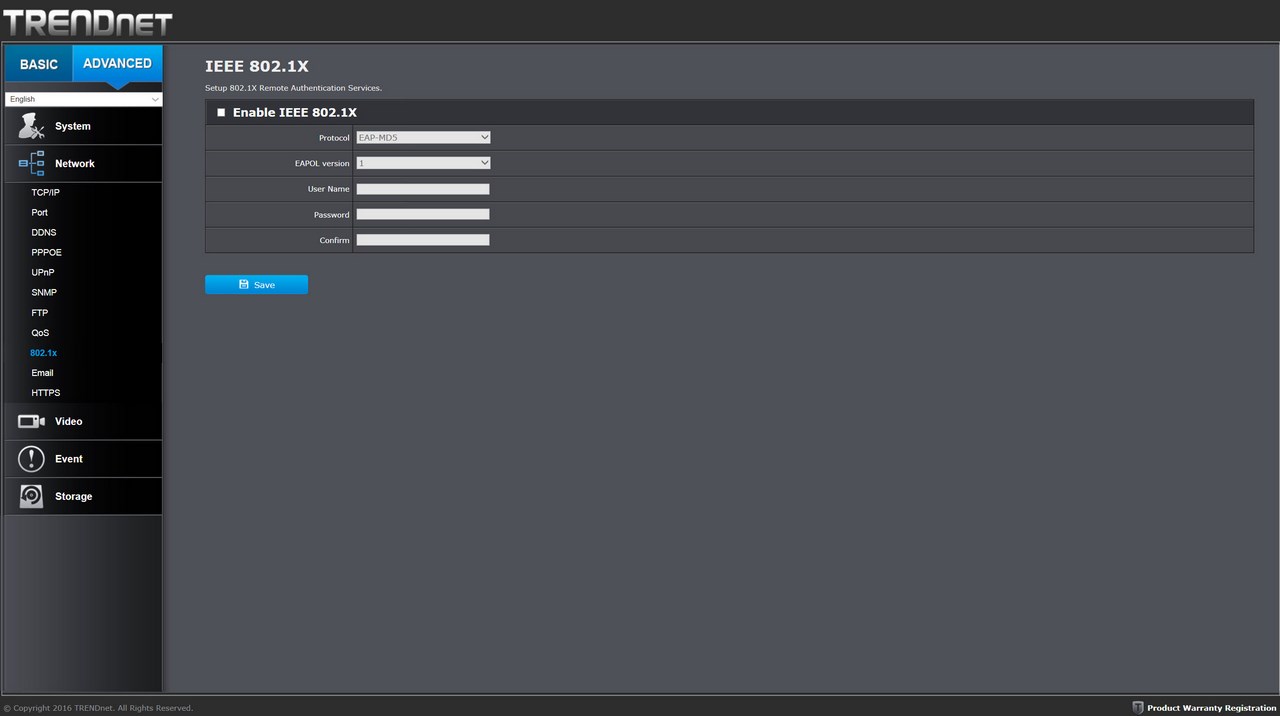
From within the network tab you can adjust various network interface settings, set the port numbers, enable DDNS (DynDNS - NoIP), use PPPoE, enable/disable UPnP, use the SNMP feature, configure QoS (prioritize traffic) and use the IEEE 802.1X authentication standard.