O-Sense


THE UMX2 INTERIOR
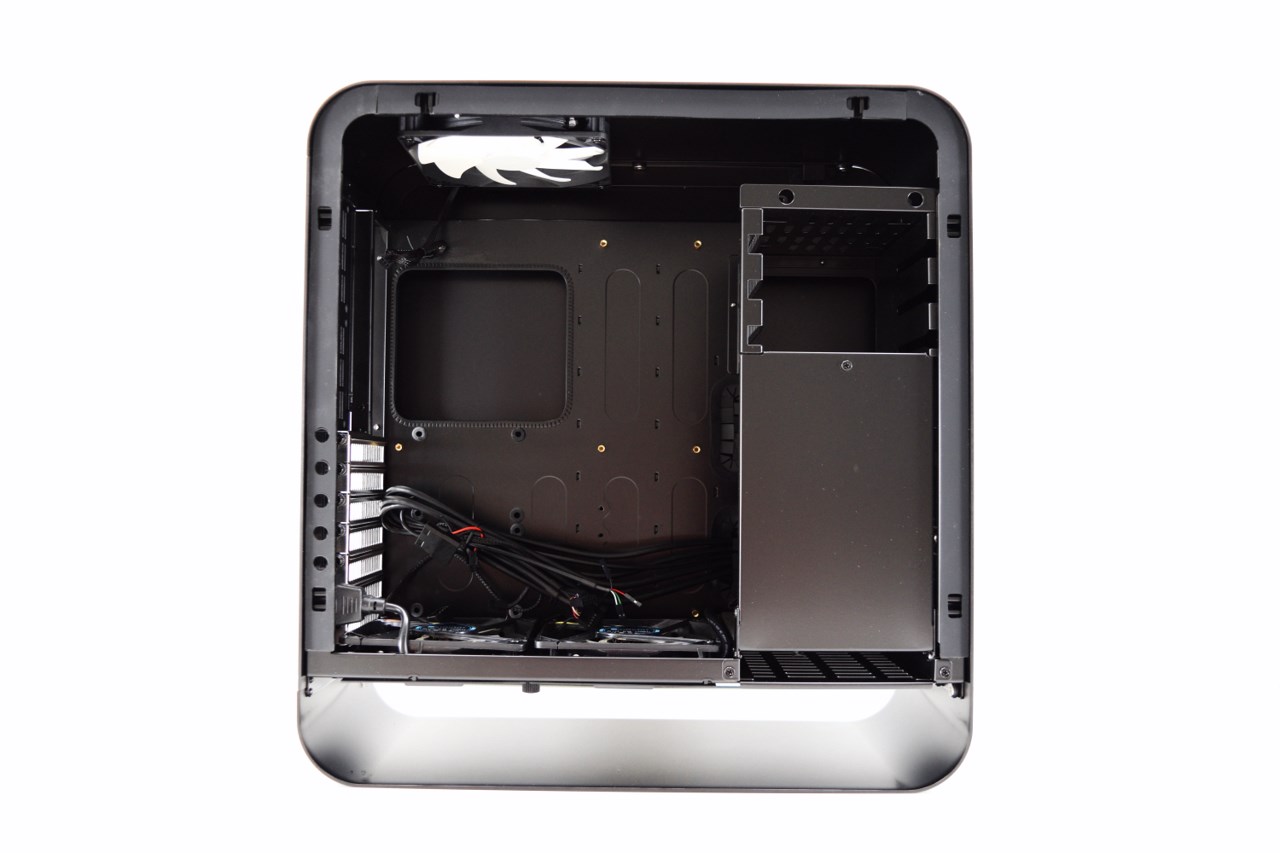
The Interior of the UMX2 may not be on par with those found in Midi and Full towers but for such a small tower I’d say it has plenty.
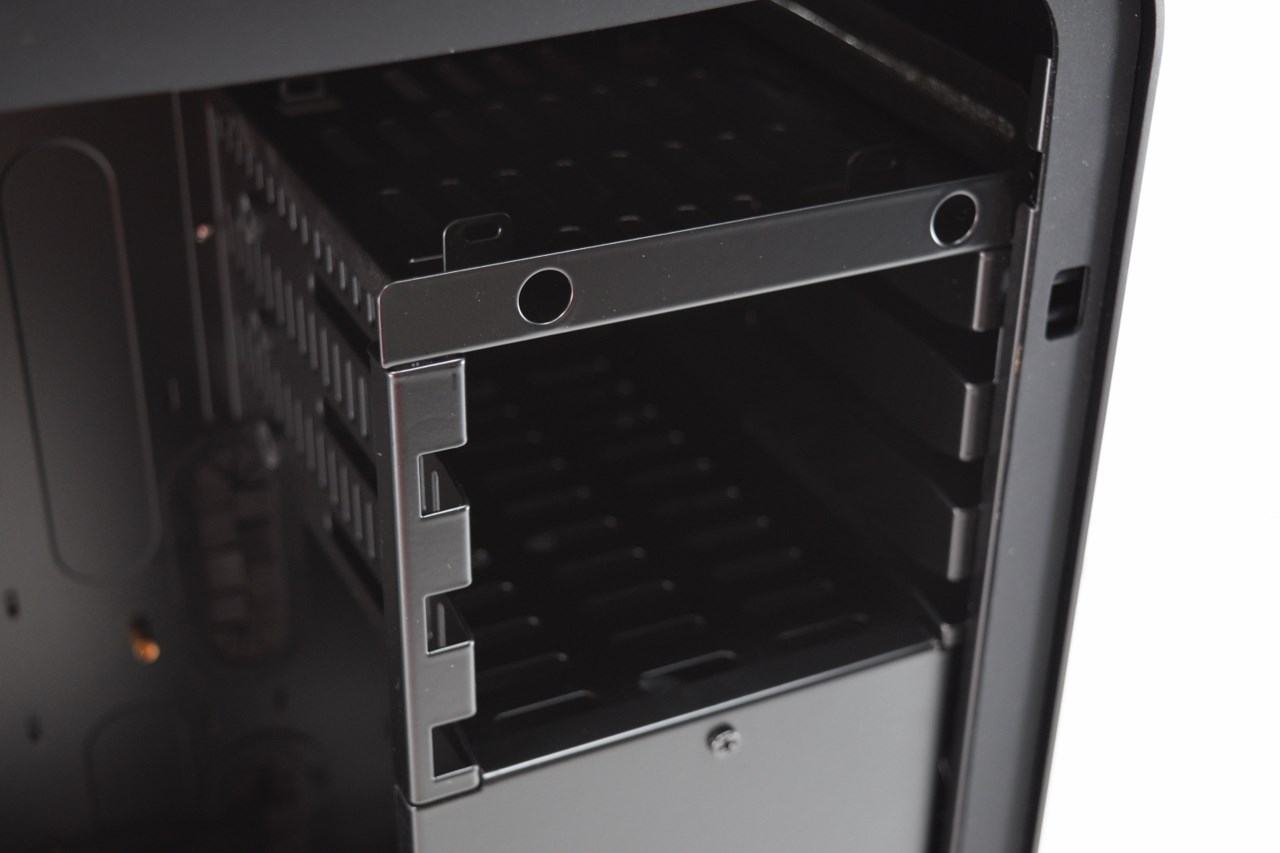
At the very top there's a bracket which allows you to either install a slim optical drive or a 3.5" HDD and right beneath it we find the 3x3.5" drive cage.
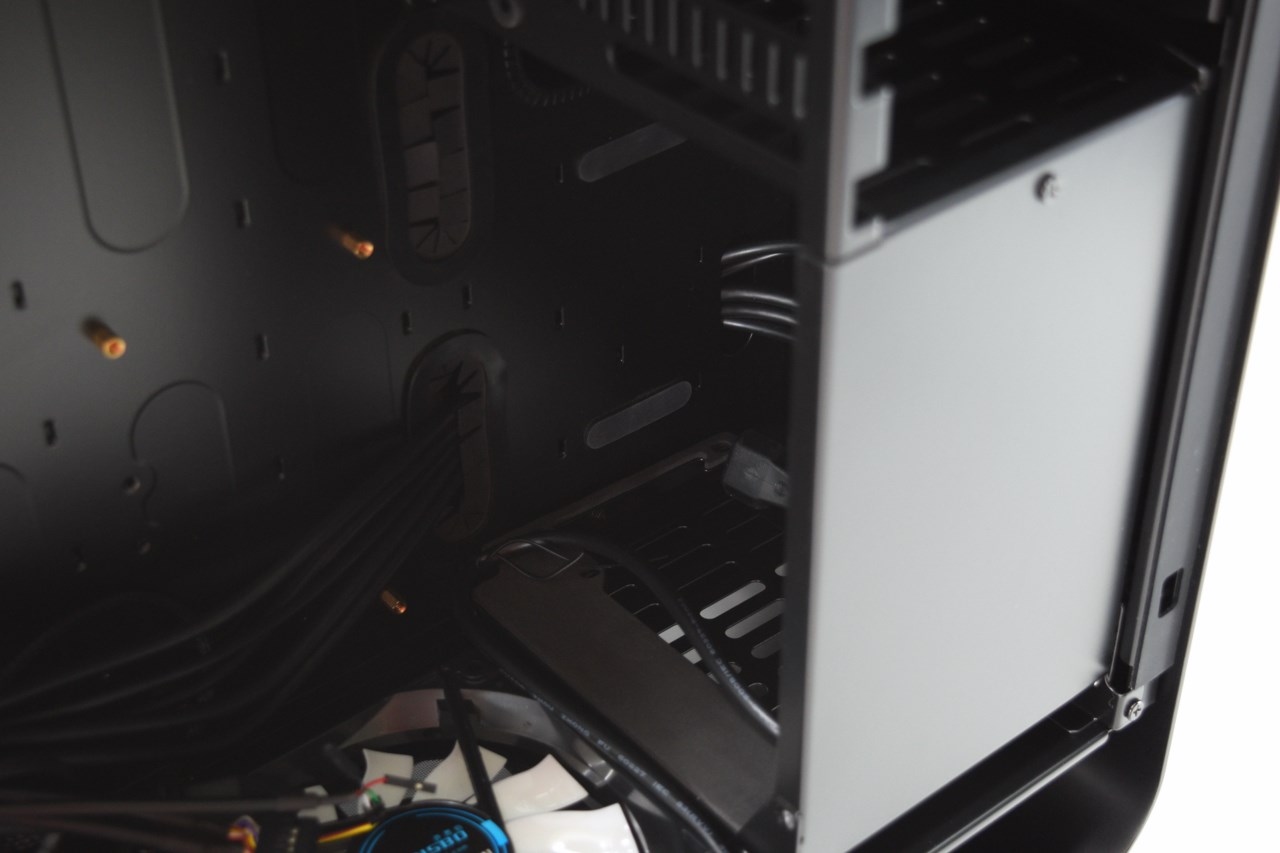
The PSU area seems a bit cramped but according to Cooltek you can fit regular ATX sized models in there (up to 160mm long).
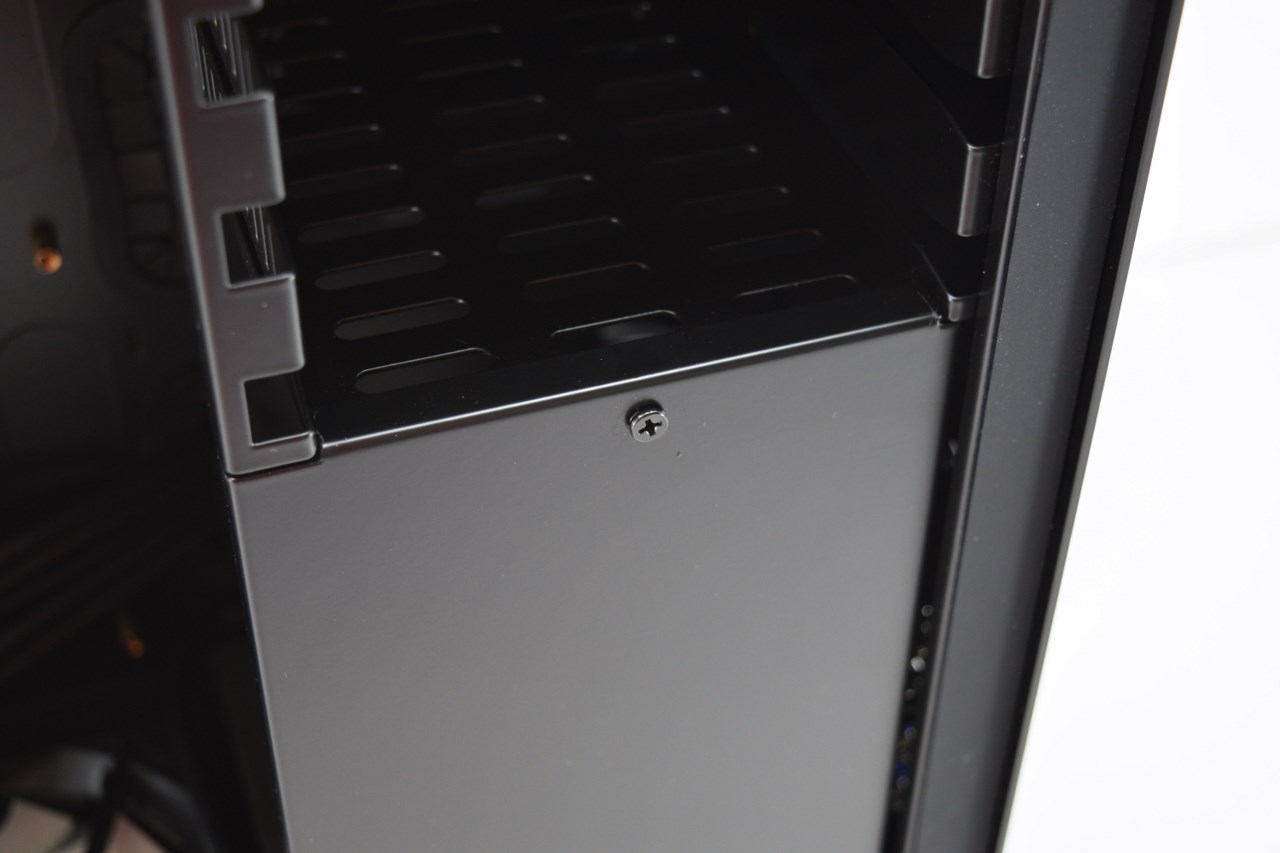
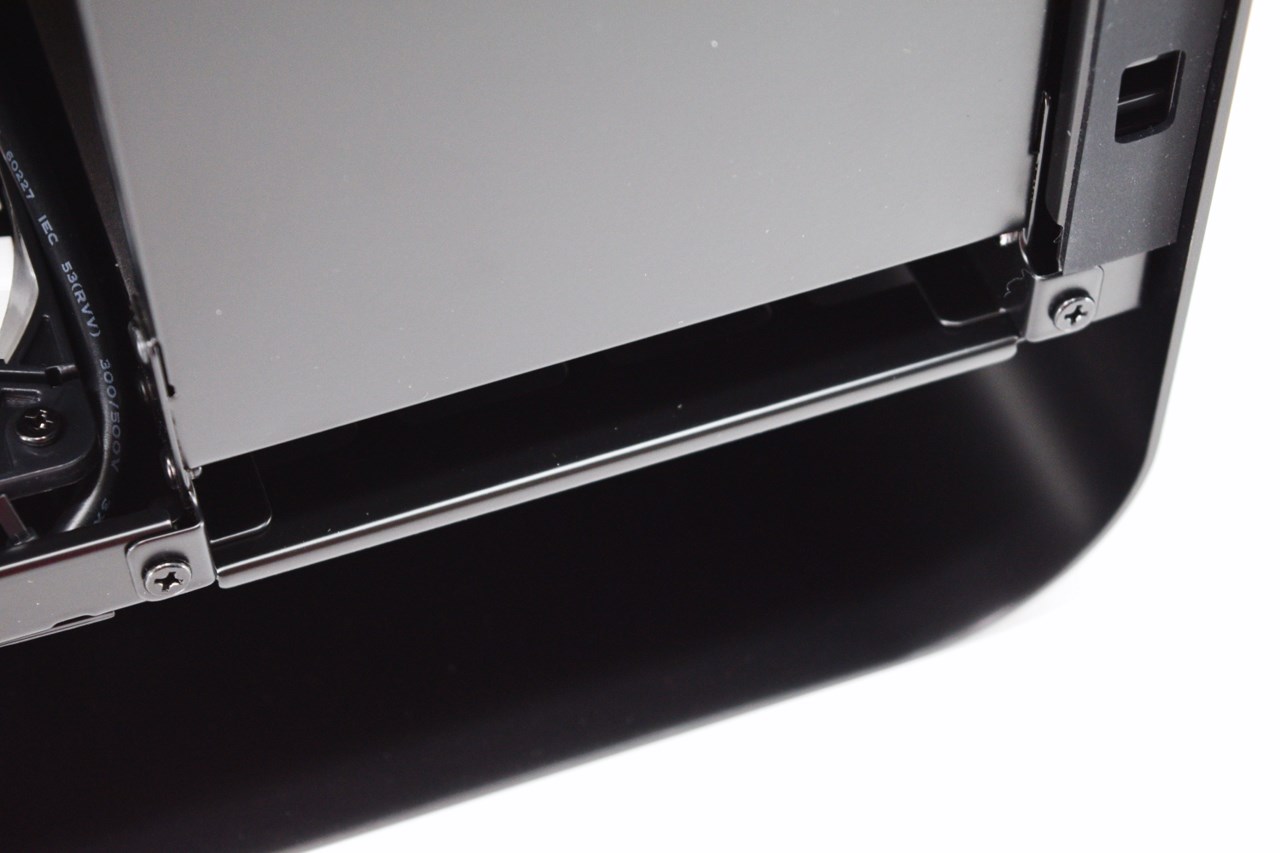
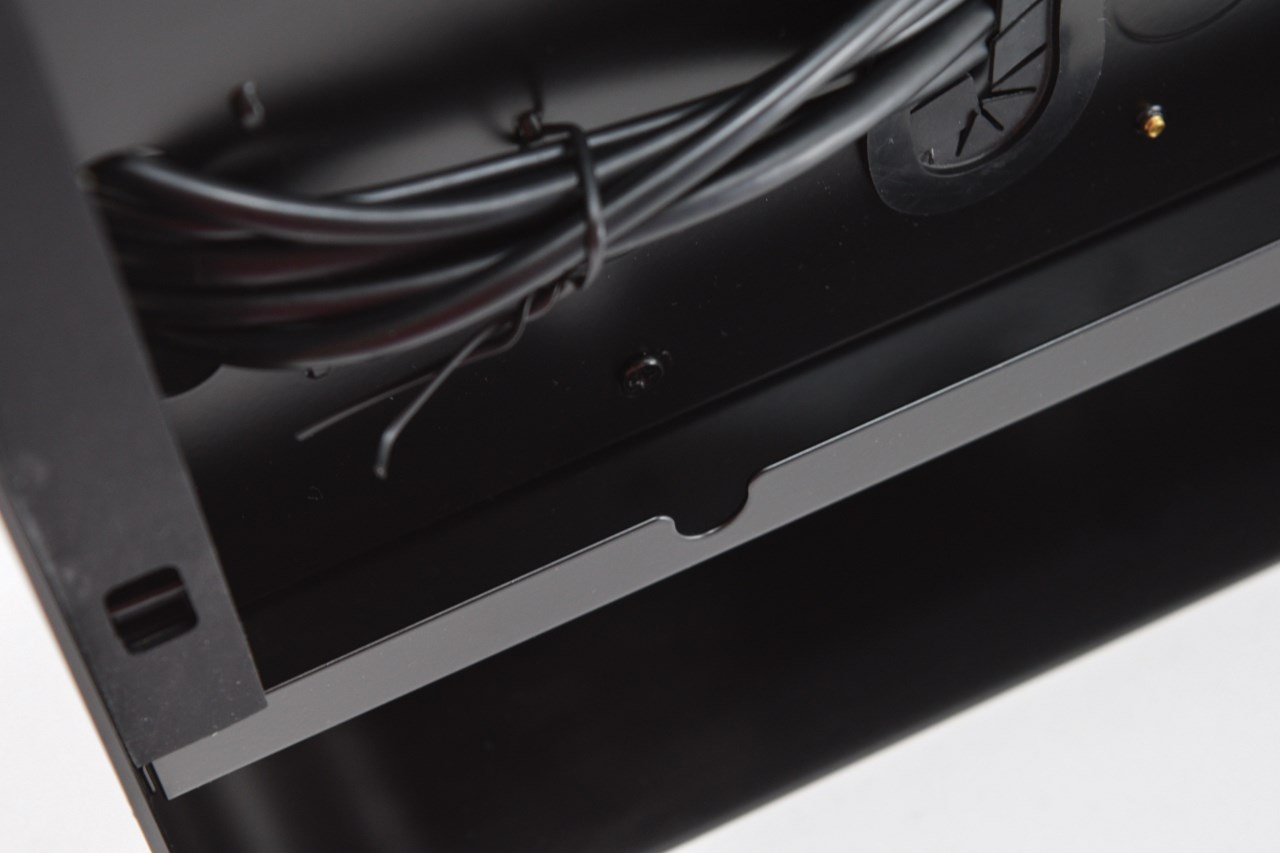
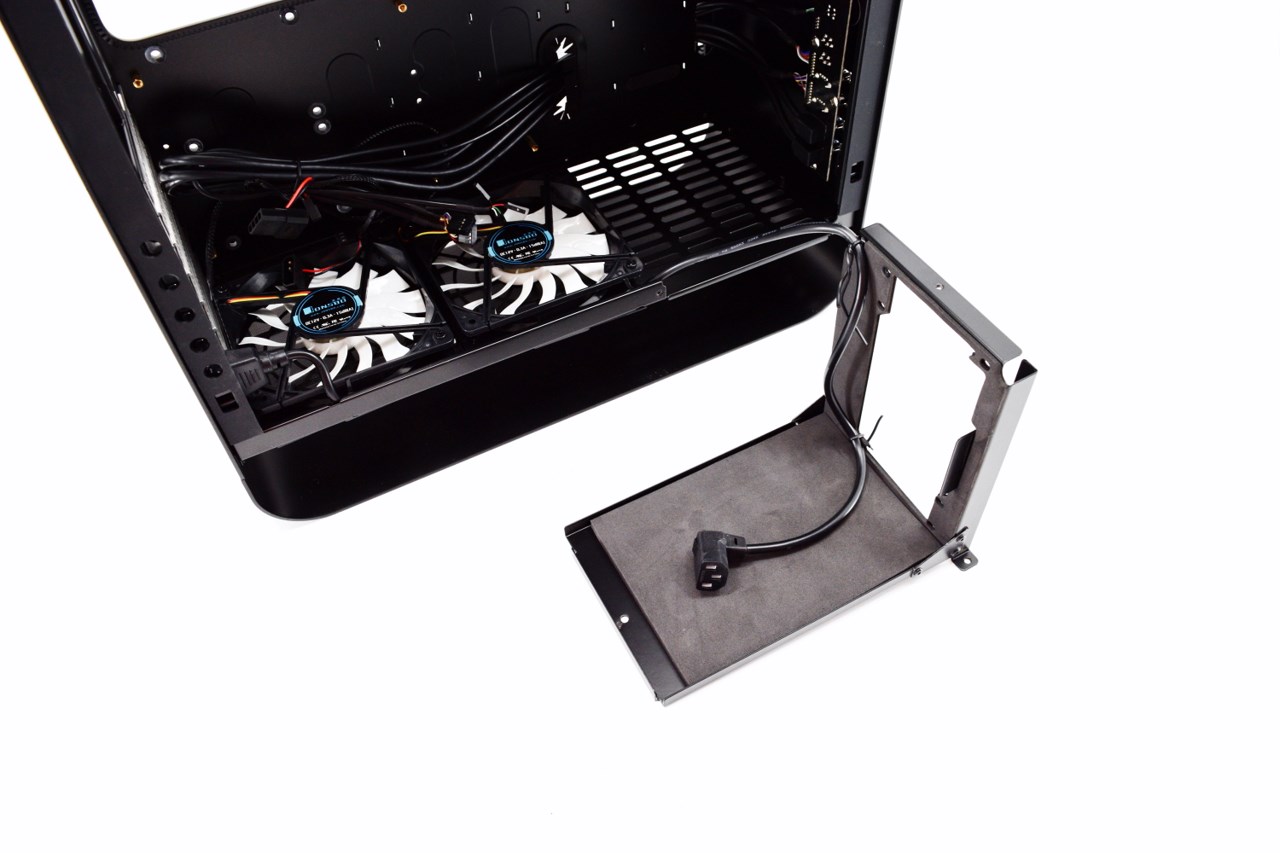 To remove the PSU cage you will first need to remove 4 screws found at the front and rear.
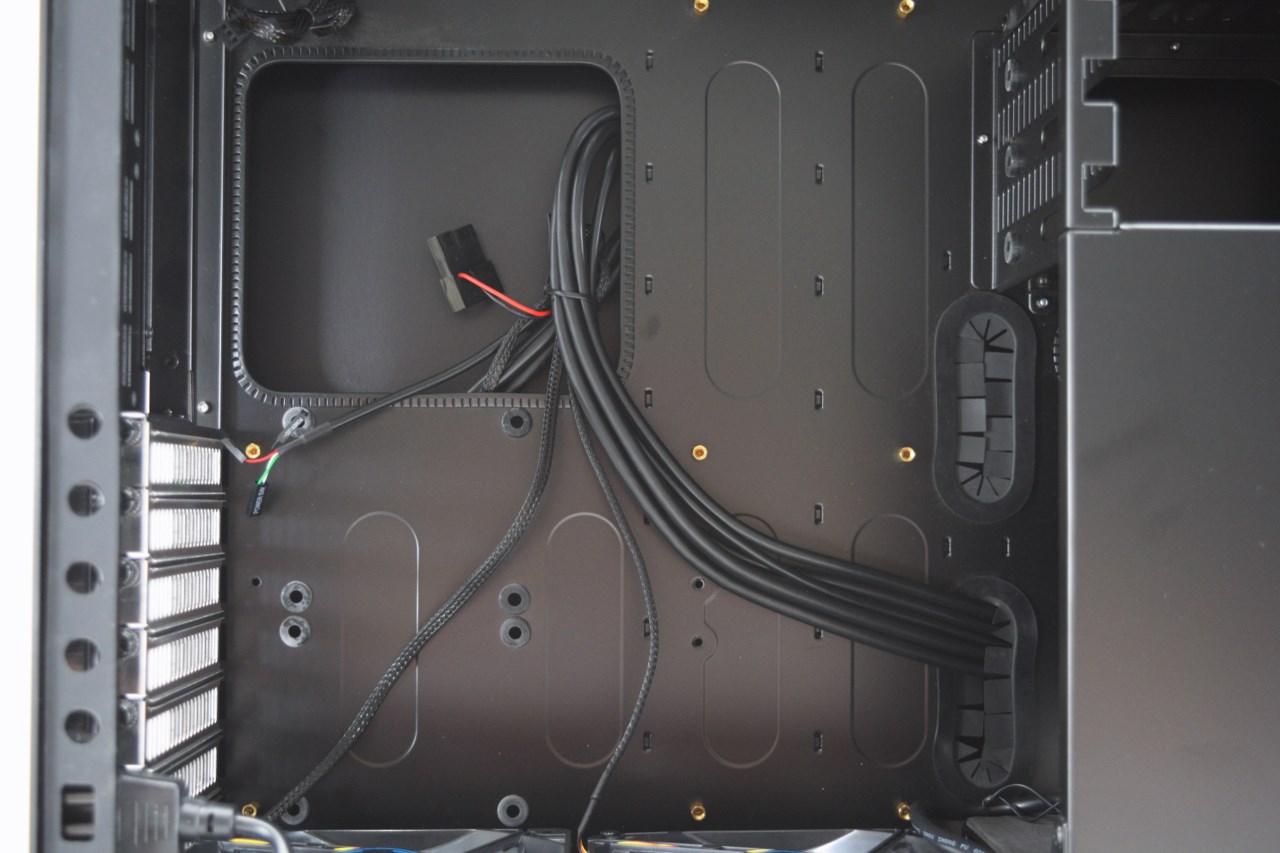
The mainboard tray has 3 holes for cable routing/management, 8 rubber coated holes used to mount two 2.5" drives at its rear and a very large hole underneath the CPU area for swapping backplates with ease.

Cooltek has placed two 120mm fans at the base of the tower which probably make installing a regular ATX mainboard a bit tougher.
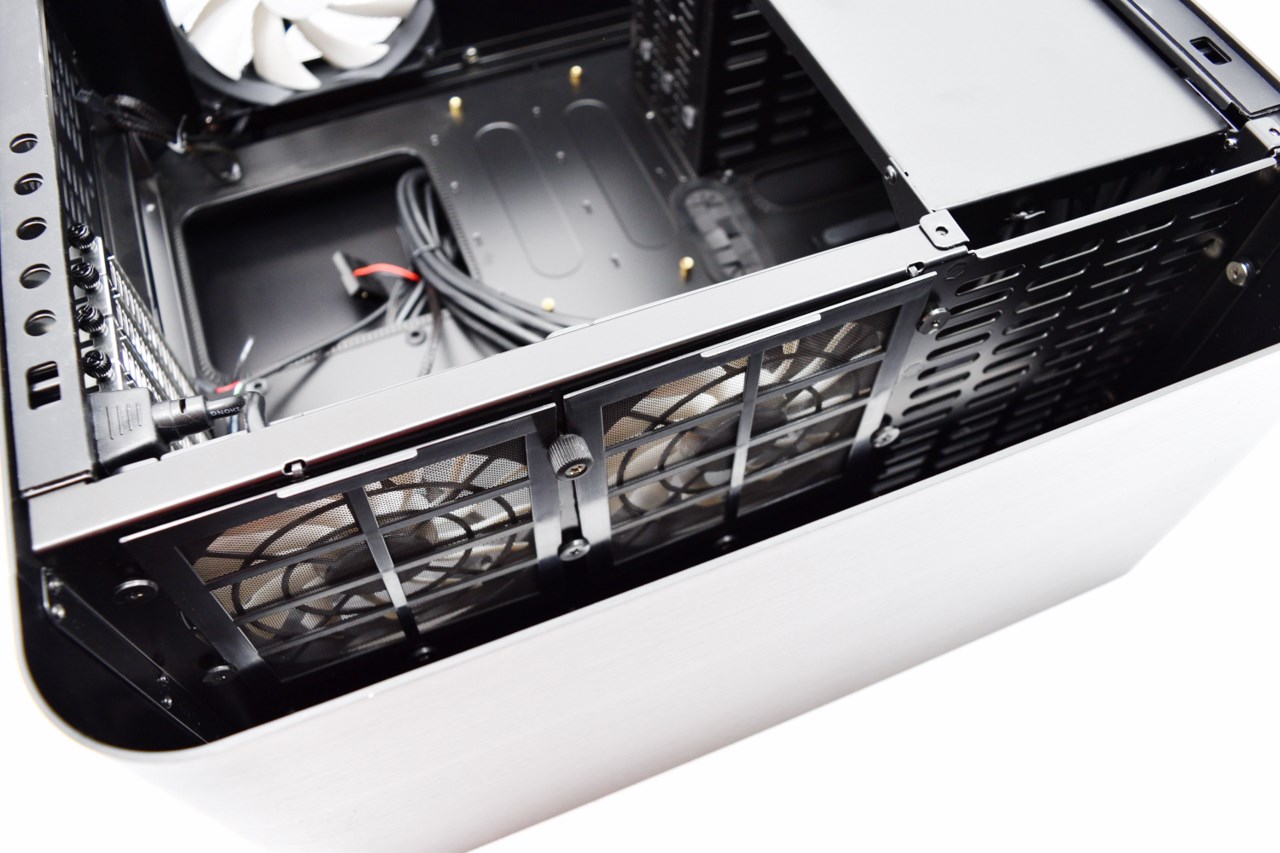
With the side panel removed you now have access to the two removable air-filters placed right beneath the fans.
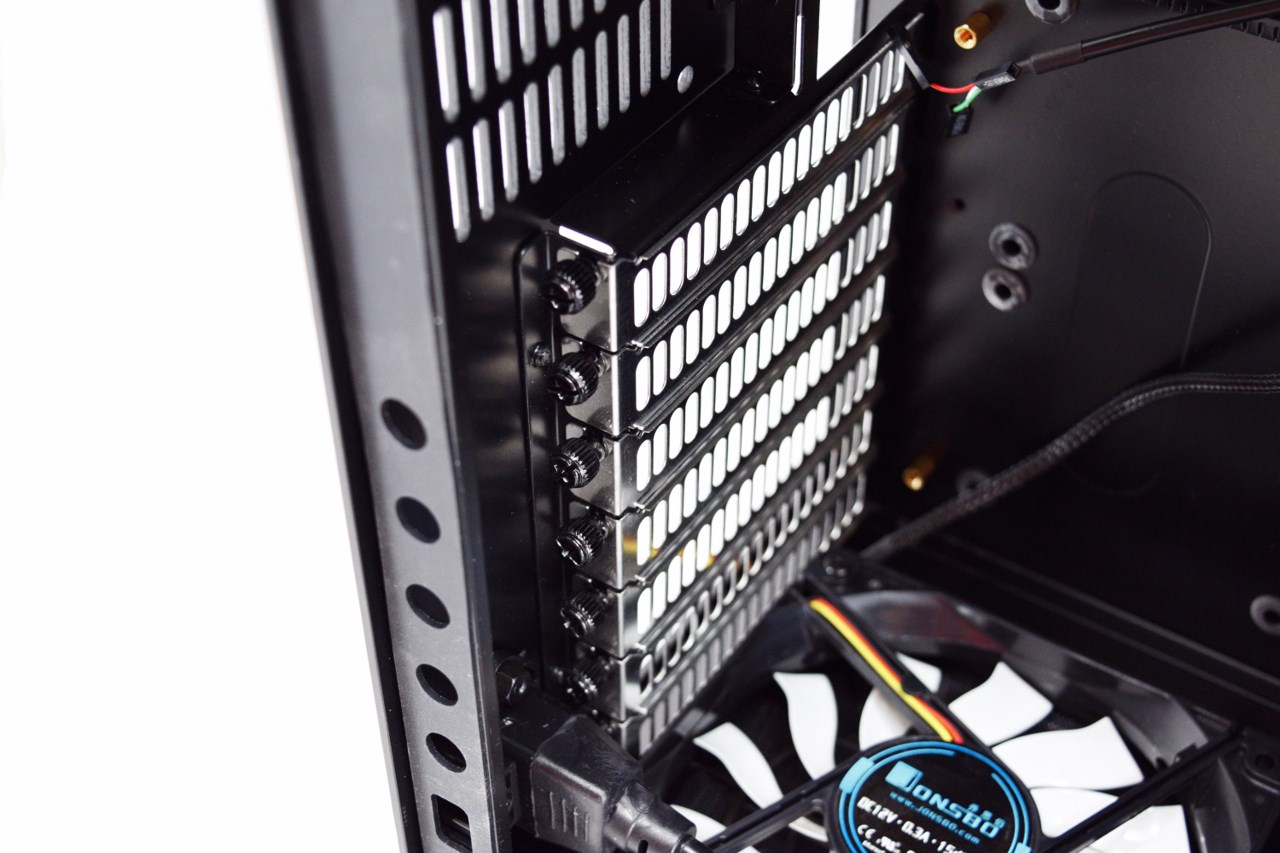
Regular thumbscrews are used with the PCI expansion slots.
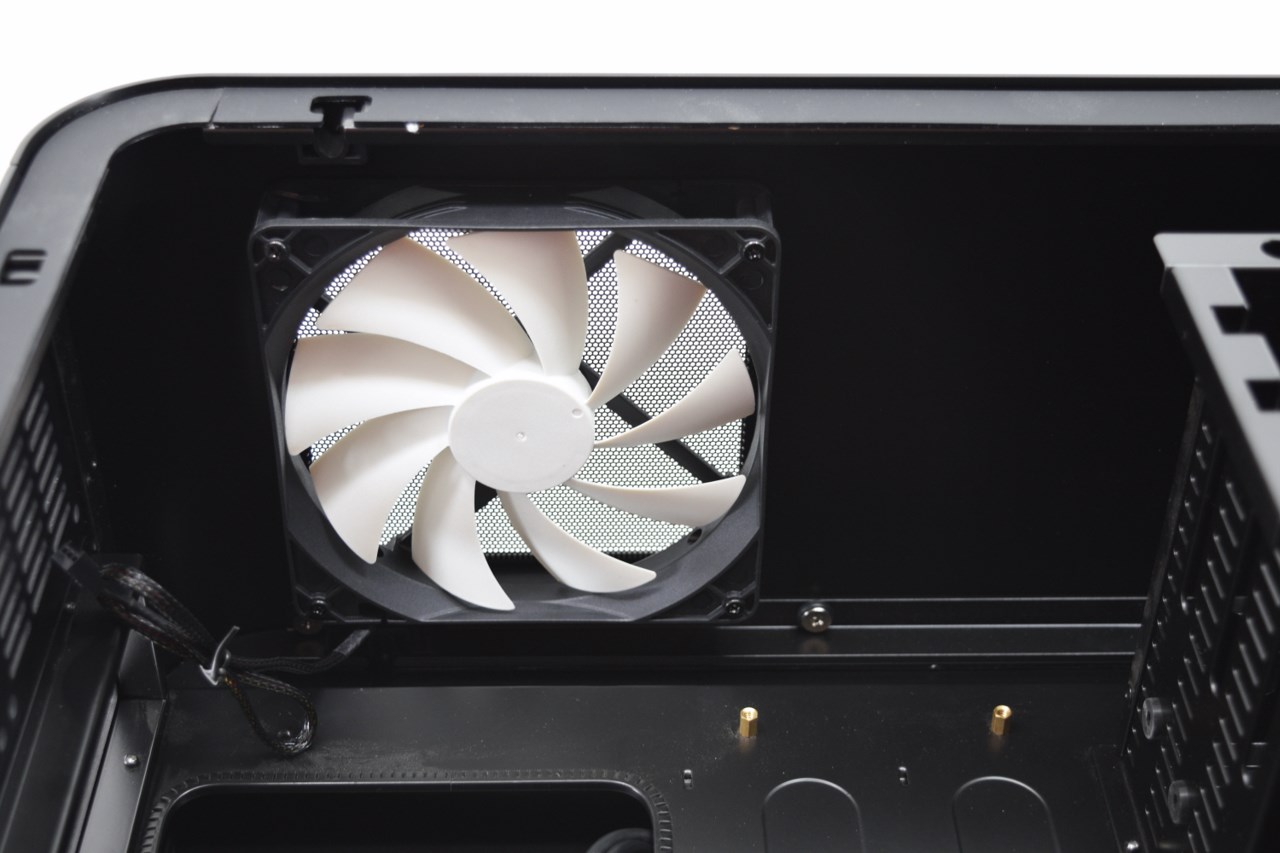
This is the 140mm fan at the top of the tower.
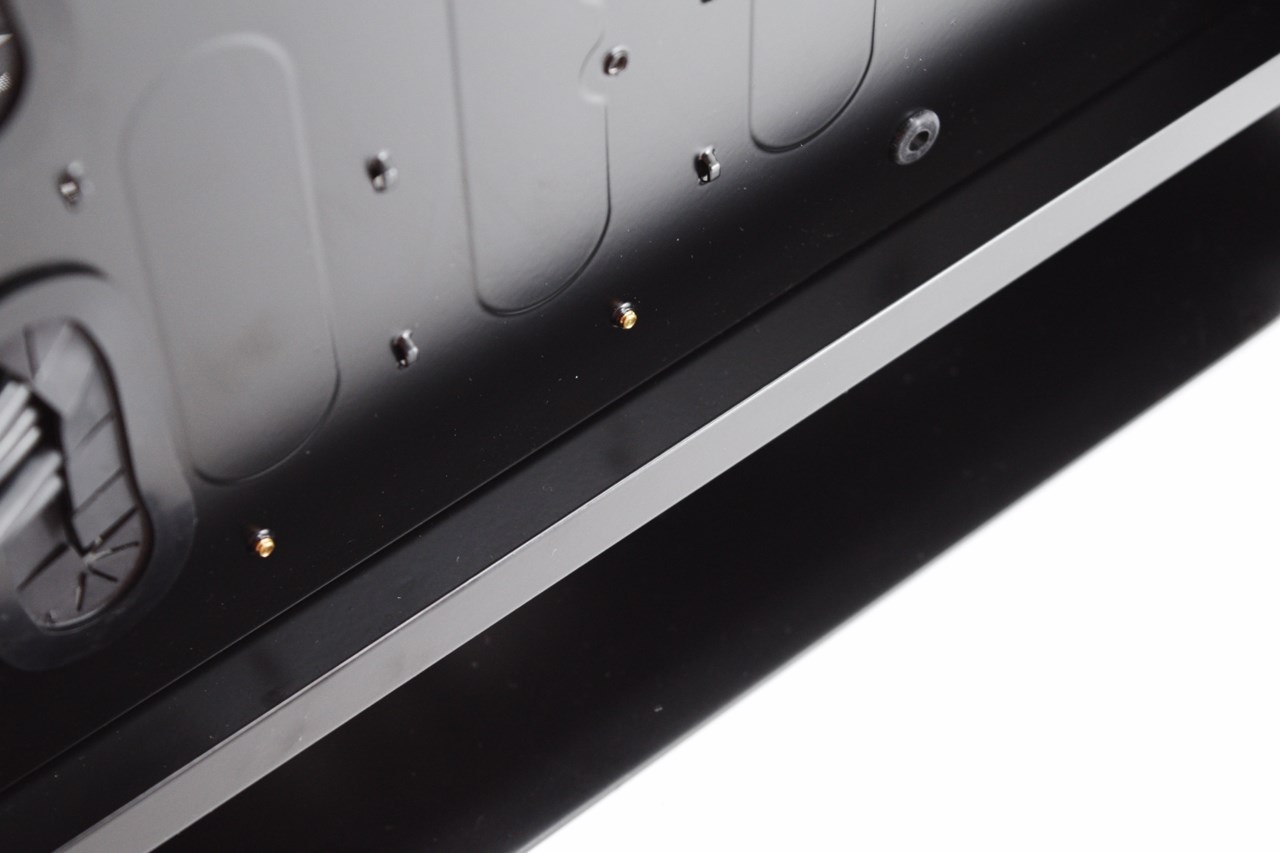
There's a total of 23mm of space right behind the mainboard tray so you should have zero issues with cable management.