O-Sense


QTS 4.2.2 PART 1

We’ve seen the 4.2.2 version of the QTS so this picture-rich login screen is not something new (still it looks nice right?).
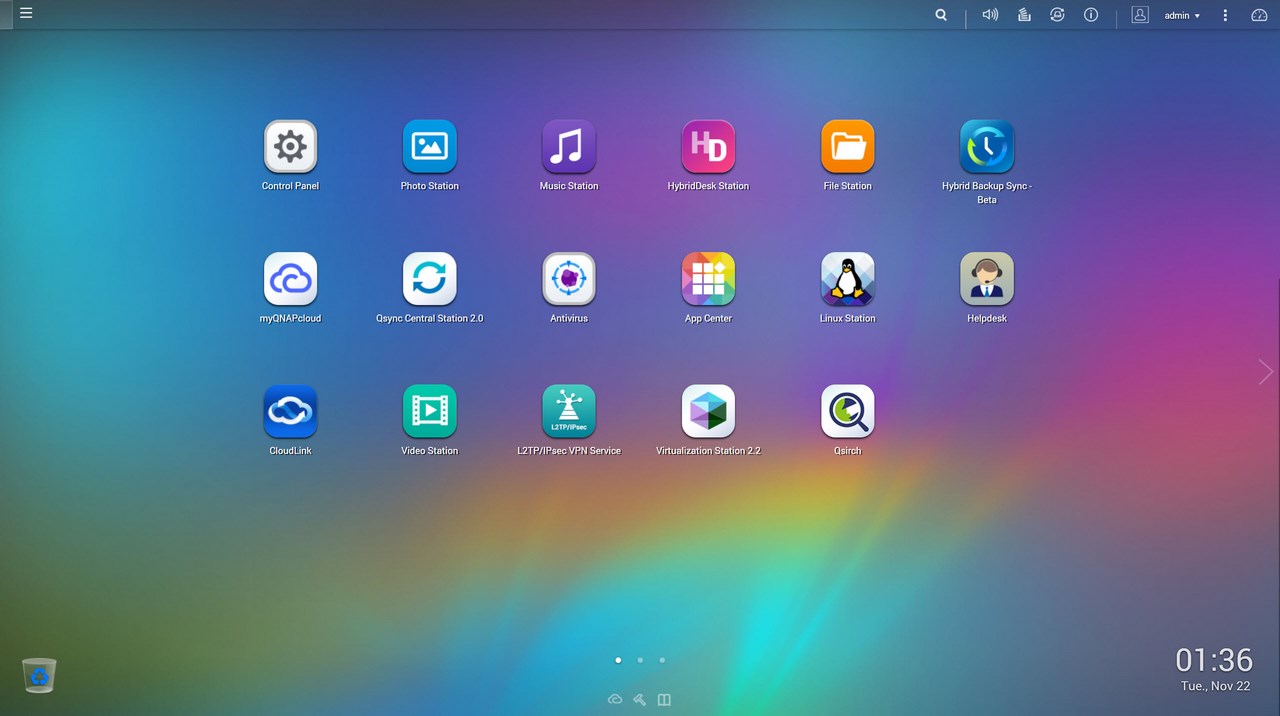
Once again the main screen lists all of the installed applications and of course the control panel (as you can see we installed quite a few in order to showcase them later on).
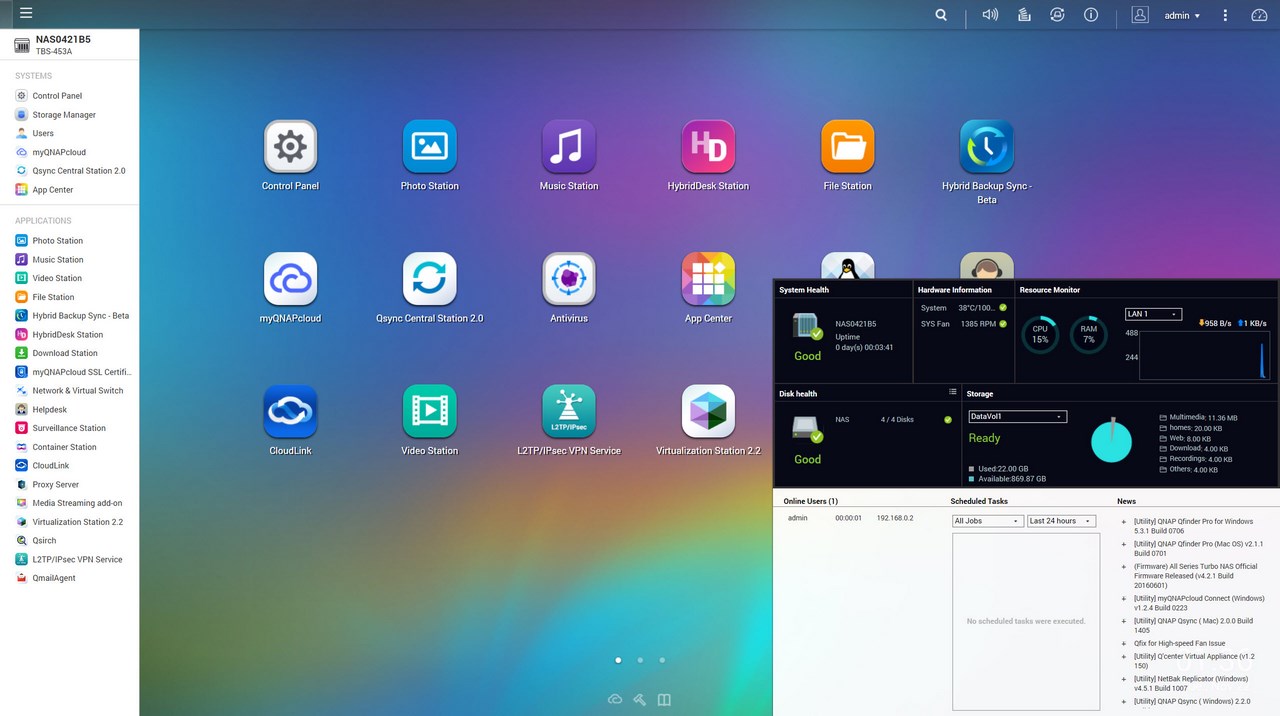
Again you can access the very detailed resource monitor from the lower left corner while a drop down start-like menu can be accessed from the top left corner.
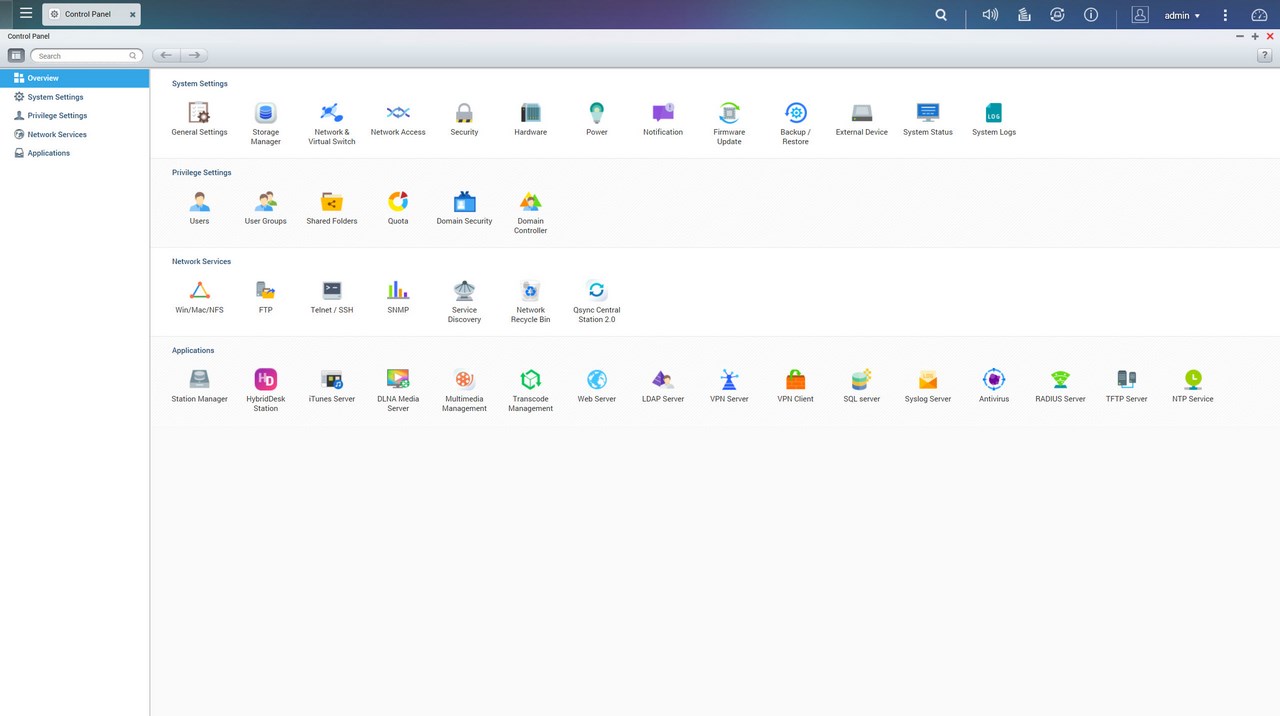
Just like with every QNAP NAS review in the past almost every available setting is placed inside the control panel of the QTS.
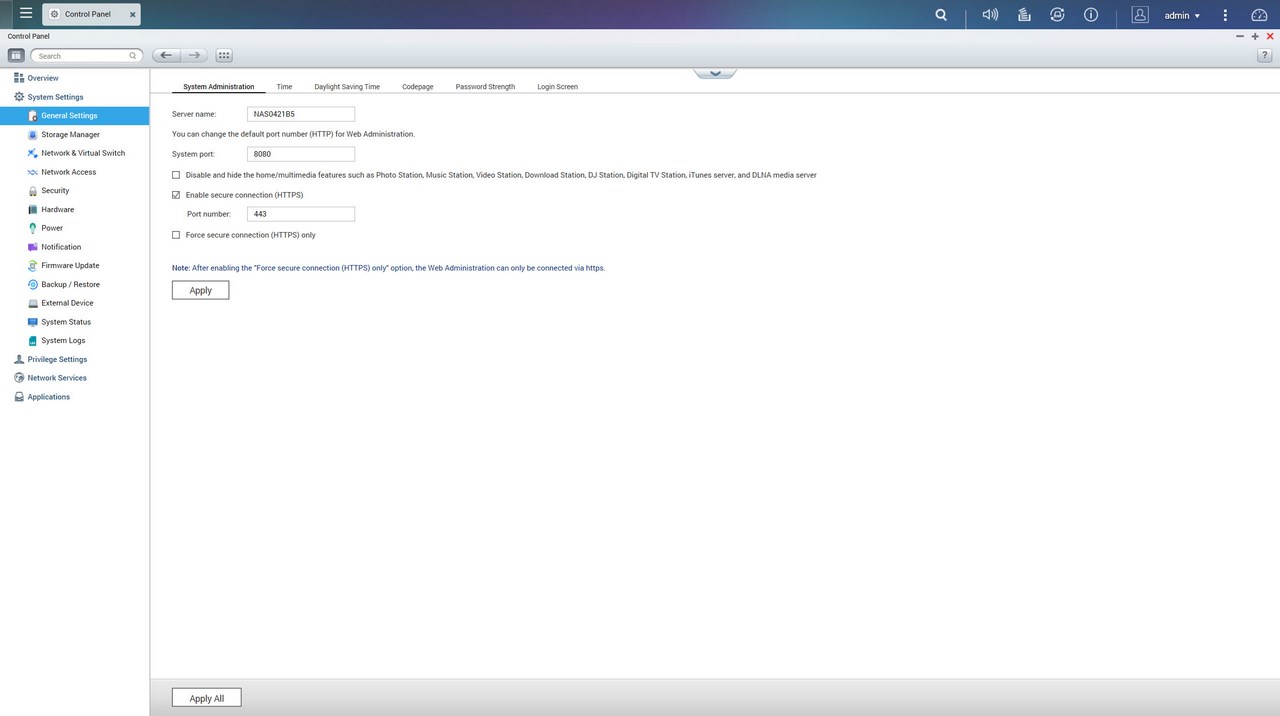
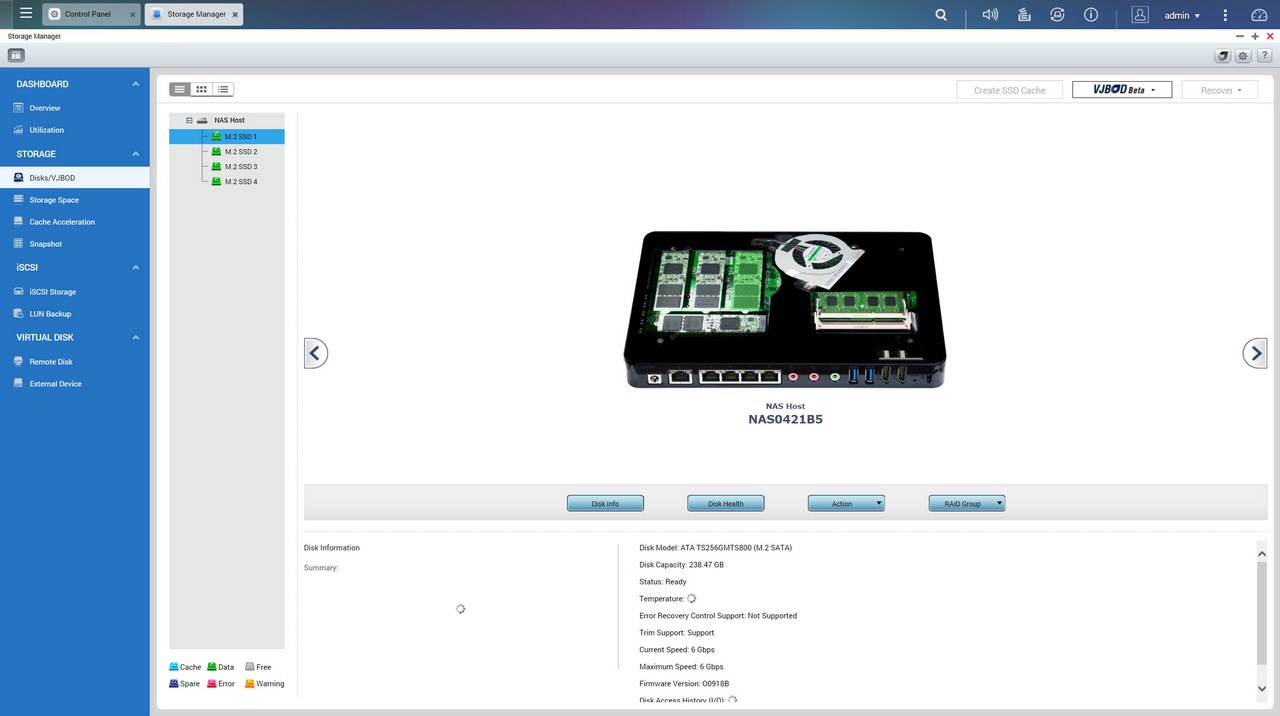
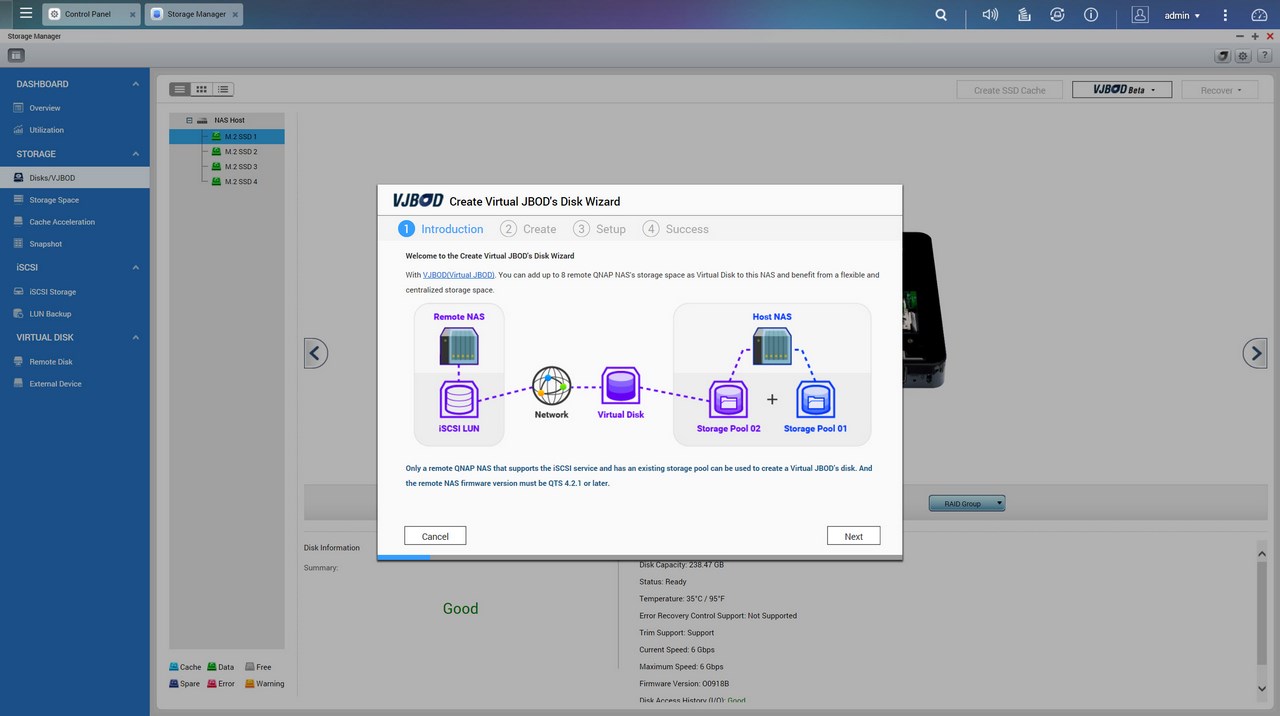
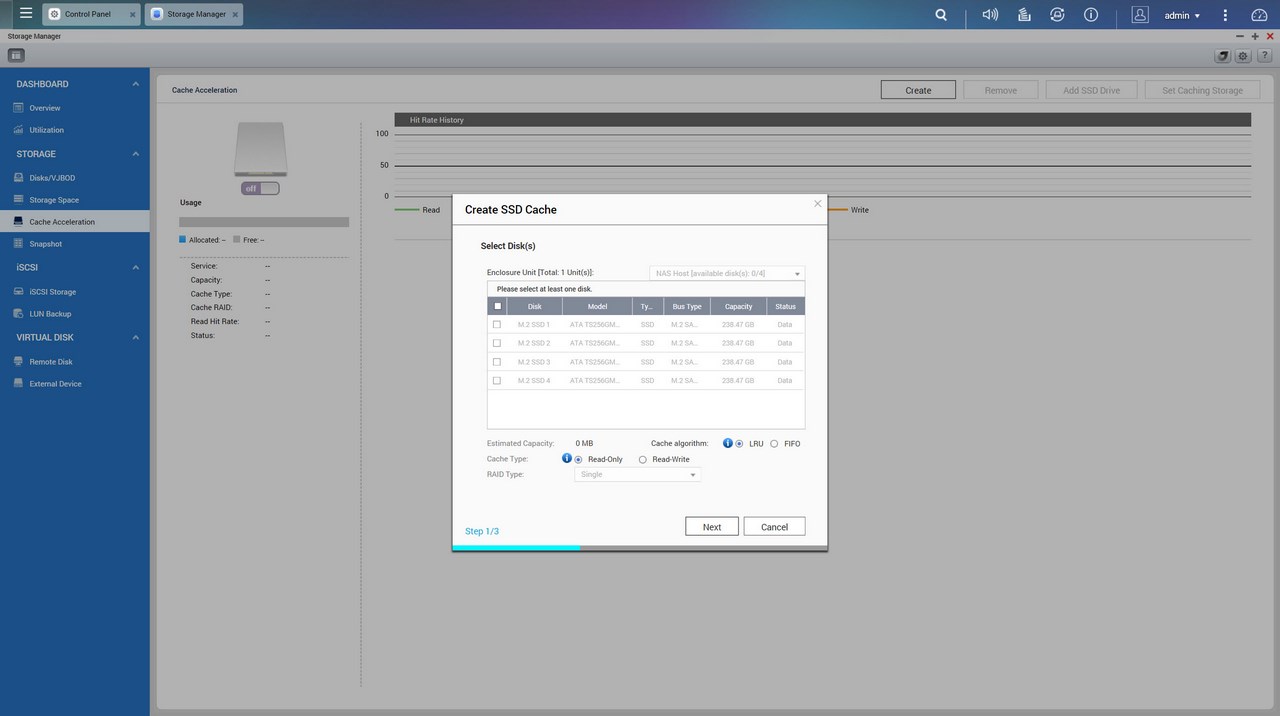

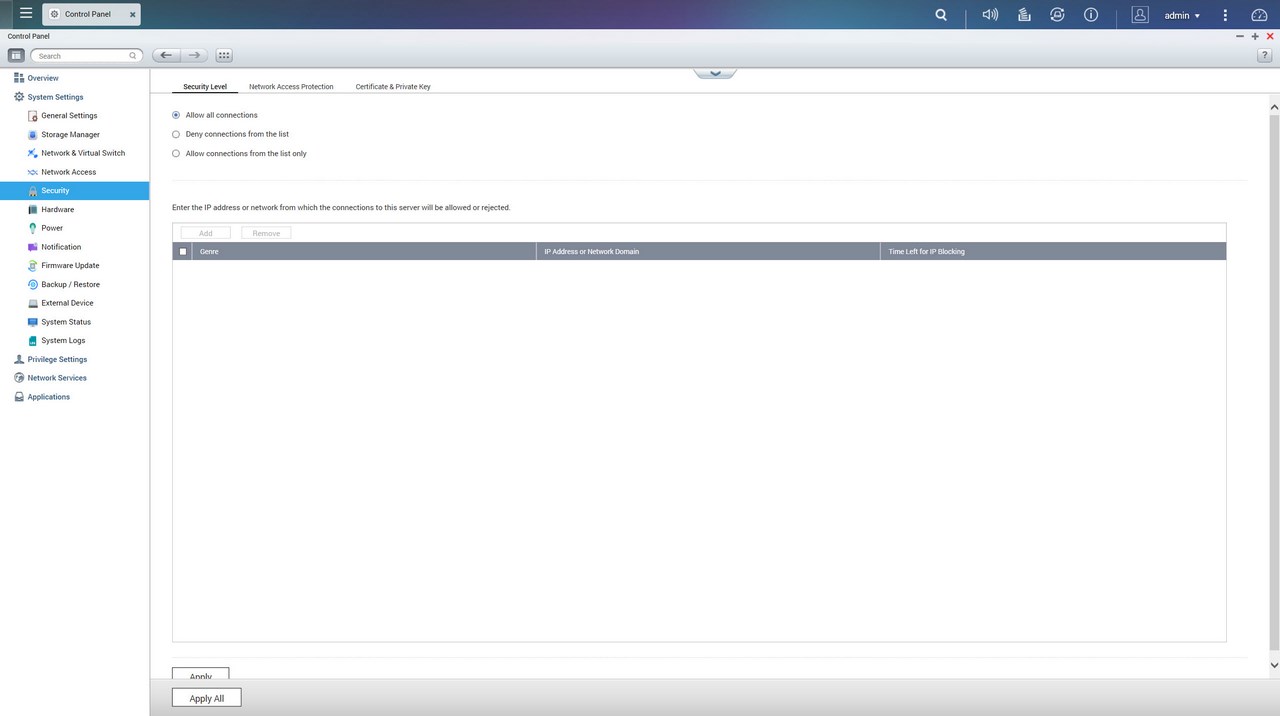
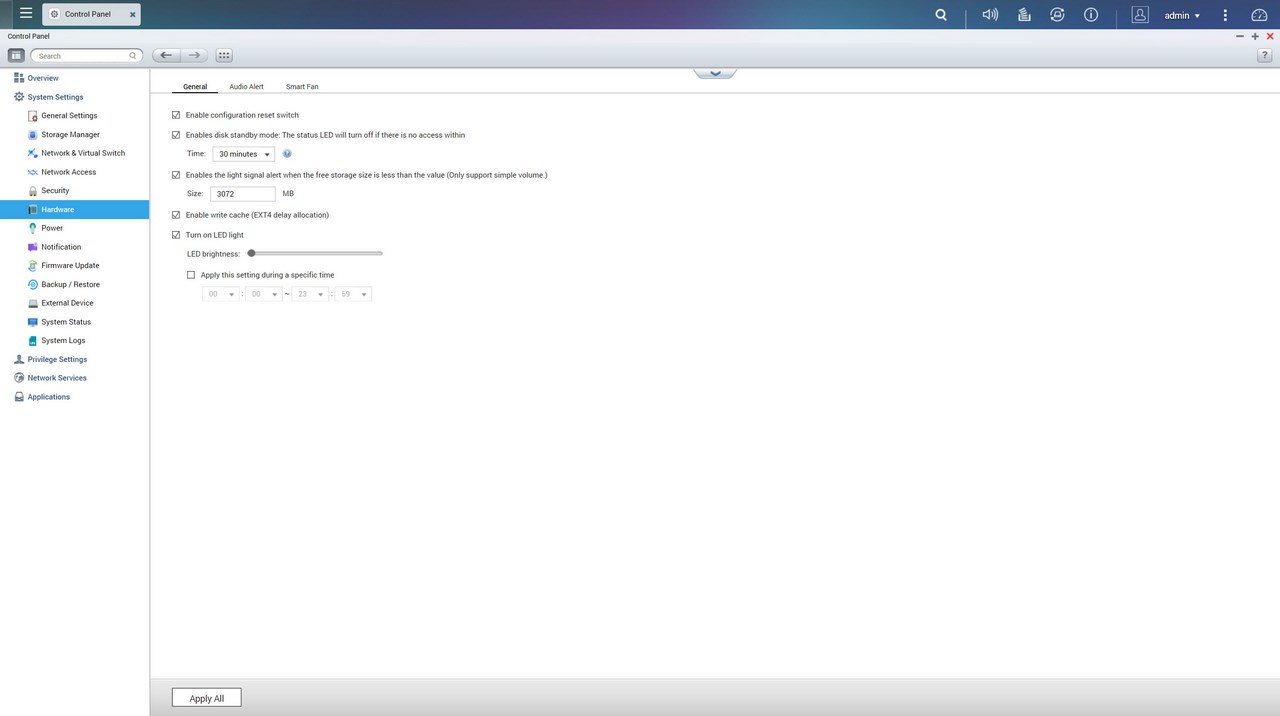
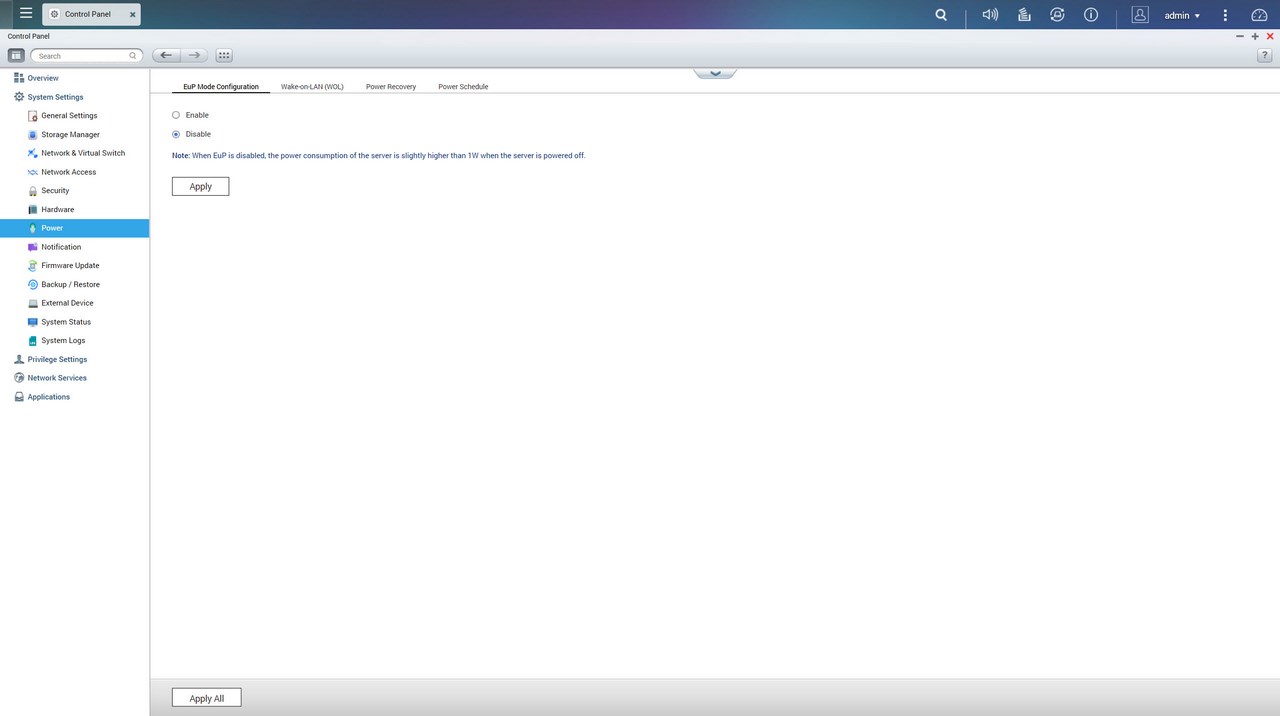
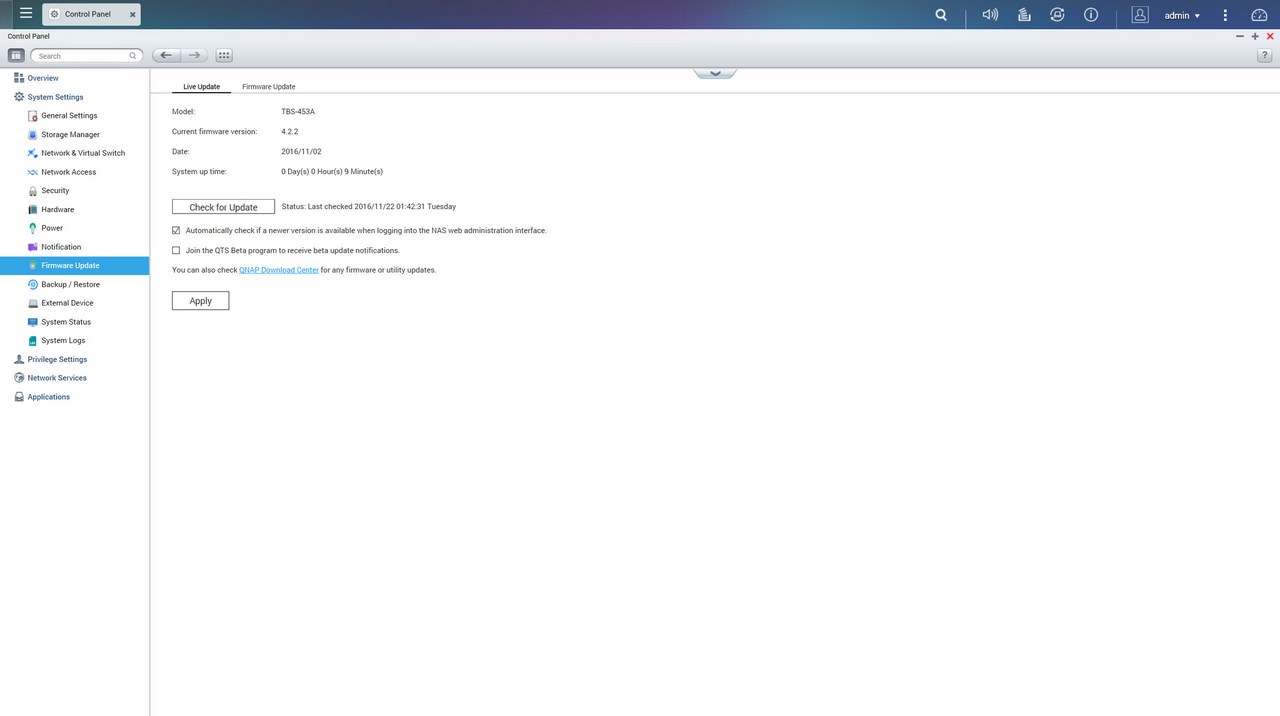
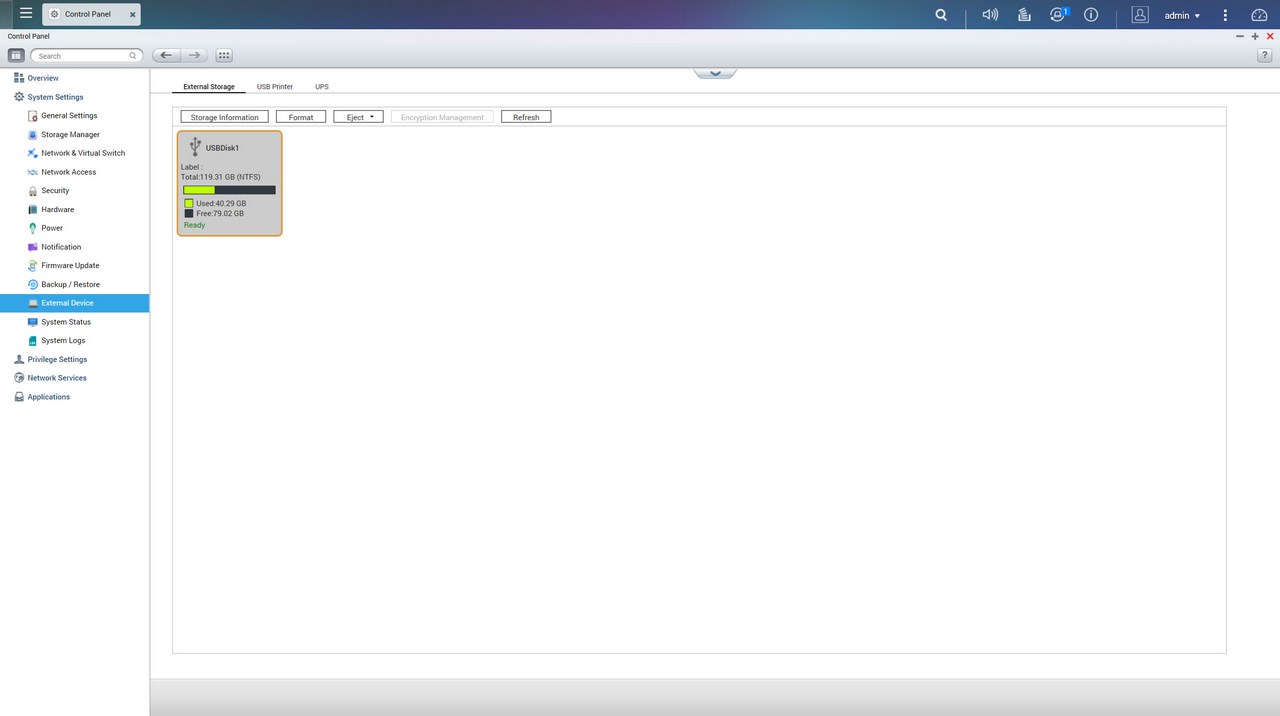
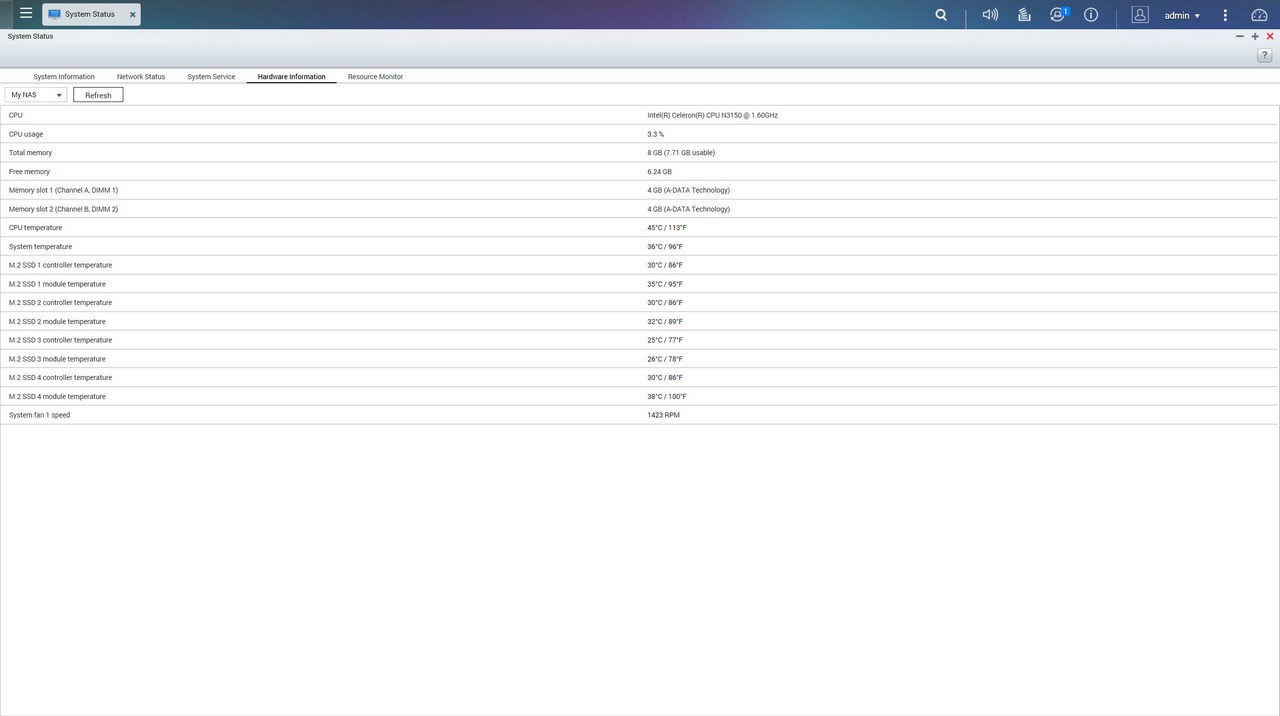
Via the System Settings menu you can set the name for the server, adjust time, set a password, change the codepage, adjust the login screen, specify your location, adjust the network IP, check the status of the Ethernet ports, access the network and virtual switch feature (if installed), play around with power options, set email/sms/push service notifications, check the state of the installed drives, create RAID and Virtual drives, enable the Virtual JBOD feature (allows you to add and use the space of up to 8 remote NAS servers), setup SSD cache acceleration, enable/disable security settings, configure the speed of the two fans (system and CPU), backup and restore NAS data, configure and check the status of external devices, check hardware information, setup backup options, access external devices and their settings, check the logs and of course perform firmware updates (beta ones included).