O-Sense


WEB INTERFACE PART 1
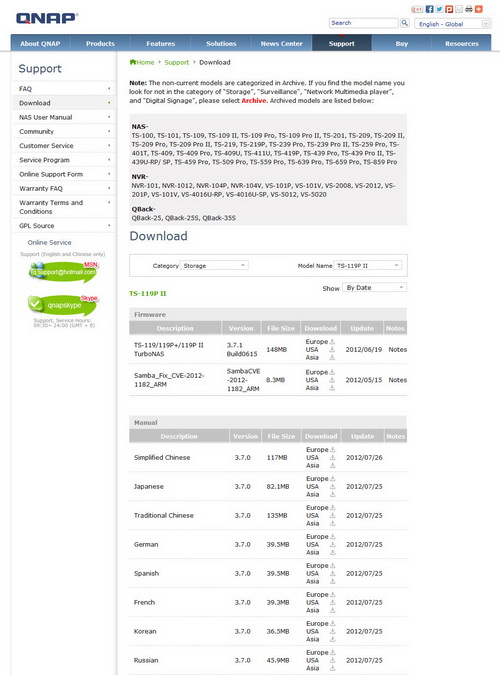
Before you actually use the TS-119P II it’s highly recommended that you head over to the official QNAP support page to download the latest software version. QNAP has a very high rate of updates so you will probably have an old version on the supplied software CD.
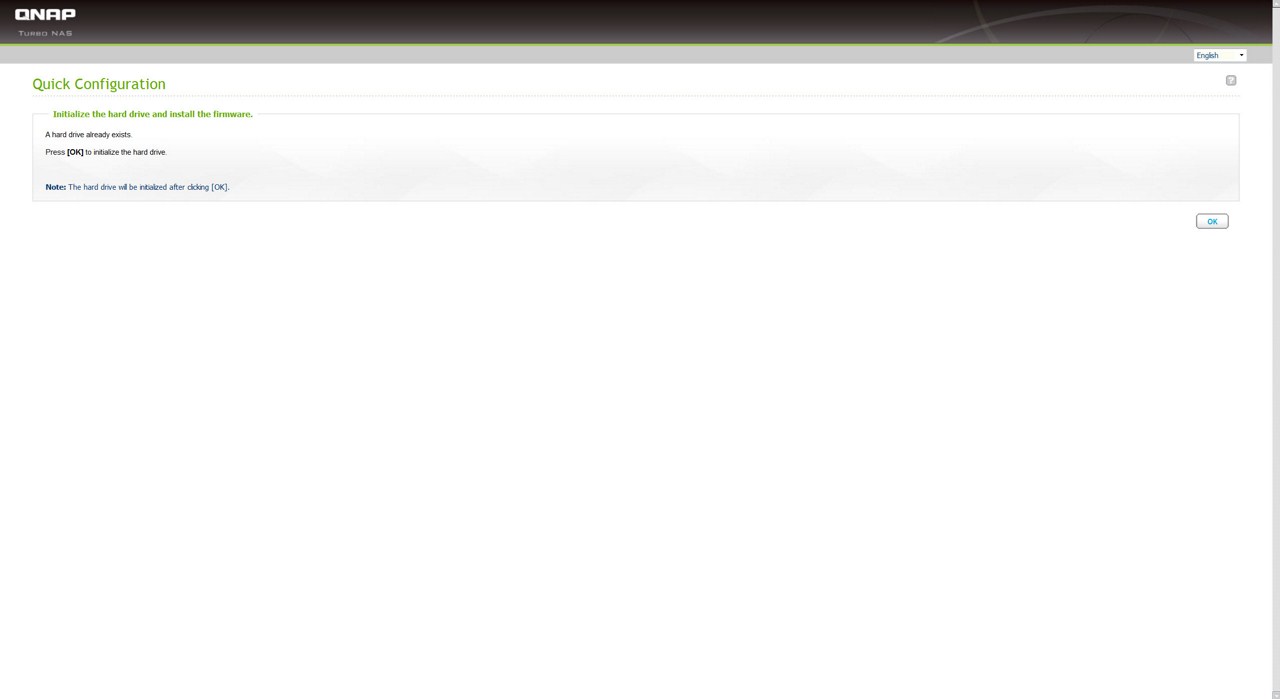
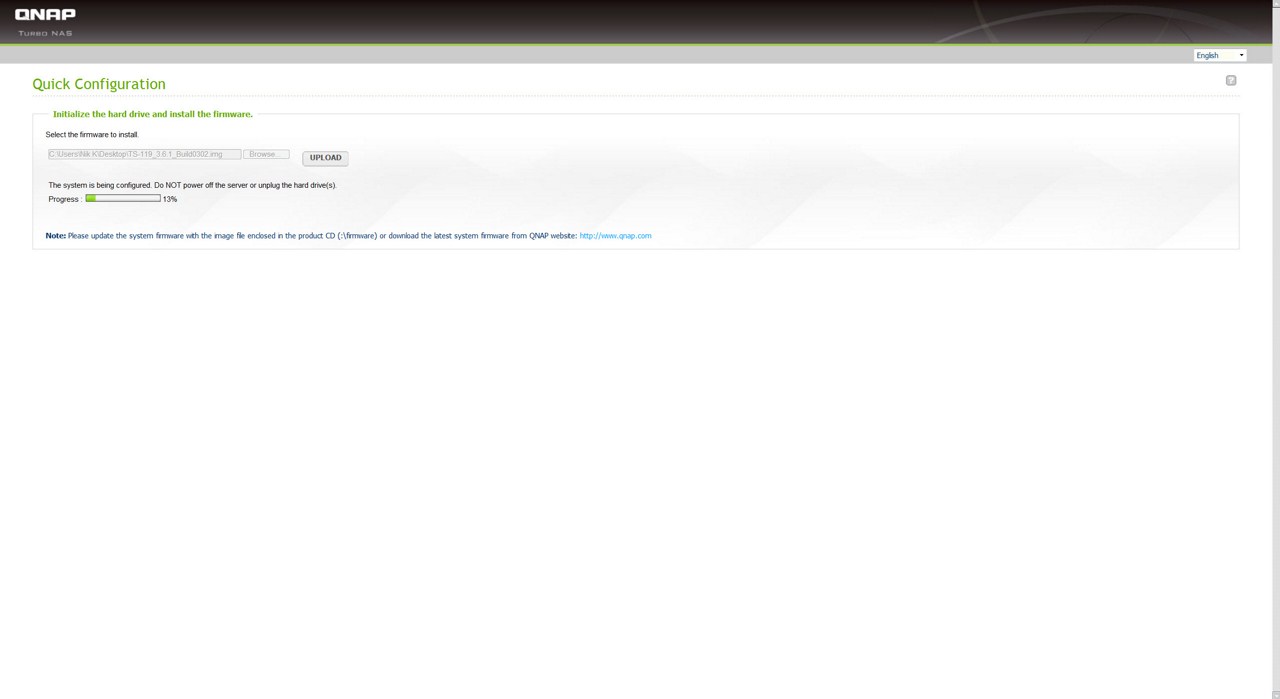
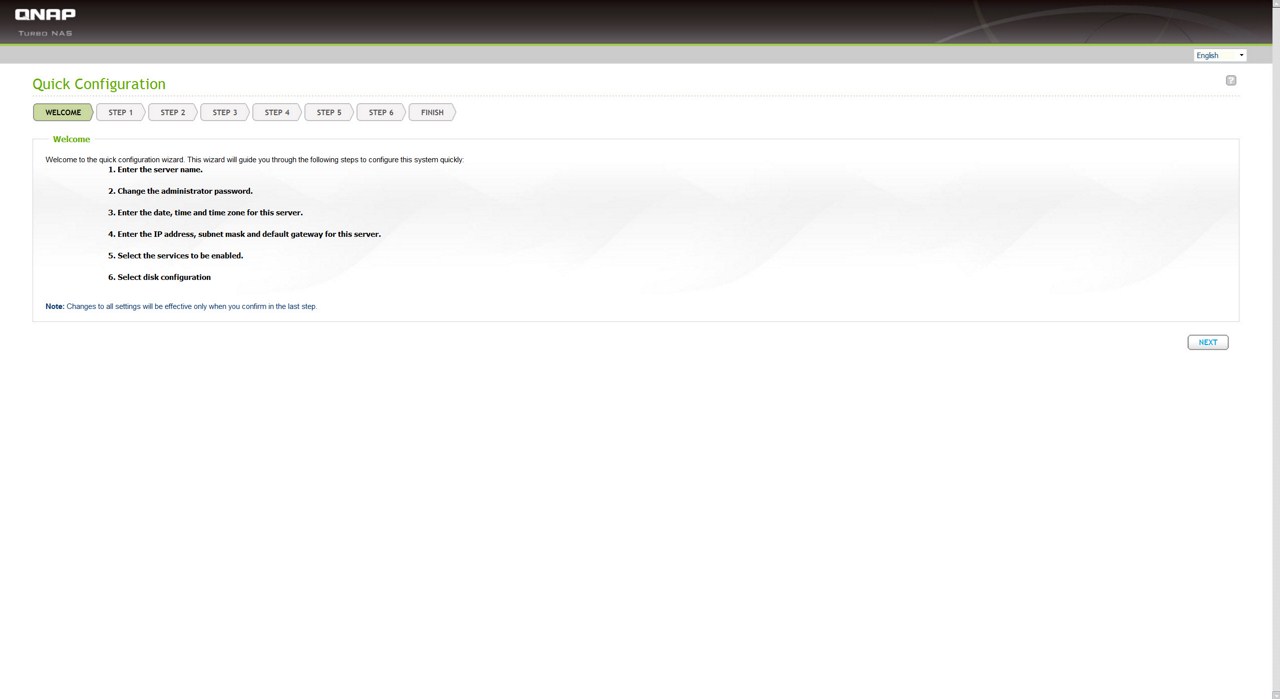
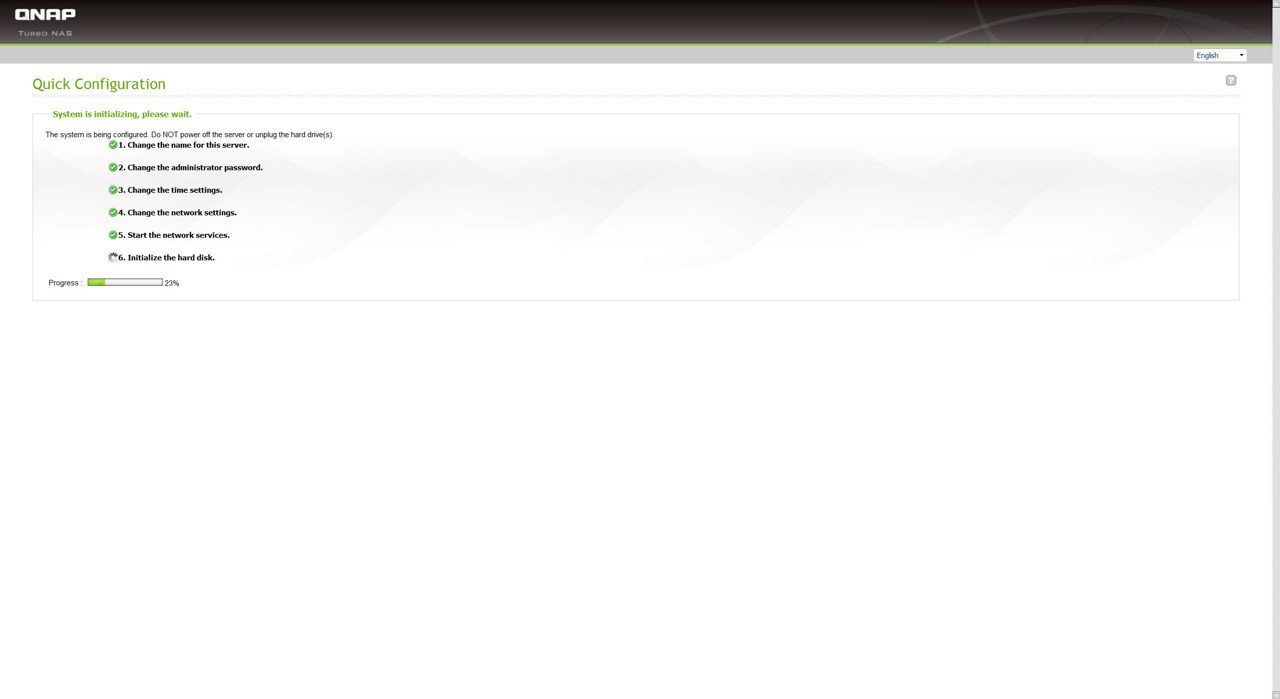
You will need to follow some small steps for the unit to recognize, format and prepare the installed drive.
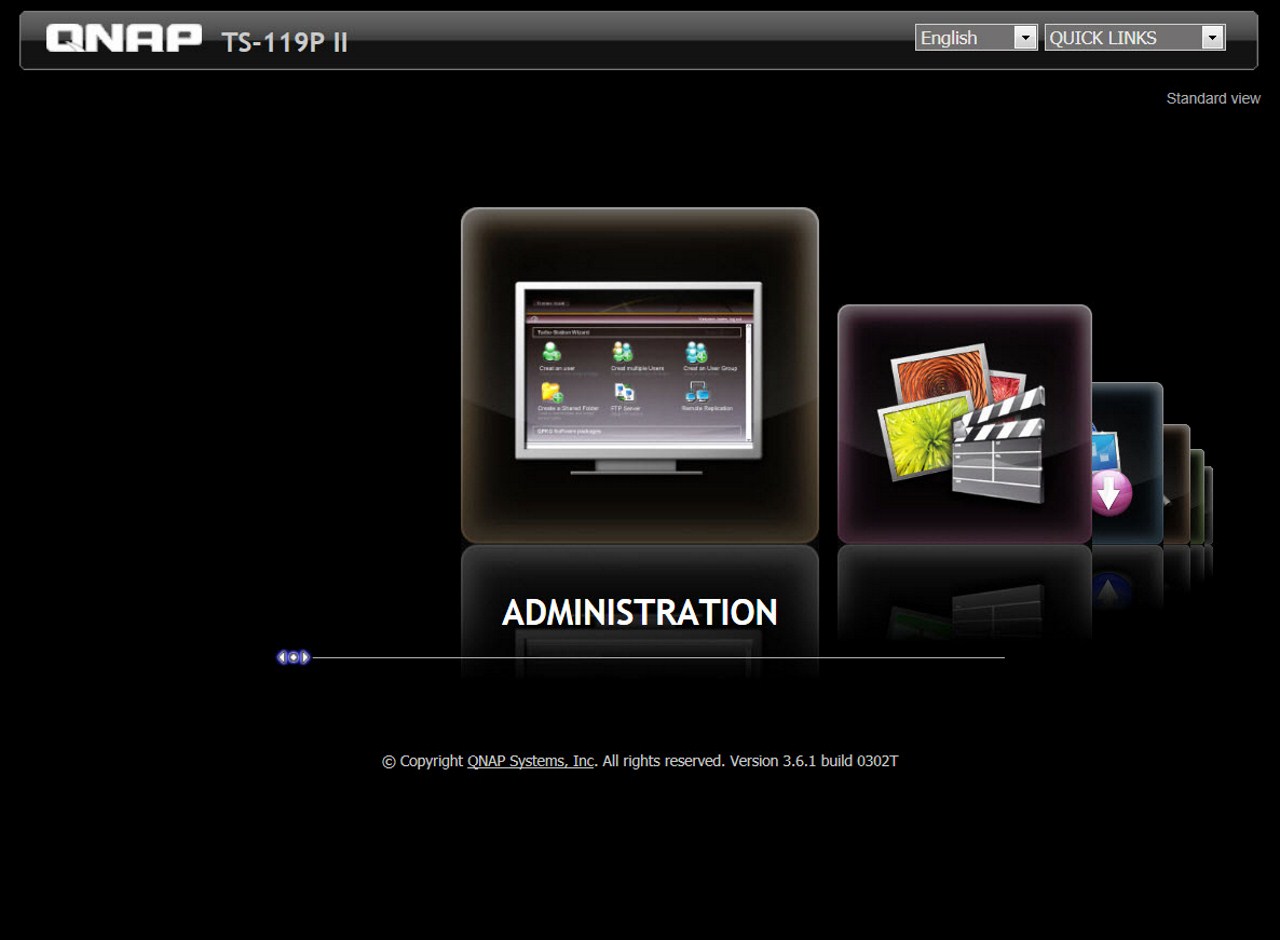
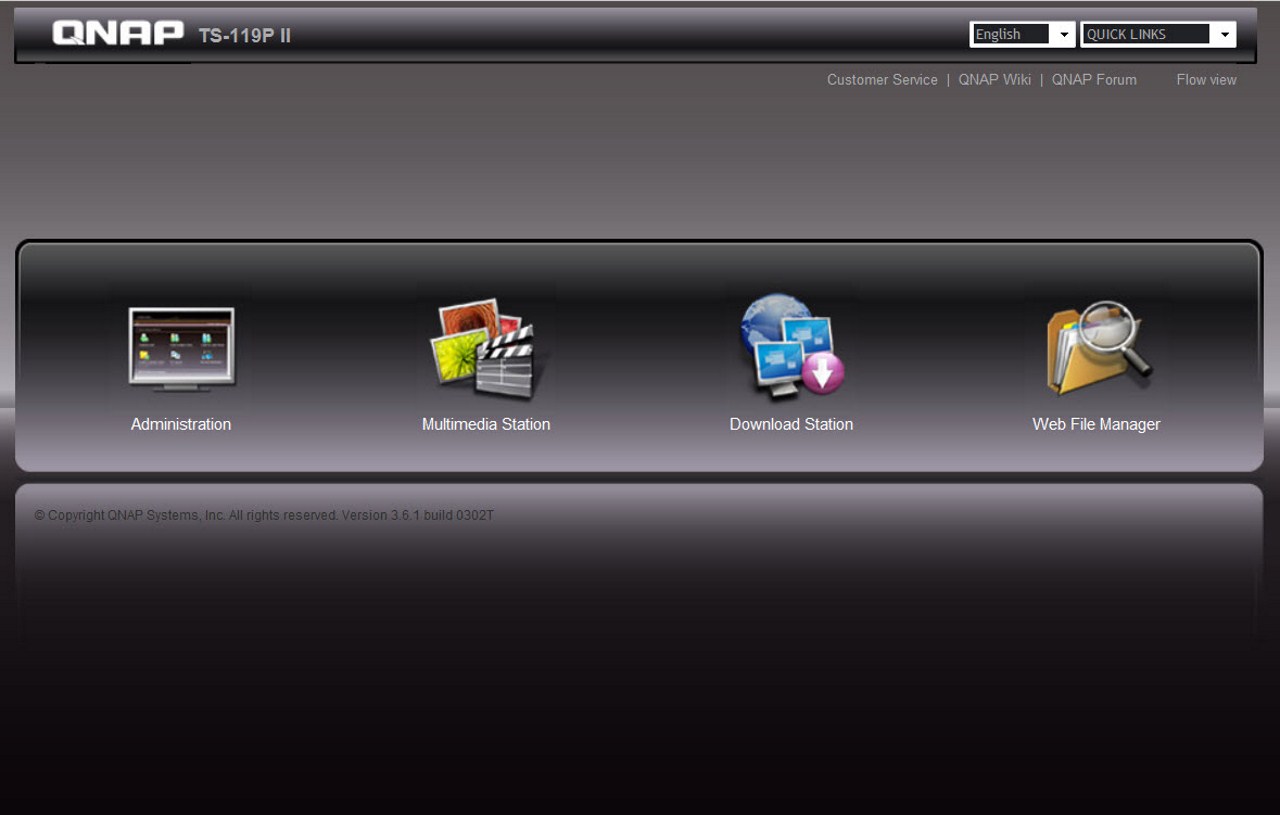
The login page has two different views which you can switch between according to your preference. Do note that if you can't login with the usual admin/admin username and password you will need to press the reset switch at the rear of the unit.
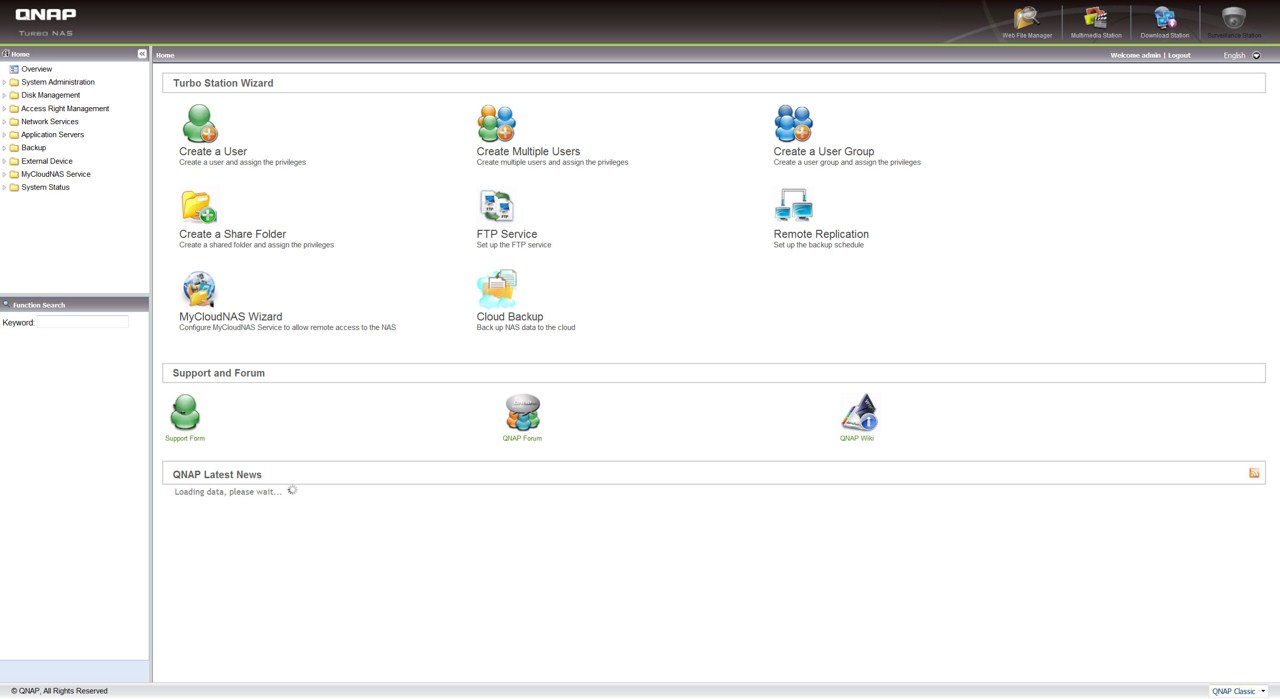
After entering your user name and password you now have access to the main page of the web interface. Since the device has more or less 50 different screens filled with settings we will only look at the most important ones.
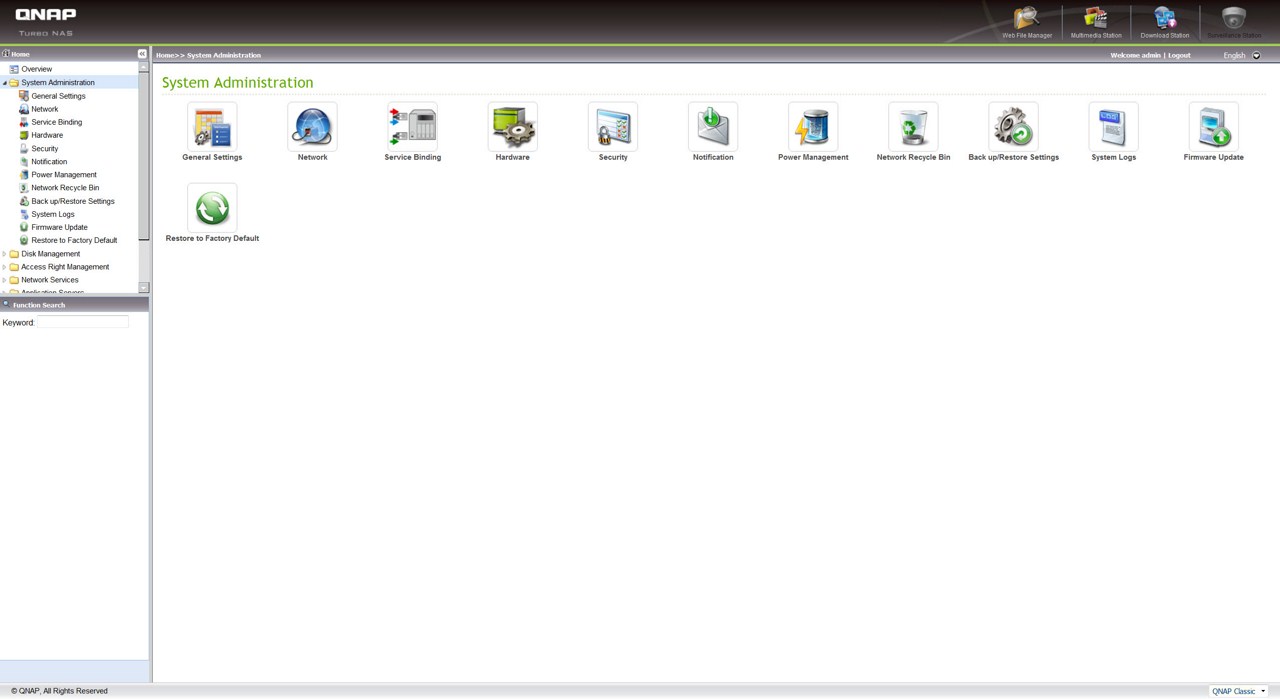
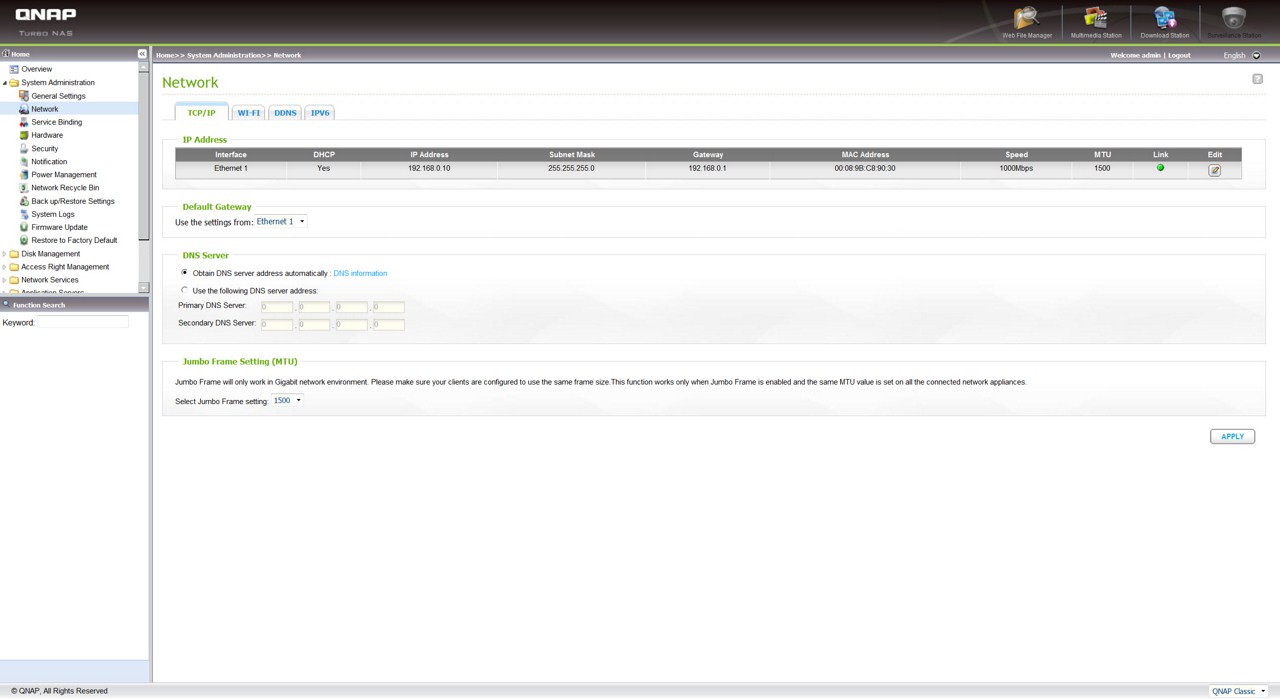
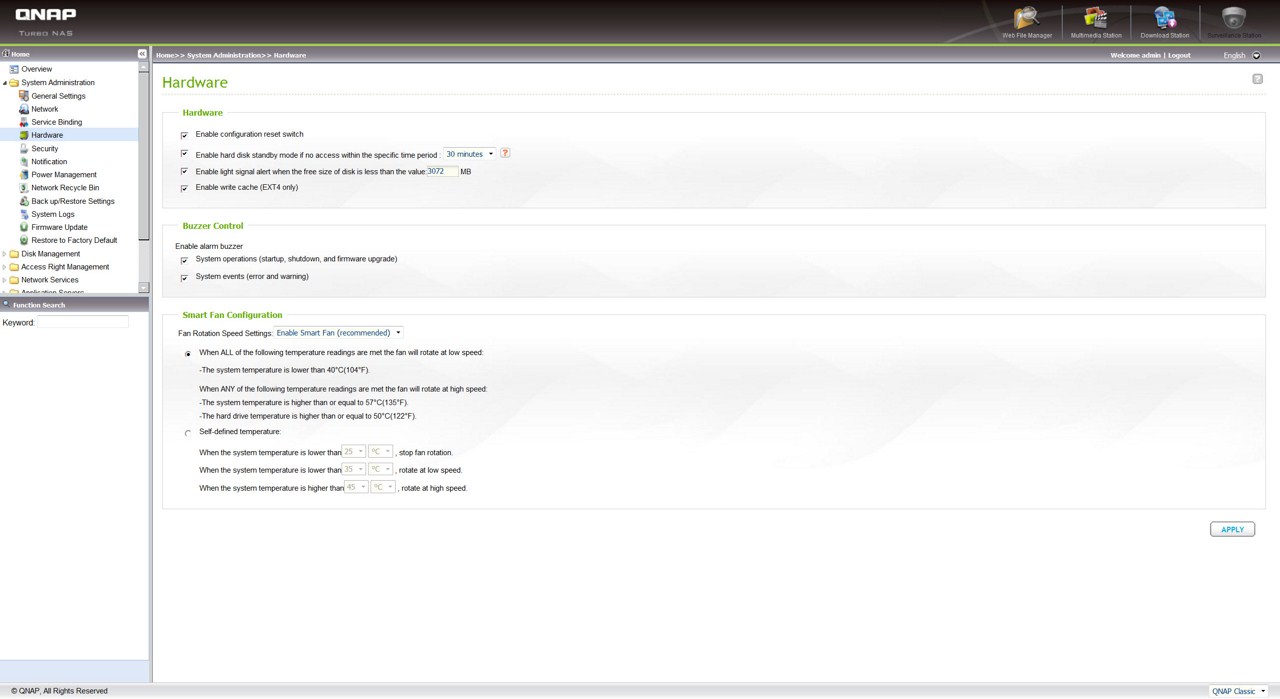
In the System Administration folder you can perform firmware updates (automatic/manual) and adjust every basic setting from the name of the server, time, location and network IP to the power and security settings. You can also check the current hardware configuration from the above screen.
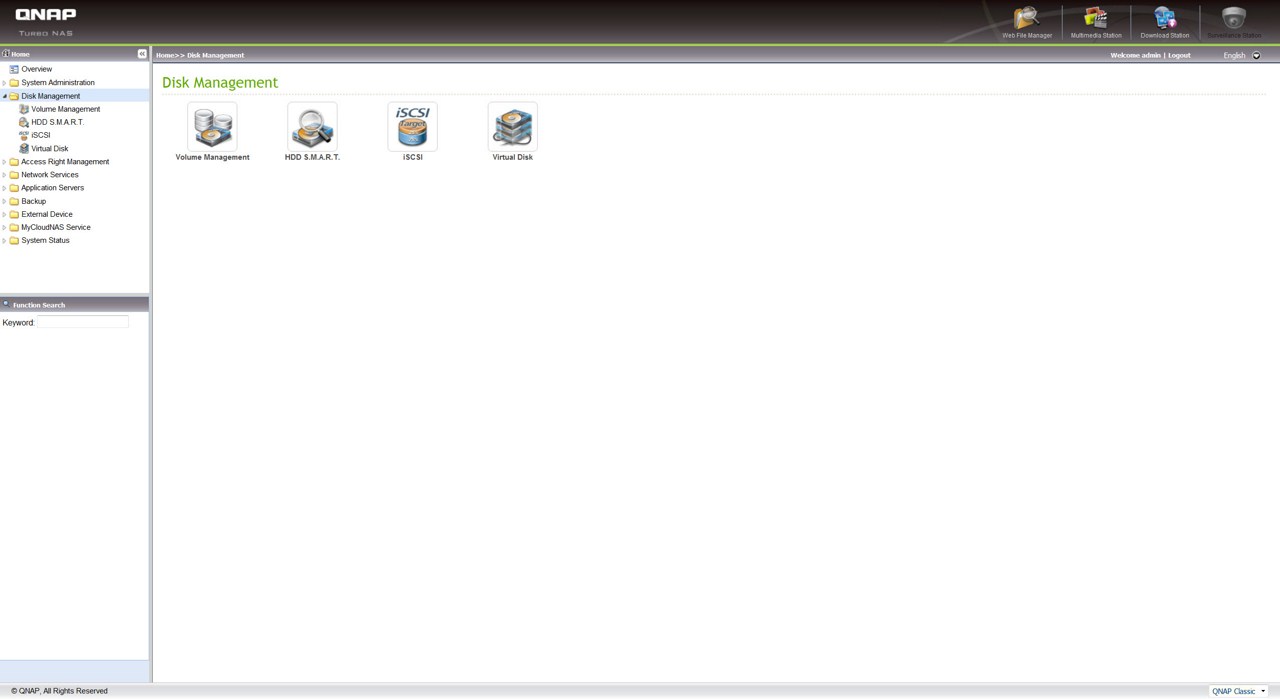

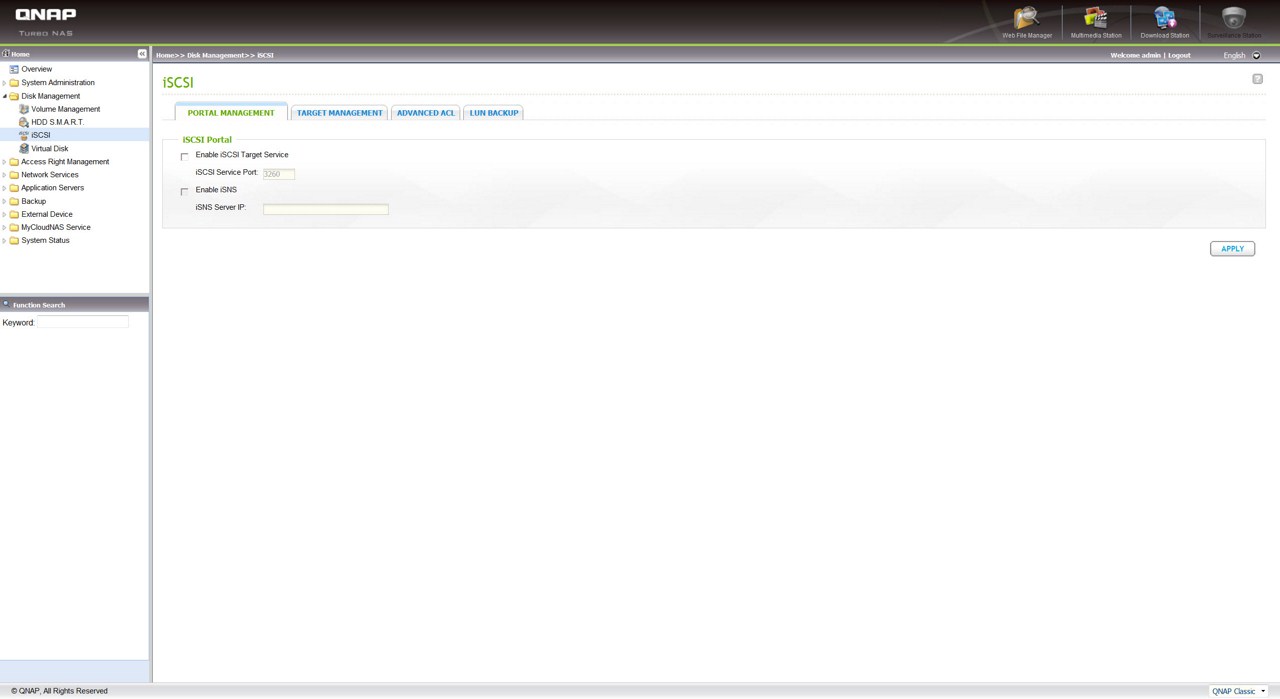
The Disk Management folder gives you the ability to check the installed drive via the SMART feature, setup a virtual drive and use the iSCSI mode.
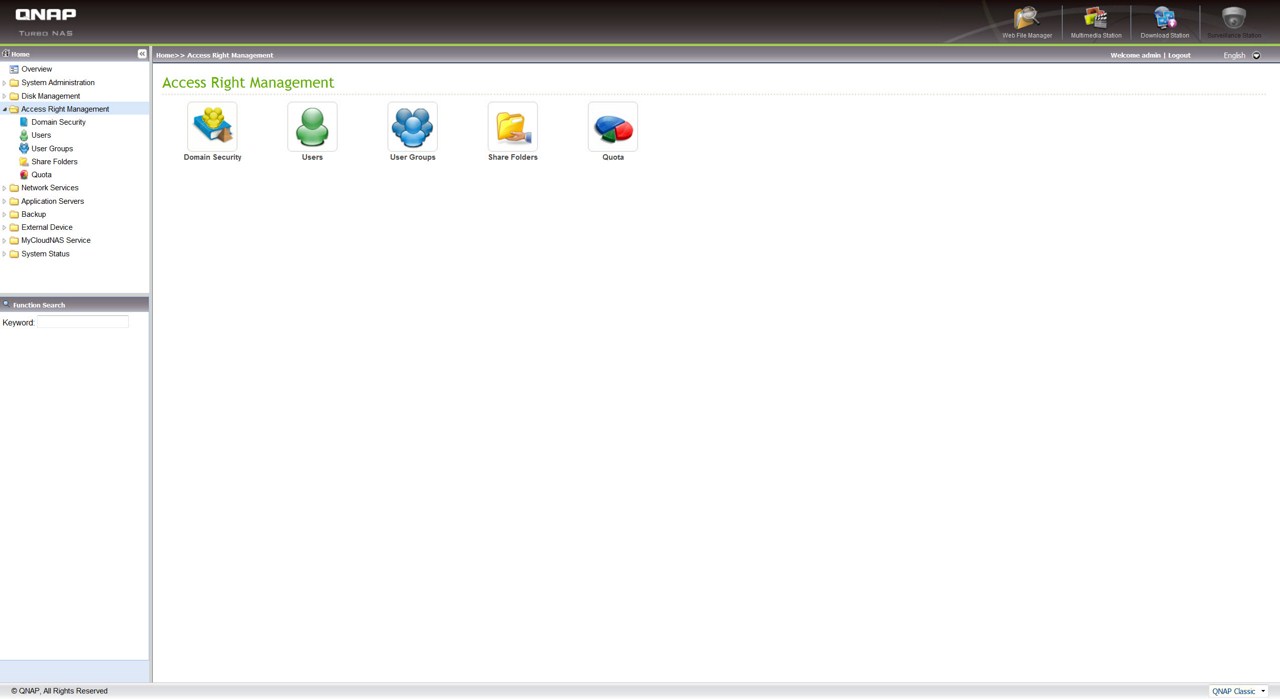

You can use the Access Rights Management folder to add/remove users, create user groups, share folders and set a specific quota for each user.
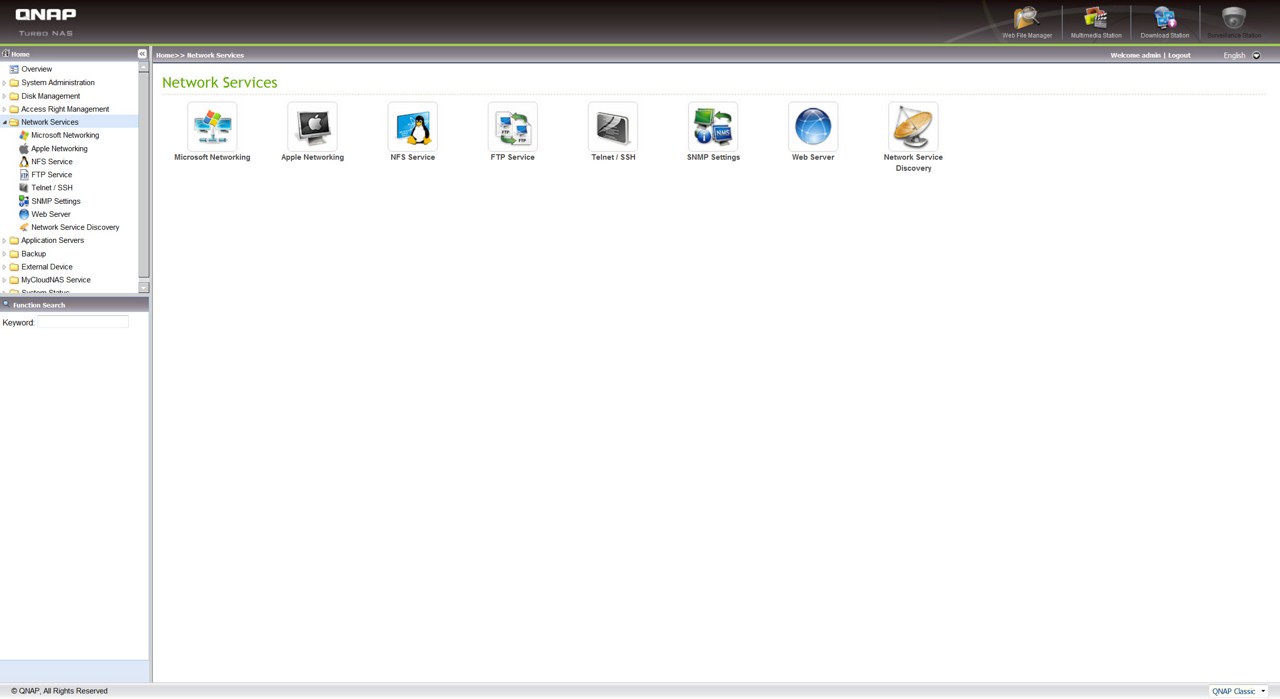
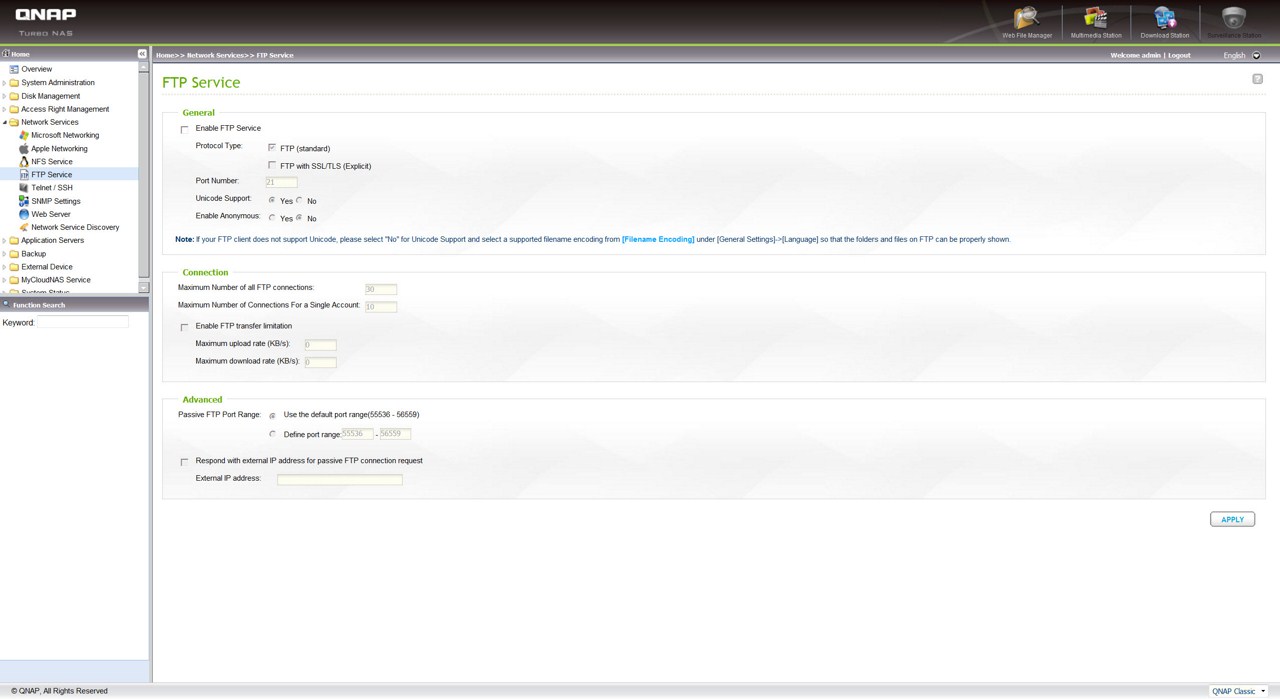
Just about everything related with the network can be found under the Network Services Tab such as the usual Microsoft and Apple Networking up to setting up your own FTP/Web servers.
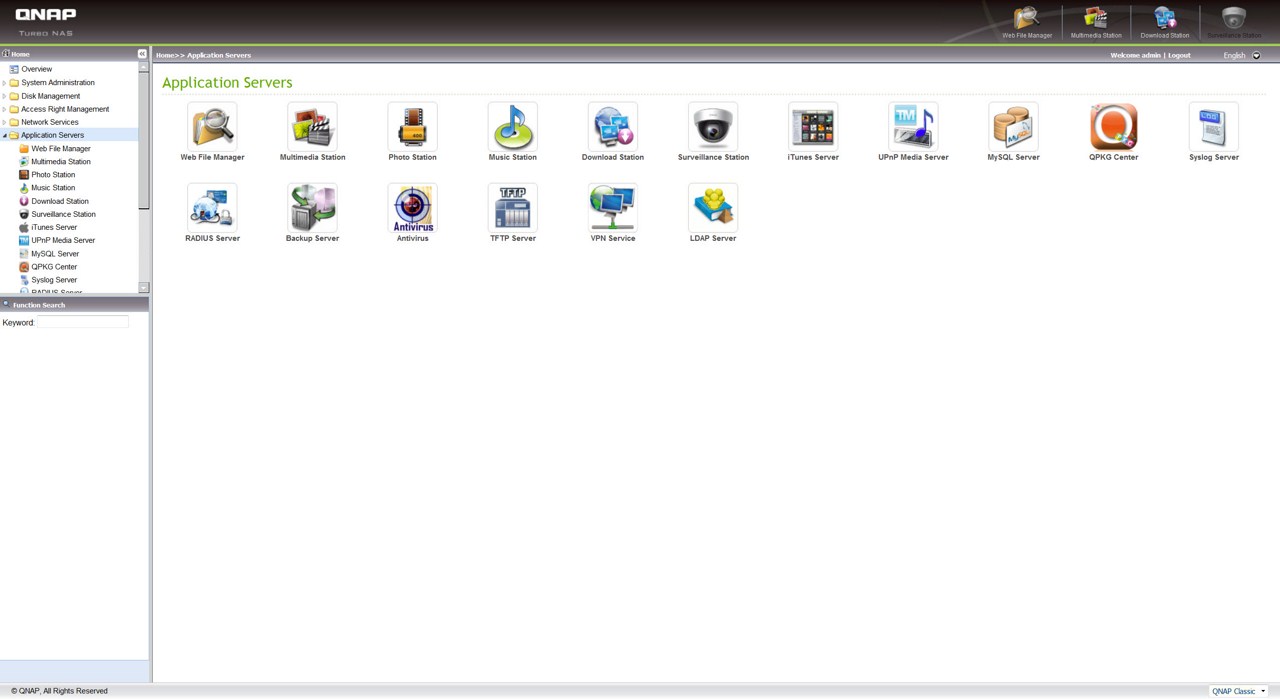
From within the Applications Folder you can manage your files and use the unit as a media server, download server, surveillance station and much more. We will come back to check on these on the next page.
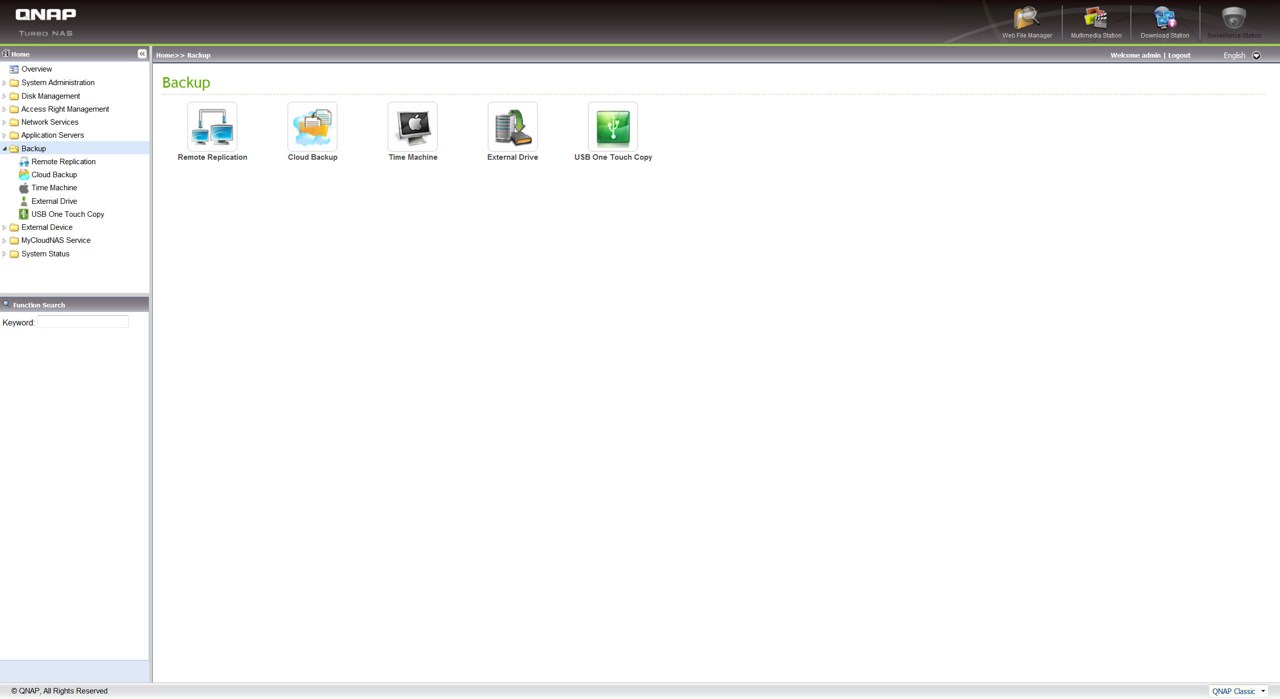
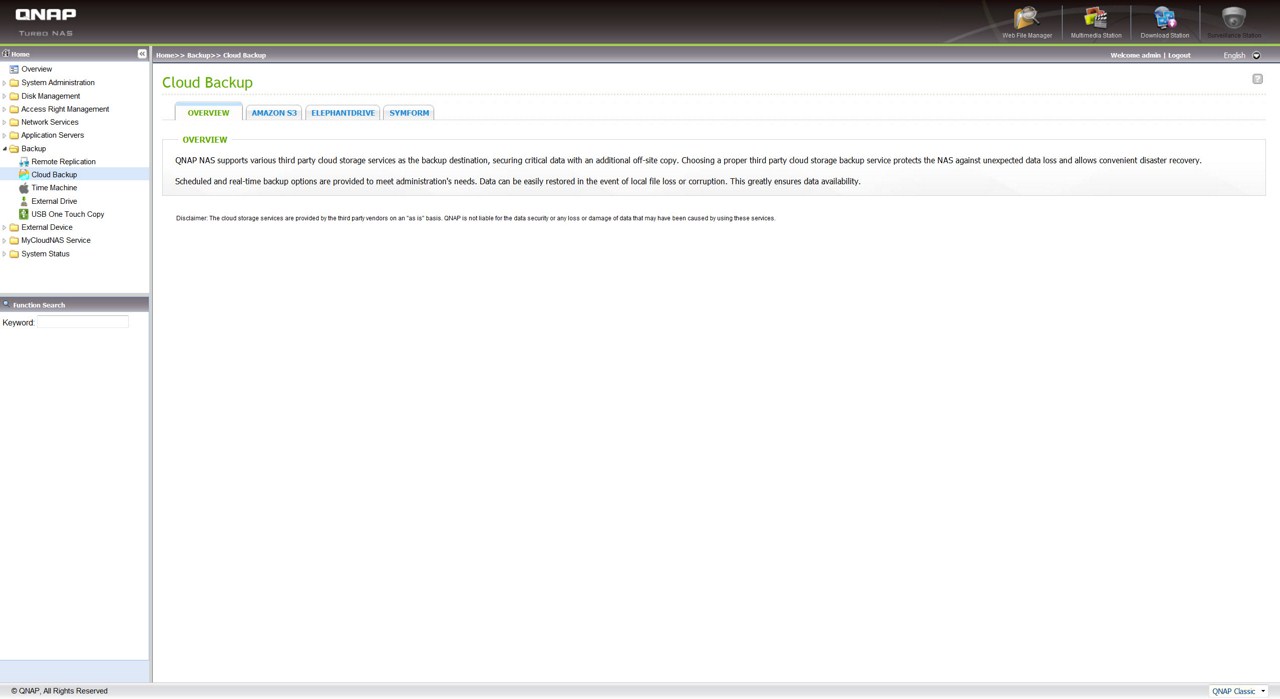
The Backup folder can be used to perform backups of your system drives, create cloud backups, use the Apple time machine feature and set the one touch backup button properties.
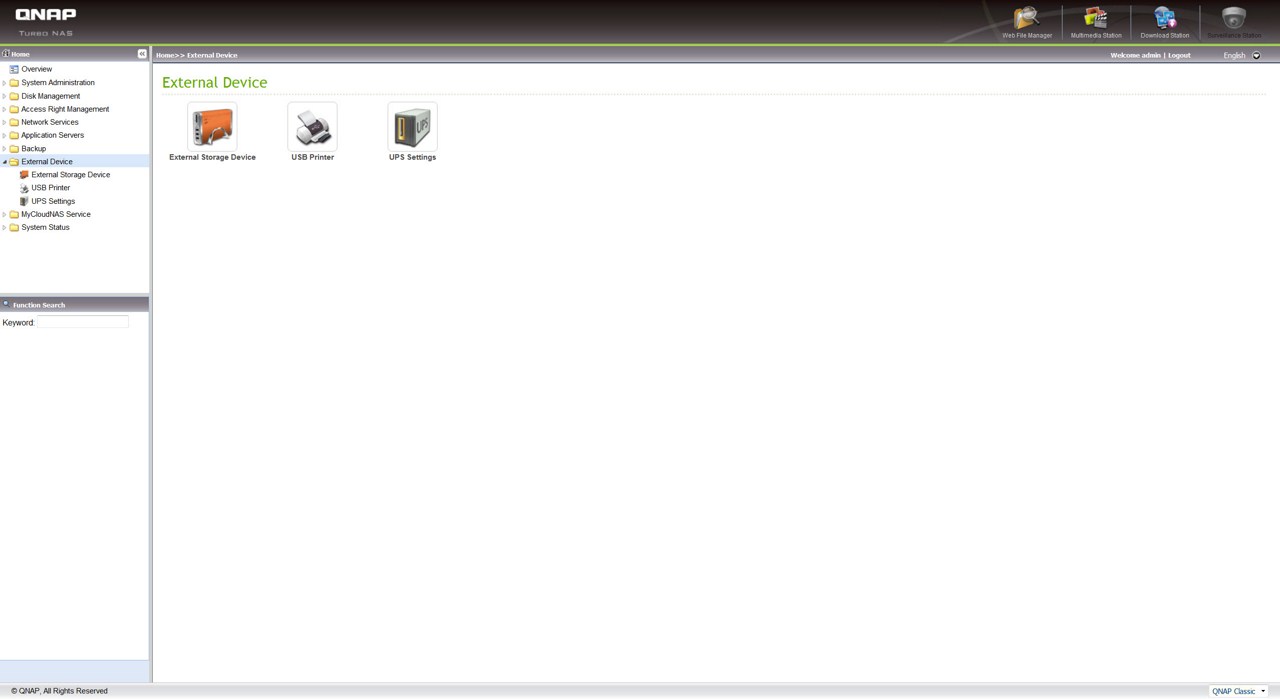
Properties for all the external device settings from USB drives and printers up to your UPS can be accessed from the External Device folder.

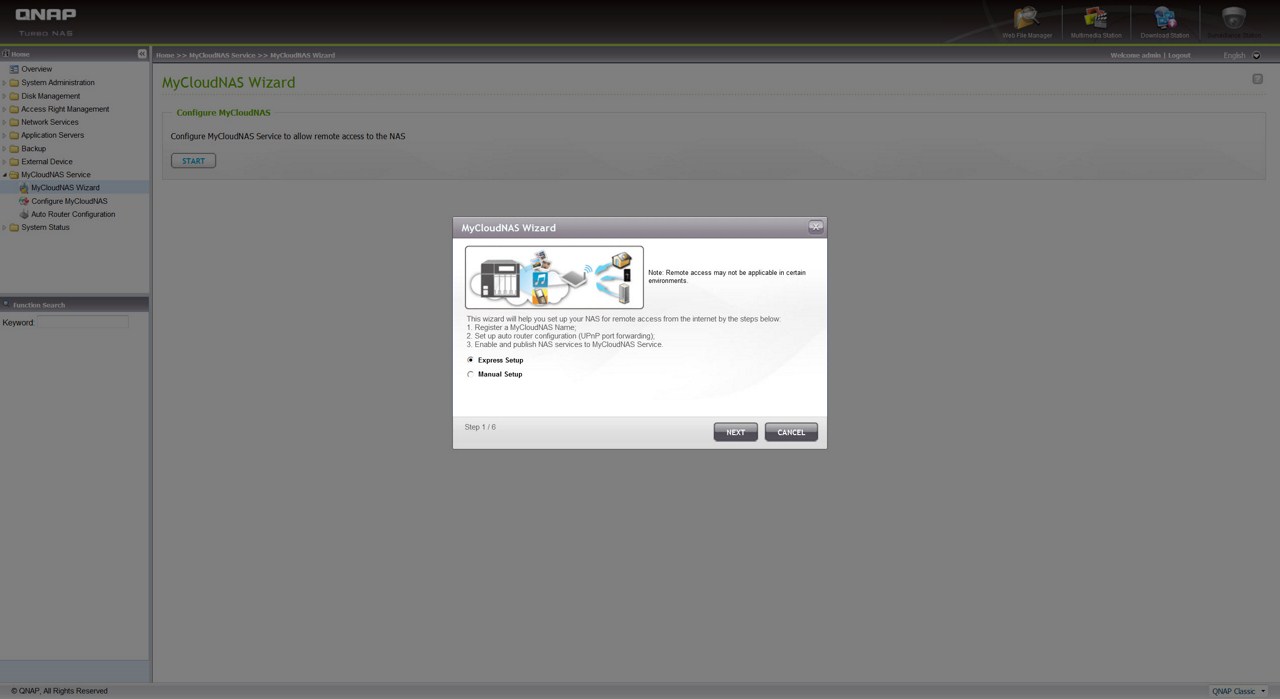
The MyCloud page is a feature QNAP units did not have until recently and so through here you can make the unit accessible from all over the world.
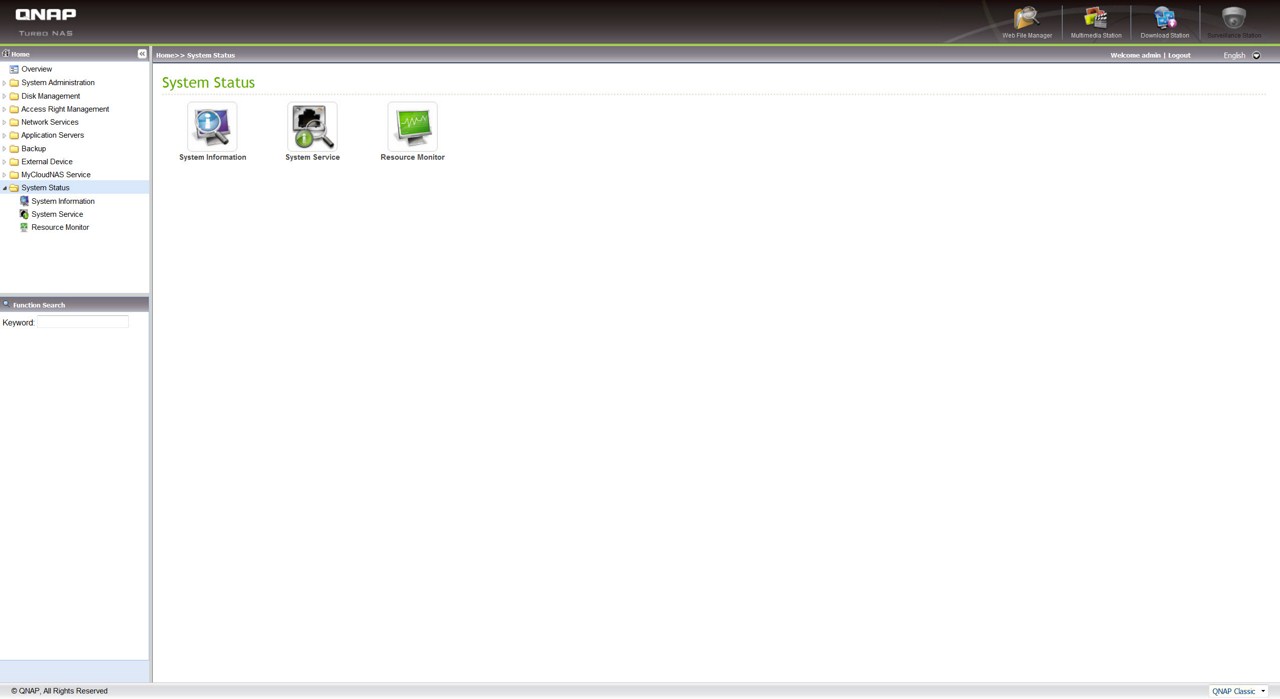
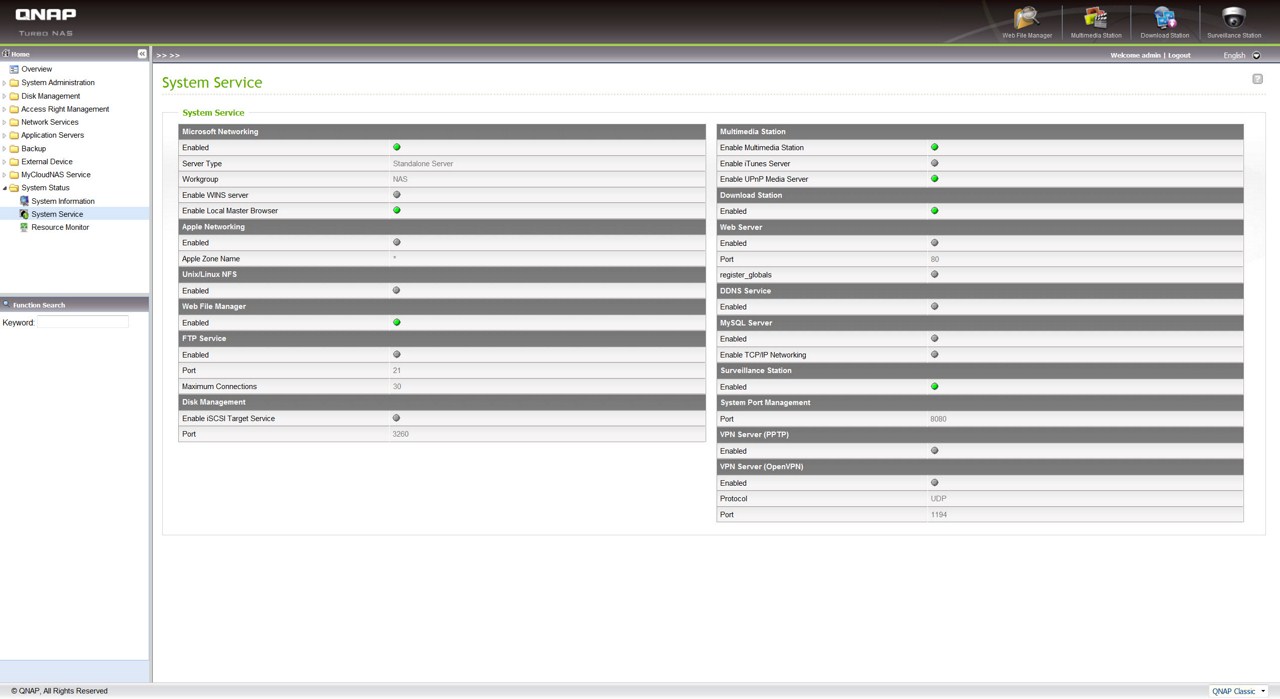
Via the System Information drop down menu you can check basic information about the unit and also monitor all the running Services and resources used.