O-Sense


WEB INTERFACE PART 1
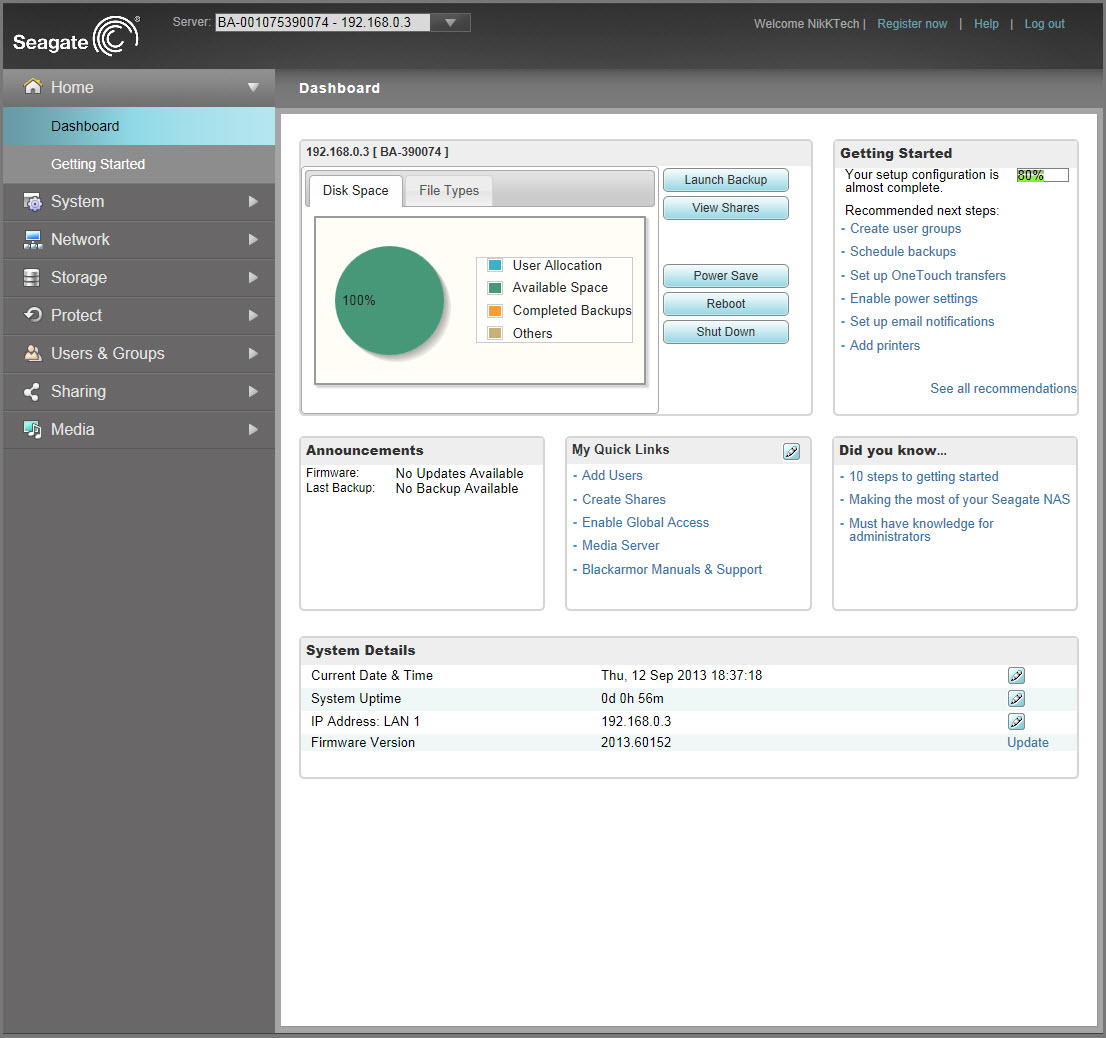
The Dashboard is the main page that shows pretty much everything at a glance but you can't really do much through here.
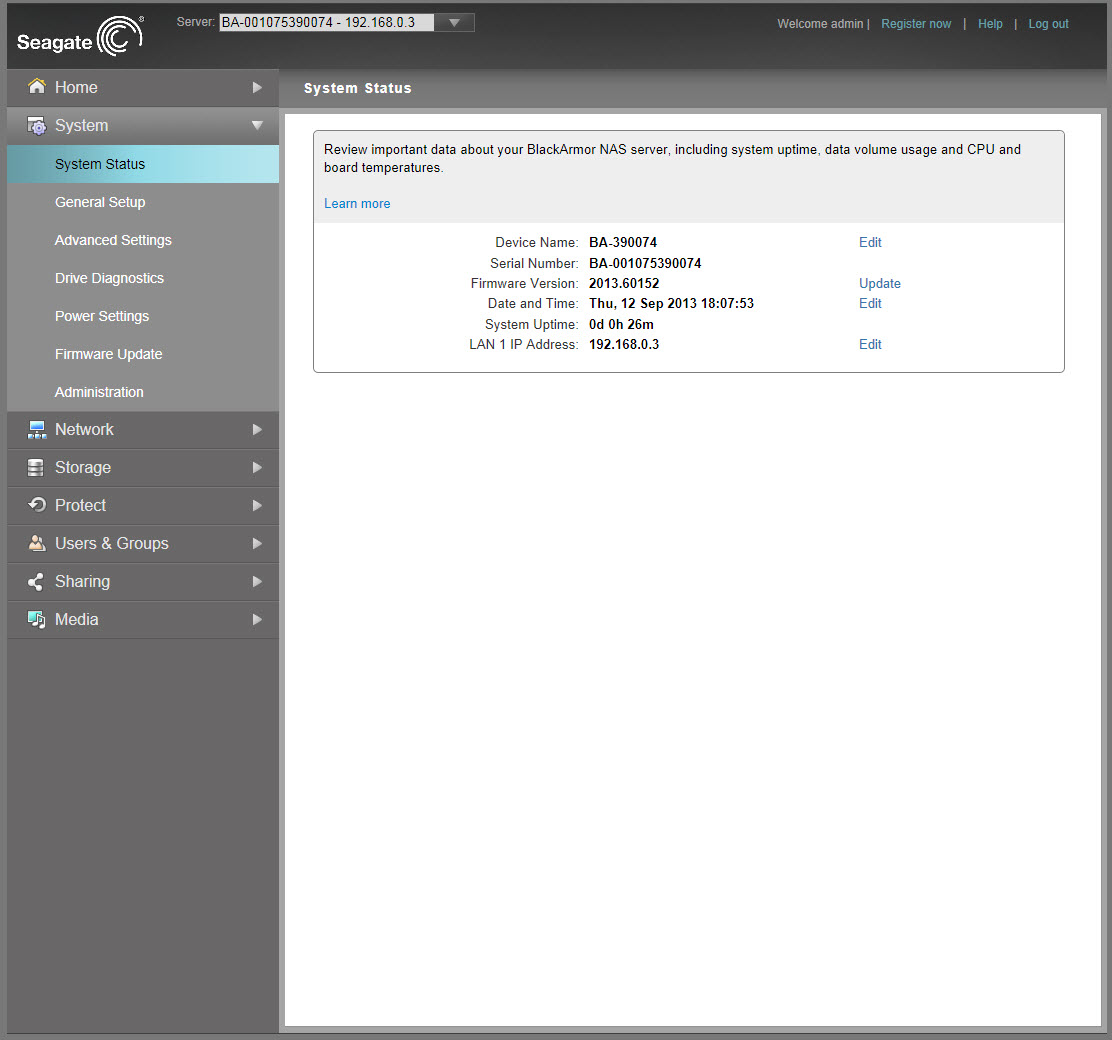
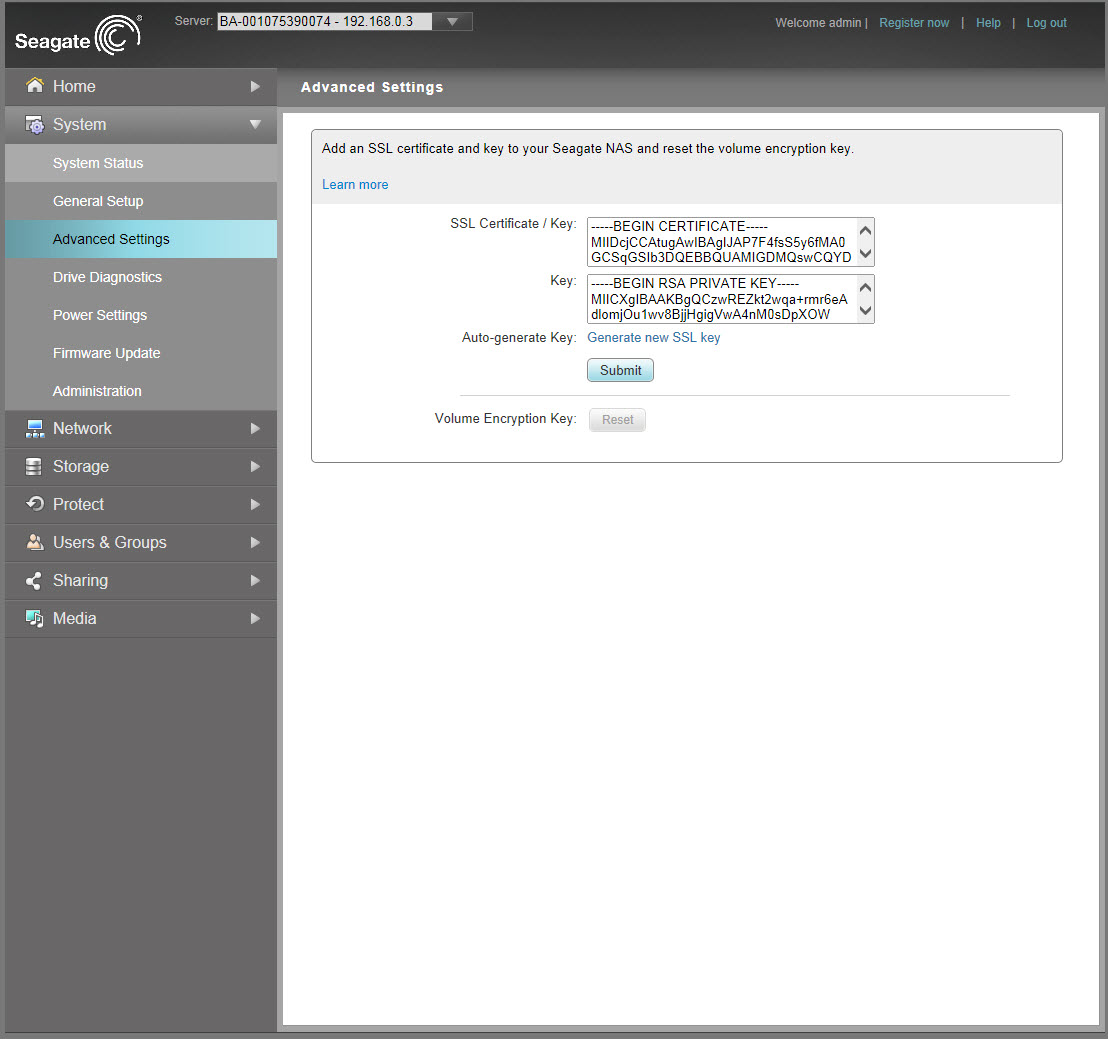
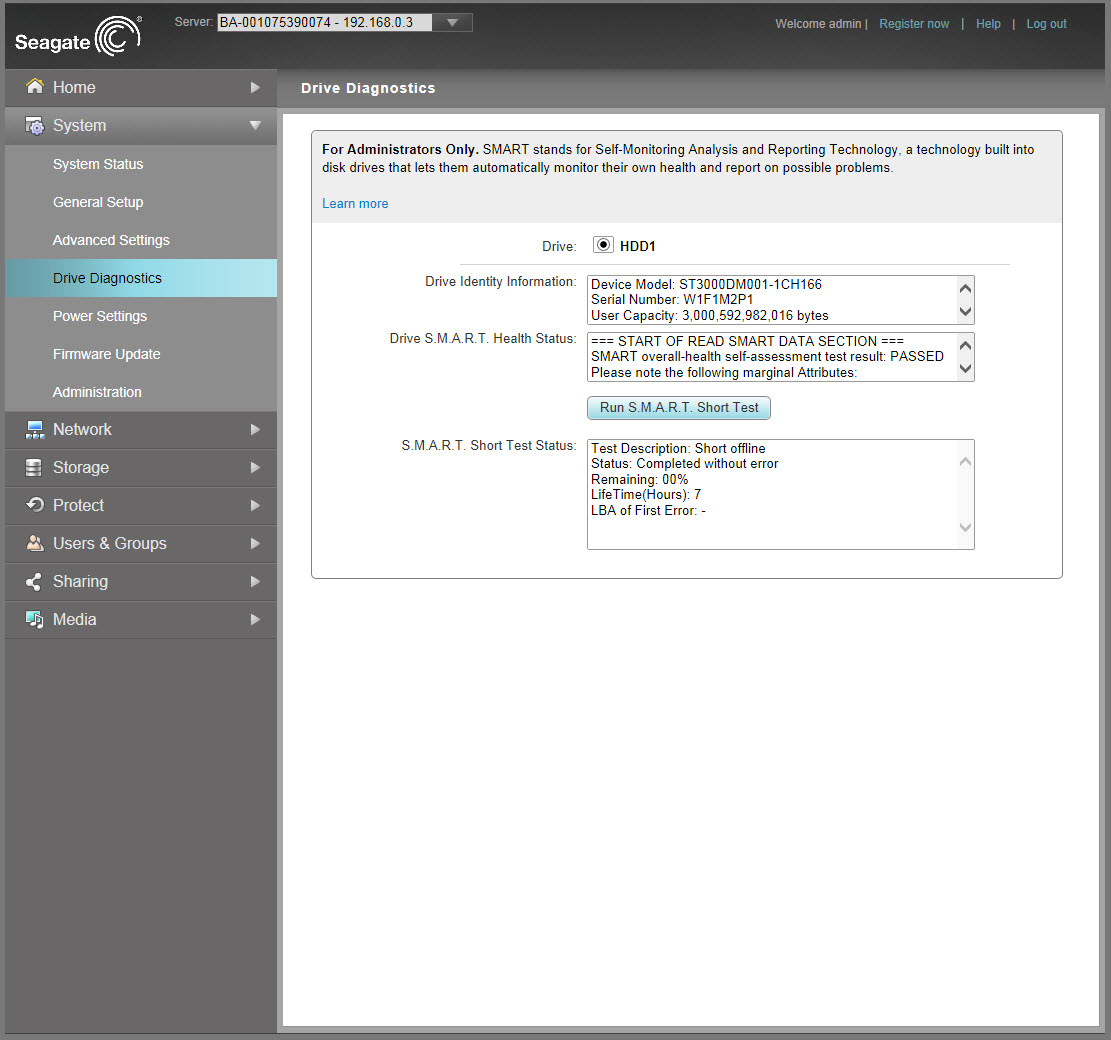

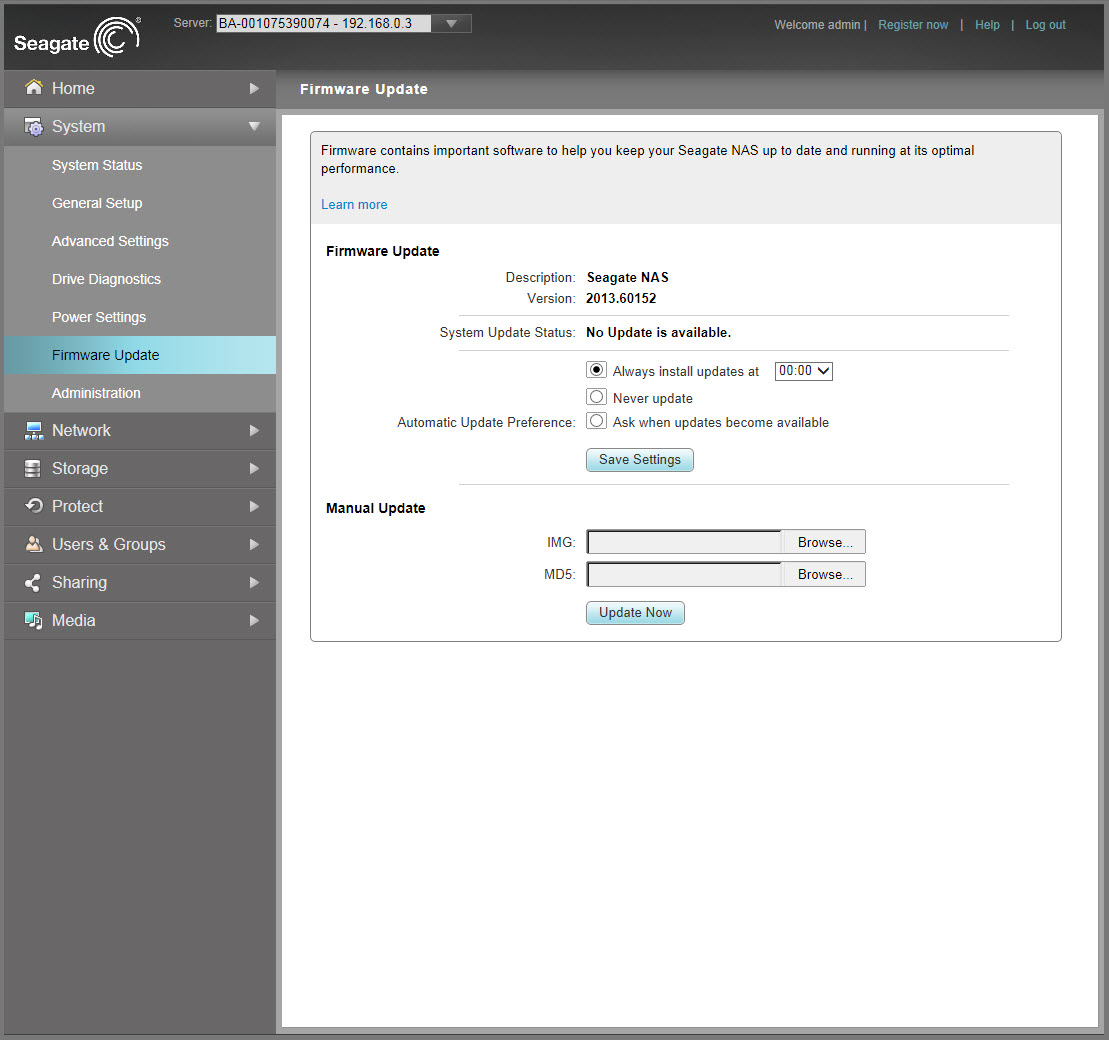
The Business Storage 1-Bay 3TB NAS doesn't offer the same functionality/features as most of the full-fledged NAS Servers we've tested in the past but it does offer what the majority of users will ever need. So starting with the System tab here you can check various information such as the current firmware version installed, the units serial number, uptime, date and time, you can set the preferred IP address, add your very own SSL certificate key, check the current state of the HDD, manage the various power settings (you can even schedule them according to day), perform firmware updates and finally change the administrator password.
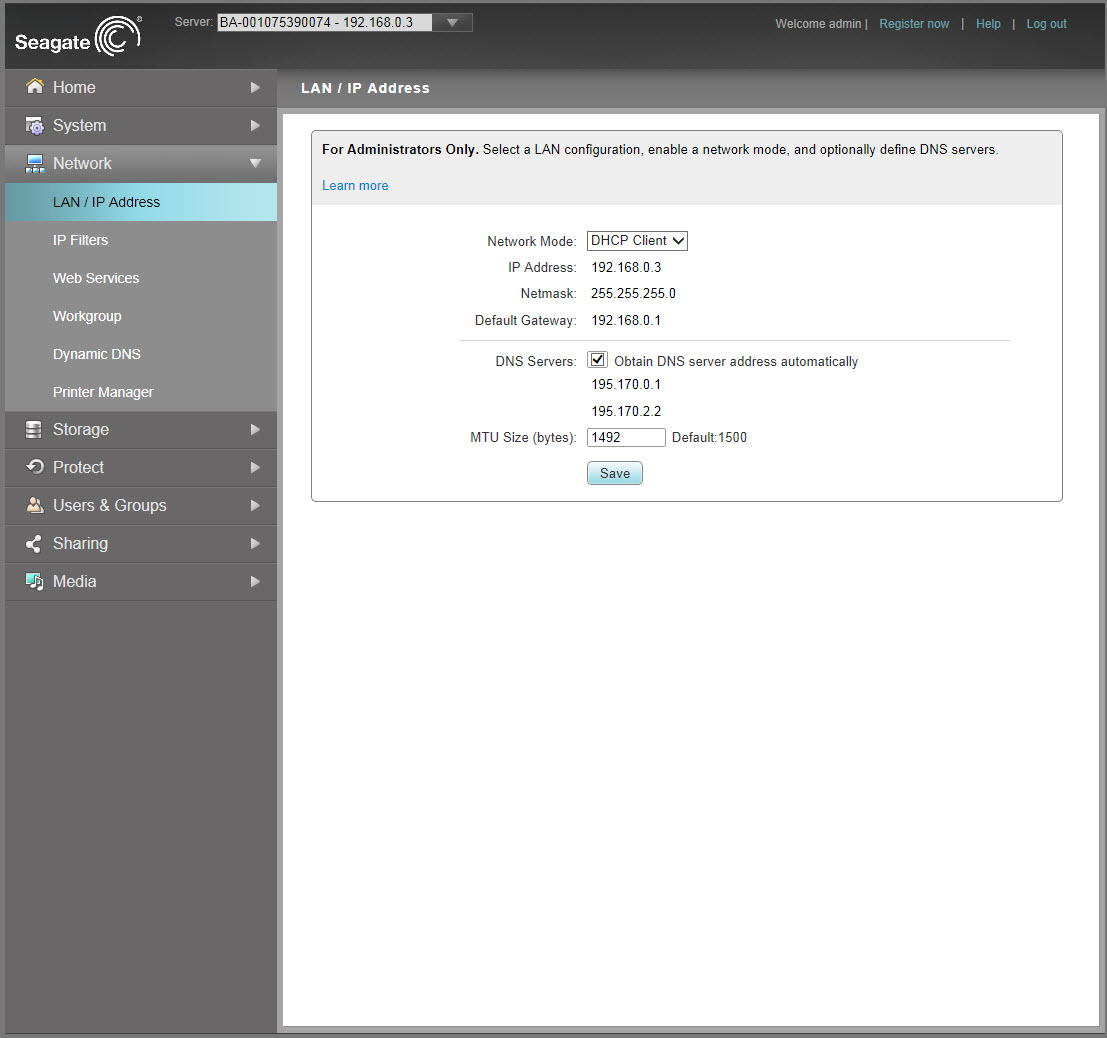
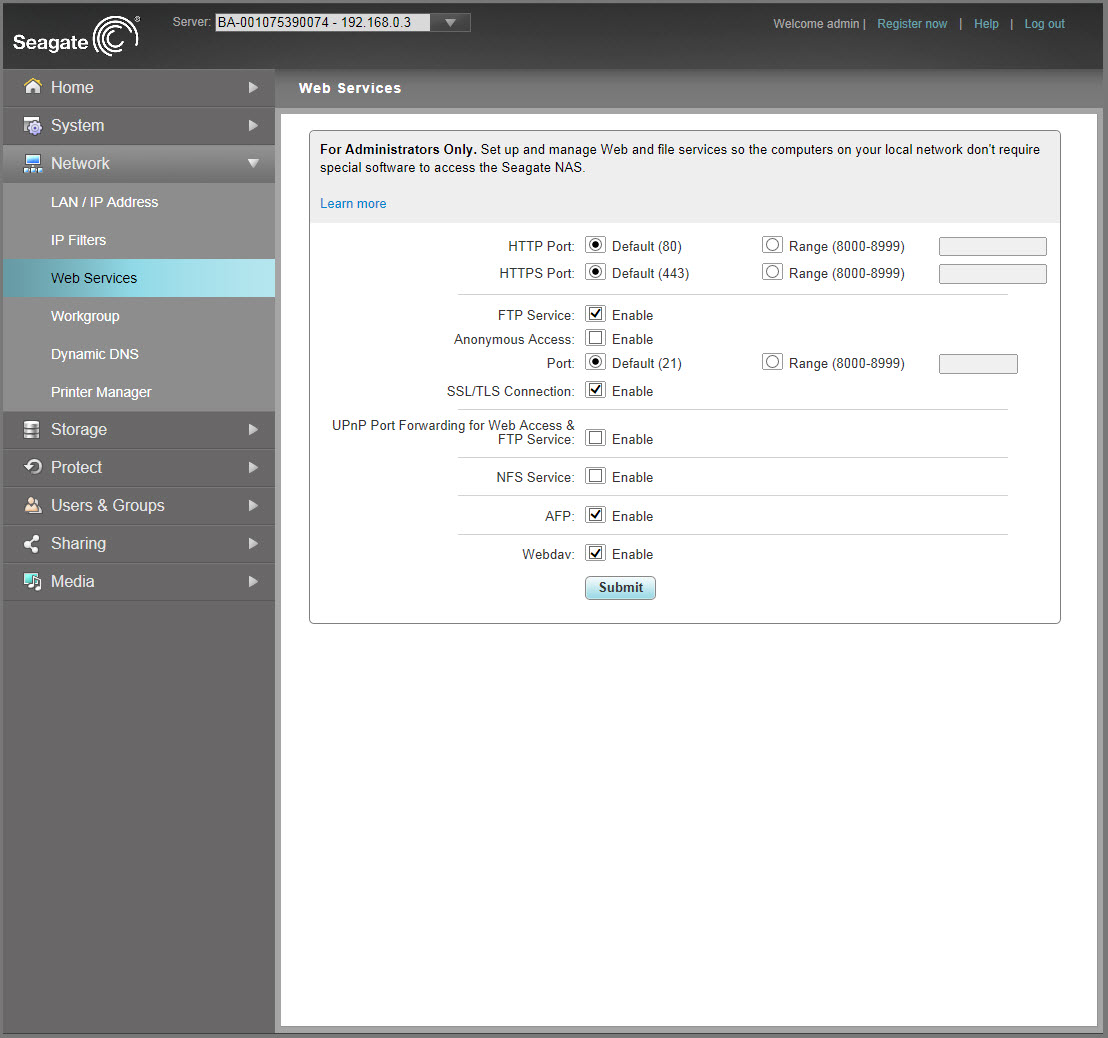
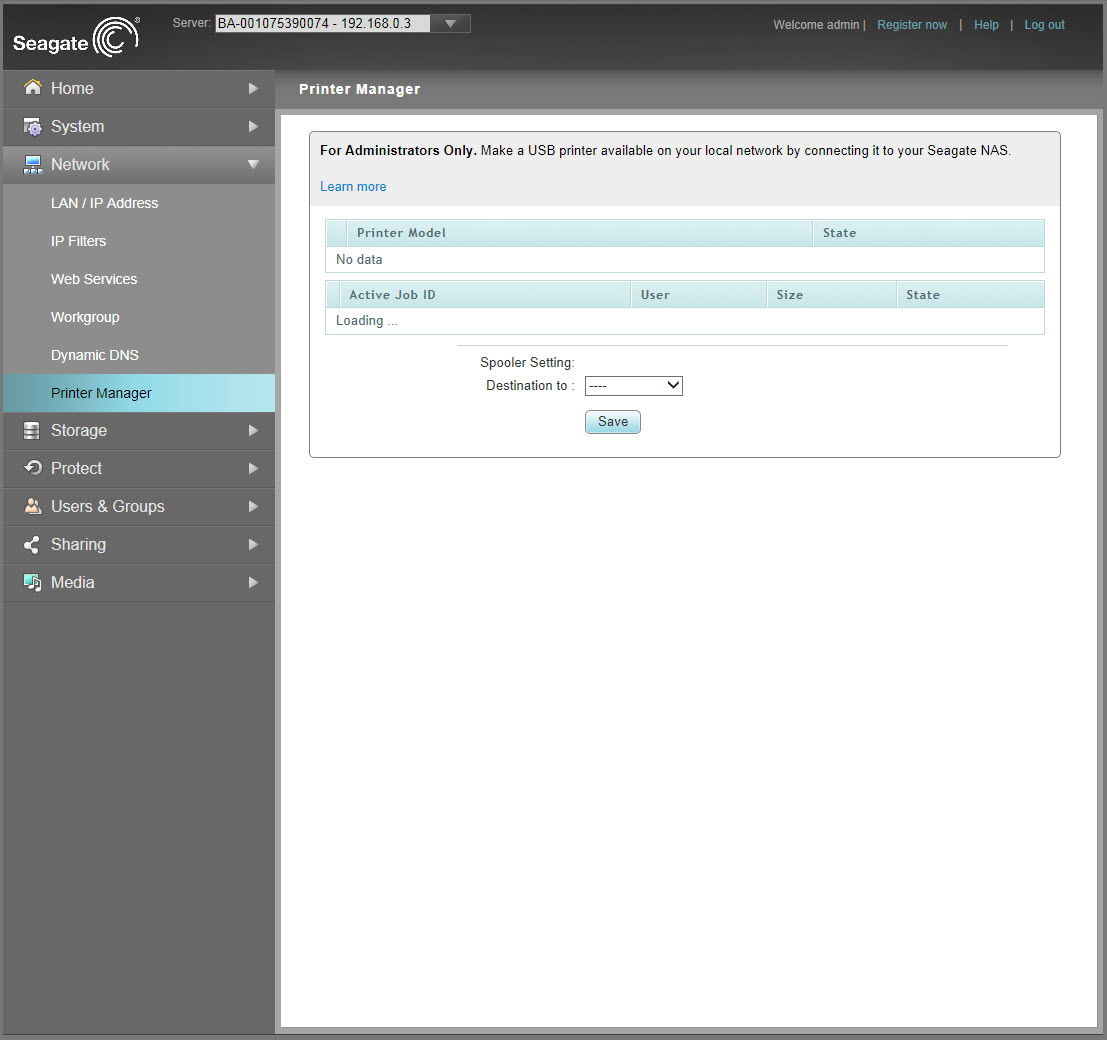
The Network tab is self-explanatory really so in here you can find everything related with the network so you can set the preferred network mode, adjust the MTU size, set specific IP filters, enable/disable the available web services (HTTP/HTTPS/FTP/SSL-TLS/NFS/AFP/WEBDAV), set the current workgroup, adjust the dynamic DNS settings and finally setup the network printer (if you have one attached).
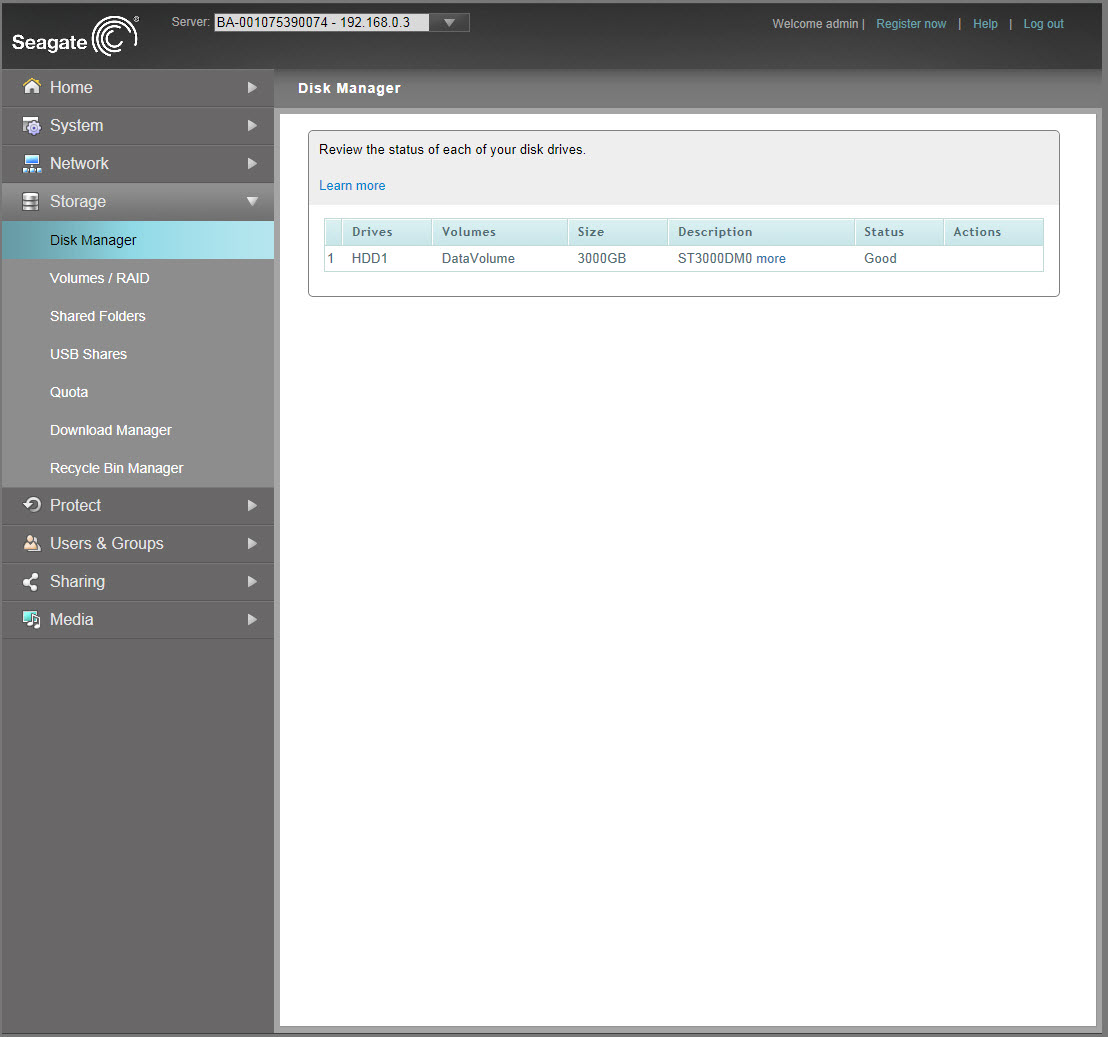
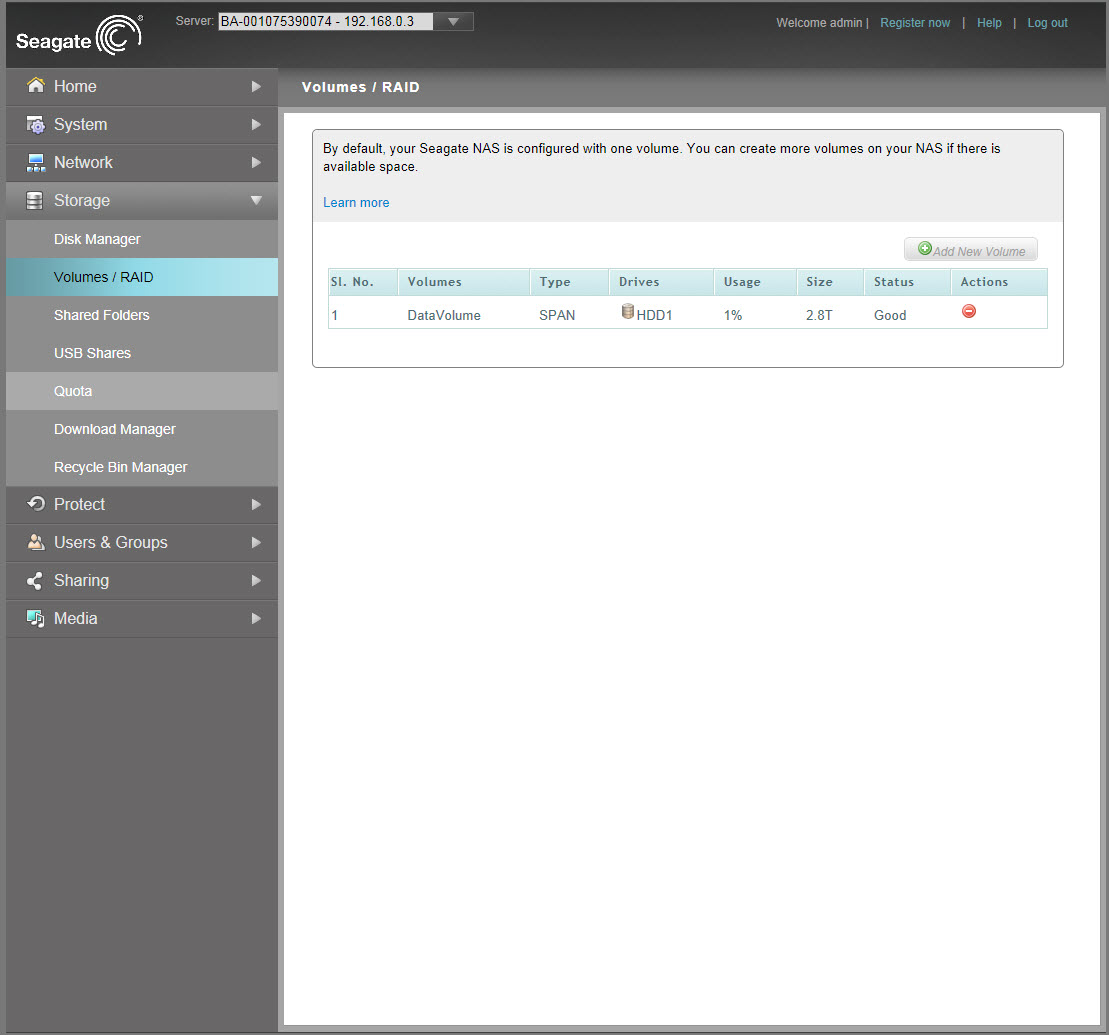
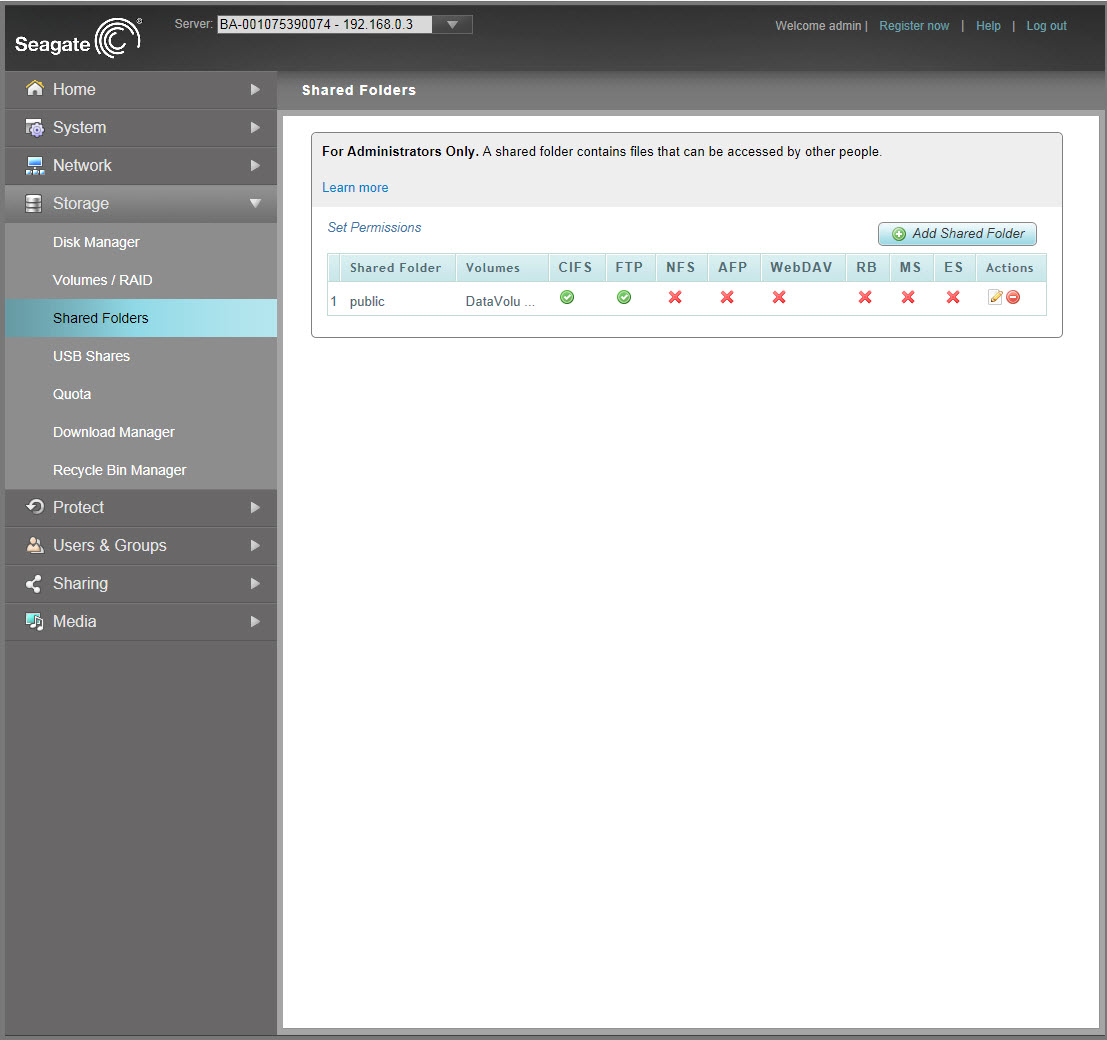
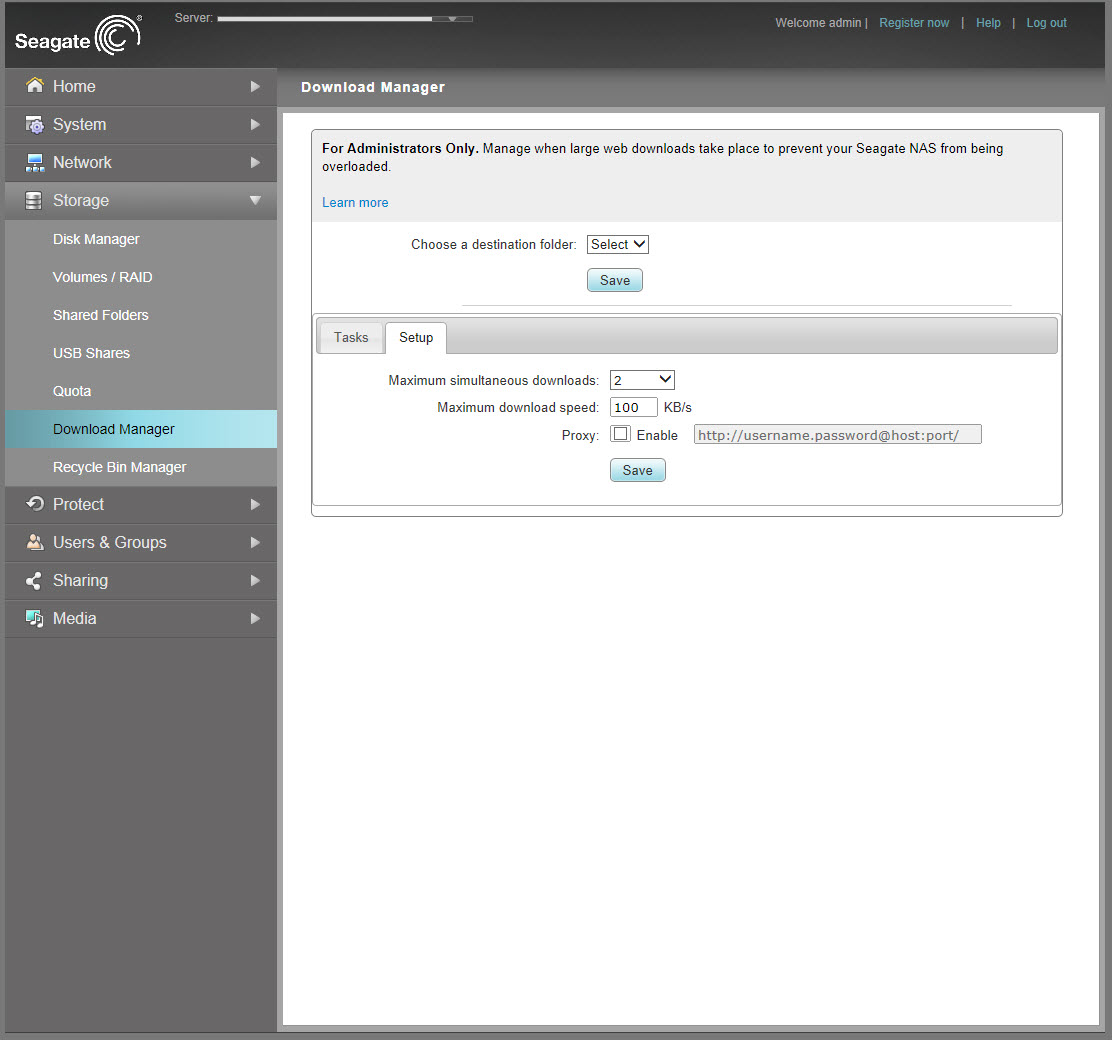
Under the Storage tab you can check the health of the HDD, add more volumes, create shared folders and assign permissions, share your USB attached storage media, set the quota for each user, access the build-in download manager and make use of the recycle bin.