O-Sense


DISKSTATION MANAGER PART 1
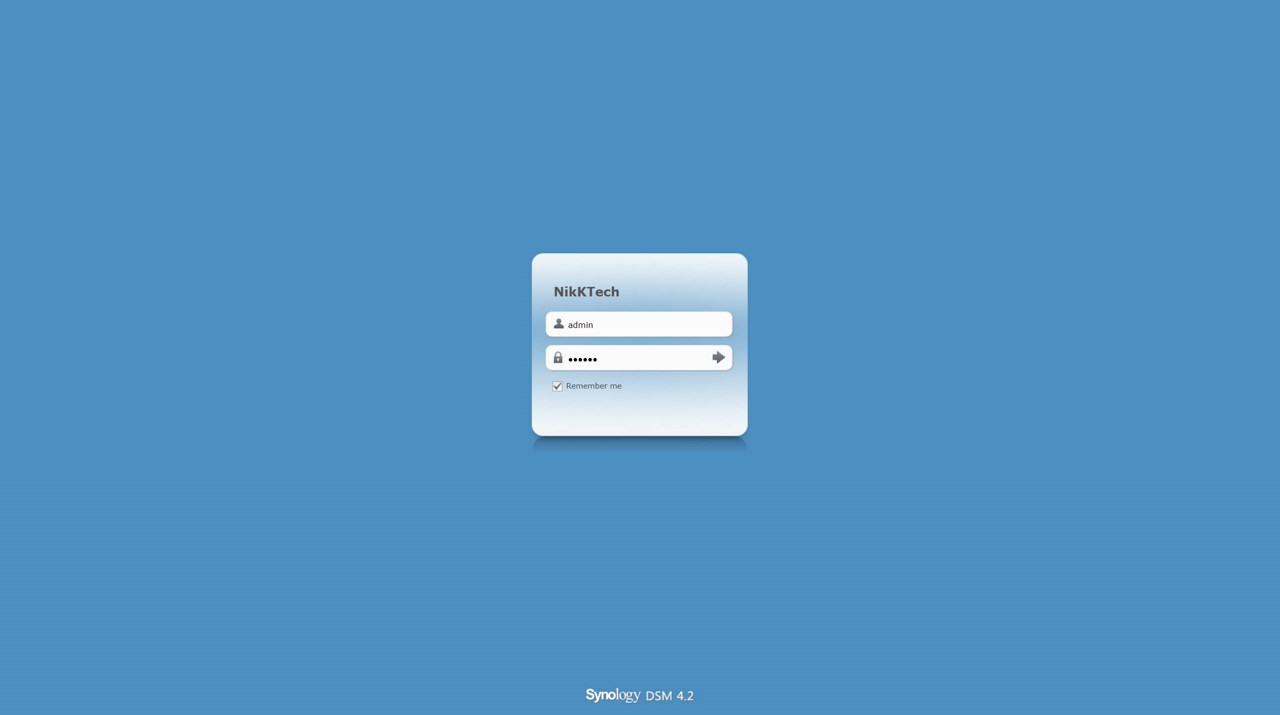
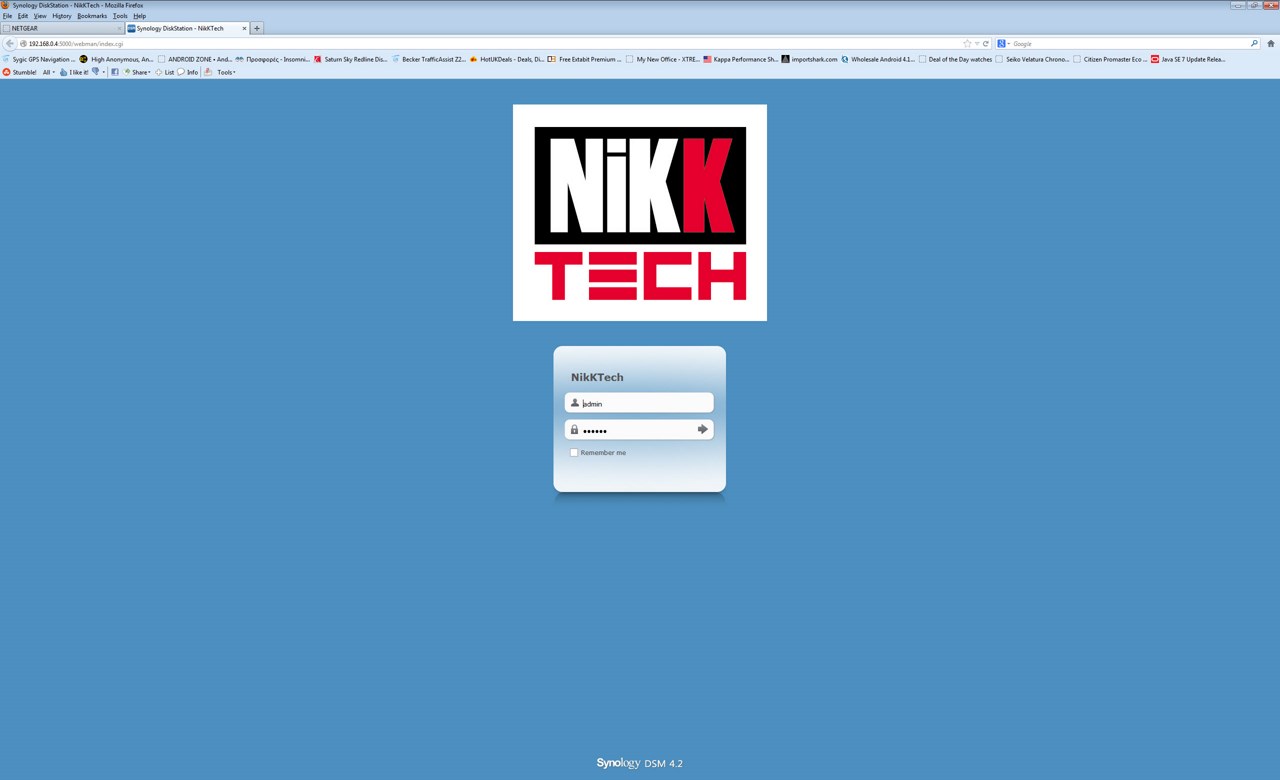
After you finish the installation procedure you will see the welcome screen on your browser in which naturally you will use the user name and password you chose during installation.
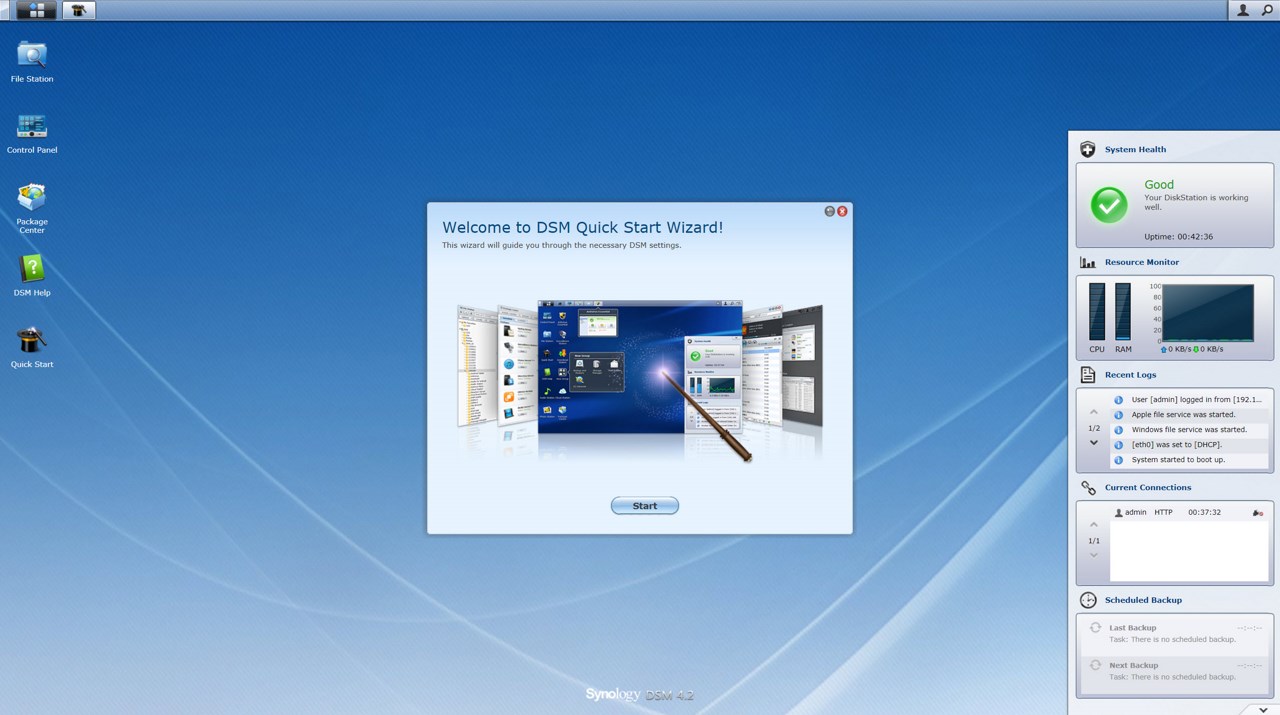
As usual the main screen looks a lot like Linux/Windows and i strongly recommend following the setup wizard the very first time you access it.
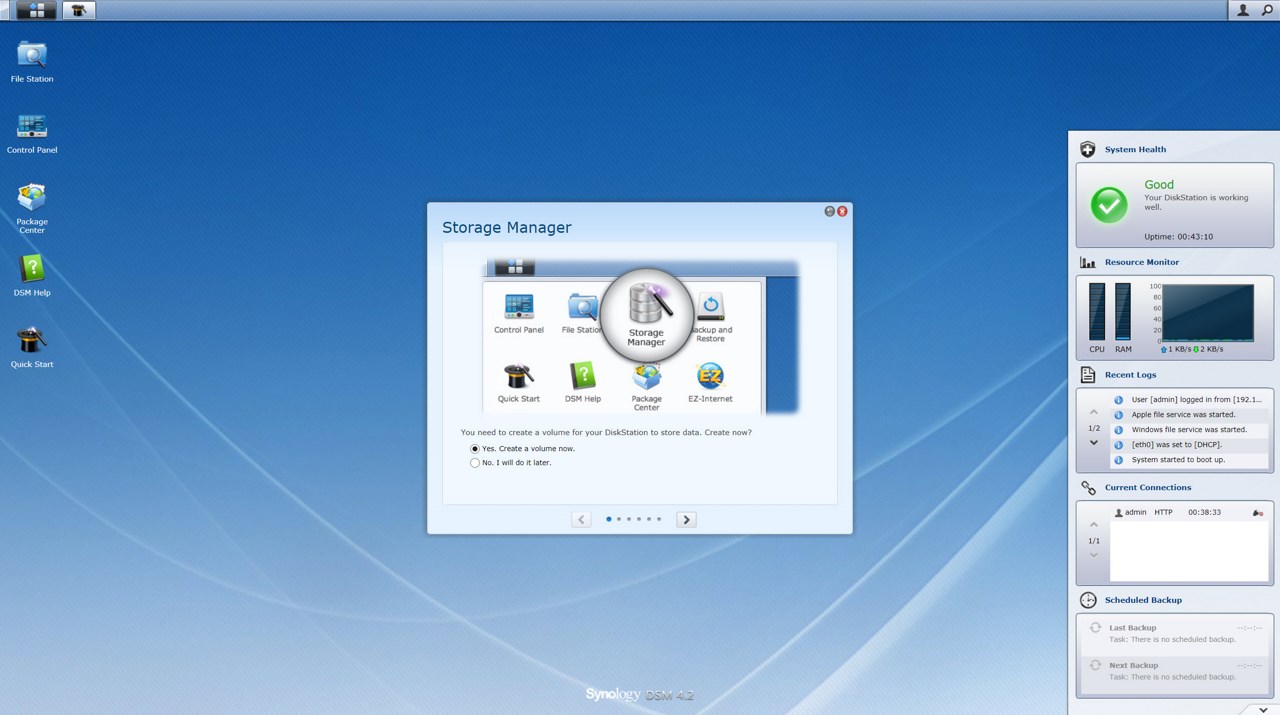
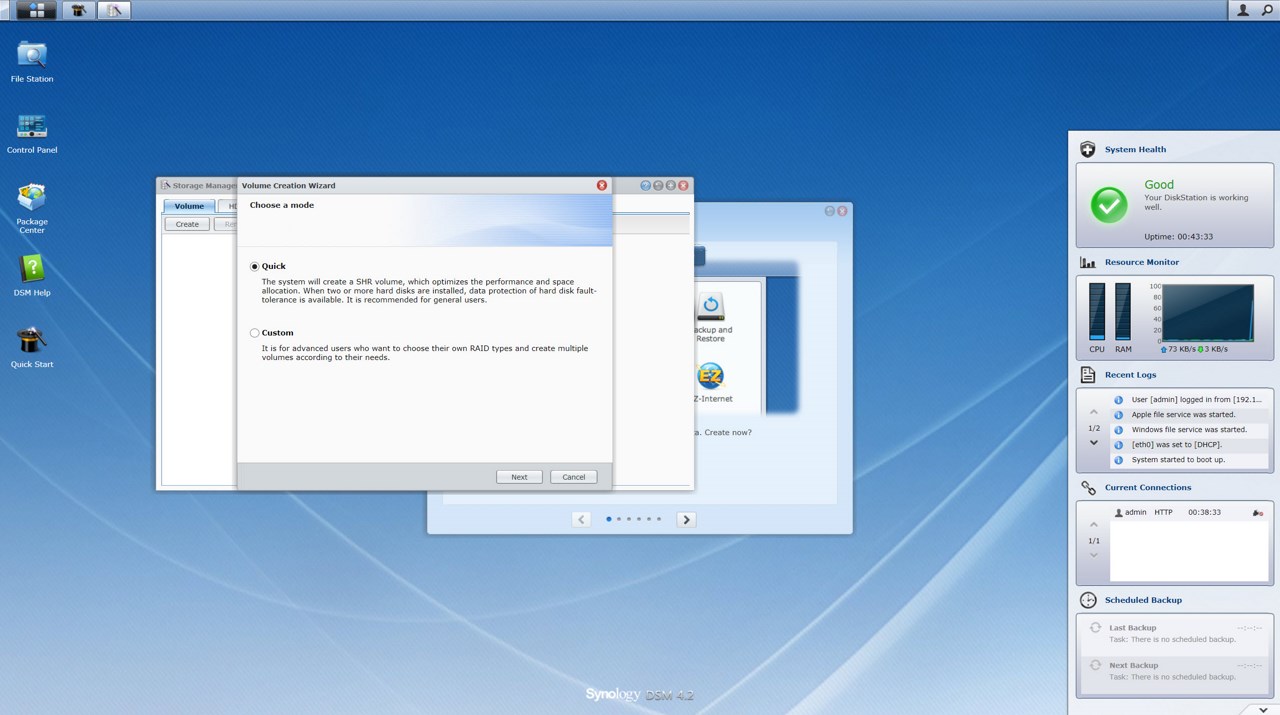
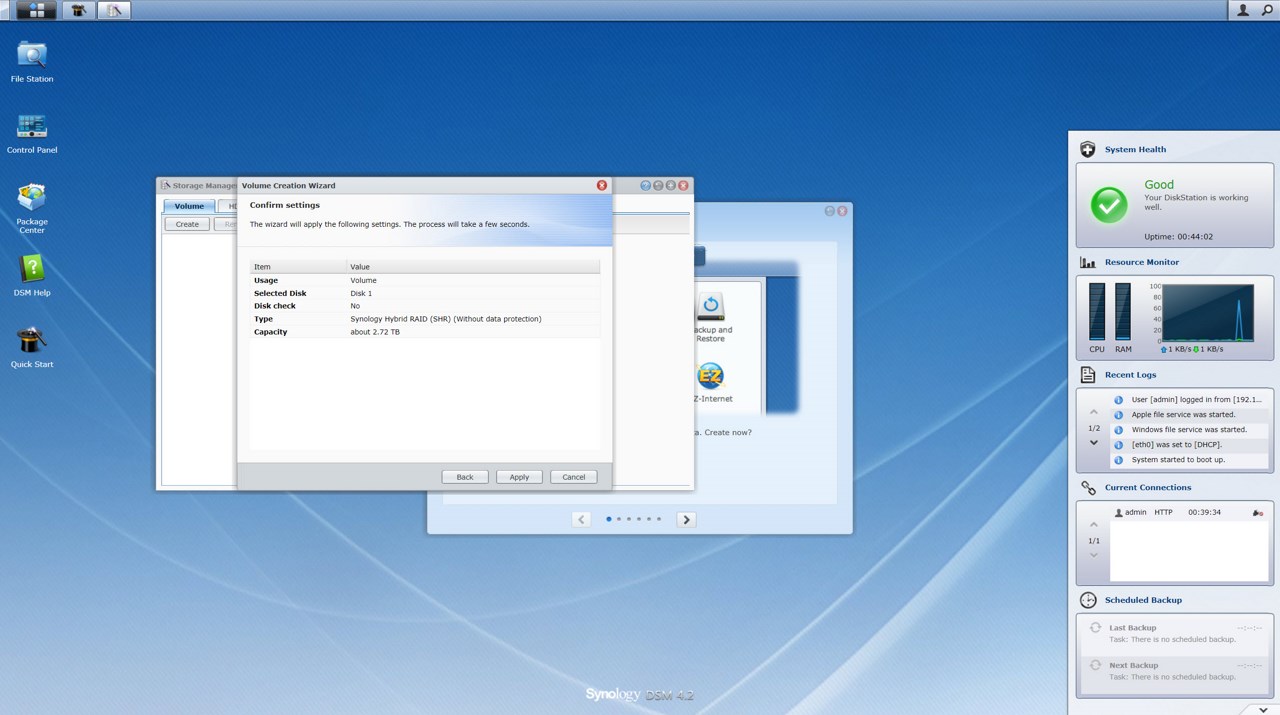
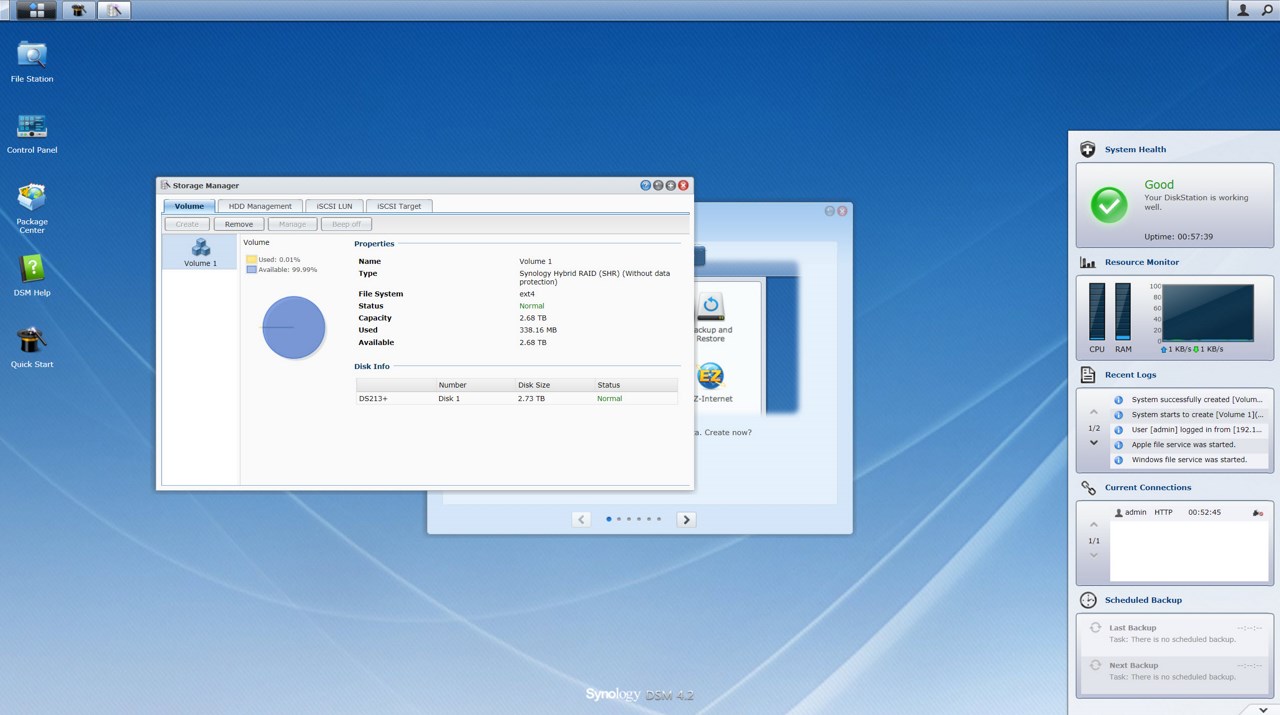
The wizard will help you to manually setup a volume and create a shared partition as seen above. This procedure will take a while since the software checks the entire drive for errors but once over you will be able to check the temperature and S.M.A.R.T details of the drive.
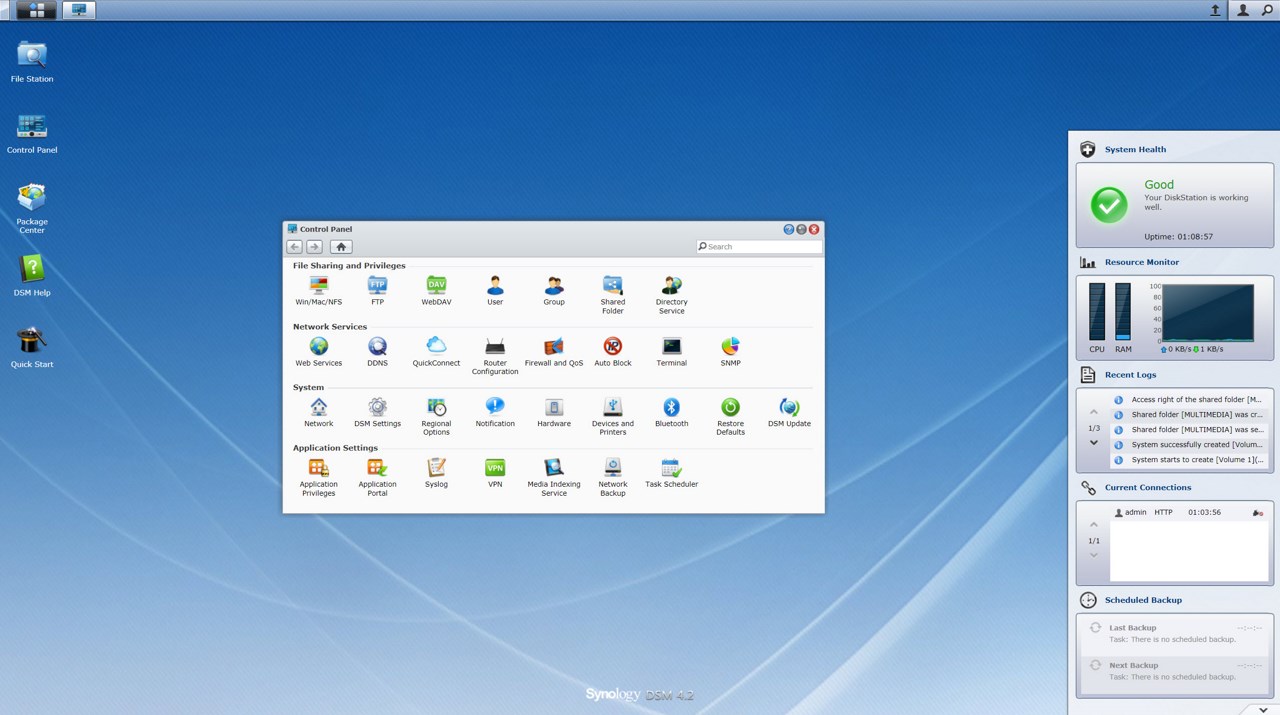
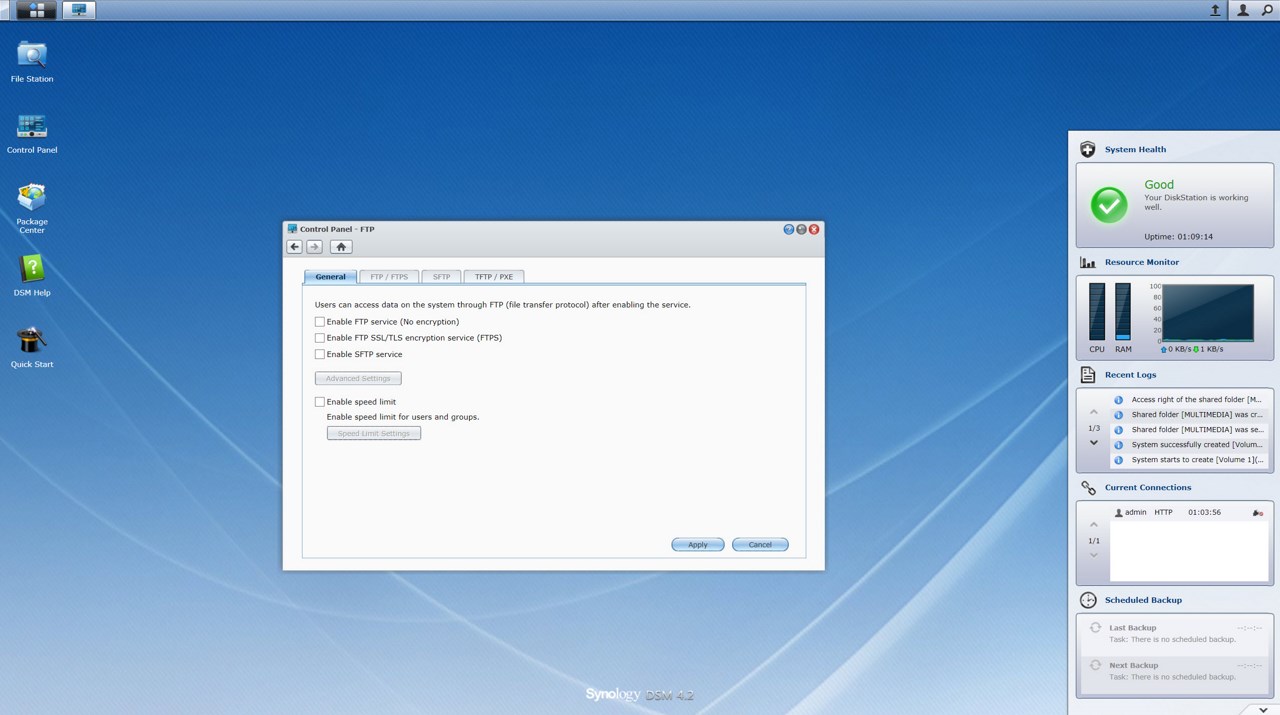
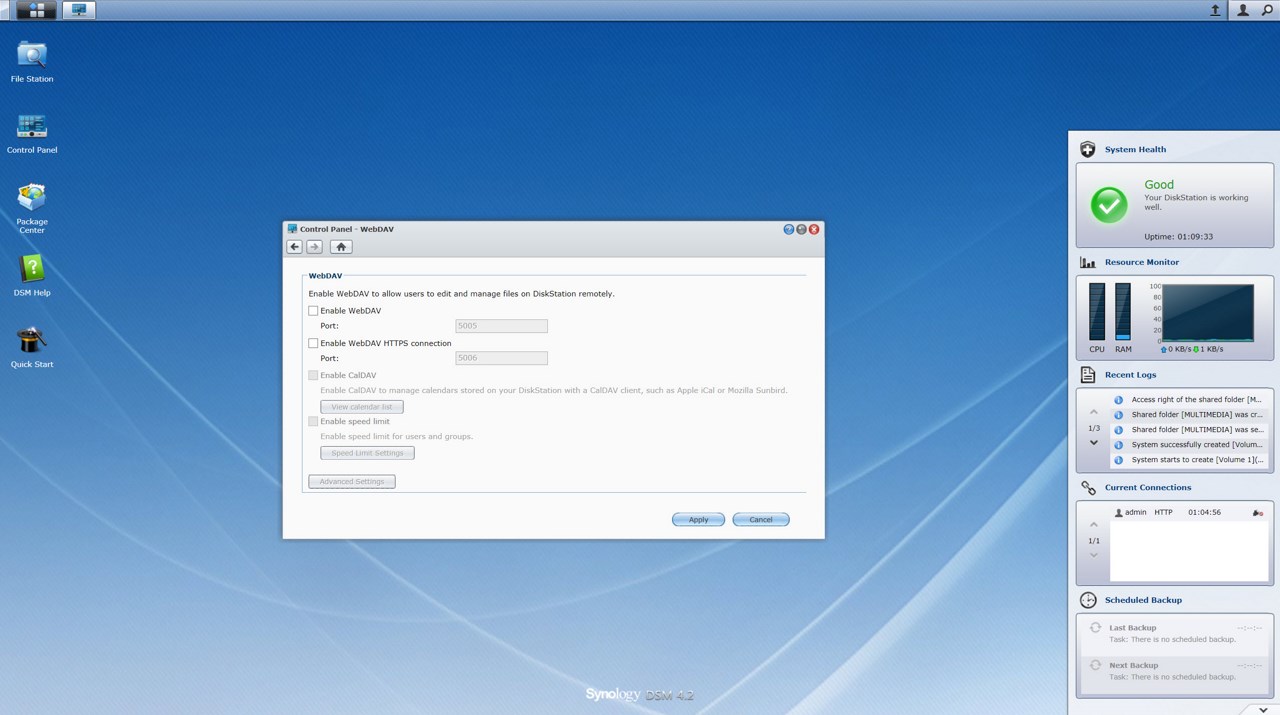
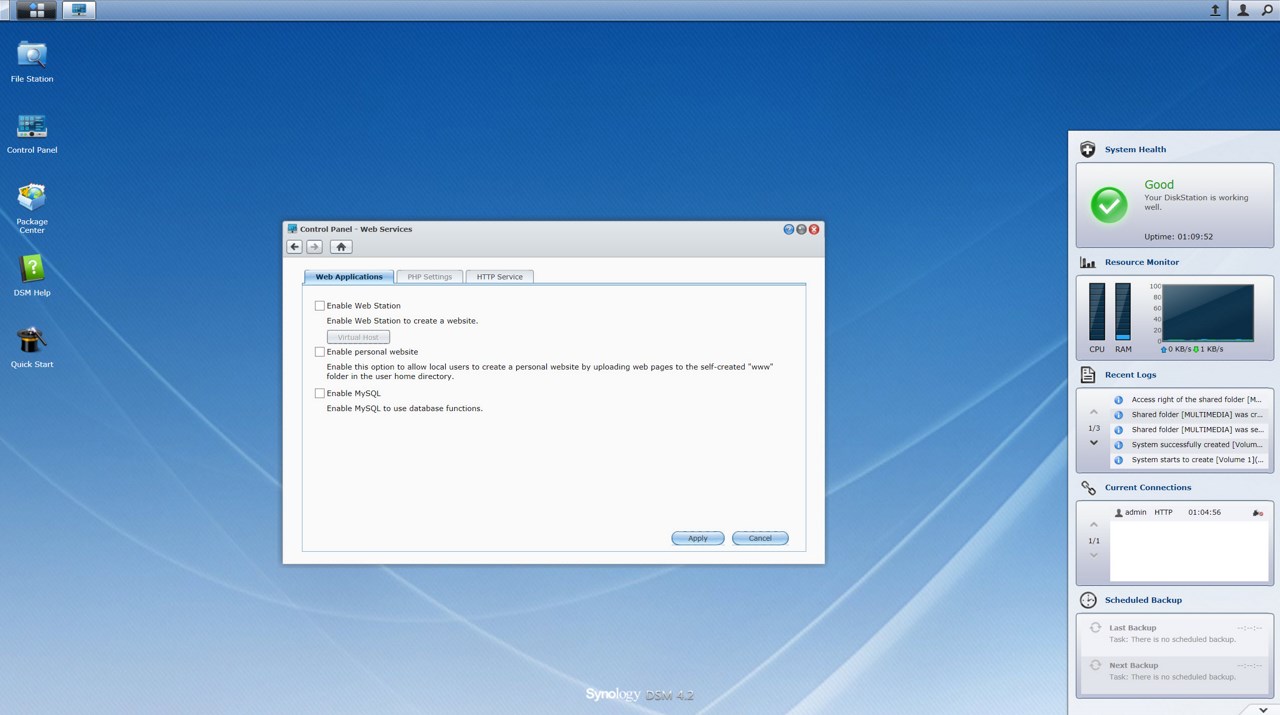
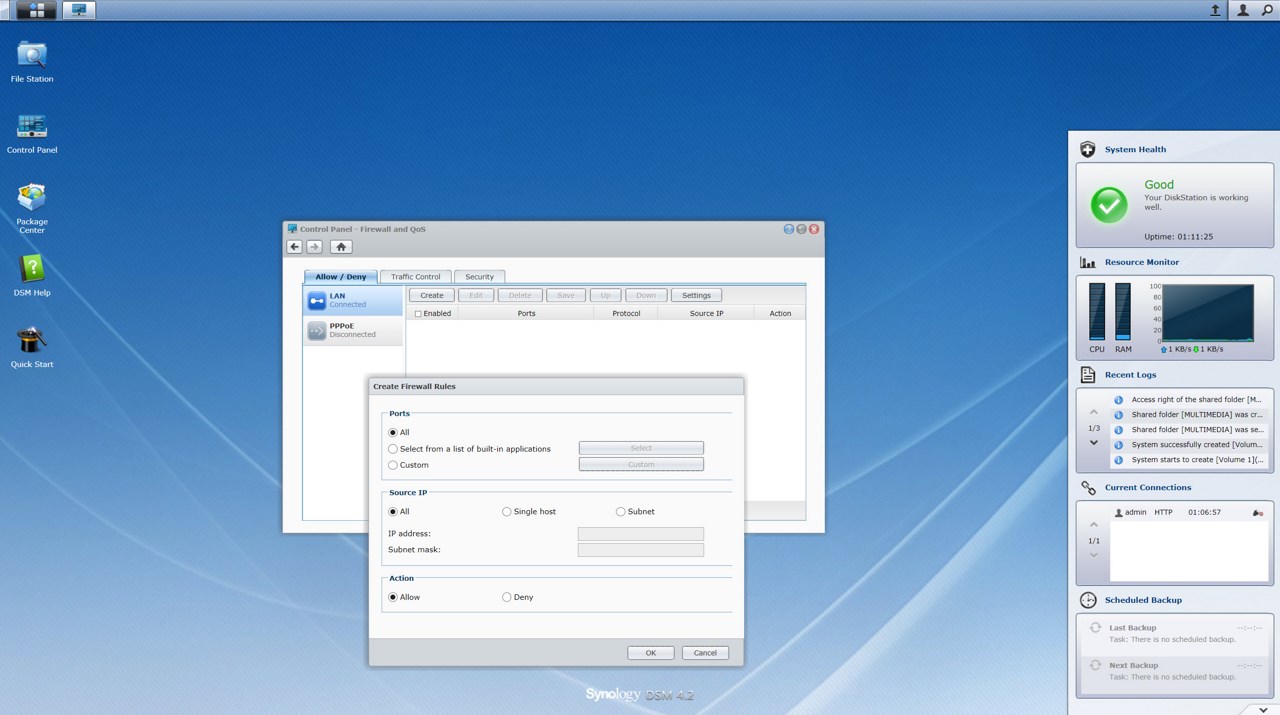
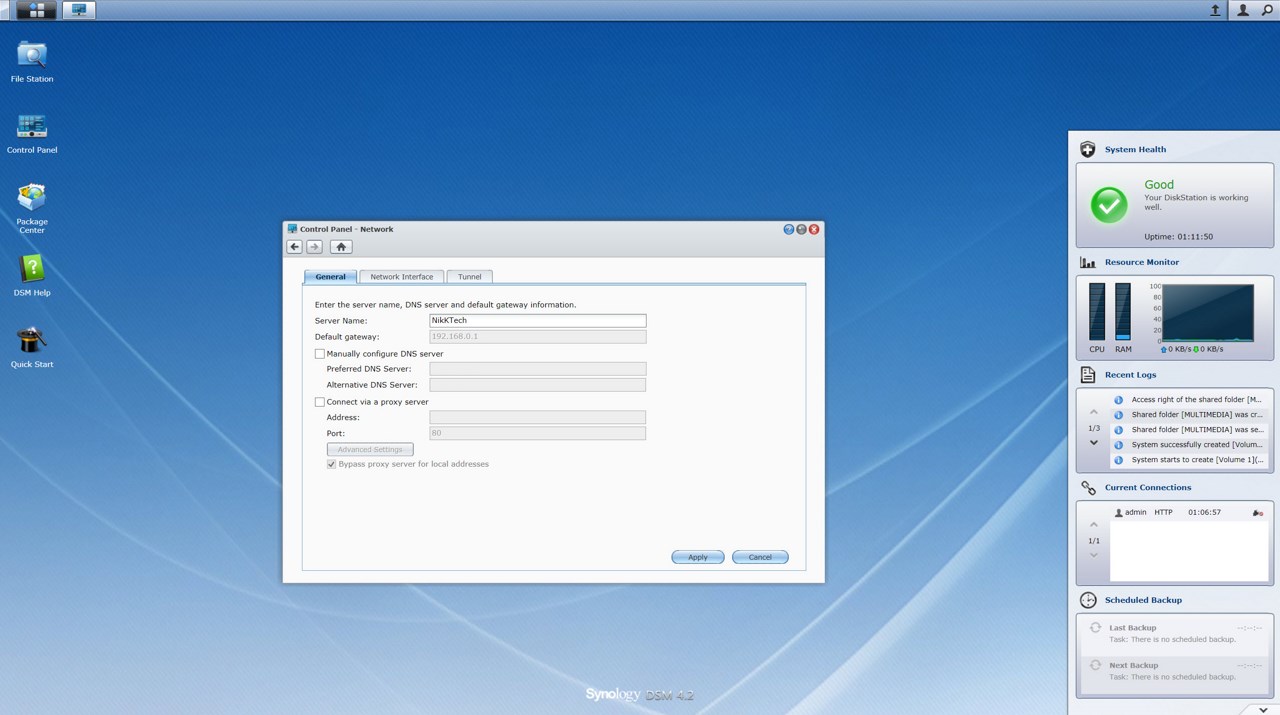
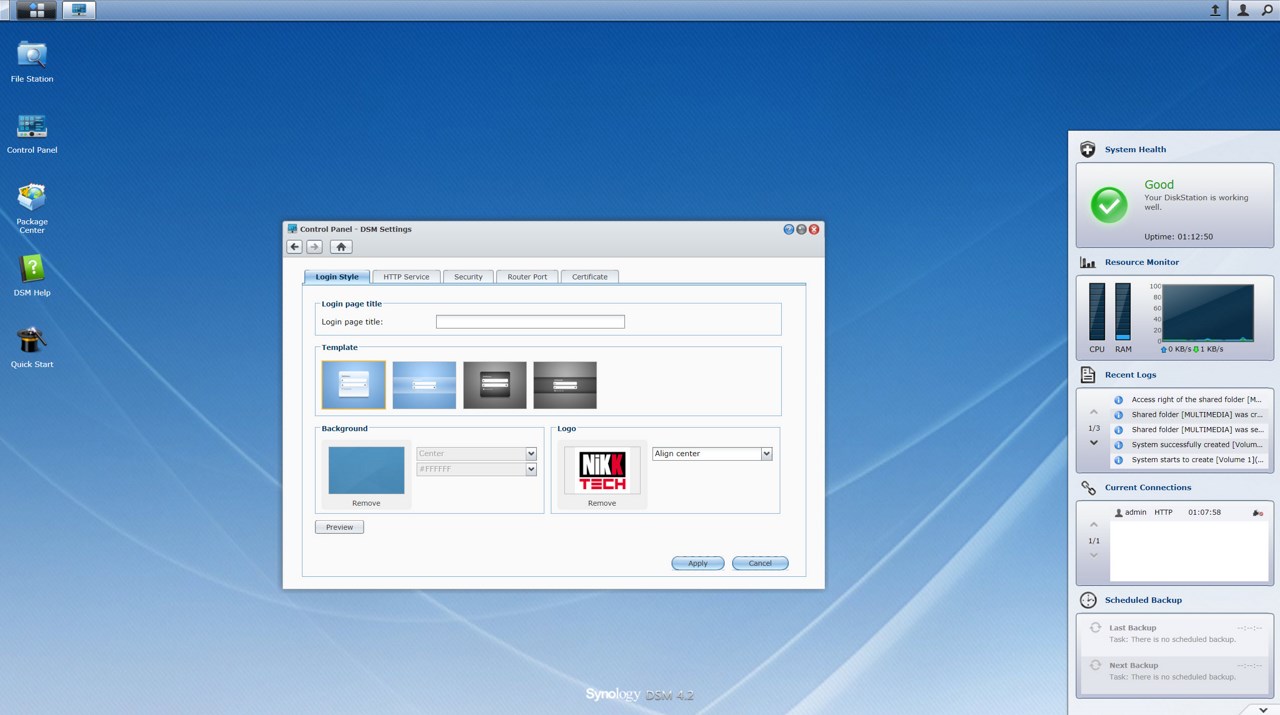
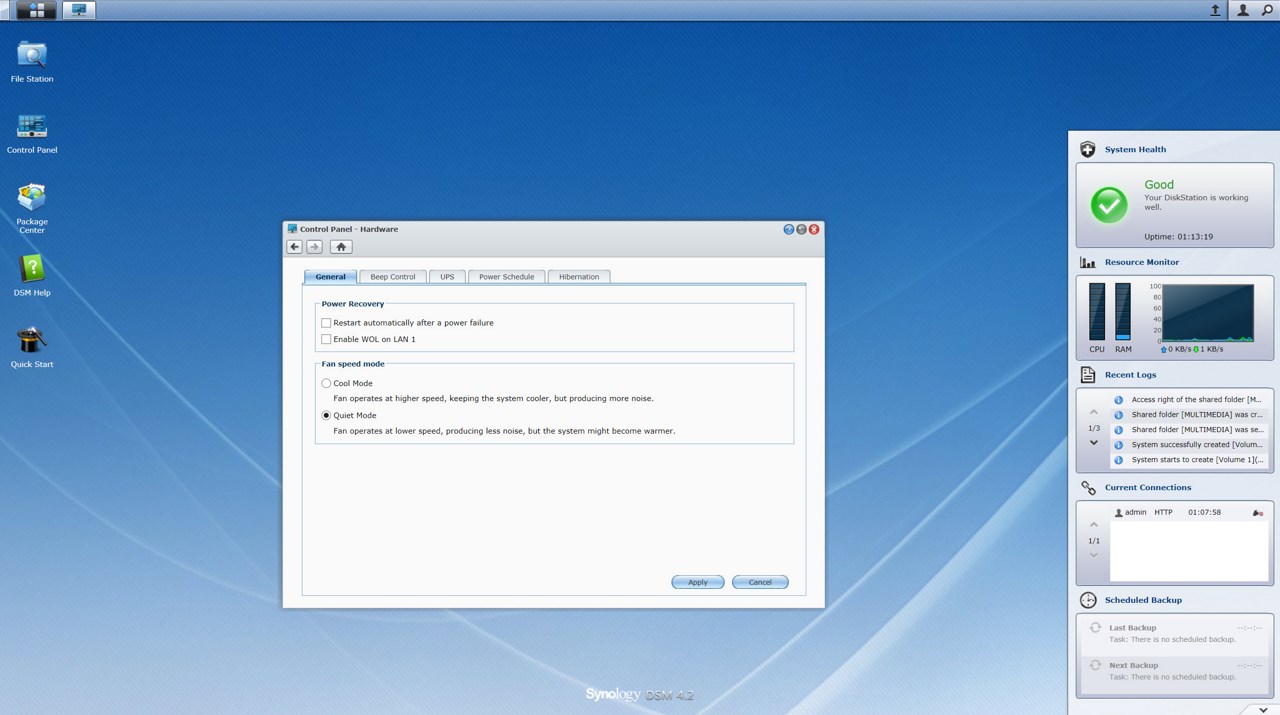
Overall the new GUI looks a lot better and richer than the last time i had the chance to test a Synology NAS (DSM 3.2) so kudos to Synology for this. As always the control panel will most likely be your first stop since it allows the user to control/adjust pretty much everything related with the unit from things such as File Sharing (FTP server setup, user account creation, shared folders setup), Network Services (enable/disable web server, setup DDNS, adjust firewall settings), System Settings (adjust the login screen, hardware configuration, configure attached devices, perform updates) and finally the various Application Settings.

Through the Package Center you can scroll through a large number of available software packages you can download and use in your Synology NAS (a lot like the QPKG section found in QNAP units).
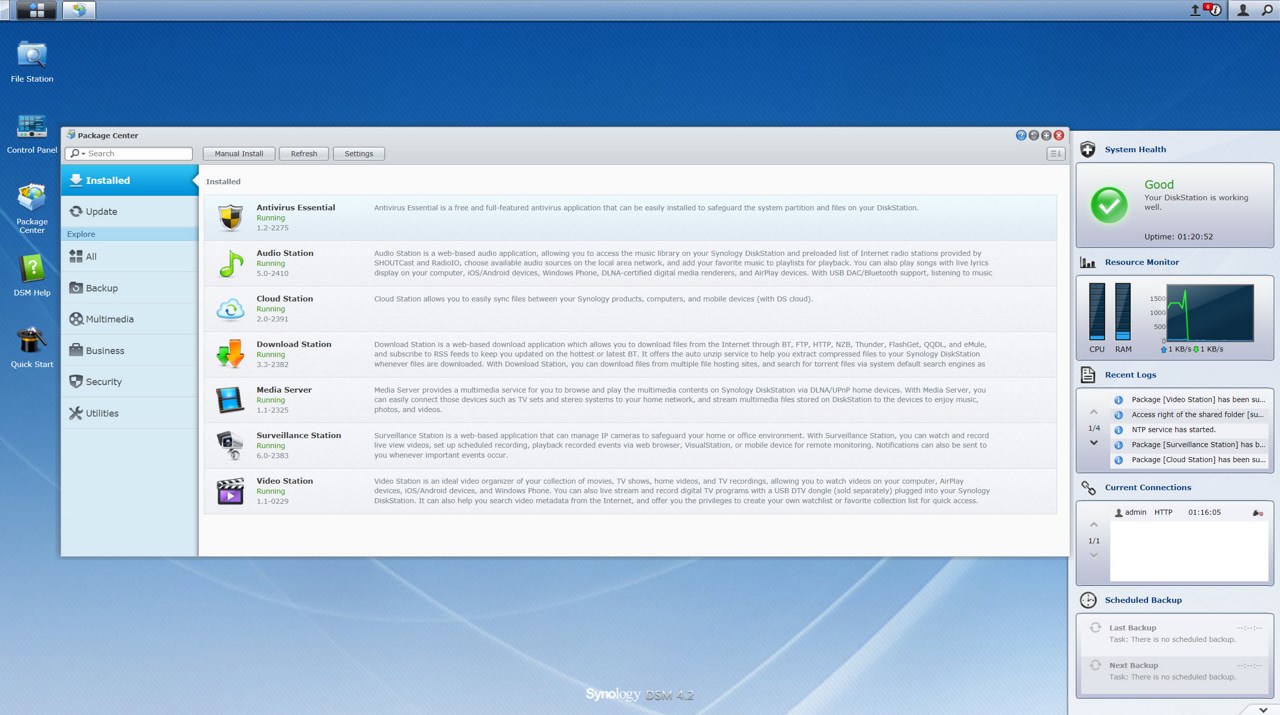
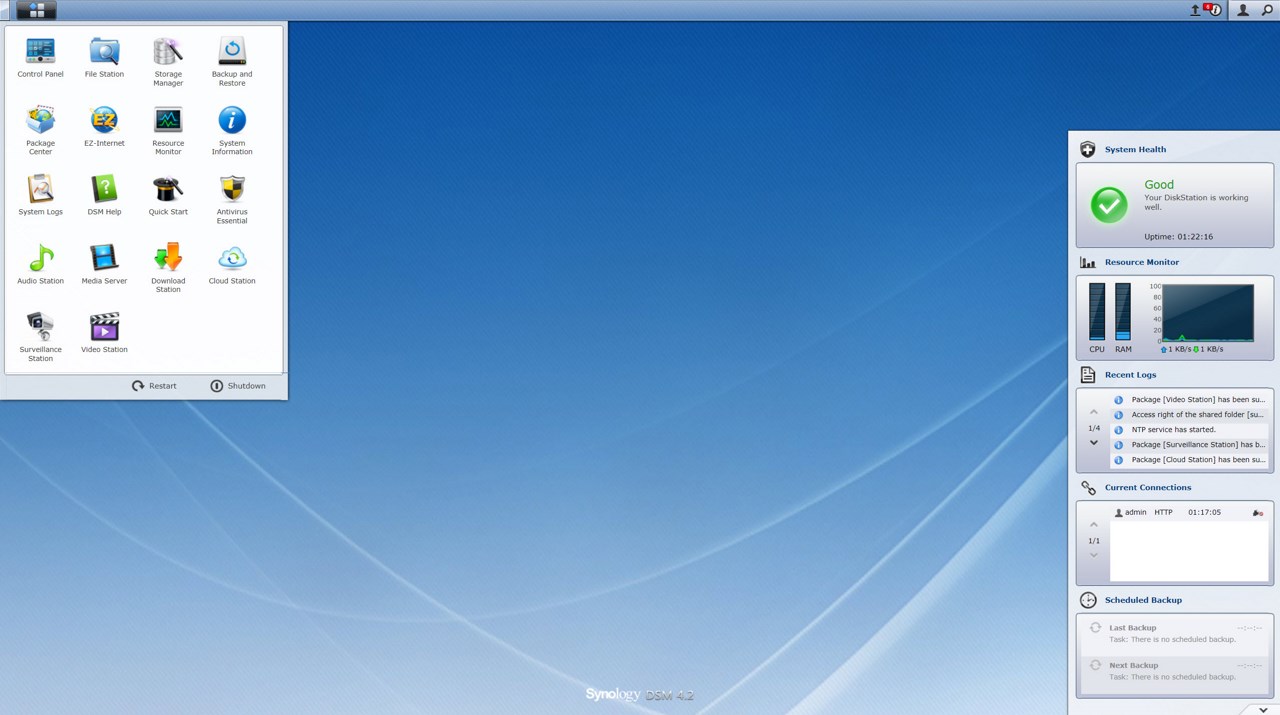
For this test we used a total of 7 software packages all of which are also accessible by default from the Start menu.