O-Sense


THE PRIMERA PM01 INTERIOR
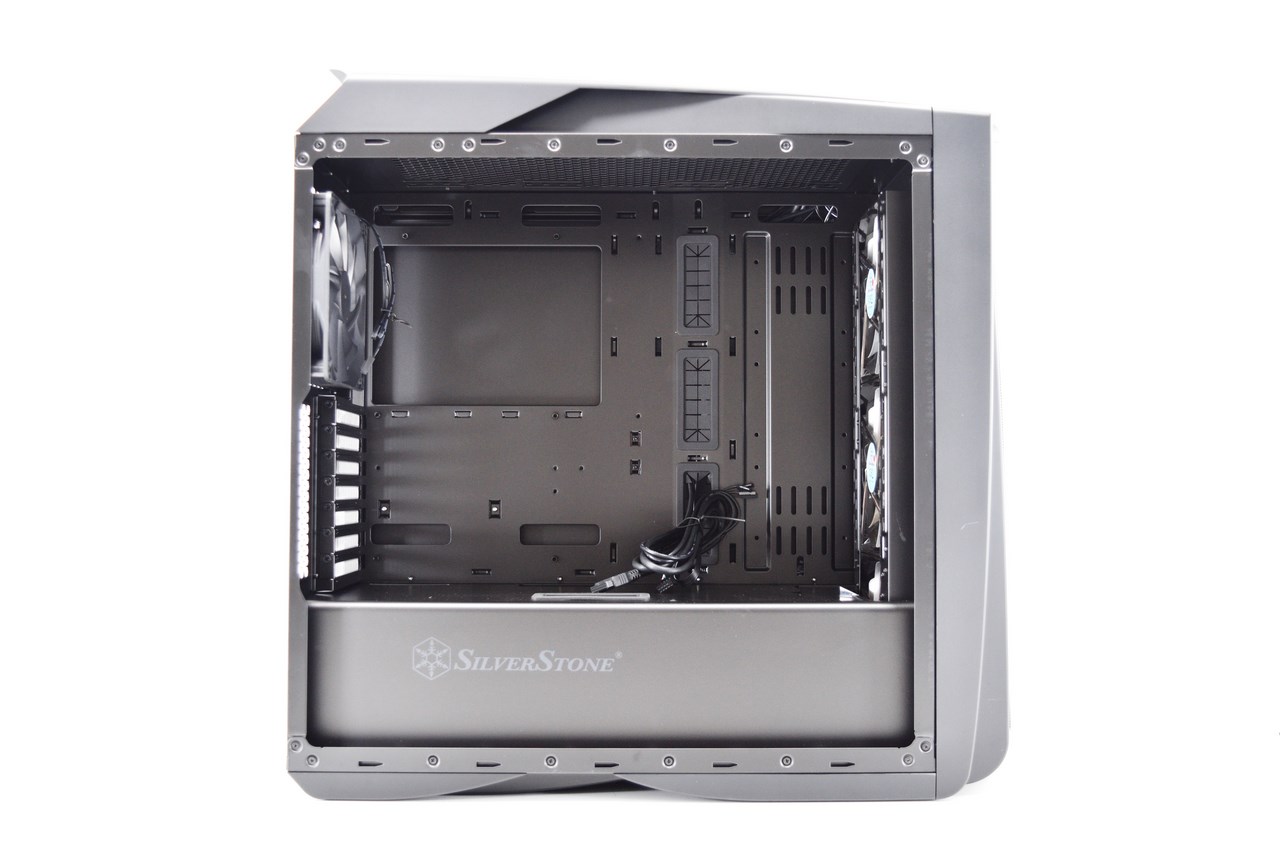
The lack of any 5.25" drive bays and any 3.5" drive bays leaves the interior of the Primera PM01 empty.
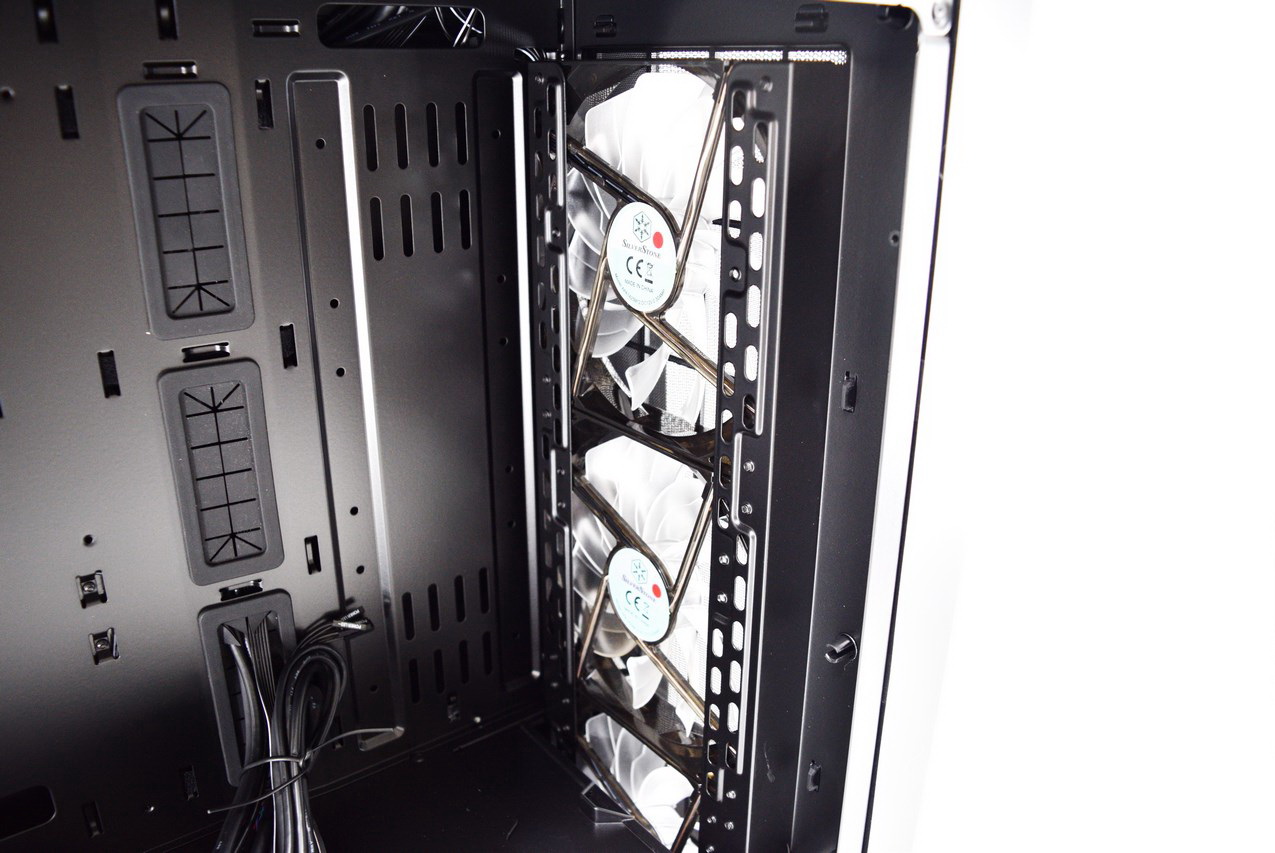
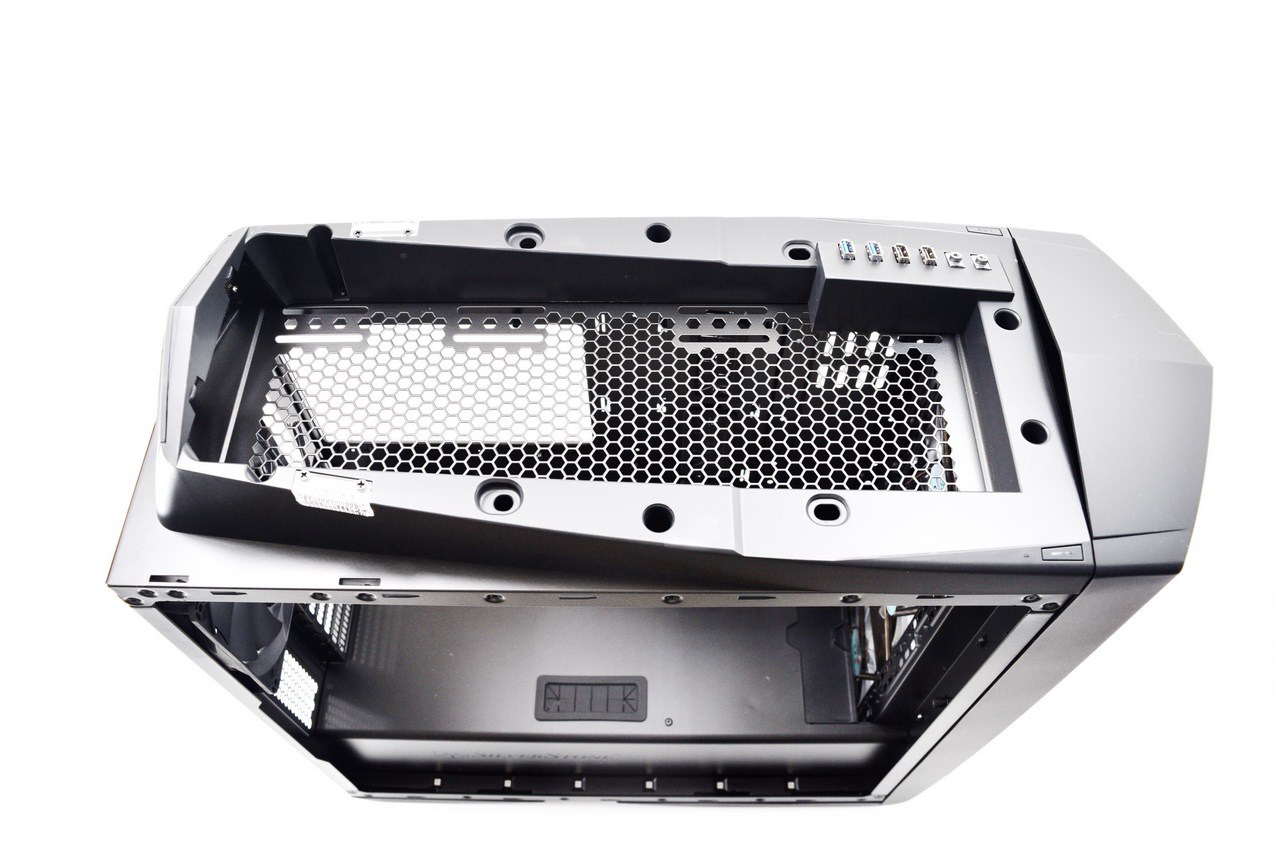
Here we see the three 140mm red LED fans and the area where you can mount a 240/280/360mm radiator.
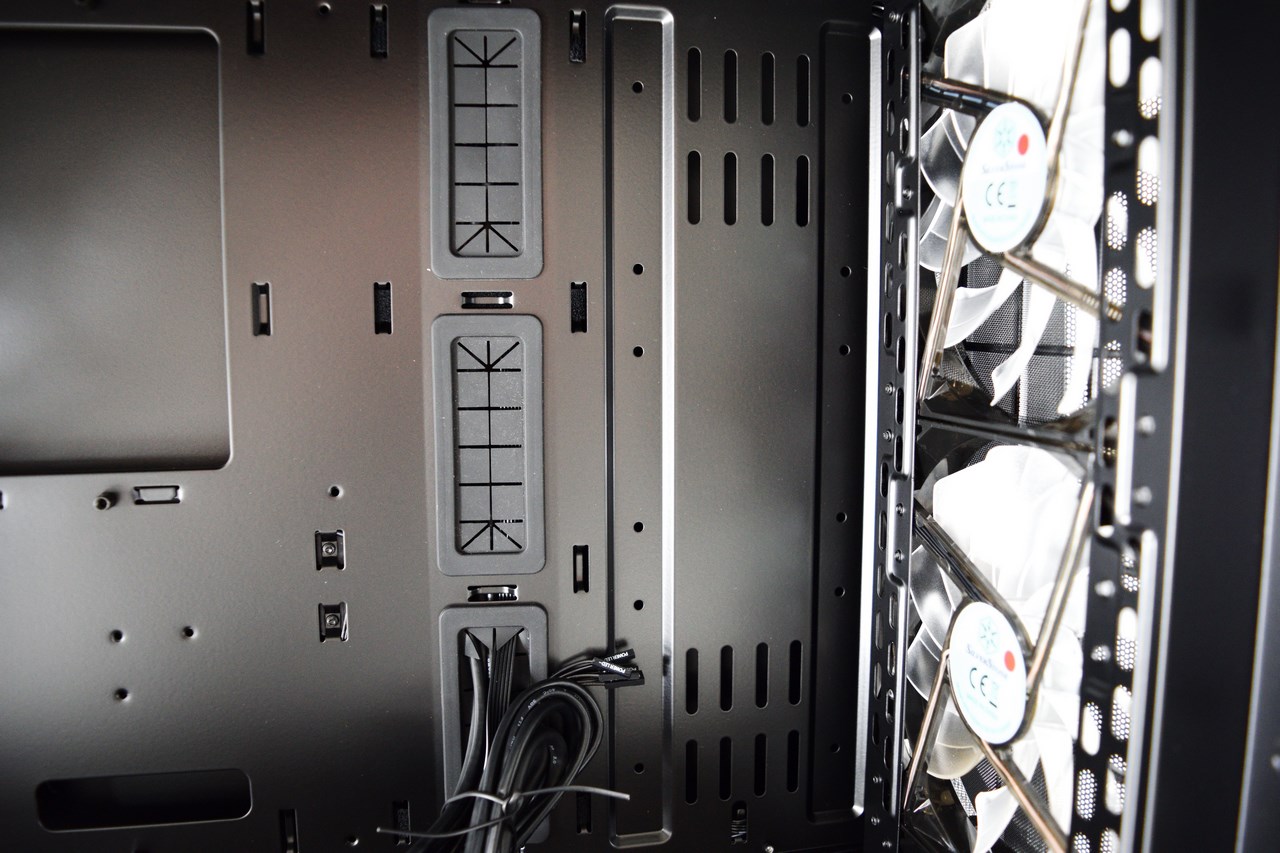
SilverStone has also placed several holes for reservoirs if you choose to go with a custom loop.
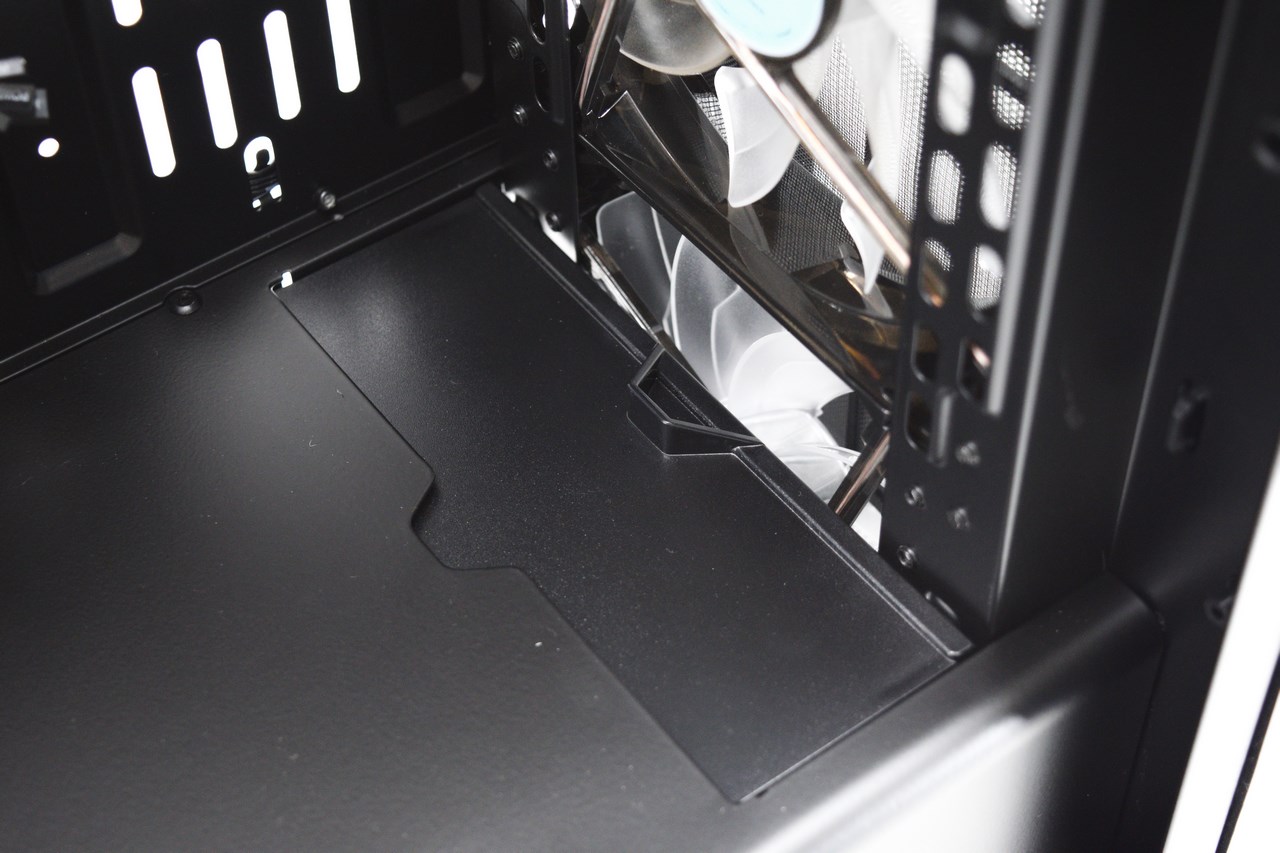

To mount a radiator at the front you will need to open this small hatch and that's where things get complicated since if you choose to go with a 360mm model it will need to be a very slim one (more on this later on).
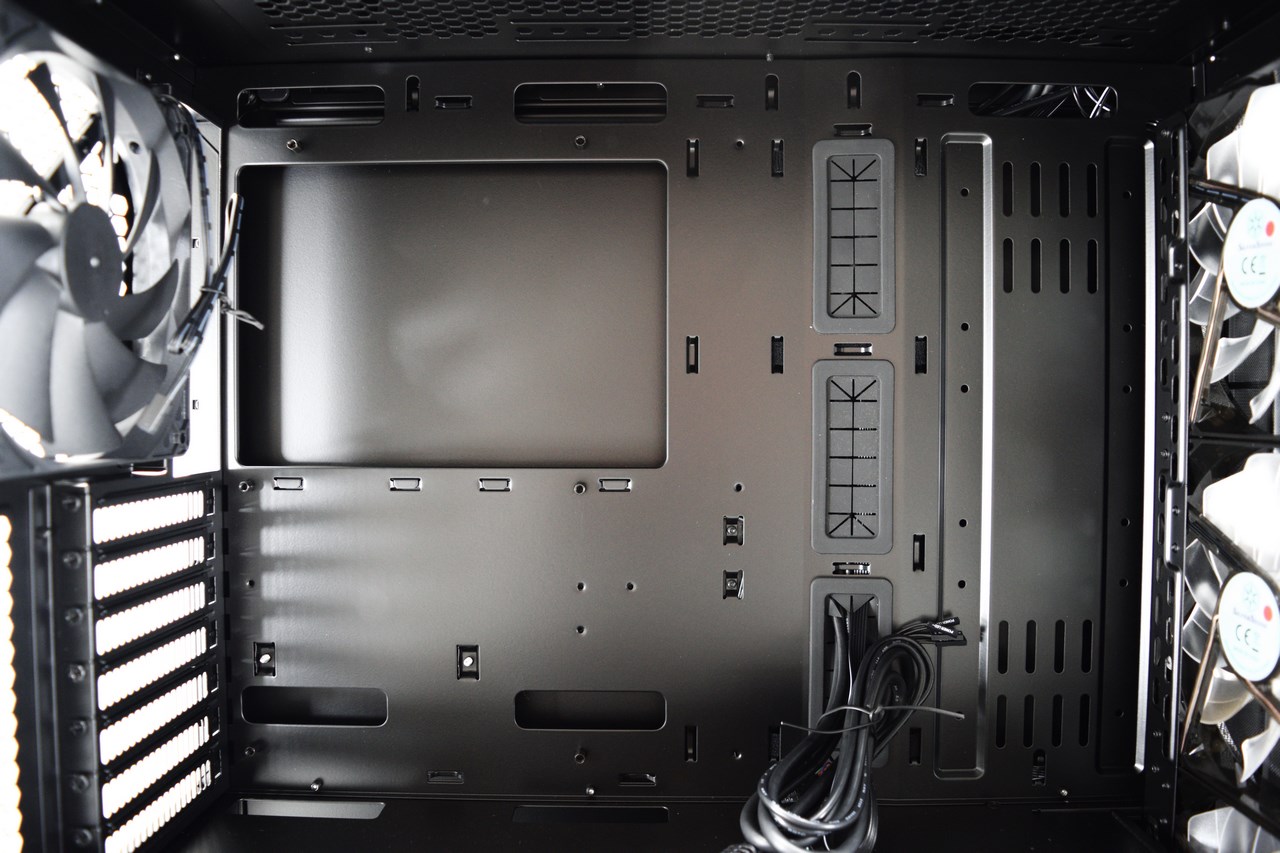
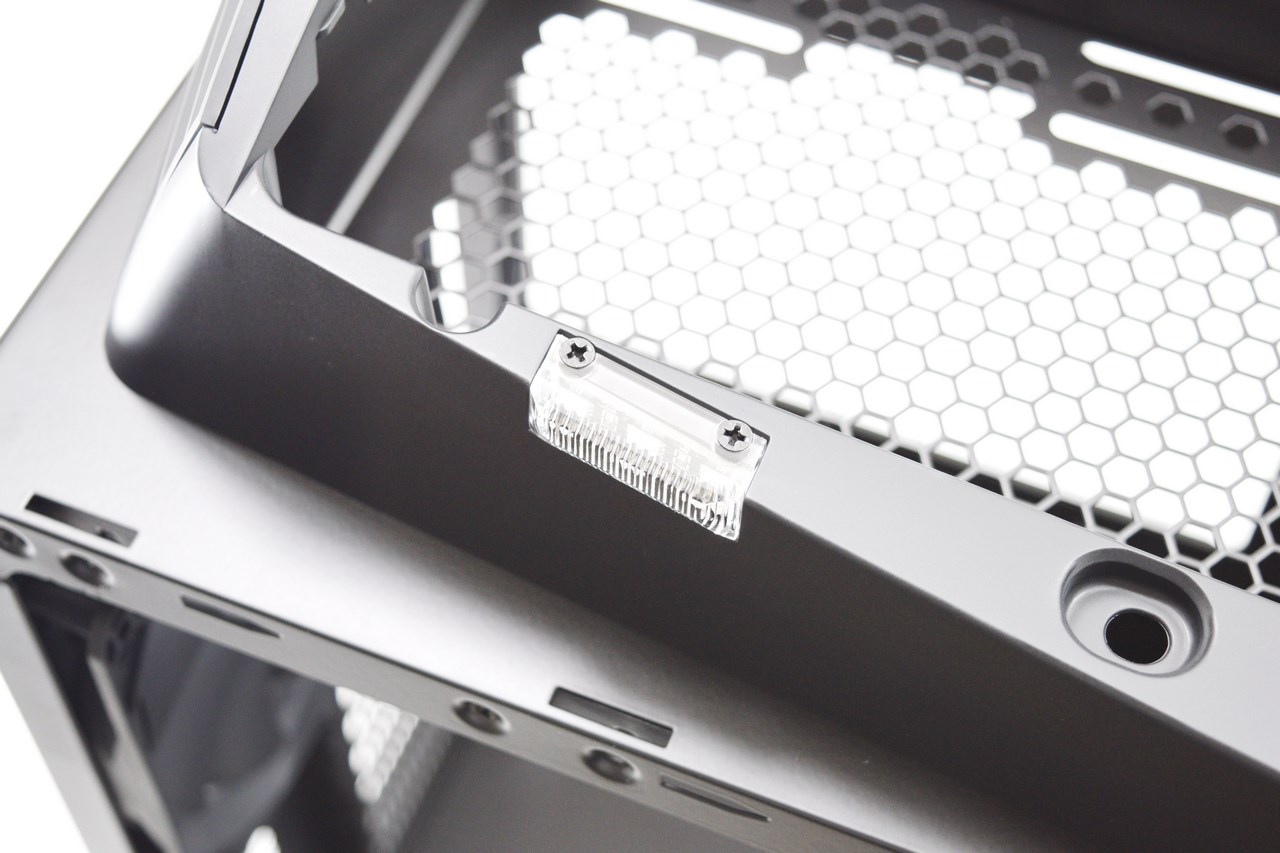
There are 8 holes for cable management on the mainboard tray 3 of which are rubber coated.
All 7 PCI expansion slots are held in place with regular screws.
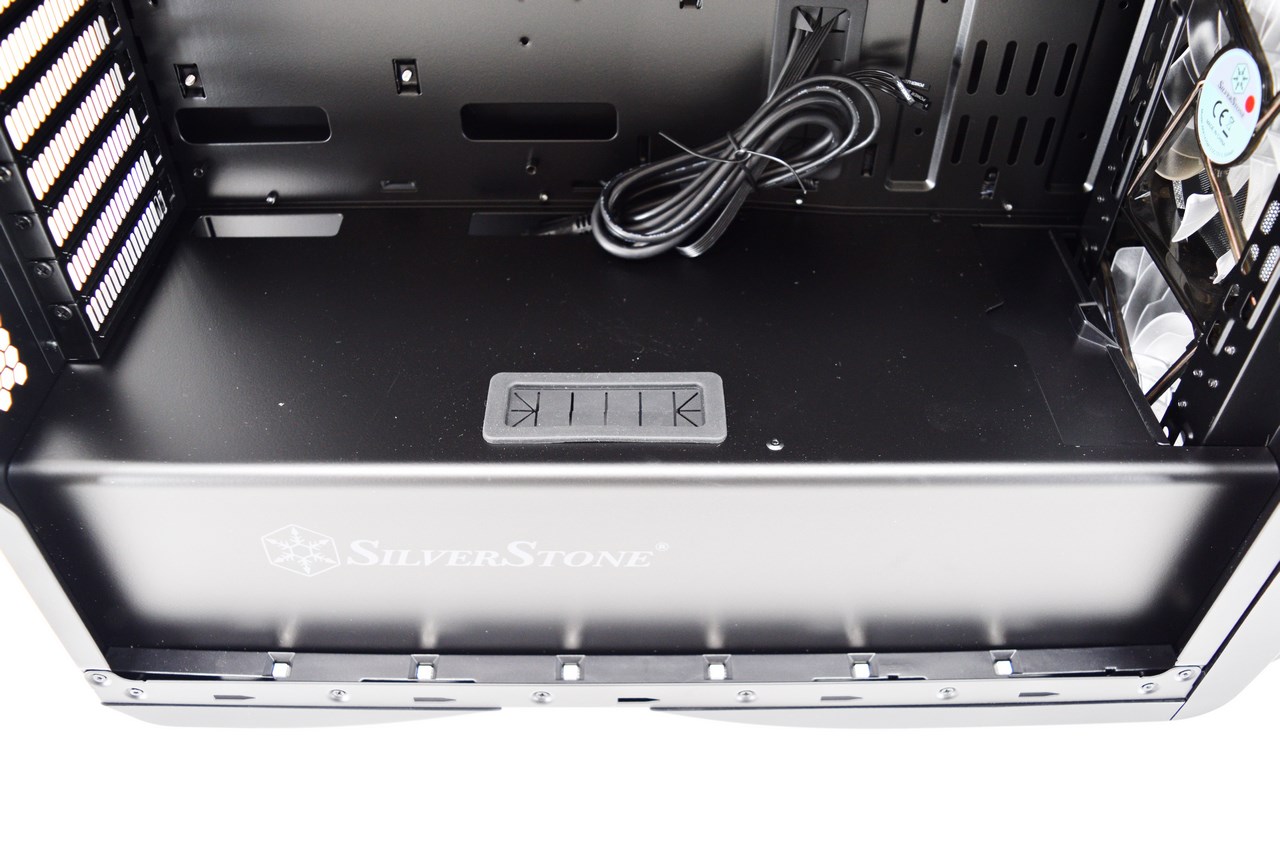
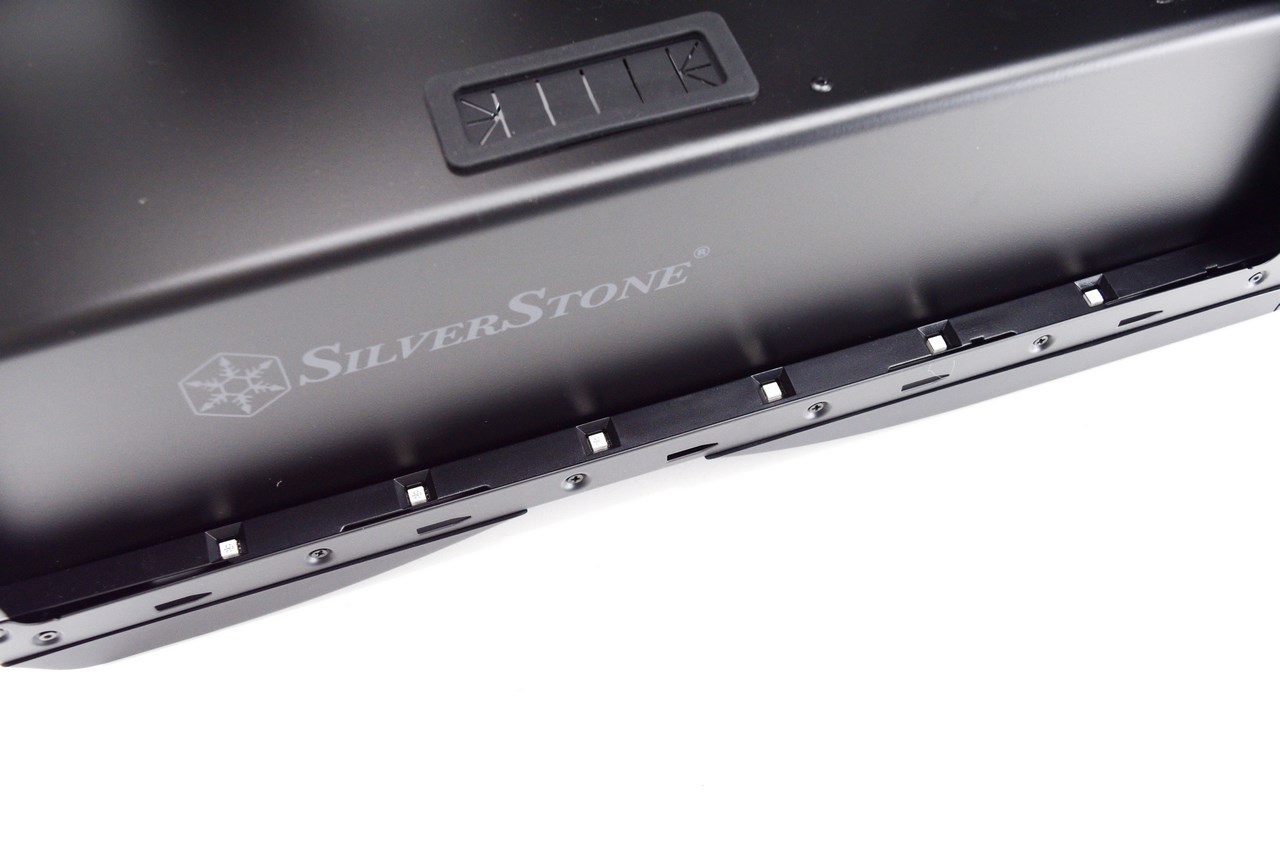
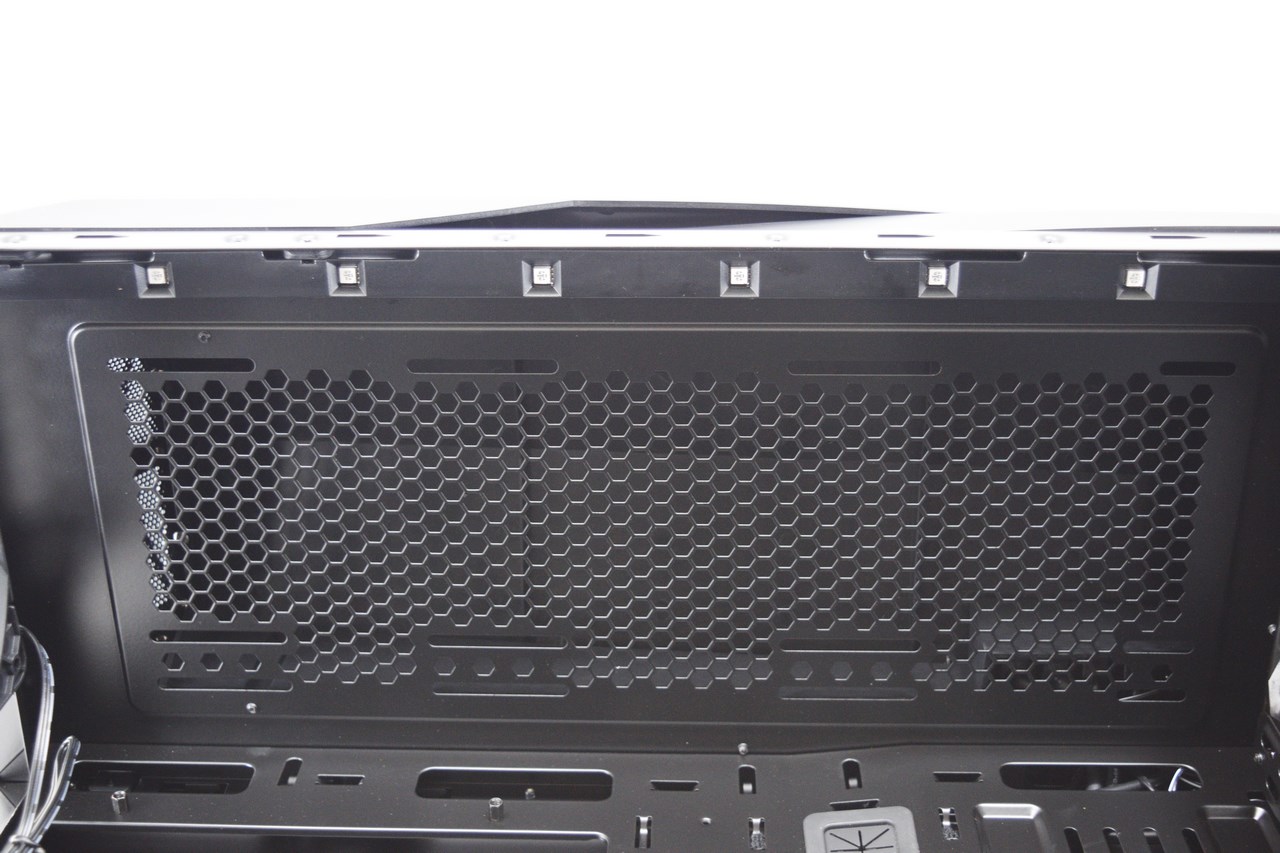
The PSU cover can't be removed and has three extra cable management holes one of which is also rubber coated.
A strip with 6 LEDs is placed in front of the PSU cover.
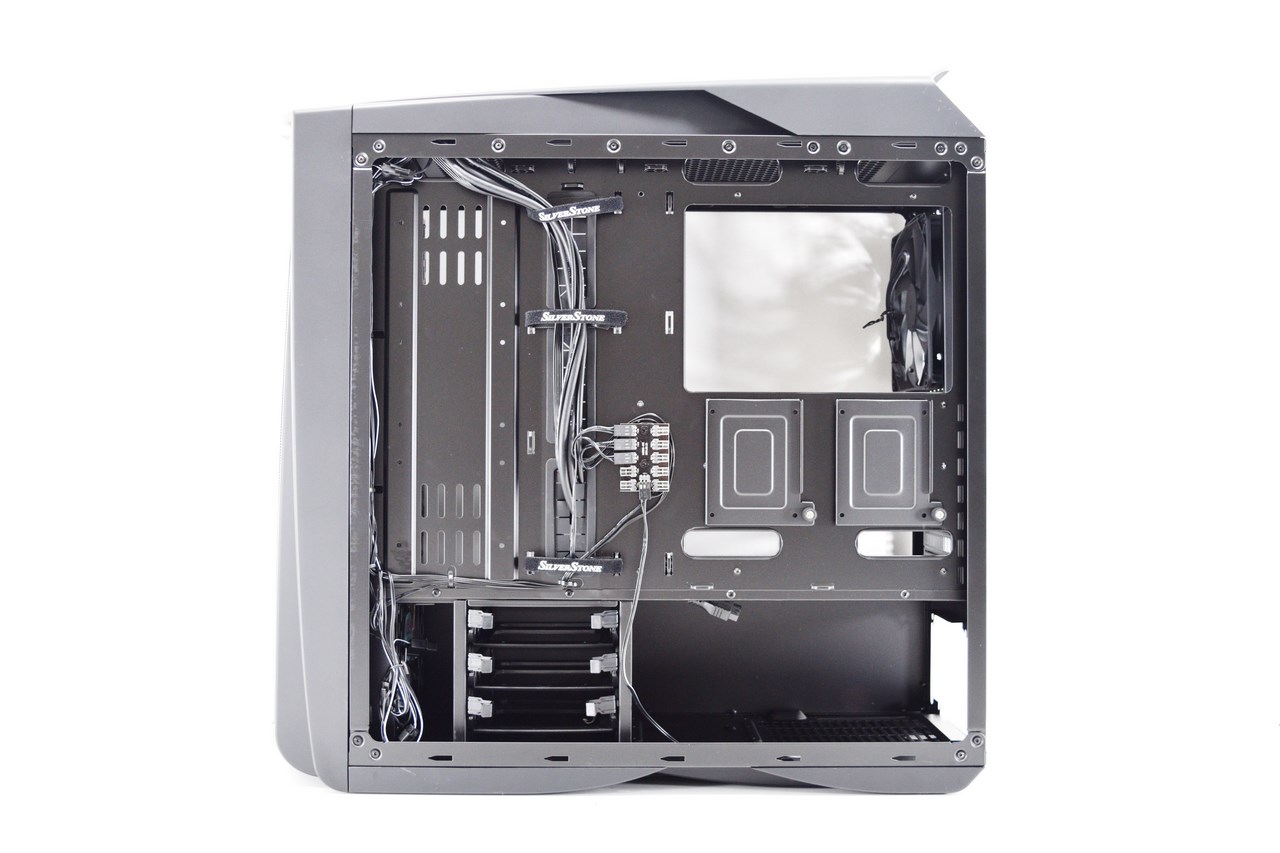
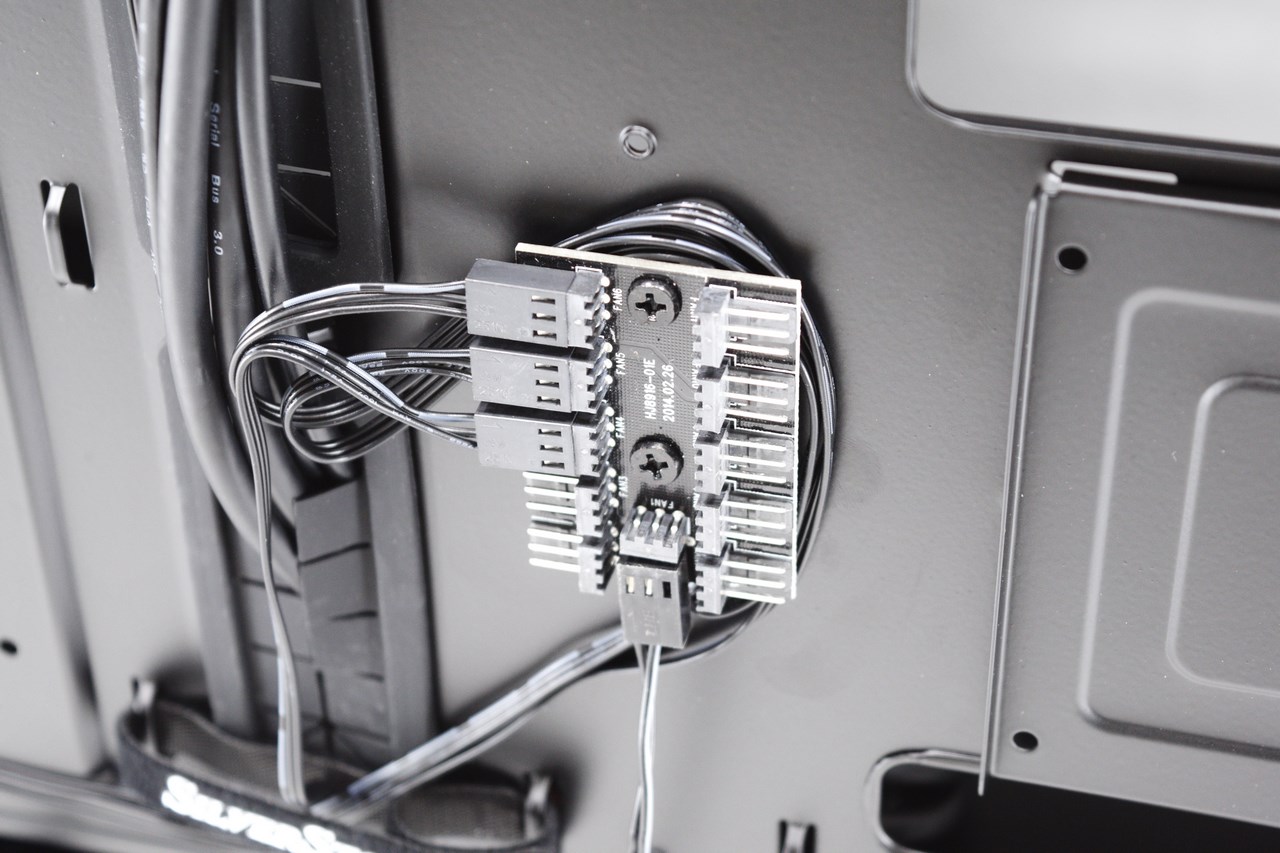
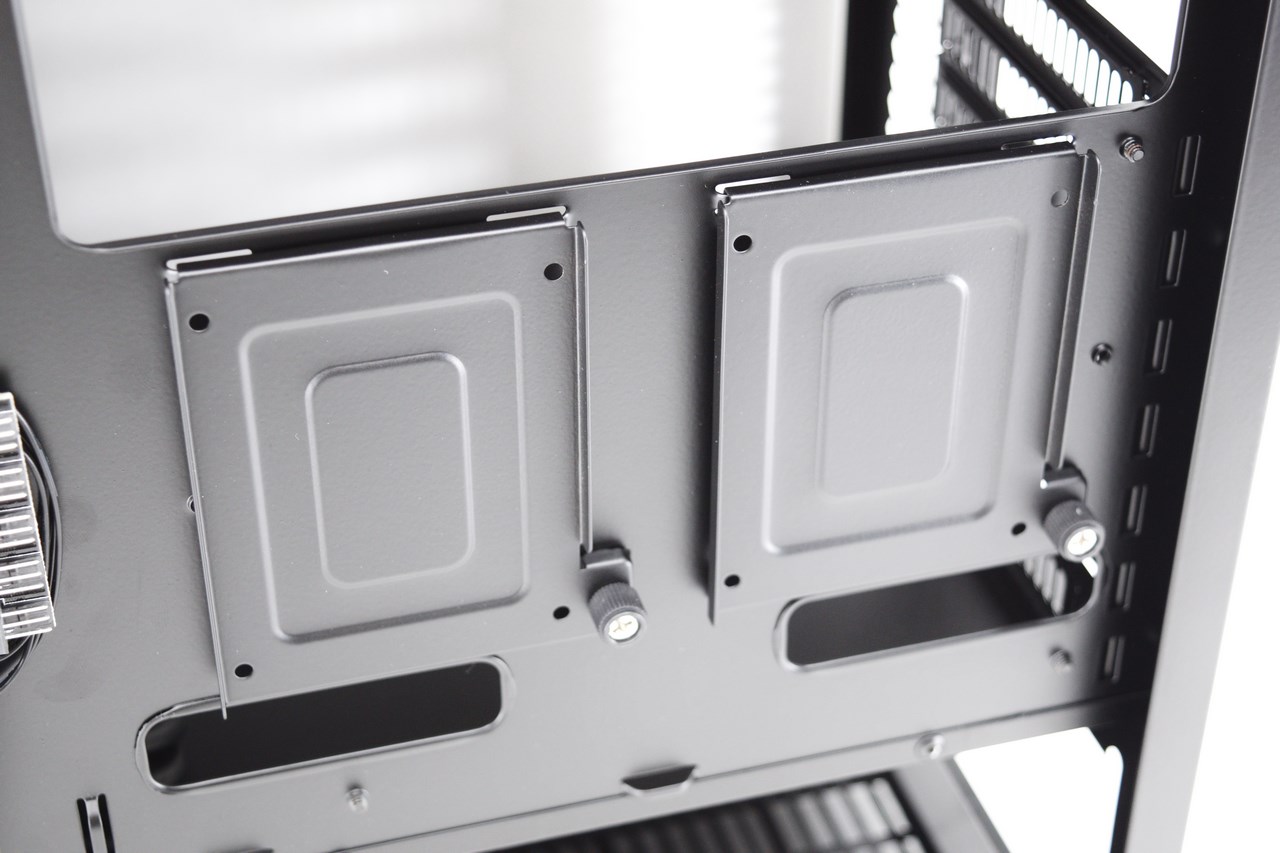
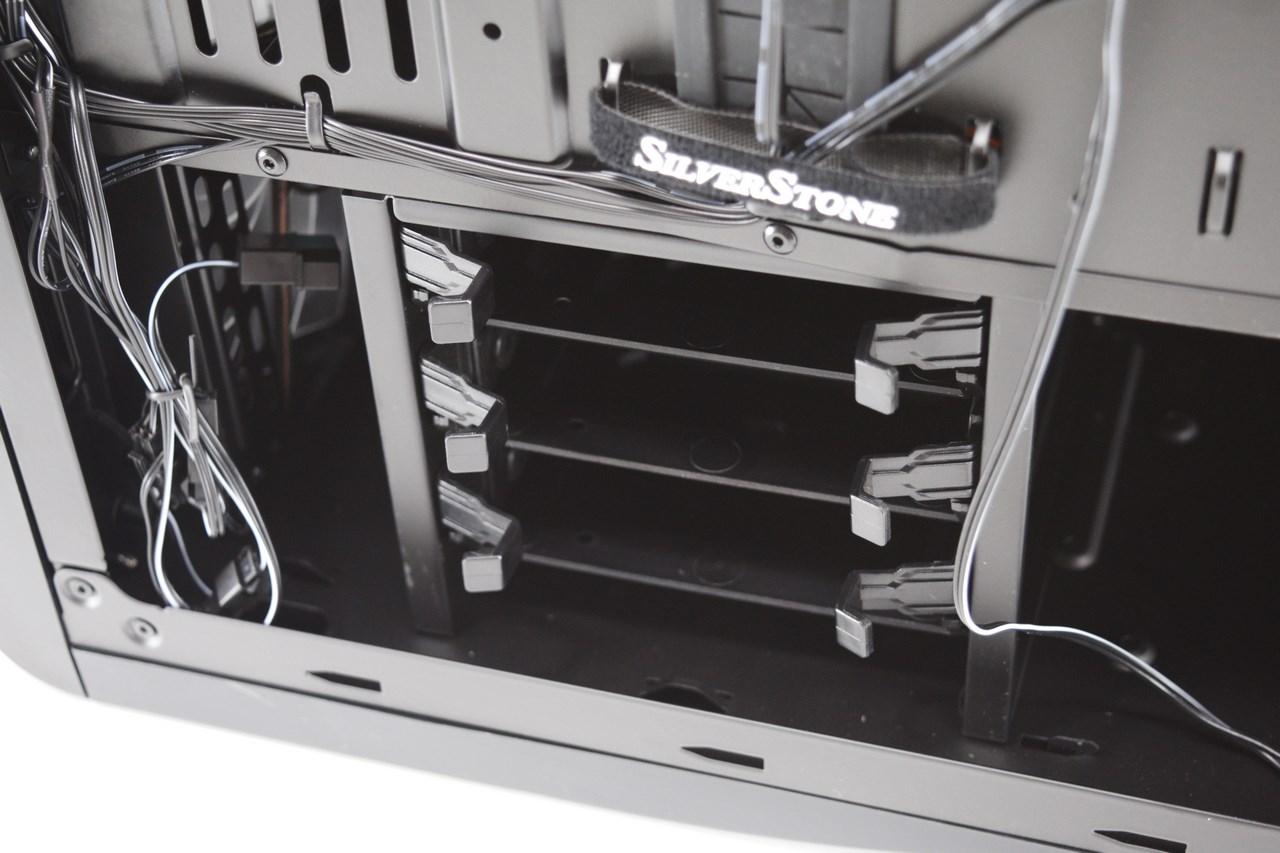
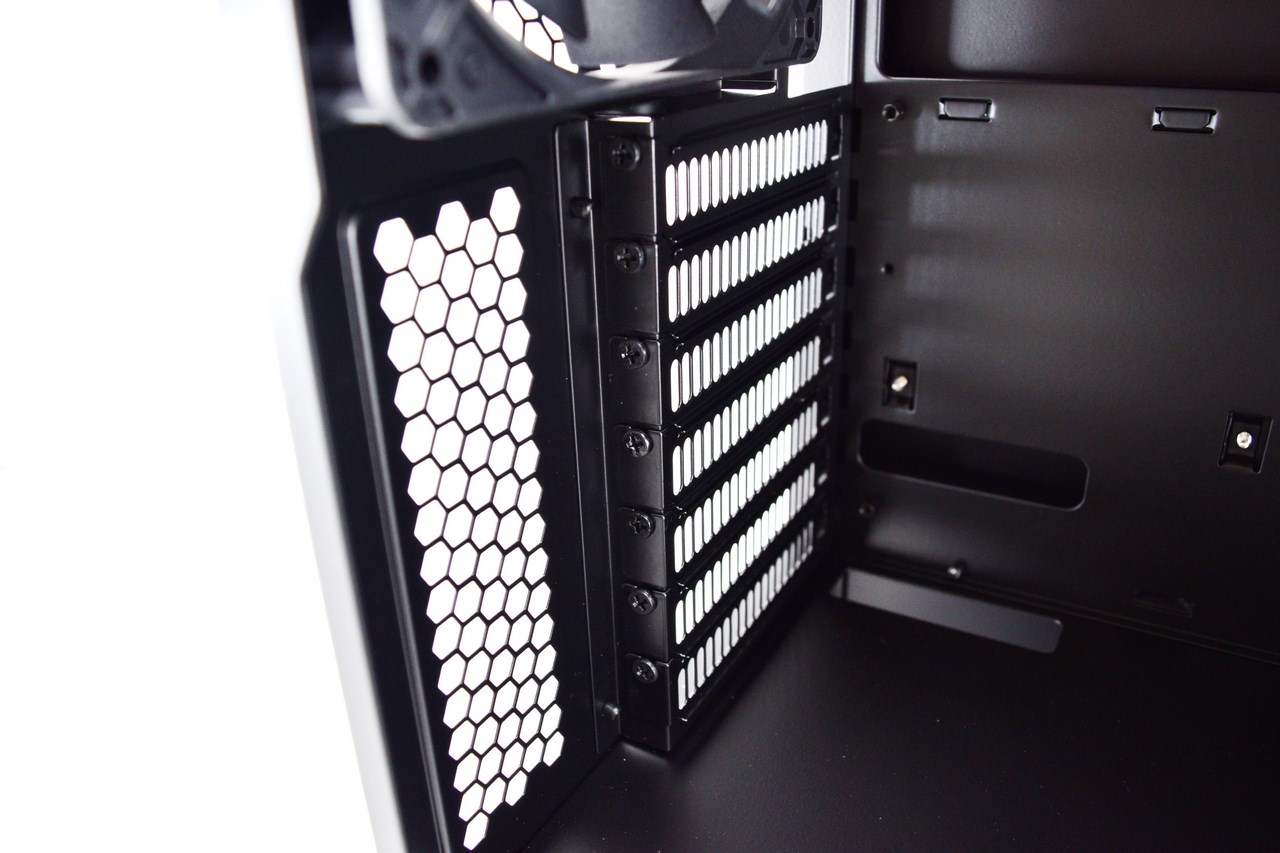
Taking a look from the other side we see a 10-port fan hub, two vertical 2.5" drive trays and a drive cage with three 2.5/3.5" trays.
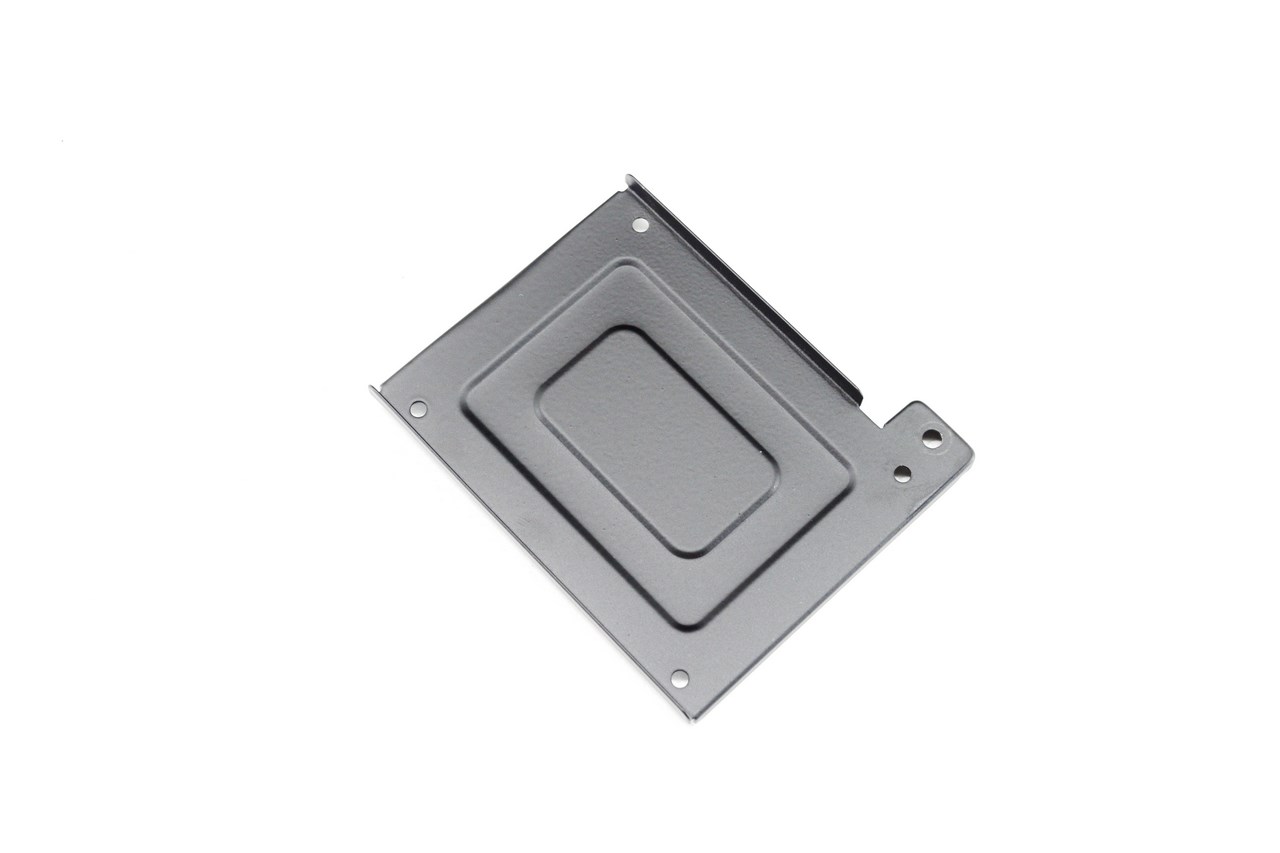
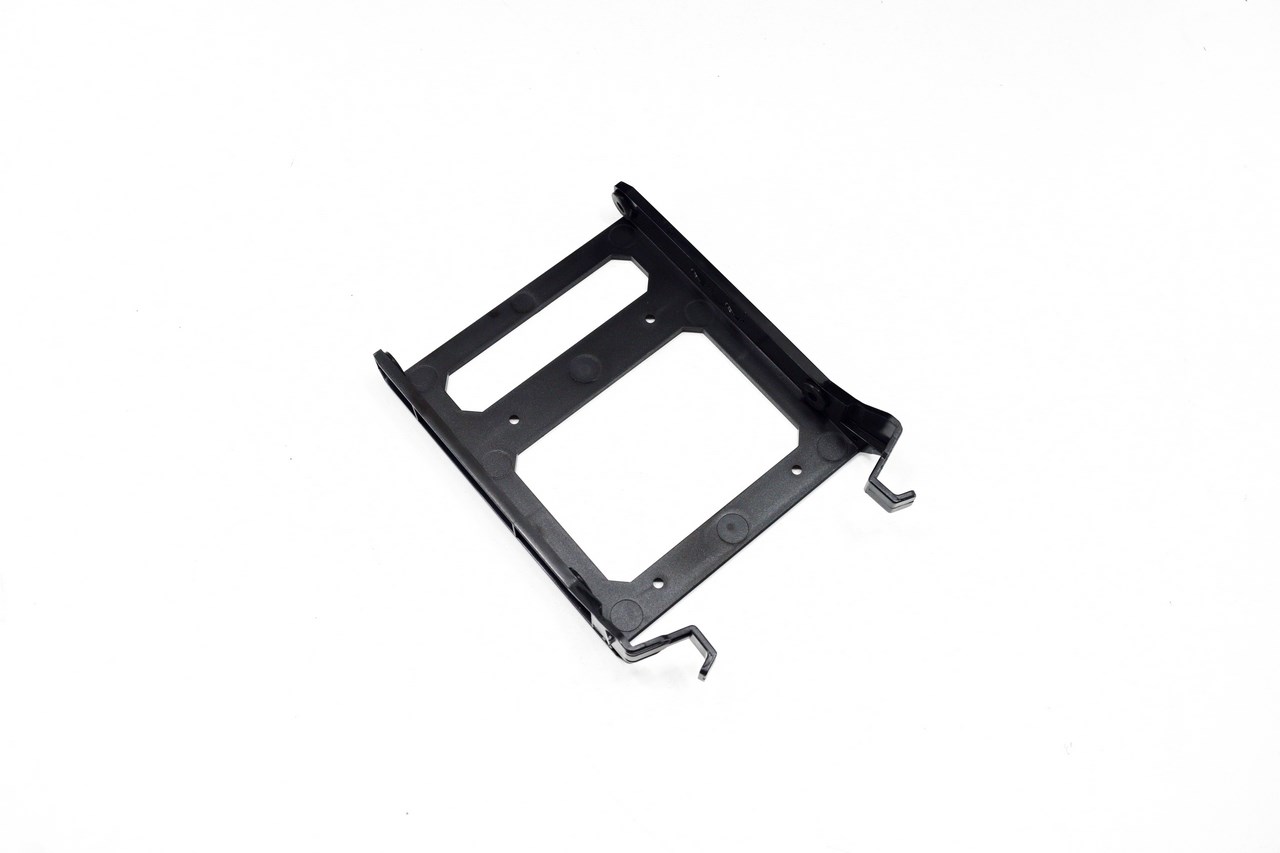 The 2.5" trays are made of aluminum while the less sturdy 2.5/3.5" ones are made by plastic (both require screws for the drives).
Remember when i told you that you can't remove the fascia from the outside? Well this is due to the 4 screws placed behind it right next to the fans (accessed only if you remove the side panels). Once you remove them, the fascia and also remove the 4 extra screws used to attach the top cover to the aluminum chassis you can also remove it as seen above.
There are also two red LEDs beneath the top cover as well.
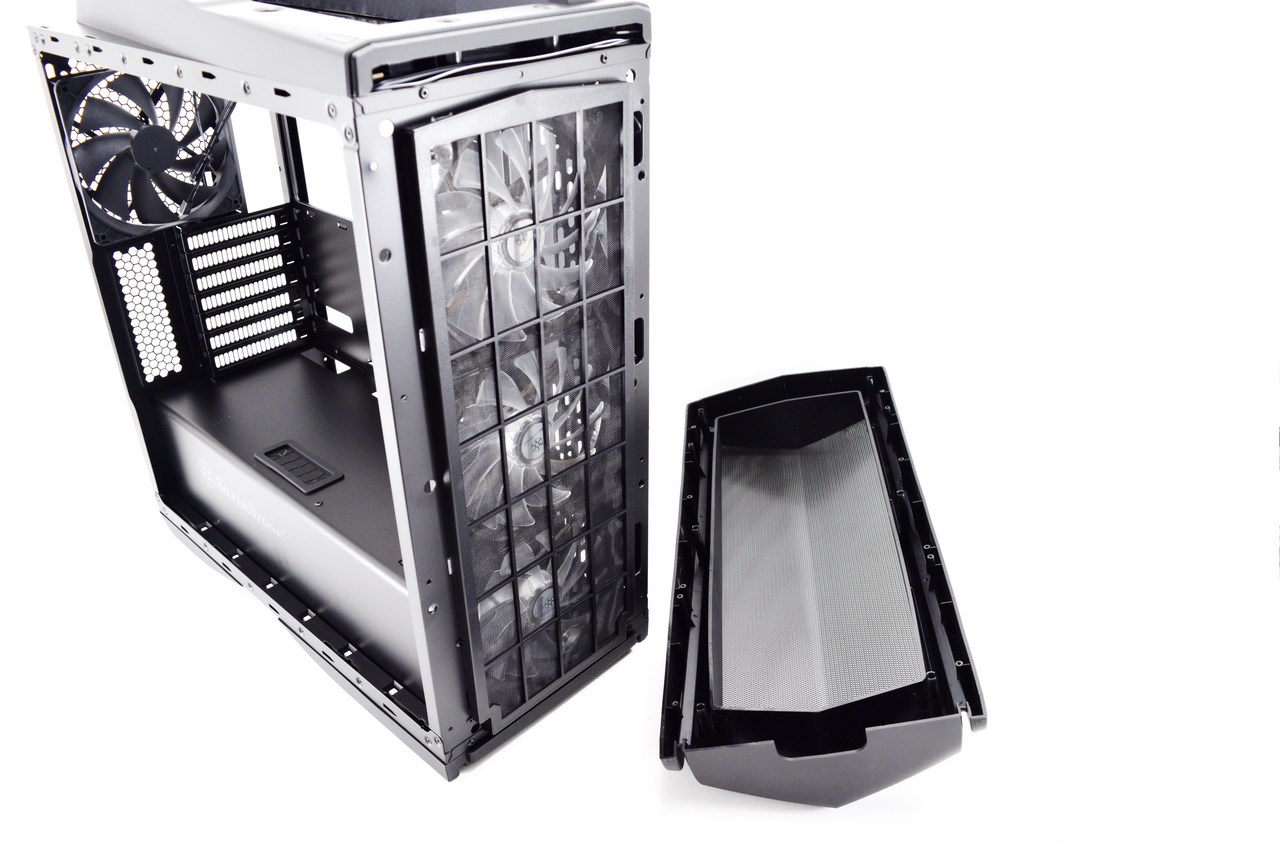
Worth pointing out is that once you remove the fascia you will see a removable air-filter in front of the three fans (SilverStone should had made it easier to remove however).
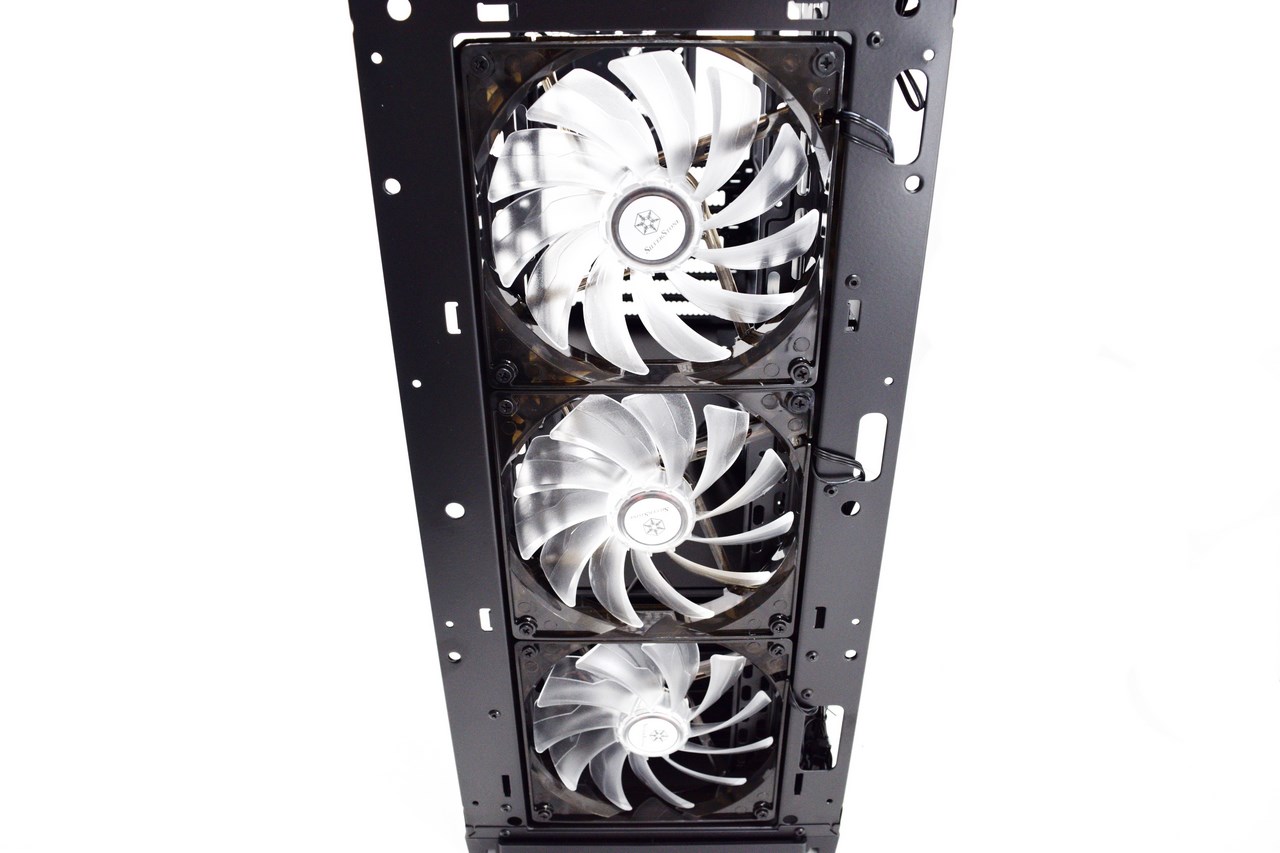
The three 140mm LED fans can be replaced with 120mm ones.
You can also mount a 240/280/360mm radiator at the top but the fans will need to go on the outside right under the top cover (also do notice the second LED strip at the top).