O-Sense


BUILDING THE SYSTEM PART 1
Usually this section is just used to showcase interior space with a standard set of components but this time over we will be installing the Pacific RL240 Water Cooling Kit by Thermaltake.
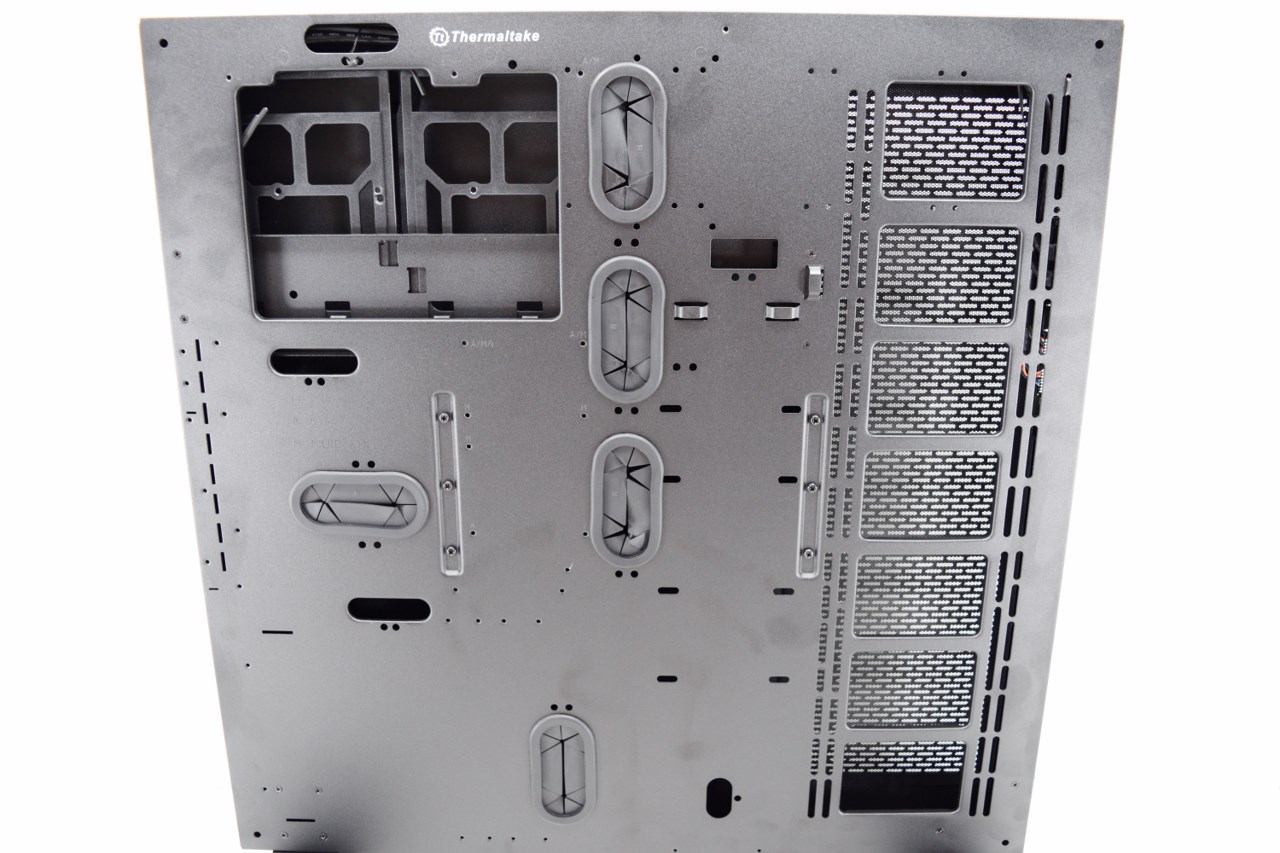
This is the "canvas" we have to work with and so we will follow the steps Thermaltake recommends in their installation instructions.
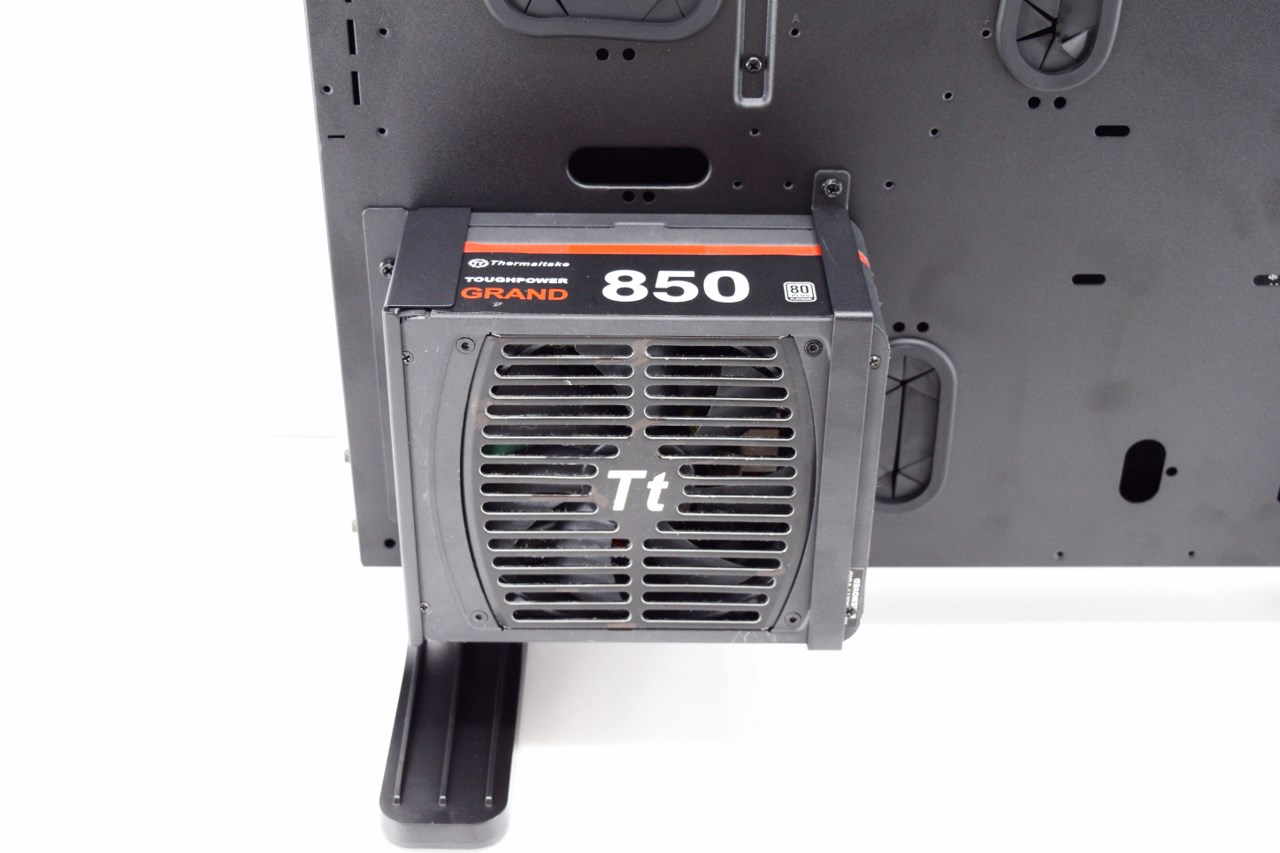
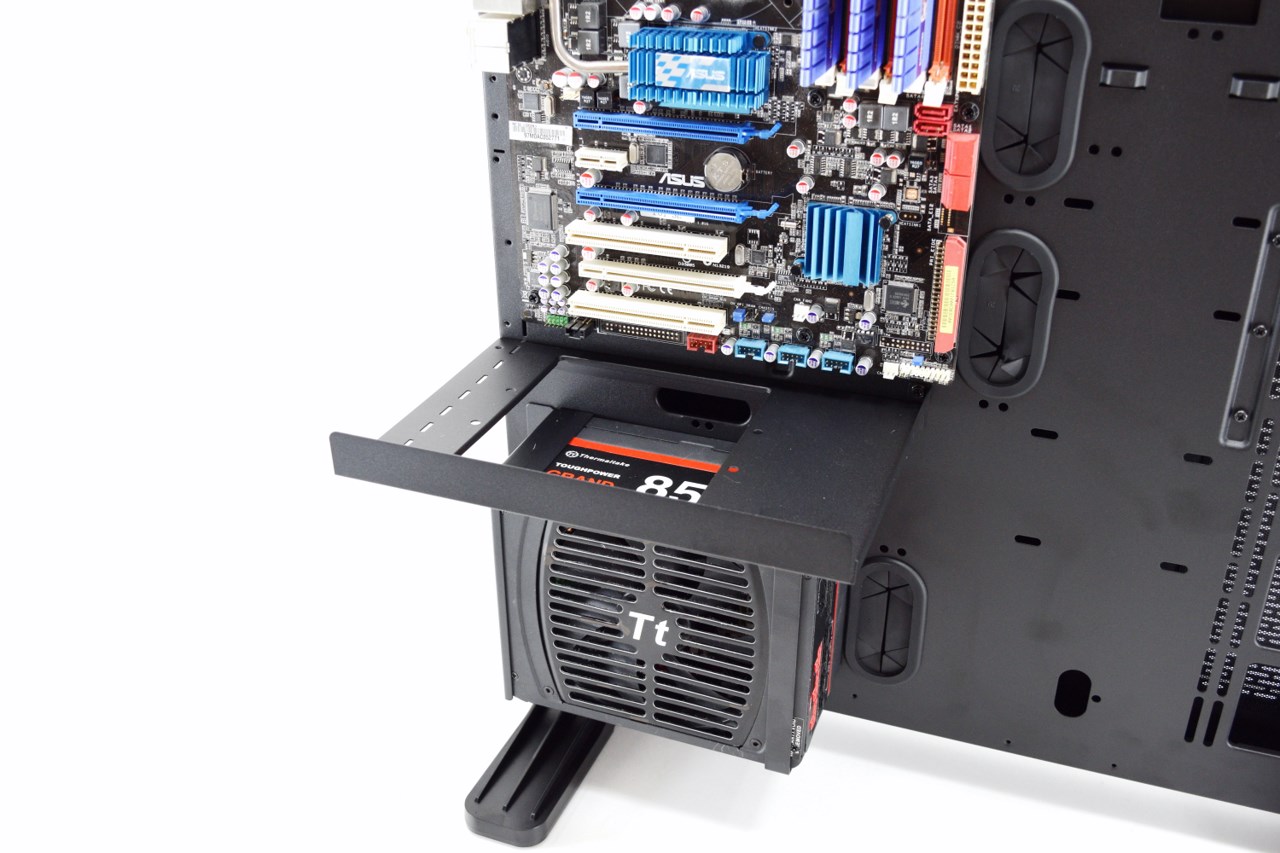
First stop is the PSU mounting which is really easy once you install the rear bracket (there are four positions where you can mount the front bracket depending on the length of the PSU).
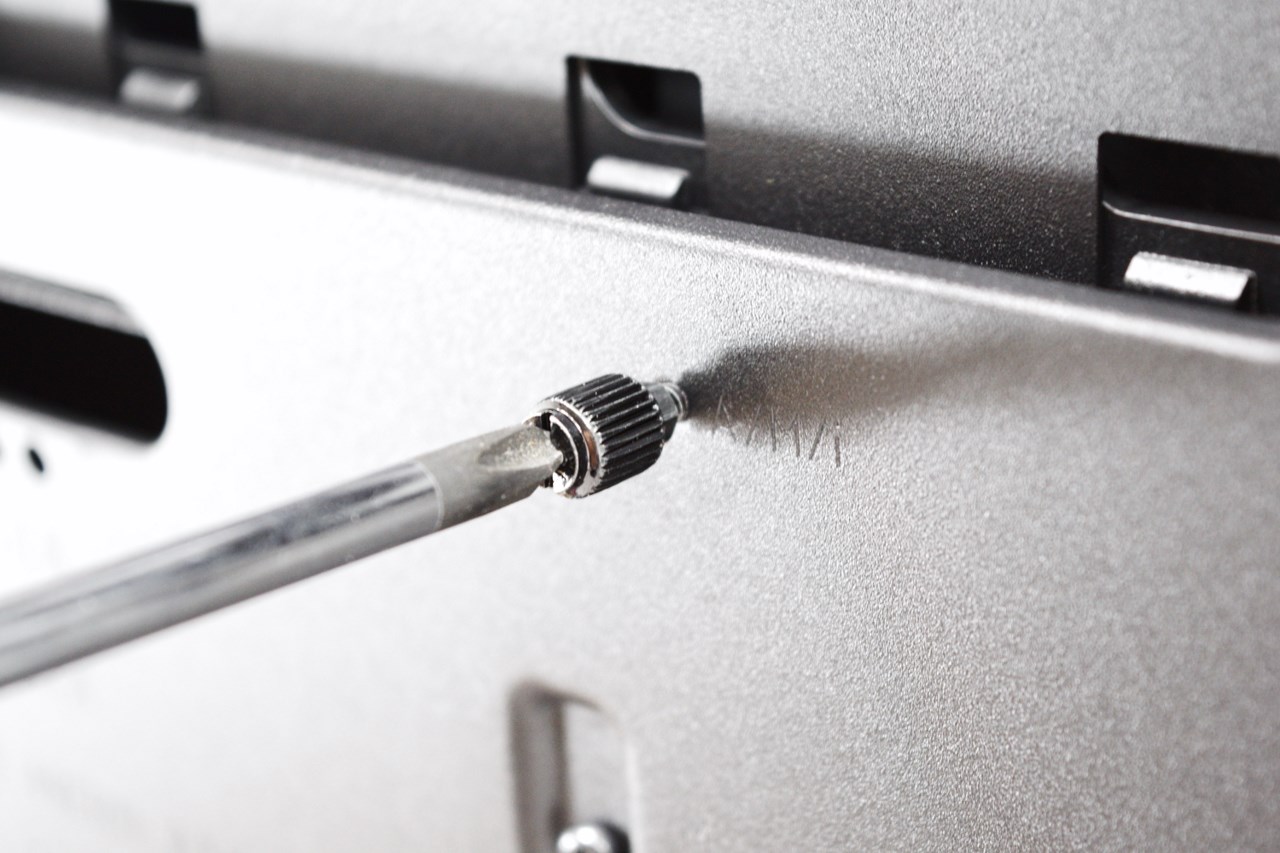
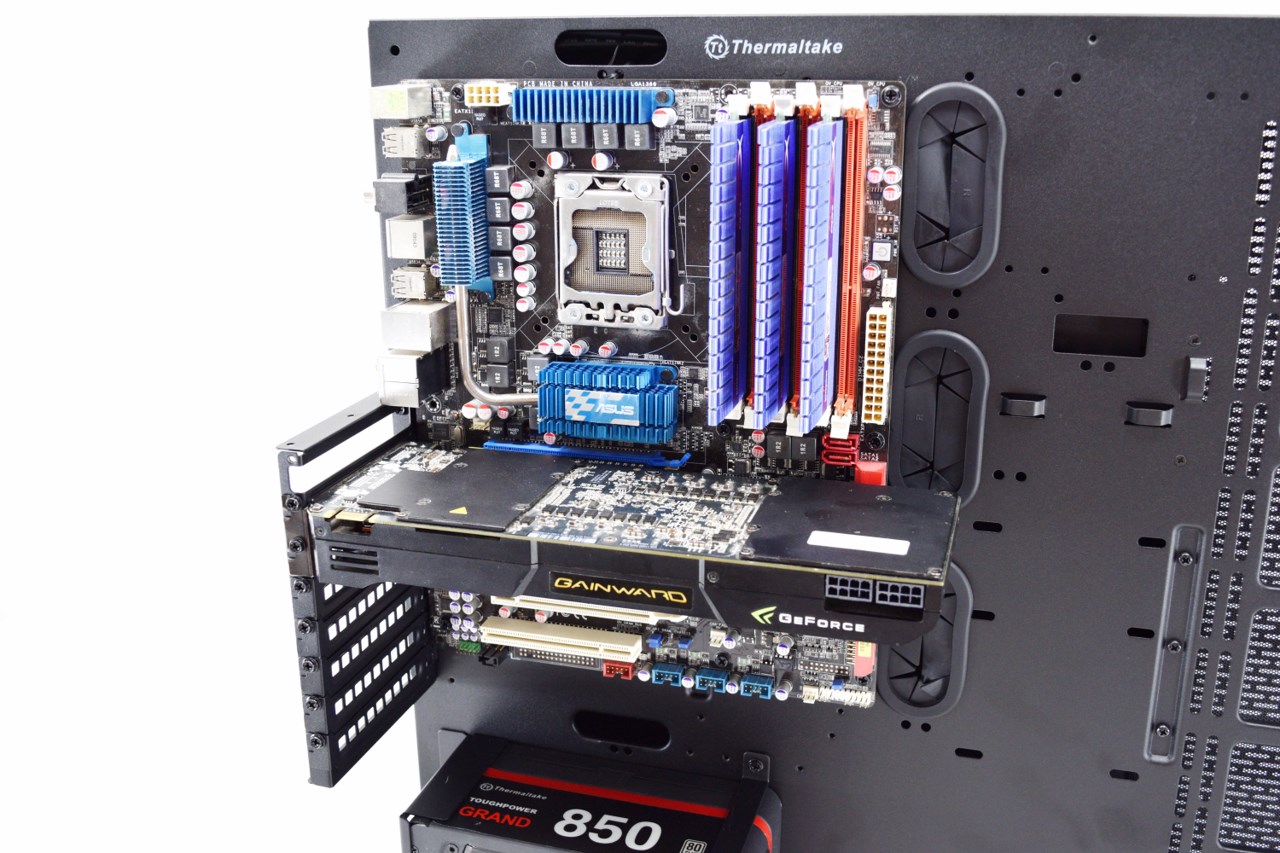
After that we have the mainboard but before we go there many of you have asked what this screw-like piece is for and this is used to tighten mainboard standoffs so they don't get released when mounting/removing the mainboard.
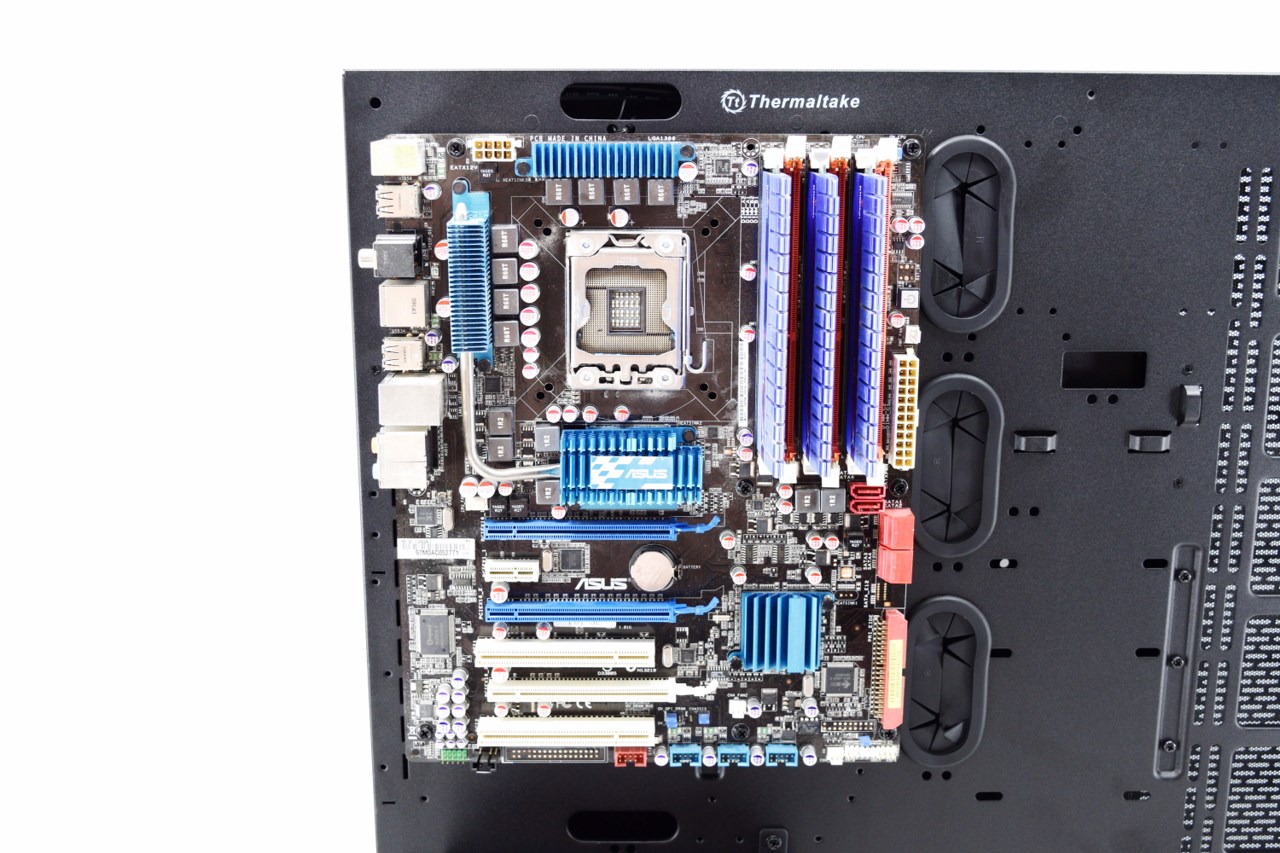
Mounting an ATX sized mainboard uses all available space (using an E-ATX mainboard should be possible but then you'd lose all 3 rubber grommets).

Thermaltake gives you two options to install your cards the first of which is the typical vertical one as seen above.
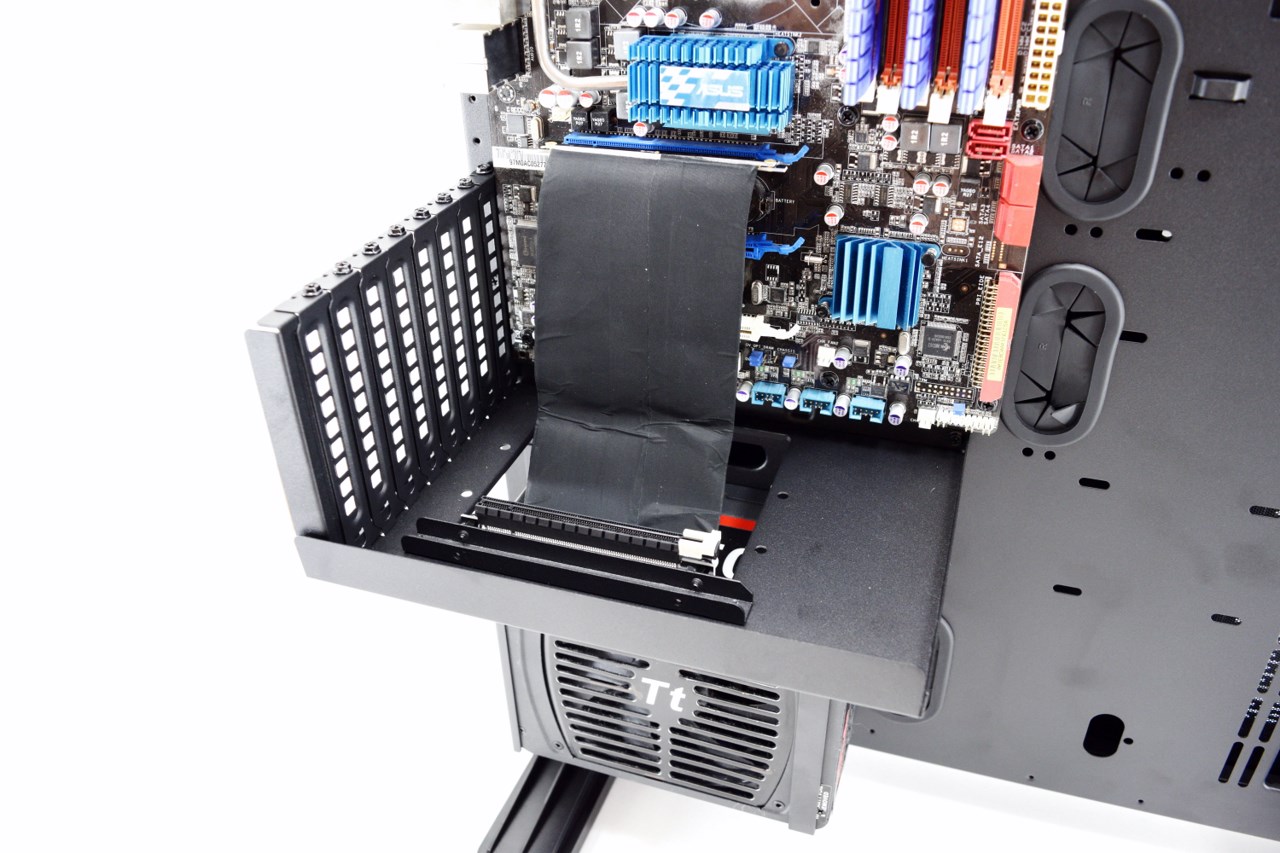
However if you want to "see" your cards easier you can use the horizontal one which requires installing the mounting tray and then the PCI expansion slots bracket. You will also need to mount the PCI-E riser cable onto one of the two available brackets (Thermaltake bundles two brackets yet one riser cable) and then install it onto the horizontal tray as seen above.
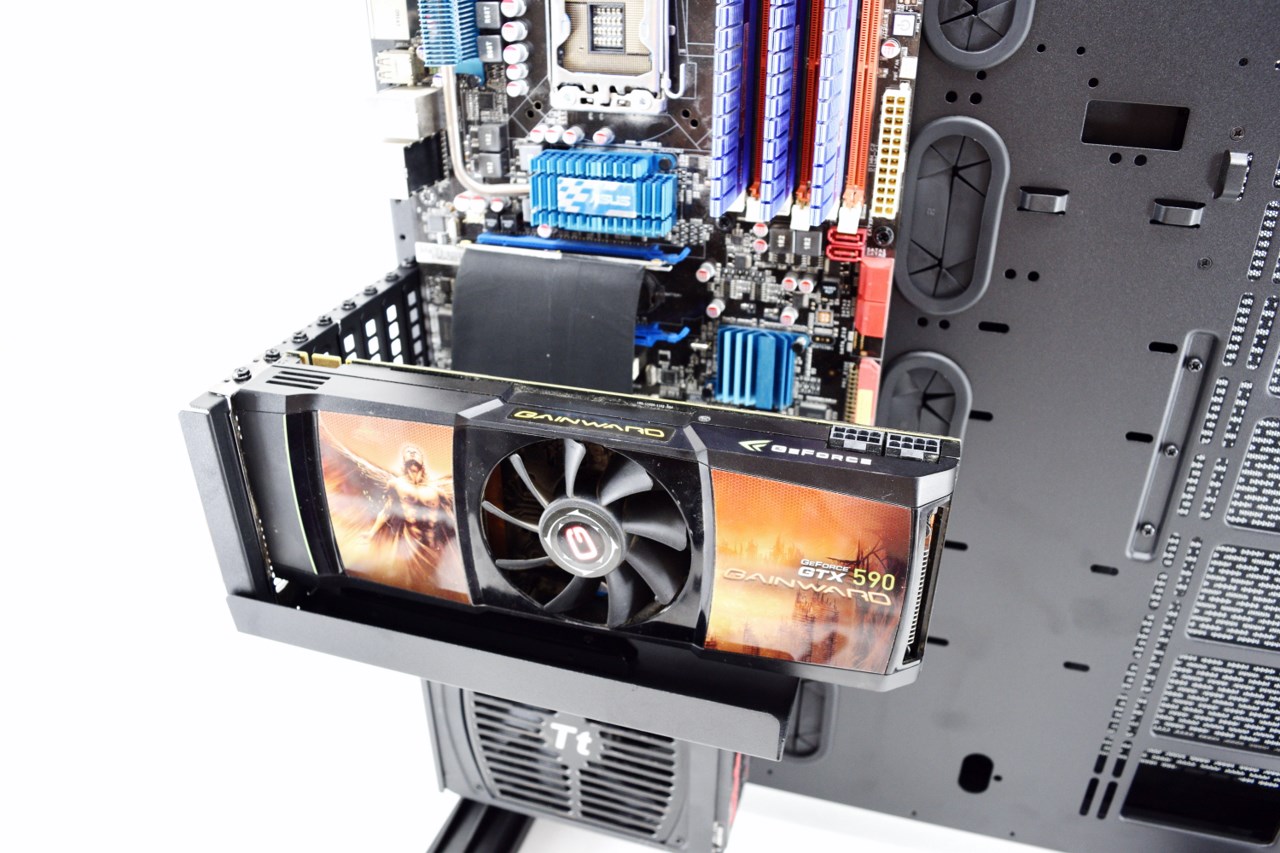
This way is the best looking one but since you will not have just 1 card the others will be covered from the riser cables (not to mention you will need to buy extra riser cables and mounts).