O-Sense


THE DEFINE XL R2 INTERIOR
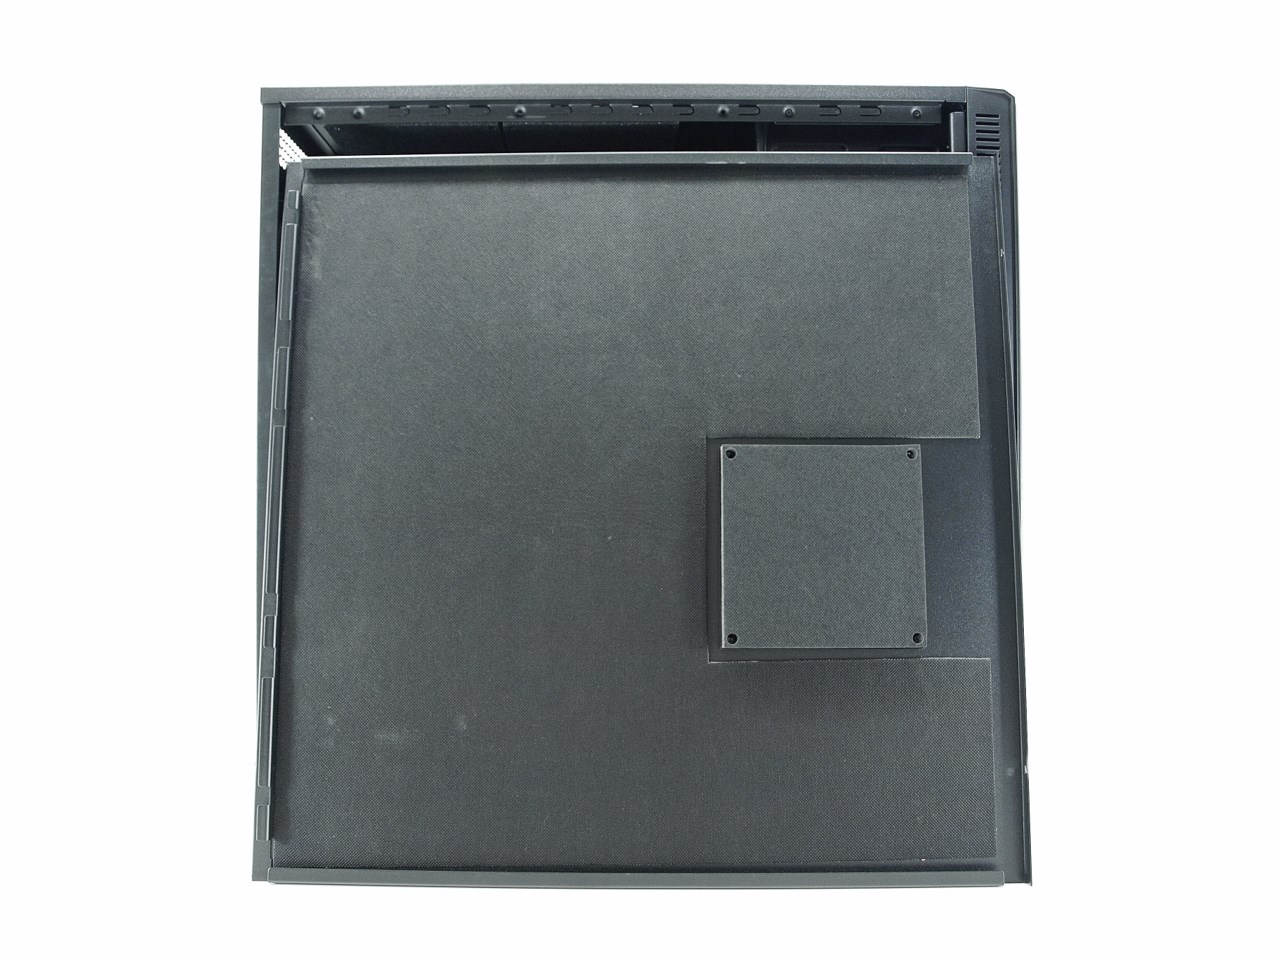

Both side panels are not only very thick but also feature the same dampening material as the empty fan spots.
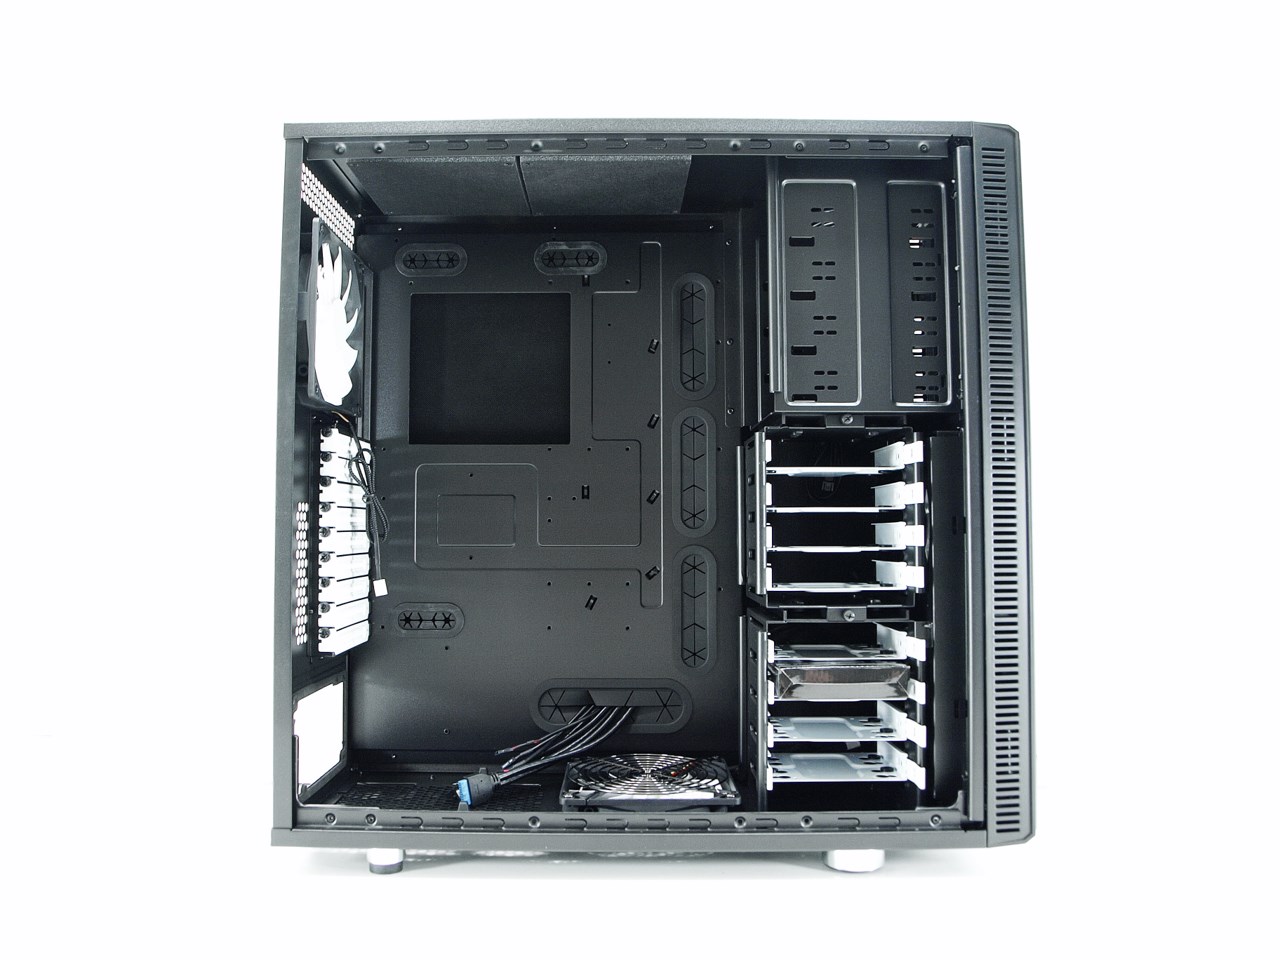
By skipping out on the 3rd drive cage and removing the aluminum plate that seperated the mainboard and PSU areas the new Define XL R2 has quite a bit of space more compared to its predecessor.
Unfortunately once again the four 5.25" drive bays lack a tool-less lock mechanism.
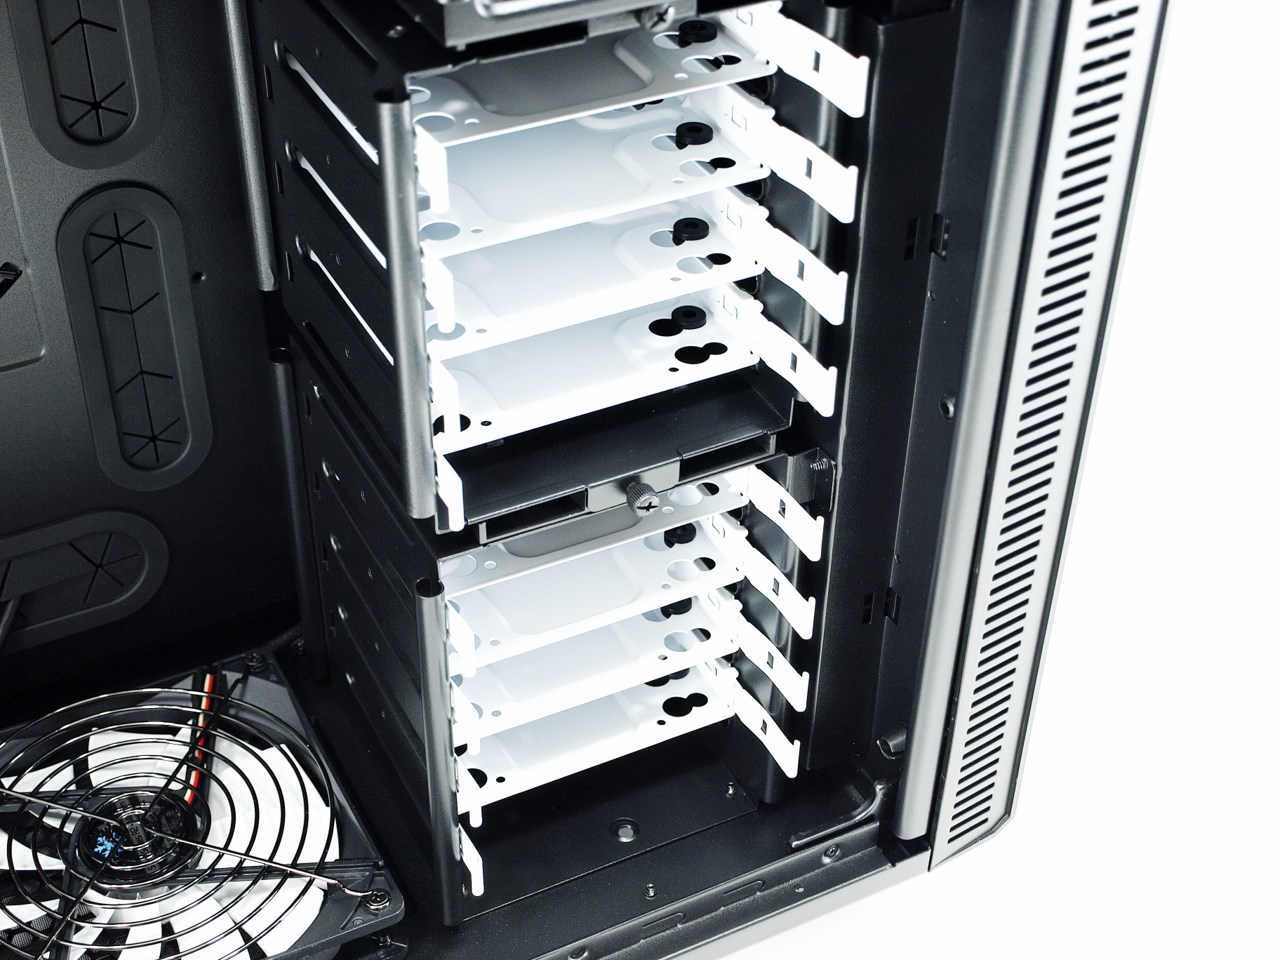
There are 4 drive trays on each of the two drive cages.
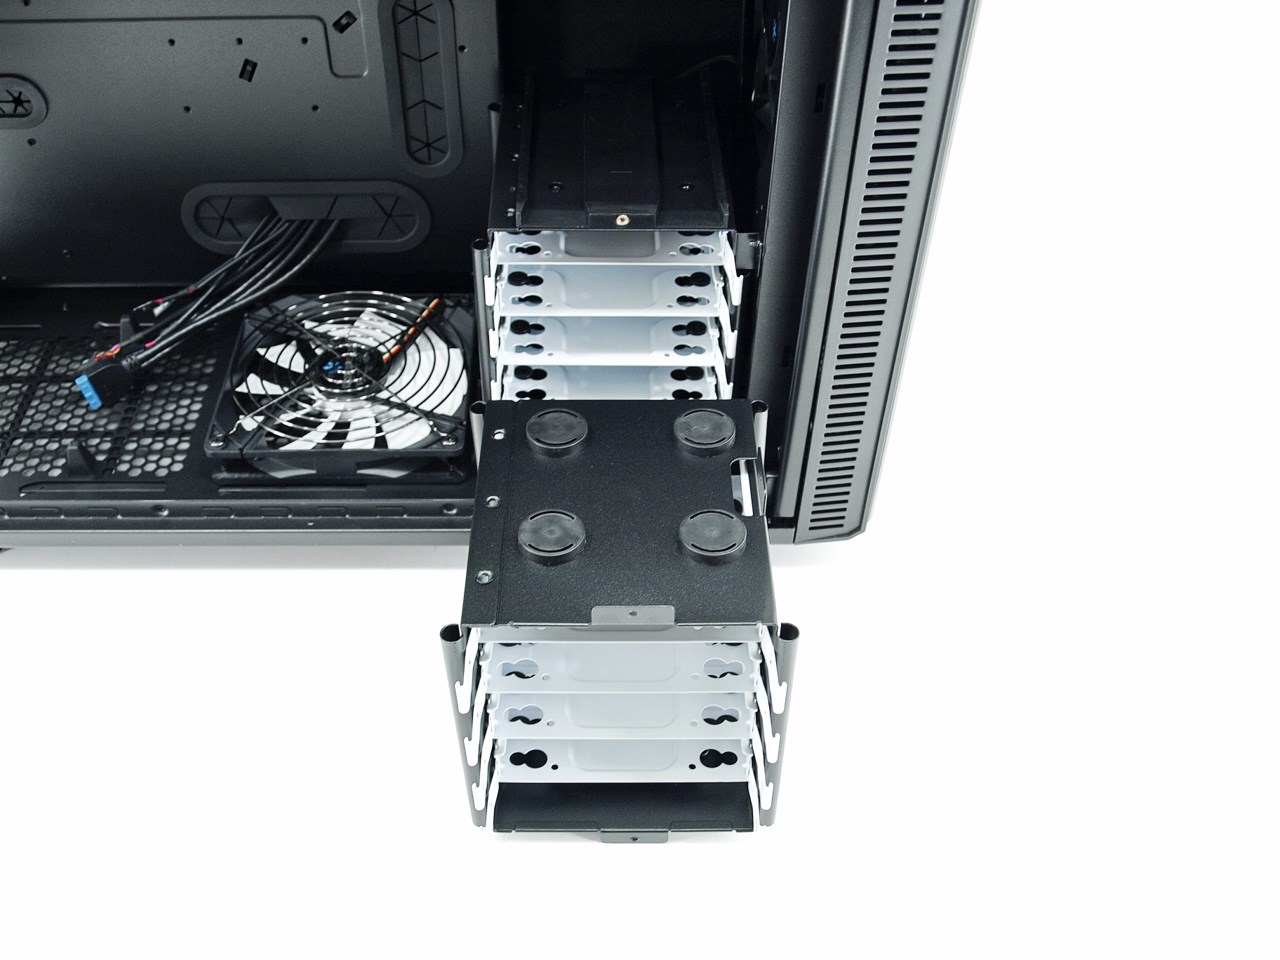
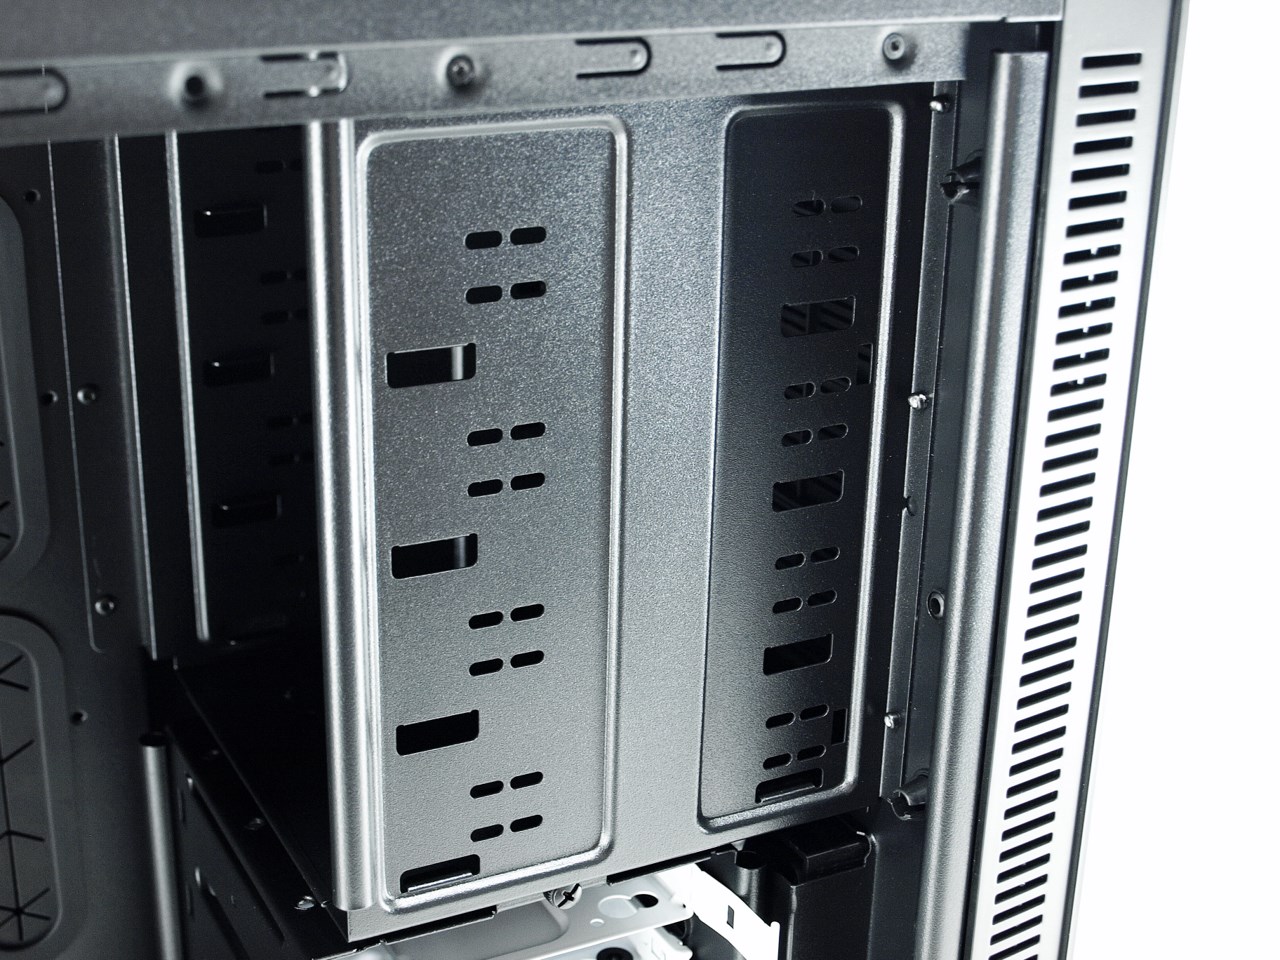
As expected the top drive cage can be removed to make space for the longest graphics cards.
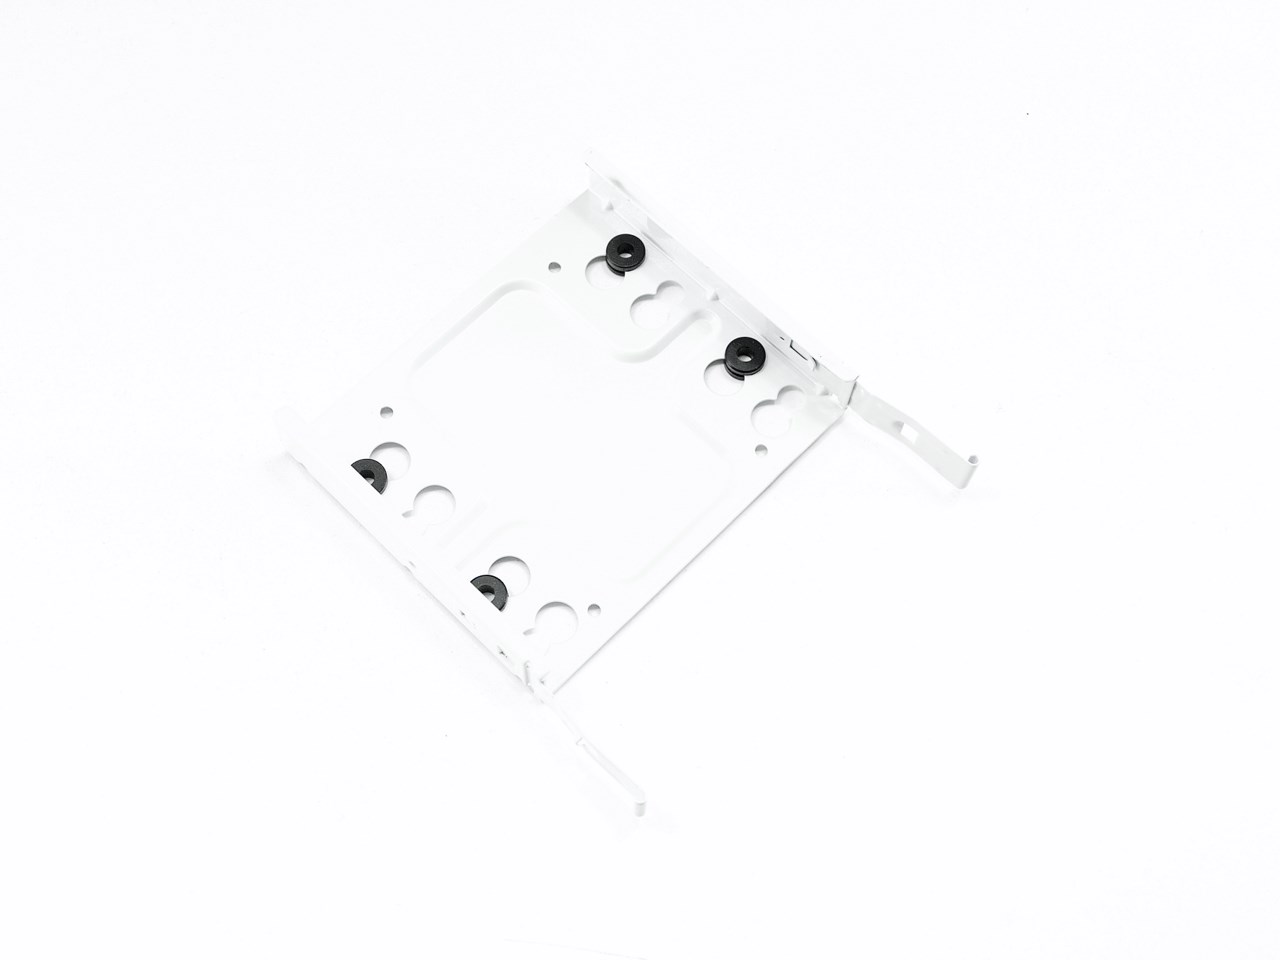
The drive trays are quite sturdy and are compatible with 2.5/3.5" drives.
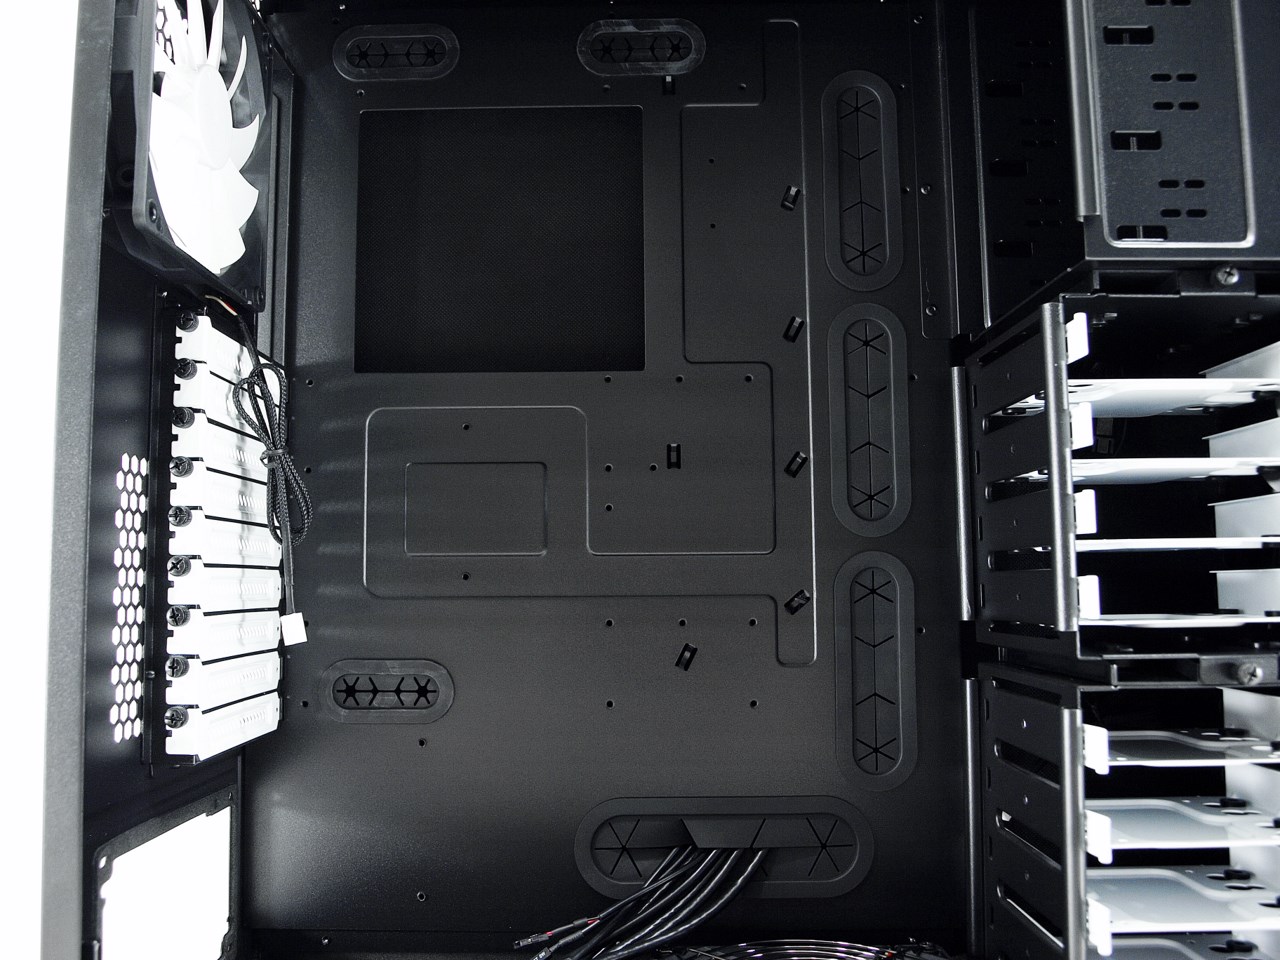
The mainboard tray has 7 rubber grommets for cable management and a very large opening beneath the CPU area.
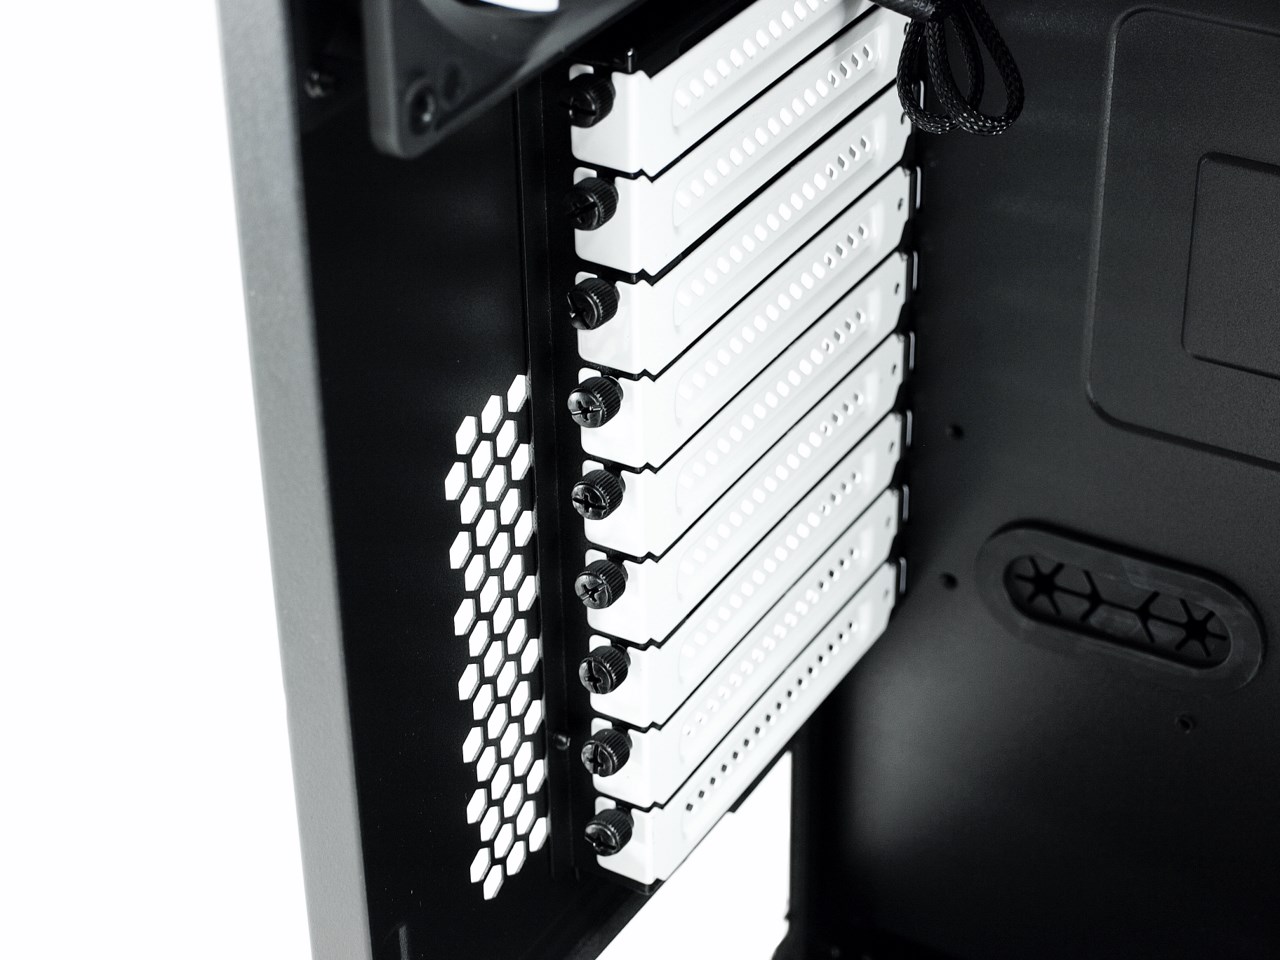
All 9 PCI expansion slots are locked in place with regular thumbscrews (again i'd like to see rubber coated ones).
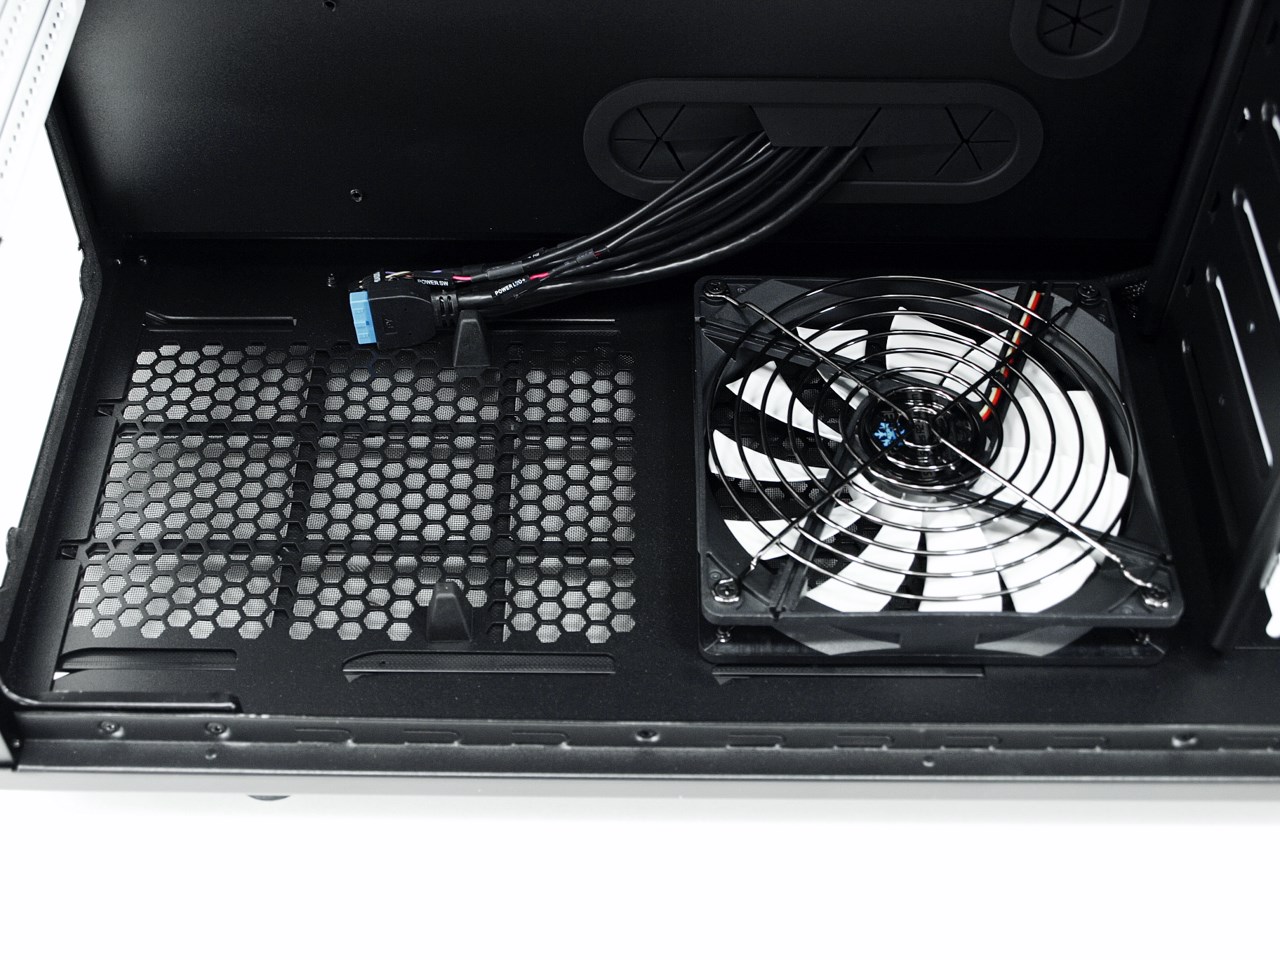
There are two tall feet at the PSU area and one 140mm intake fan right next to it.
Taking a look from the interior it's evident that you can also mount a 240mm/280mm radiator at the top.

I was expecting a bit more space behind the mainboard tray but even this is sufficient for cable management especially for a full tower.