O-Sense


WEB INTERFACE PART 2
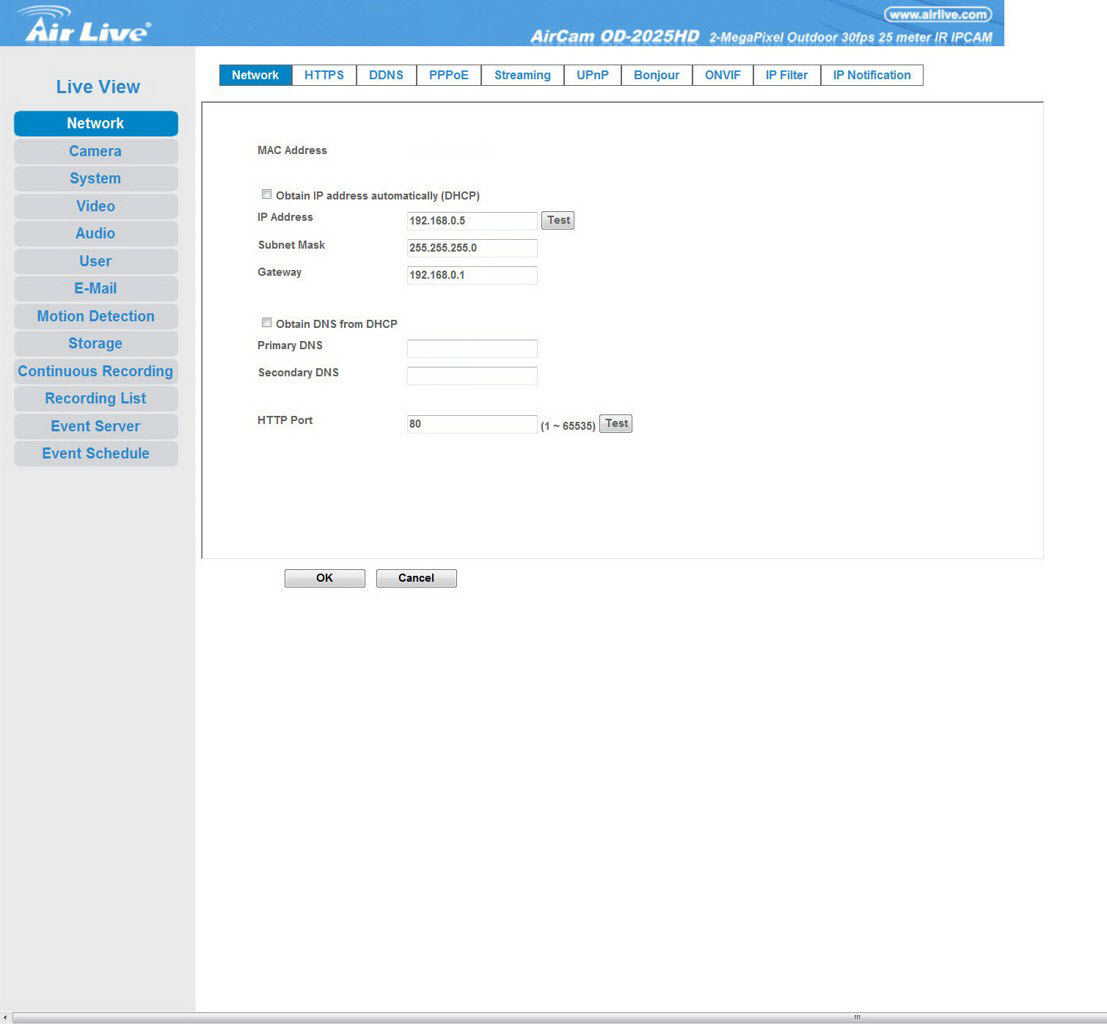
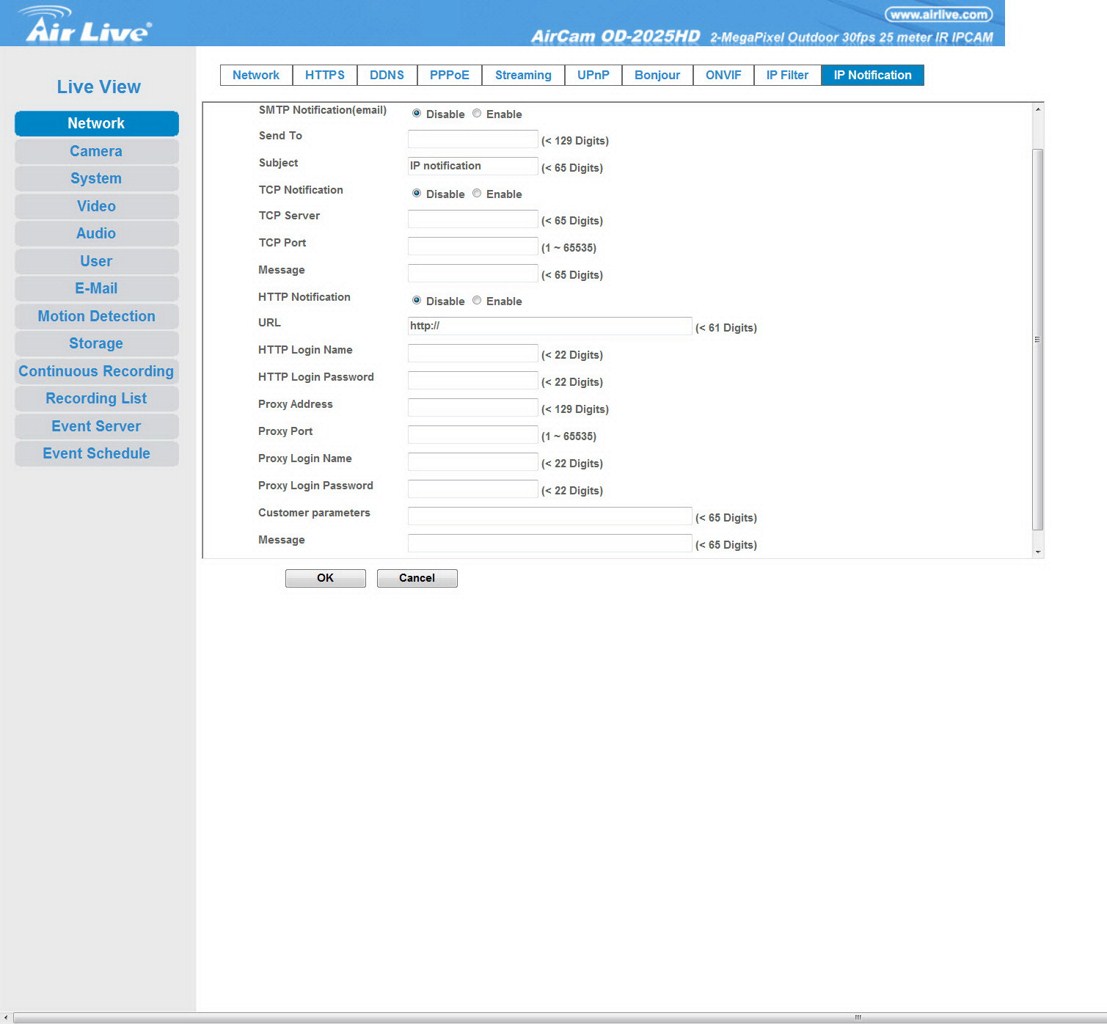
Inside the network tab you can manually set/change the IP address of the unit, enable/disable HTTPS, use a DDNS service (dyndns.org/no-ip.com), enable/disable PPPoE, set the port for streaming, enable/disable UPNP, enable/disable the Bonjour service, enable/disable the ONVIF function, set IP filtering and also enable/disable SMTP/HTTP notifications.
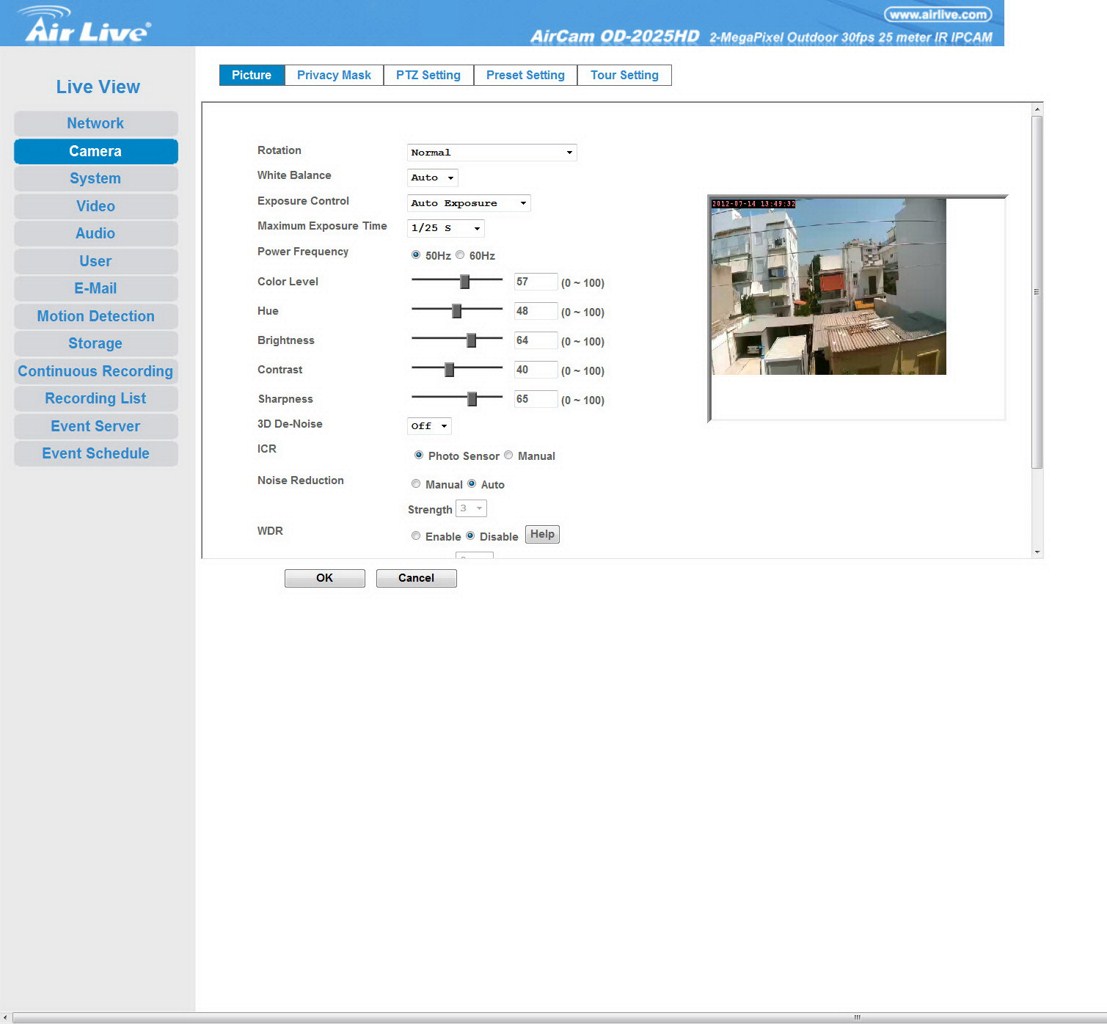
The Camera tab includes almost everything related to image quality so you will certainly want to spend time here in order to get the best possible outcome.
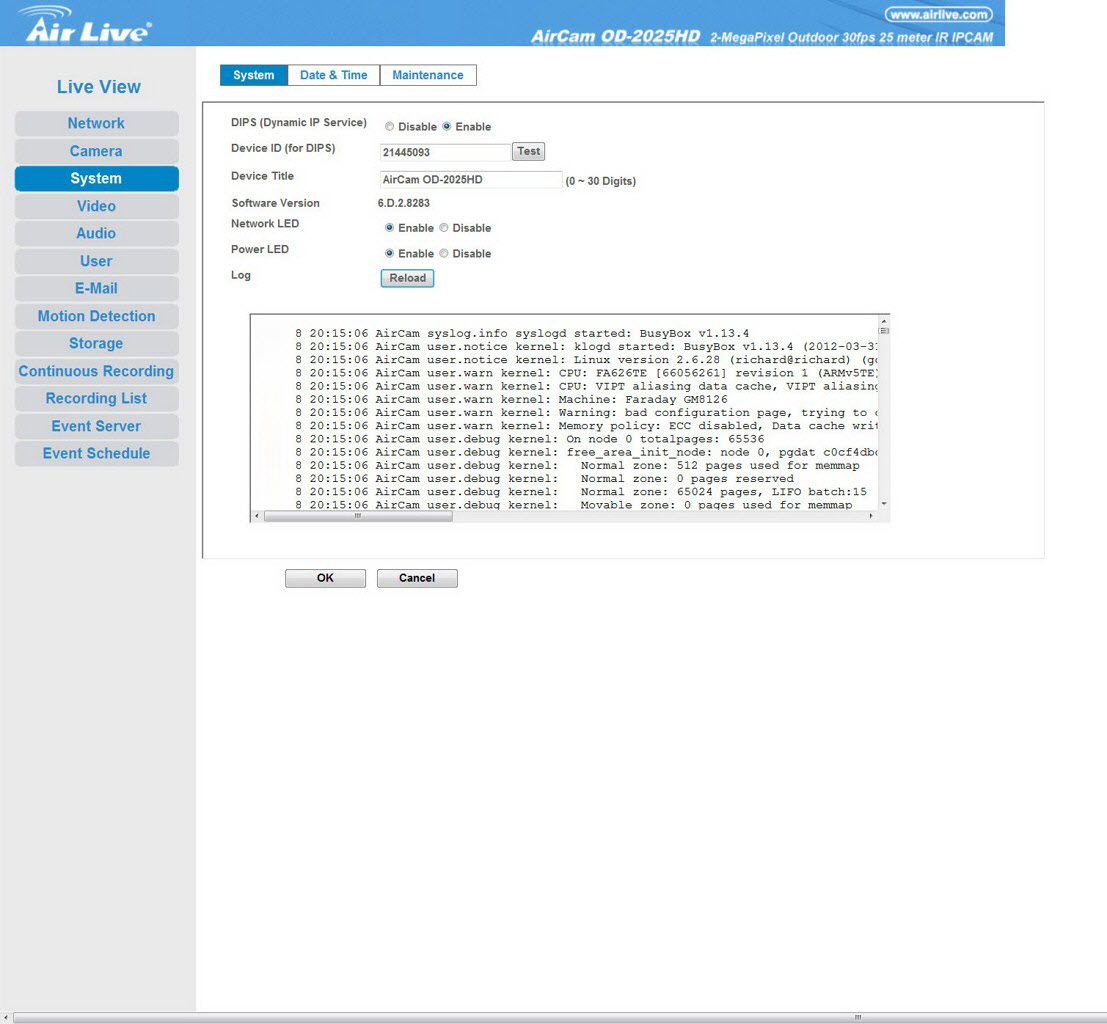
Under the system tab you can read the camera logs, turn on/off the network/power LED, enable/disable the dynamic IP service (DIPS), adjust date and time, restore the factory settings, backup your current settings and also perform firmware updates.
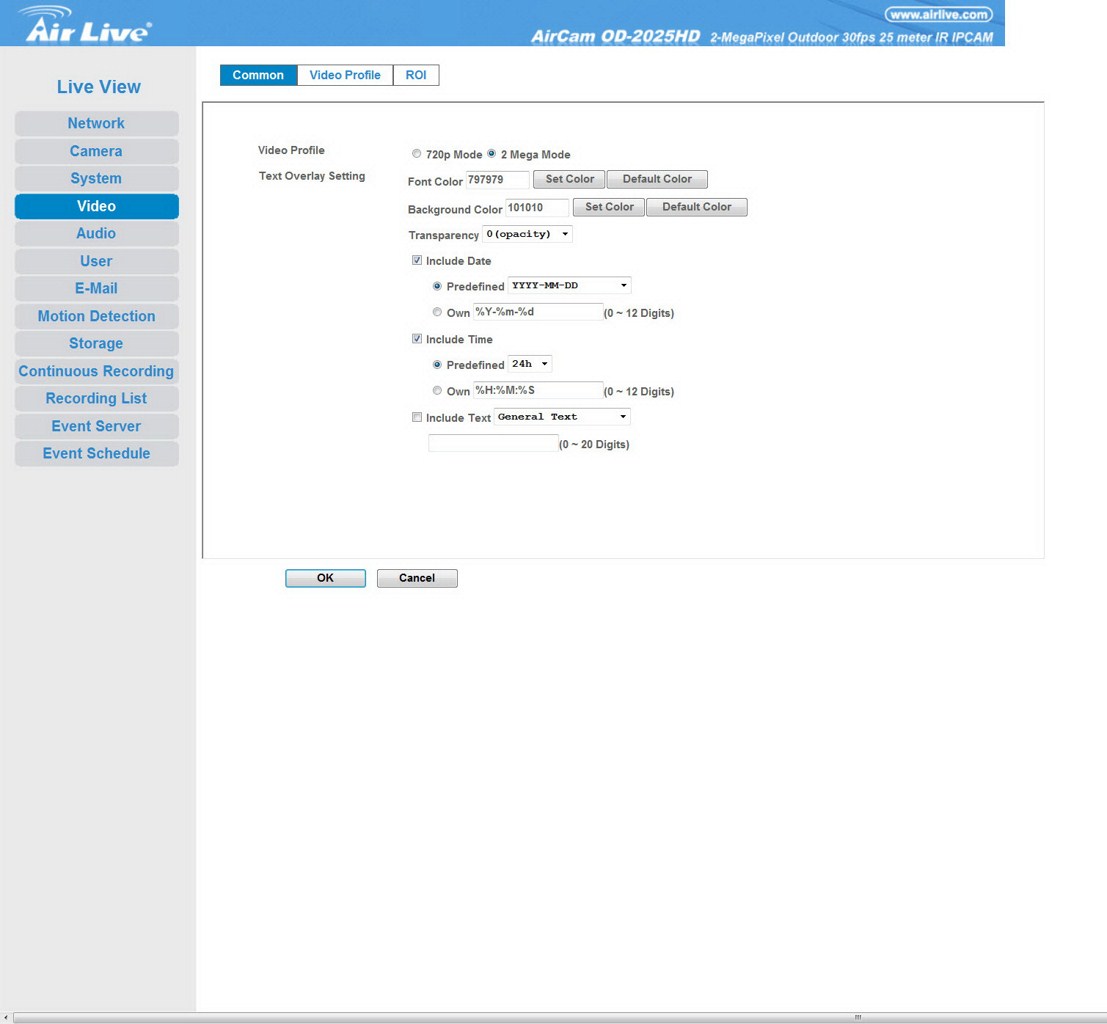
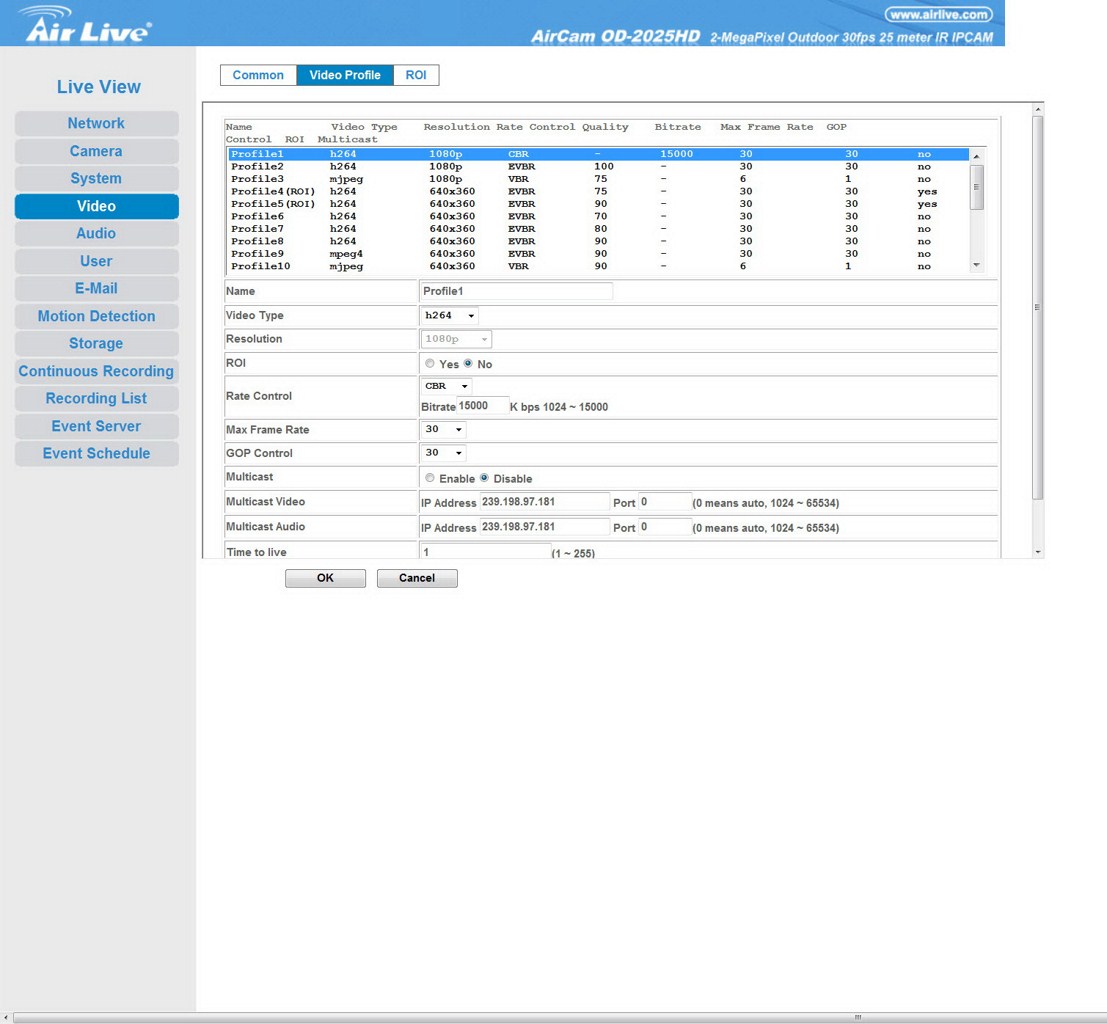
The second most important tab inside the settings screen is the video tab since here you can switch between 720p and 2MP (1080p) modes, adjust the screen overlay options (date/time/color) and also set different parameters (resolution, video type, frame rate, multicast, ROI) for a total of 20 profiles.
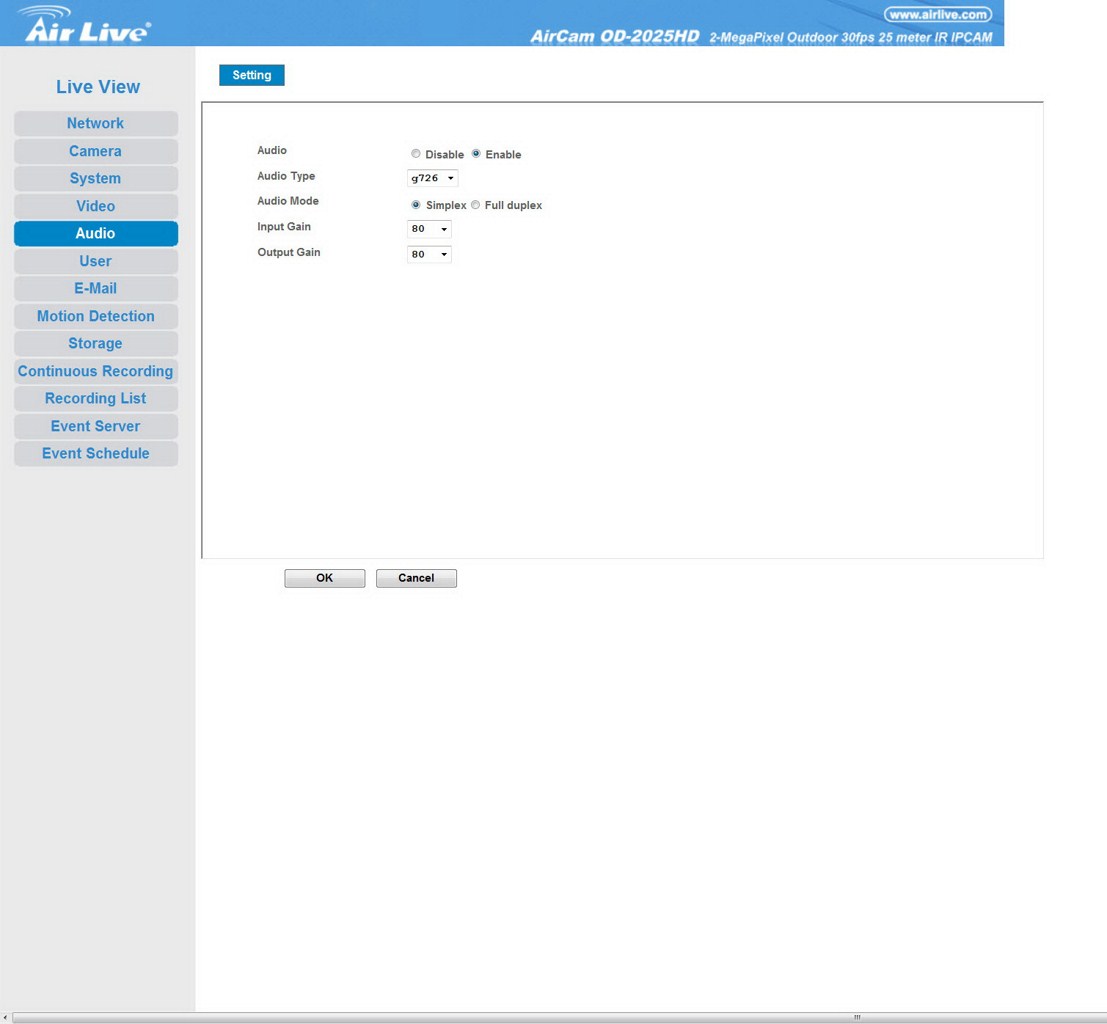

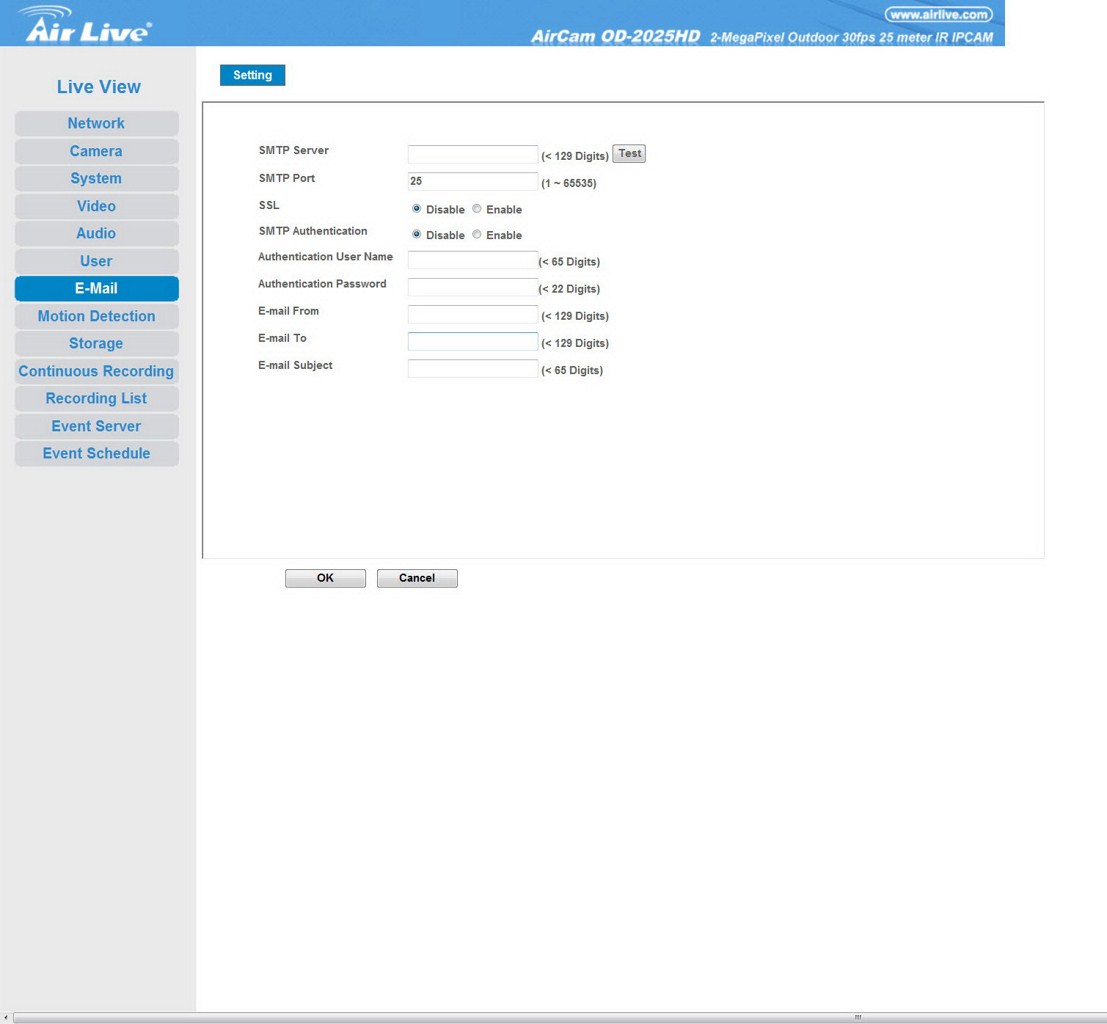
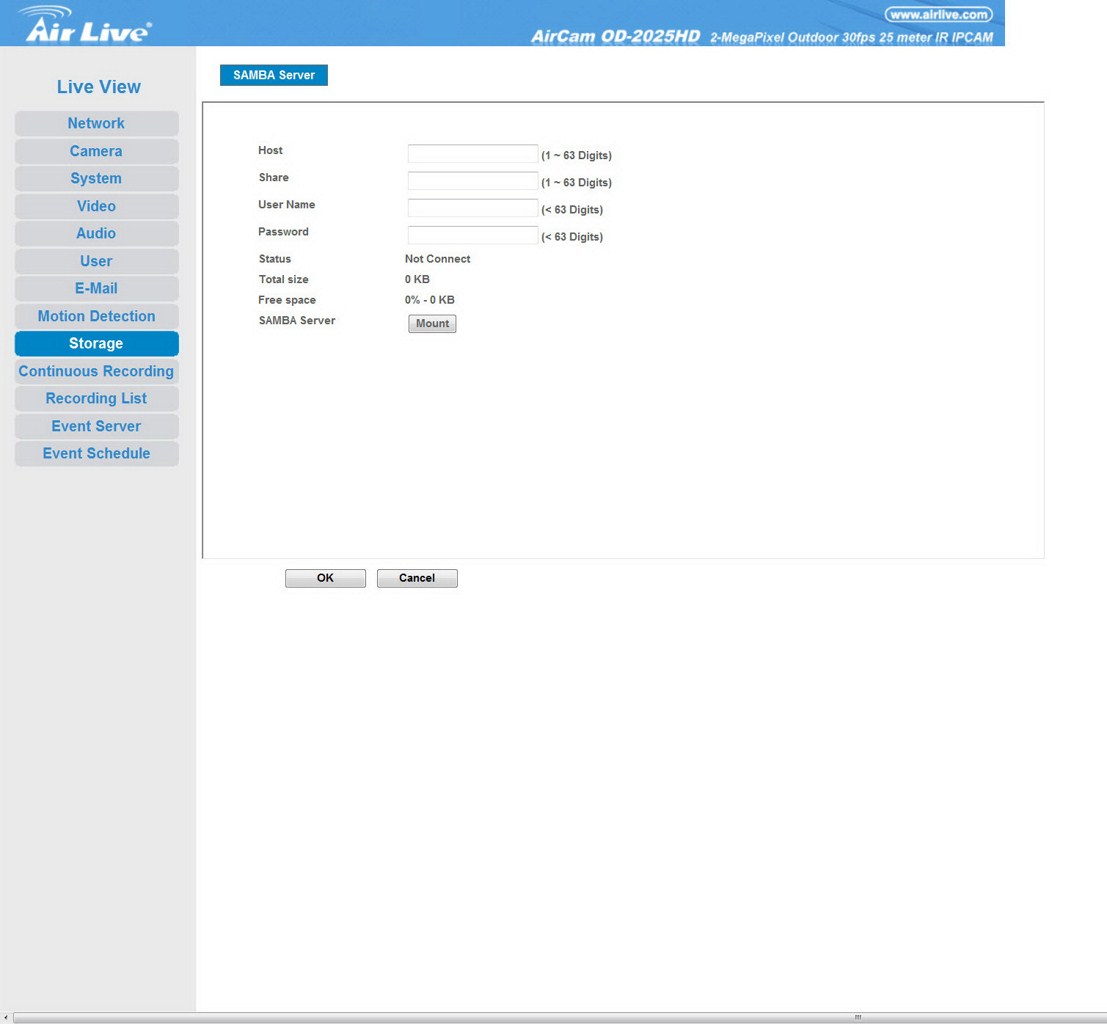
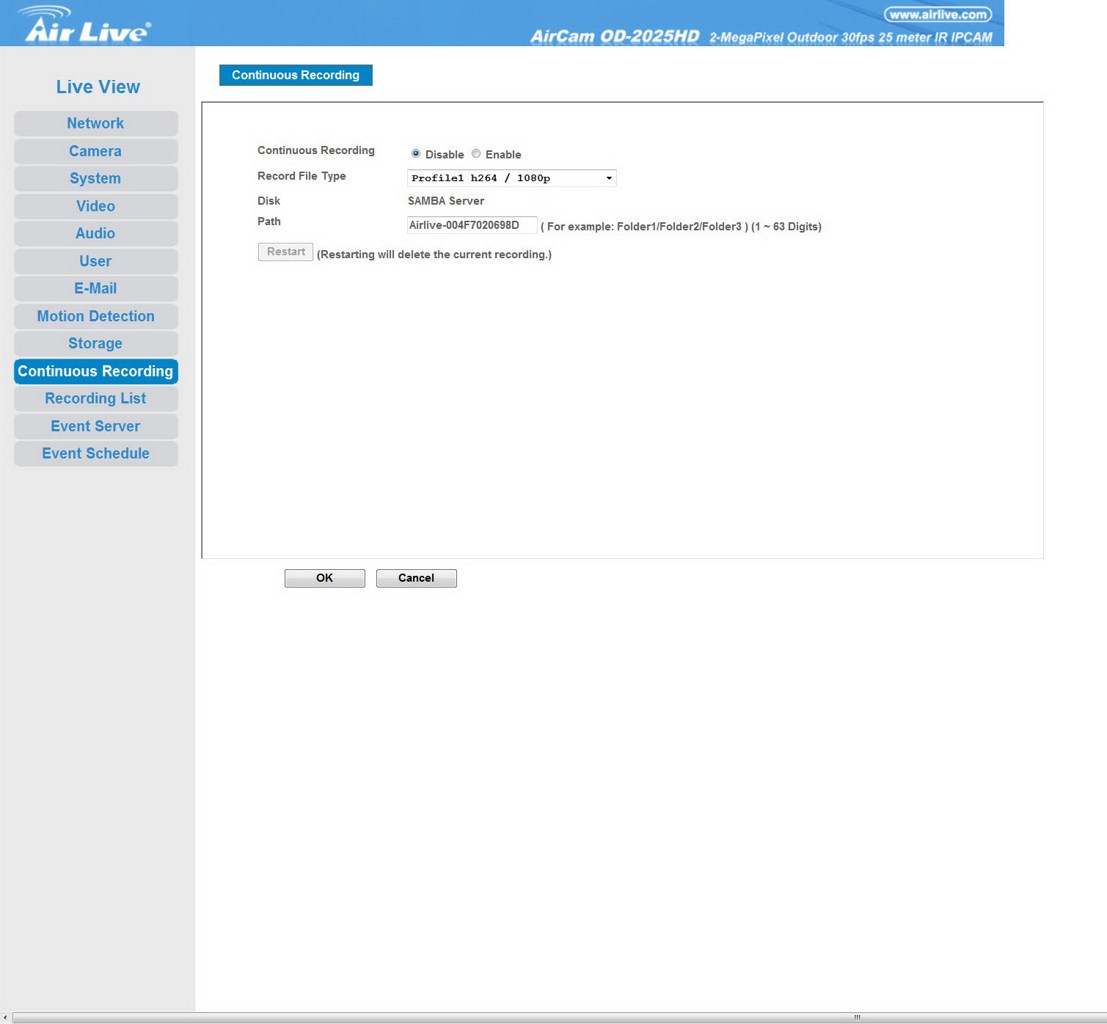
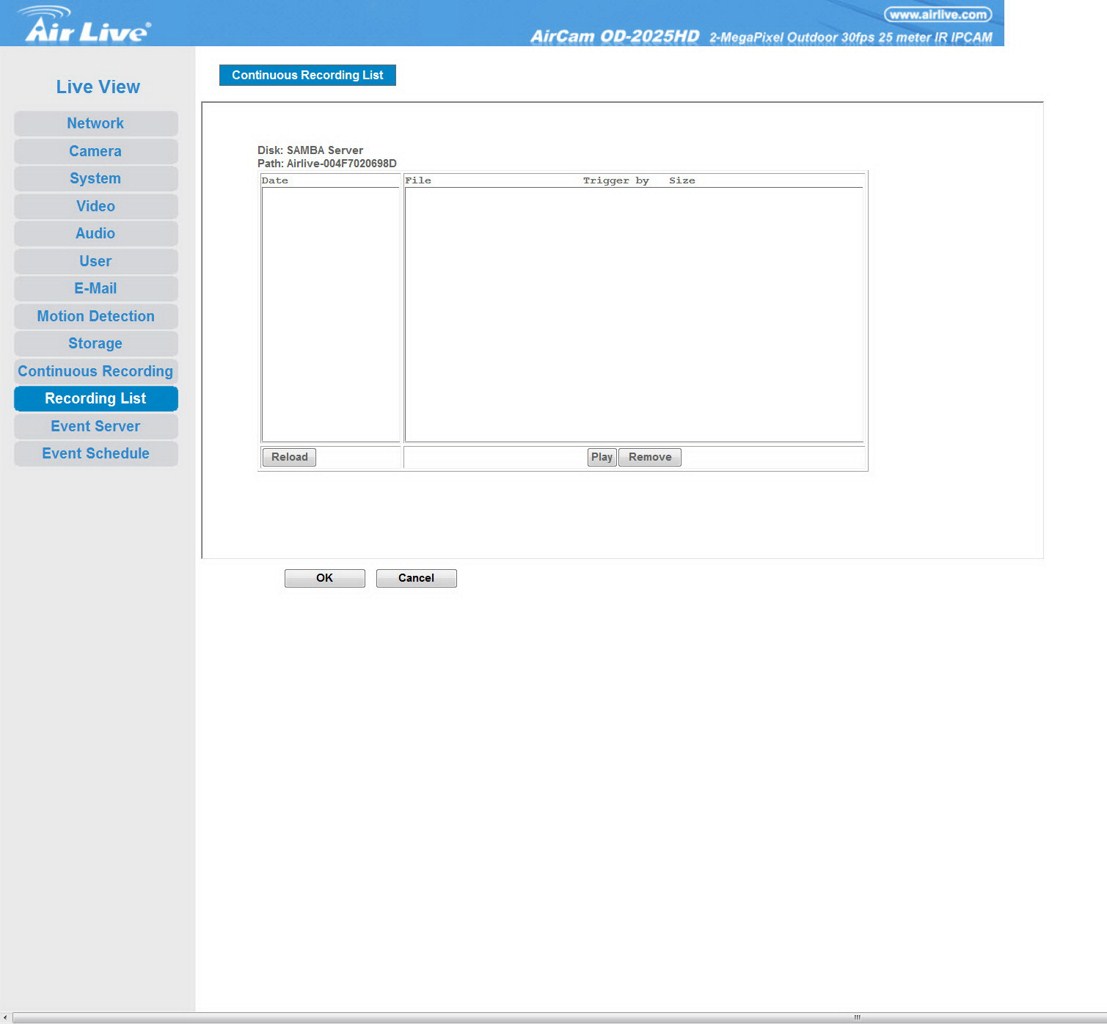
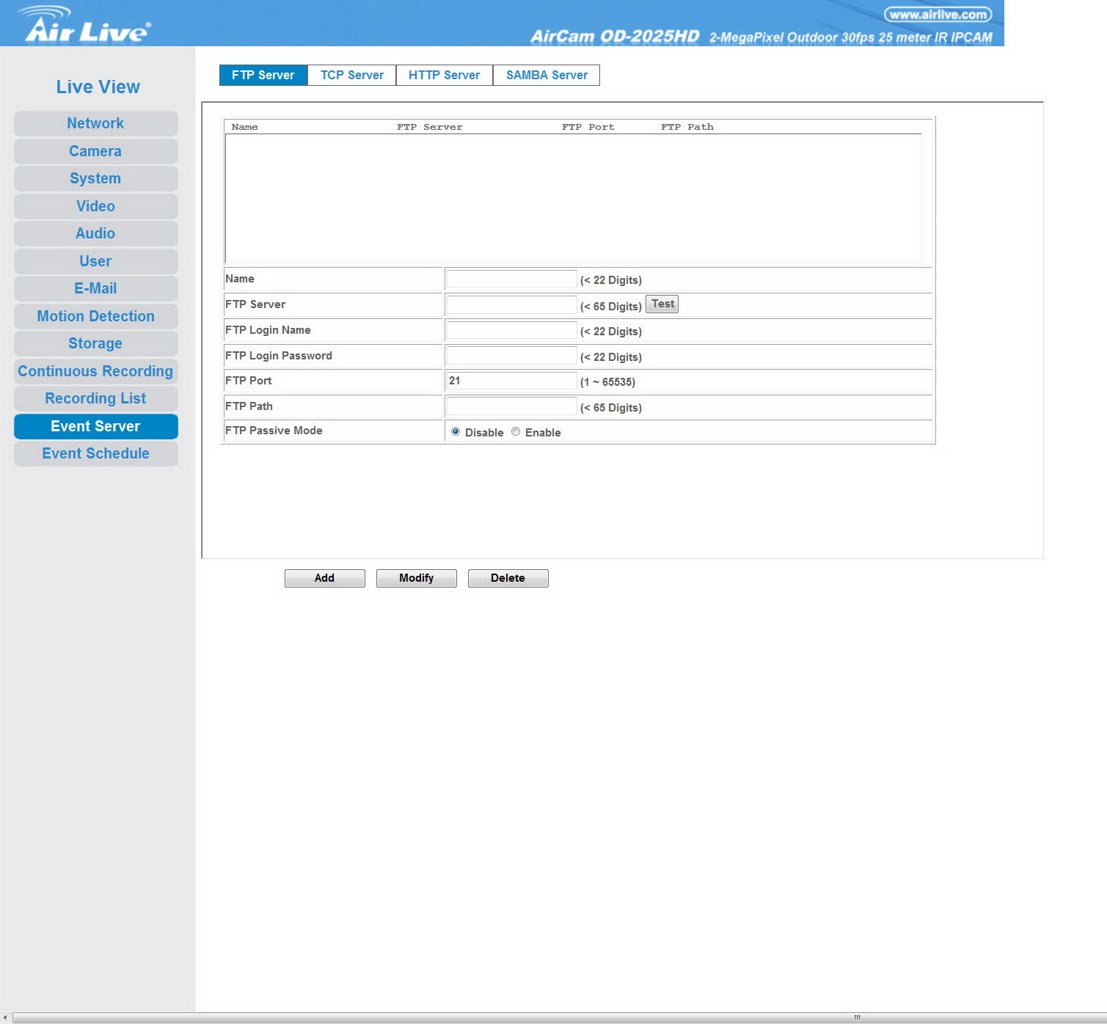
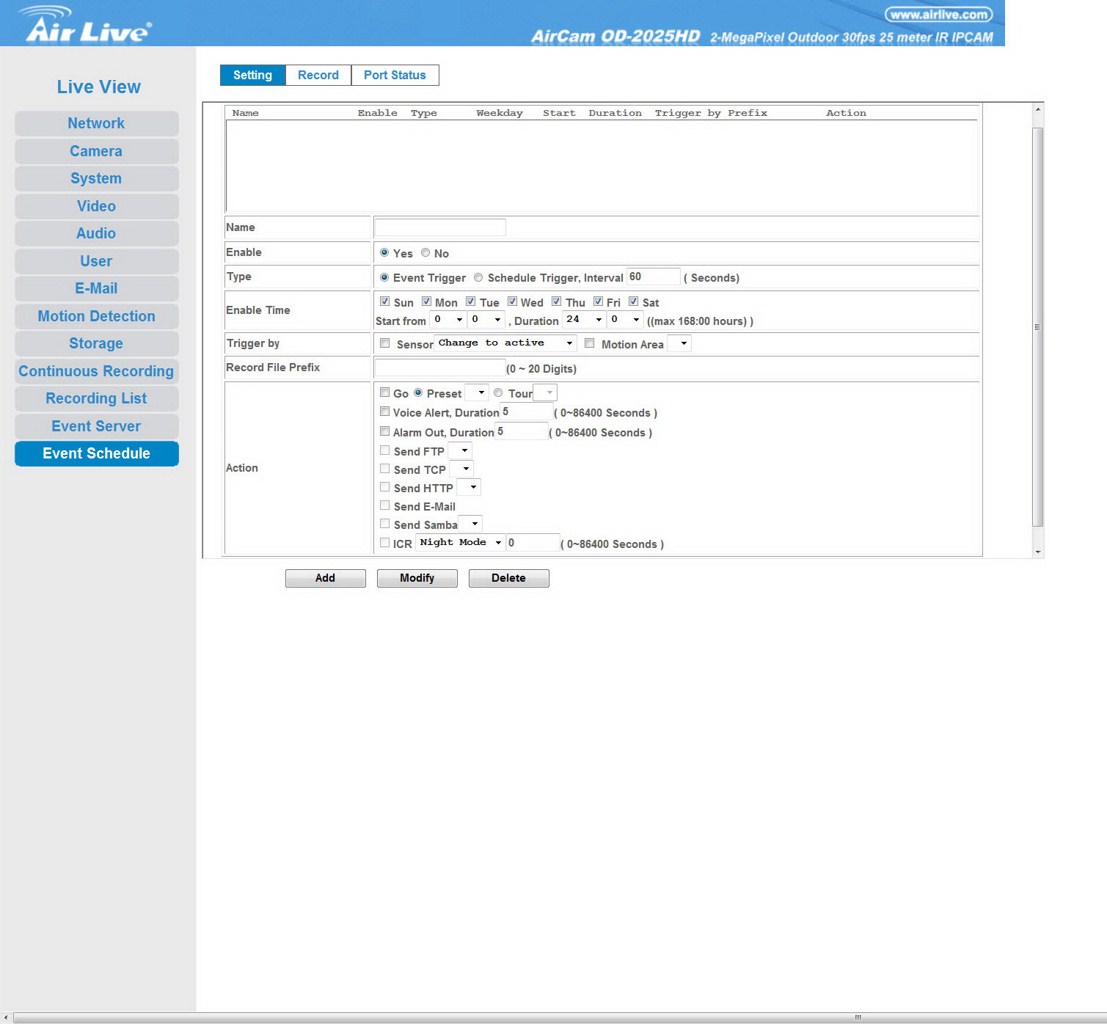
The rest of the tabs are very easy to use and allow you to switch between one/two way audio, add/remove viewer accounts, bind an email account (SMTP) with the camera, enable/disable motion detection windows, setup the SAMBA server function, enable/disable continuous recording (through the SAMBA server), play/delete saved recordings, add/modify/remove various FTP/TCP/HTTP/SAMBA server events and finally schedule events triggered by specific preconfigured events.