
 O-Sense


WEB INTERFACE PART 1

The login screen of the ASUSTOR Data Master operating system shows both the name you've assigned to the NAS and the model (picture).
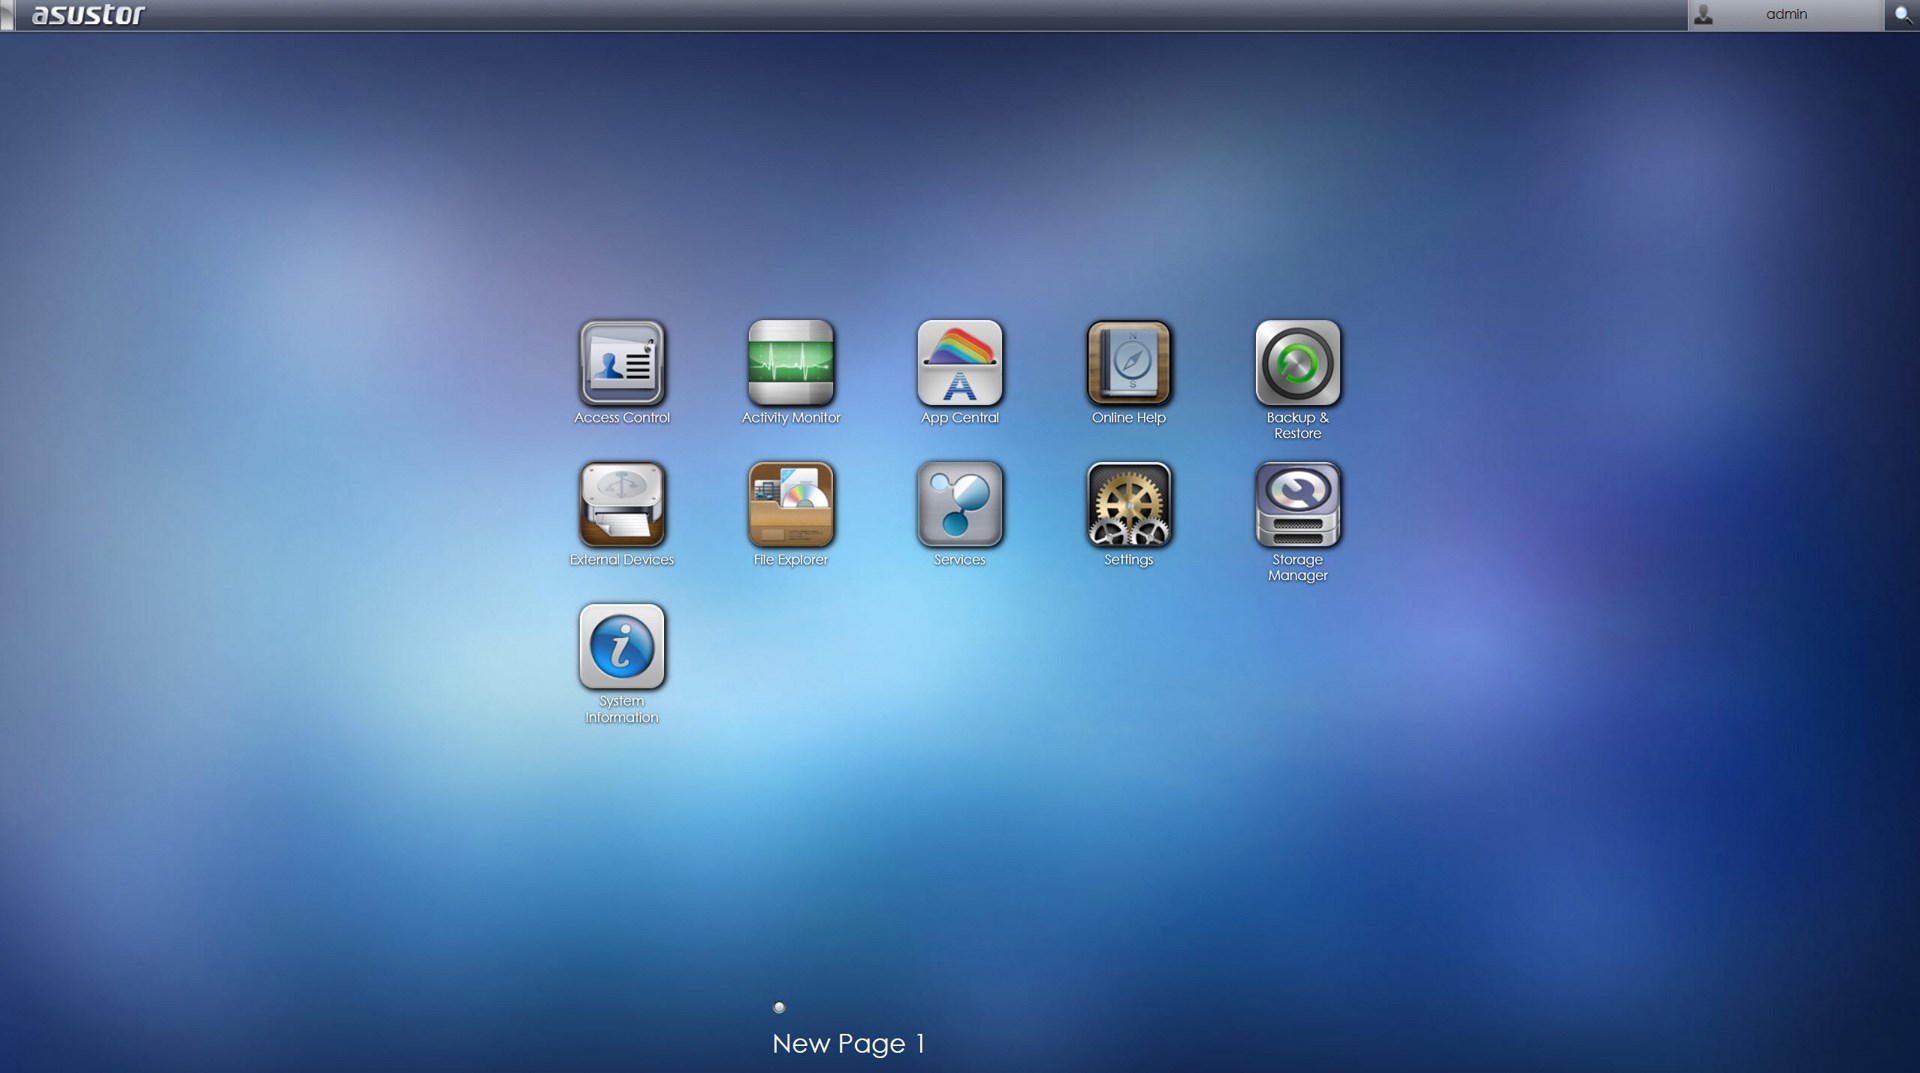
The main screen shows us that only the basic applications are installed and as ASUSTOR explained to us they don't install any extra ones by default since not everyone may need them so they leave that selection to you (the New Page at the bottom can also be renamed).
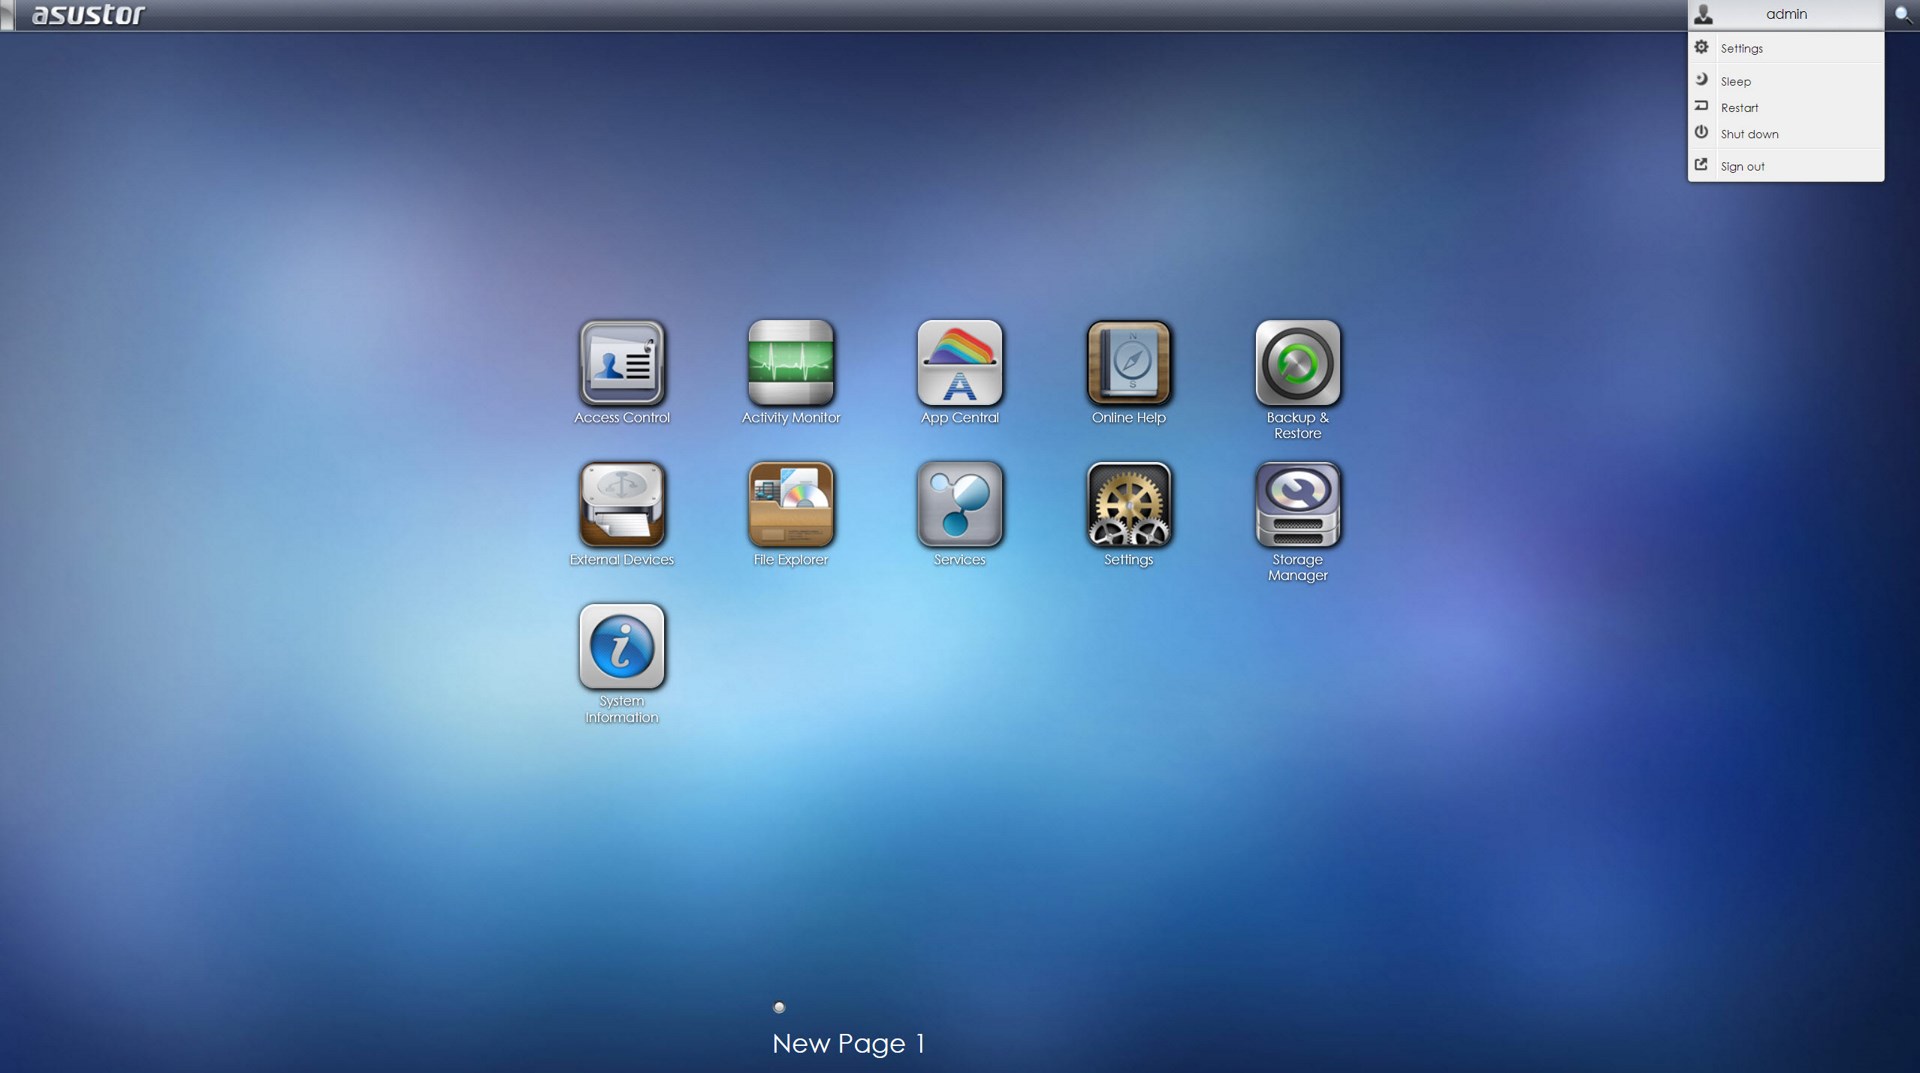
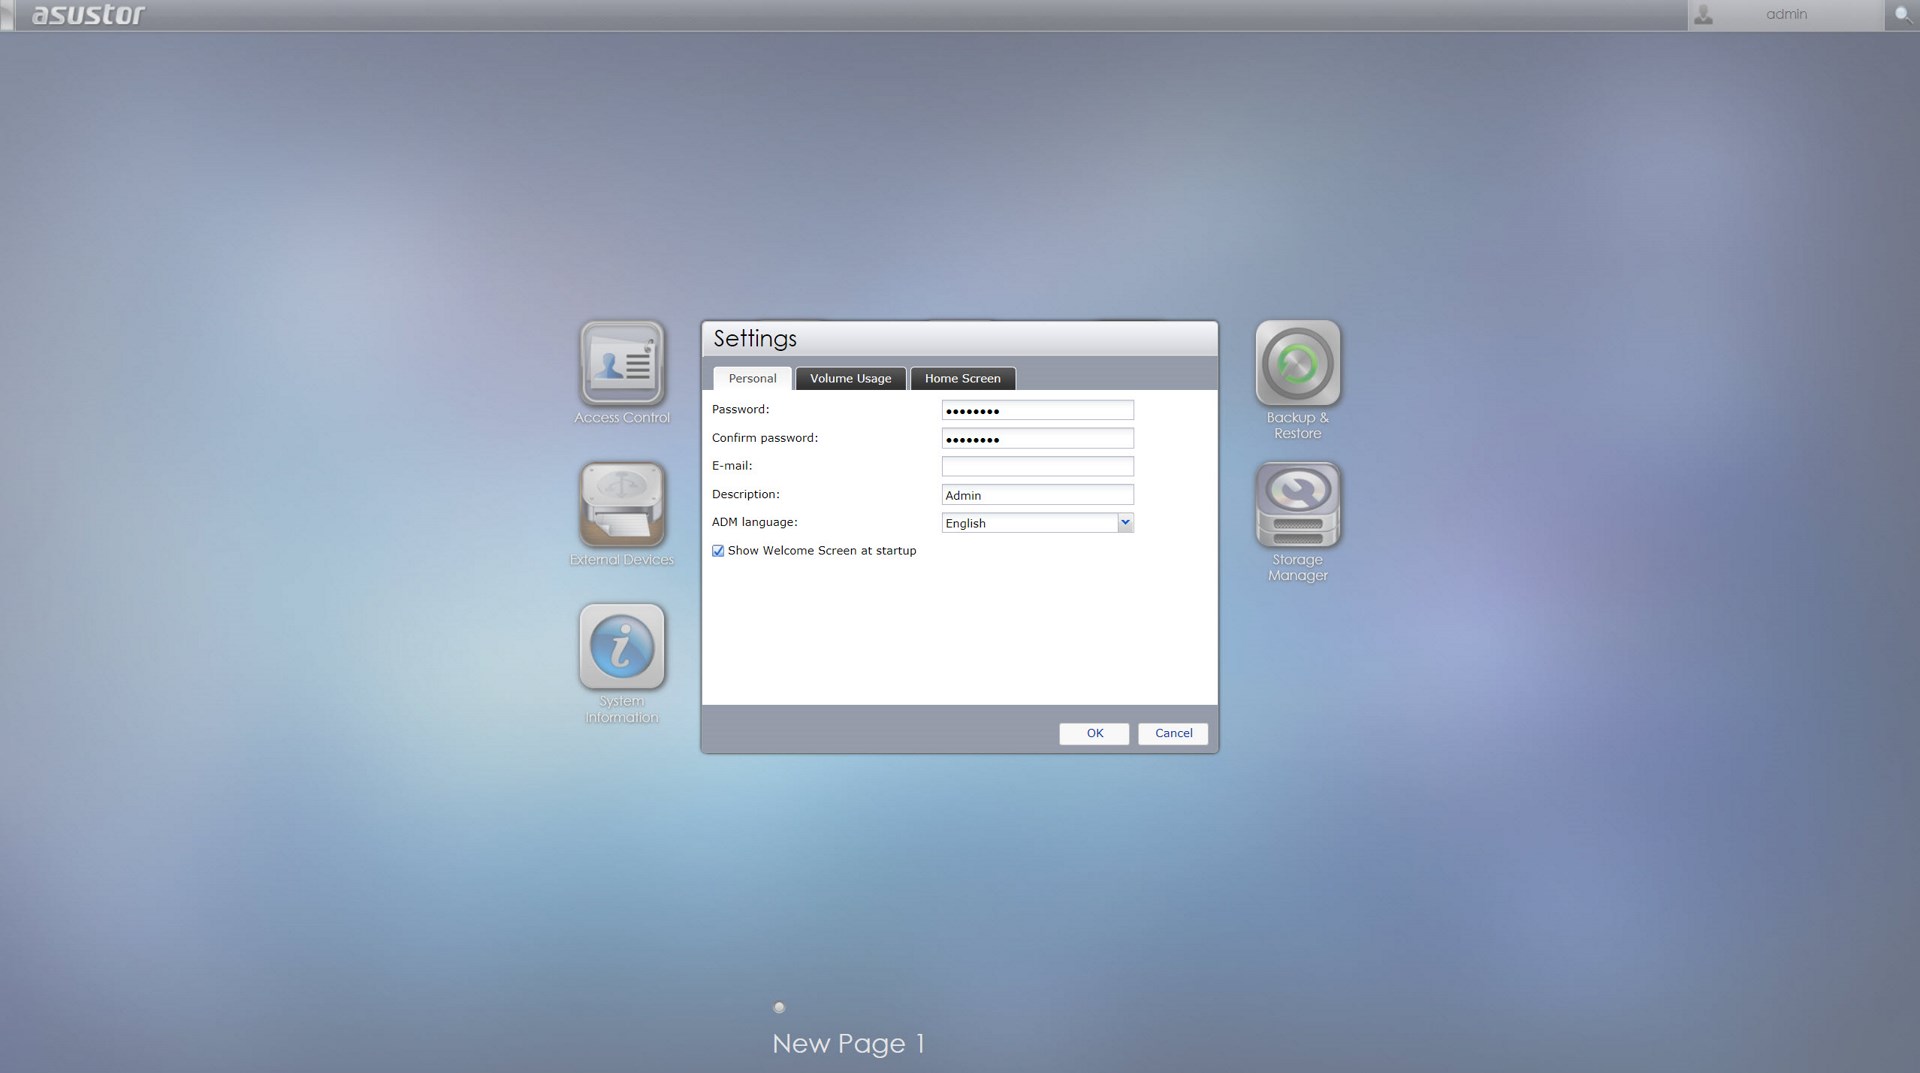
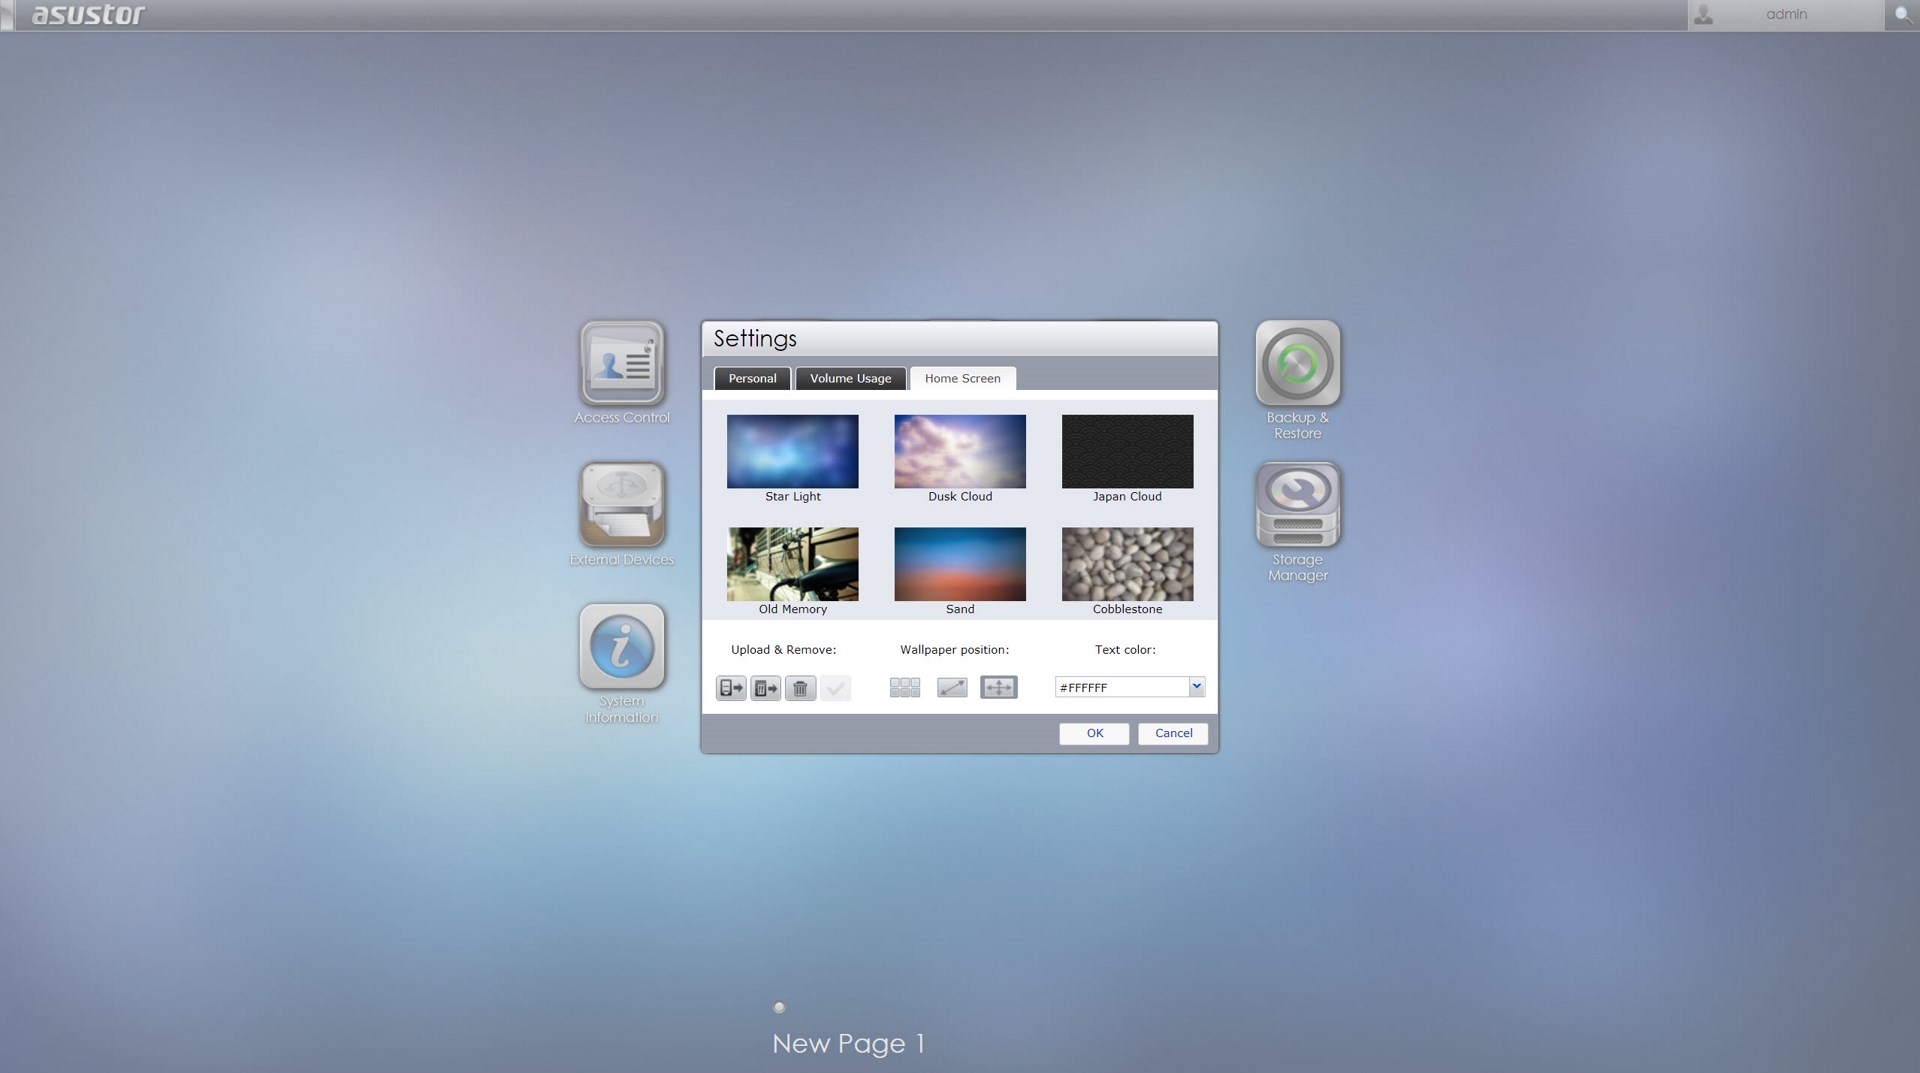
You can access the layout settings menu and logout, restart or shutdown the NAS from the admin selection on the far right of the top bar.
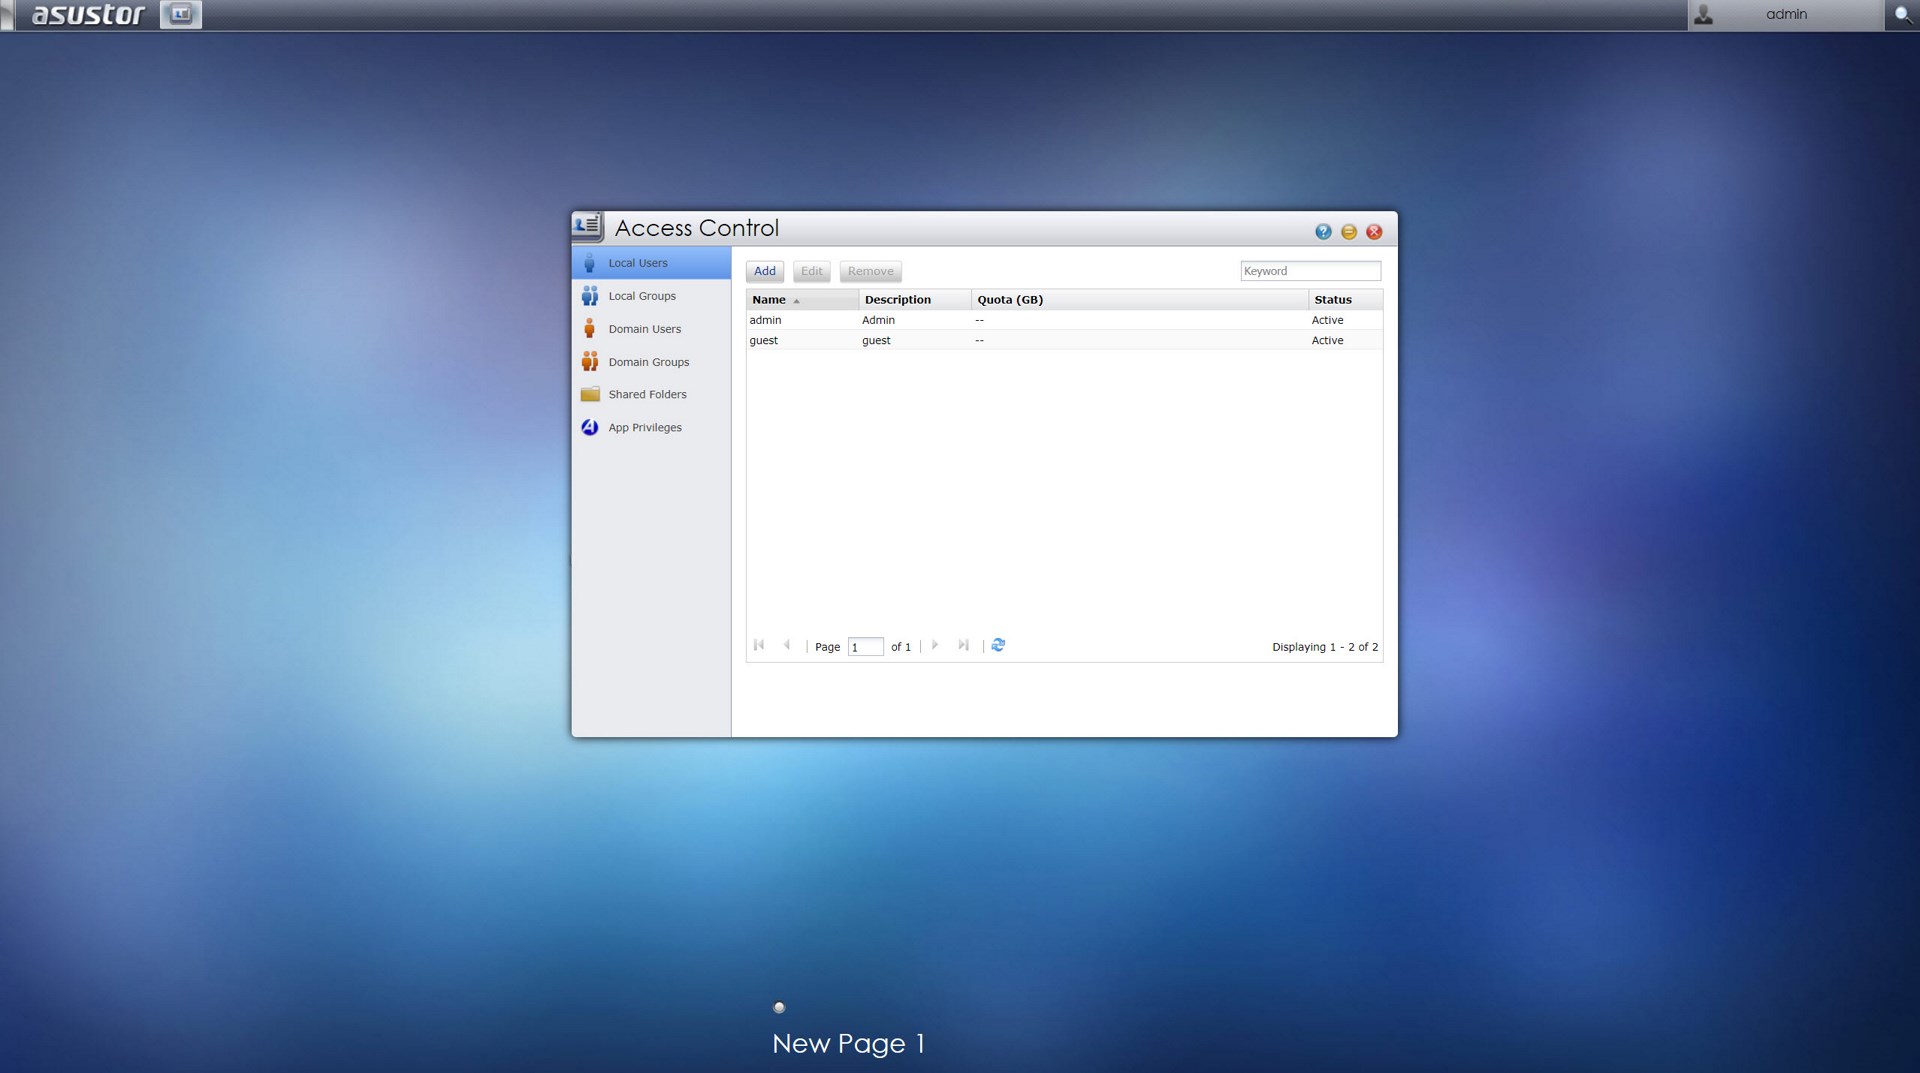
Typically from the Access tab you can add/remove user accounts, groups, domain users, domain groups and also gives you the ability to create shared folders and set application privileges.
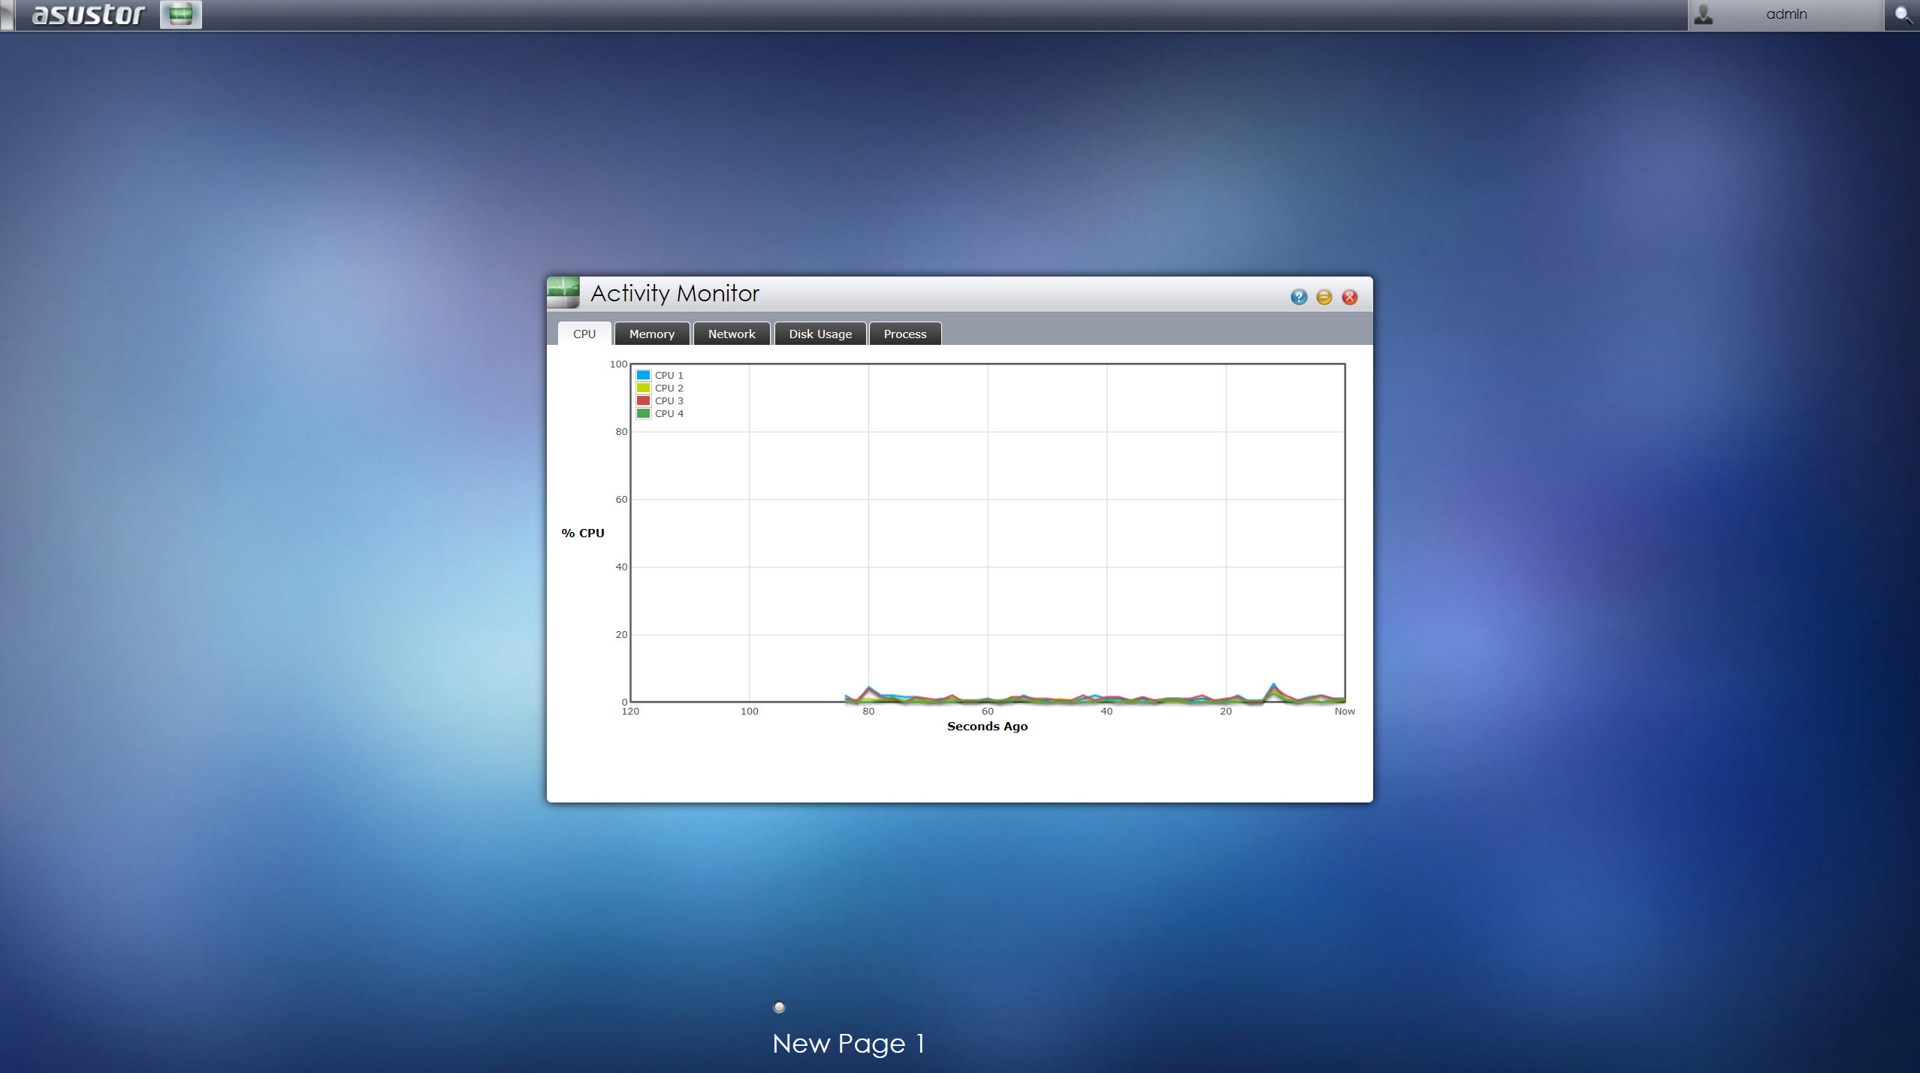

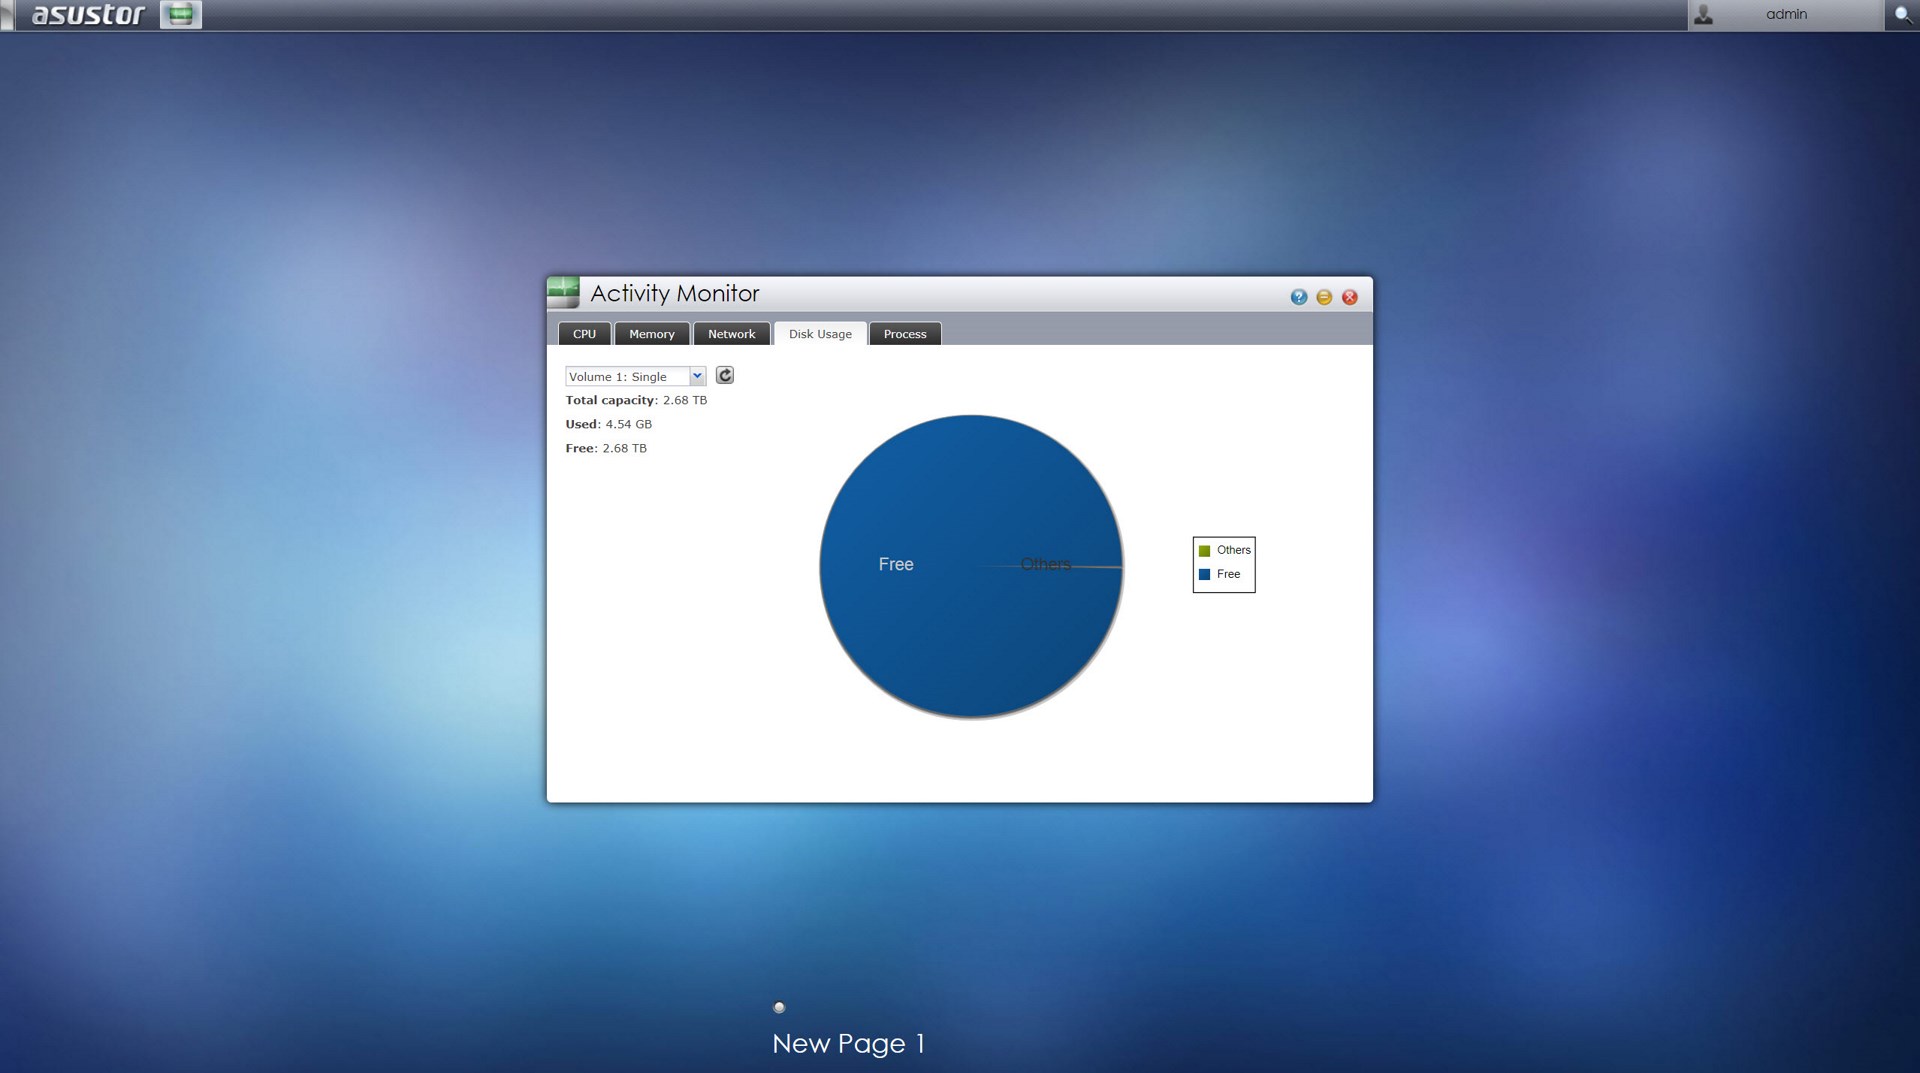
From the Activity Monitor tab you can check the available space on the installed drive(s), monitor the CPU/Memory/Network utilizations and see what processes are currently running.
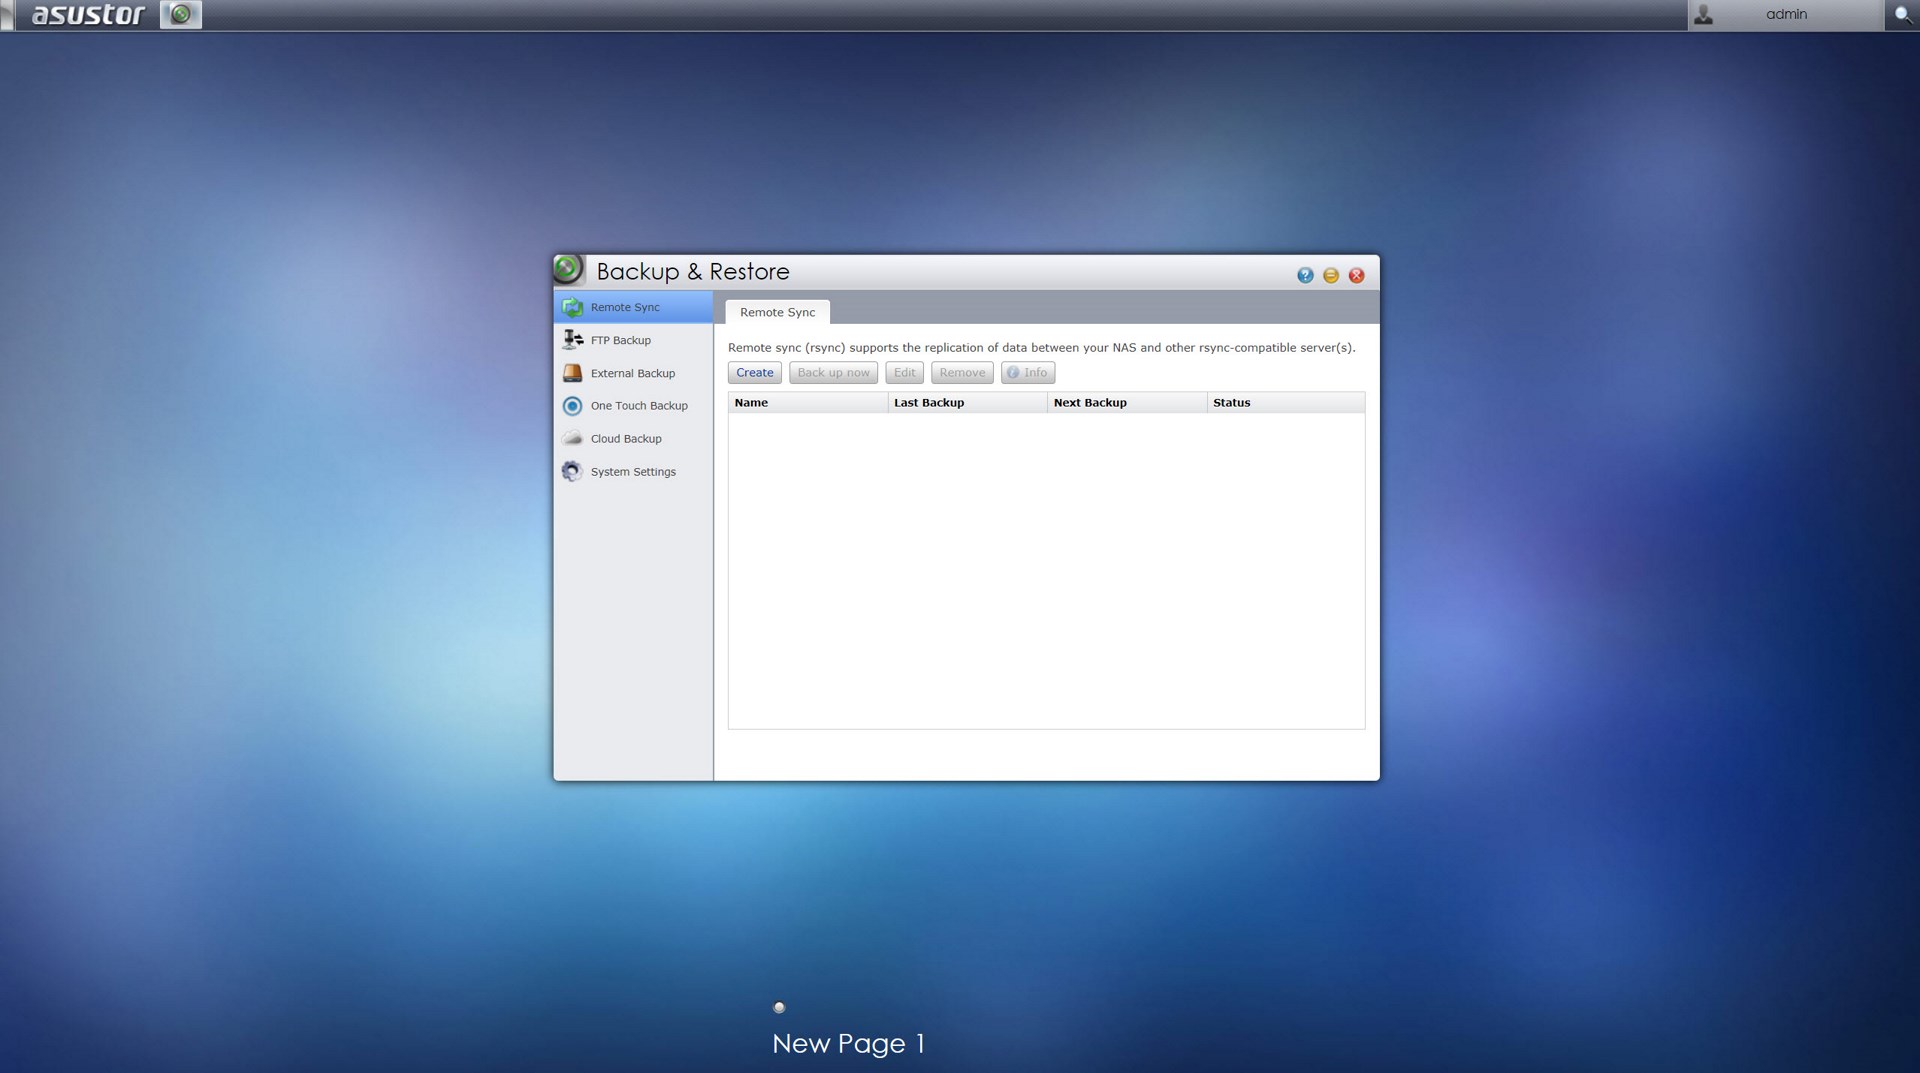
The Backup & Restore tab allows you to remote sync options, setup FTP/External backups, configure the one touch backup (front USB port), use the cloud backup feature and also adjust the system settings.
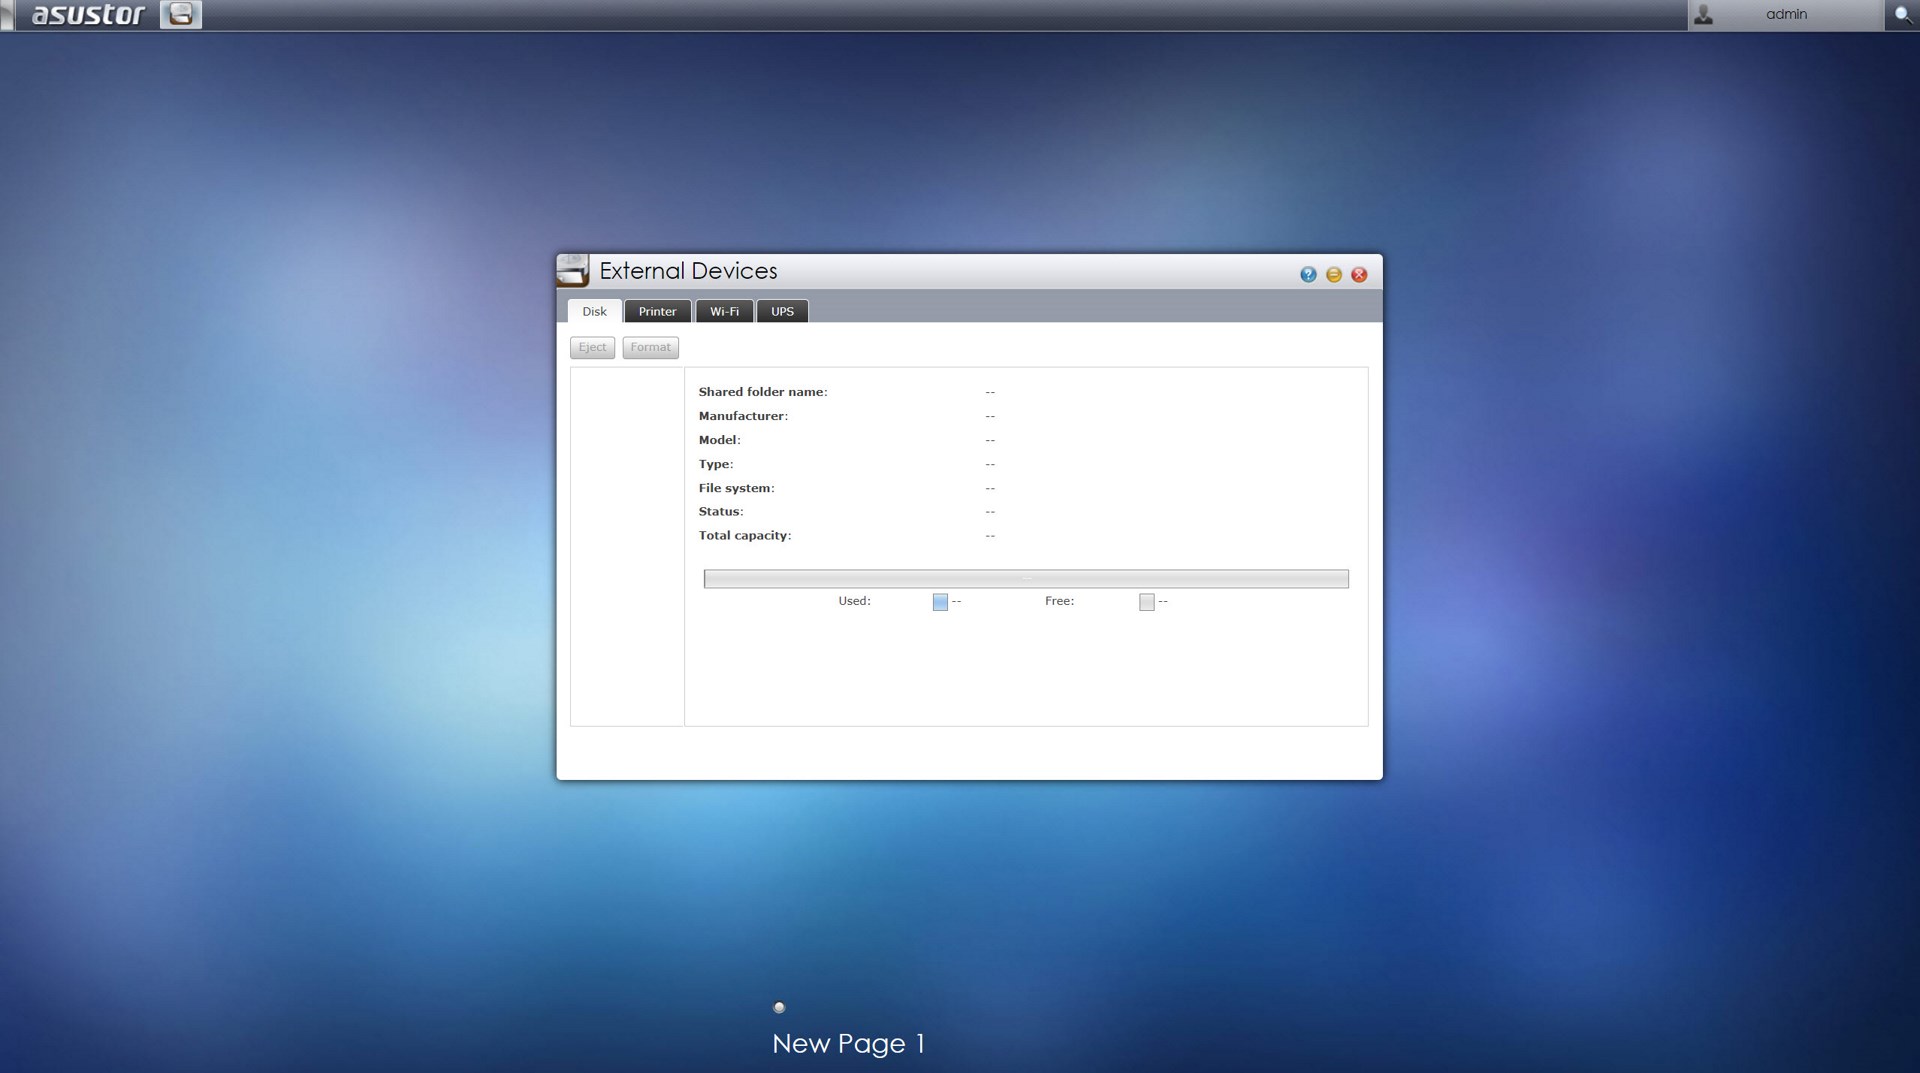
Moving to the External Devices tab from here you can check the state of attached drives, format them, prepare them for ejection and you can also check the state/adjust the settings for attached printers, Wi-Fi adapters and UPS devices.
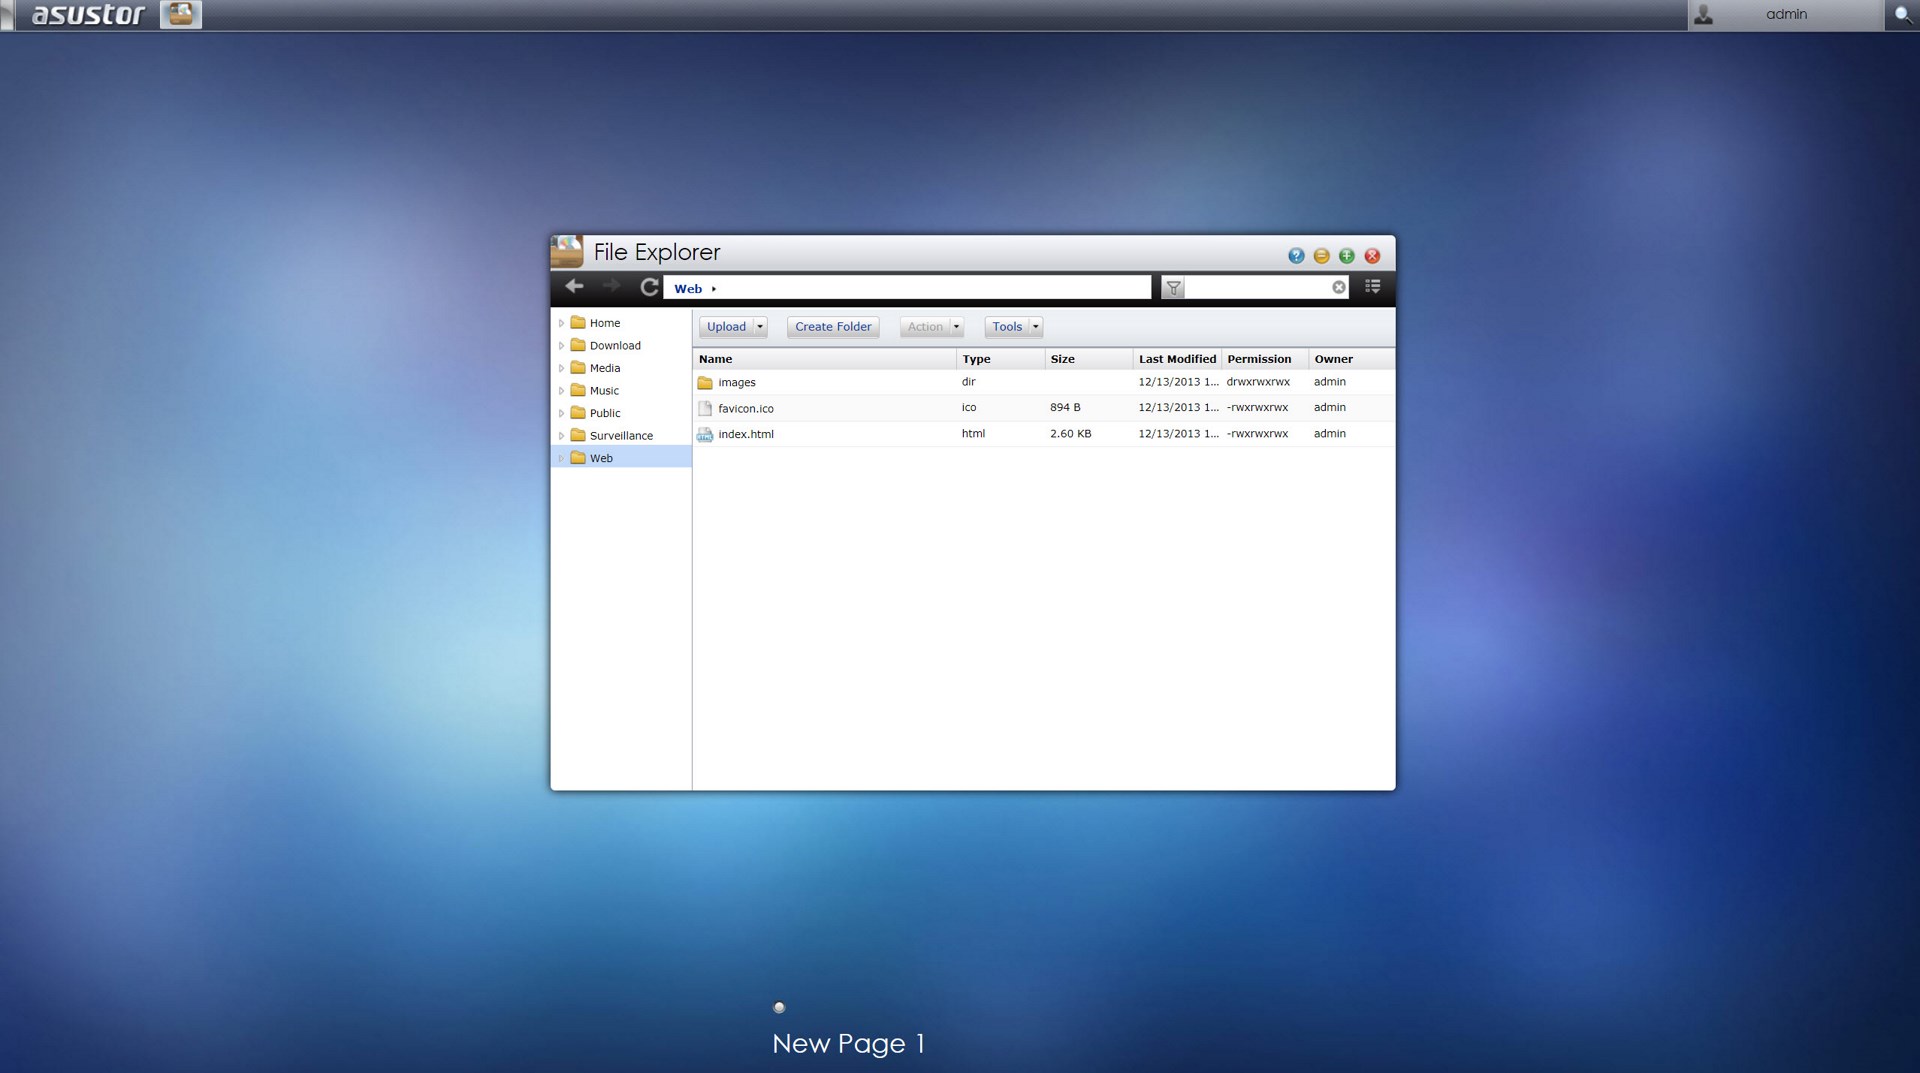
The File Explorer page allows you to upload and download files from and onto the NAS without much effort.

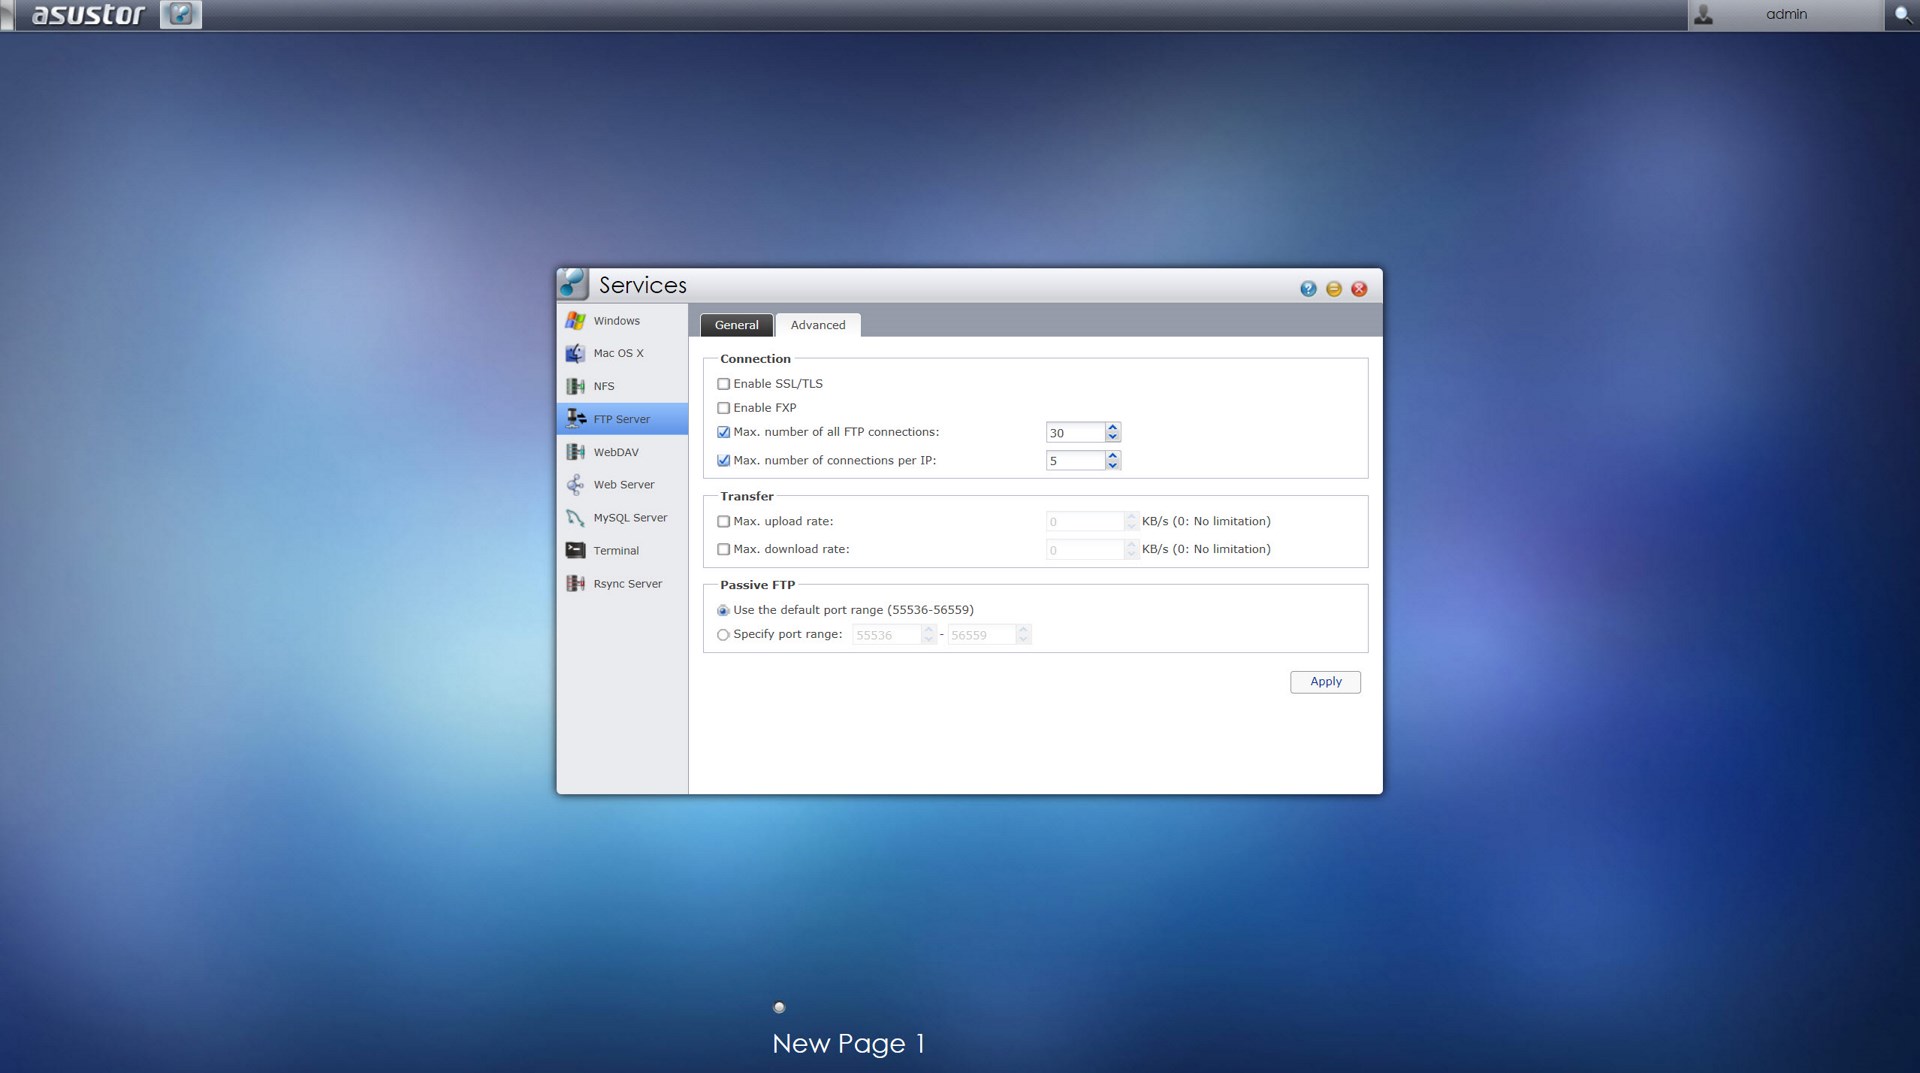
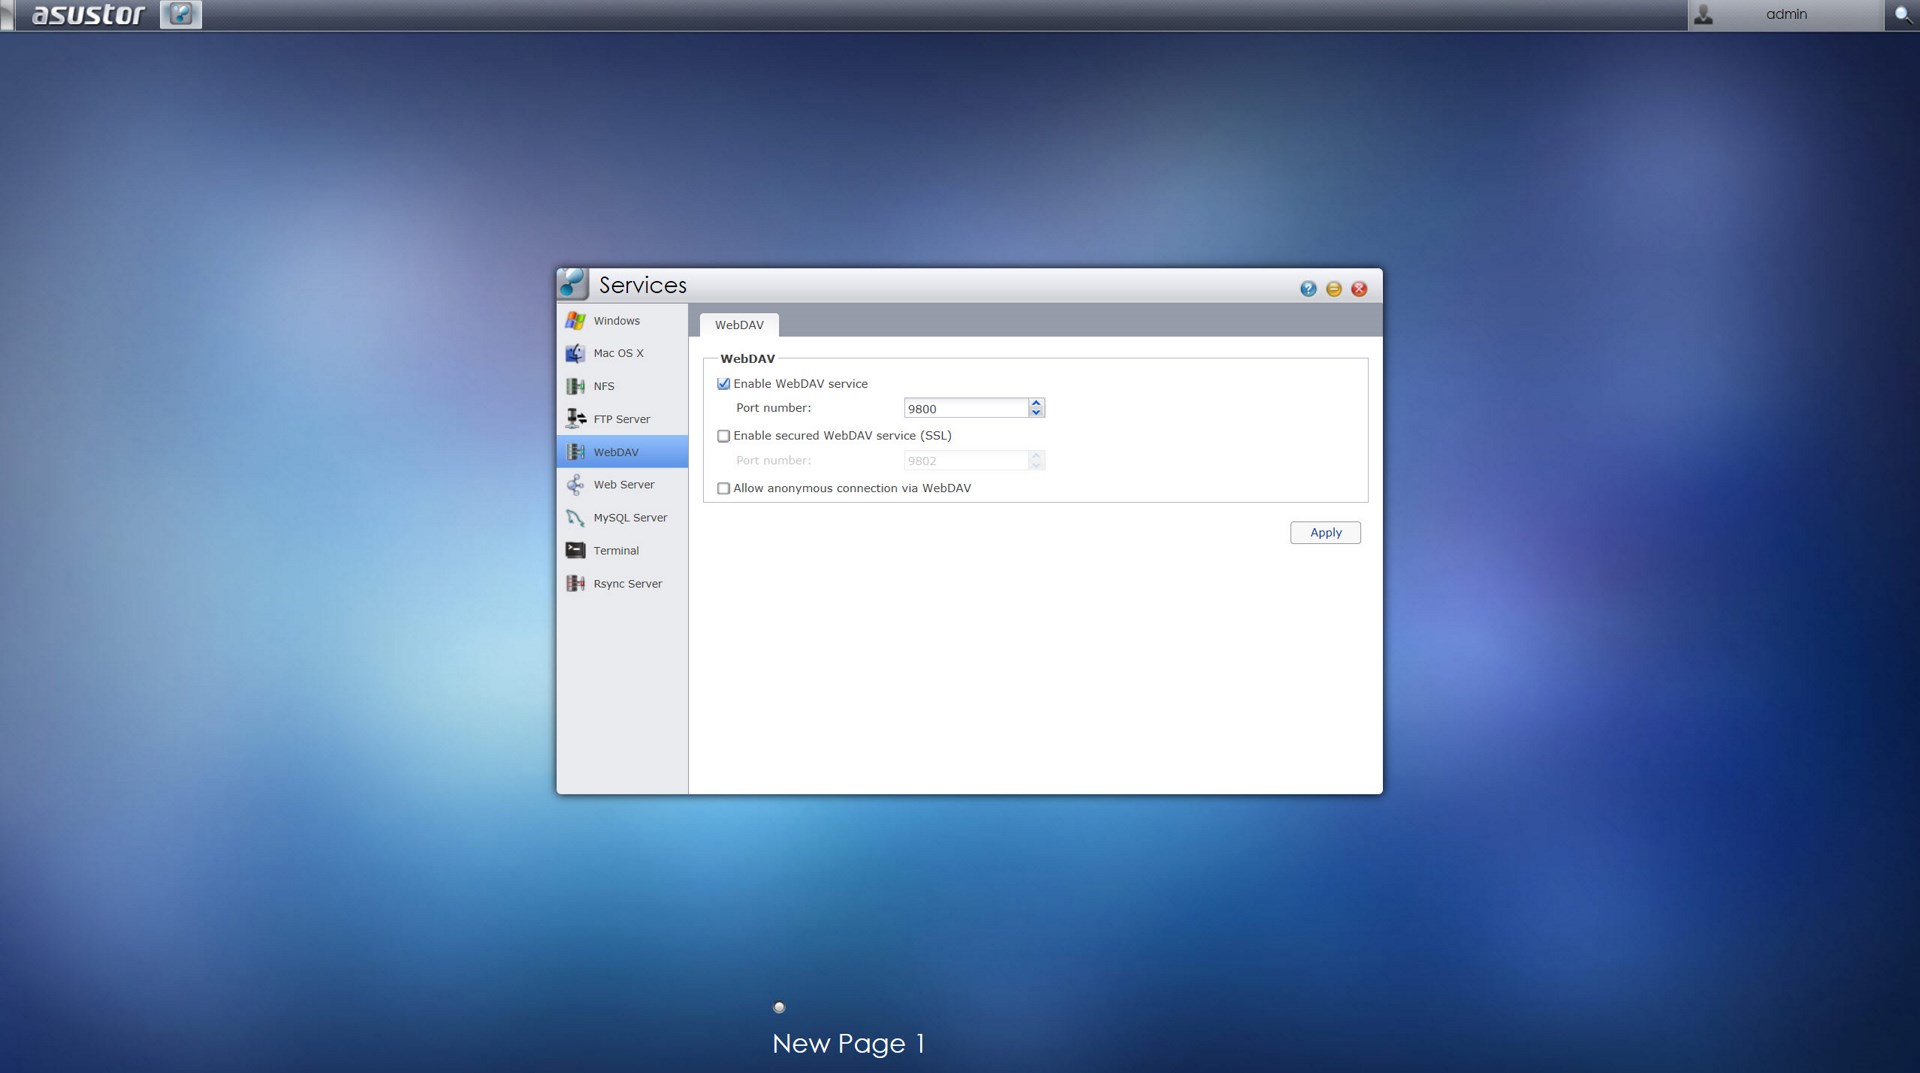
The Services tab includes several server options for Windows/Mac OSX/NFS/FTP Server/WebDAV/Web Server/MySQL Server/Terminal and Rsync use.
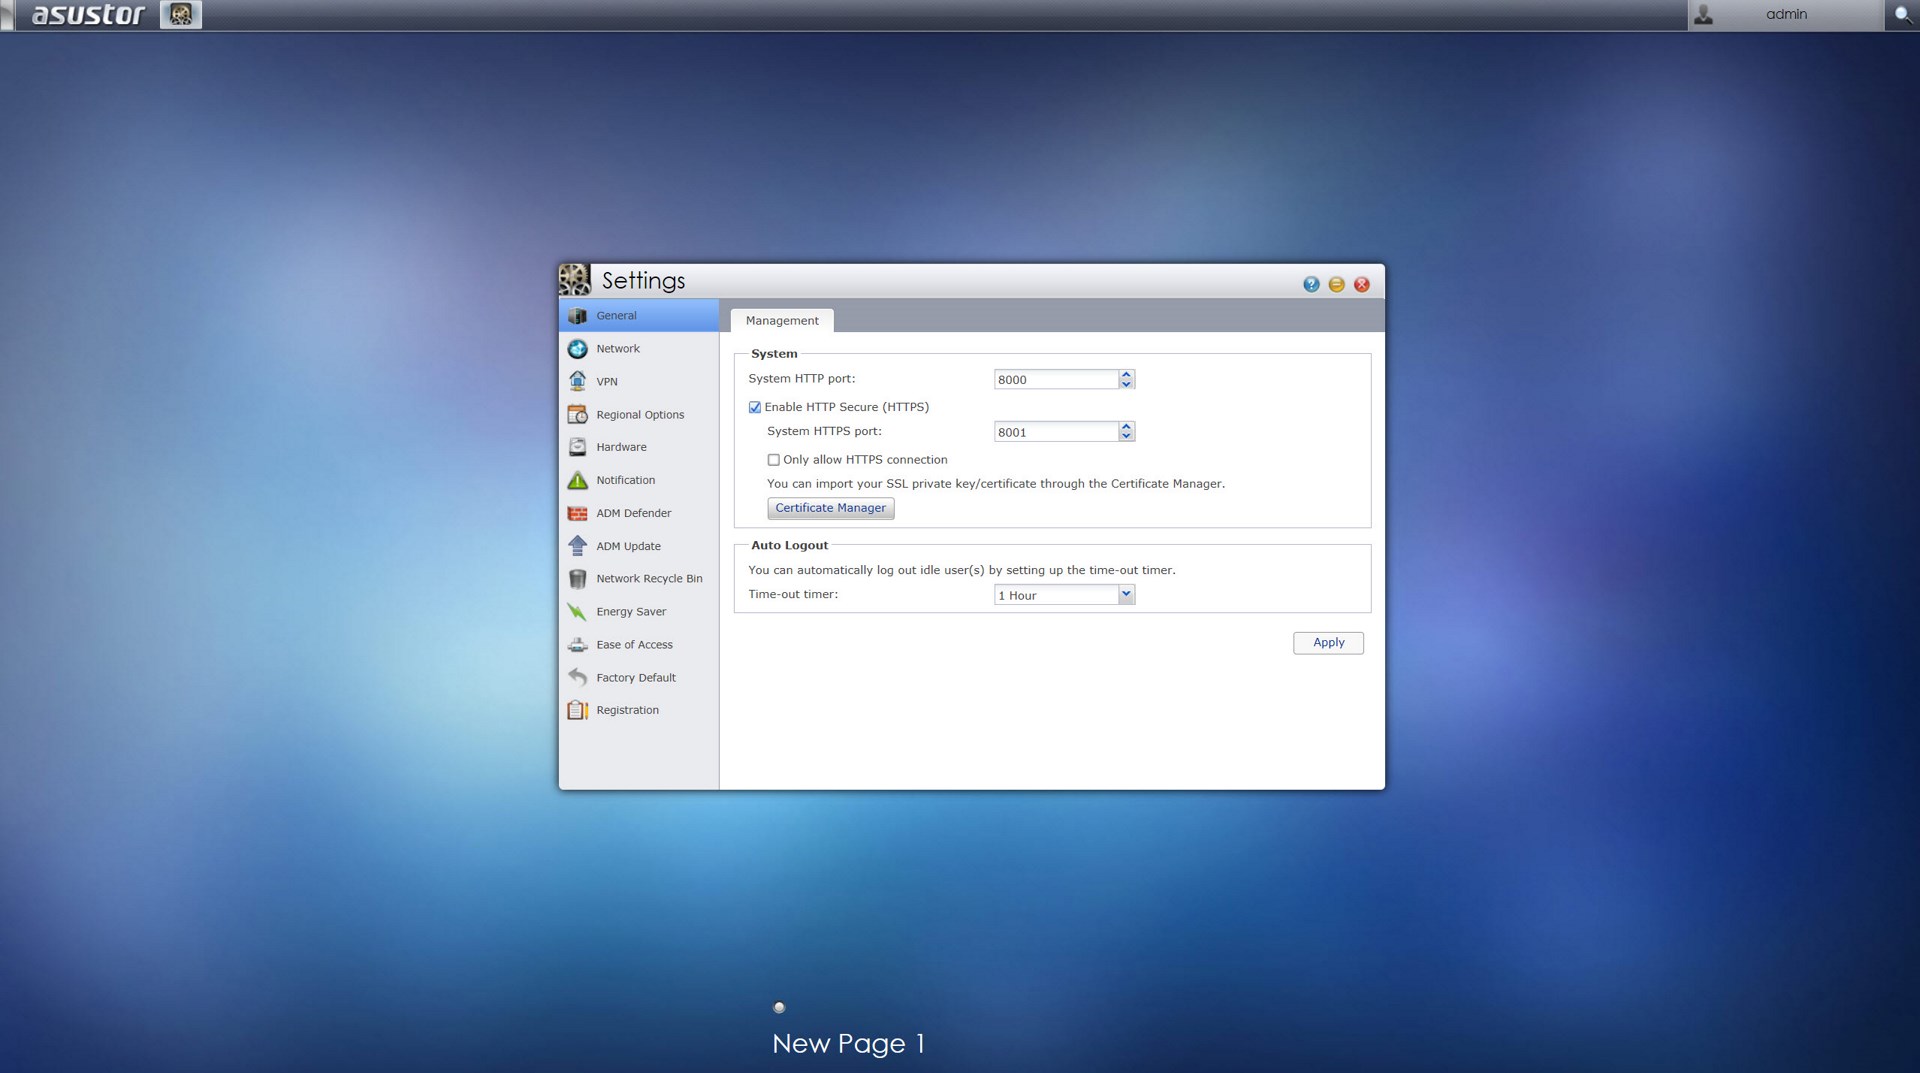
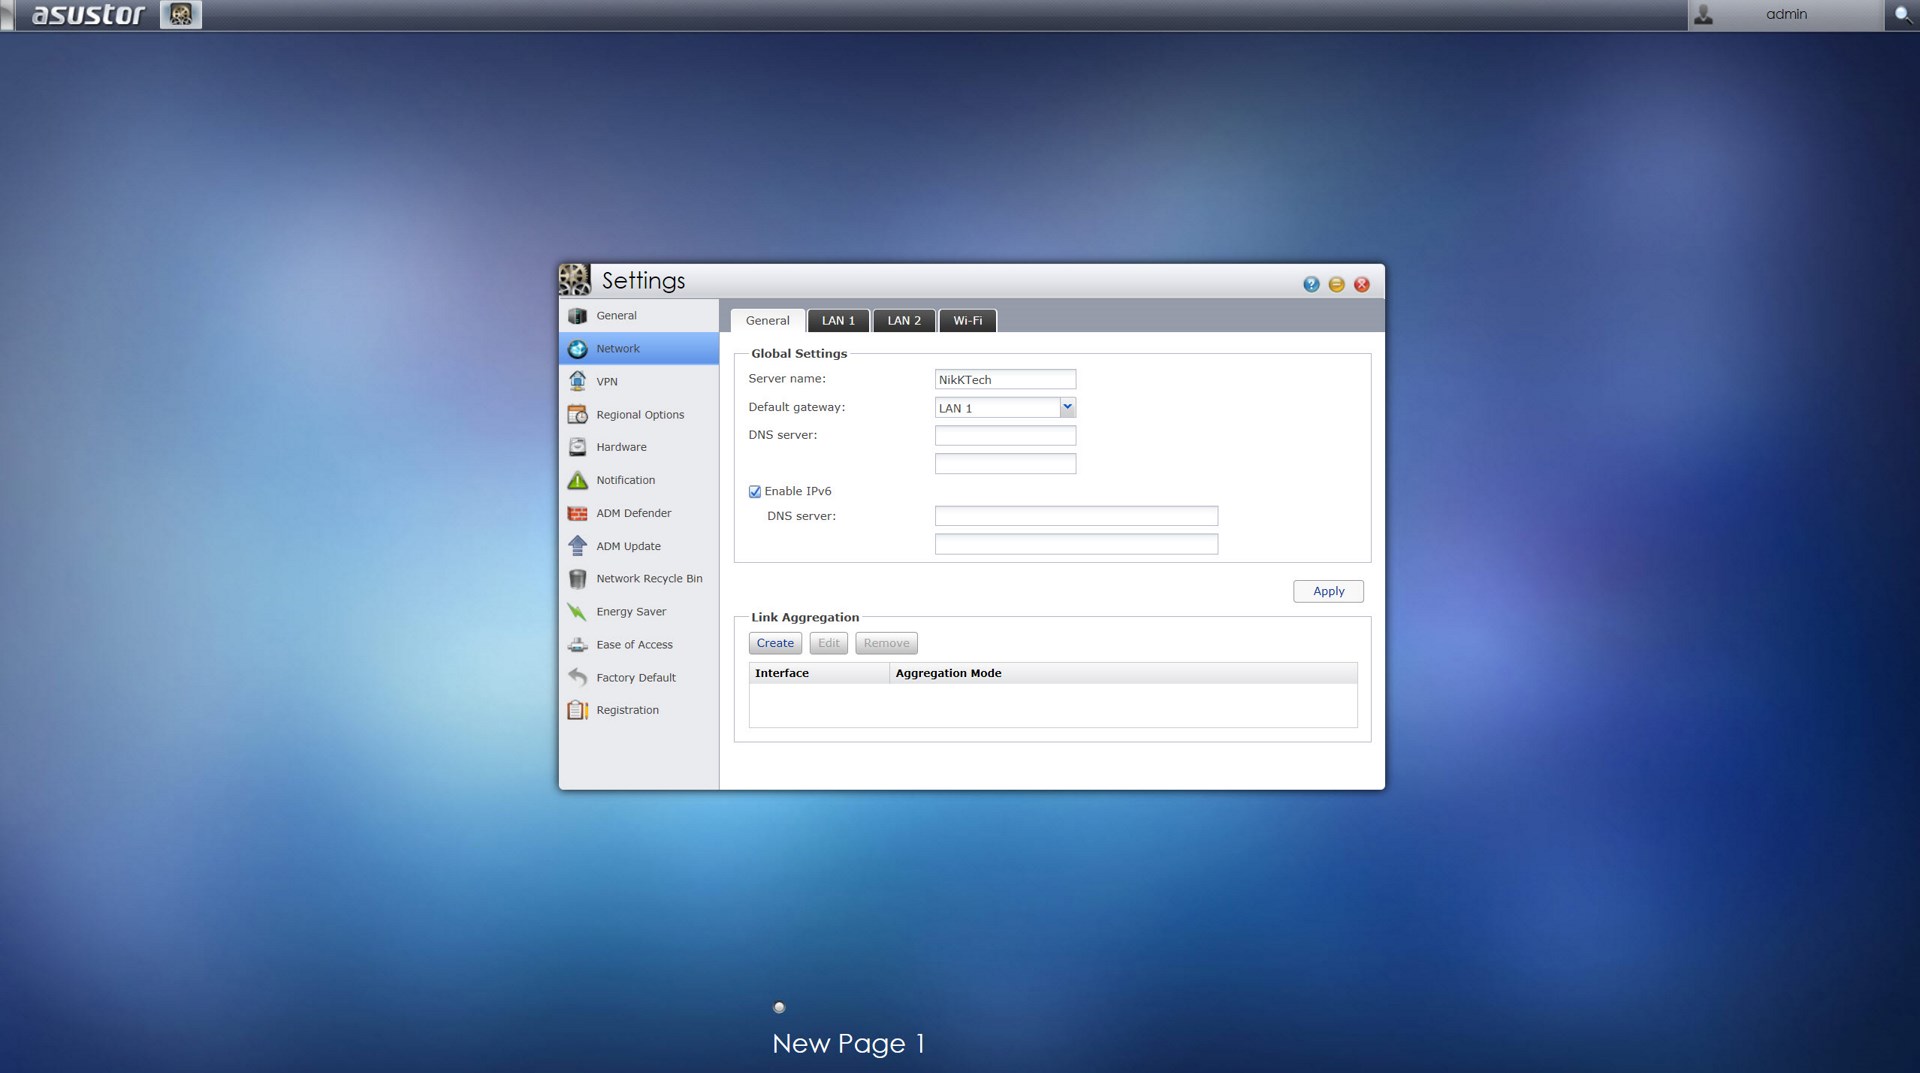
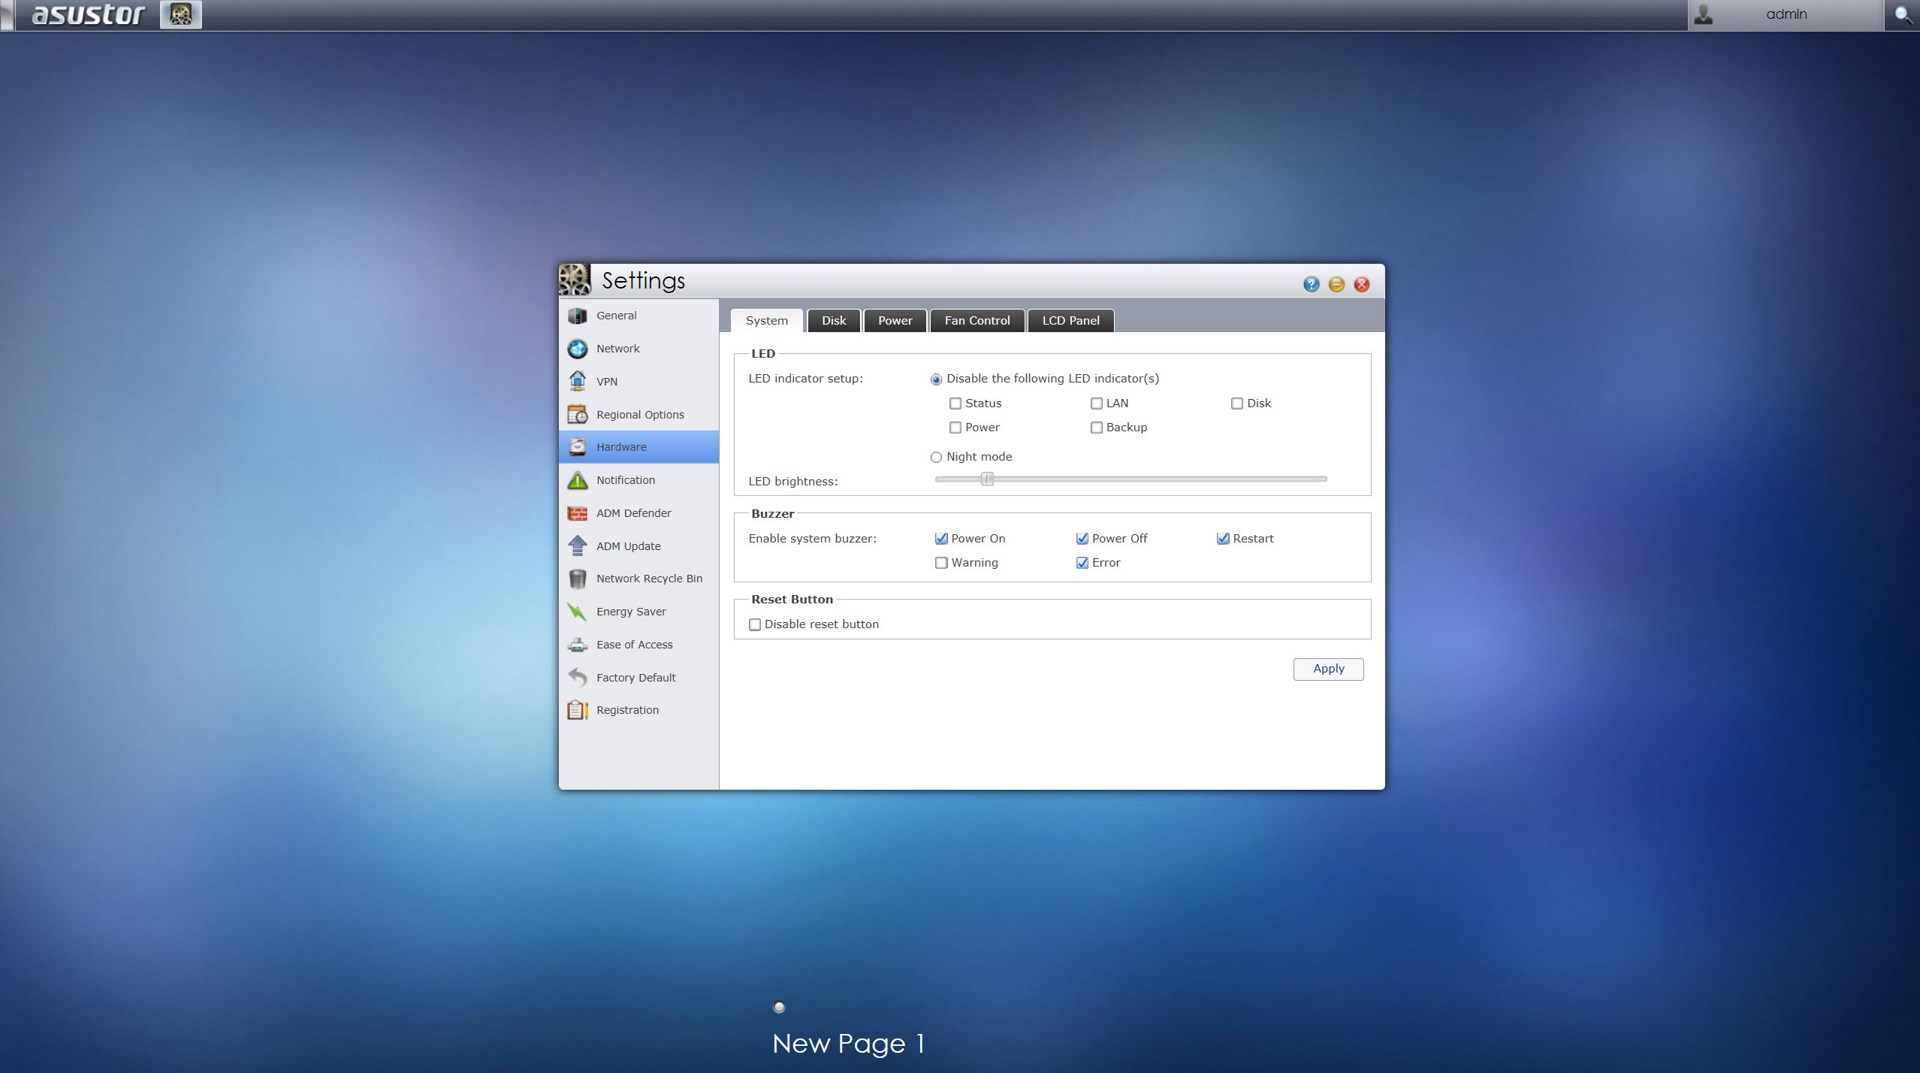
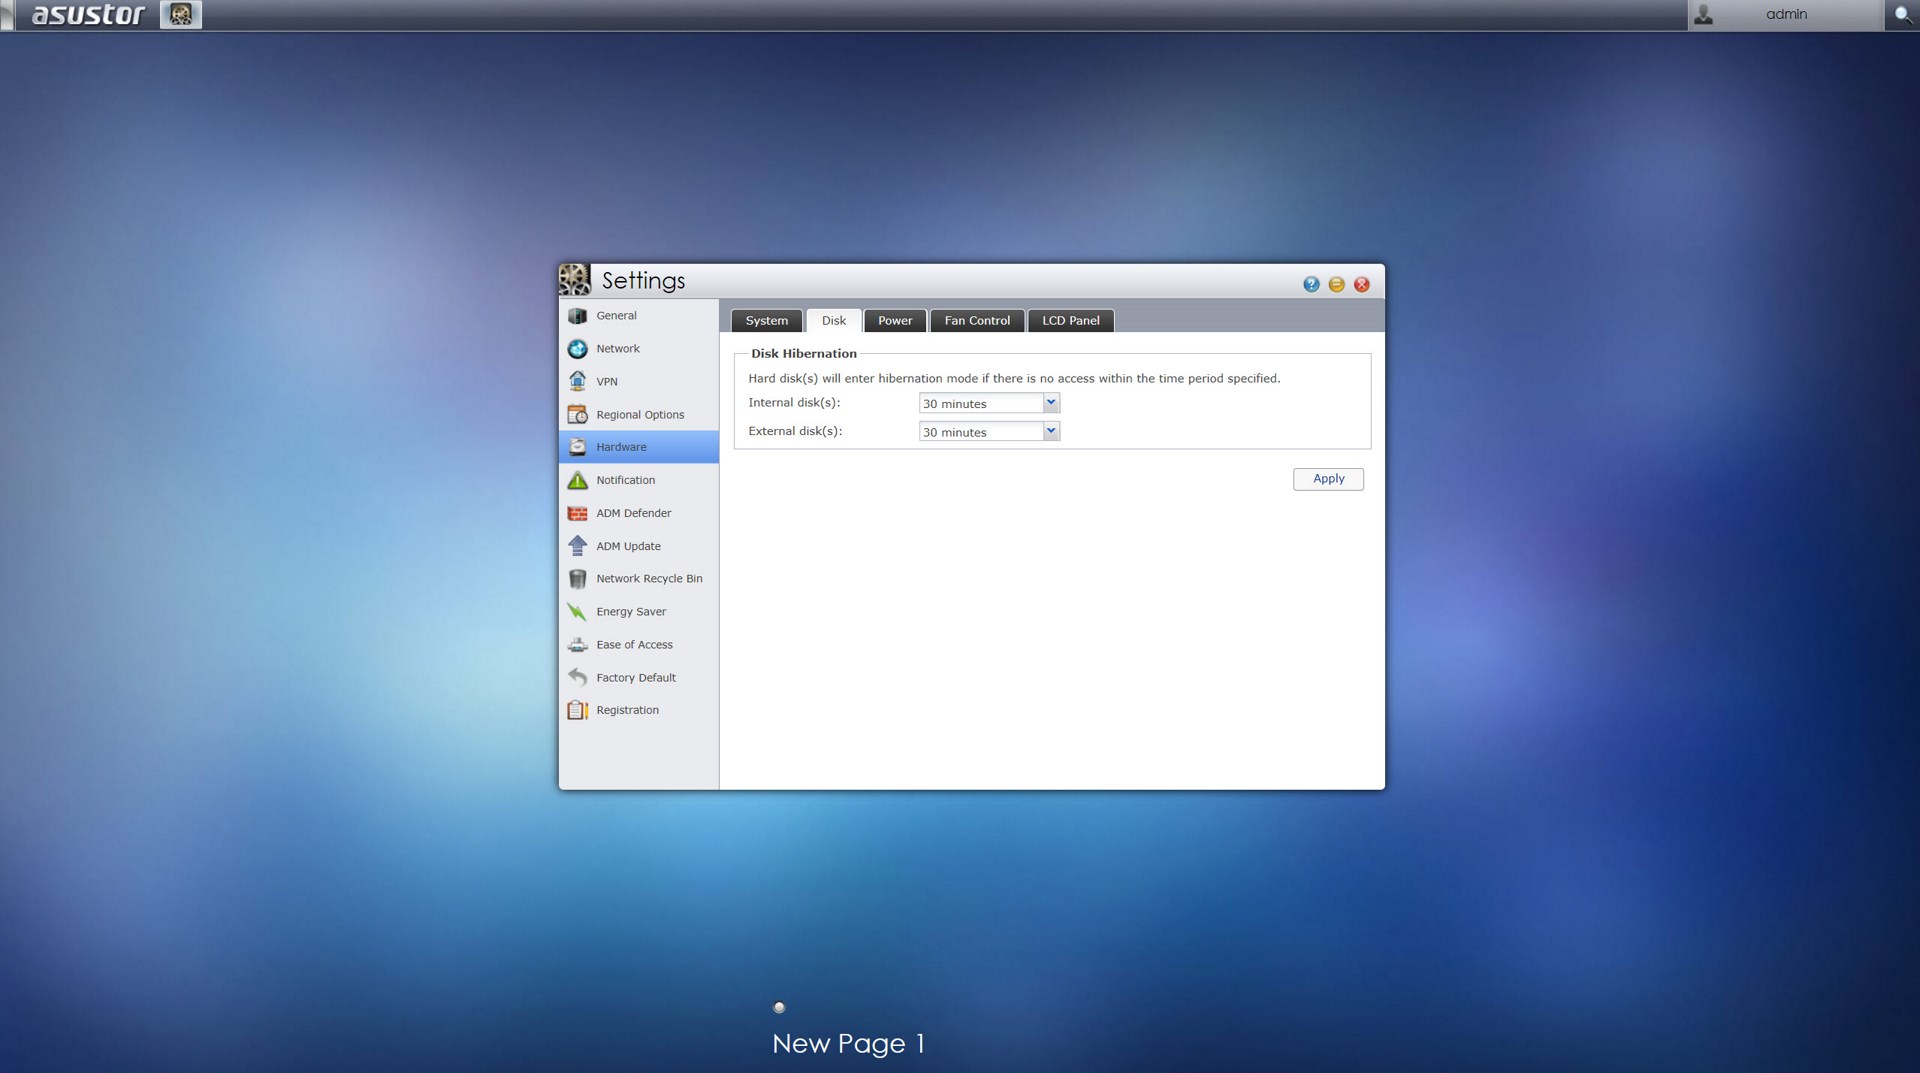
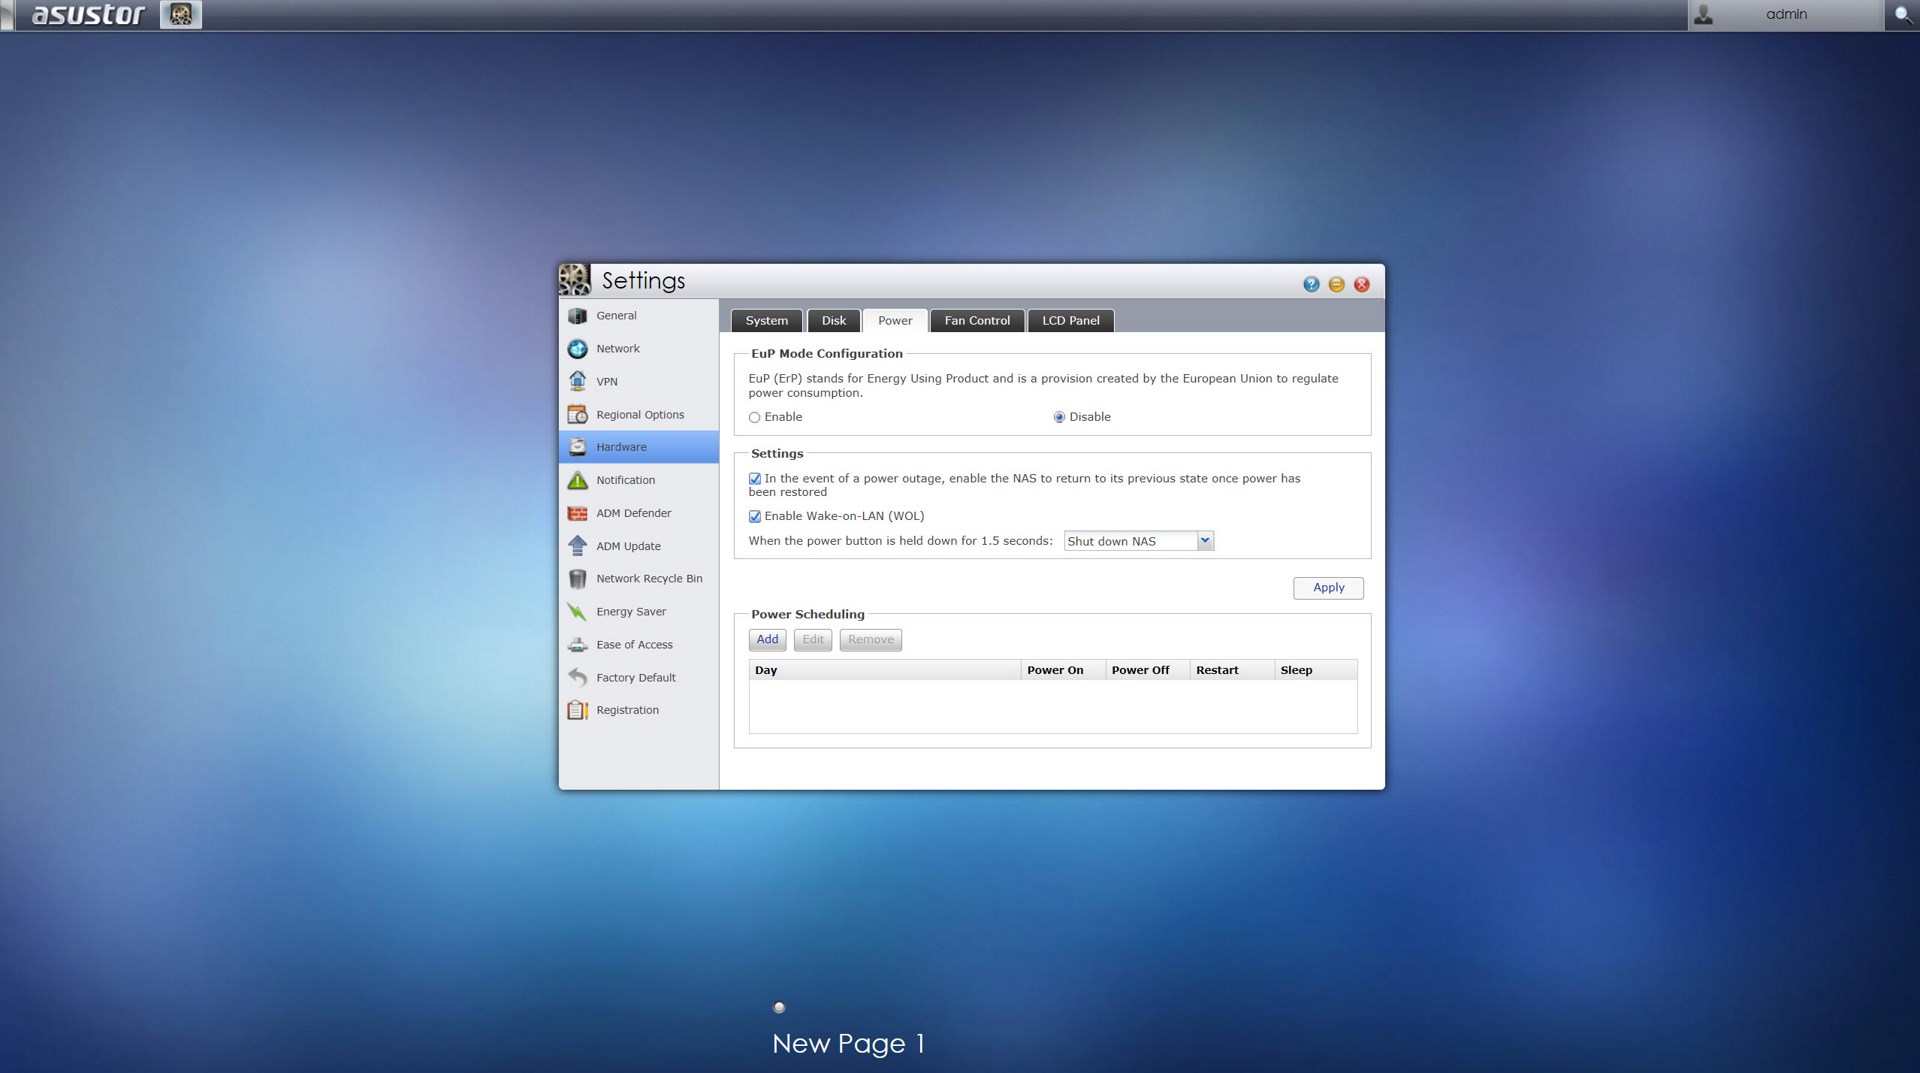
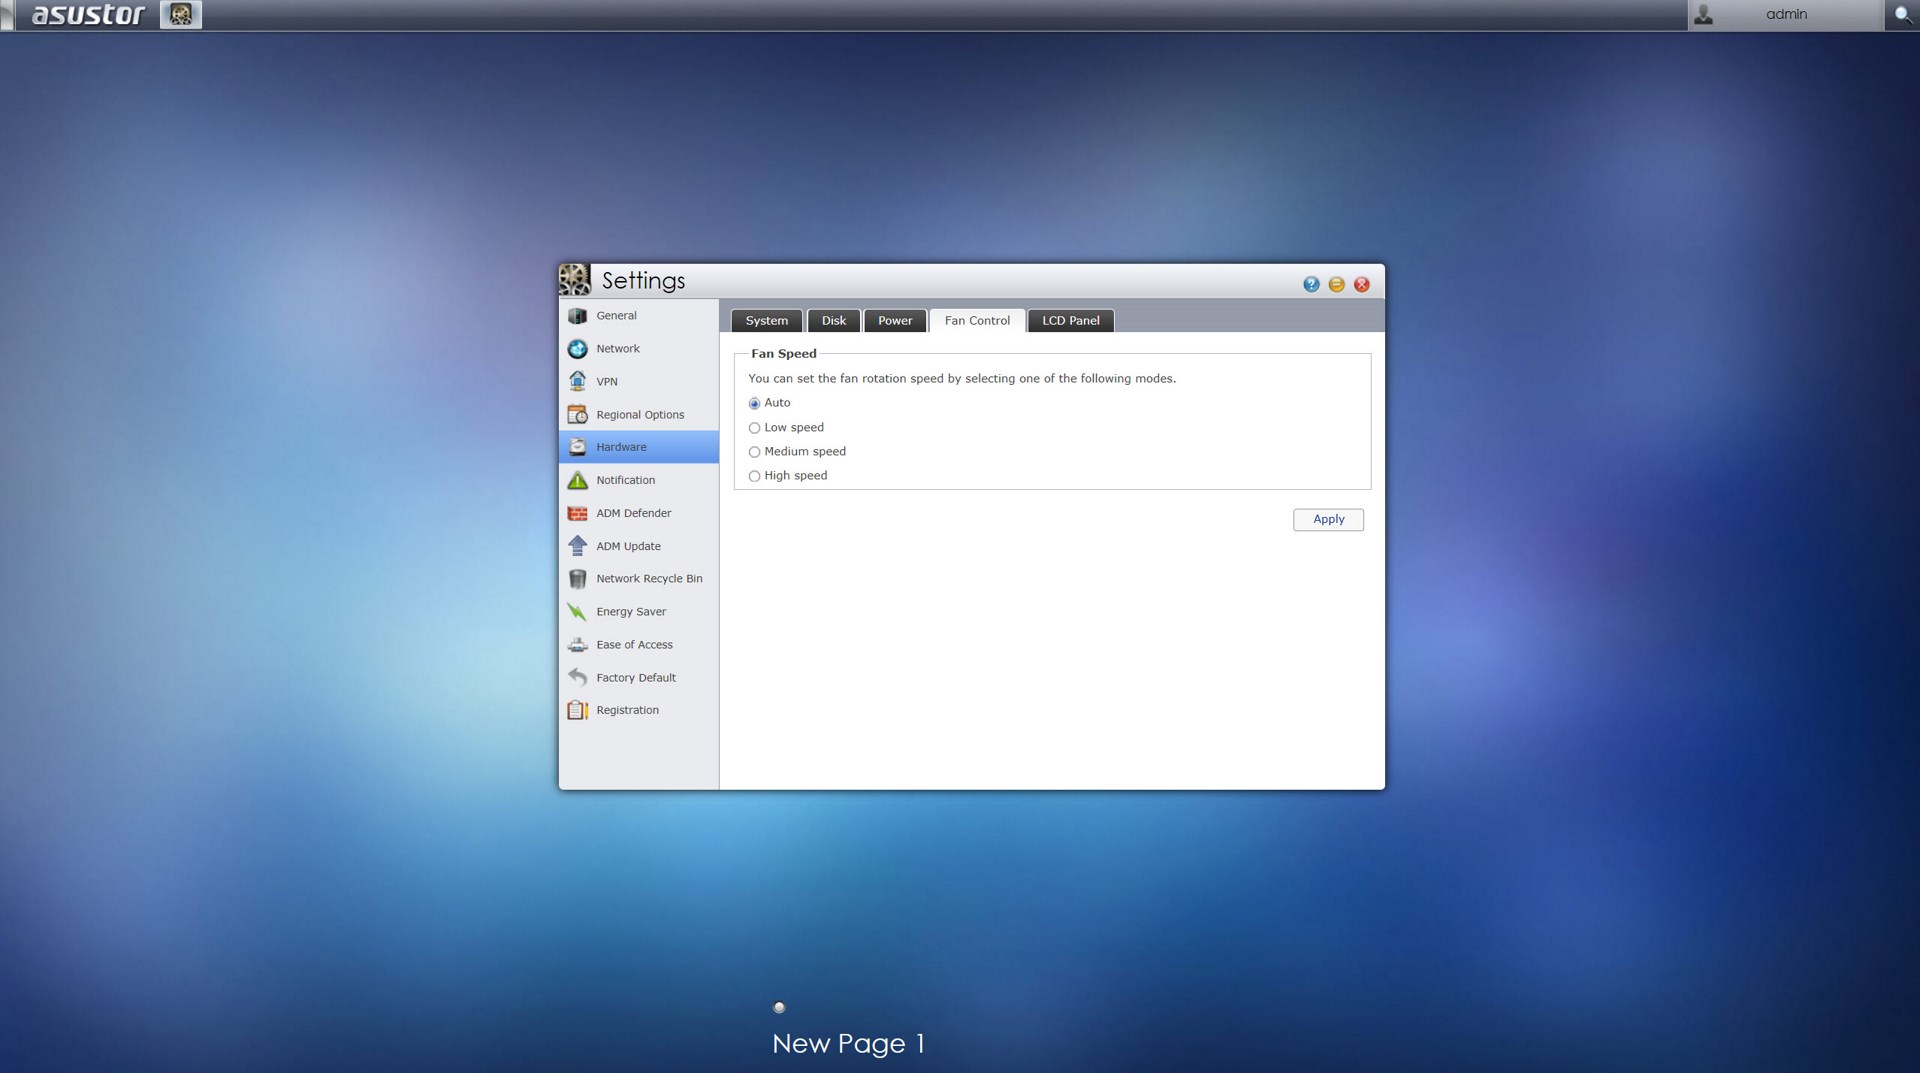
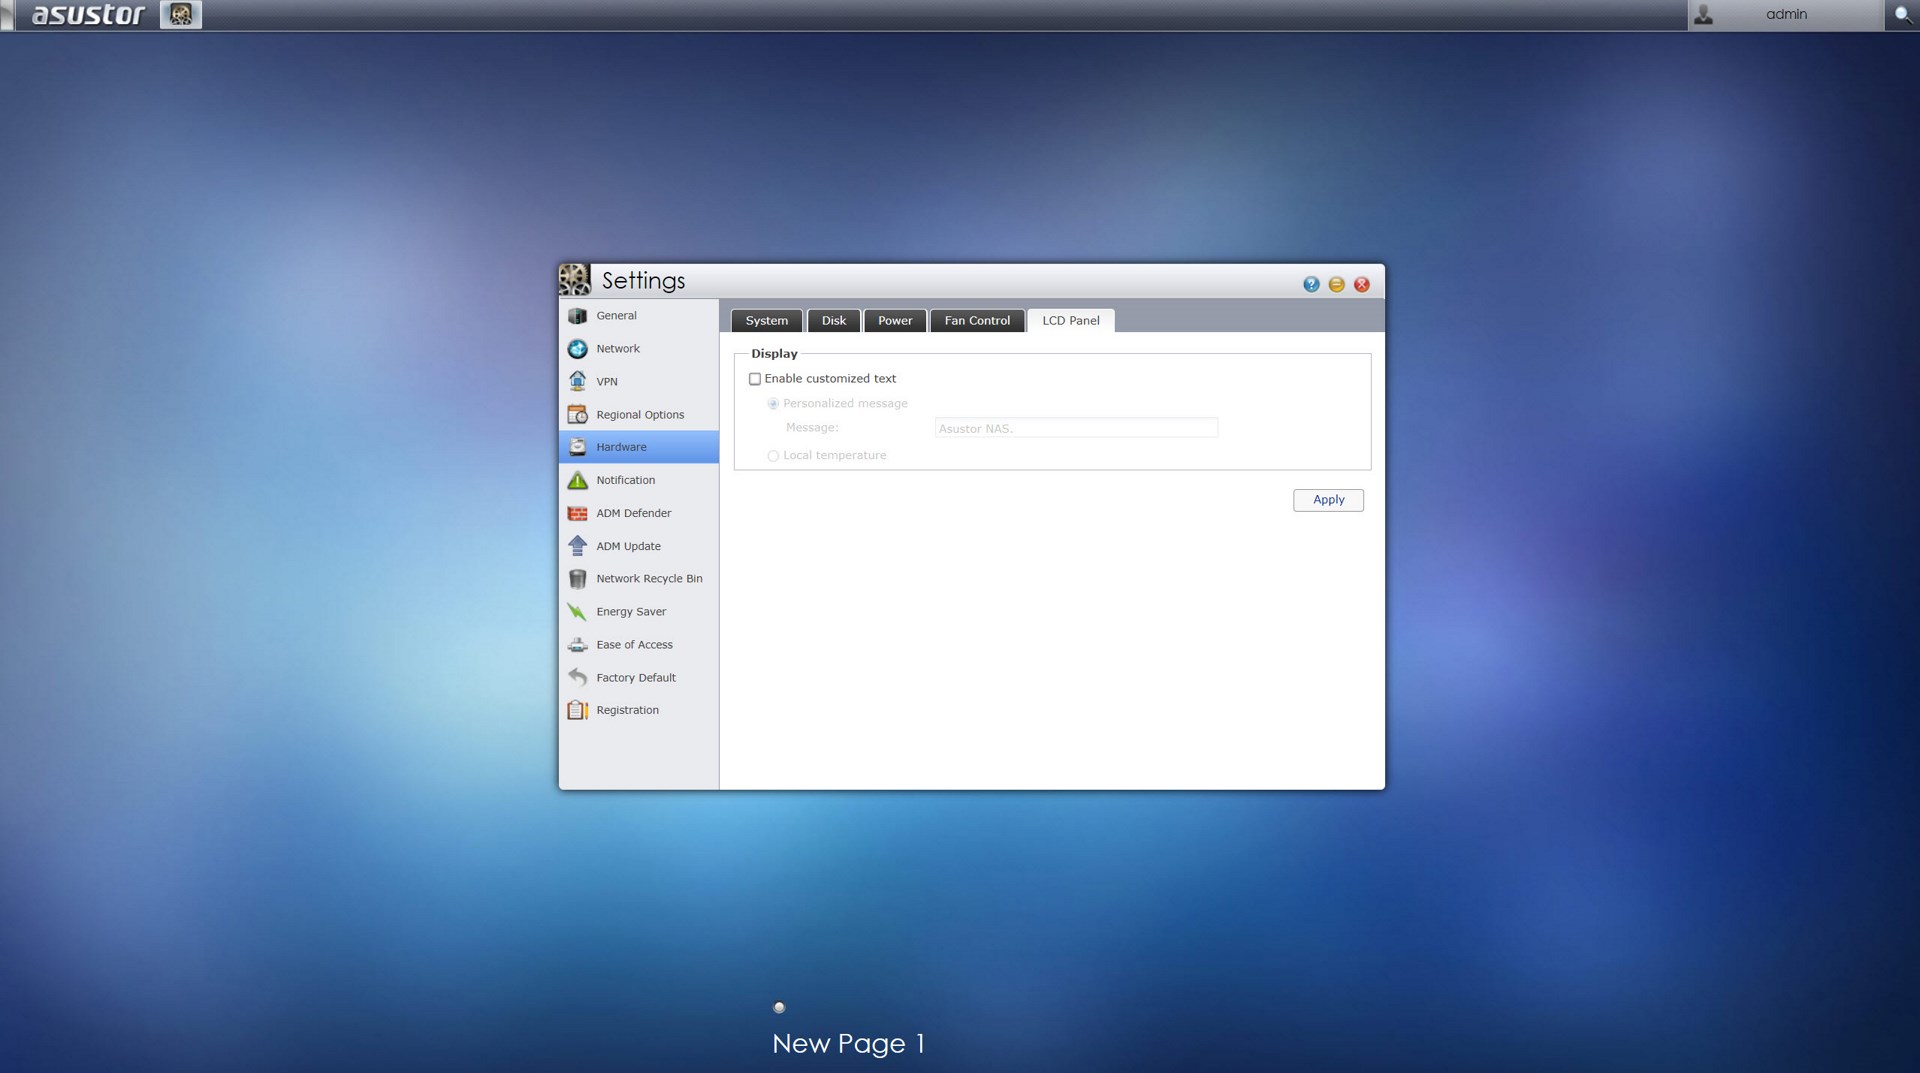

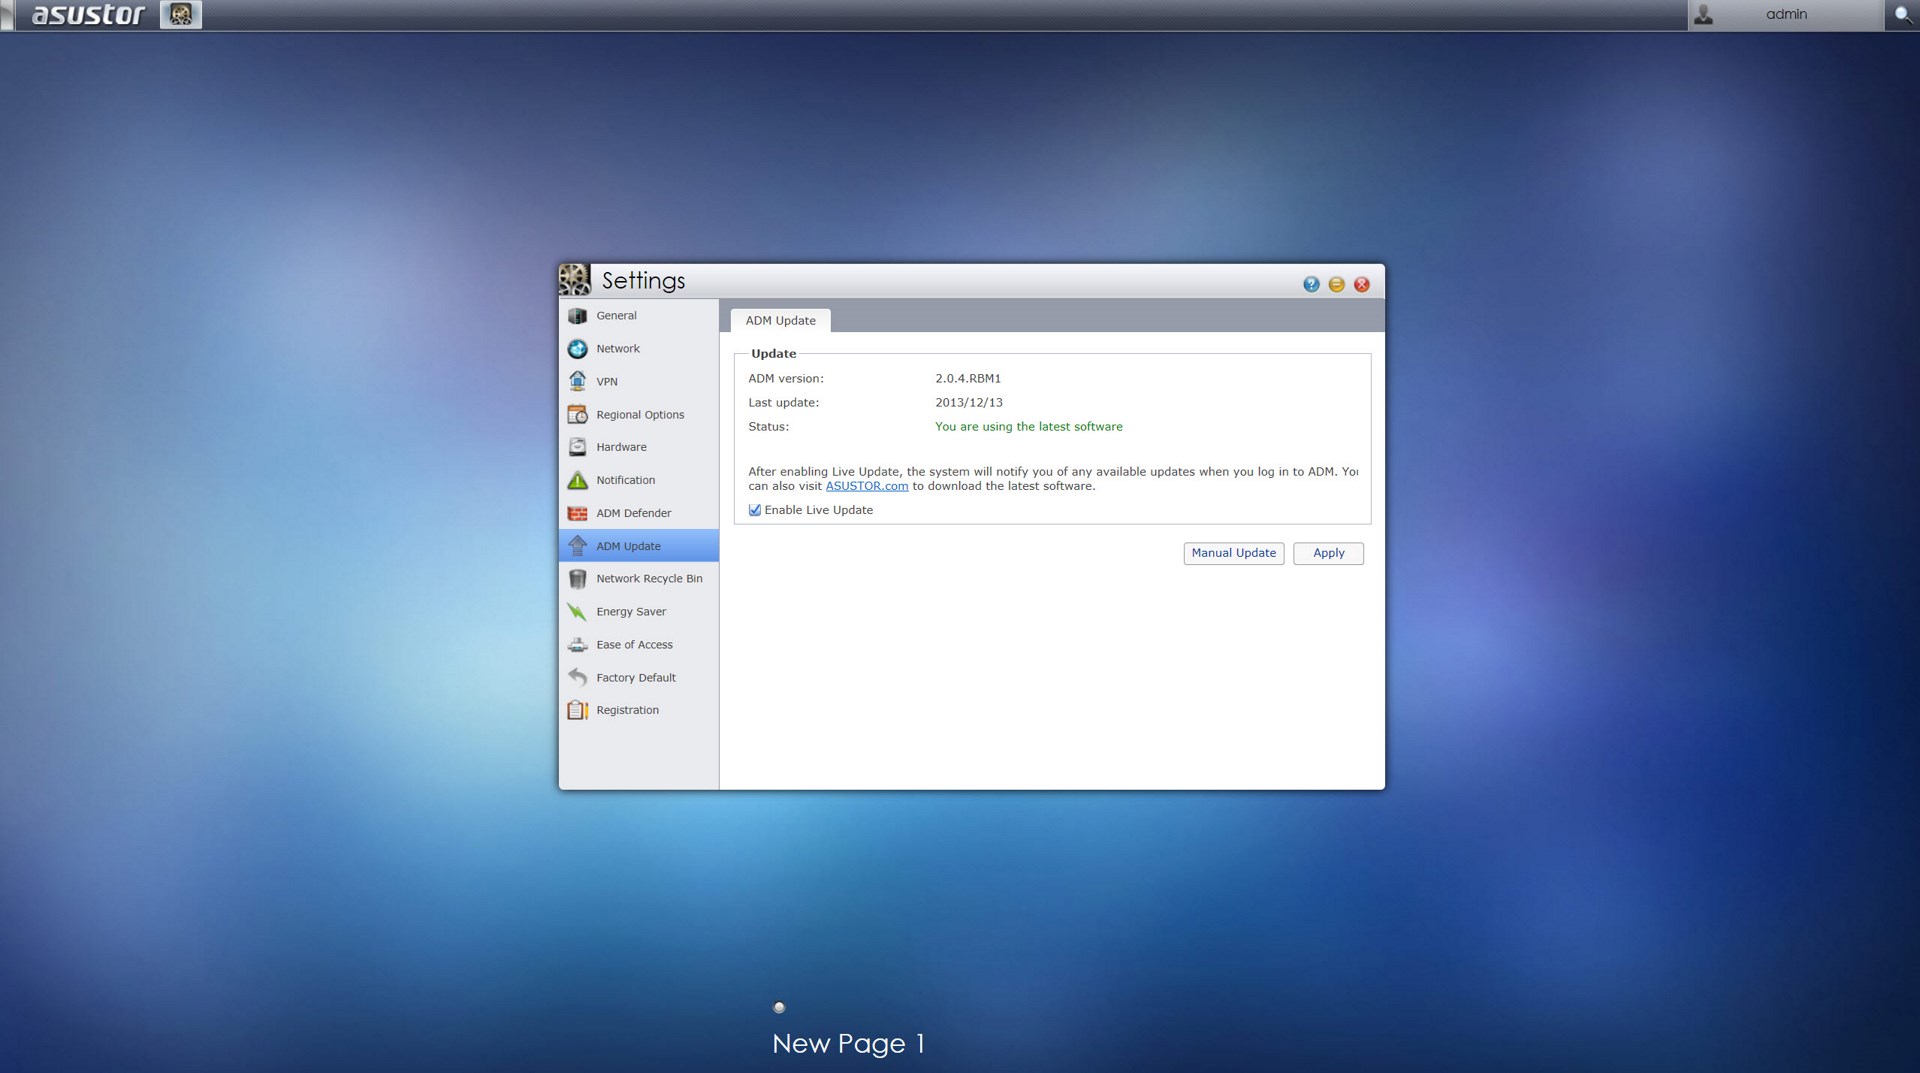
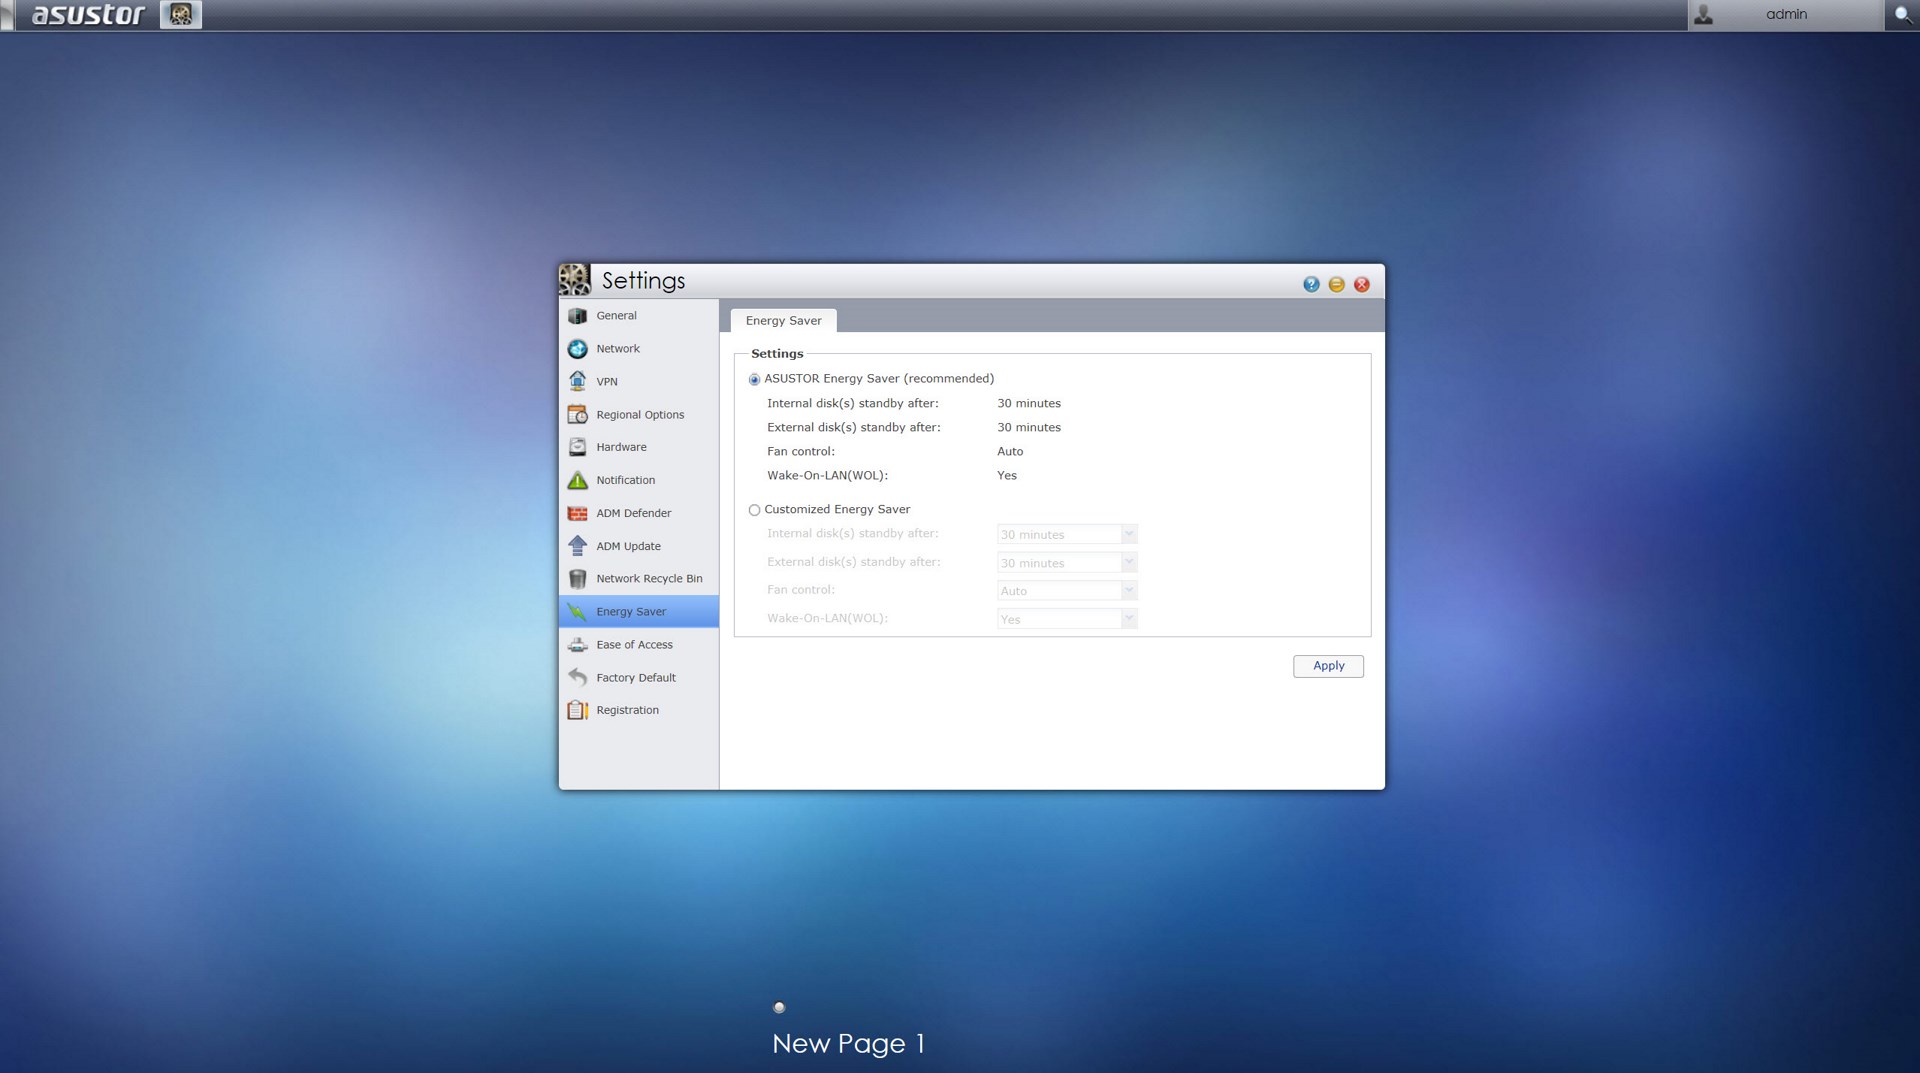
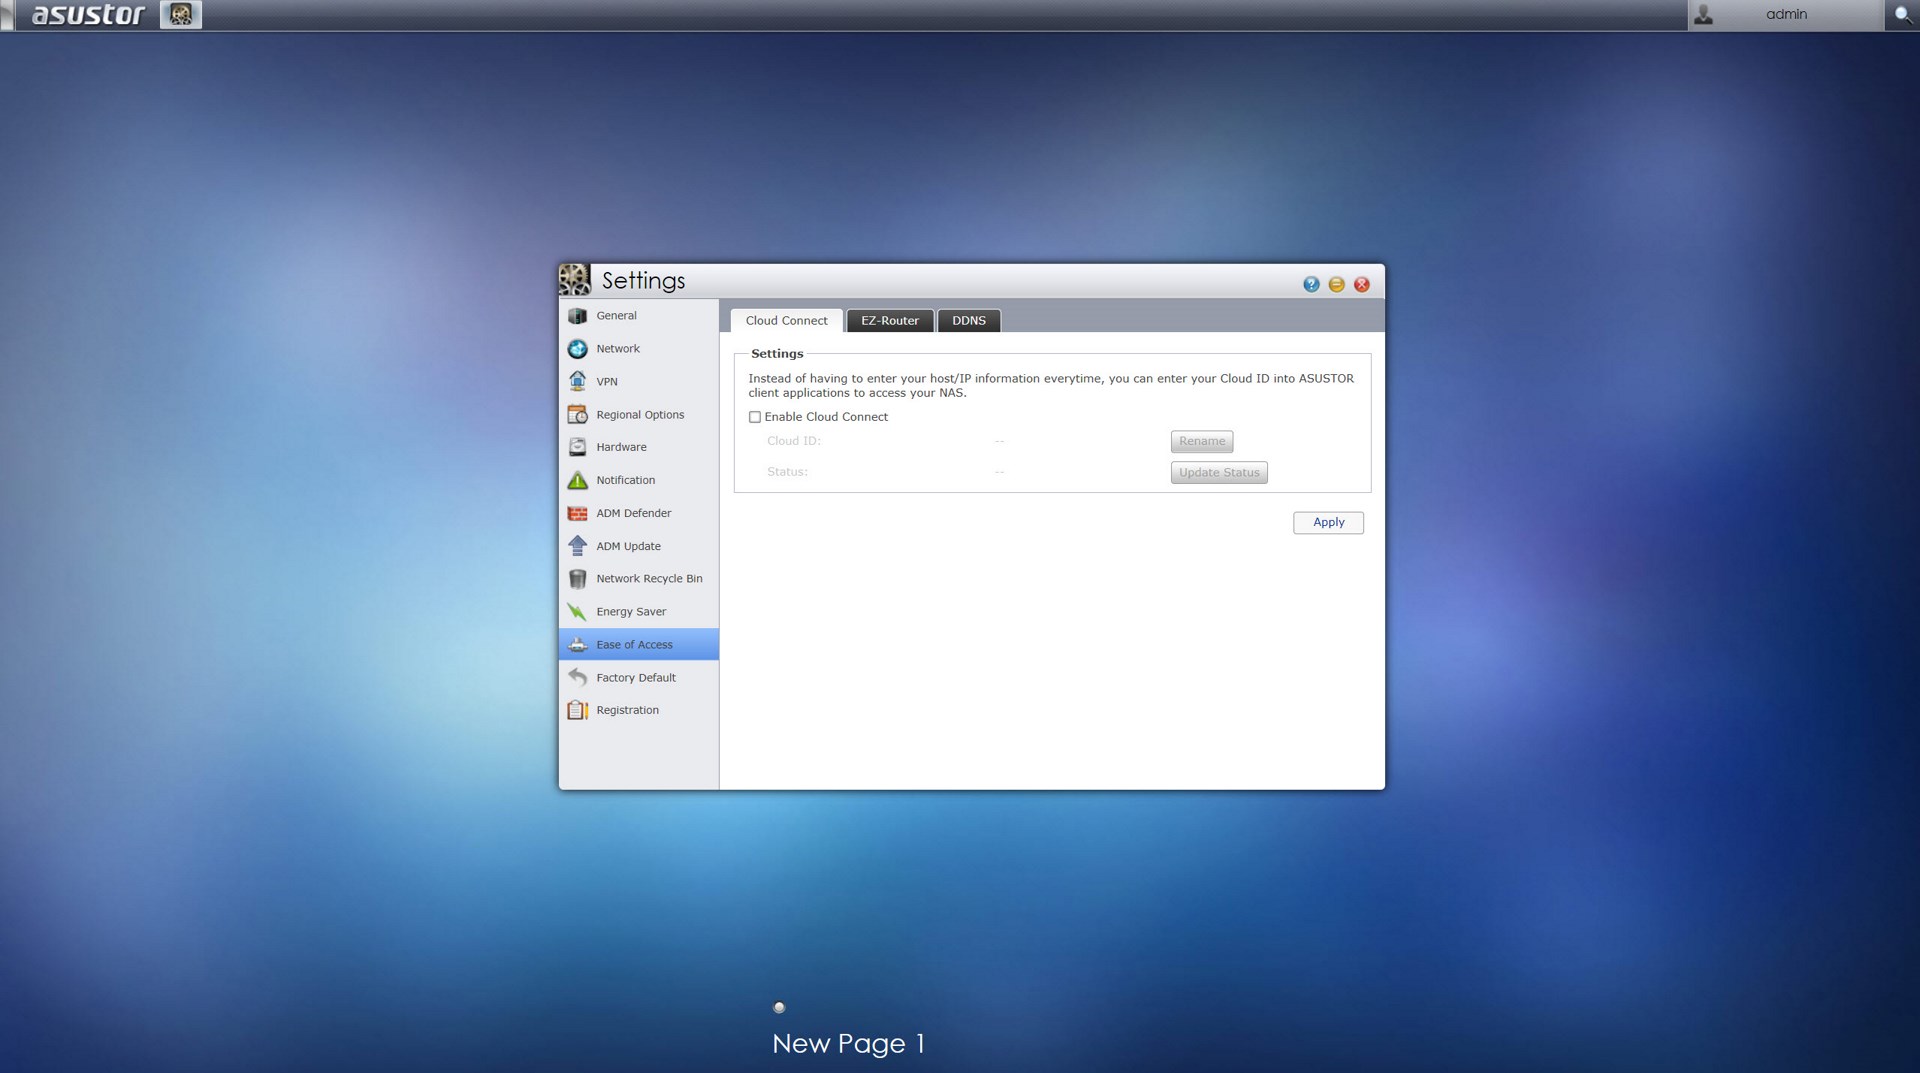
Under the settings tab ASUSTOR has placed pretty much everything you can adjust including the network settings, regional options, hardware options (LEDs/Buzzer/Fan control/Power settings/LCD text), various notification options, ADM defender (firewall), ADM update (manual or automatic), network recycle bin, energy saver (drive standby mode/fan control/wake on LAN), ease of access (Cloud Connect/EZ Router/DDNS), factory default settings and product registration.


