O-Sense


THE P7-C1 EXTERIOR
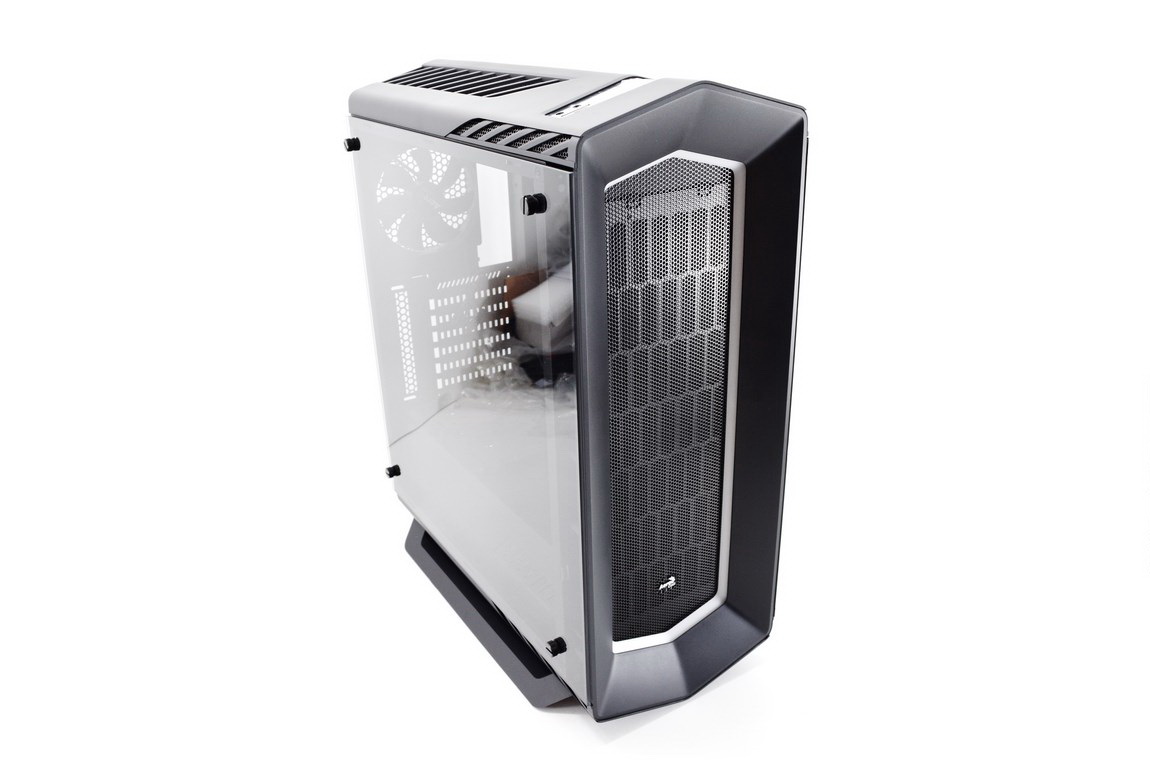 Although the design of the P7-C1 is quite simple thanks to the top and bottom vents, the tempered glass side panel and the meshed fascia it actually looks great.
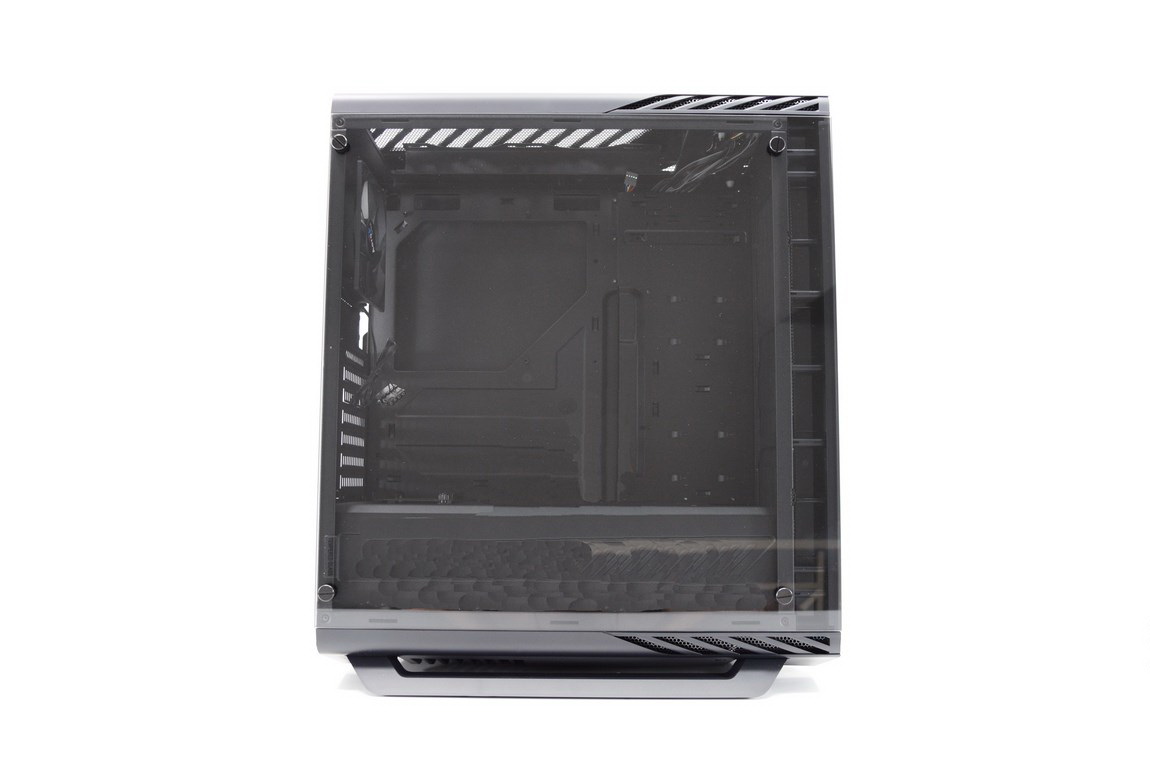
The tempered glass side panel is held in place with thumbscrews placed over rubber washers (one on each side).

The interior section of the fascia is perforated and around that we see the white LED area.
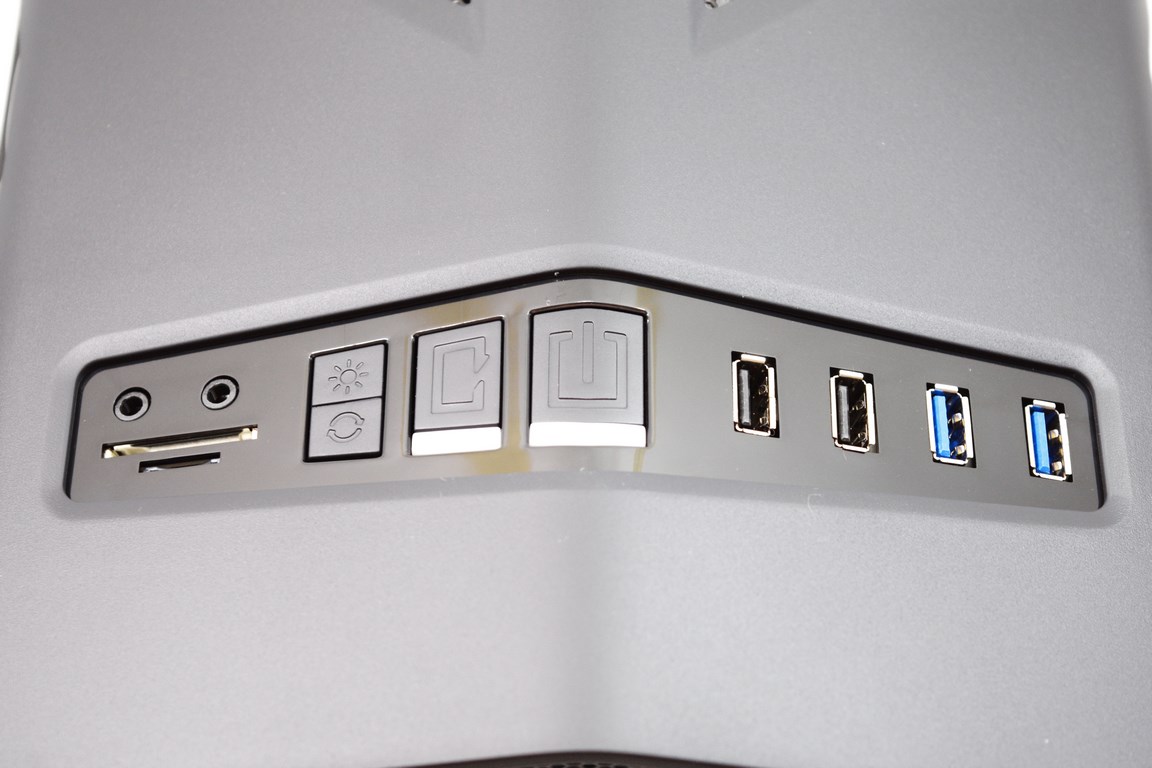
Once again the I/O is located at the top and this time over it includes the dual card reader (SD/micro SD), headphone and microphone 3.5mm ports, color and mode LED buttons, on/off and reset buttons, two USB 2.0 ports and two USB 3.0 ports.
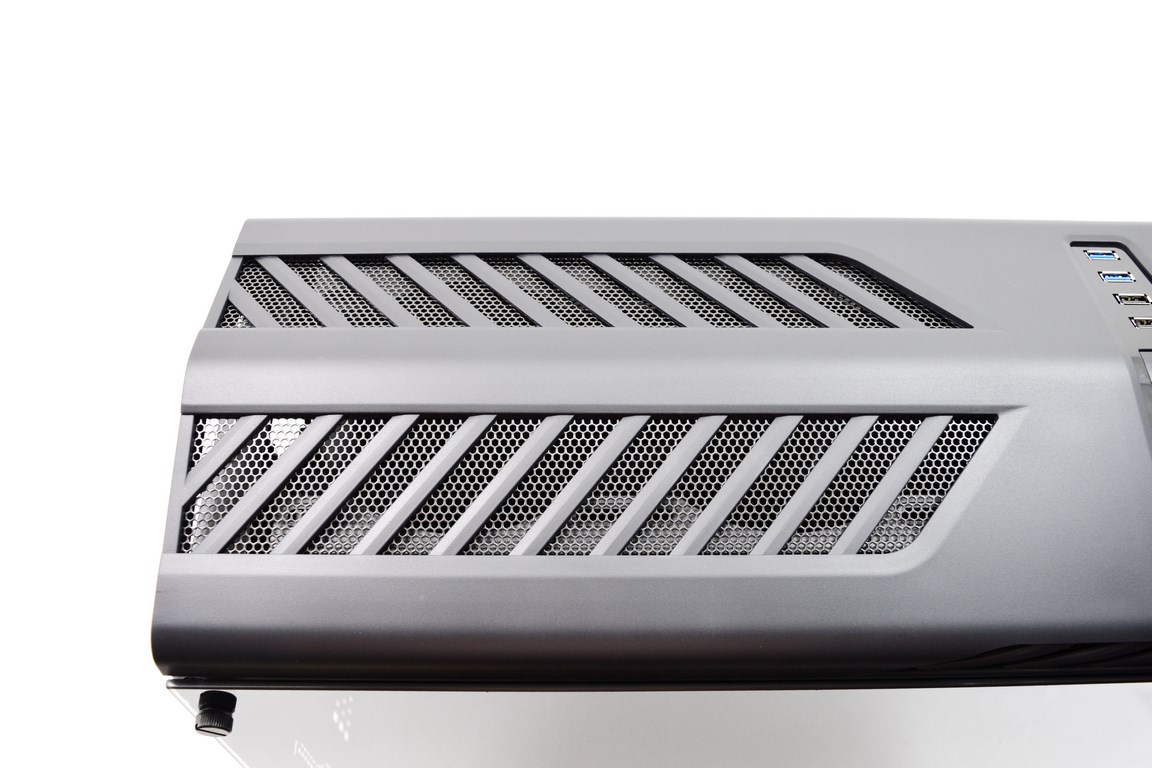
The top is also perforated and beneath here you can mount either two 120mm fans or a 240mm radiator (unfortunately in our sample removing the top was very hard so instead of damaging the case we decided not to).
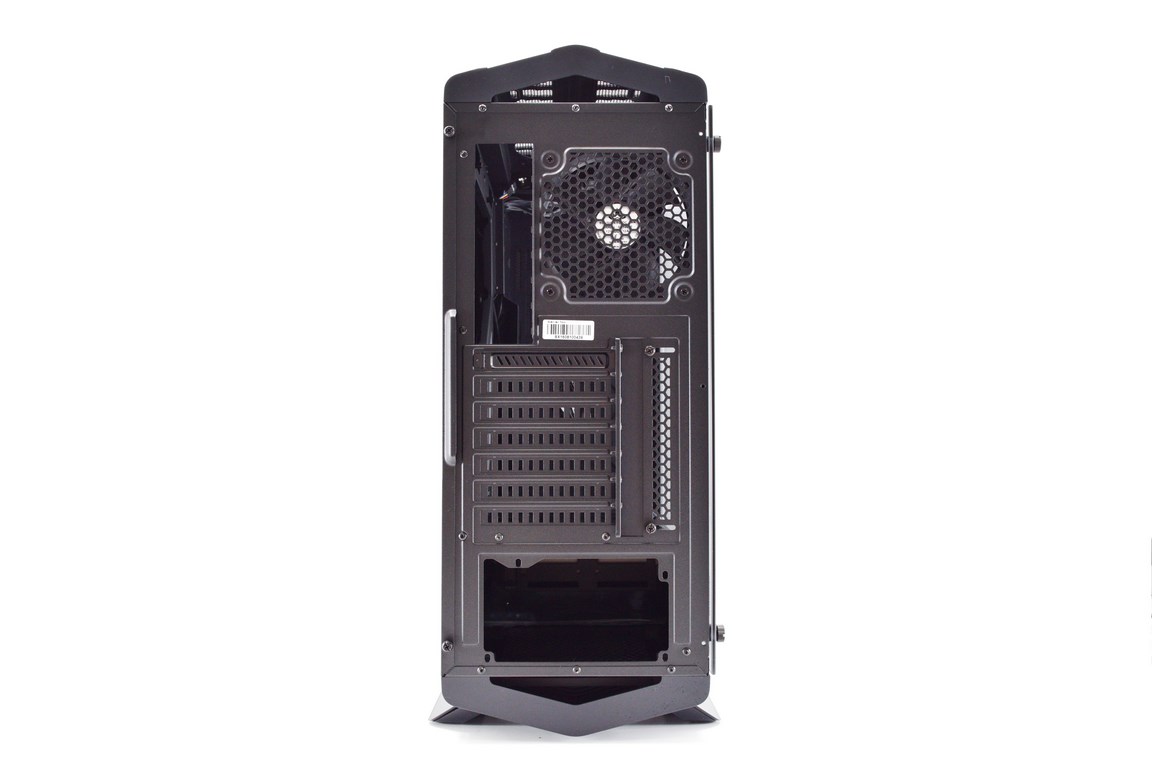
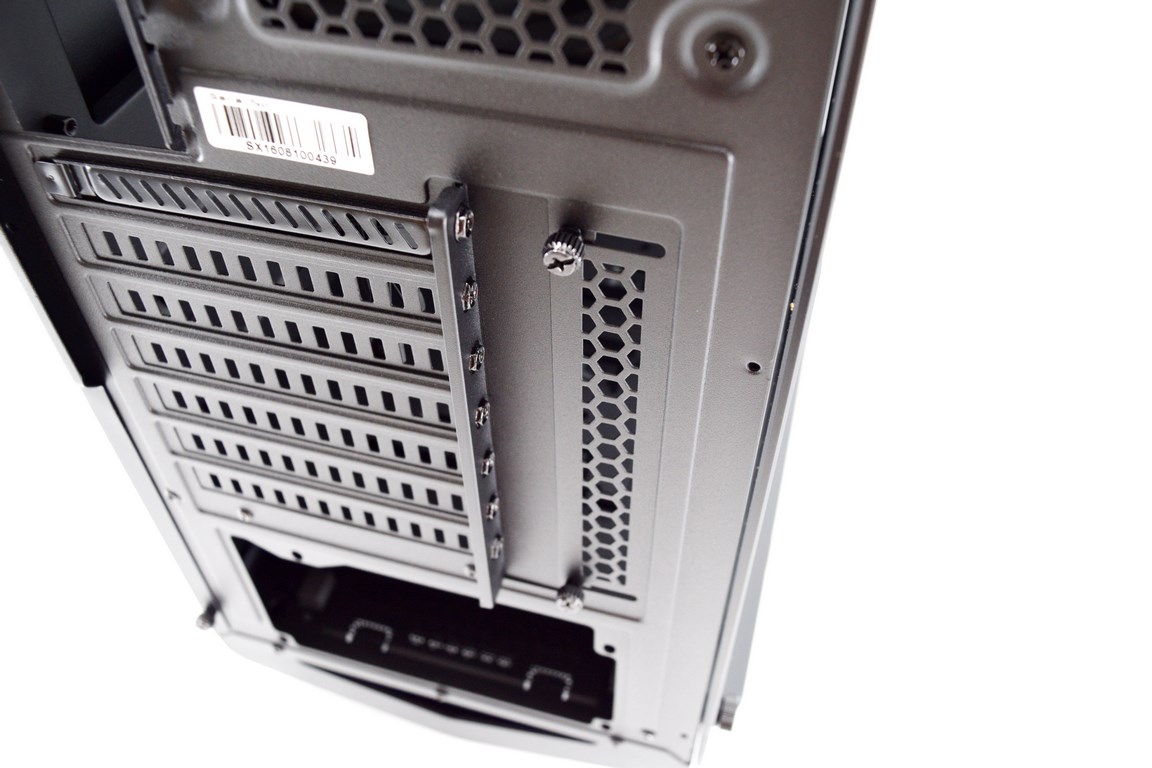
Moving at the rear we see the 120mm exhaust fan, 7 PCI expansion slots (with a single exception all other covers can't be reused), PCI expansion slot cover and the PSU area.
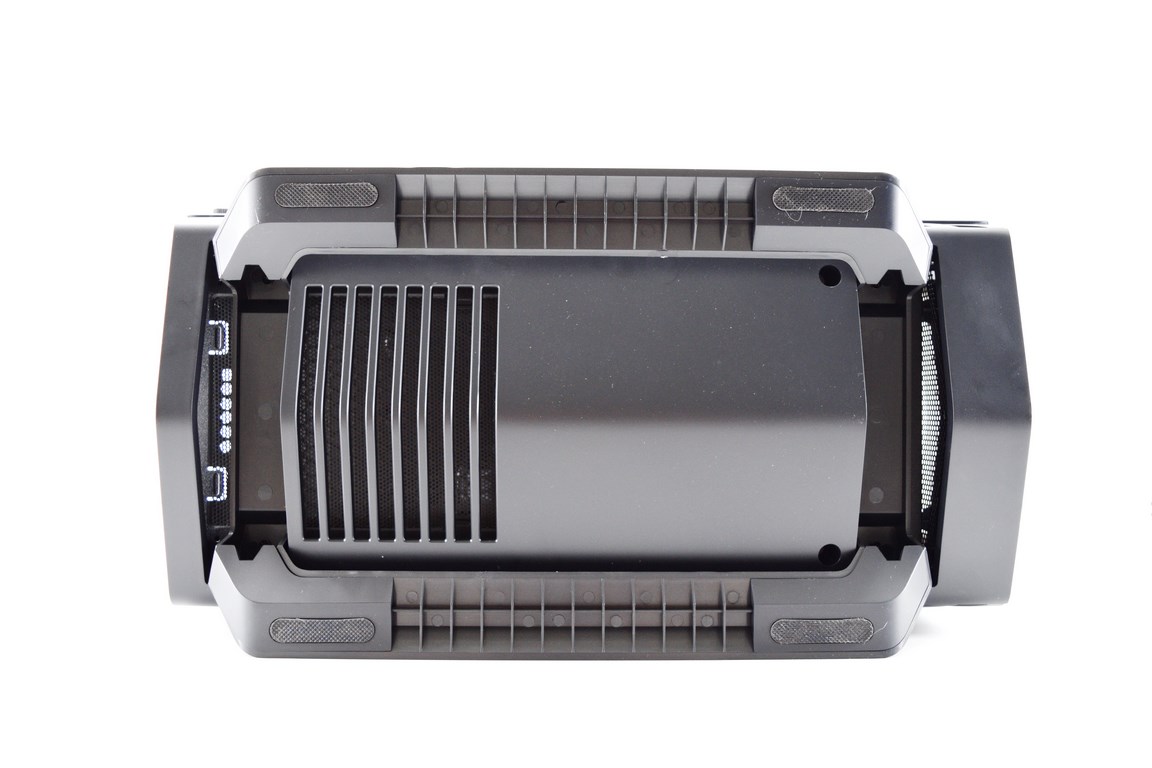
Although there's plenty of distance between the bottom of the chassis and the floor/desk thanks to the two tall feet/stands i was surprised to see that AeroCool didn't place a removable air-filter for the PSU.