O-Sense


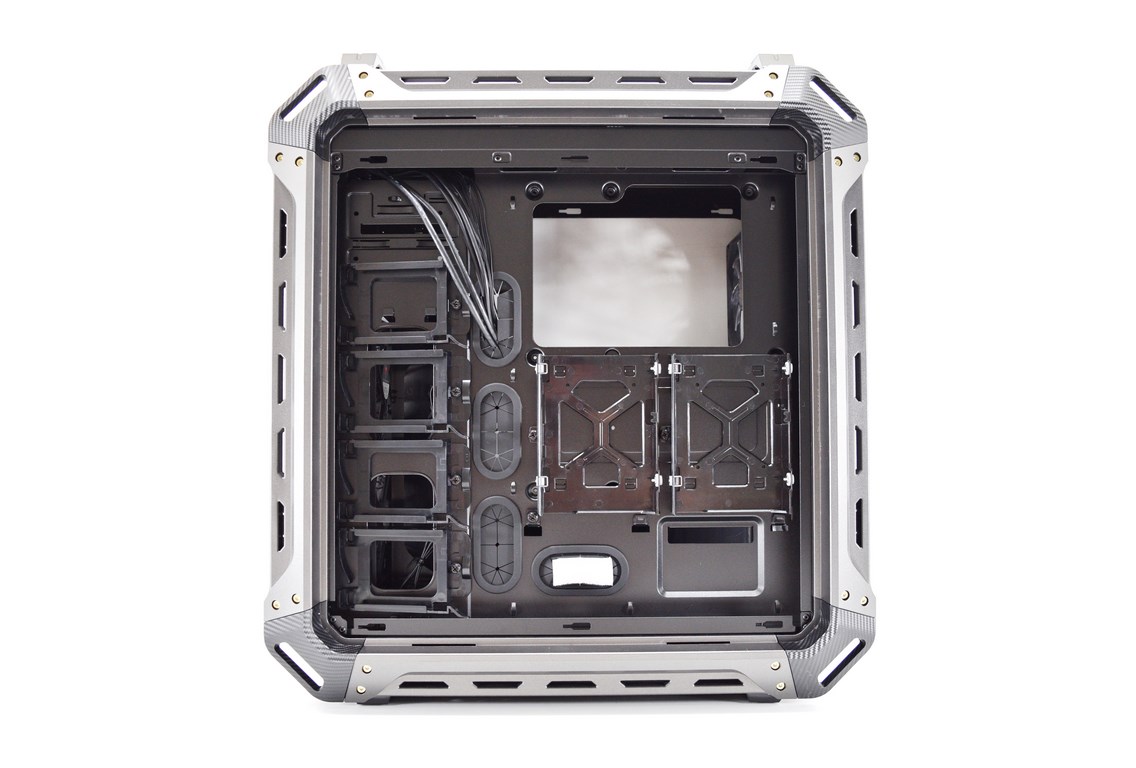
THE PANZER MAX INTERIOR
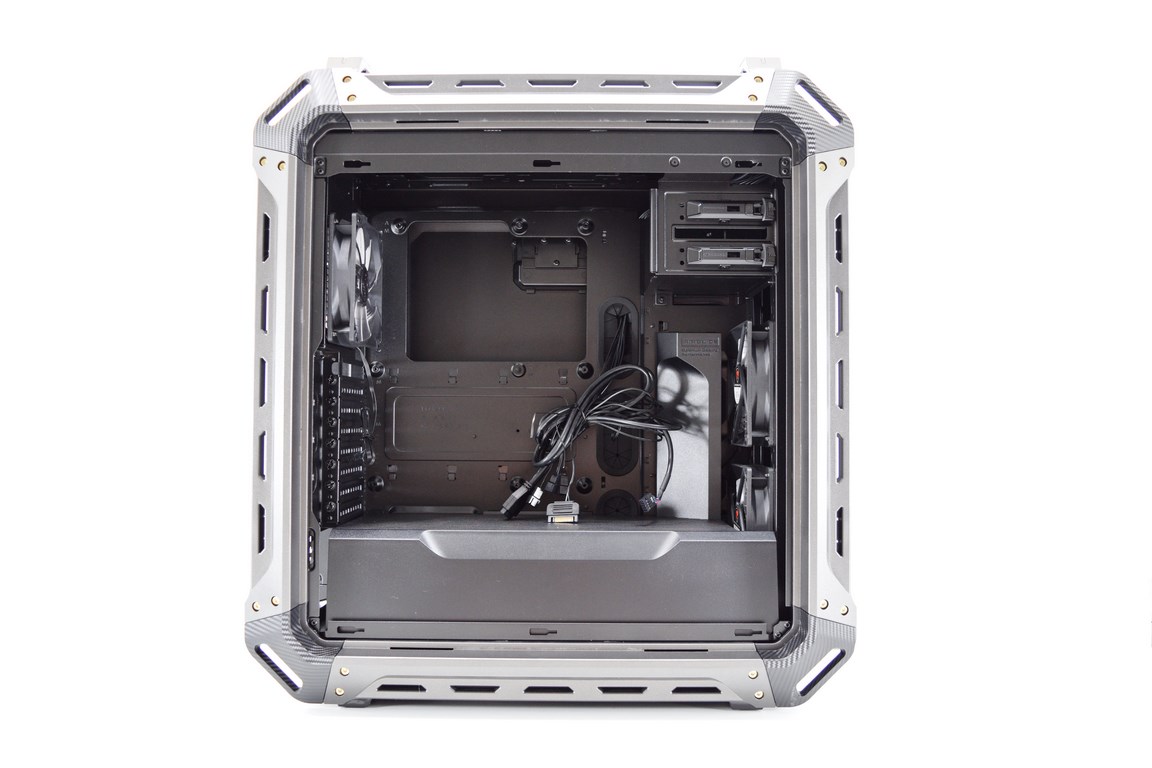 COUGAR has placed a PSU area cover inside the Panzer Max and because of that interior space looks somewhat limited.
Both 5.25" optical bays feature tool-free lock mechanisms and can be removed entirely if you want to place a 360mm radiator at the front.

Along with the PSU area cover COUGAR has also placed another piece of plastic (also removable) which redirects air towards the rear end of the mainboard tray.
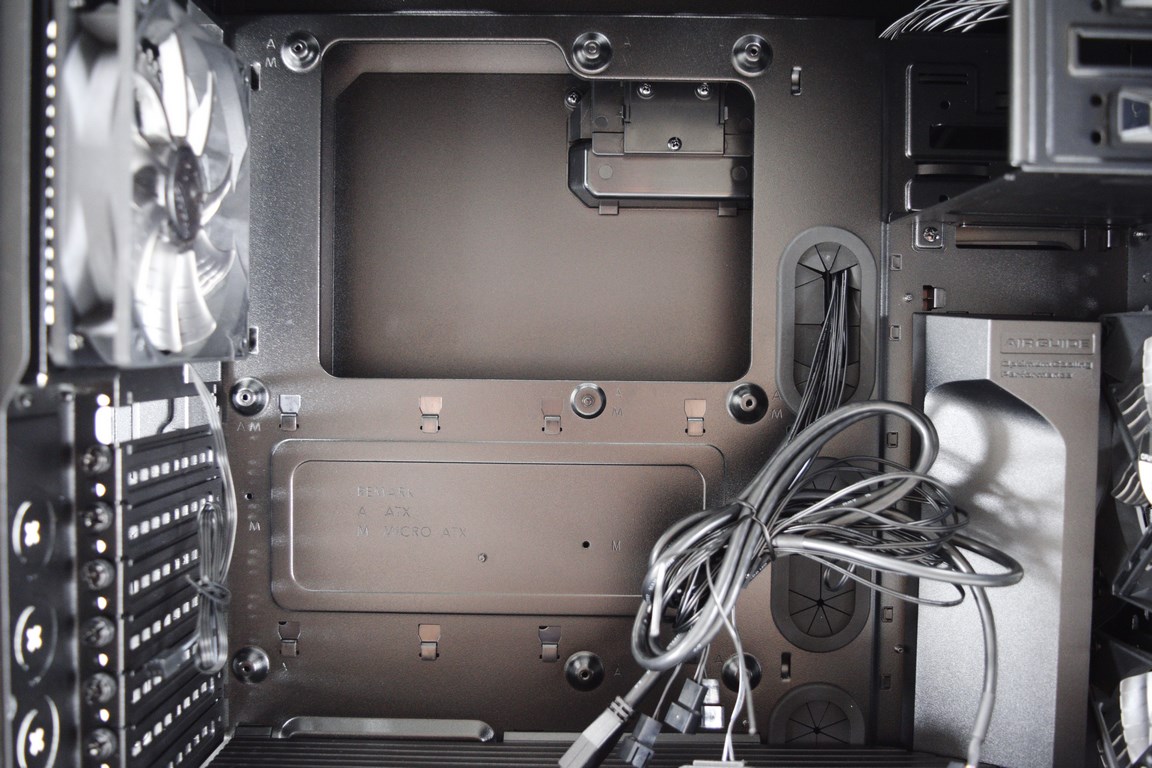
The mainboard tray has 4 large rubber coated holes for cable management (one is placed inside the PSU area) and one huge hole beneath the CPU area for swaping of backplates.
All PCI expansion slots are held in place with regular thumbscrews.
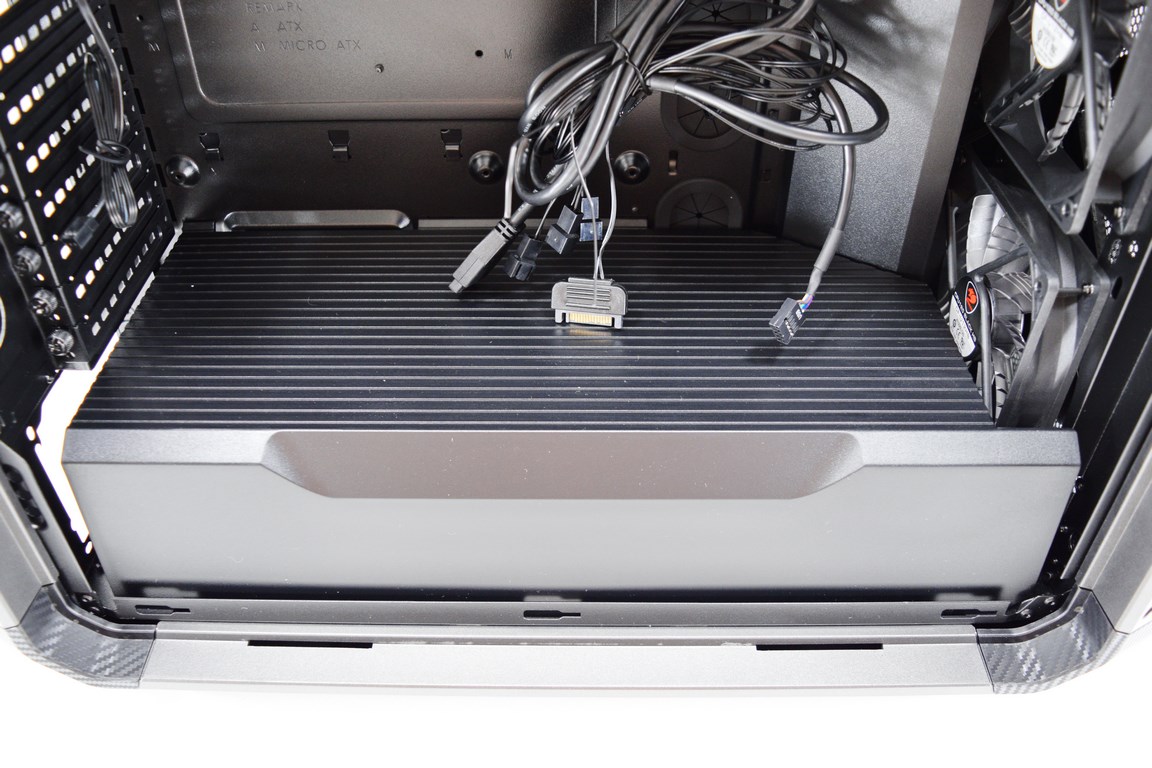
Removing the PSU area cover may not be the easiest thing at first.

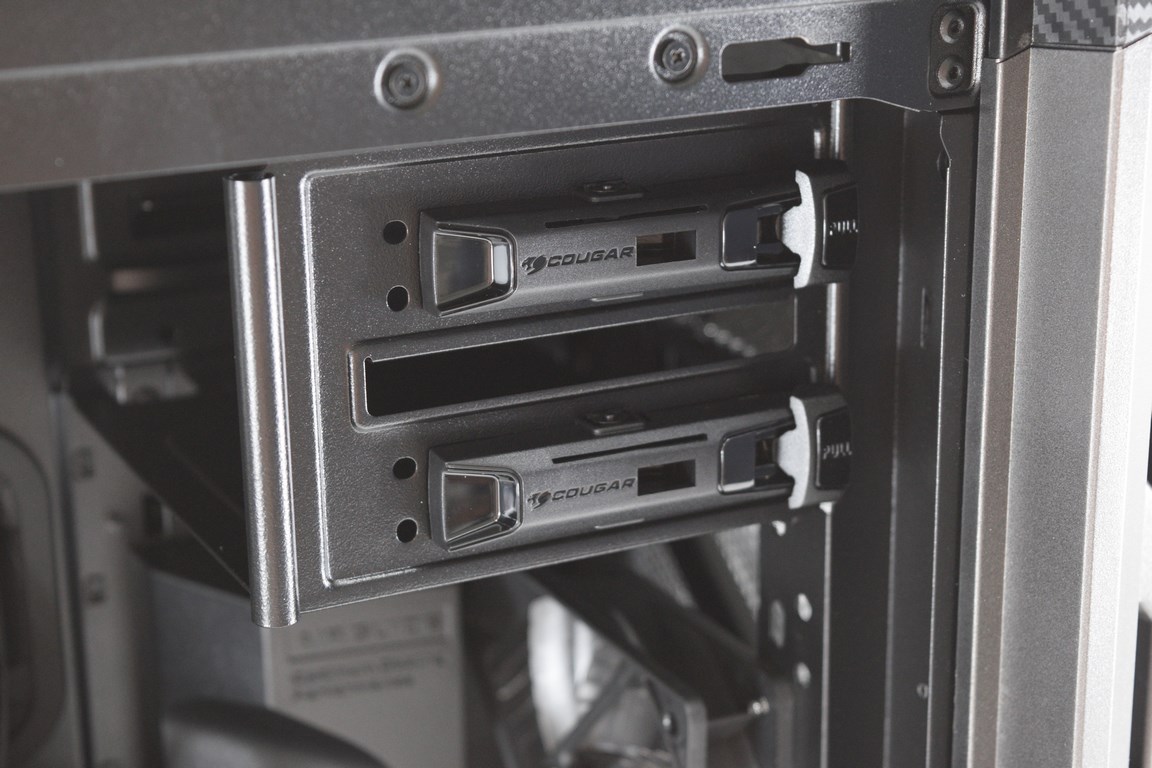
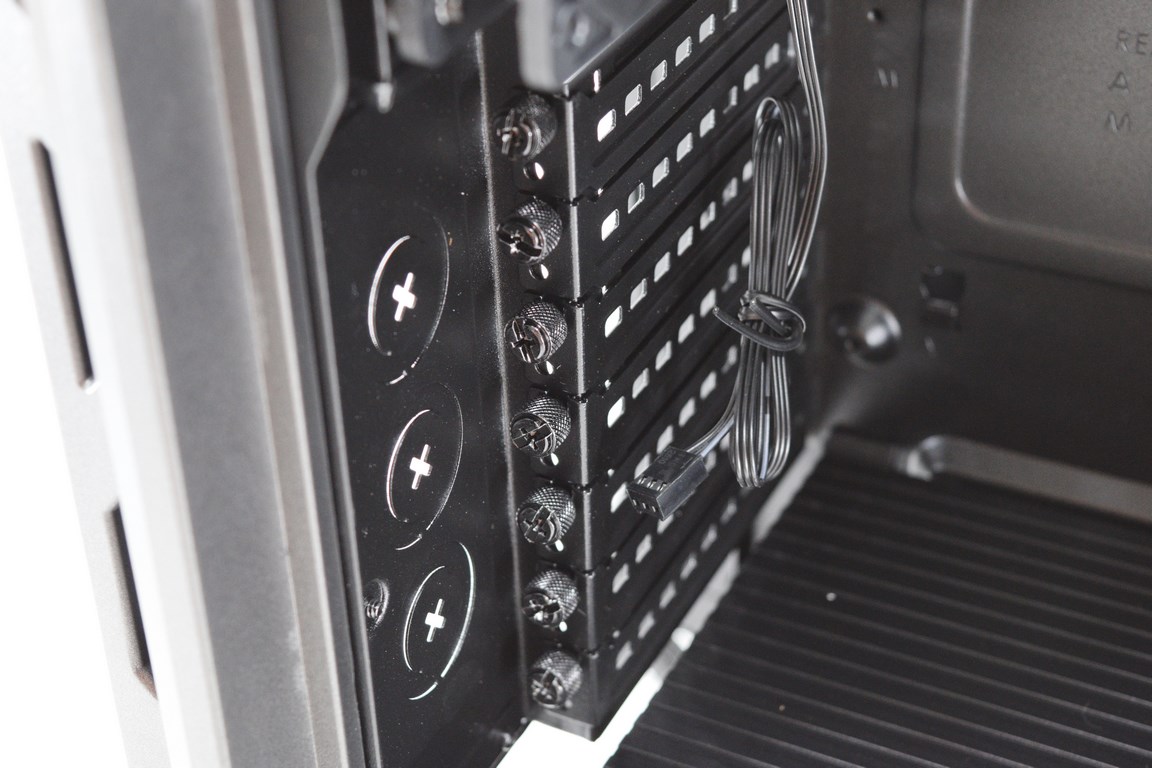
You will first need to access the rear of the mainboard tray and here you'll see the four 2.5" drive trays placed right beneath the 5.25" bays.
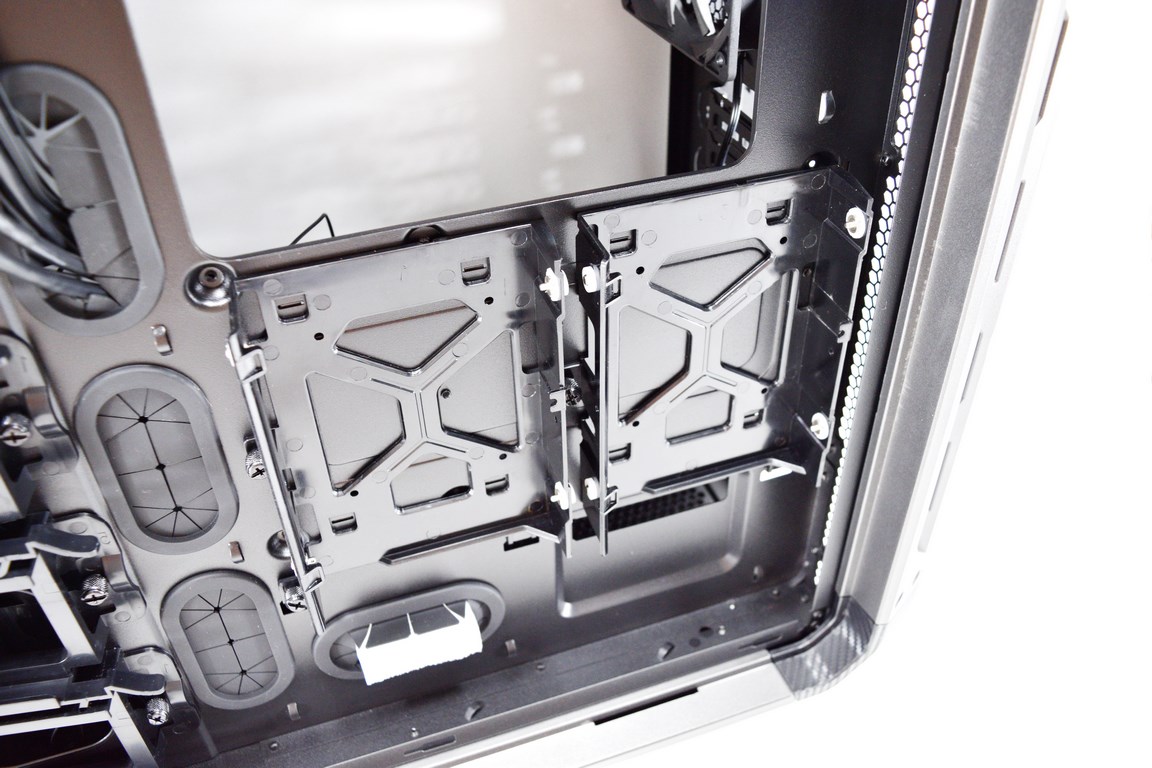
COUGAR has also placed two 2.5"/3.5" drive trays right beneath the PSU area (all trays are held in place with single thumbscrews).
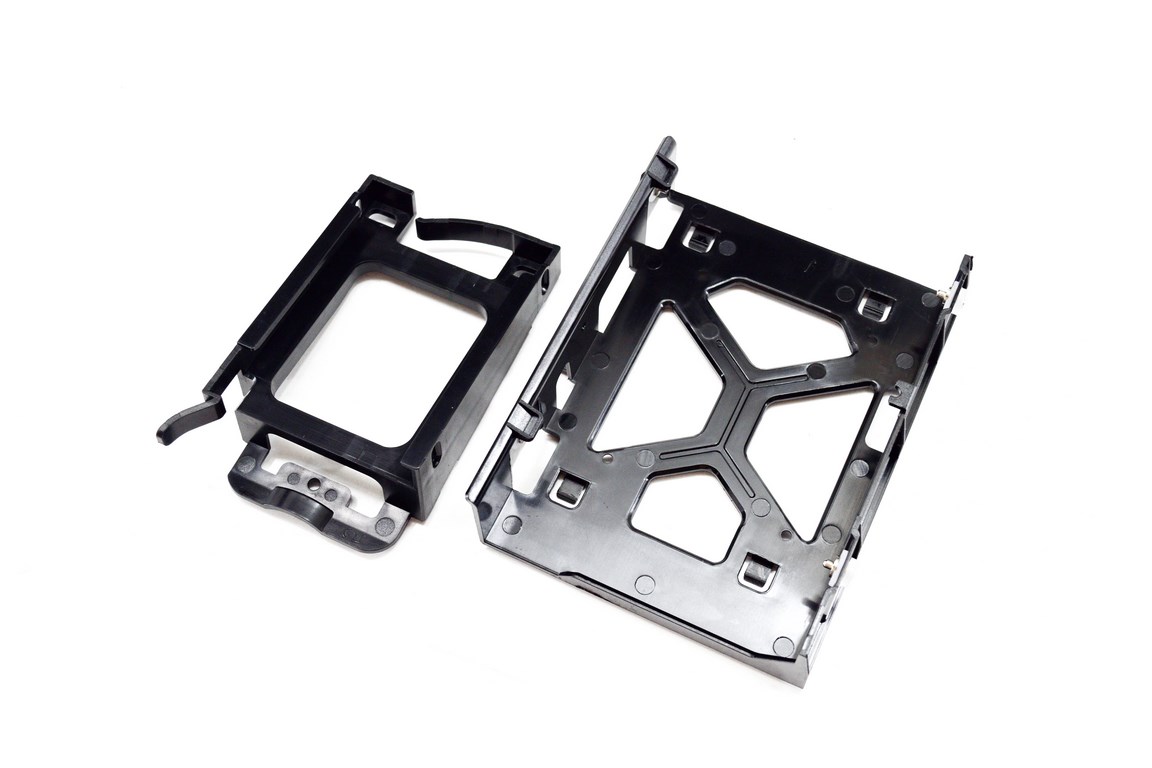
All drive trays are made out of plastic and are quite sturdy.
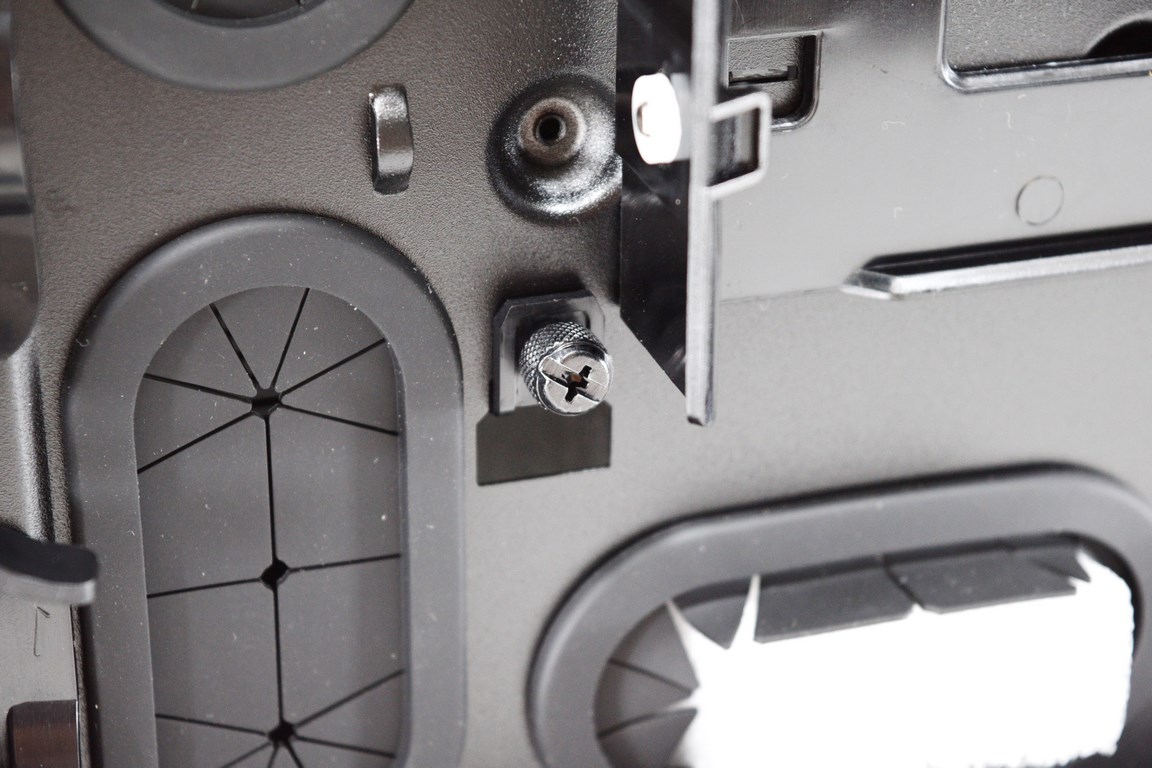
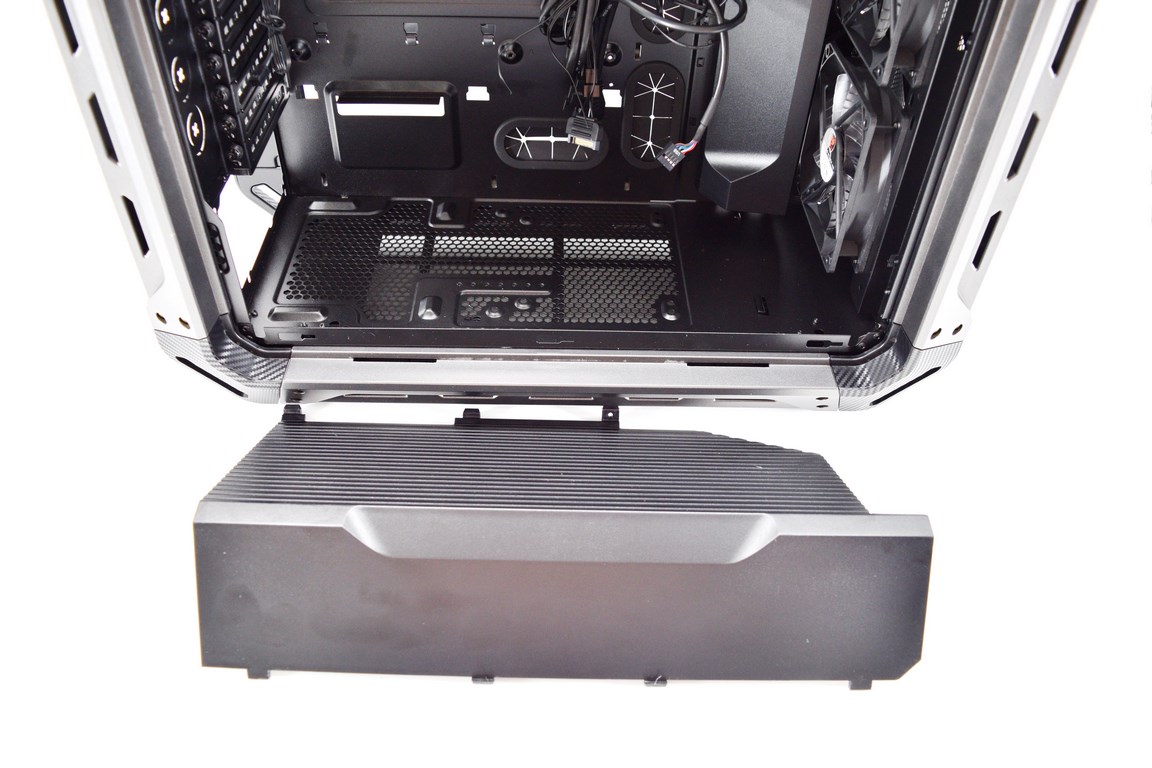 To remove the PSU area cover you will first need to remove a thumbscrew from the rear and then push the front towards the mainboard tray.

As long as you use a regular sized PSU there's also room for a 140/120mm fan or an 140/120mm radiator.
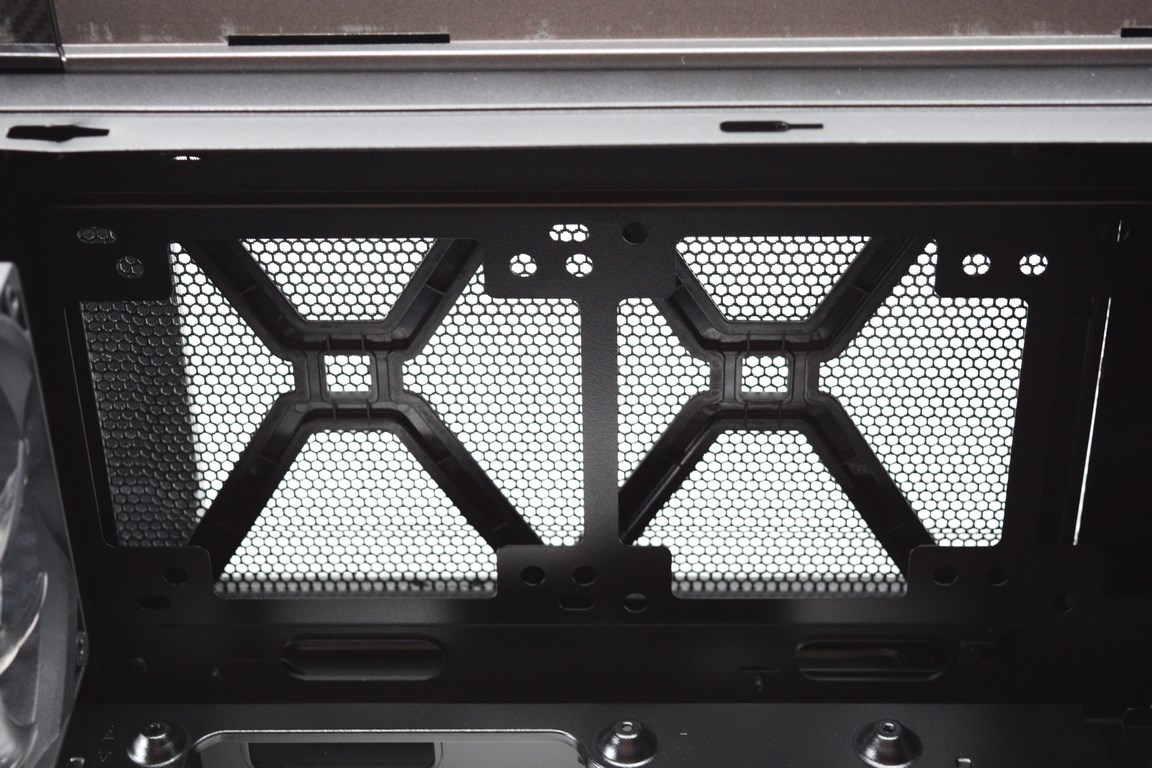
Taking a look from the interior and as you can see there's plenty of room at the top for even a 360mm radiator.