O-Sense


Page 5 of 7
THE FC10 ALPHA INTERIOR
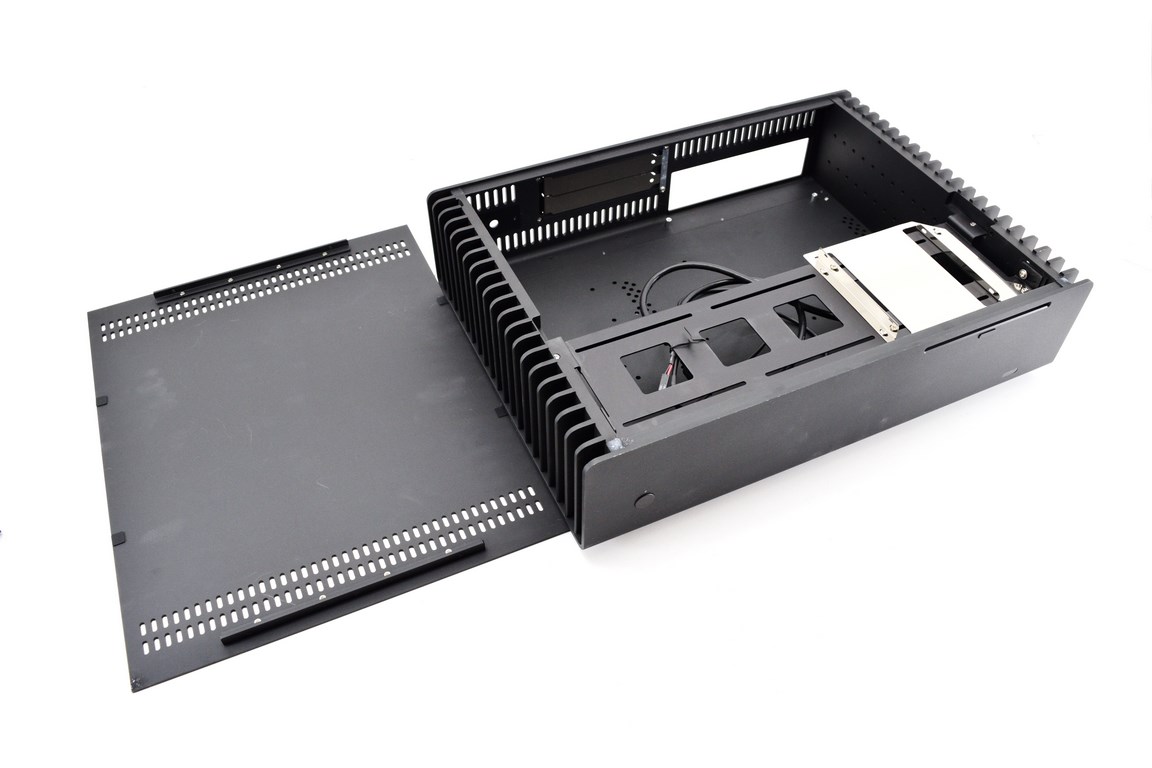
To access the interior you will need to remove four screws found on both sides of the chassis and then take the top panel off.
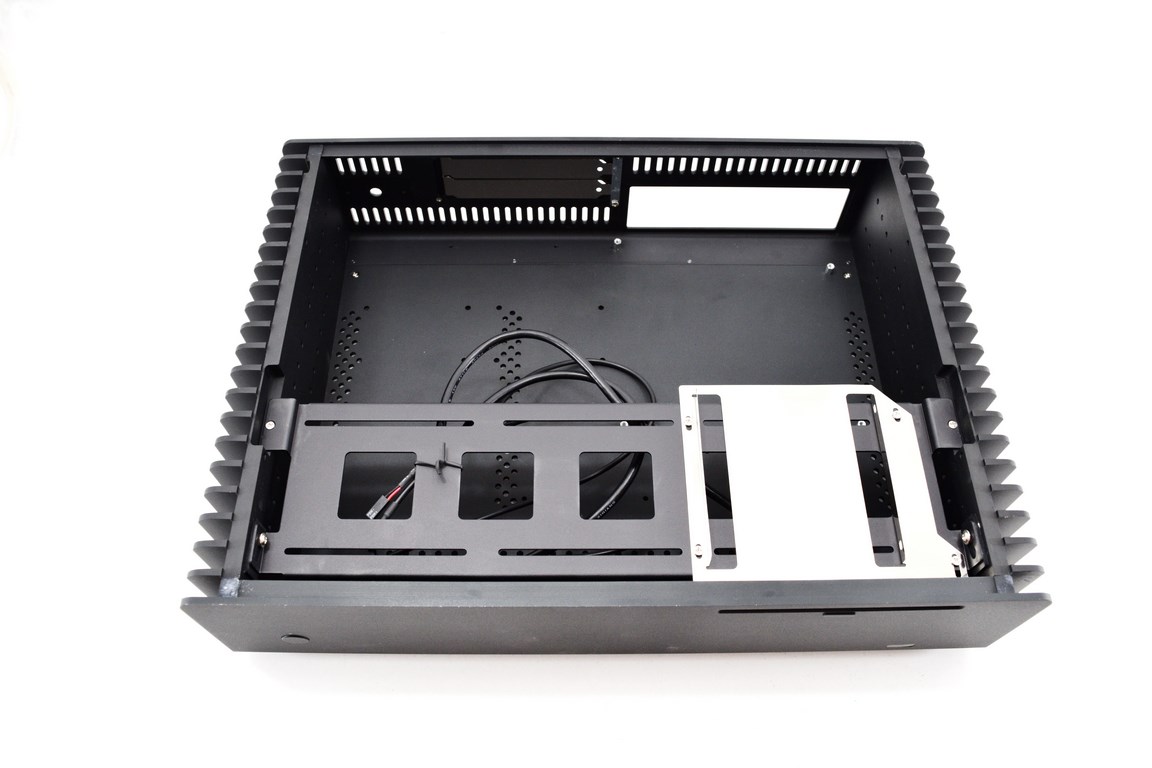
This is how the interior of the FC10 Alpha looks like and obviously the silver optical drive tray stands out.
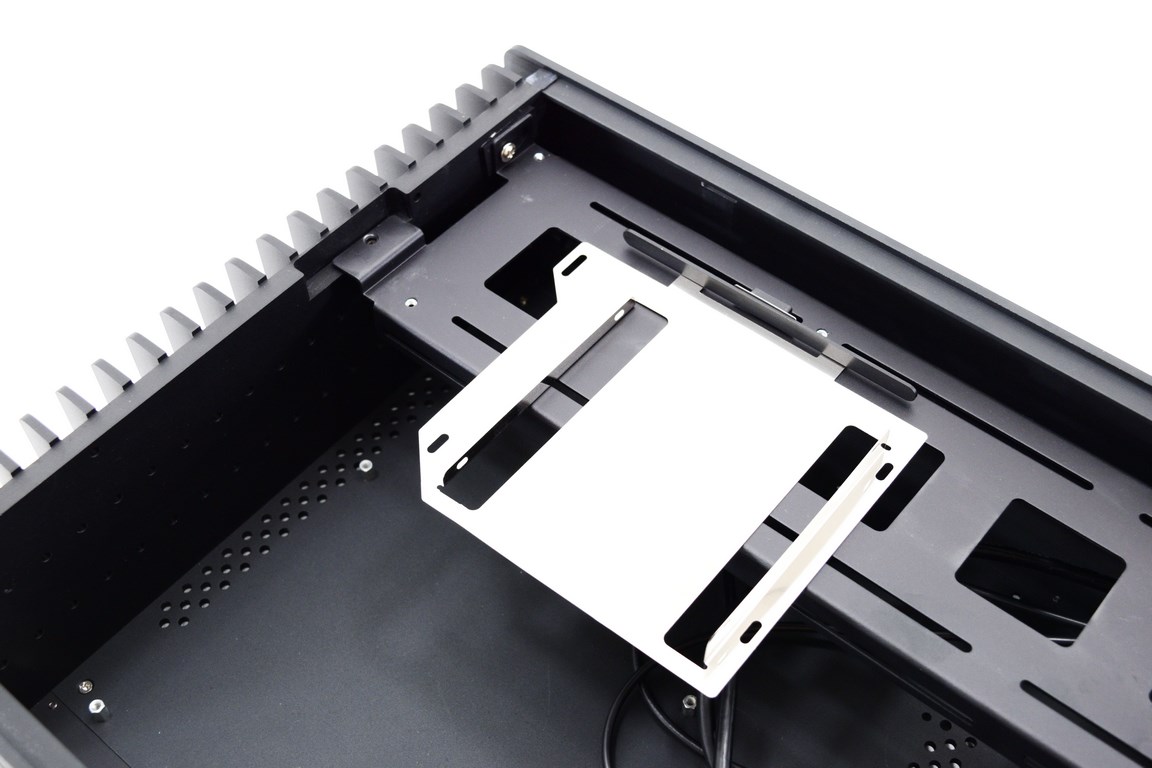
The optical drive tray is removable in case you don't want to use it (or used it at some point and decided not to anymore) and can be replaced with a single 2.5" drive.
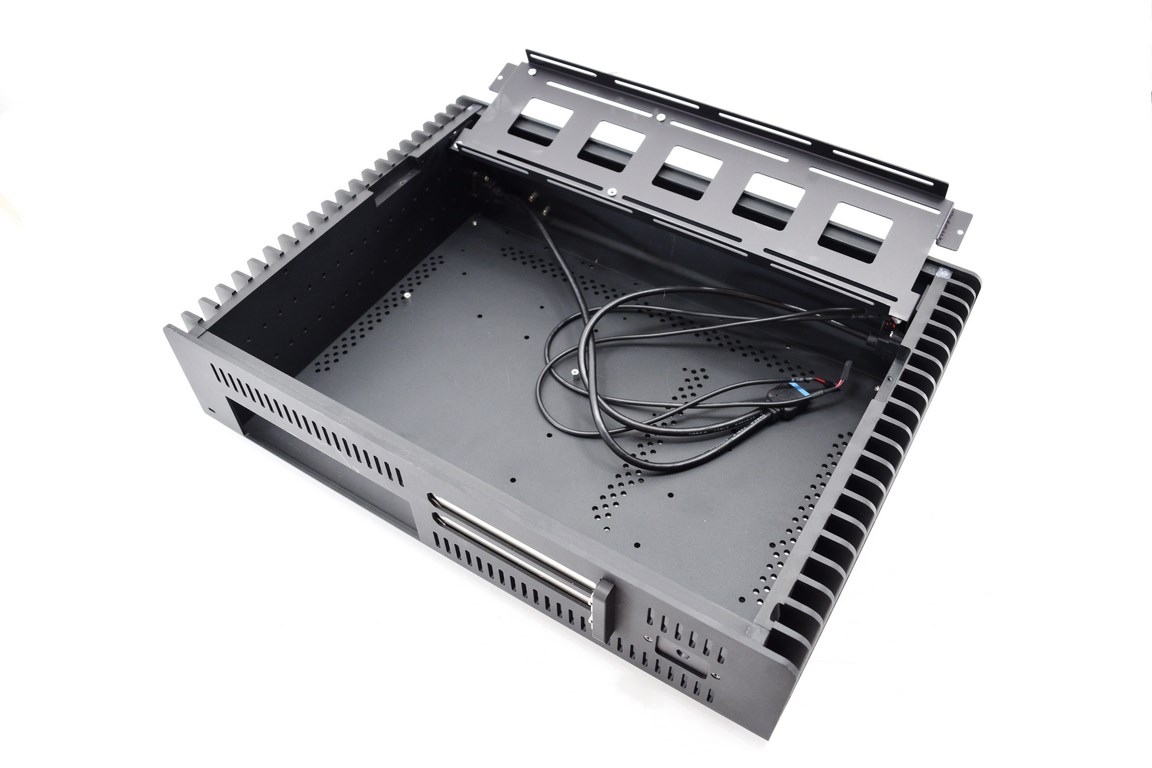
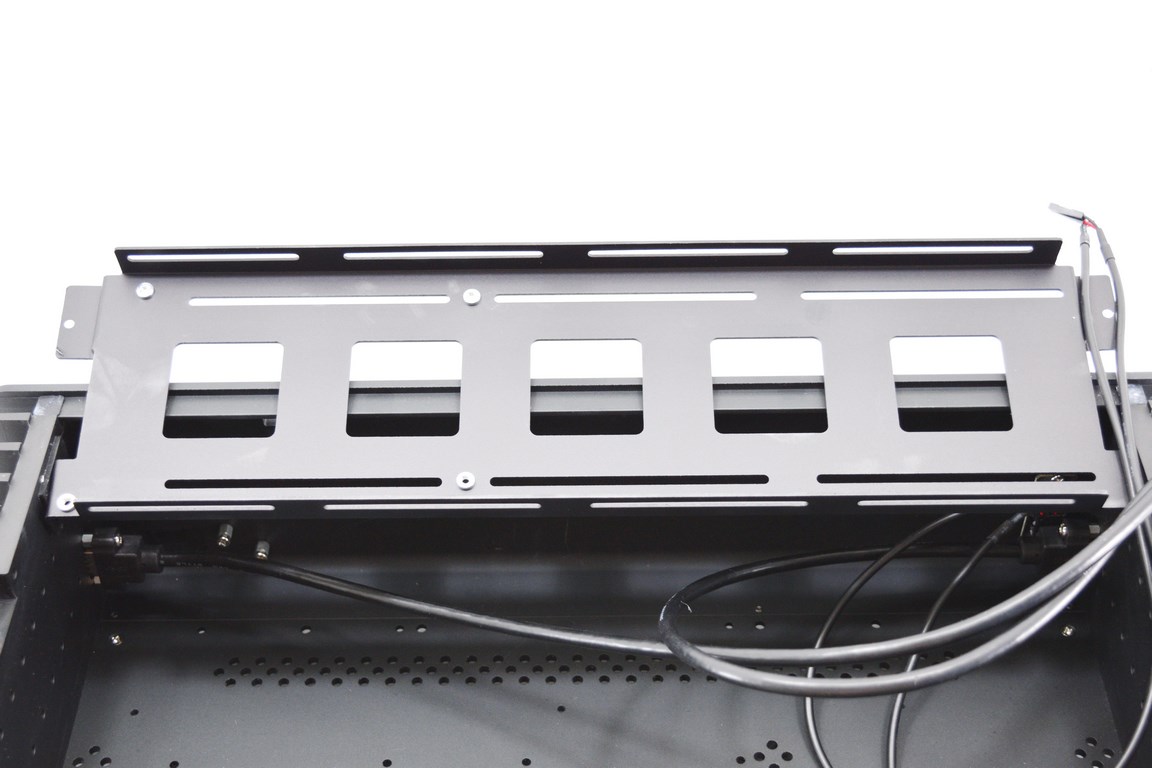
As you can see the long aluminum tray rotates upwards so you can also install up to two 3.5" drives on the lower end (aside the four 2.5" drives at the top).
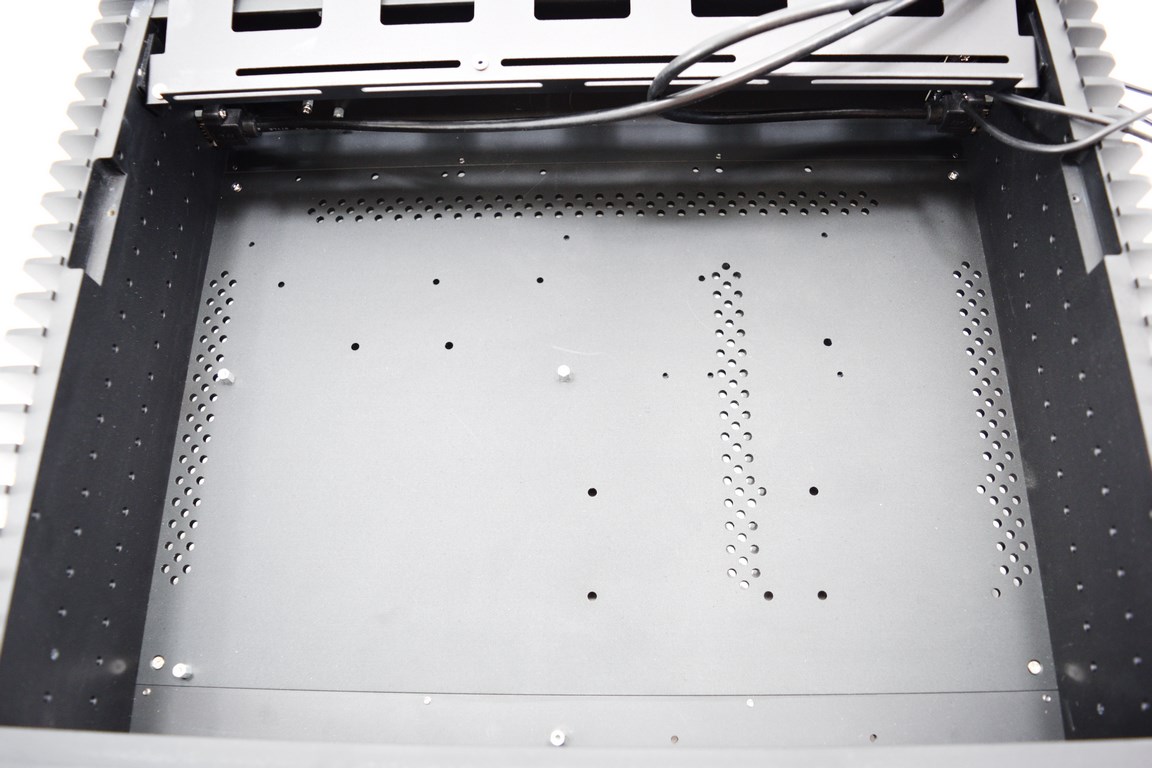
By default the mainboard tray has the mini-ITX standoffs installed (you can thus install two more 3.5" drives on the right side).