INTRODUCTION
For at least a decade now I’ve always wanted to mod a metal desk to build one of my test rigs in it since I’ve always thought it would look great but on one hand i never had the time while on the other i felt it wouldn't be as convenient when swapping components as a regular tower. Fast forward to today and some manufacturers such as Lian-Li have finally released such desks but with very hefty price tags however attached to them (you can build a high-end system for that amount) far from what most people can ever afford (or want to spend) for a PC case. This of course is nothing new so for casual consumers, overclockers and enthusiasts who are after roughly the same looks from a PC case but for a fraction of the price several manufacturers have released open frame wall-mounted cases and today we're taking a look at Thermaltake’s offering the Core P5.
The beginning of every myth and legend is about dreams and desire: the challenging, creative and combative features of Thermaltake Group create an exciting and fascinating user experience to share with everyone, while allowing users to enter a selfless state in terms of function and potential. Thermaltake Group's 3 main brands: Thermaltake, Tt eSPORTS and LUXA2 have been merchandising throughout the world, and have successfully established 6 business footholds in areas such as Europe, America, Oceania, Japan and China, with 95 regional distributors and over 4000 premium retailers. All product planning is orientated by observation of global PC peripheral market and understanding of consumer demands. Thermaltake creates direct contact opportunities with resellers and consumers by participating major global ICT exhibitions and trade shows every year, and develop innovative marketing strategies for the promotions of new products. Meanwhile, Thermaltake incorporates the composite marketing system by making branch offices and regional distributors both the distribution channel and technical support or service center to provide instant support; by maintaining close contact with end users, we manage to strengthen corporate competitiveness and create the momentum for the growth of accomplishments. With its outstanding wisdom and strength Thermaltake Group is recruiting creative talents to build a cultural brand for the enjoyment of entertainment, e-Sports, technology and lifestyle!
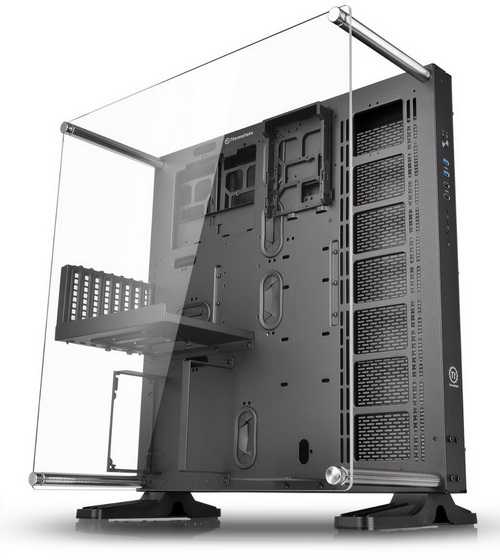
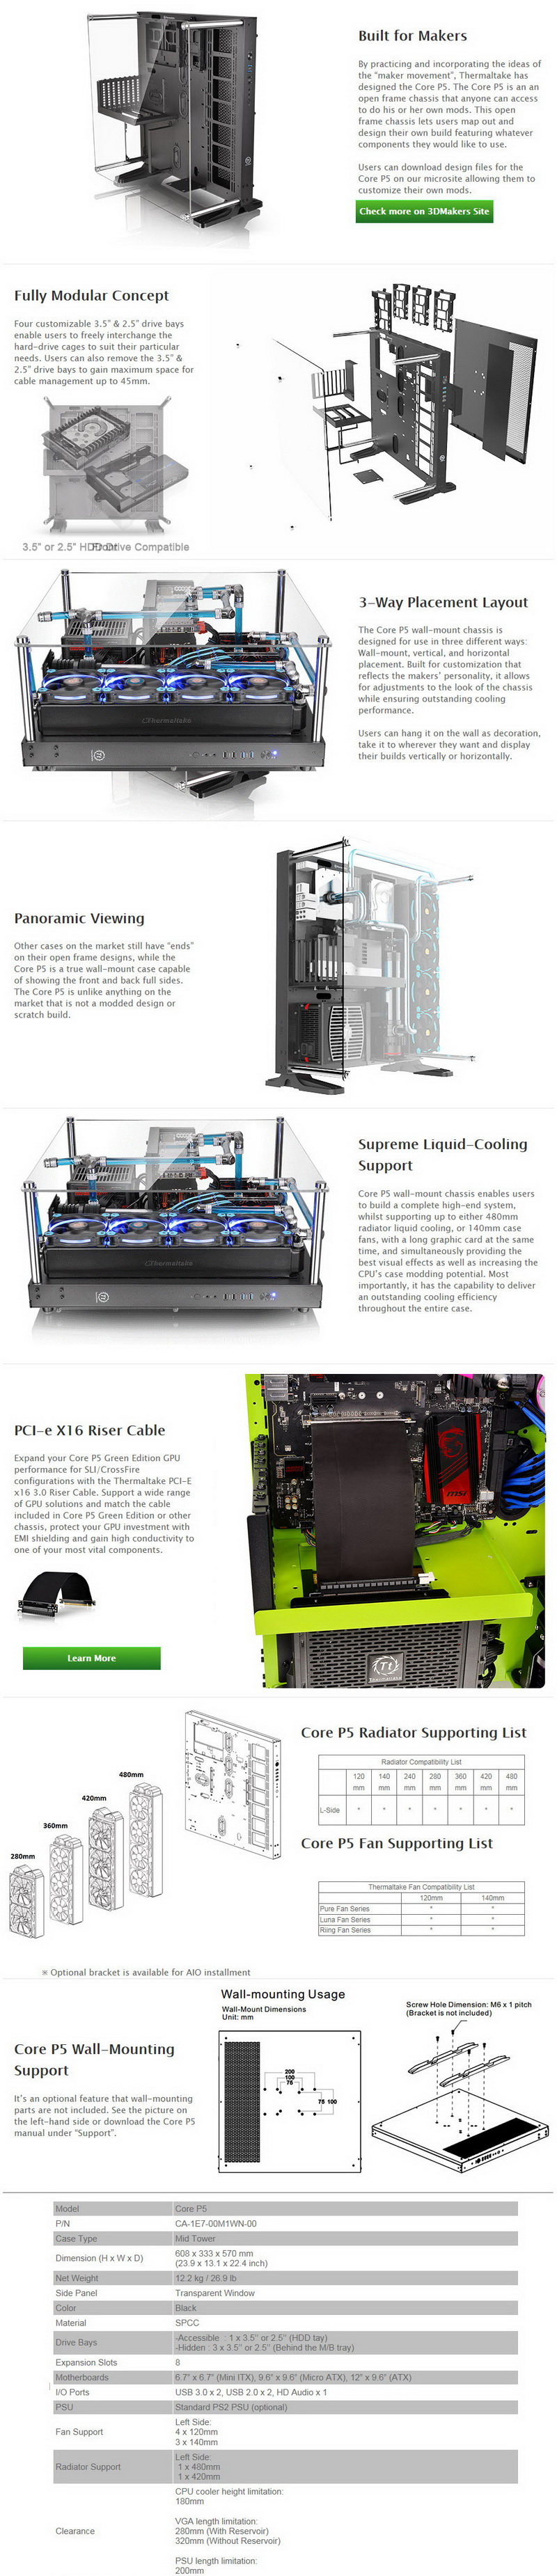
The Core P5 is nothing like the rest of the Core family of PC cases by Thermaltake since not only is it a wall-mountable open-air chassis but it also features a large transparent acrylic panel at the top which allows you to see every single component installed. Unfortunately to cut down cost instead of using tampered glass Thermaltake had to use acrylic for the top cover/panel (the end result however is not much different) and SPCC cold rolled steel for the main body which boosts the weight of the Core P5 to 12.2Kg. The Core P5 supports up to ATX sized mainboards and also features a total of 8 PCI expansion slots, room for up to four 3.5"/2.5" drives, mounts for up to 7 fans (4x120mm/3x140mm) and/or a single 280/360/420/480mm radiator and enough space to install CPU coolers up to 180mm in height and 320mm (280mm with a reservoir installed) long graphics cards. So since the Core P5 was mostly designed with liquid-cooling systems in mind we'll be showcasing it later on with the latest Pacific RL240 Water Cooling Kit again by Thermaltake.
SPECIFICATIONS AND FEATURES
PACKAGING AND CONTENTS
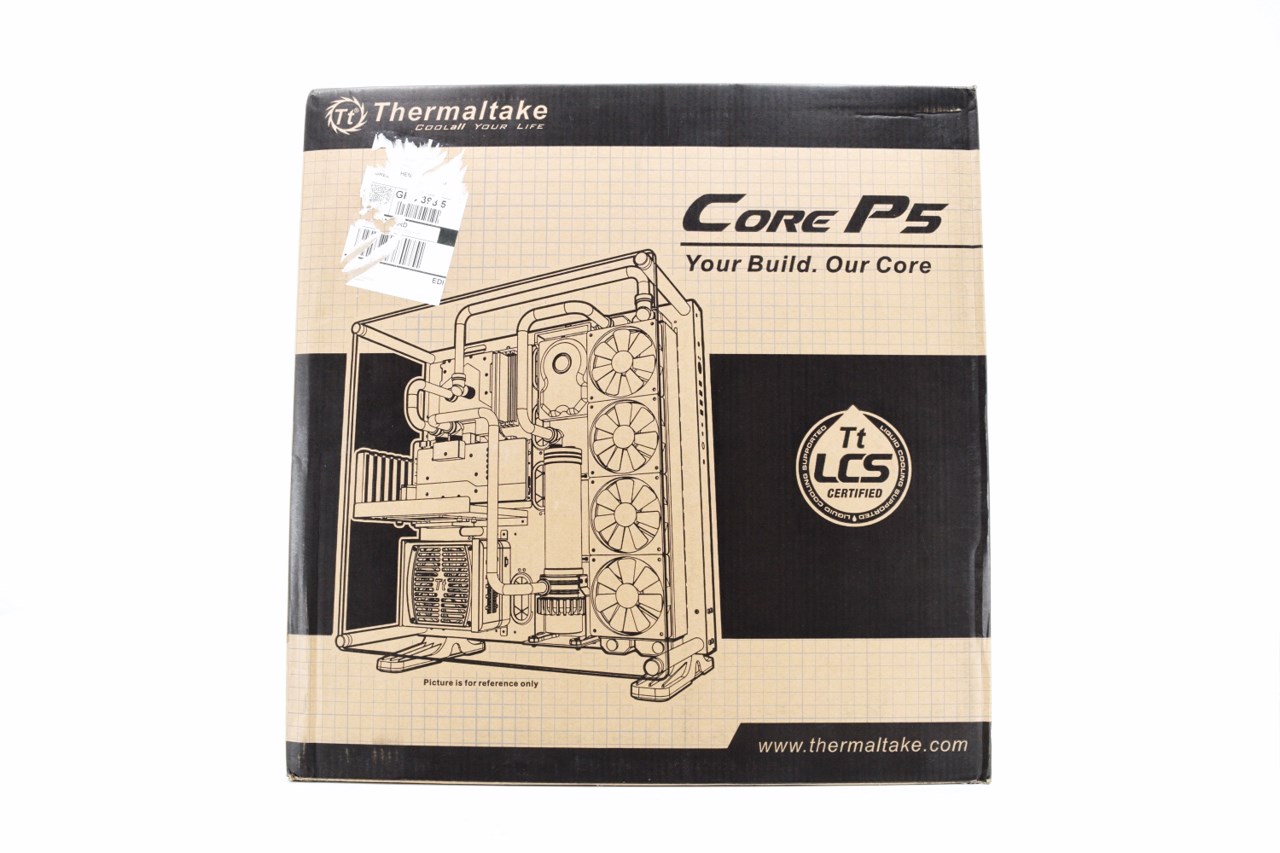
The Core P5 arrived inside a plain cardboard box that has a product drawing at the front.
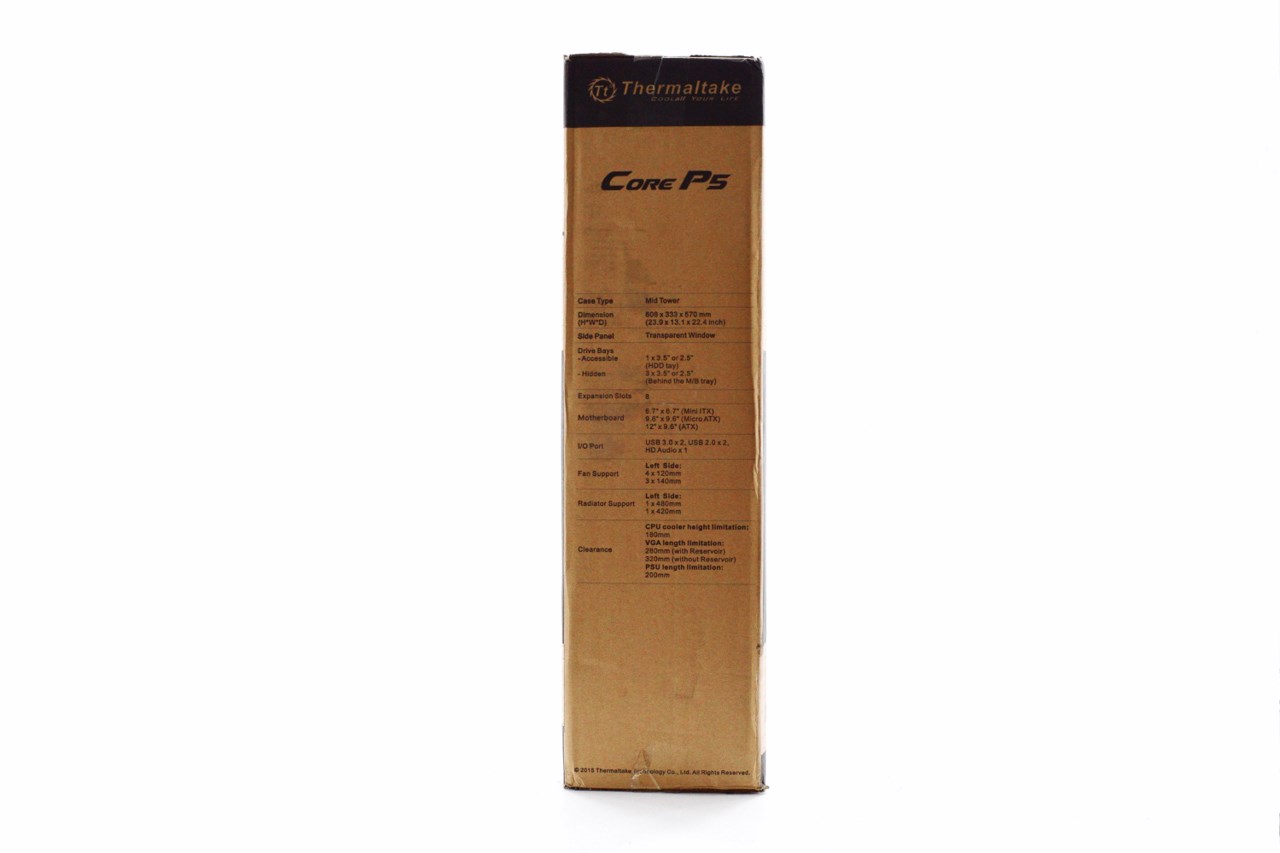
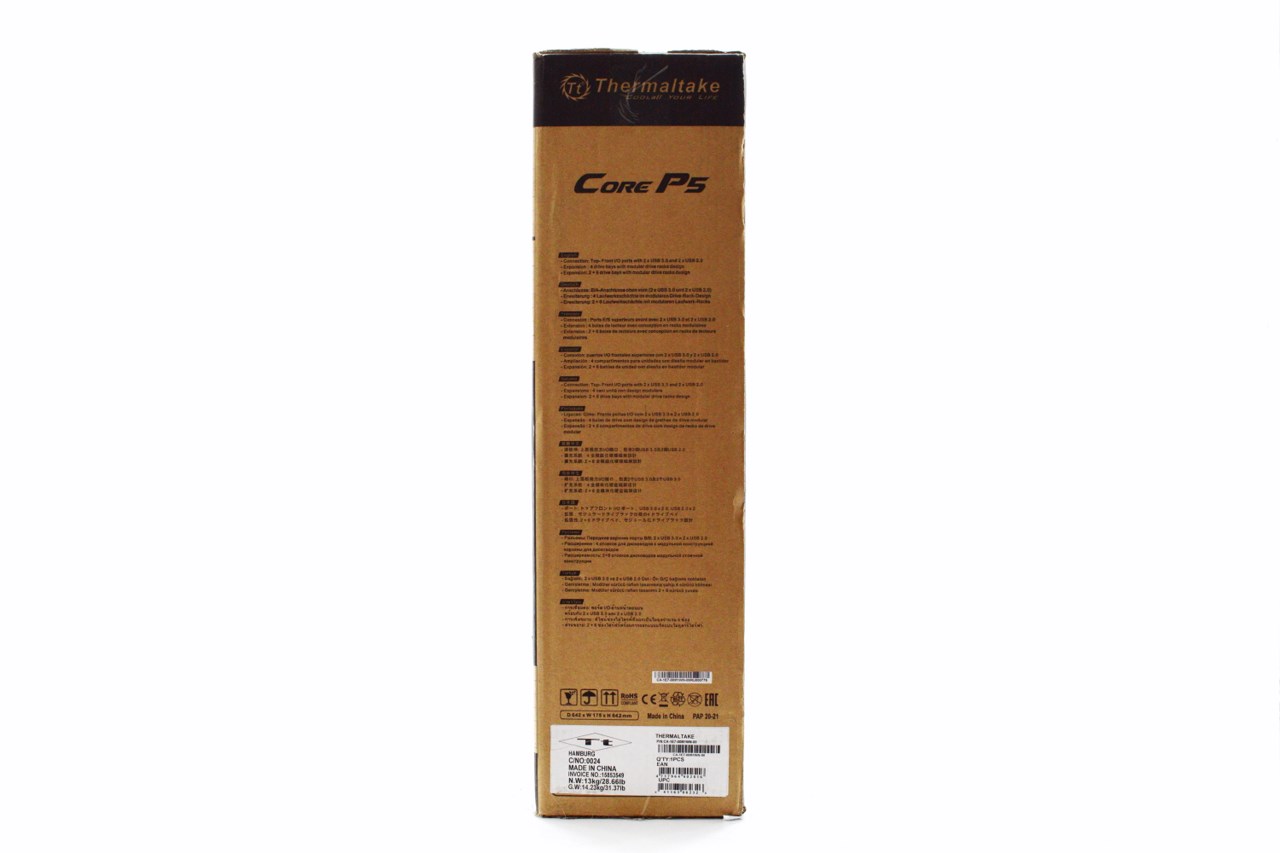
The product specifications can be found on the left side of the box while a quick product description is placed on the right.
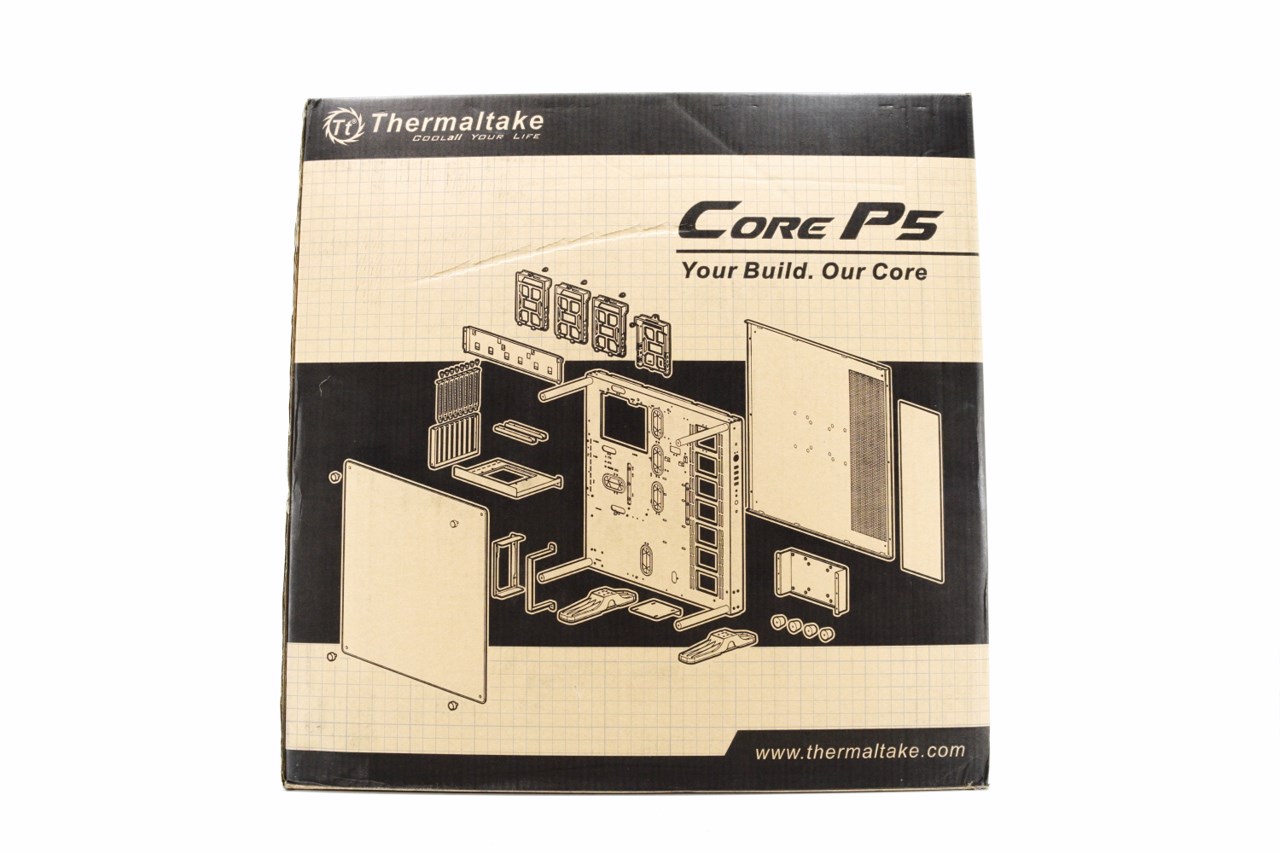
A drawing of the Core P5 completely dismantled is placed at the rear of the box.
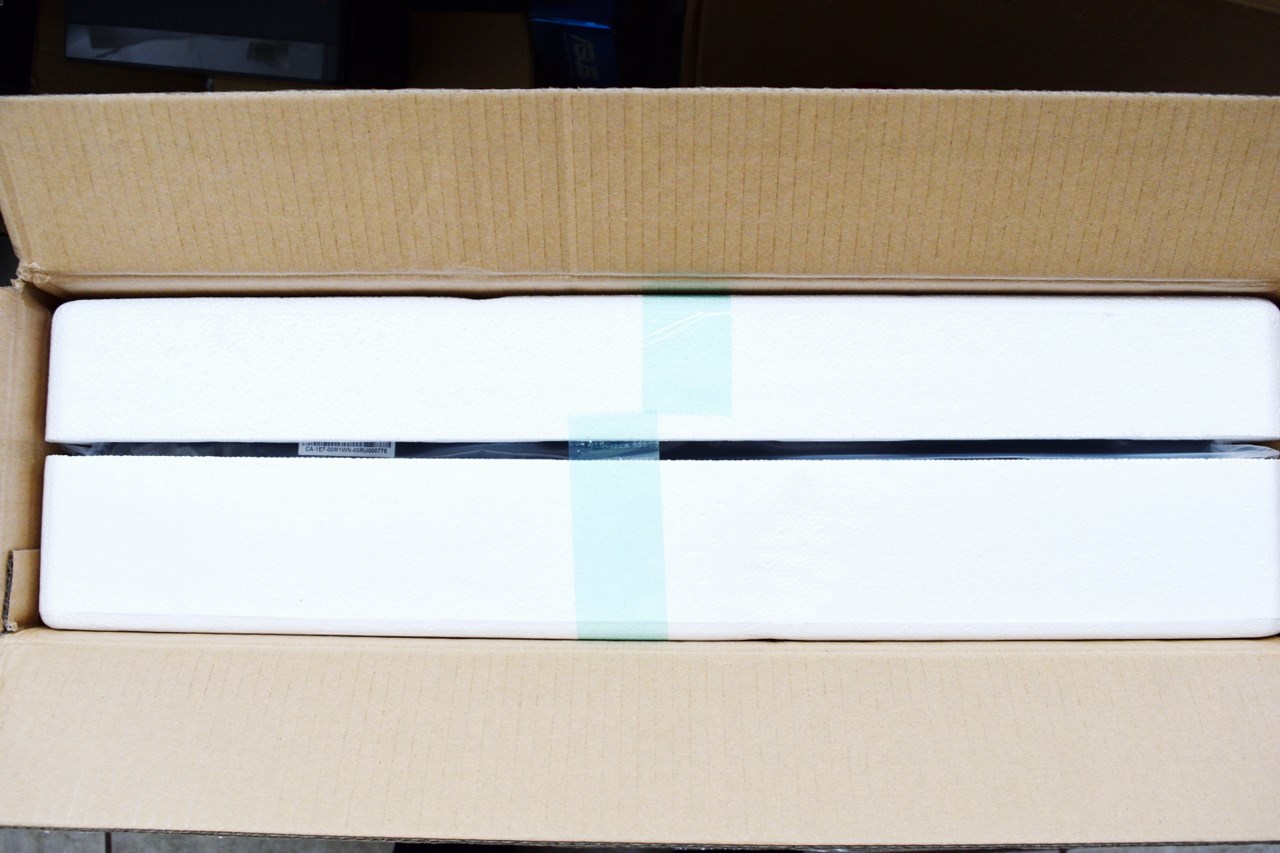
The entire case with its parts is placed inside two thick pieces of foam.
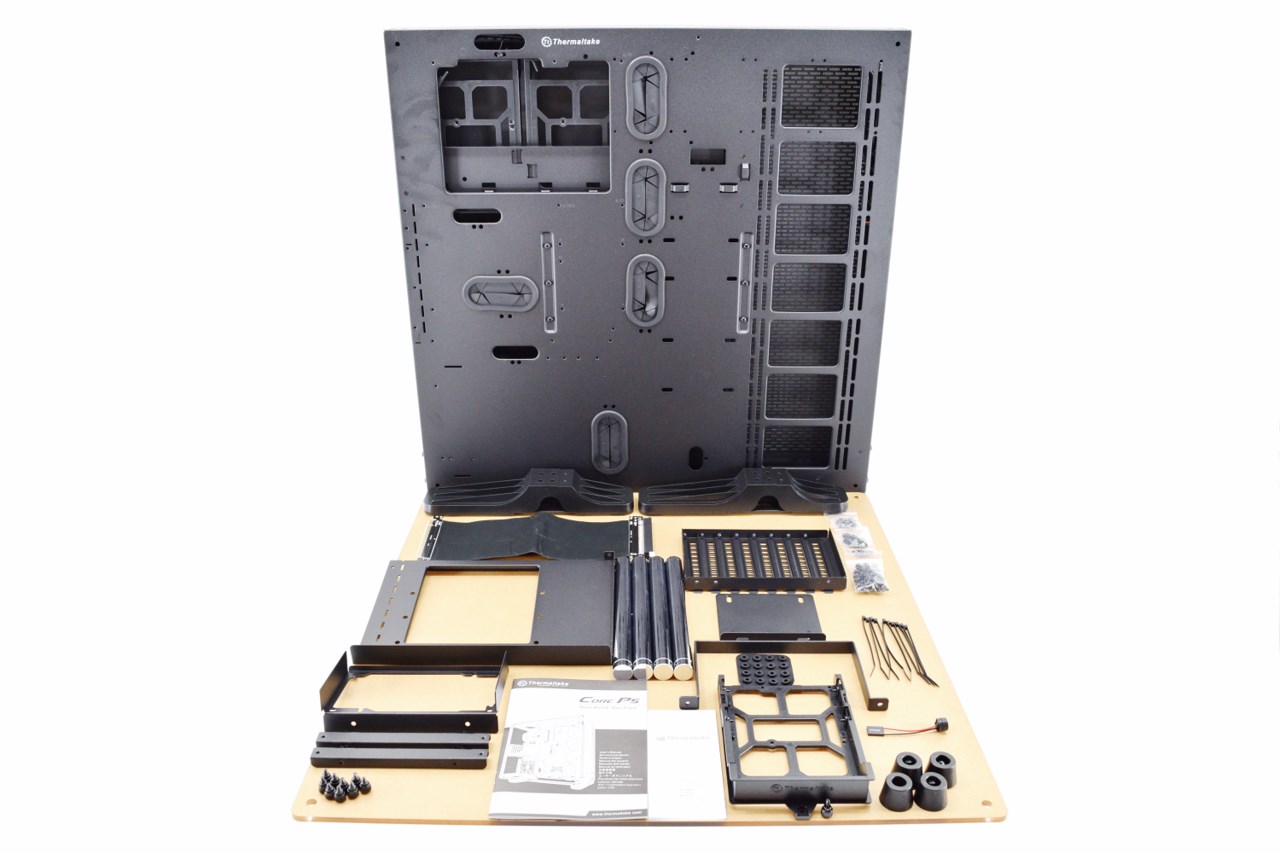
As you can all see from the above picture the bundle is very rich and aside the main body and 5mm thick acrylic window of the Core P5 it also includes two long (and very sturdy) plastic feet, 4 chrome bars (for the acrylic panel), 4 round rubber feet (for horizontal placement), 2.5/3.5" drive tray, front and rear PSU mounting brackets, PCI-E riser cable, two PCI-E riser cable mounts, reservoir mounting bracket, 10 cable ties, 16 rubber spacers, motherboard speaker, 9 thumbscrews, PCI expansion slots, PCI expansion slot tray (for horizontal placement), 3 bags filled with screws and standoffs, warranty information paper and installation instructions.
THE CORE P5
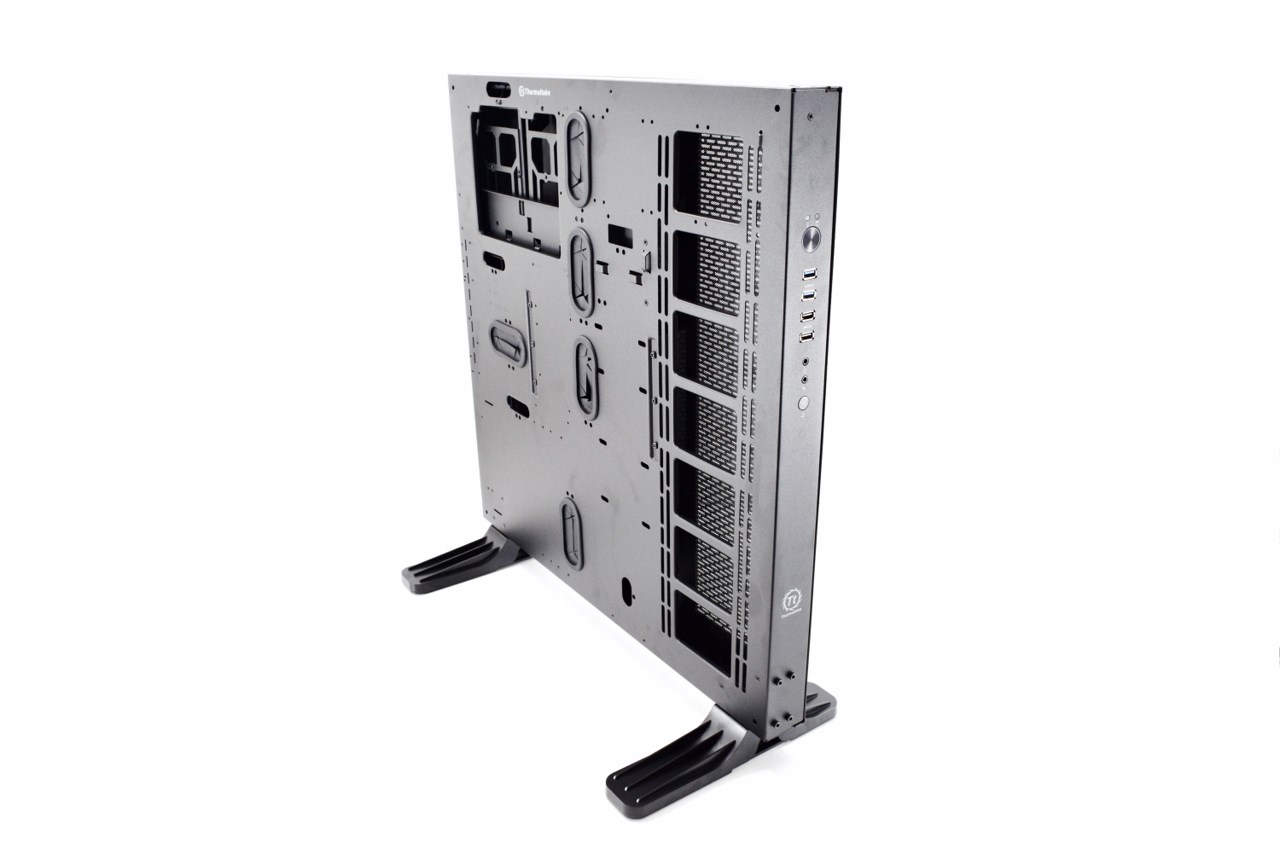
The Core P5 is by no means a small PC case since it measures 608mm in height, 570mm in depth and 333mm in width (with the acrylic panel attached).
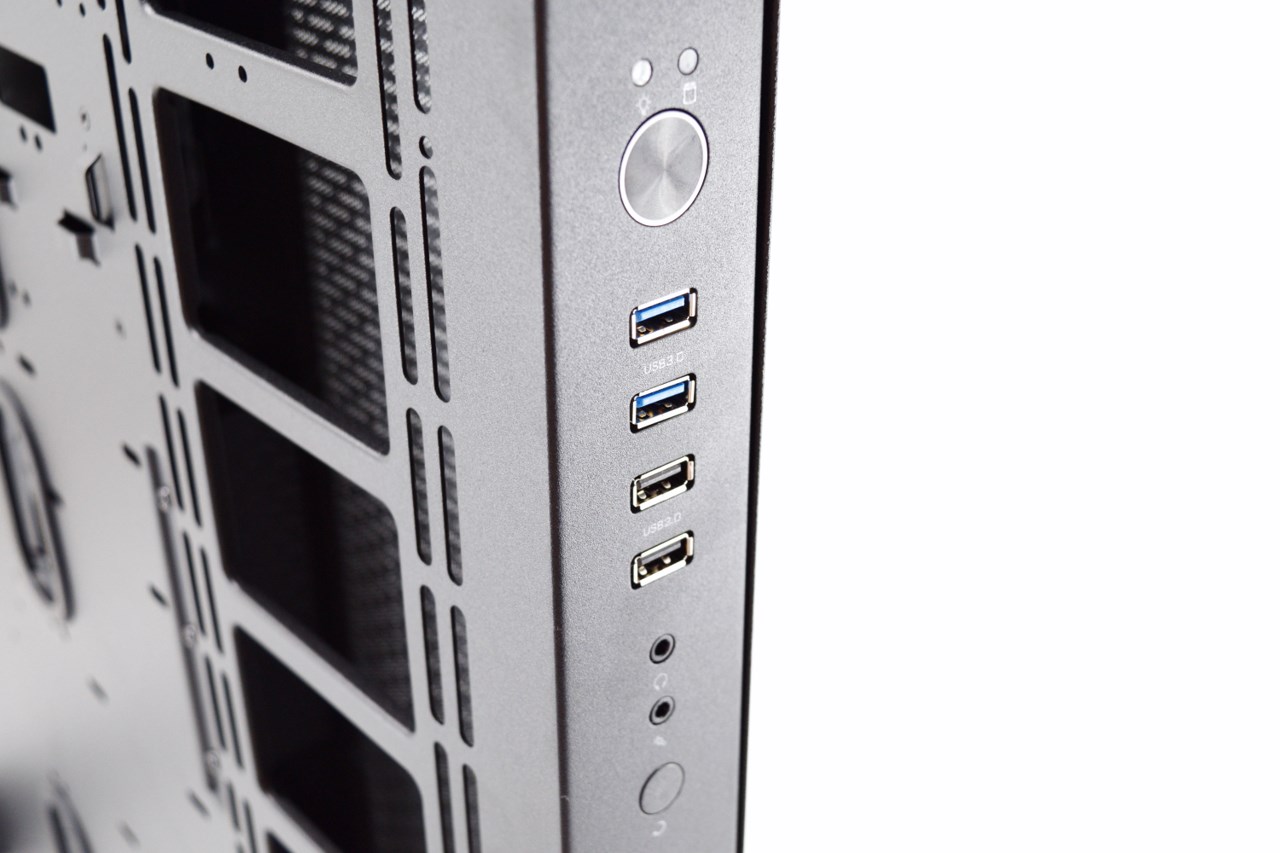
The I/O panel is located at the front of the case and includes the power on/off and reset buttons, power and HDD activity LEDs, two USB 3.0 ports, two USB 2.0 ports and the typical microphone and headphone ports.
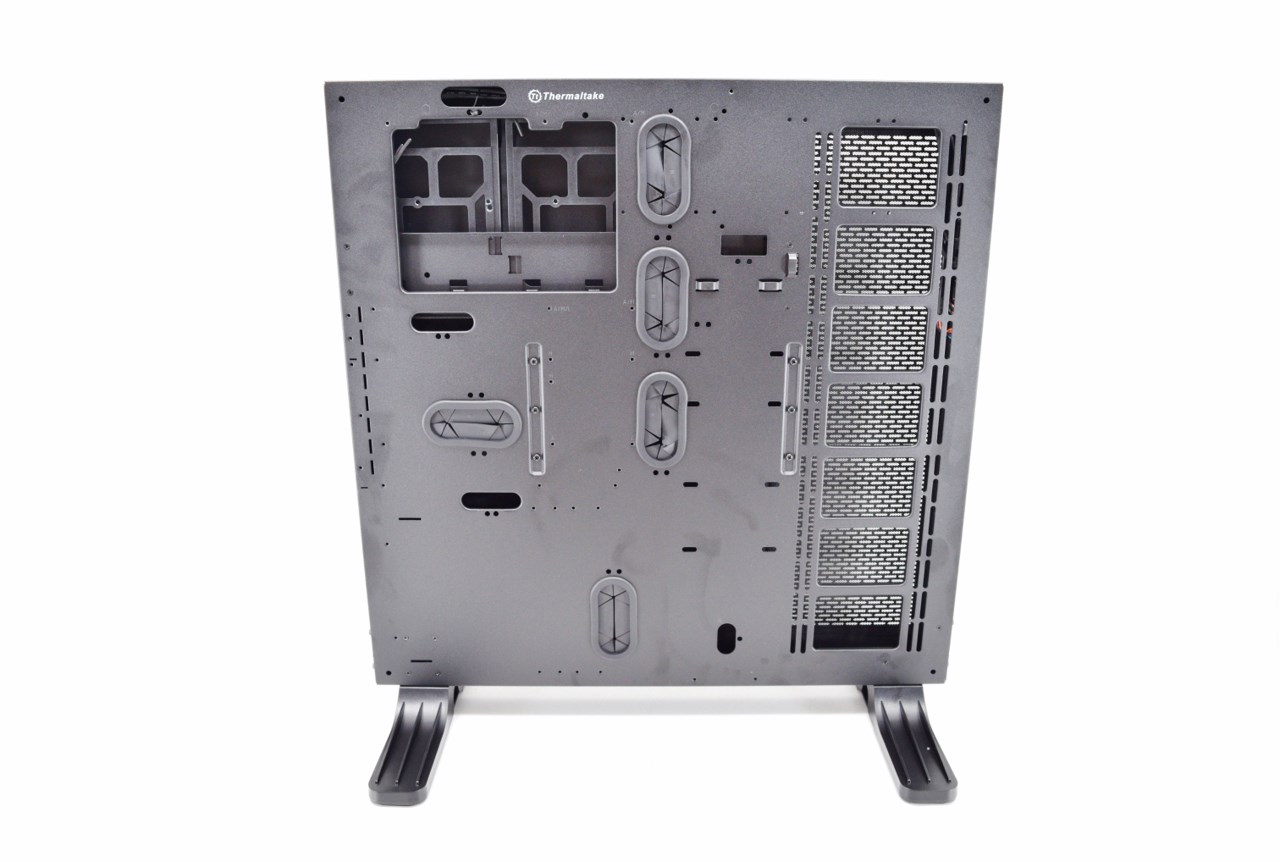
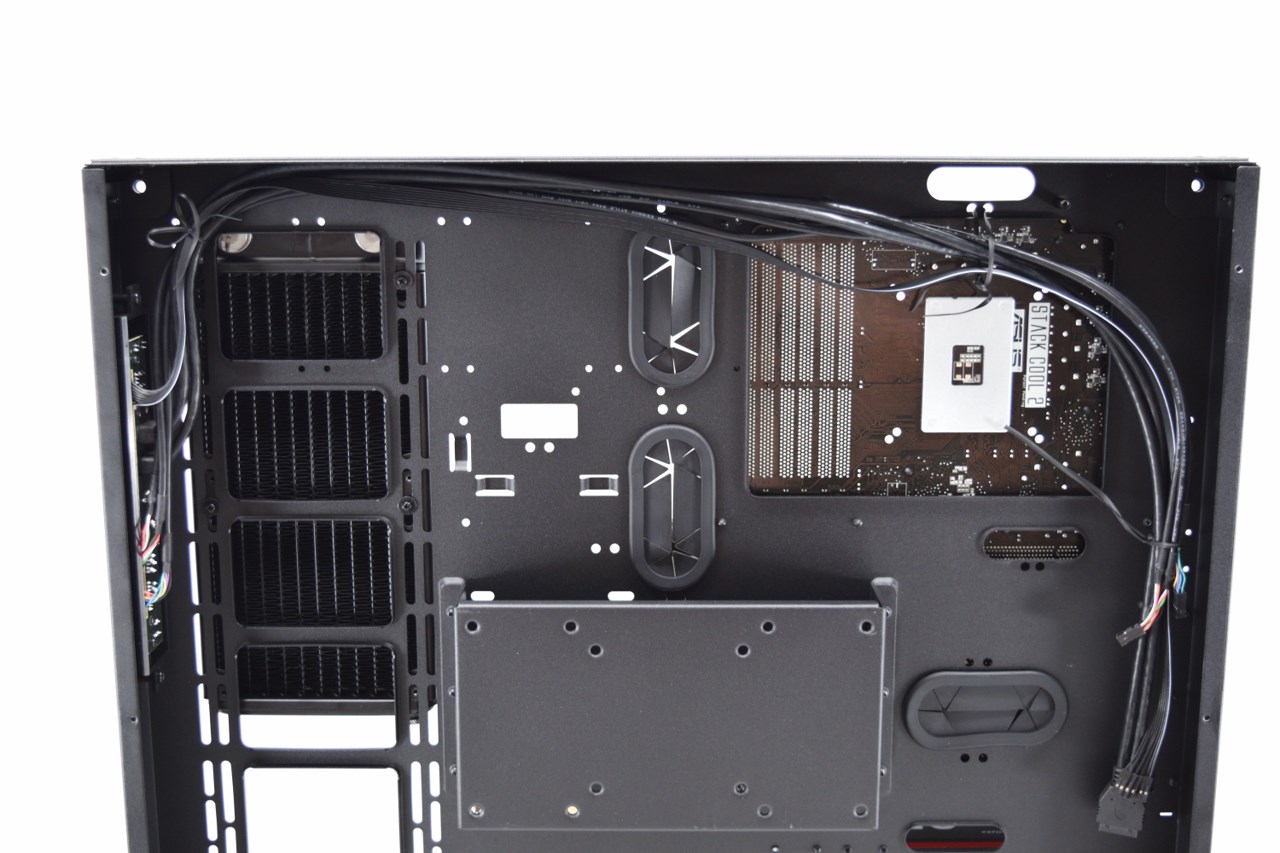
Installing components on the Core P5 should be very easy since just by taking a quick look from the front we see the 5 rubber grommets used for cable management, CPU cutout for mounting of backplates, PSU area and the fan/radiator mounting spots.
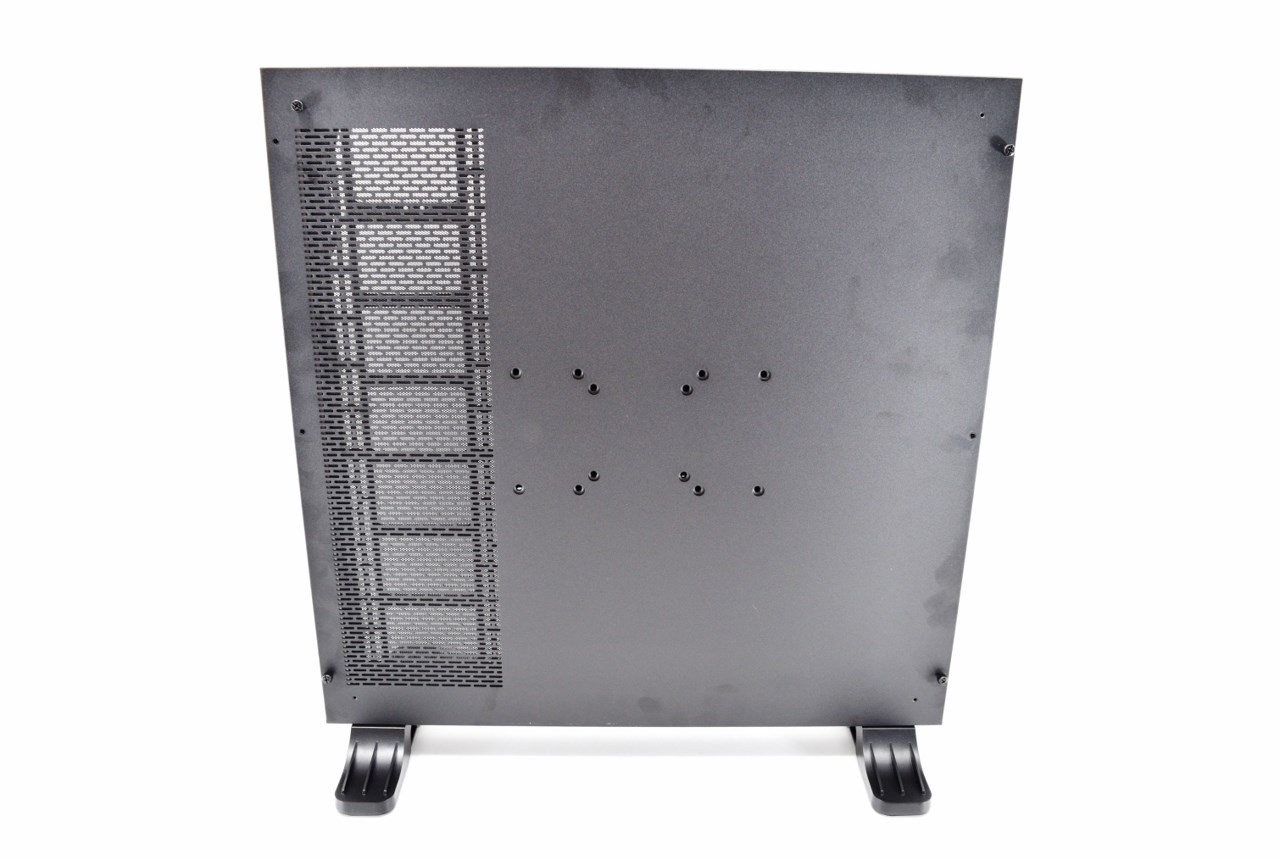
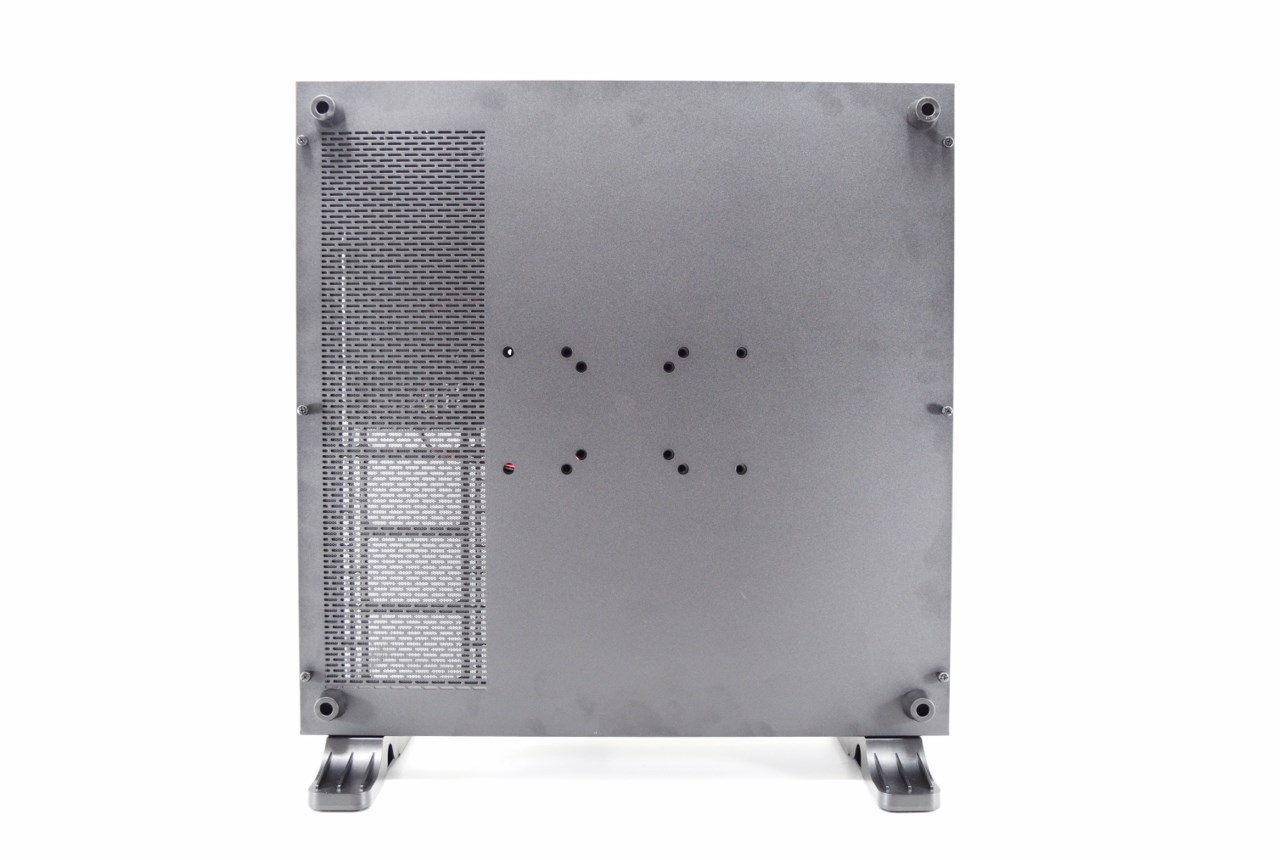
Taking a look at the rear of the case we see the wall mounting holes (there's a long magnetic air-filter behind the perforated area used to keep the rear of the radiator and/or fans clean).
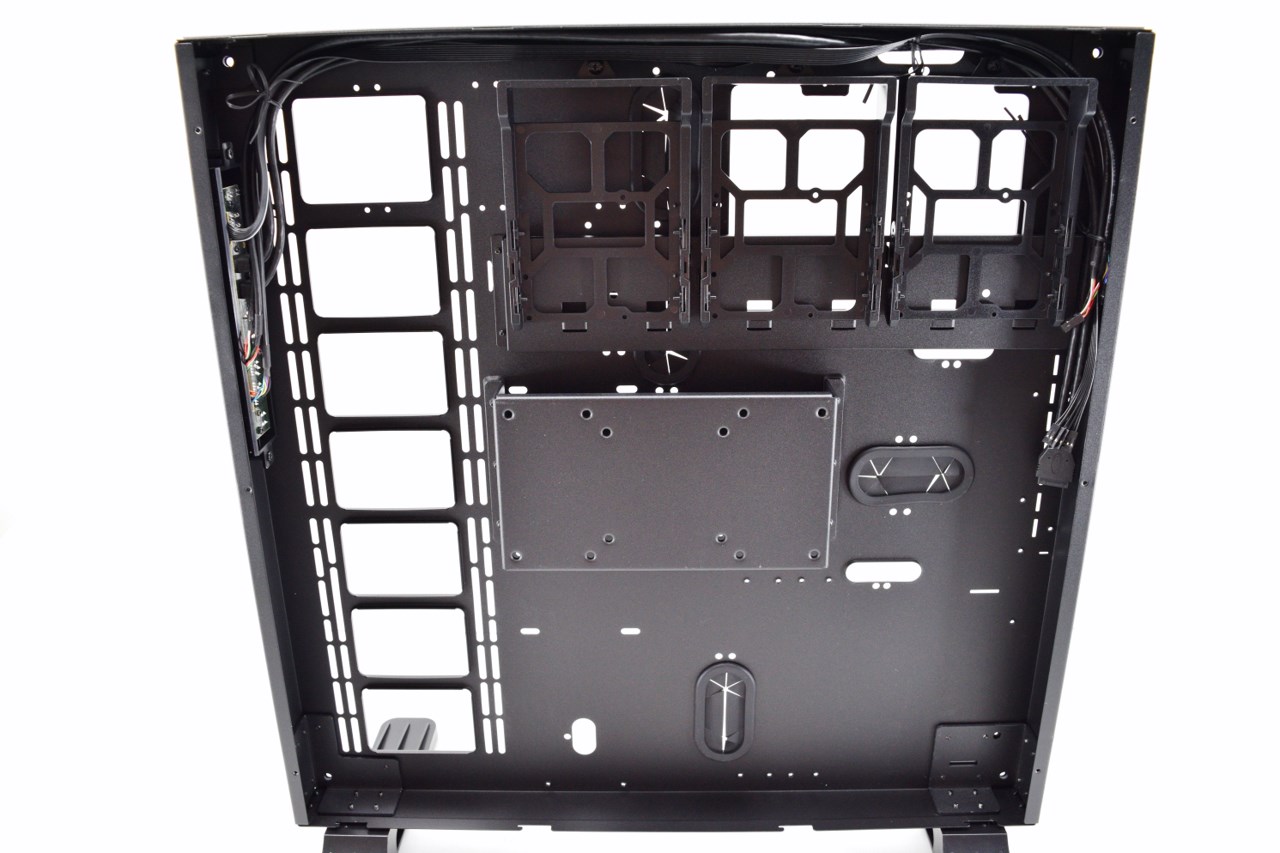
You will need to remove the rear panel to access the interior of the case.
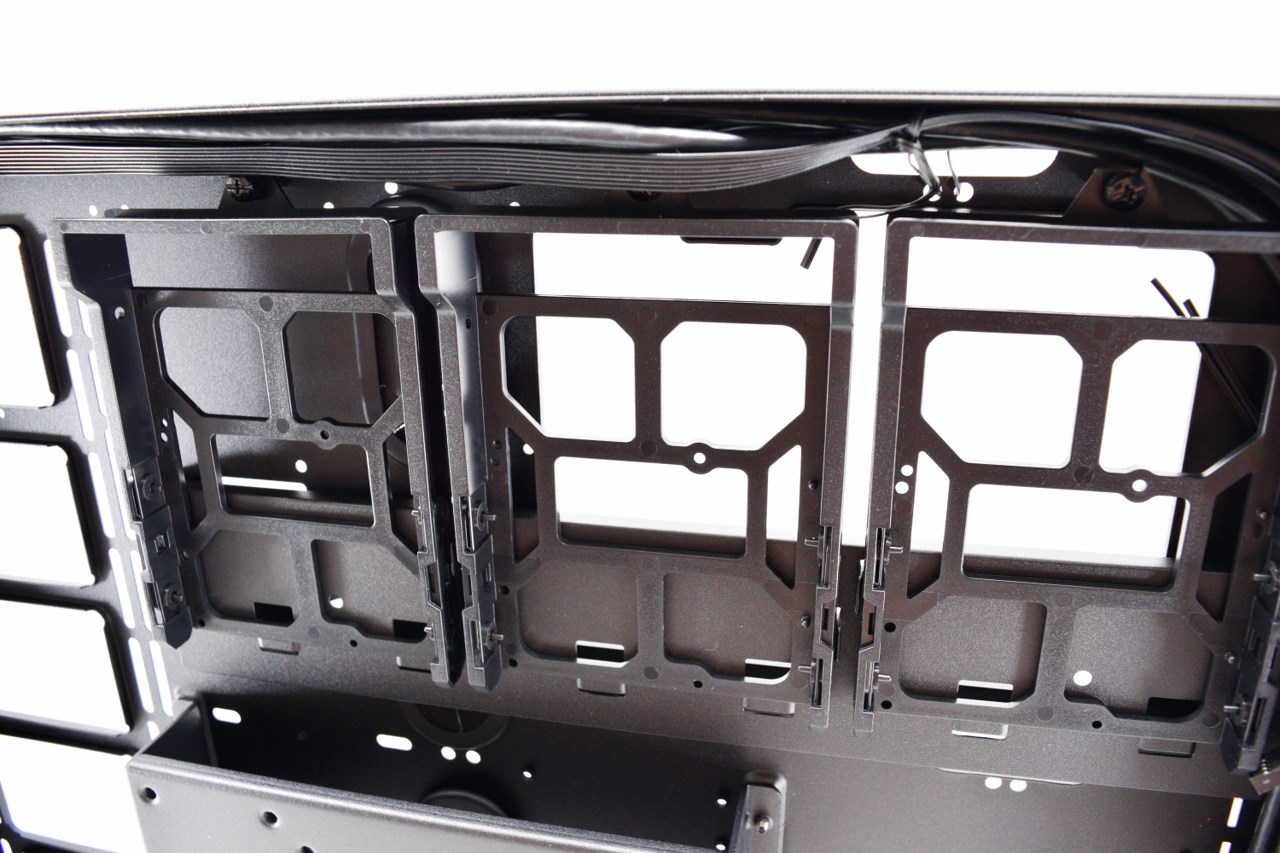
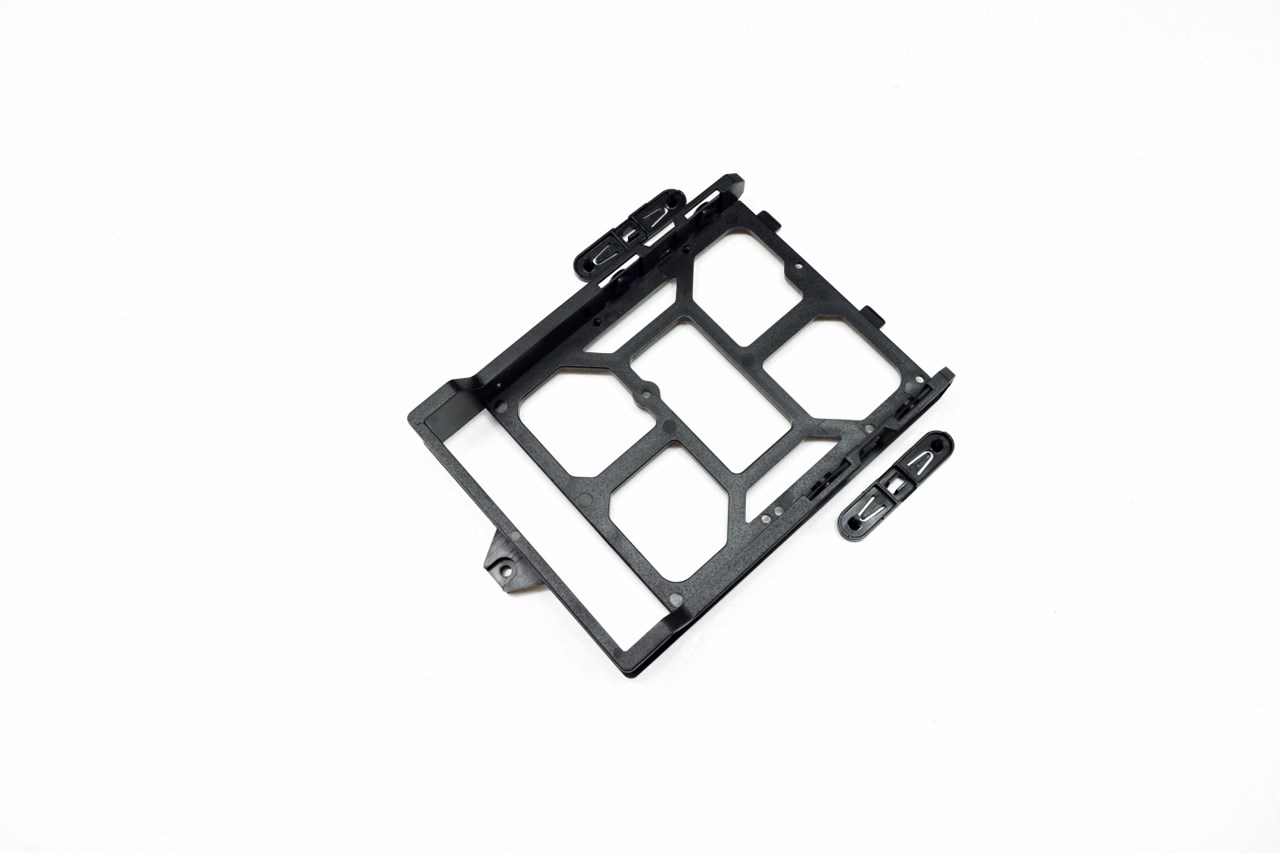 Here we find three 2.5/3.5" trays which are quite sturdy and easy to use since you just need to remove the side clips, place the drive inside and push them back in again (2.5" drives require screws however).
This is what holds the entire case if you decide to opt for the wall mounting feature (standard VESA mounts with 200/100/75mm horizontal and 100/75mm vertical distance - wall mounting brackets however are not included in the package).
BUILDING THE SYSTEM PART 1
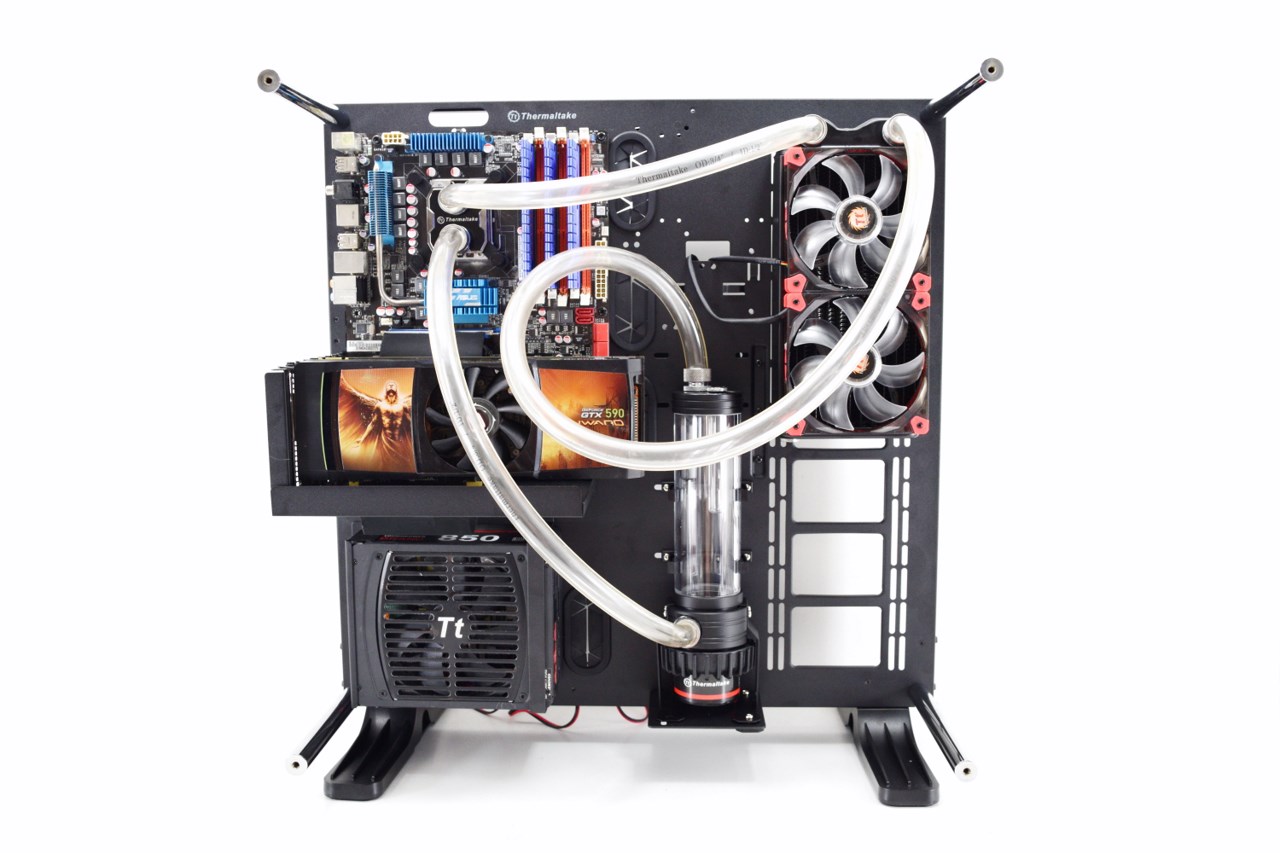
Usually this section is just used to showcase interior space with a standard set of components but this time over we will be installing the Pacific RL240 Water Cooling Kit by Thermaltake.
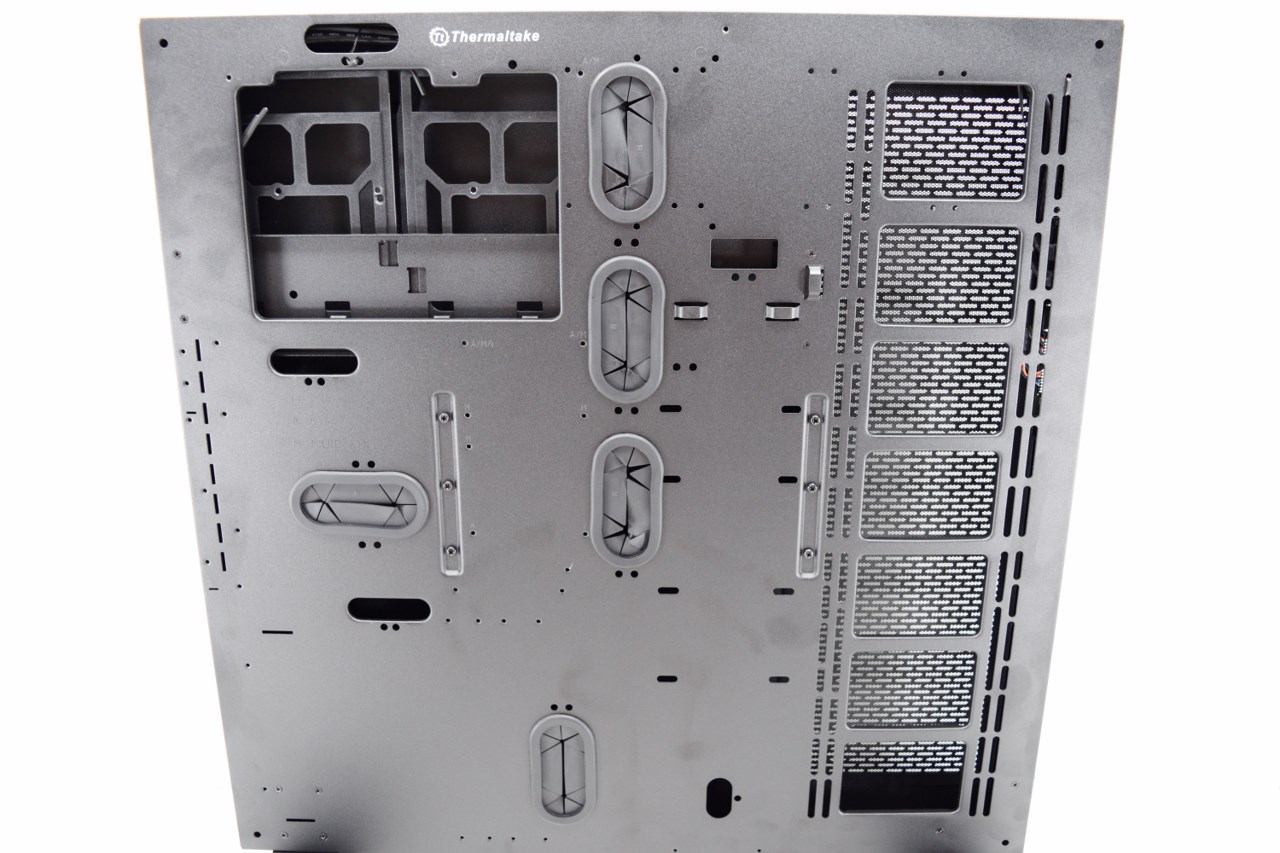
This is the "canvas" we have to work with and so we will follow the steps Thermaltake recommends in their installation instructions.
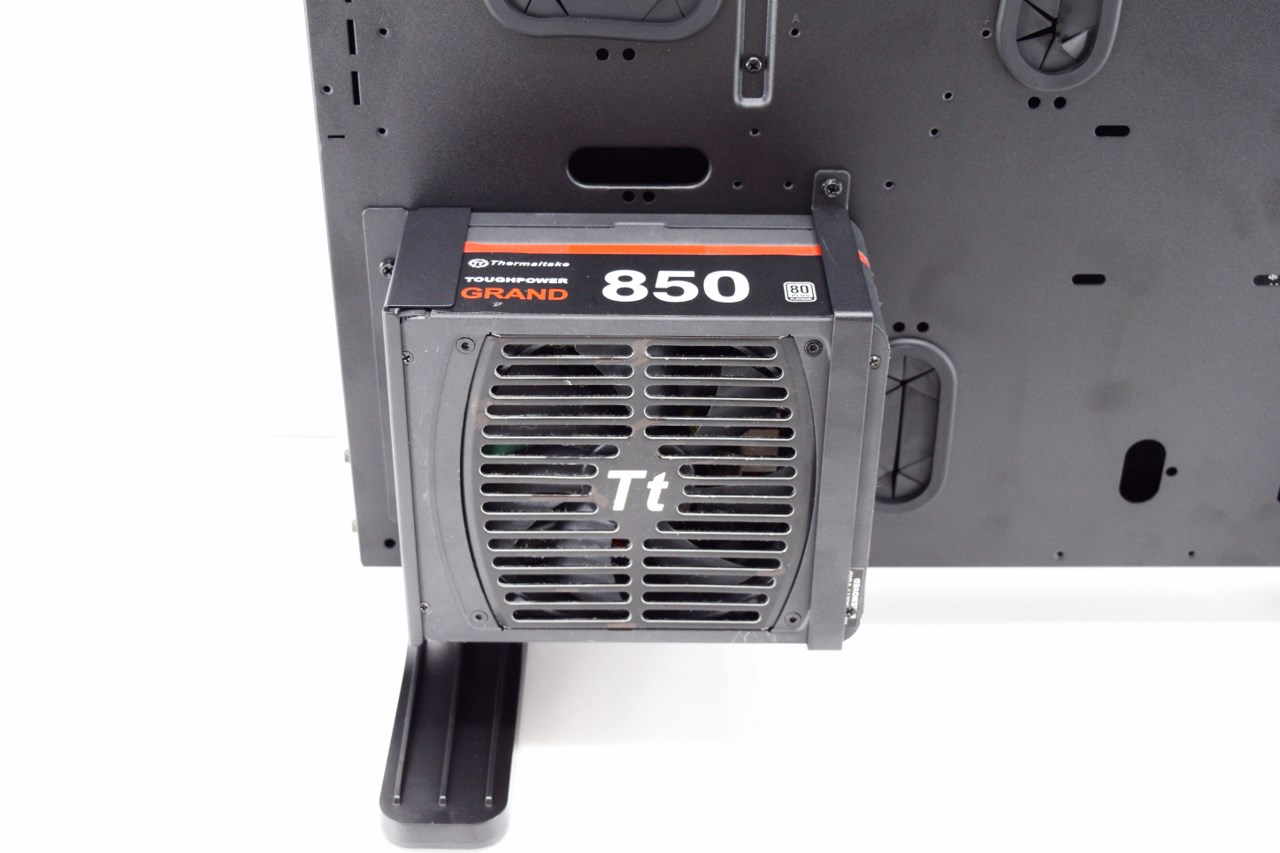
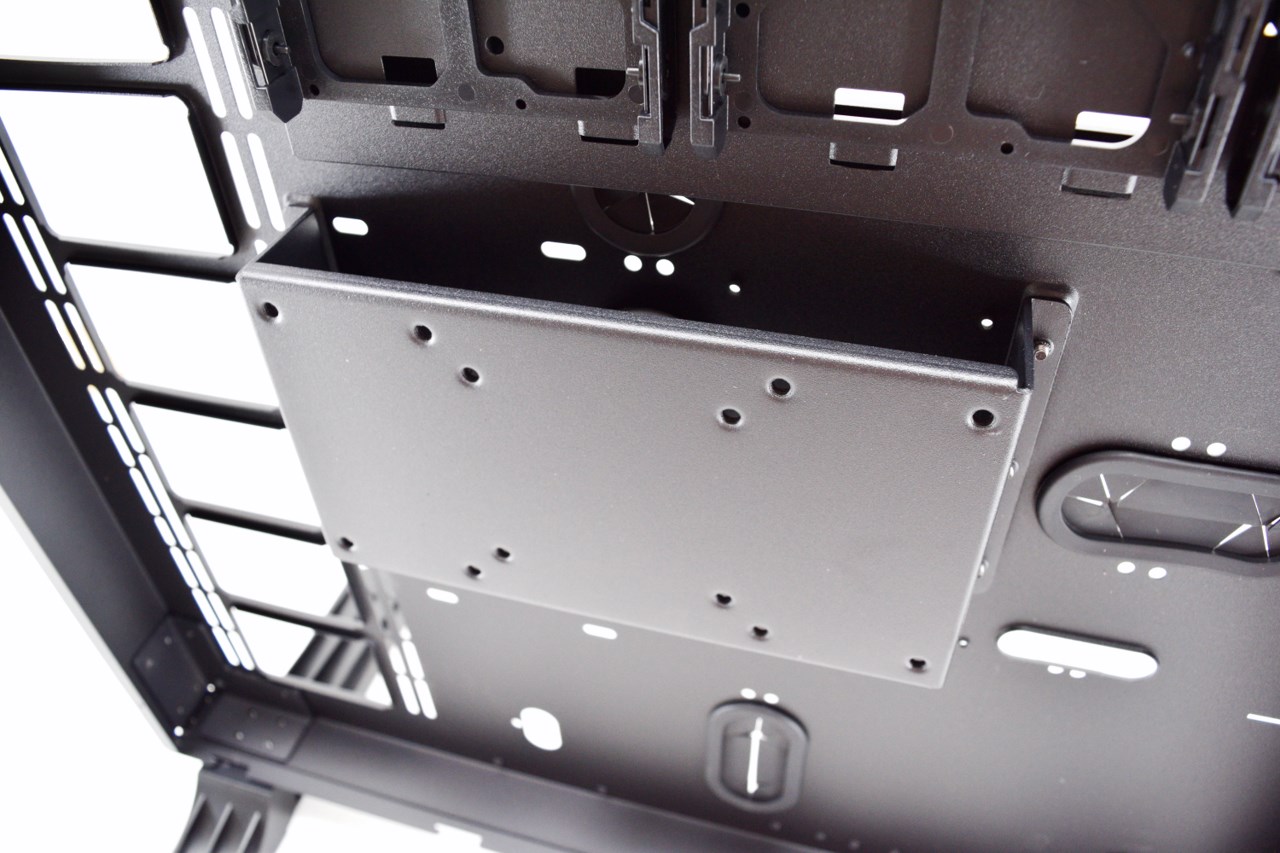
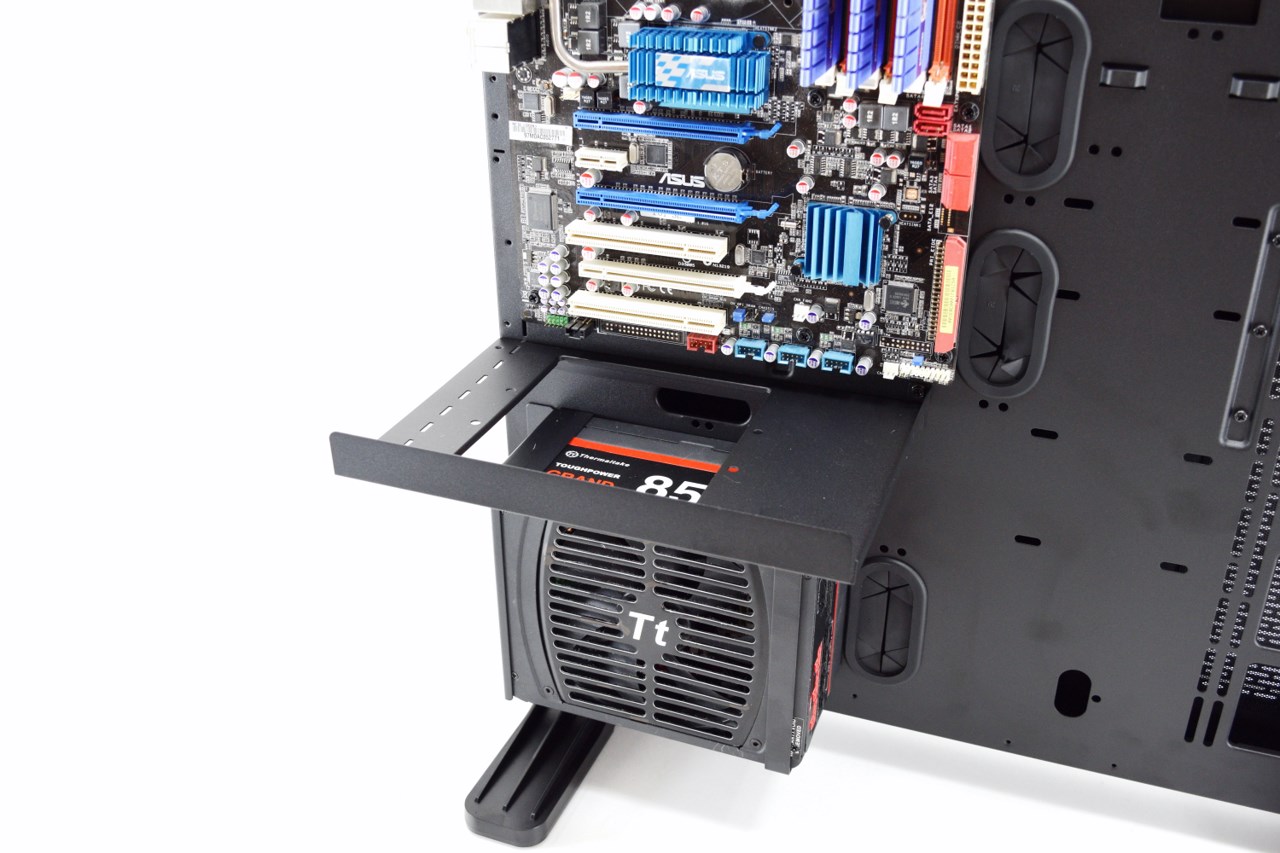
First stop is the PSU mounting which is really easy once you install the rear bracket (there are four positions where you can mount the front bracket depending on the length of the PSU).
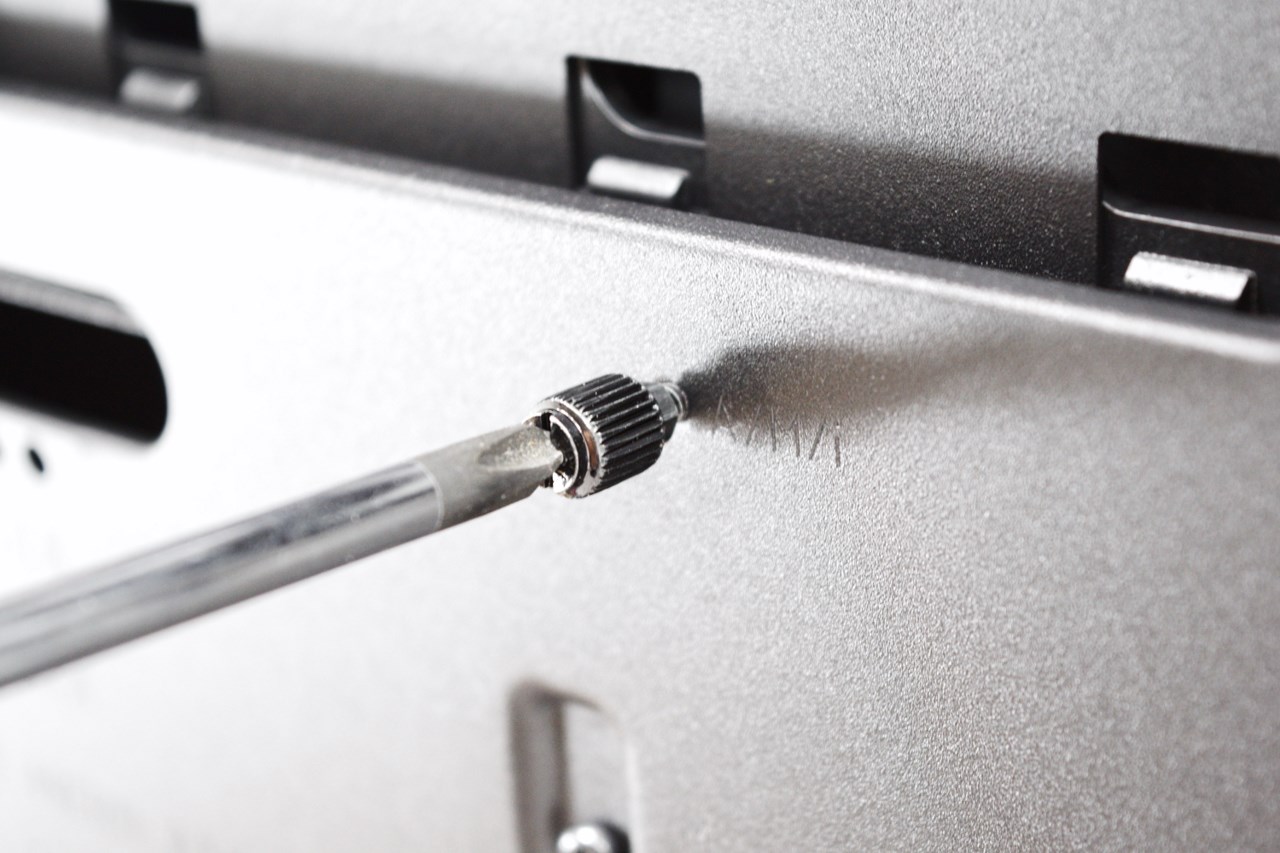
After that we have the mainboard but before we go there many of you have asked what this screw-like piece is for and this is used to tighten mainboard standoffs so they don't get released when mounting/removing the mainboard.
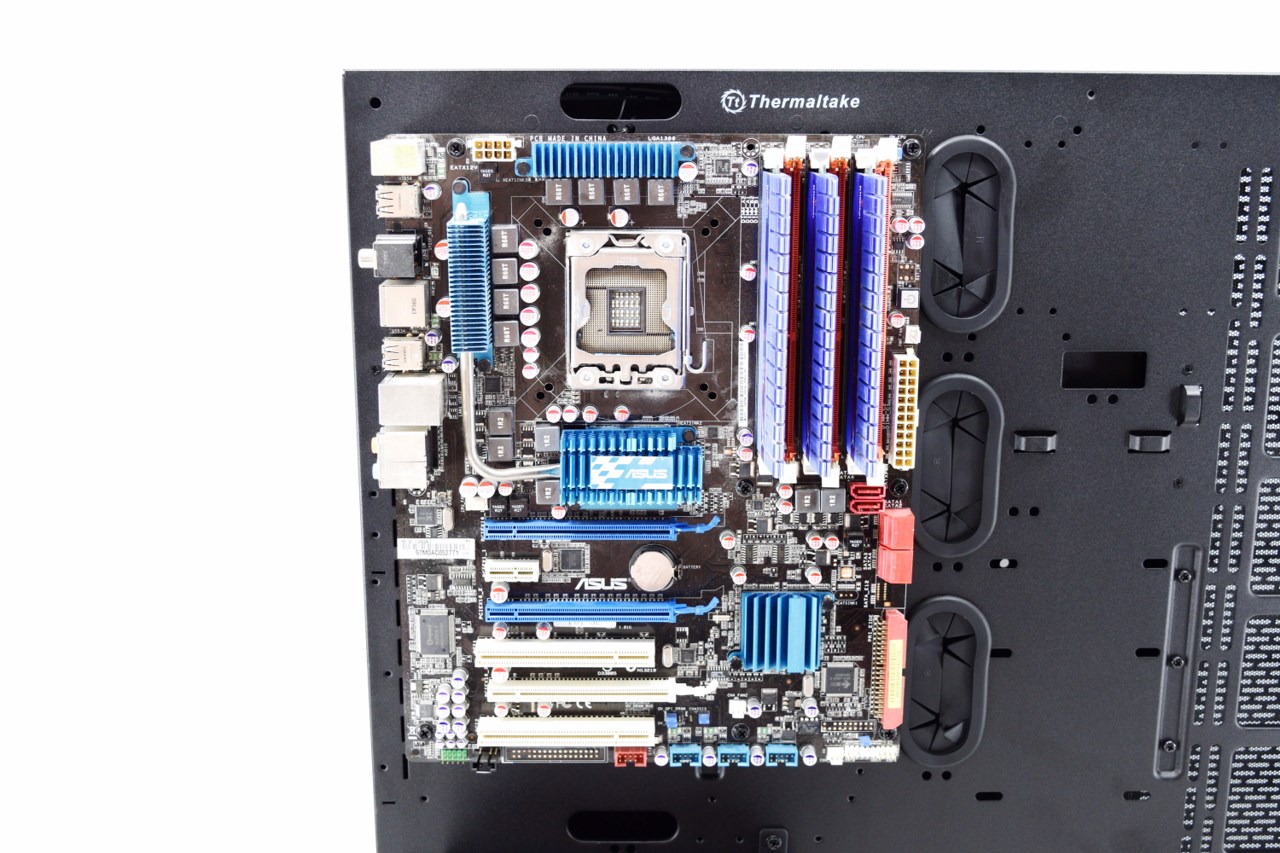
Mounting an ATX sized mainboard uses all available space (using an E-ATX mainboard should be possible but then you'd lose all 3 rubber grommets).

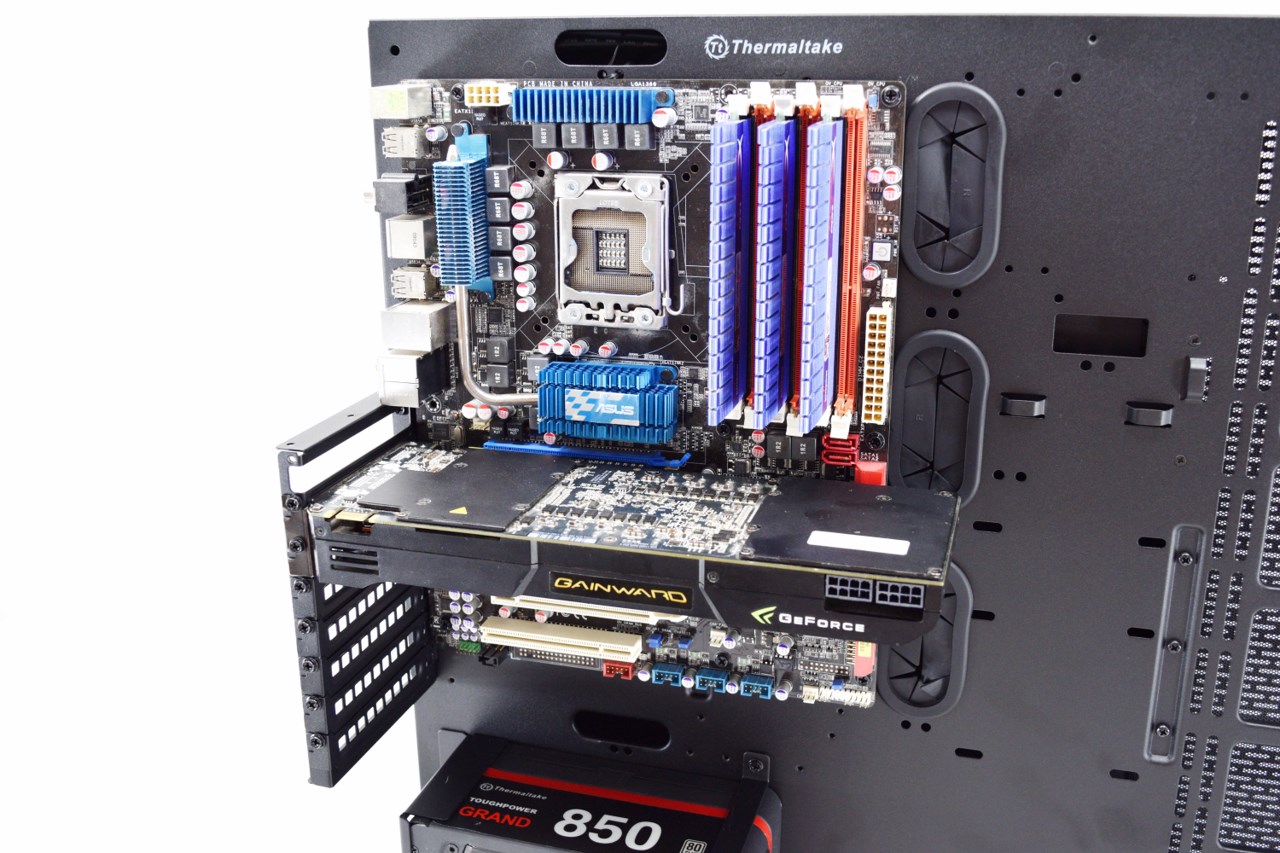
Thermaltake gives you two options to install your cards the first of which is the typical vertical one as seen above.
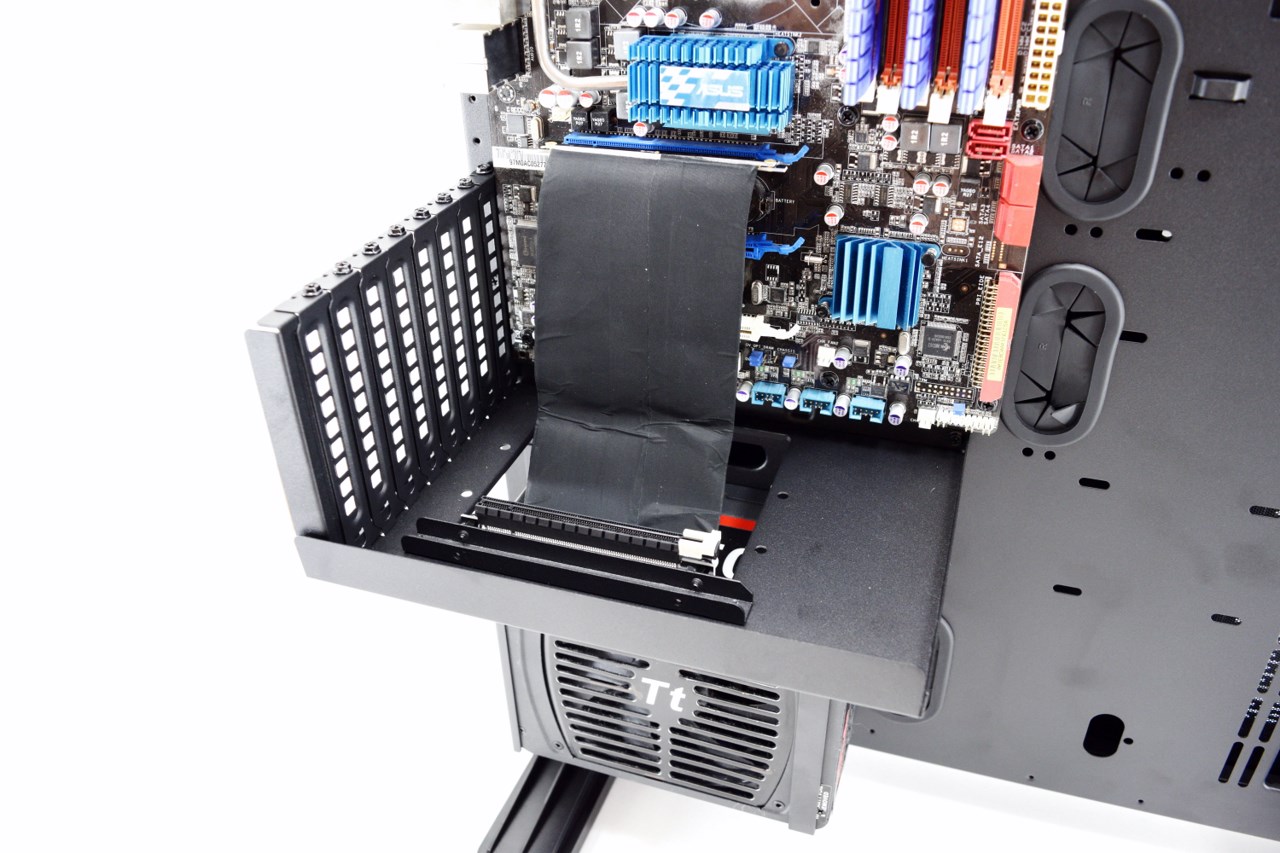
However if you want to "see" your cards easier you can use the horizontal one which requires installing the mounting tray and then the PCI expansion slots bracket. You will also need to mount the PCI-E riser cable onto one of the two available brackets (Thermaltake bundles two brackets yet one riser cable) and then install it onto the horizontal tray as seen above.
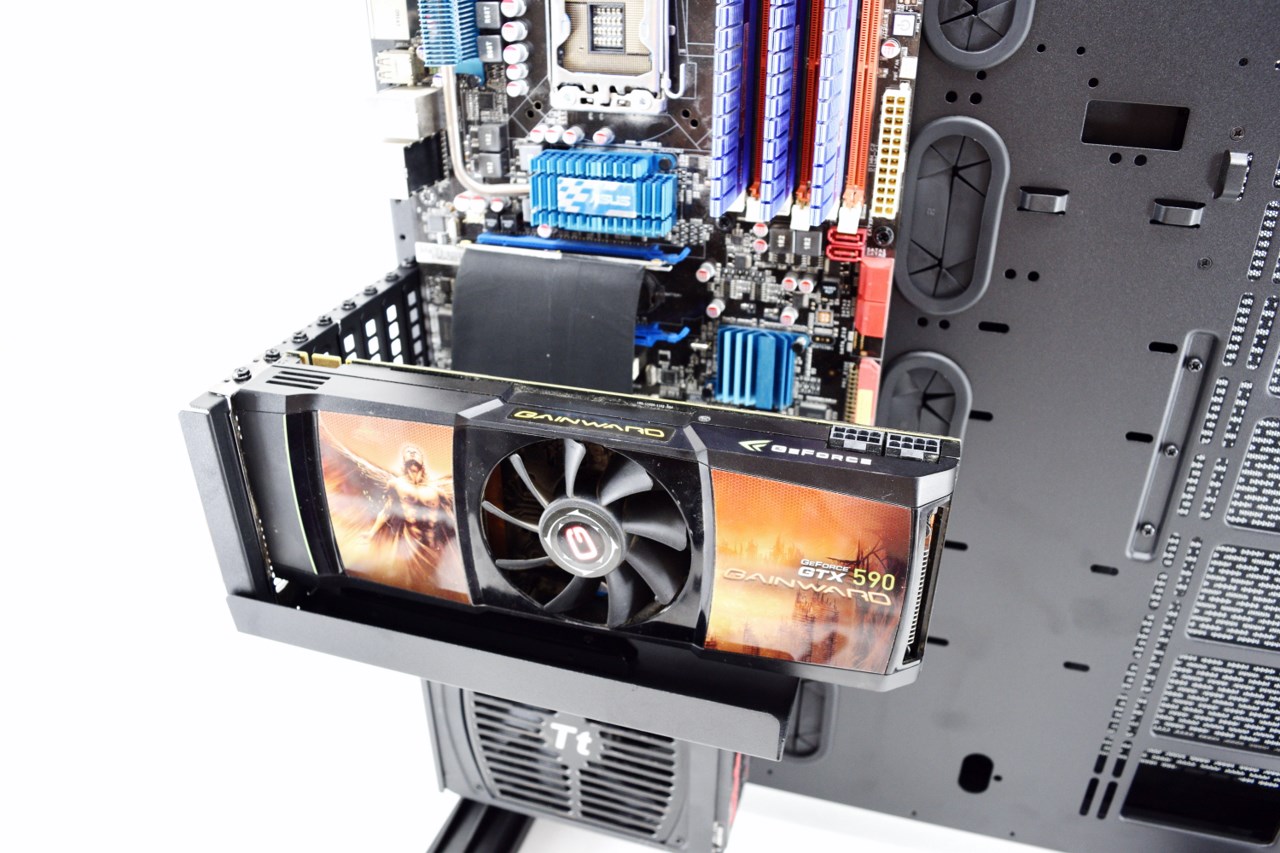
This way is the best looking one but since you will not have just 1 card the others will be covered from the riser cables (not to mention you will need to buy extra riser cables and mounts).
BUILDING THE SYSTEM PART 2
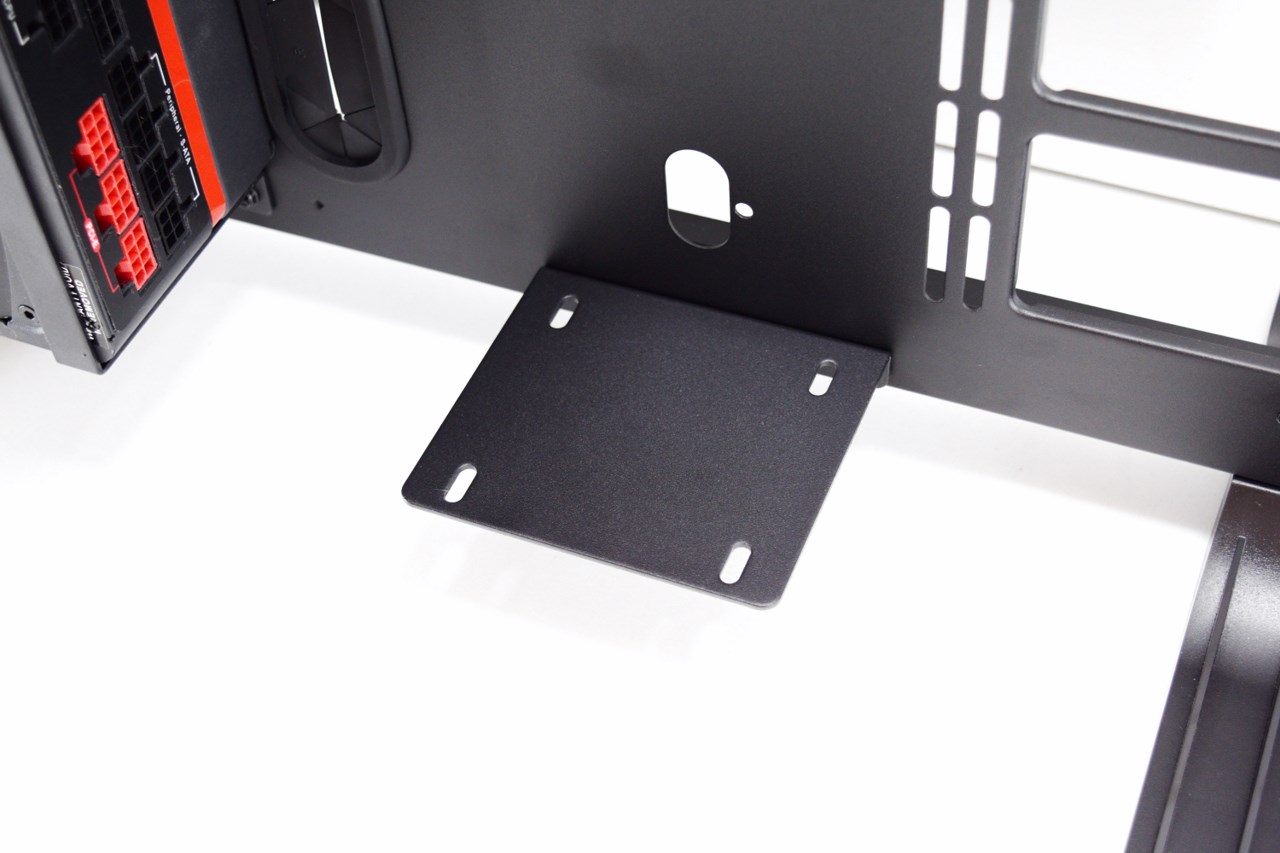
Mounting the Pacific RL240 Water Cooling Kit starts from the lower end of the Core P5 and the reservoir mount as seen above.
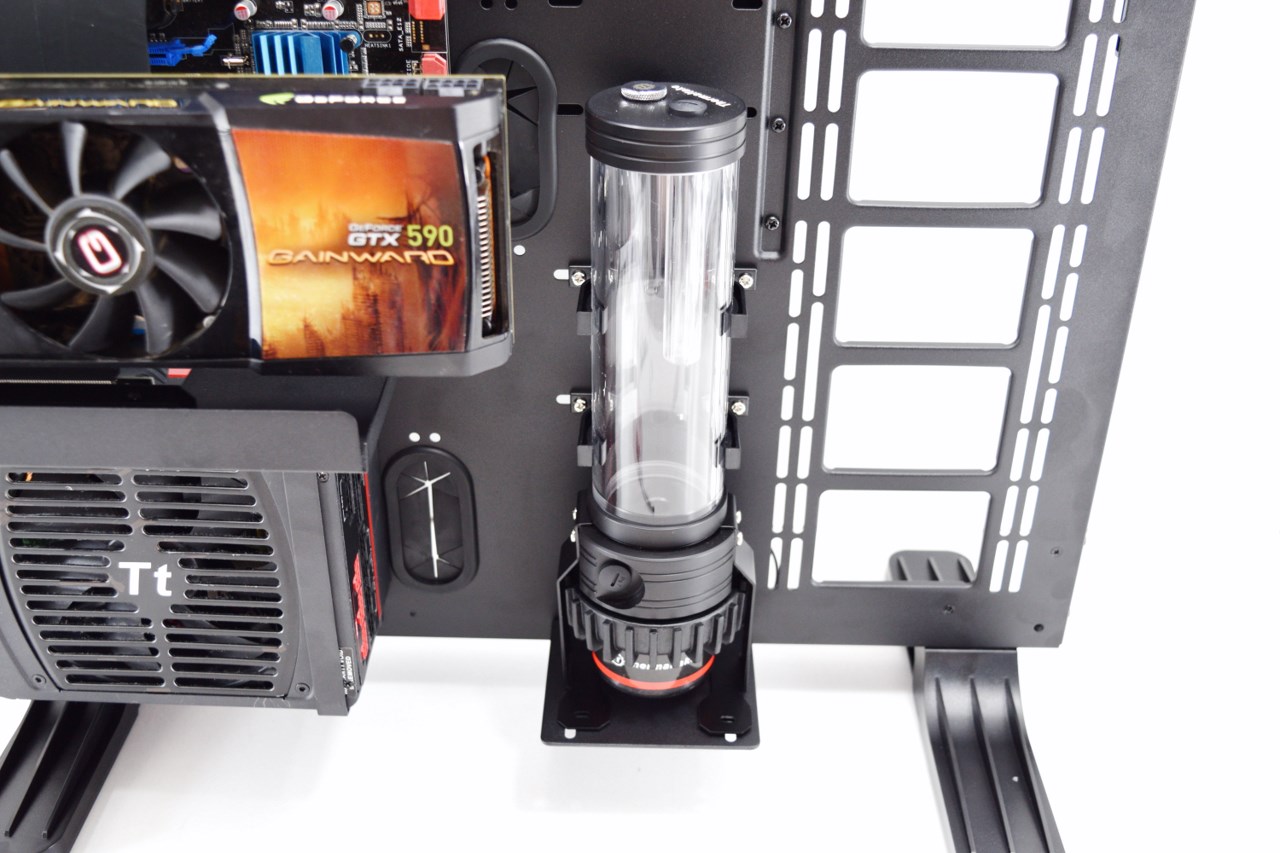
Since the Core P5 just has one such area the best possible solution is a Pacific PR22-D5 reservoir/pump combo as the one used in that kit.
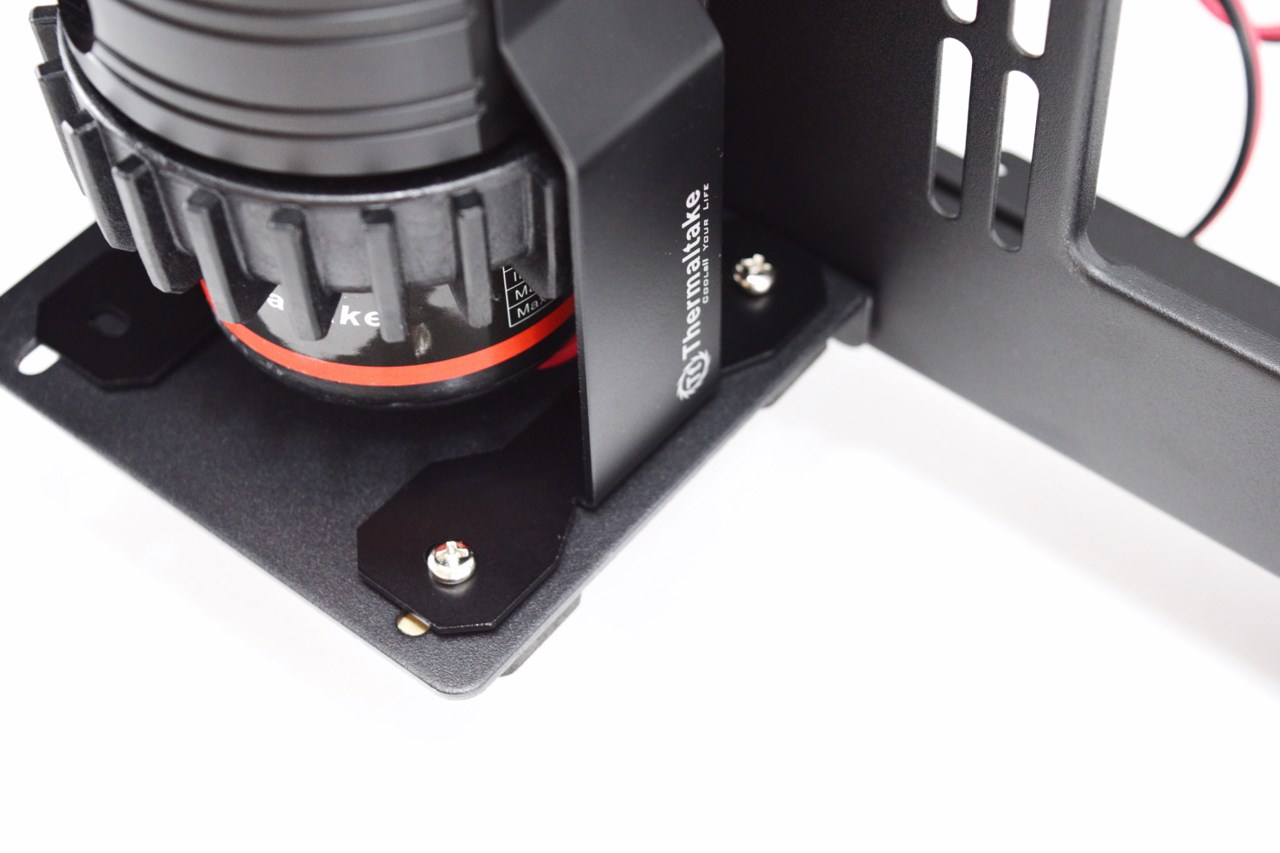
This combo can be mounted using the two clamps but Thermaltake also recommends using the two metal feet for more stability (and we agree with them).
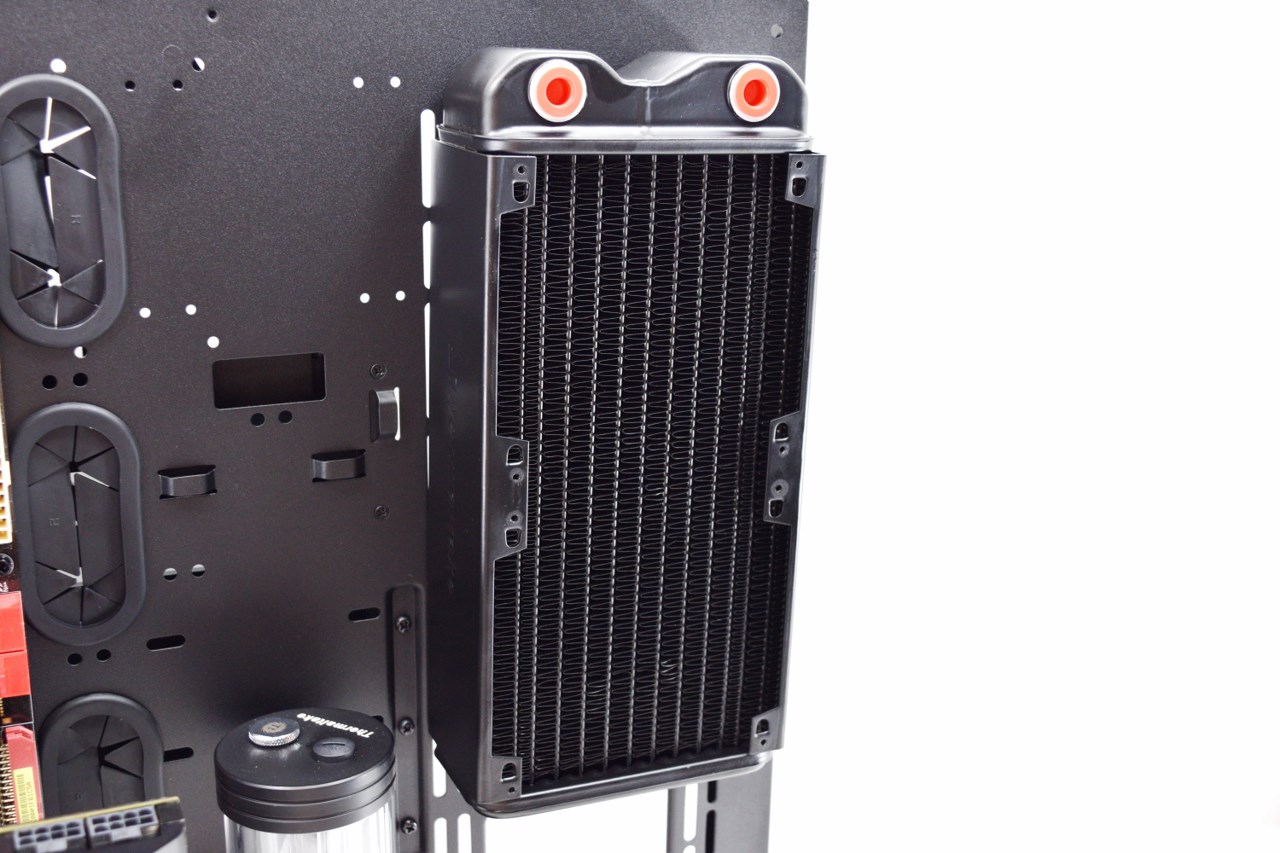
Mounting the Pacific RL240 Radiator comes next and requires mounting several short screws and their washers from the rear (remember that by mounting a smaller radiator than 480mm you can also use the two "hidden" mounting areas for 2.5" drives placed at the top end).
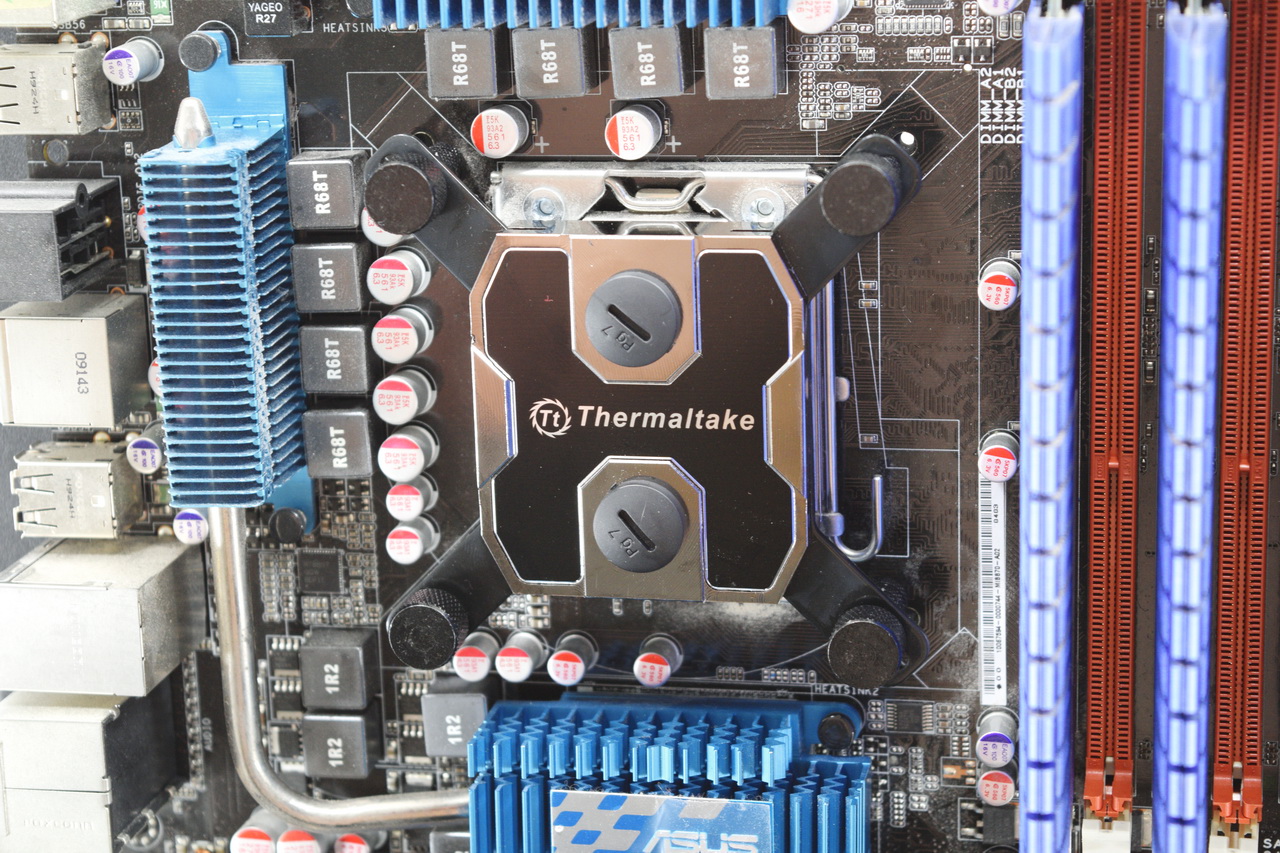
Moving onto the Pacific W1 waterblock installation is very easy as long as you mount the backplate at the rear (Intel LGA2011-v3 mainboards don't need one).

Mounting all 6 fittings is the next and perhaps easiest step.
Measuring and cutting the available tubes is not hard but you should cut them shorter than we did to avoid coming in contact with the acrylic panel (we have to use them on our test rig later on to review the Pacific RL240).
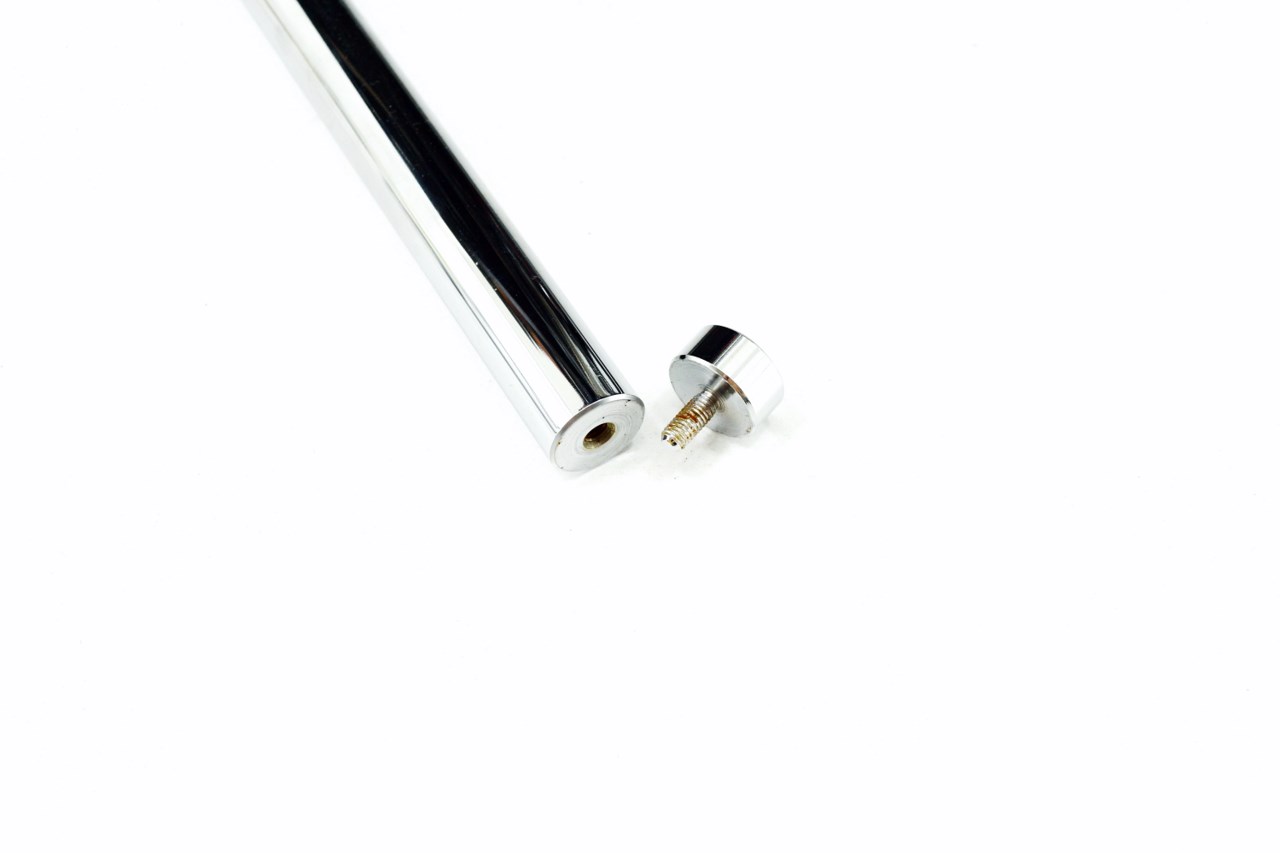
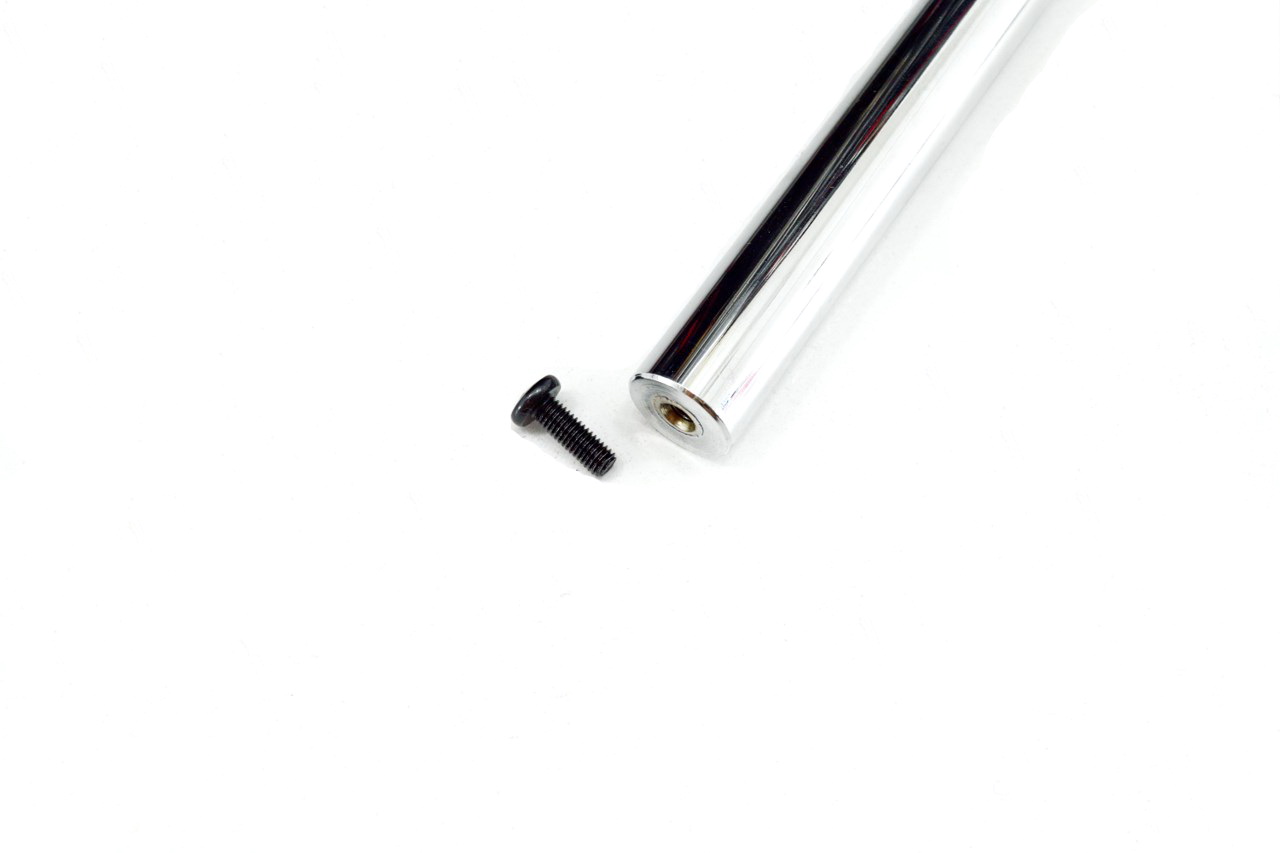 To mount the 5mm thick acrylic panel you will have to remove the top ends and rear screws of the 4 chrome bars.
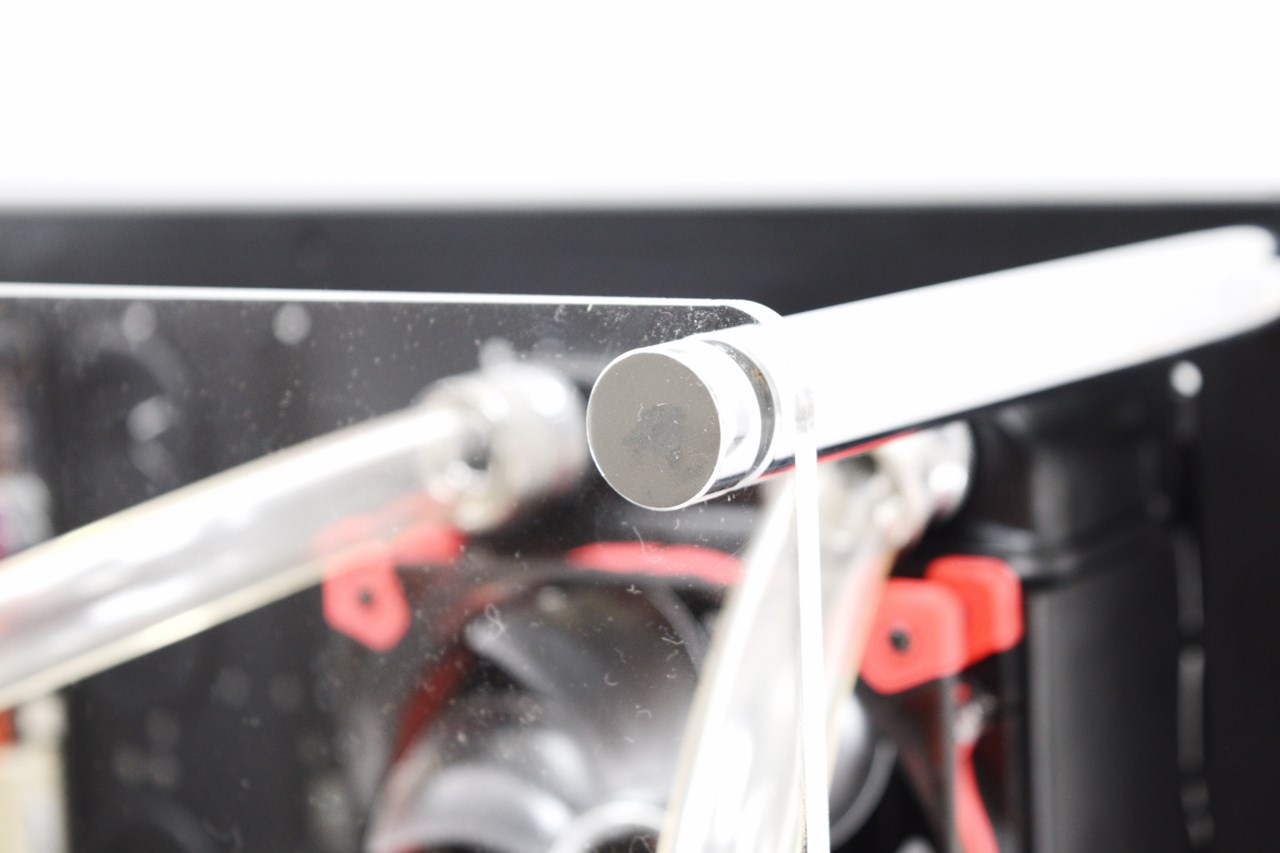
With all 4 chrome bars installed we can now mount the acrylic panel (to do that just place it over the bars and then put back their tops).

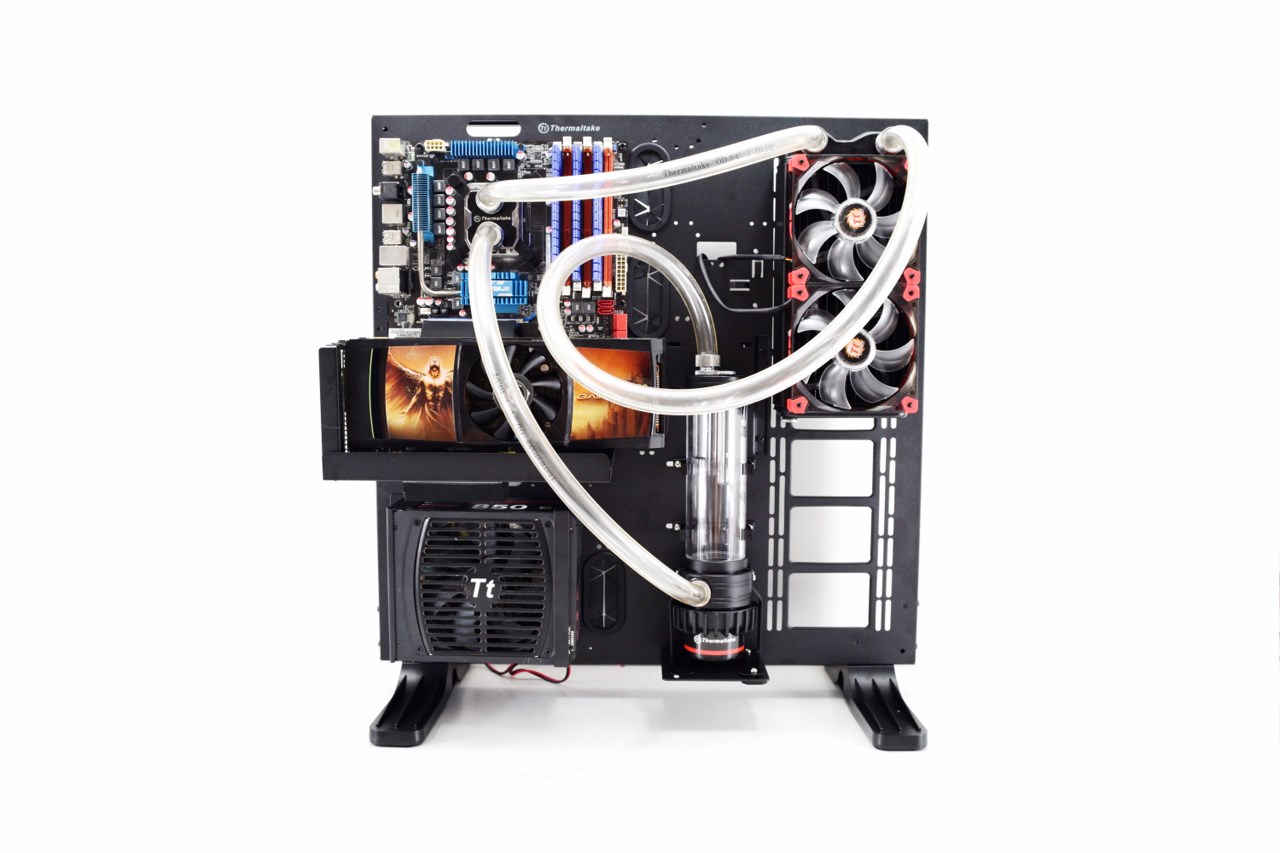
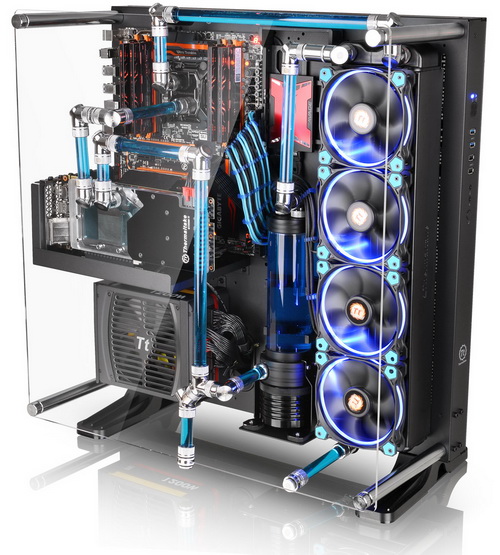
This is the finished Core P5 placed vertically (either on the two large feet or your wall).
You can also mount the four round rubber feet at the rear of the case to place it horizontally on your desk or floor.
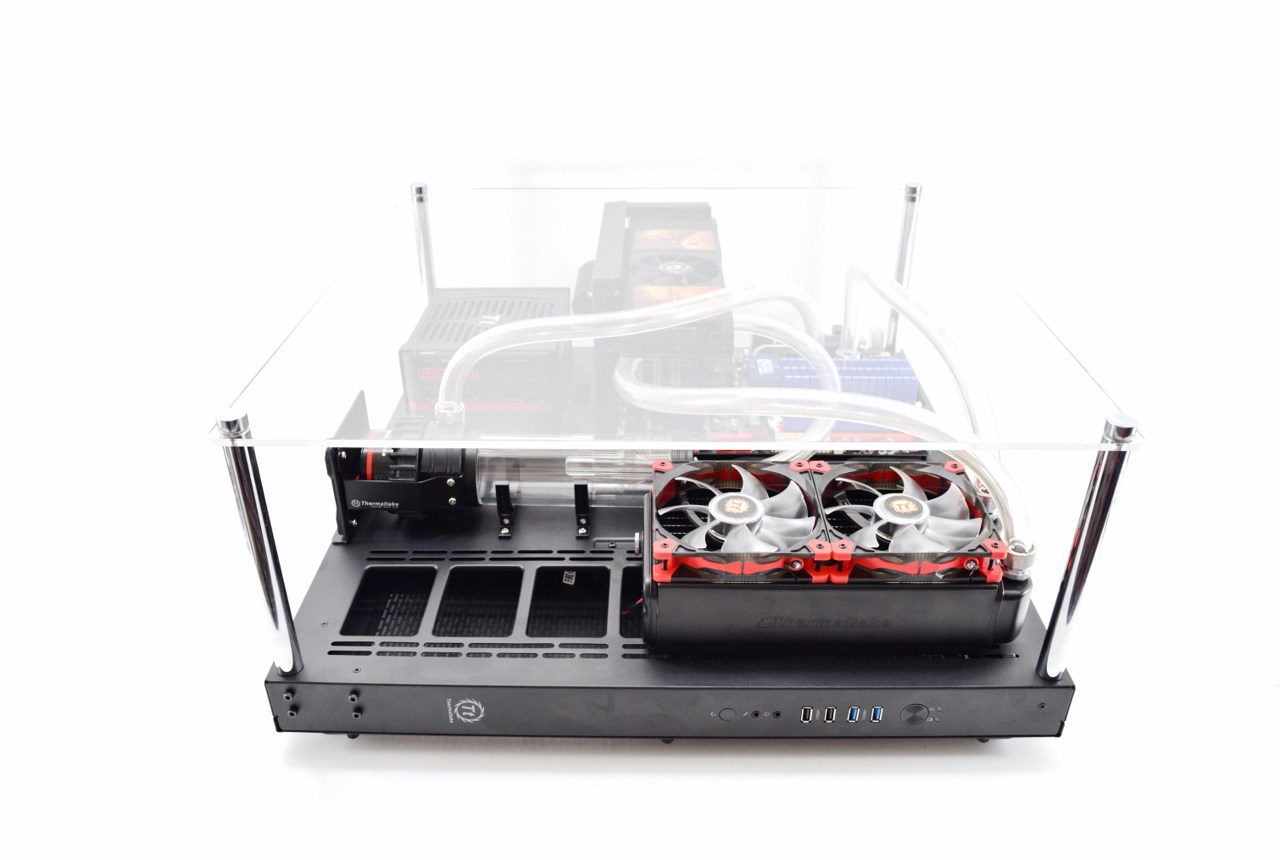
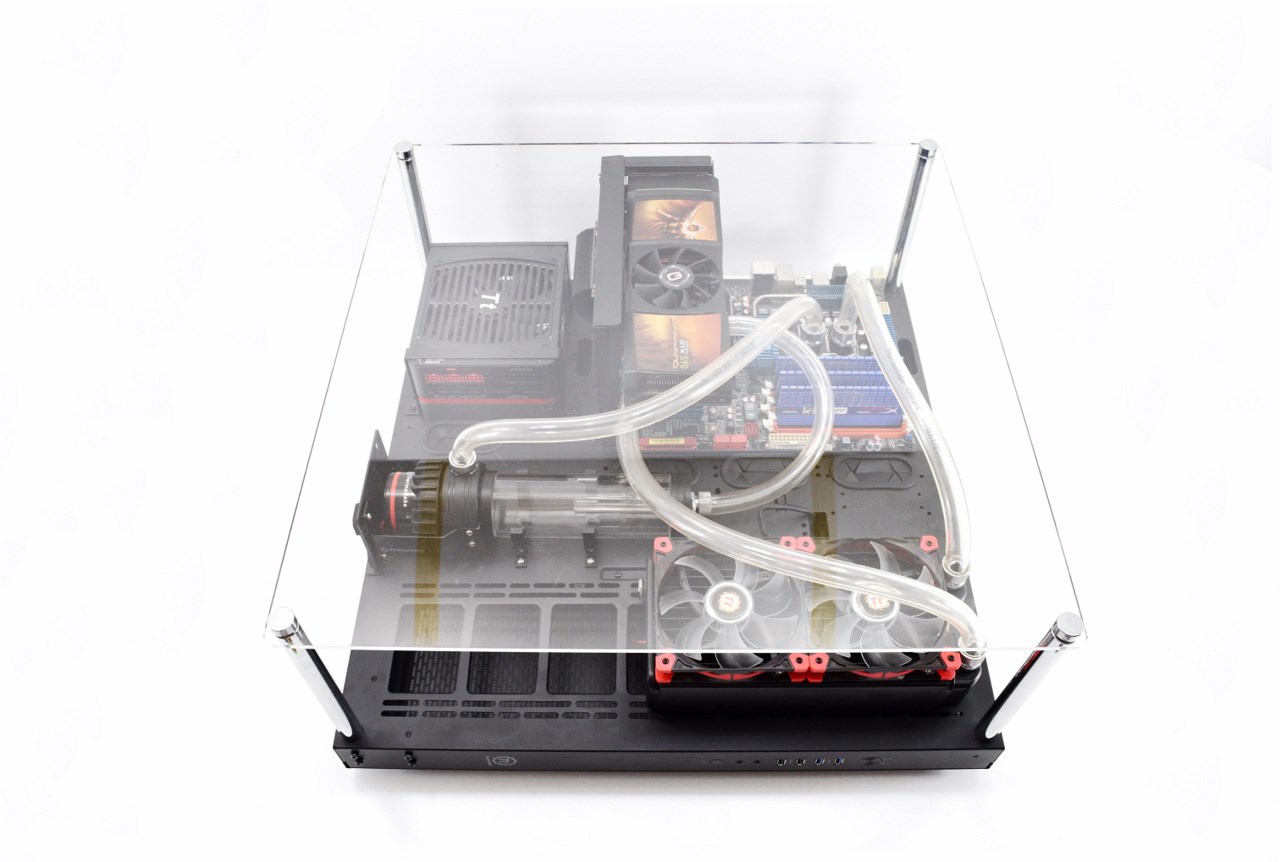 This is how the Core P5 looks when placed horizontally.
CONCLUSION
When we heard rumors from our people in Thermaltake that they were designing a wall-mountable PC case I was somewhat surprised since to date only Lian-Li had designed and manufactured something similar (O series) and I can’t say that I was impressed with that (I do like large towers after all). Unfortunately although Thermaltake got the size and looks right they also decided to make the Core P5 an open-air chassis which on one hand means increased cooling capabilities (unless you have a tower with 12 fans blowing air inside like we do) but on the other it means having a ton of dust sitting on your components. Well ok I may exaggerate a bit but had Thermaltake used an acrylic panel which would extend all the way to the top, sides and bottom I feel things would be much better (that however should be relatively easy to accomplish for a good Modder). As for the rest of the features well you have room for up to four 2.5/3.5” drives placed in the bundled trays (plus two 2.5” drives in the radiator area if you use a smaller radiator than the max 480mm), room for a 240/280/360/420/480mm radiator (Thermaltake doesn’t list a 240mm radiator but that’s what we used) or a total of 7 fans, reservoir/pump mount and just enough space to install 180mm tall CPU coolers and 320mm long graphics cards (280mm with a reservoir installed). Finally quality levels are very high and although I’d rather Thermaltake used aluminum instead of steel (since the case alone weighs 12.2Kg with a good amount of components it can easily surpass the 20Kg mark) still we like the Core P5 just the way it is.
Another good thing about the Core P5 by Thermaltake is its price since it currently retails for just USD134.99 inside the USA (Amazon.com) and for 129Euros inside the EU (Amazon.co.uk). This price tag is roughly 4 times less than what Lian-Li asks for their PC-O7SX ATX compatible wall-mount chassis so needless to say that price alone is a huge incentive for people looking to get something like that. Long story short the Core P5 is not perfect and we feel that Thermaltake should release it again (perhaps a new Core model?) but this time over as a closed-chassis but that aside it’s still a very good open-air mid-tower with plenty of features and great looks which is why it gets our Golden Award.

PROS
- Build Quality
- Design
- Wall Mount, Vertical & Horizontal Placement
- Open-Air Chassis
- Supports 240/280/360/420/480mm Radiator
- Reservoir/Pump Mounting Spot
- Room For Up To 6 Drives
- Space For 180mm Tall CPU Coolers & 320mm Long Graphics Cards
- Price (Compared To Its Competition)
CONS
- Transparent Acrylic Panel (Tampered Glass Would Look Better)
- Open-Air Chassis (Dust Magnet)
- Wall Mount Brackets Not Included (Sold Separately)