O-Sense


THE WACOOLT BLACK OWL INTERIOR
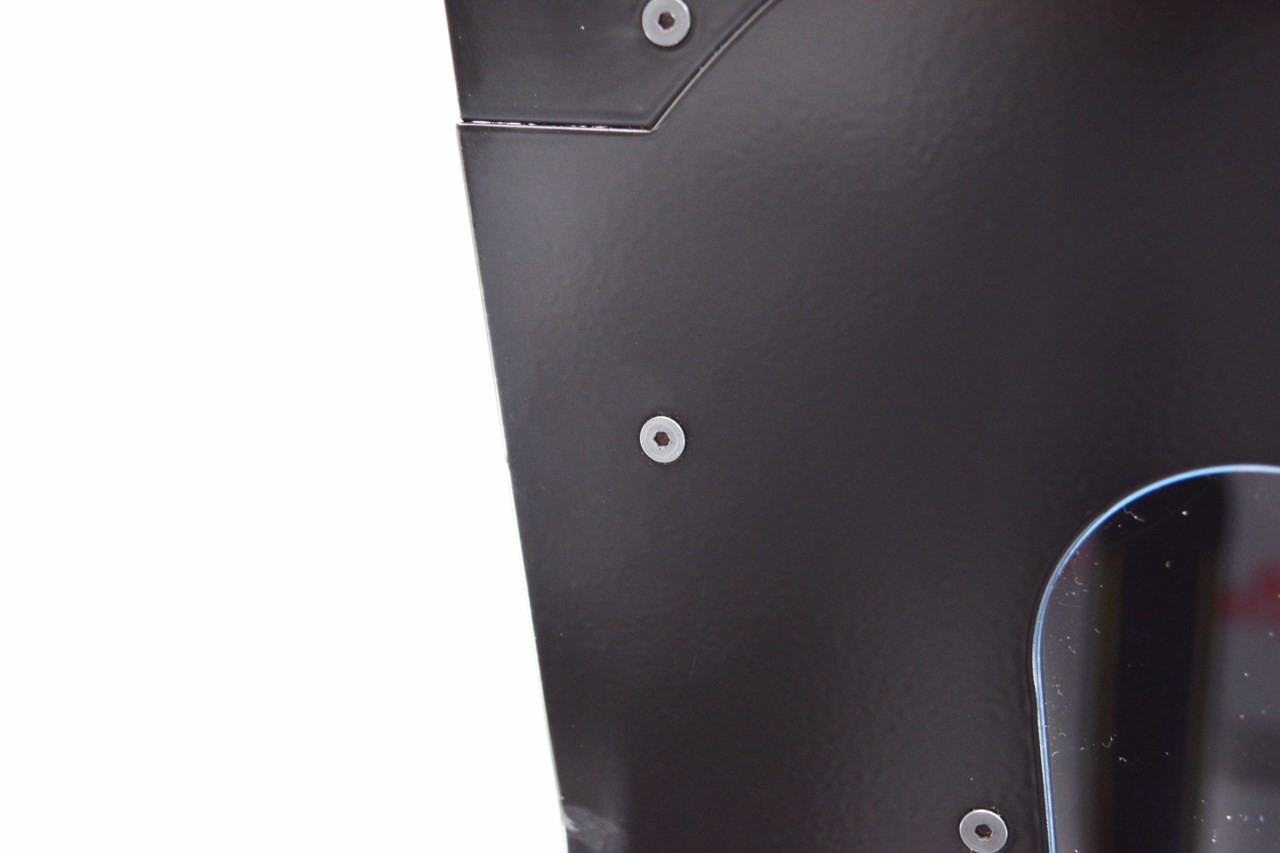
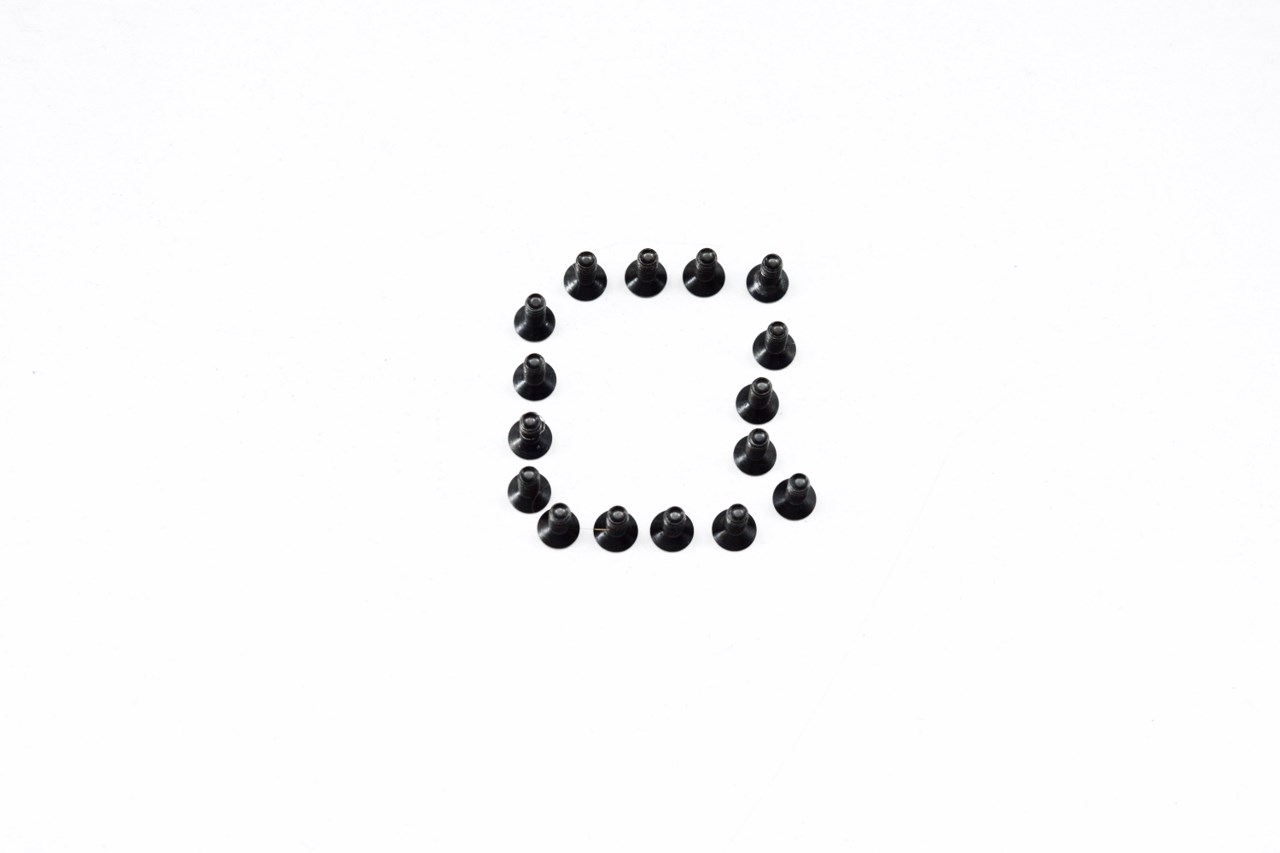 When we got the Black Owl out of its box i was looking for a way to open the side panel, perhaps a lever or a button at the rear since it obviously wasn't held in place via rear thumbscrews. Unfortunately to gain access to the interior of the case you will need to remove not one, not two, not four but 16 Allen screws (as seen above).
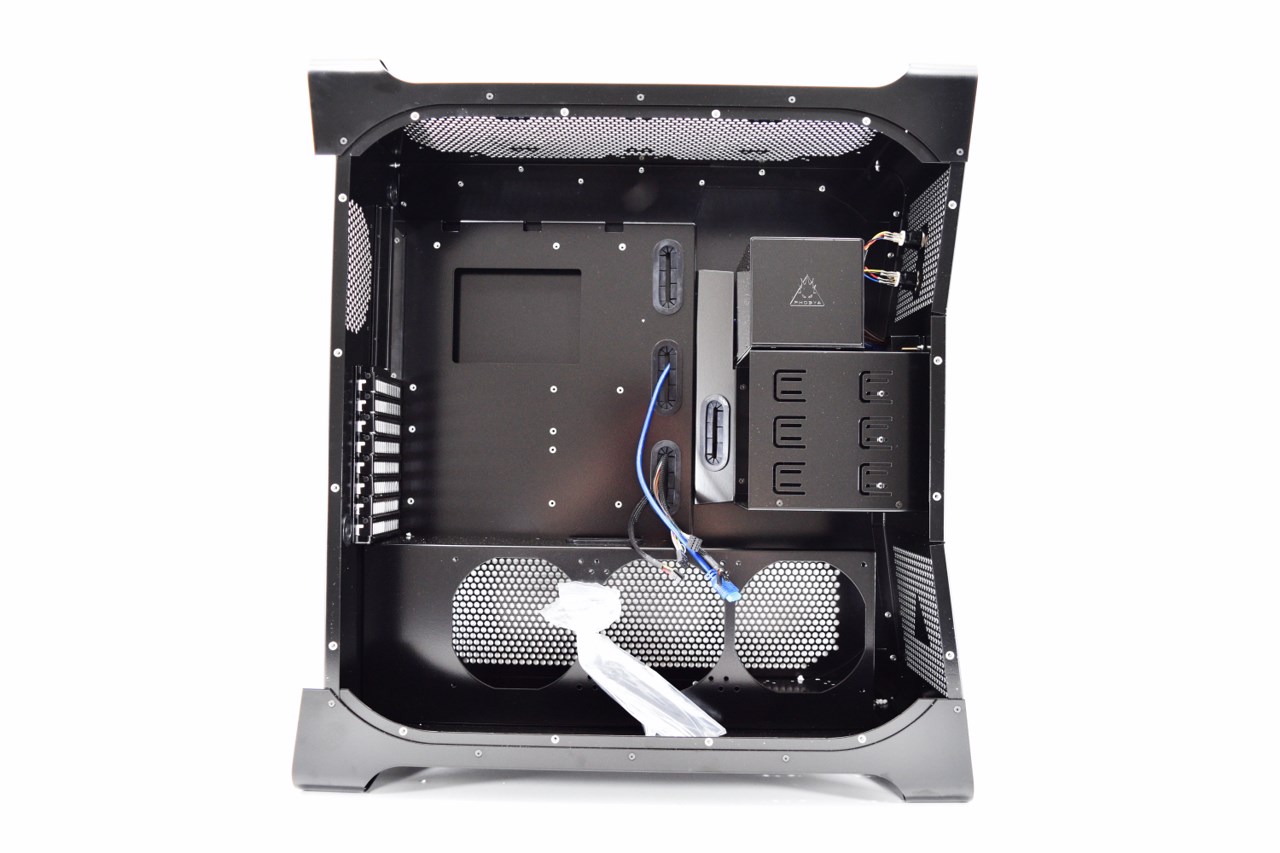
The interior of the Black Owl is extremely spacious and certainly not something we see a lot.
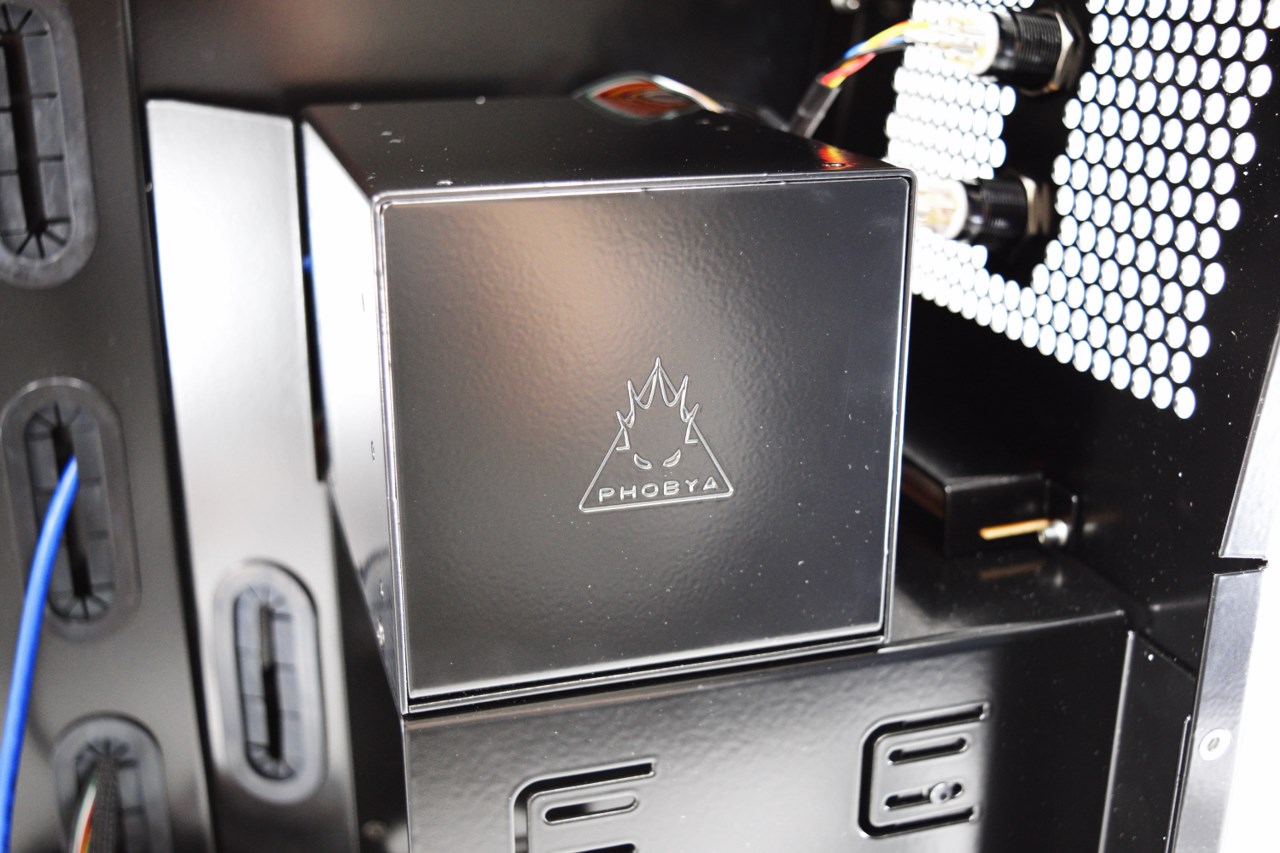
You can mount up to three 3.5" drives inside the small aluminum box that has the Phobya logo on it and two 2.5" drives on top.
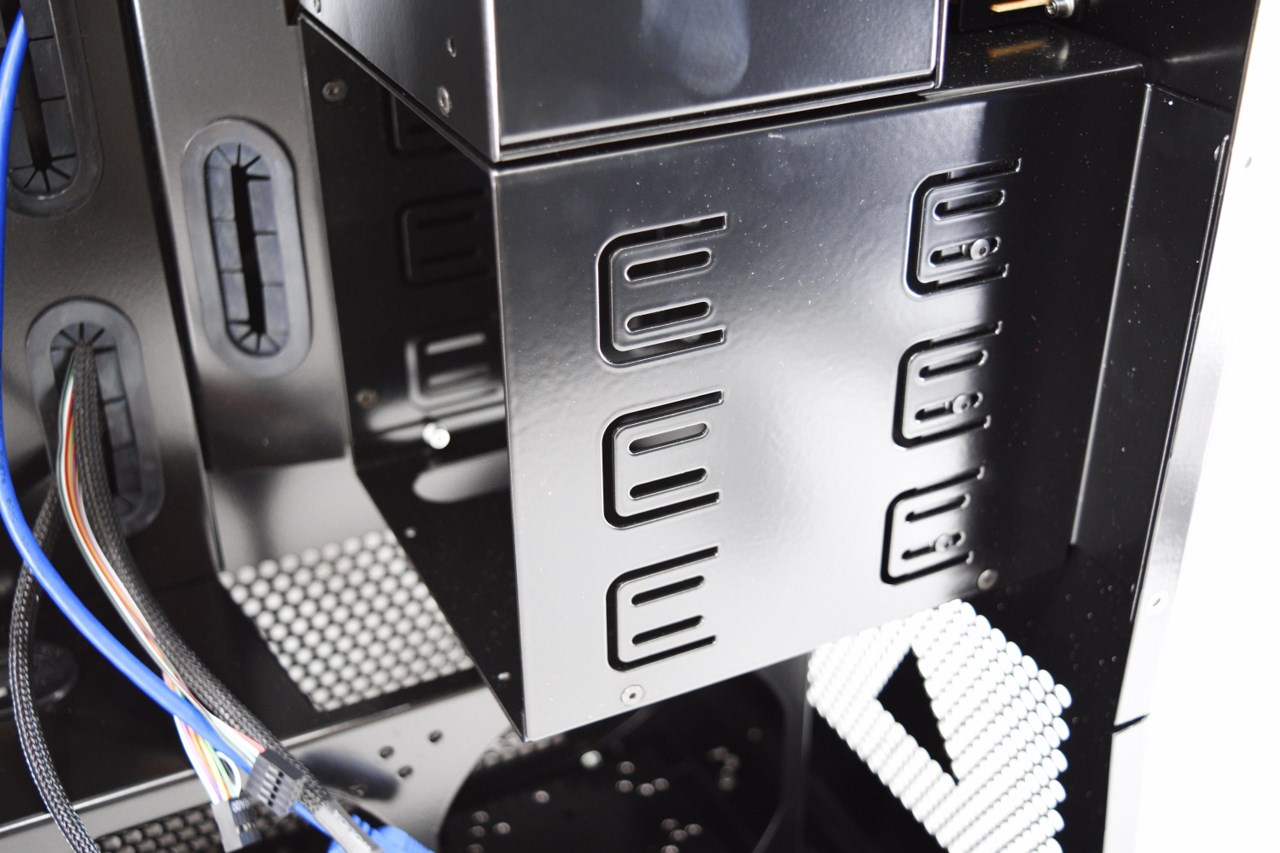
Unfortunately the Black Owl doesn't feature a tool-less design so you will need to use screws for all of the drives (you can mount two extra 2.5" drives on the interior of the lower 5.25" bay).
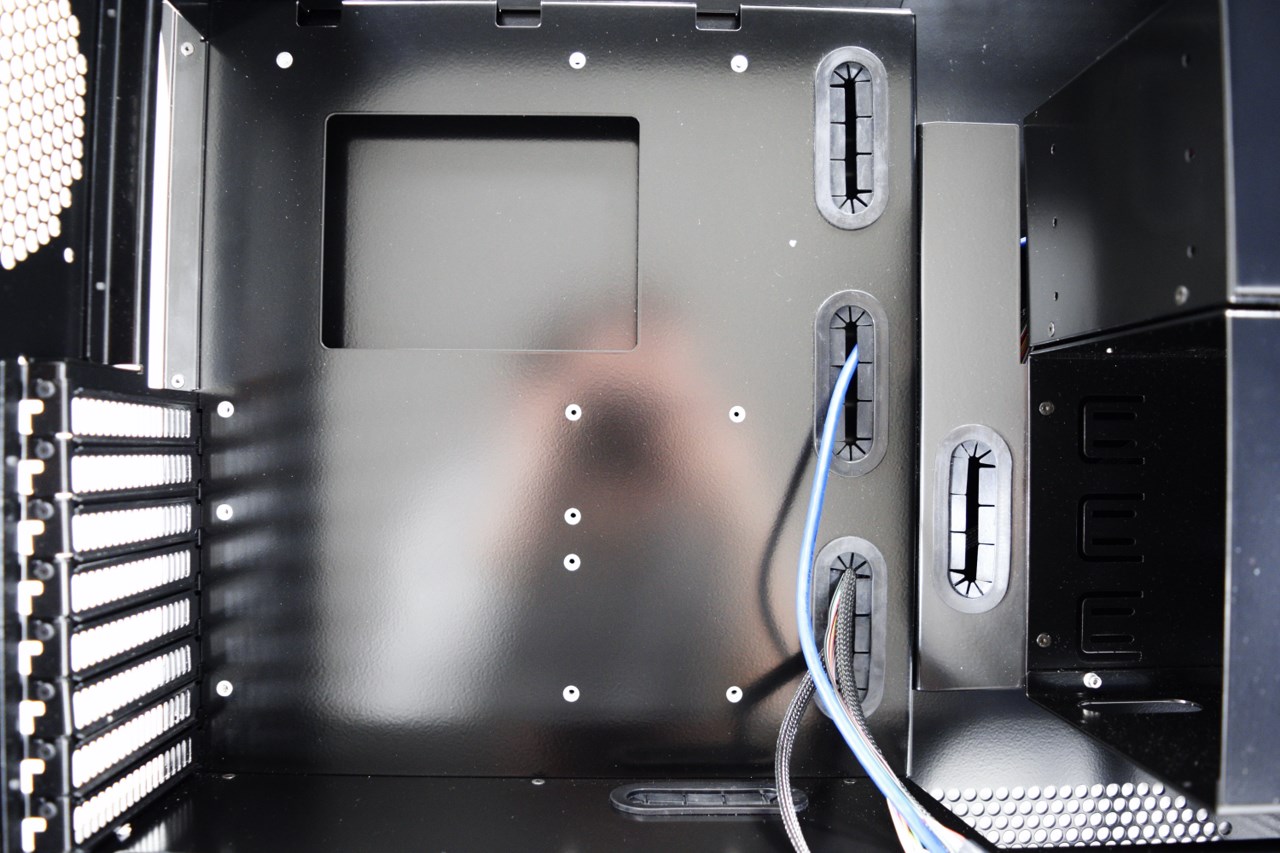
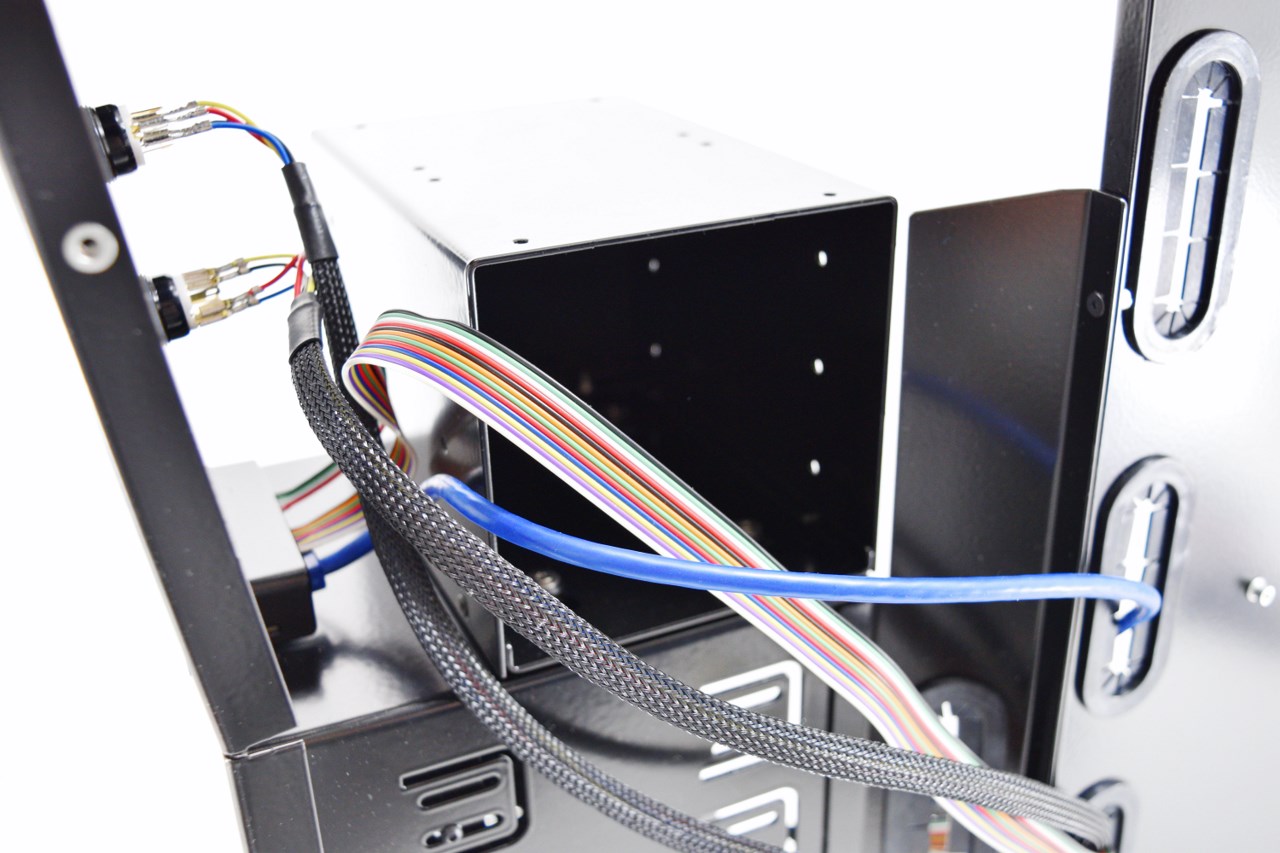
The mainboard tray has 5 rubber coated holes for cable management and a large opening beneath the CPU area.
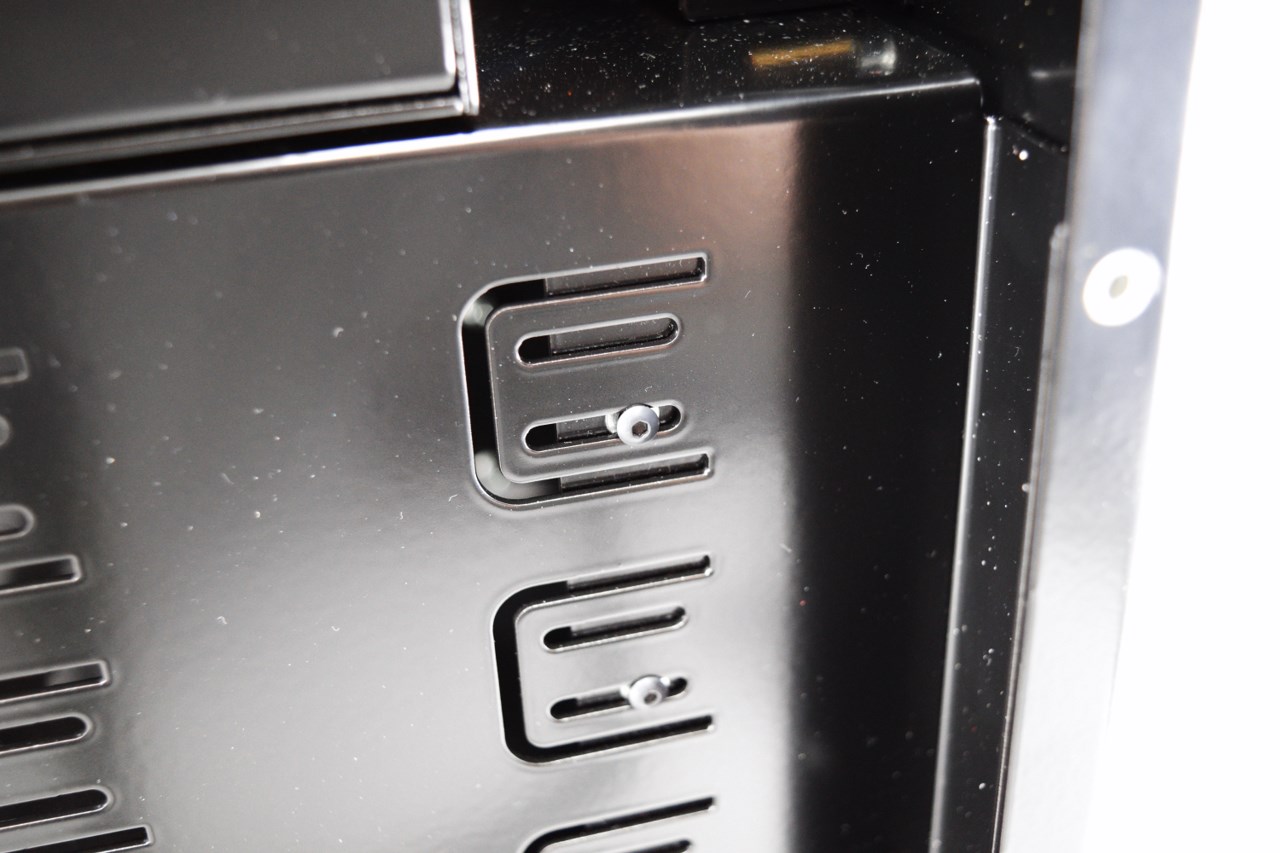
All of the 8 expansion slots also feature Allen screws.
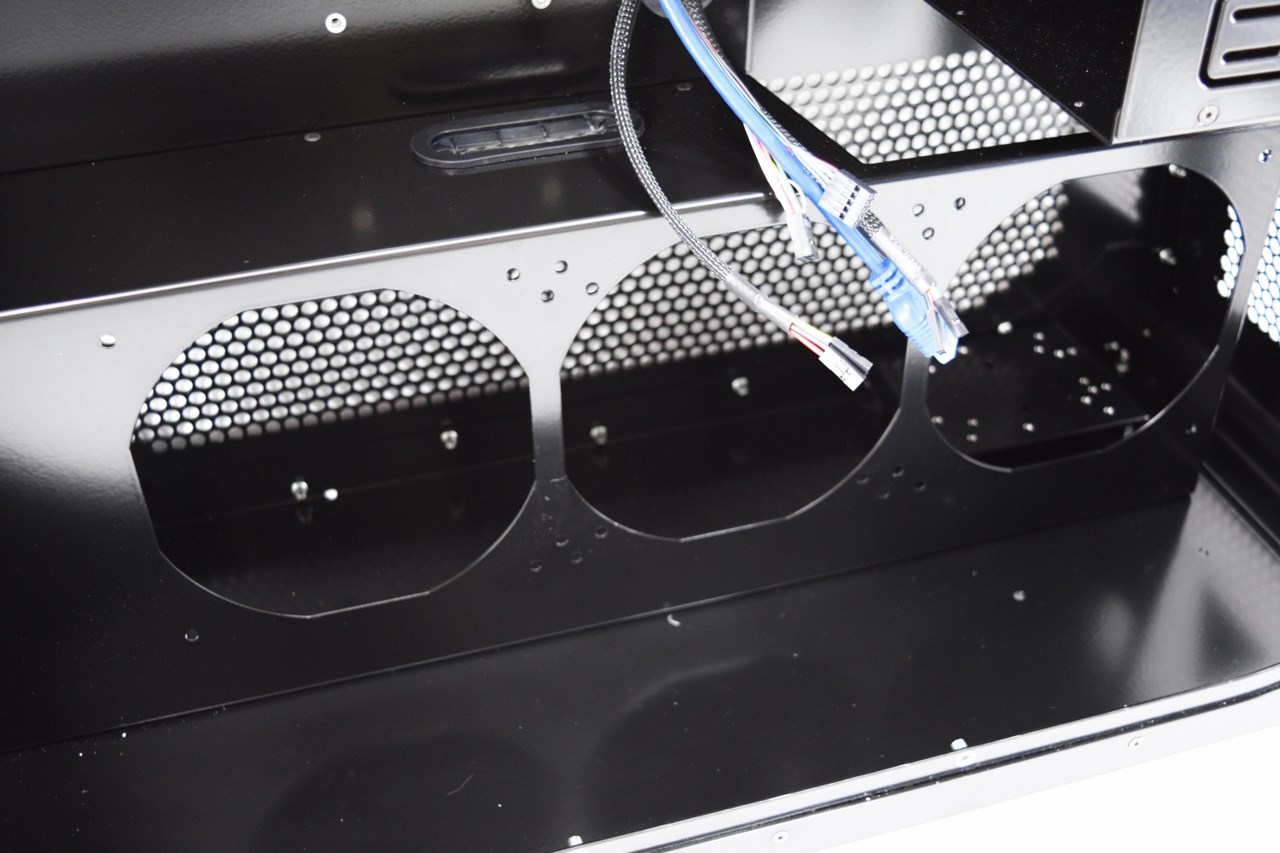
Here is where you can mount up to a 420mm long radiator with up to 3 fans in push and pull (pull air from the perforated section of the left side panel and exhaust it via the perforated section of the right panel).
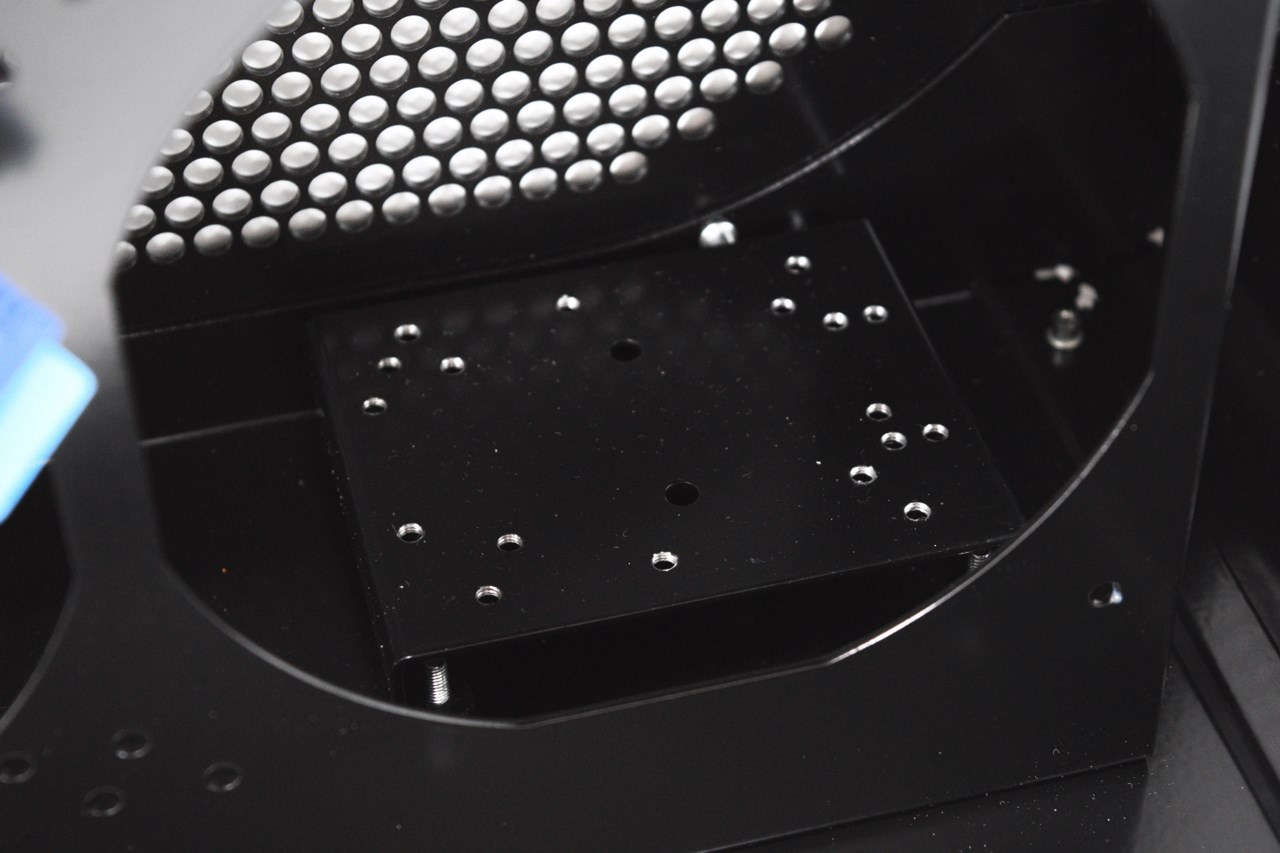
The anti-vibration pump mount is located behind that section of the case and can be accessed from the opposite side.
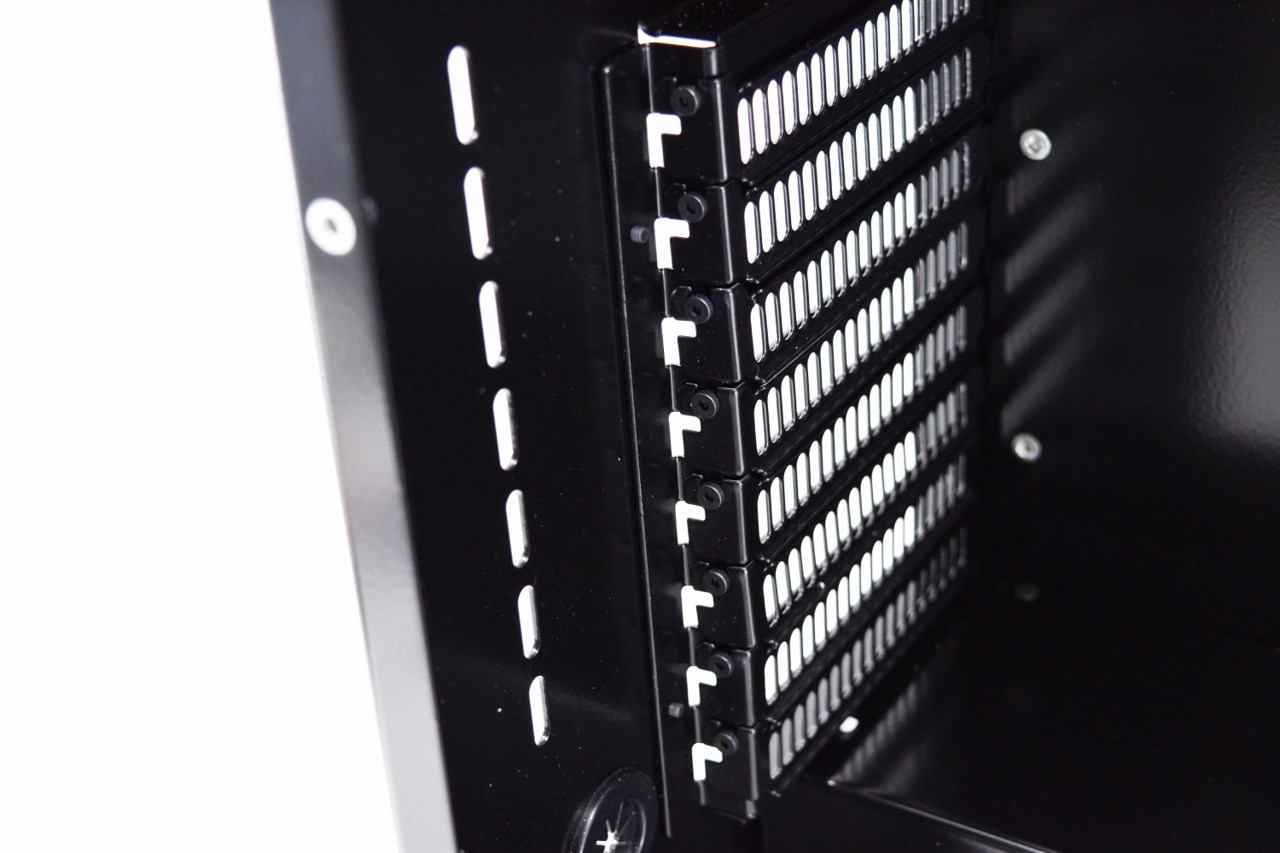
Well to mount drives in and on the drive cage you also have to remove the right side panel.
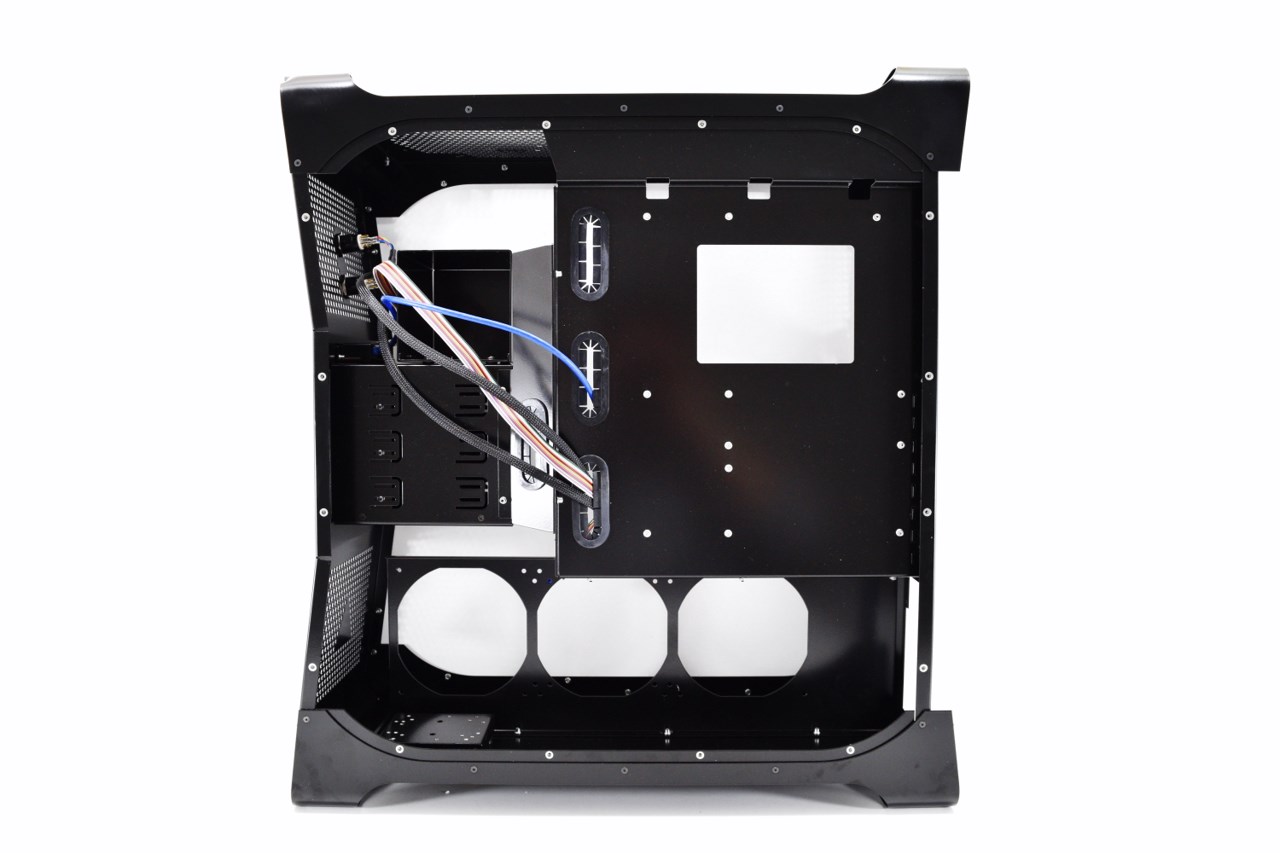
This is how the other side of the interior looks.